Quick Installation Guide
Table of ContentsDDI Central for Linux DNS and DHCP servers
ManageEngine DDI Central can be deployed as an overlay for your existing Linux DNS and DHCP clusters that runs on Internet Systems Consortium : ISC DHCP and ISC BIND9 DNS software. To successfully install DDI Central download the following .bin files:
- Management UI Console (ddiconsole.bin): The central console with a unified user interface where all the DNS, DHCP and IP configurations are consolidated, monitored, correlated and controlled from a single window.
- Discovery Node Agent (ddinodeagent.bin): A lightweight agent installed on all managed DNS and DHCP servers, which frequently communicates with the central console to provide continuous visibility.
DDI Central for Microsoft DNS and DHCP servers
DDI Central can also be deployed as an overlay for your existing Windows DNS and DHCP clusters that run on Microsoft Windows Server OS 2016, 2019, and 2022. For this download the .exe based installer available in our Downloads page. With this .exe installer you can create only Windows based DNS and DHCP servers and manage their configurations through DDI Central's intuitive UI. For more.
Installing DDI Central Management UI Console
- Download DDI Console for Linux
- Assign execute permission using the command: chmod a+x ManageEngine_DDI_Console_xxxx.bin where ManageEngine_DDI_Console_xxxxis the name of the downloaded BIN file.
- Execute the following command as 'root'. ./ManageEngine_DDI_Console_xxxx.bin -i console
- Follow the instructions as they appear on the screen to successfully install DDI Console on to your machine.
Installing DDI Central Discovery Node Agent
- Download DDI Node Agent for Linux
- Assign execute permission using the command: chmod a+x ManageEngine_DDI_Agent_xxxx.bin where ManageEngine_DDI_Agent_xxxx is the name of the downloaded BIN file.
- Execute the following command as 'root'. ./ManageEngine_DDI_Agent_xxxx.bin -i console
DDI Central console mode installation
Installing DDI Central Management UI Console
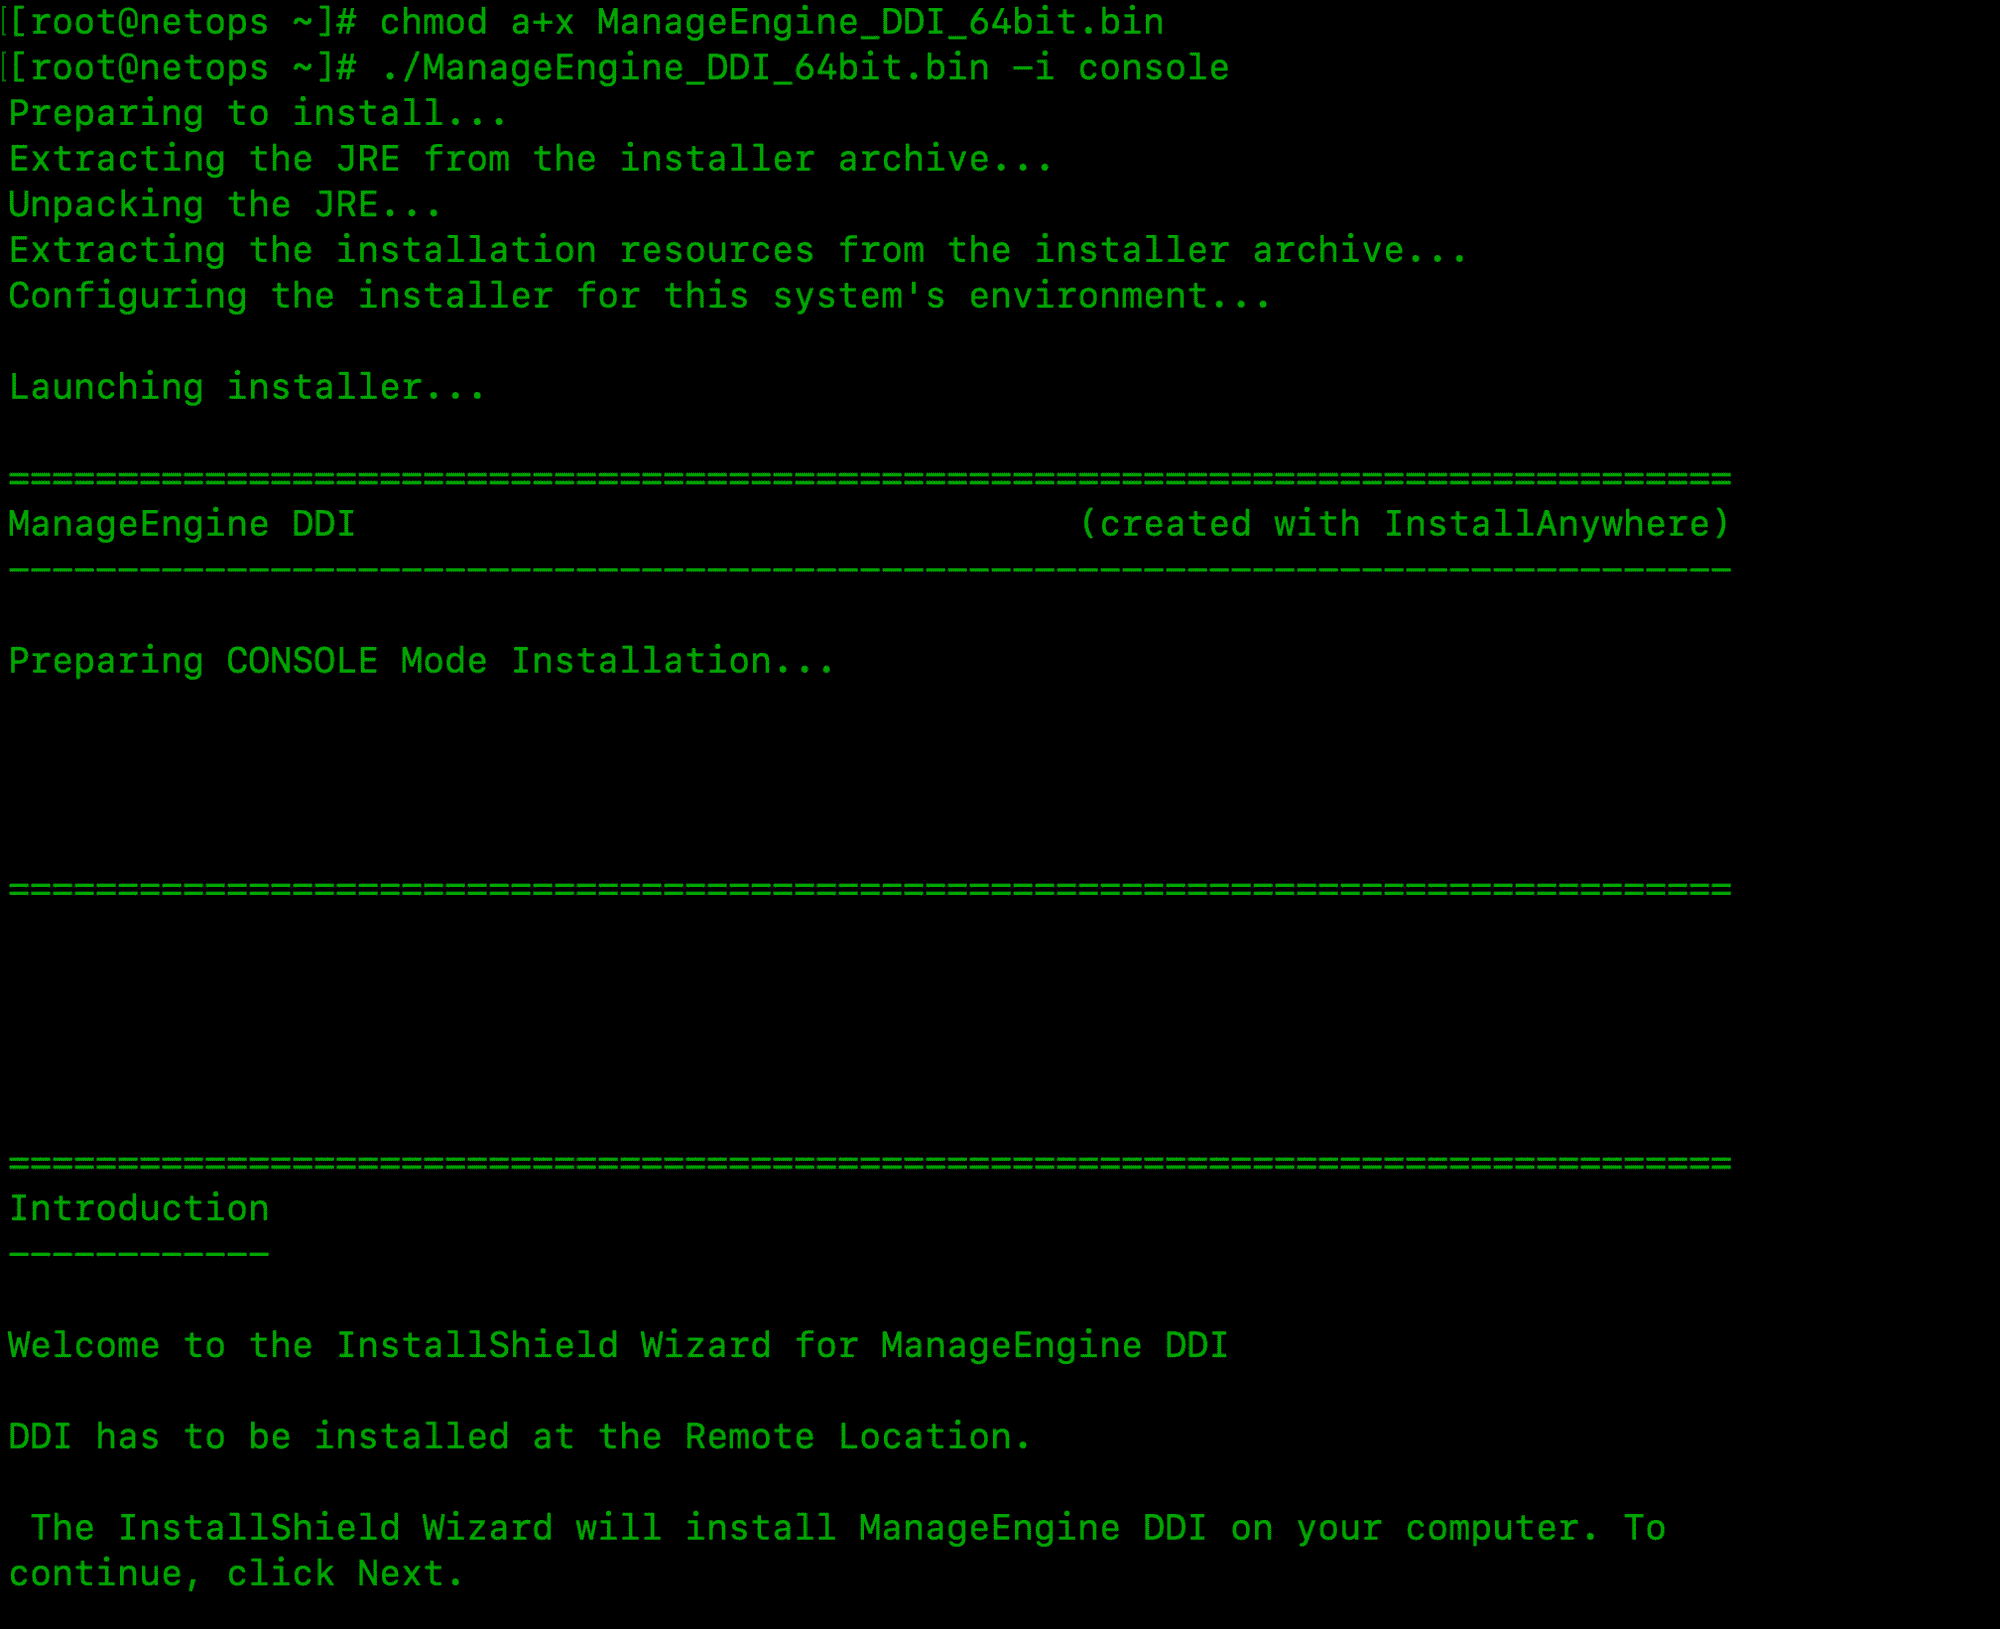
Follow the instructions as they appear on the screen to successfully install DDI Central Management UI Console (ddiconsole.bin) on to any remote machine. This is a quick walk-through of the console mode installation of DDI on a Linux box - an easy thing to do if you are working on a Windows box and want to install on a remote Linux system.
Step 1:Execute the binary with administrator privileges (sudo) and -i consoleoption.
Step 2:Go through the license agreement and enter 'Y' to proceed. You can register for technical support by providing the required details. (Name, E-mail ID, Phone, Company Name).
Step 3:Select the location
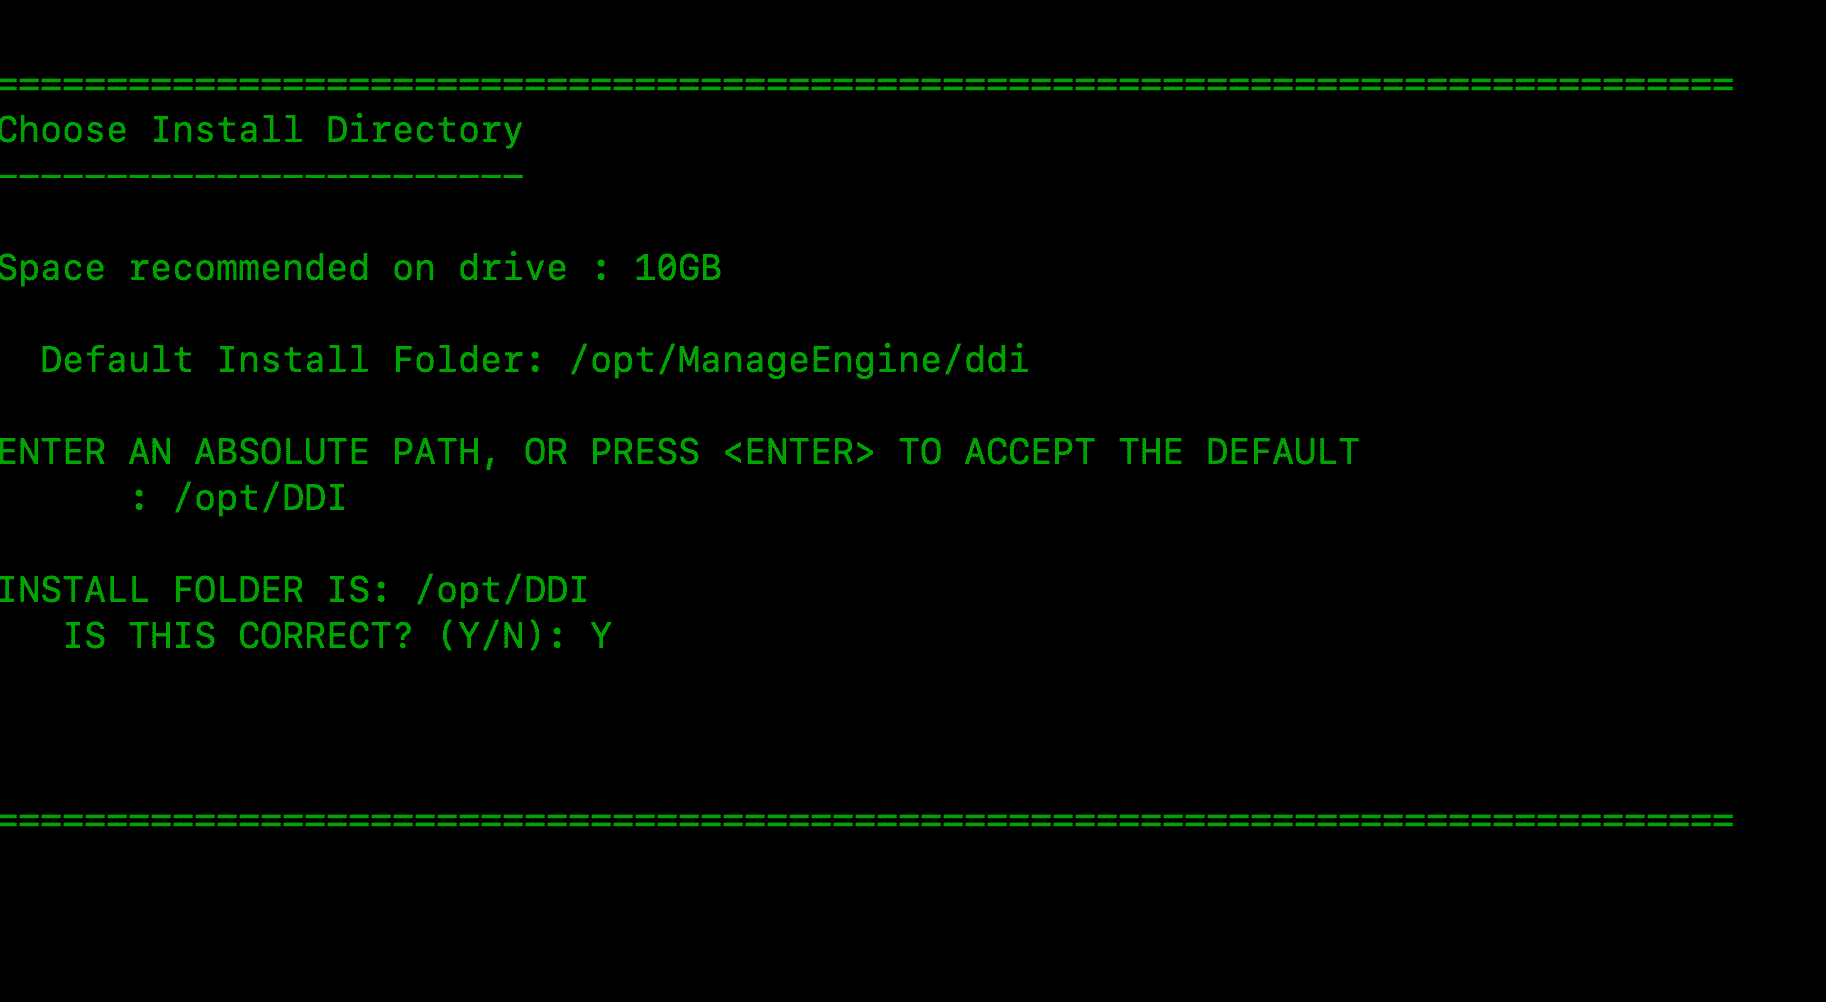
Step 4:Choose the installation directory
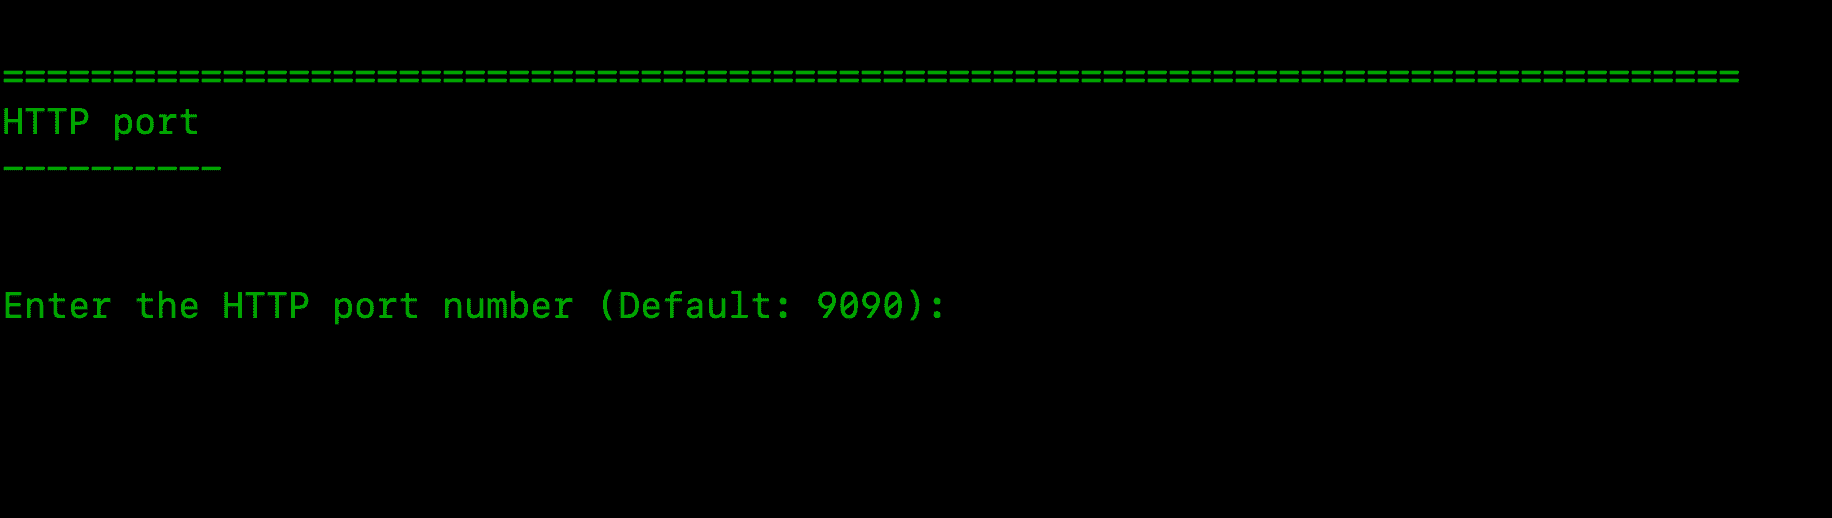
Step 5:Configure the Webserver and Listener Ports.
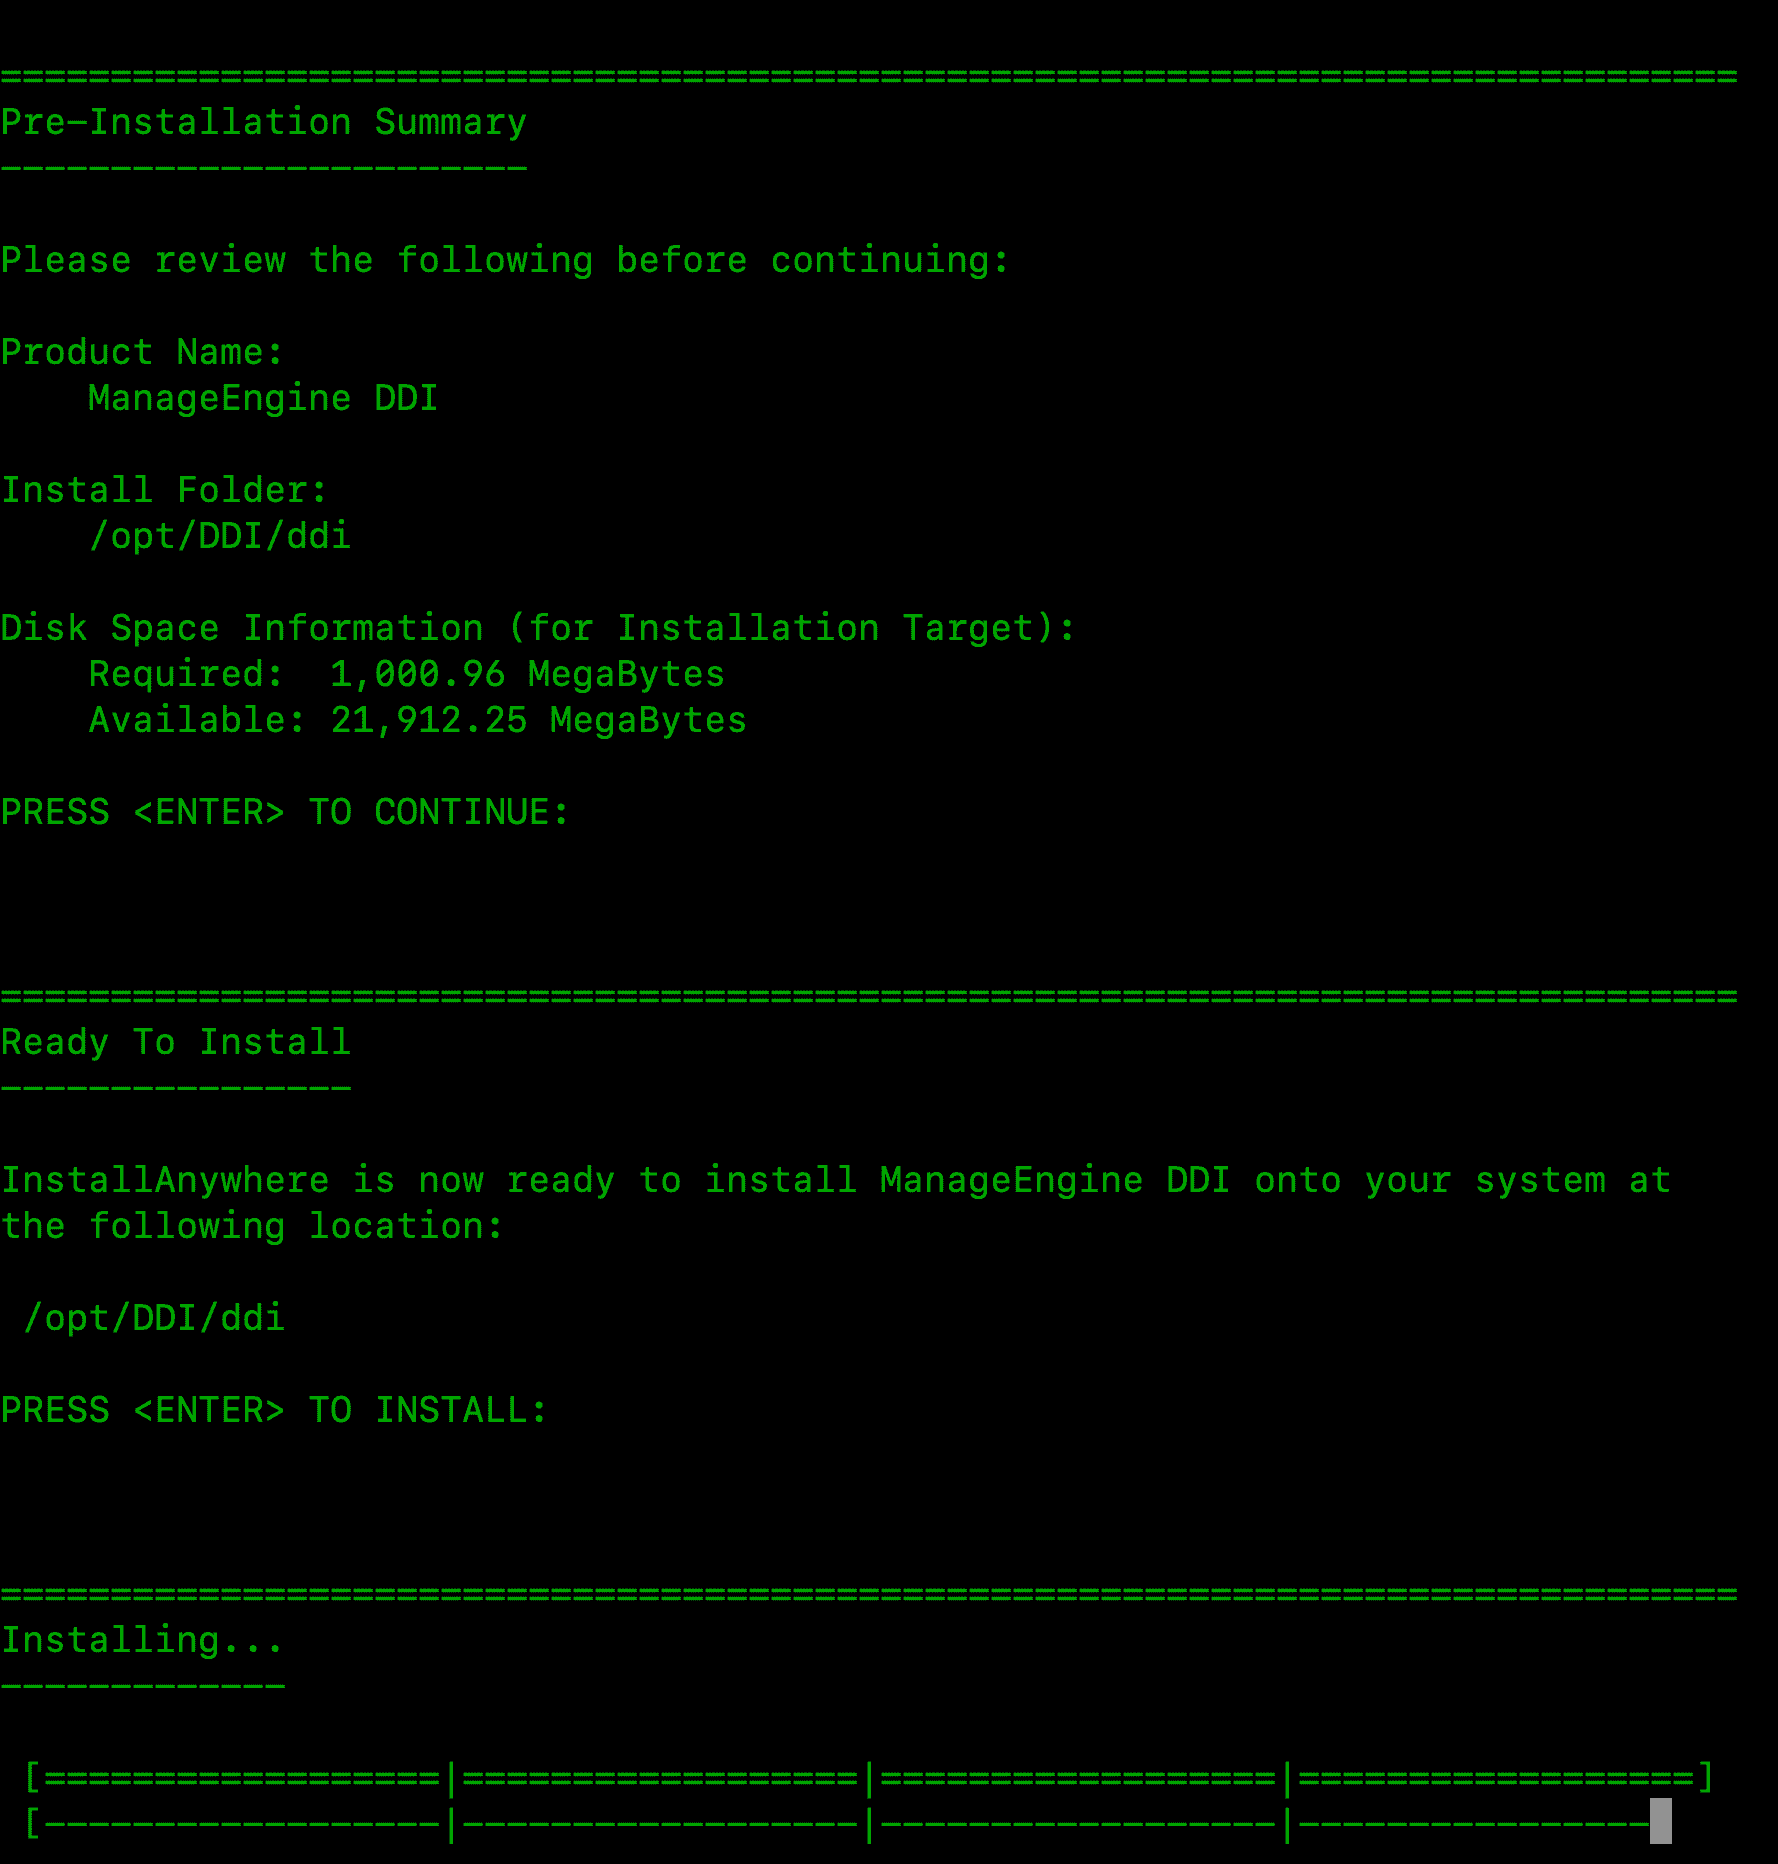
Step 6:Verify the installation details and press 'Enter' to complete the installation.
i.e
During installation if you get an error message stating that the temp folder does not have enough space, try executing this command with the -is:tempdiroption, where is the absolute path of an existing directory.
./ManageEngine_DDI_xxxx.bin -is:tempdirFor non-x11 machines, use the following command:
./ManageEngine_DDIr_xxxx.bin -i console
Starting DDI Central
Once the ManageEngine DDI Central installation is completed, you can start the service by executing following command on your linux box
systemctl start DDI
To check whether service is started, execute the following command:
systemctl status DDI
After ensuring service is started successfully, you can connect the web client using both http and https as follows
http://server_ip:9090
https://server_ip:9443
Accessing the Web Client
Once the service has successfully started, follow the steps below to access DDI Central.
- Open a supported web browser window
- Type the URL address as http://DDI_ConsoleServer_IP:9090(where DDI Console Server is the name of the machine on which DDI Console Server is running, and 9090 is the default web server port)
- Log in to DDI using the default username/password combination of admin/admin
Licensing information
Professional Edition
Manage 2 DNS Cluster (6 DNS servers max), 2 DHCP Cluster (4 DHCP servers max), 3 NTP servers, 15 DNS Zones, 15 IP Subnet, 5 Monitors, 2 Admin/Operator Users, and IPAM. Includes advanced feature like Domain Blocking, DHCP Fingerprinting, Audit, Query Analytics, DNS and DHCP Anomaly detection, In-Built + Remote Database Configuration, and more. However, DNS Threat Intelligence + DNS Detection and Response (DDR) and Management UI Console Failover-Hot Standby Engine features can be purchased as add-ons.
Enterprise Edition
Manage 5 DNS Cluster (15 DNS servers max), 5 DHCP Cluster (10 DHCP servers max), 5 NTP servers, 100 DNS Zones, 100 IP Subnet, 5 Admin/Operator Users, and IPAM. In this edition, all the features and enhancements are available, and therefore no limitations.
- Log in to the DDI Central web client
- Click Admin logo/icon in the top right corner of the web client.
- Click the Register link present in that pop-up page.
- In the License window that opens up, browse for the new license file and select it.
- Click Register to apply for the new license file
License components in DDI Central
Clusters in ManageEngine DDI Central
Clusters are logical groupings of servers - DNS, DHCP or both organized for identification and administrative purposes. These clusters operate independently of other clusters configured within DDI Central. Each cluster you add has its own internalized IP address plans, IP inventory, IP Address Manager, DNS manager and DHCP manager.
A single cluster can accommodate any number of DNS servers and DHCP servers. However, ManageEngine DDI Central enables you to add only one Primary DHCP server for each cluster and the rest of DHCP servers act secondary servers configured under DHCP failover configurations.
Professional Plan:
The Professional plan provides 2 DNS clusters (6 DNS servers max) and 2 DHCP clusters (4 DHCP servers max). This way you can add up to six DNS servers and four DHCP servers in total.
You can purchase DNS Threat Intelligence + DNS Detection and Response (DDR) and Management UI Console Failover-Hot Standby Engine as add-ons.
You have the flexibility to organize these servers by grouping them into a single cluster or by creating multiple clusters. You can configure the clusters in any combination that suits your needs, with no limit on the number of clusters. Each cluster you create in DDI Central comes with an internalized IPAM enabling you to manage a separate dual stack IP address spaces for that cluster. In addition to this, you can also manage 15 DNS Zones, 15 IP Subnets, and onboard two Admin/ Operator users with relevant access permissions.
Enterprise Plan:
The Enterprise plan includes 5 DNS cluster (15 DNS servers max) and 5 DHCP cluster (10 DHCP servers max).. This edition does not have any limitations, you can access all the features and enhancements of DDI Central.
These servers can be grouped together within a single cluster or distributed across multiple clusters in any combination as per your preference. There is no restriction on the number of clusters you can create and each cluster comes with an internalized IPAM that enables you to manage exclusive dual stack IP address spaces (IPv4 and IPv6) for the cluster. Along with this, you can manage 100 DNS Zones, 100 IP Subnet, and onboard 5 Admin/Operator users.
Note: You can also purchase additional DNS clusters, DHCP clusters, subnets, zones, and users as add-ons. Please refer the ManageEngine Store page to check the prices of DDI Central add-ons.
Once installed, DDI Central runs in evaluation mode for 30 days. You can obtain a registered license for DDI Central at any time during the evaluation period by contacting DDI Central Support. If you have not upgraded to the Licensed Edition by the end of the evaluation period, DDI Central evaluation license expires and you will have only read-only access.
Upgrading your license
After obtaining the new license from ZOHO Corp, save it on your computer, and follow the steps below to upgrade your DDI Central installation:
Note: You can configure self-signed SSL certificate for DDI Central Linux, to enable secure HTTPS access to the application.