Advanced Reports
Advanced reports allows you to create customized reports that cover multiple metric categories (availability, inventory, configuration and performance metrics) from monitors of various resources types. You can create reports based on various monitoring parameters from different monitor types and customize them by configuring various criteria to display data and generate reports accordingly.
To create a new Advanced Report, follow the steps given below:
- Go to Settings → Reporting and click on Advanced Reports. Alternatively, you can access the same under the dropdown next to the Reports tab.
- From Applications Manager v180200 onwards, Advanced Reports can be accessed by expanding OVERVIEW from the left side pane and then clicking Custom Reports → Advanced Reports from the Reports tab.
- Click on Create New Report button available on the top right corner. New advanced reports configuration page will appear.
- Specify the required Name and Description for the report to be created.
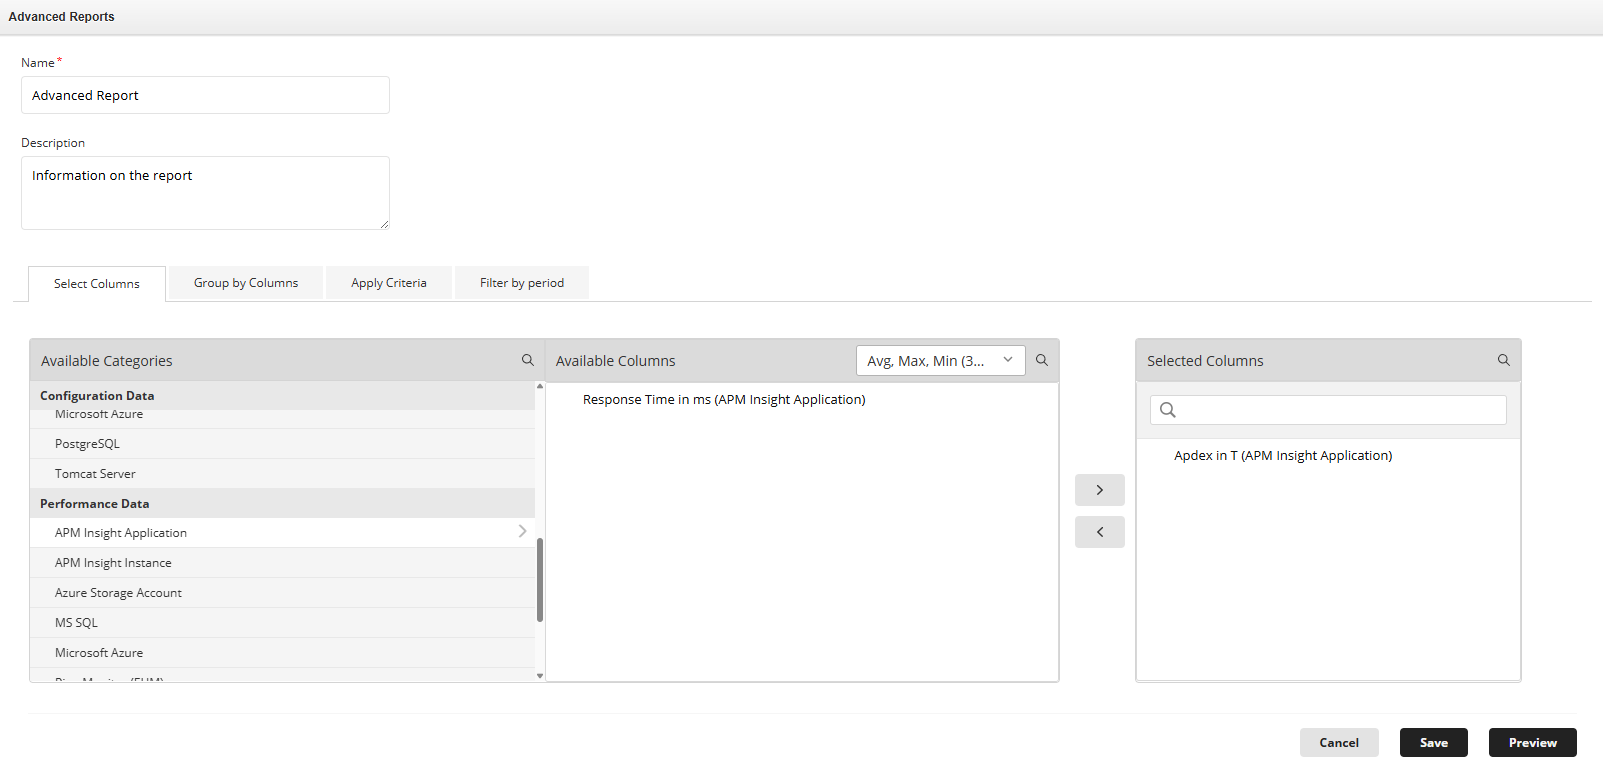
In the Select Columns tab, you will find the complete list of parameter categories and their corresponding metrics that are available for generating reports (under Available Monitors section), and are broadly classified into three types - General, Configuration Data, and Performance Data. Upon selecting the parameter category, choose the required metrics (from the Available Columns section) for which data is to be shown and move them to the Selected Columns section.
- By default, selecting a Performance Data column generates three sub-columns for Min, Max, and Avg. values of the required metric. From Applications Manager v180200 onwards, you can customize the generated sub-columns based on your requirement and configure Avg, Max, Min, and the newly-supported 95th Percentile. This option is present in the Available Columns section.
Note: The Custom Fields category under Advanced Reports is supported starting from Applications Manager version 176700. Refer to this KB to learn more about Custom Fields behavior and special cases.
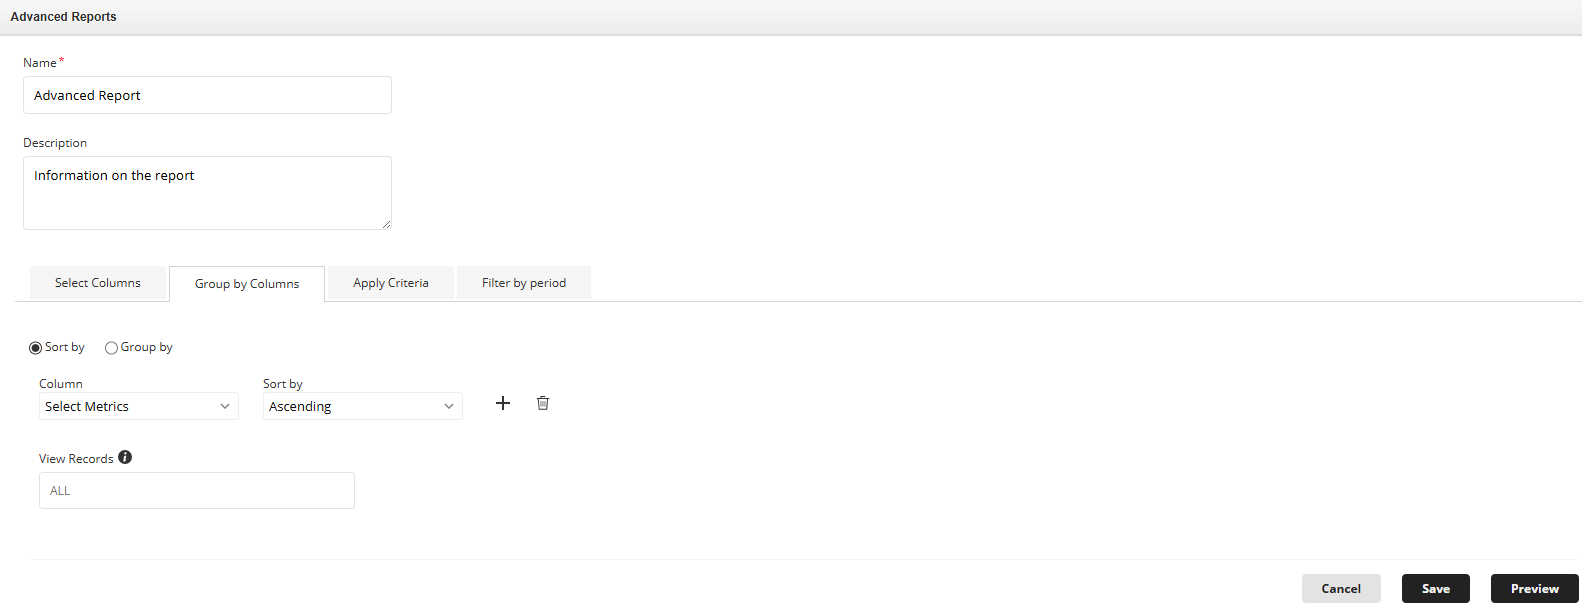
In the Group by Columns tab, select a metric for which you want to group and sort the column elements in the report, if required. You can specify the sorting criteria for a maximum of two metric columns in the report.
- From Applications Manager v180200 onwards, the Group by Columns tab includes an additional Sort by option along with the existing Group by functionality. You can choose either option based on your reporting requirements.
- When using the Sort by option, you can also use the View Records setting to limit the number of rows displayed in the report.
Note: Metrics selected from the Availability and Performance Data categories will not be listed in this tab.
In the Apply Criteria tab, specify the criteria for the selected metric columns based on which report needs to be generated. You can add multiple criteria for all the selected metric columns, if required. You can use AND or OR to combine multiple criteria in the Criteria Pattern input field for filtering.
Note: The Apply Criteria tab does not support the following columns:
- Inventory columns:
- Creation time
- Credential manager name
- IP Address
- Monitor groups
- RCA message
- Performance Metrics
- Inventory columns:
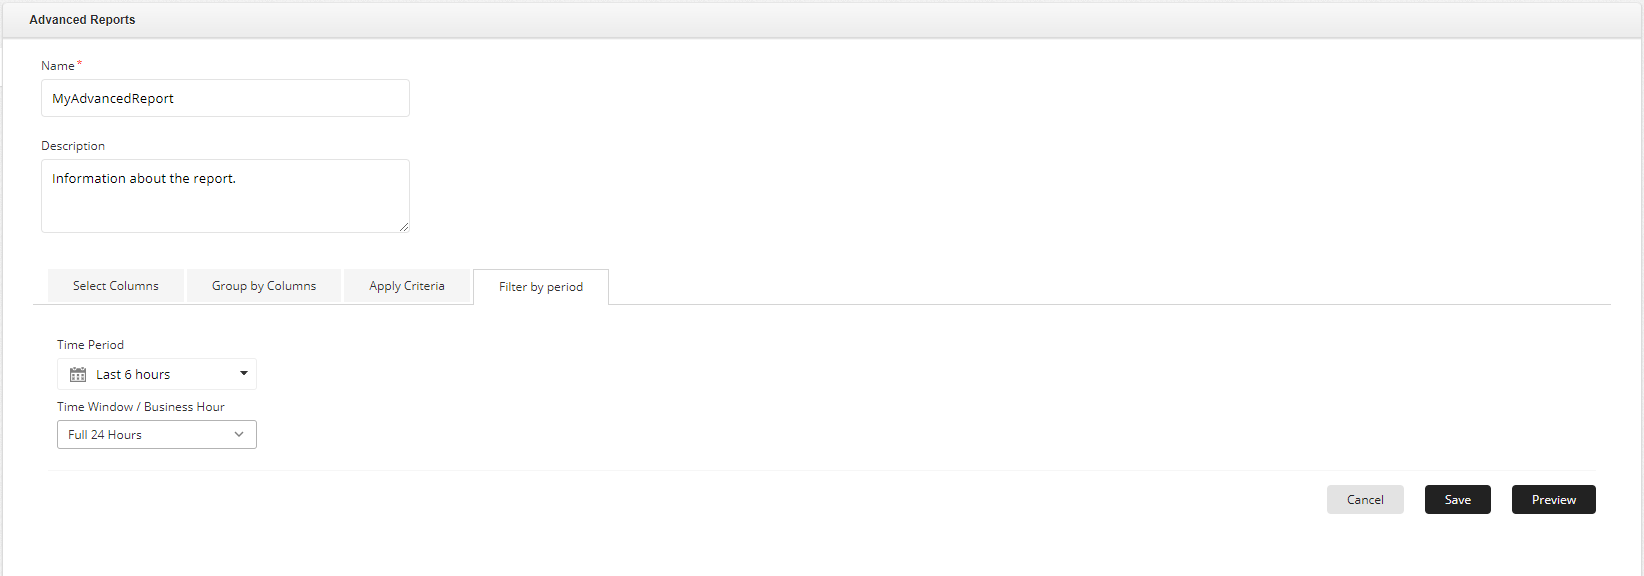
For metric columns selected from the Availability and Performance Data categories, a new tab named Filter by Period appears. In this tab, specify the Time Period and Time Window / Business Hour based on which data needs to be shown for the selected columns in the report.
- Once the configurations are done, click on Preview button located at the bottom right corner to display a preview of the report to be generated. You can click on Edit button to return to the previous page in case you need to make additional changes to the report configuration.
- Finally, click on Save to finish adding the report.
Upon saving, the report will be generated and stored, and can be viewed by clicking on the report name in the Advanced Reports page. You can choose to export and download the required report in PDF/Excel format as well as create a copy of the required report using the Copy Report option. You can also select and delete the required reports using the Delete button.
Note:
- For Applications Manager Plugin users, Advanced Reports can be generated directly from OpManager setup by selecting Applications under Module Type dropdown. Learn how to generate Advanced Reports with OpManager
- Advanced Reports is available only for users with Administrator role.
- Advanced Reports will not be available in Schedule Reports for plugin build, but can be configured in Scheduled reports of Opmanager.
- The saved Advanced reports can be scheduled from Schedule report page. Refer to know more about creating new Schedule report.
Enhancements in Advanced Reports
The following section outlines the enhancements implemented in Advanced Reports across various releases:
| Release Version | Enhancements |
|---|---|
| 17.96.00 | • All Windows monitor types are grouped as a single Windows category in Available Categories under Performance Data. • Product Downtime % is supported under the Availability category. • Display Name, Monitor Type, and Monitor Category are supported by default in Apply Criteria, regardless of selection. • Multi-select support added for prepopulated values in Apply Criteria. • Is Empty and Is Not Empty operators are now supported in Apply Criteria. |
| 17.67.00 | Support added for Custom Fields category in Advanced Reports. Refer to the Advanced Reports - Custom Fields Category KB to learn more about Custom Fields behavior and special cases. |
| 18.02.00 |
|