
Trello is a visual collaboration tool that helps individuals and teams organize tasks, projects, and workflows using customizable boards, lists, and cards. Designed with simplicity and flexibility in mind, Trello allows users to track progress, assign tasks, set deadlines, and integrate with various third-party apps, making it ideal for everything from agile project management to personal to-do lists.
By integrating Trello with ManageEngine Identity360, you can enable the following life cycle management capabilities:
Import user objects, boards, and workspaces from Trello into Identity360. Note: Only user data is imported from Trello to Identity360. Because Trello's API isn't exposed, users will not be created automatically. During the directory sync review process, users must be linked to their existing Identity360 accounts manually.
Provision and modify users' account attributes across enterprise applications based on their profile changes in Identity360. Provisioning and orchestration eases onboarding and life cycle management, boosting productivity and efficiency.
Manage the job information of users in Trello from the Identity360 portal. Enforce least privilege and reduce security risks by granting users only the necessary permissions they need to perform their jobs.
The following steps will help you configure the supported life cycle management capabilities for Trello from Identity360.
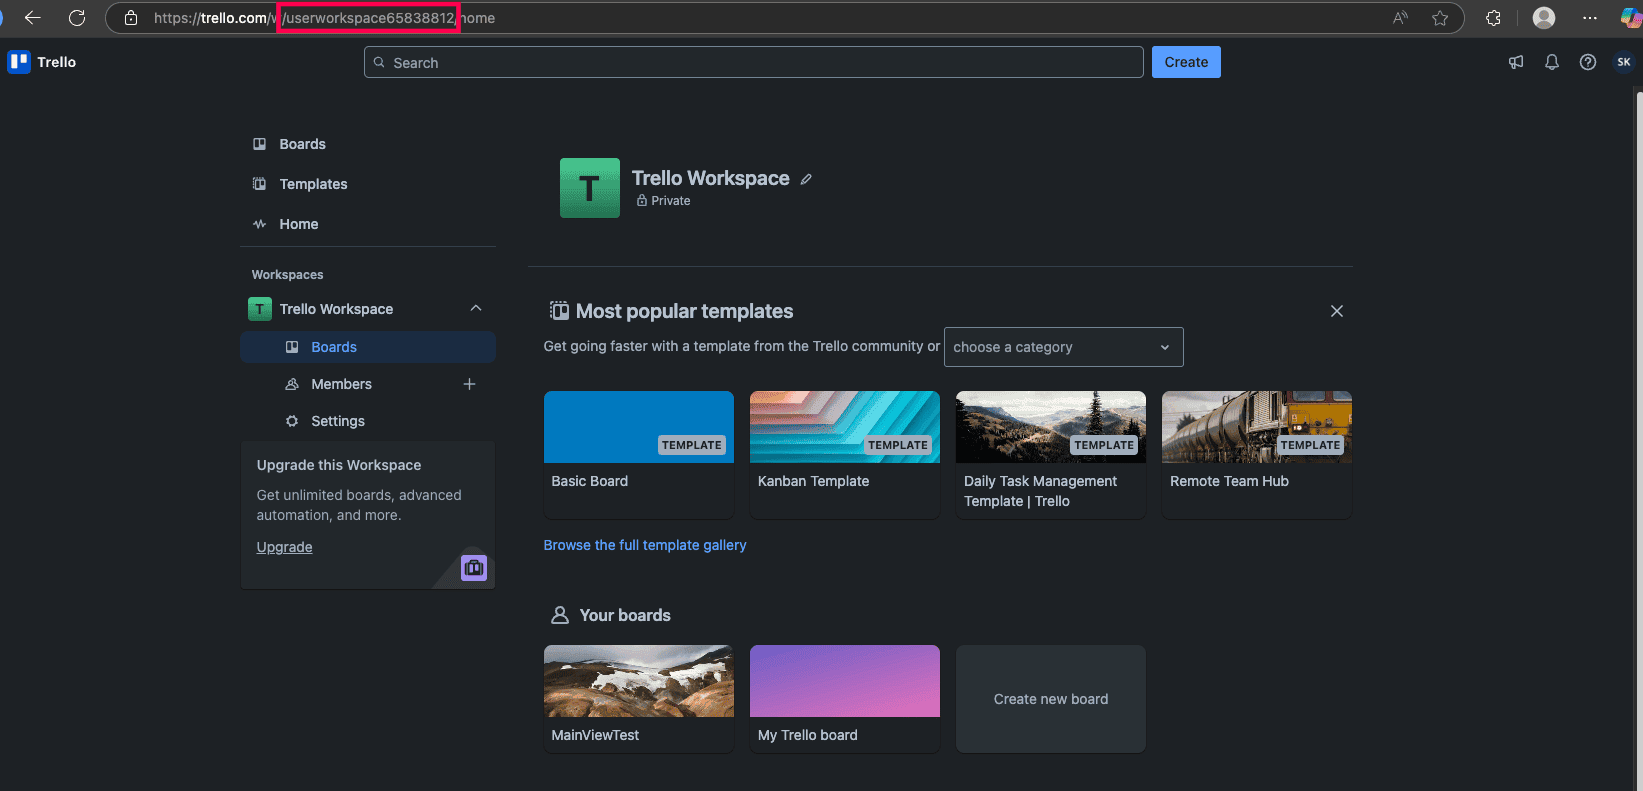 Trello portal view.
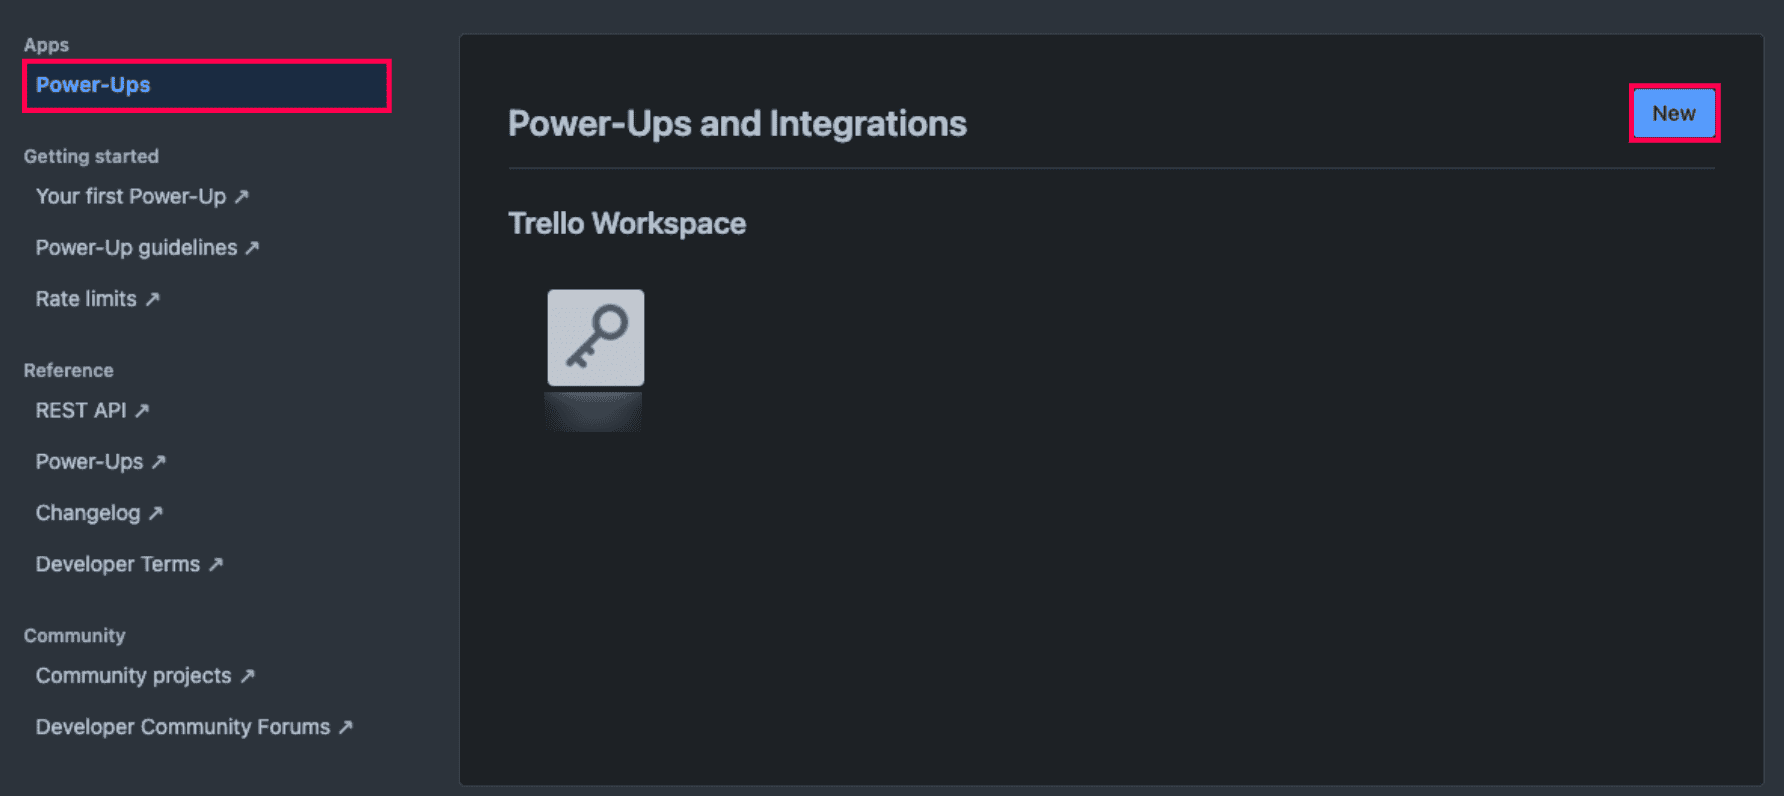 Trello Power-Ups and Integration.
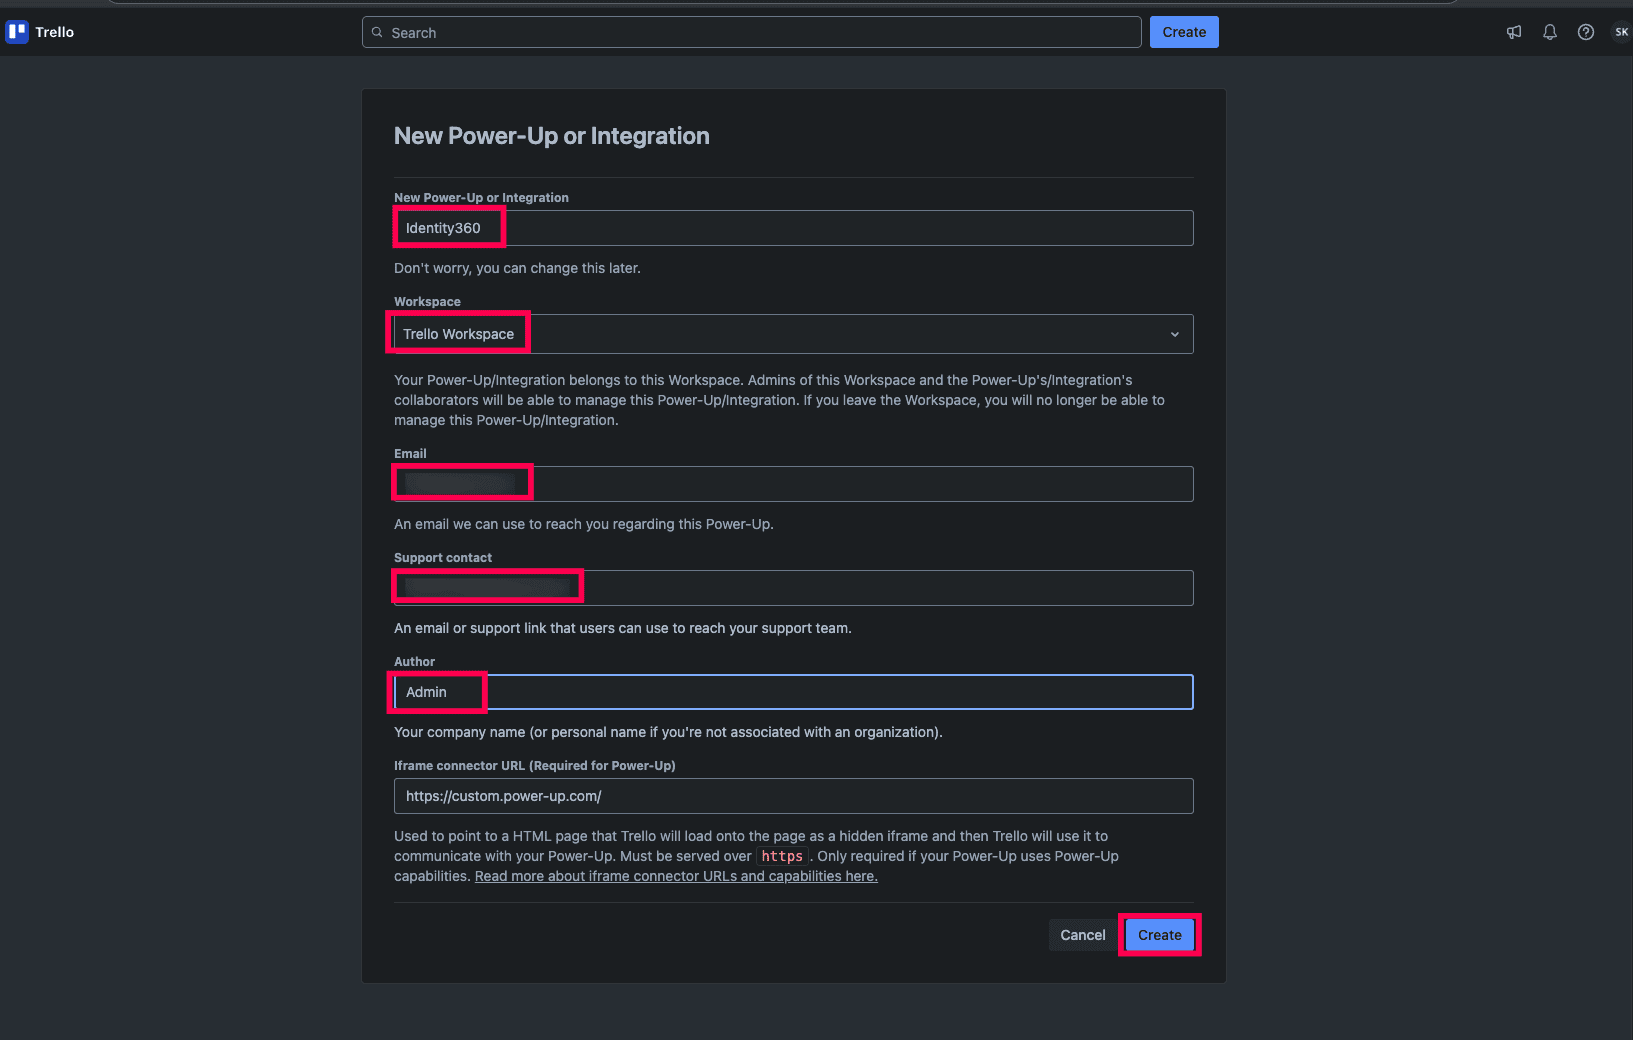 Configuring Trello integration.
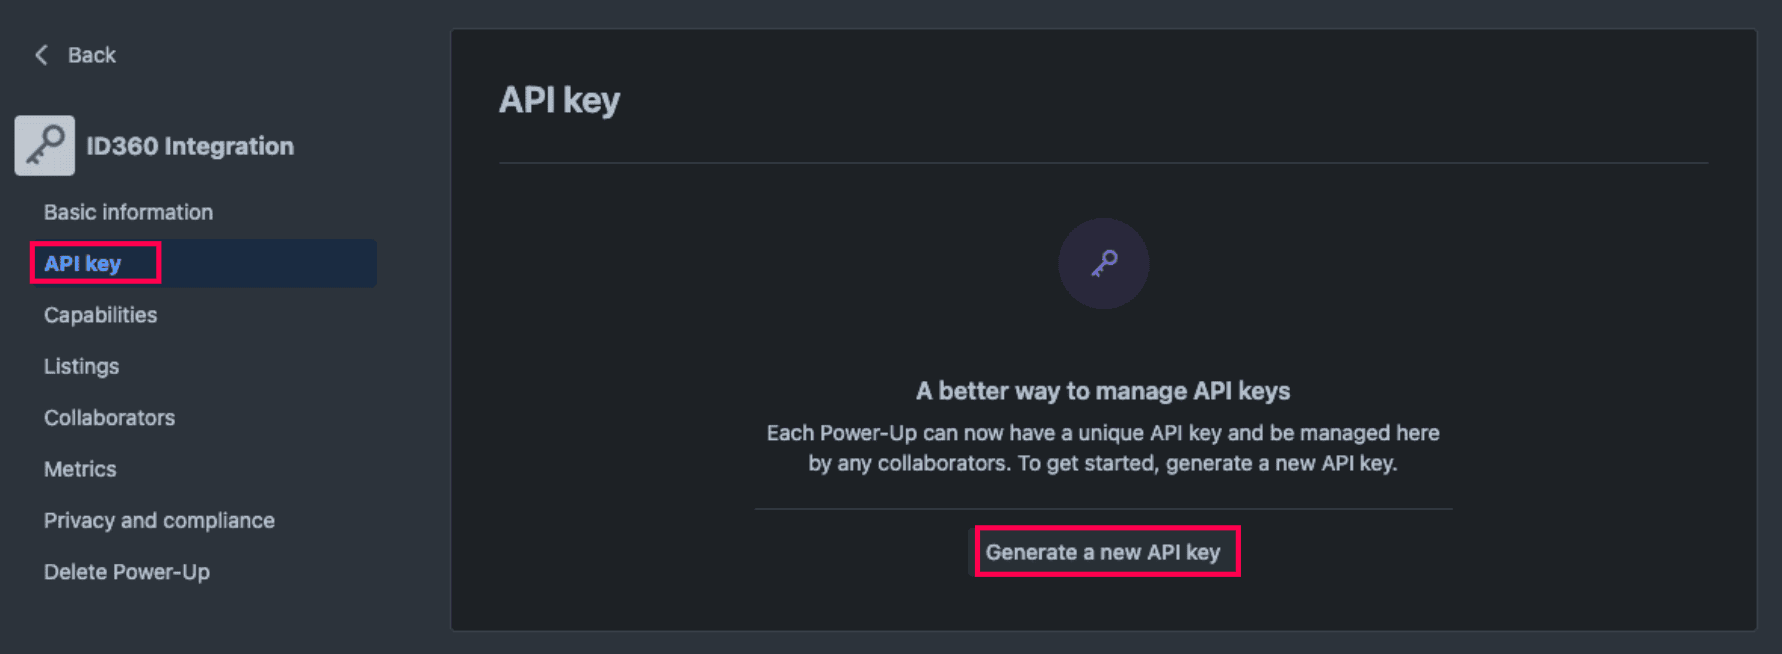 Trello API key generation.
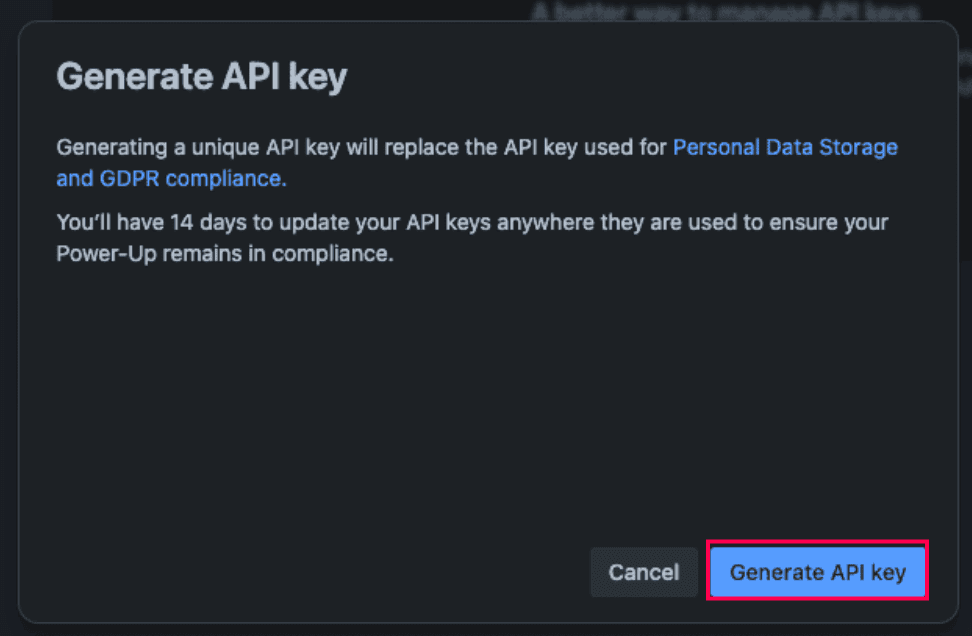 Generating a Trello API key.
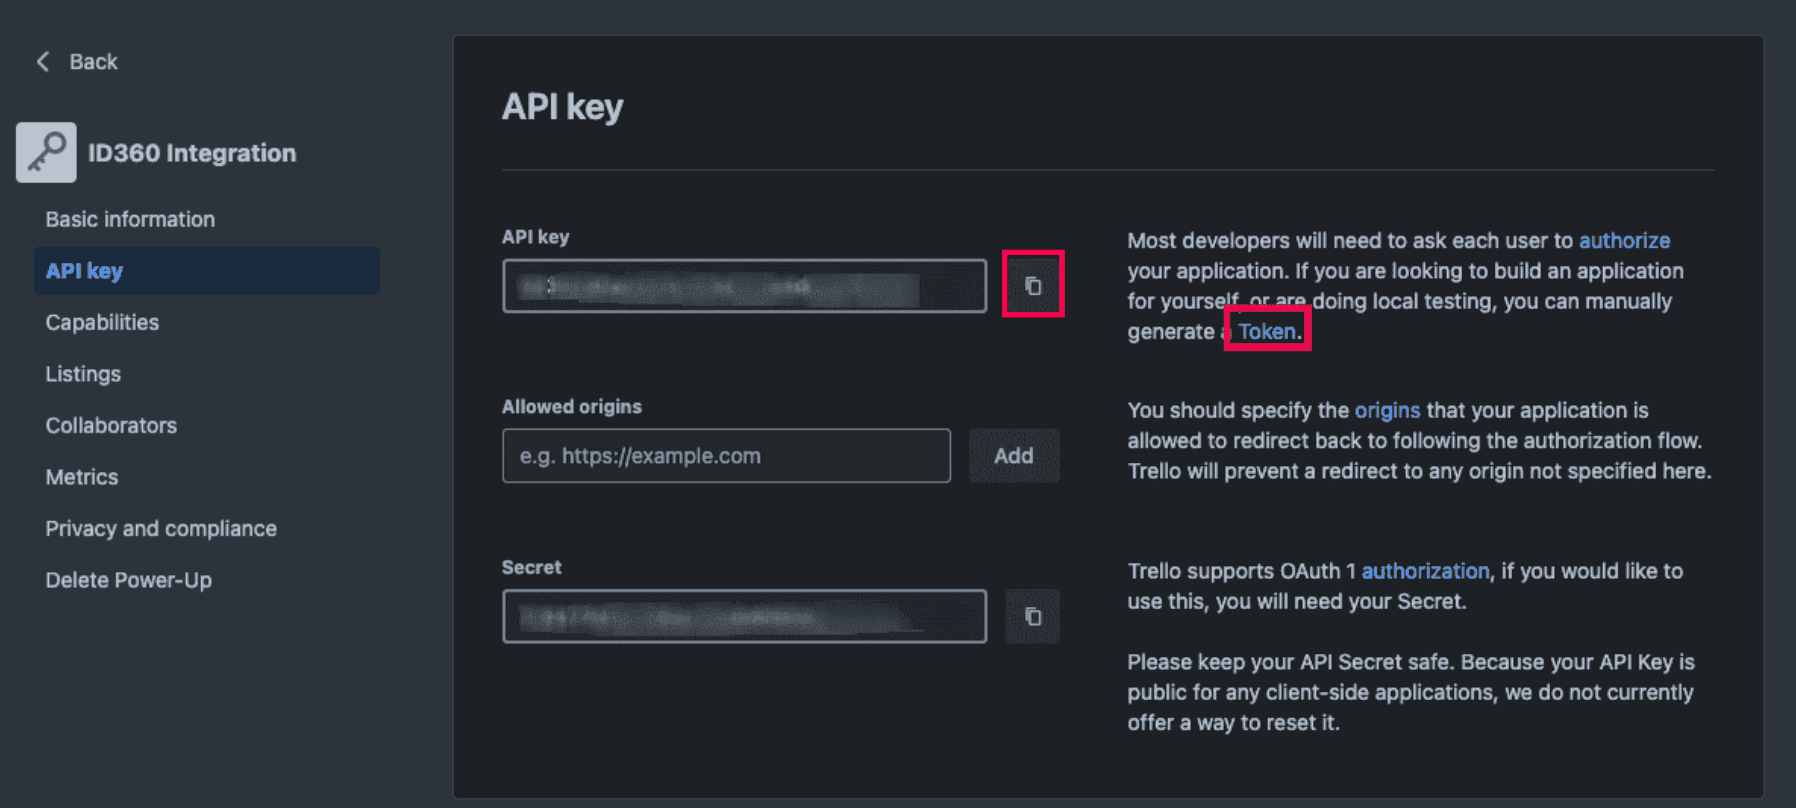 Copying Trello API key.
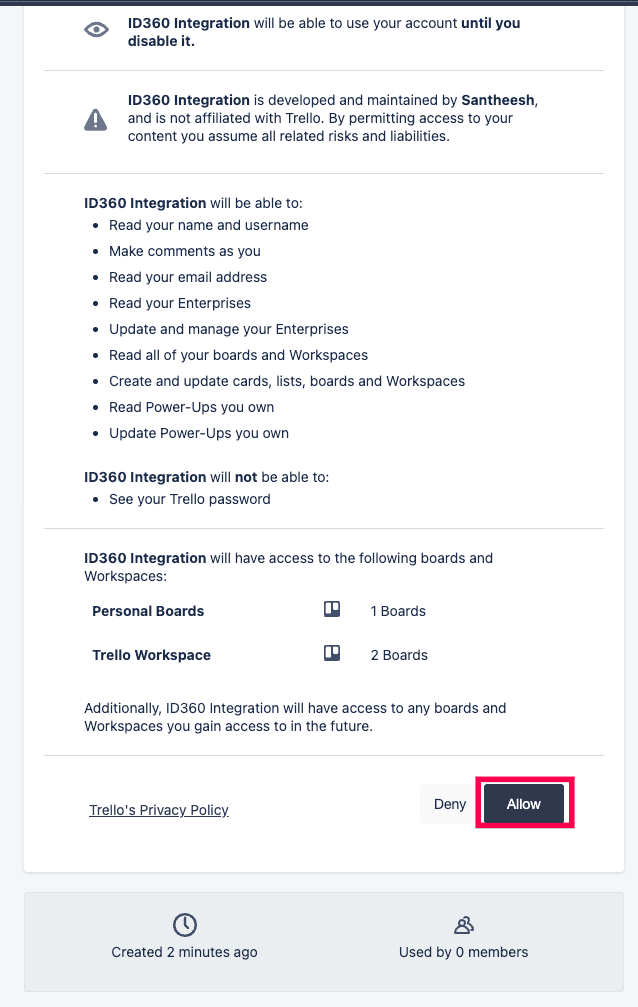 Trello permissions granted to Identity360.
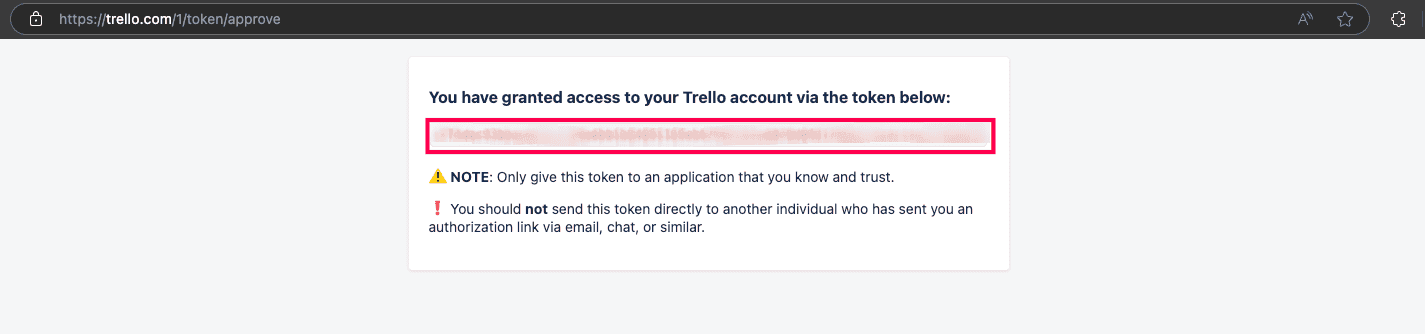 Copying Trello API token.
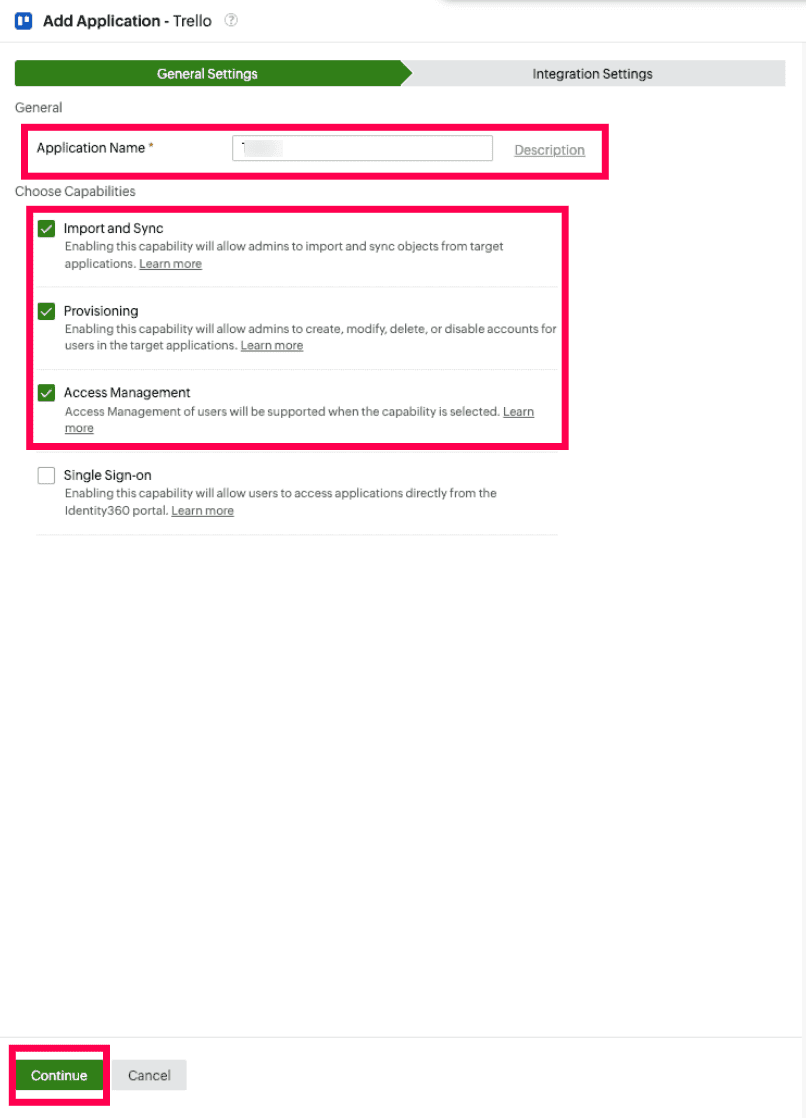 General settings for Trello application configuration.
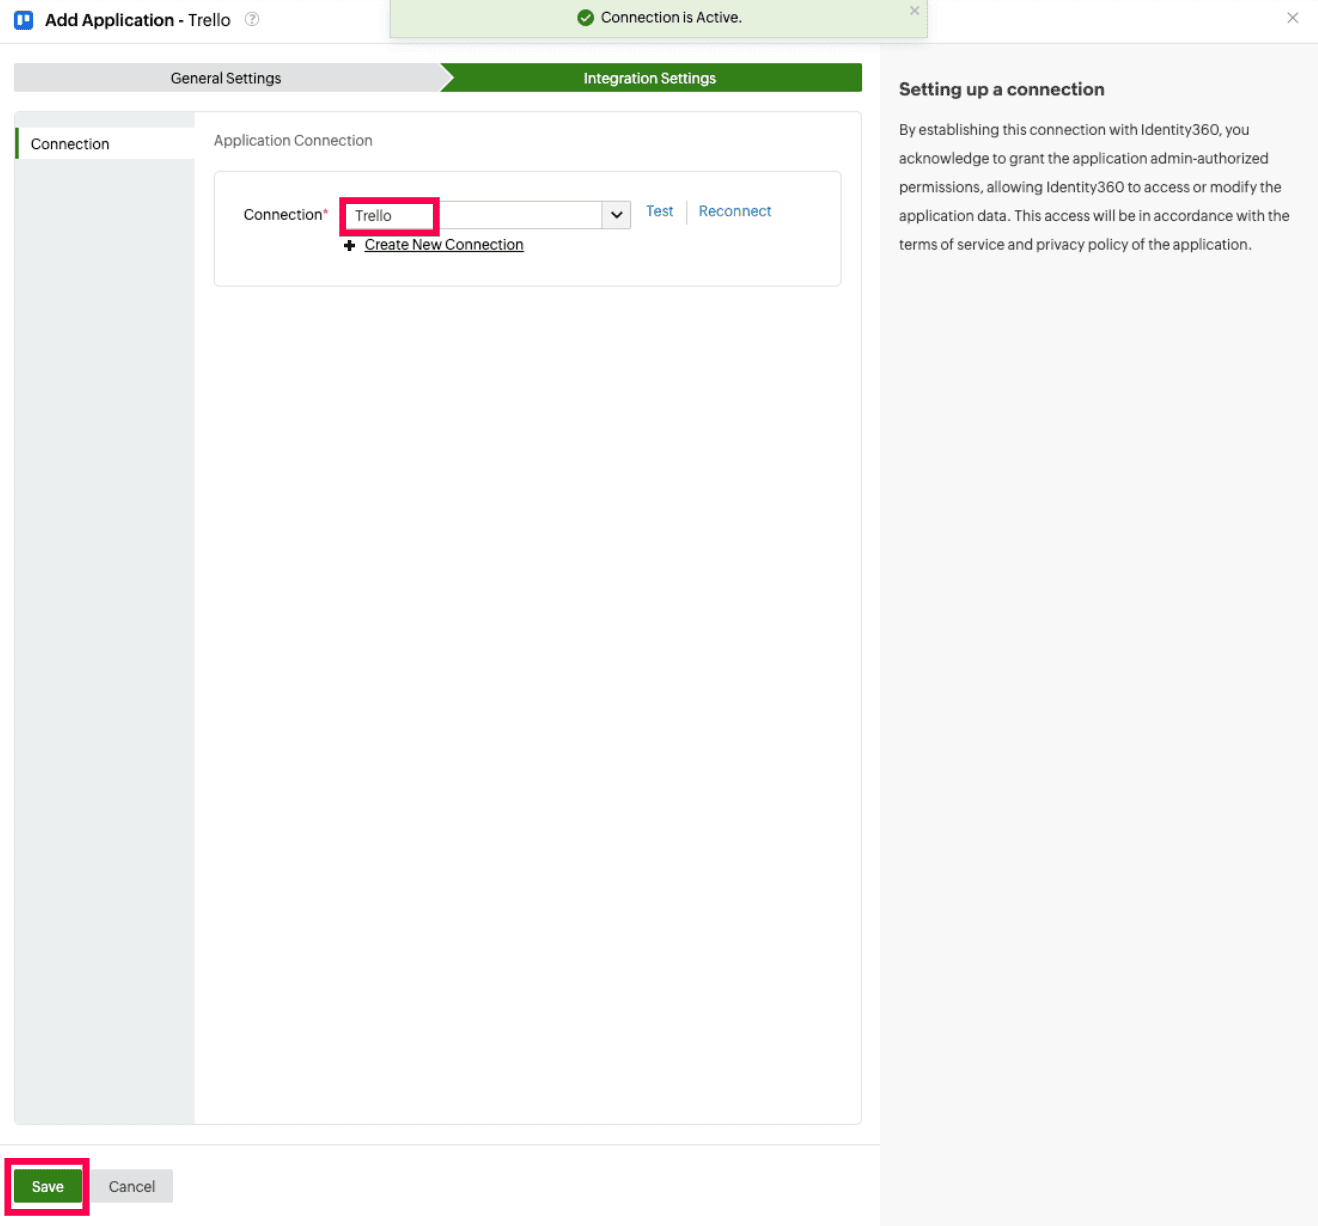 Selecting a connection for Trello.
An application connection is a link established between Identity360 and Trello to automate the process of syncing, creating, or updating user accounts in Trello. This ensures that user accounts, departments, divisions, locations, and job titles are consistently managed and synchronized between Identity360 and Trello.
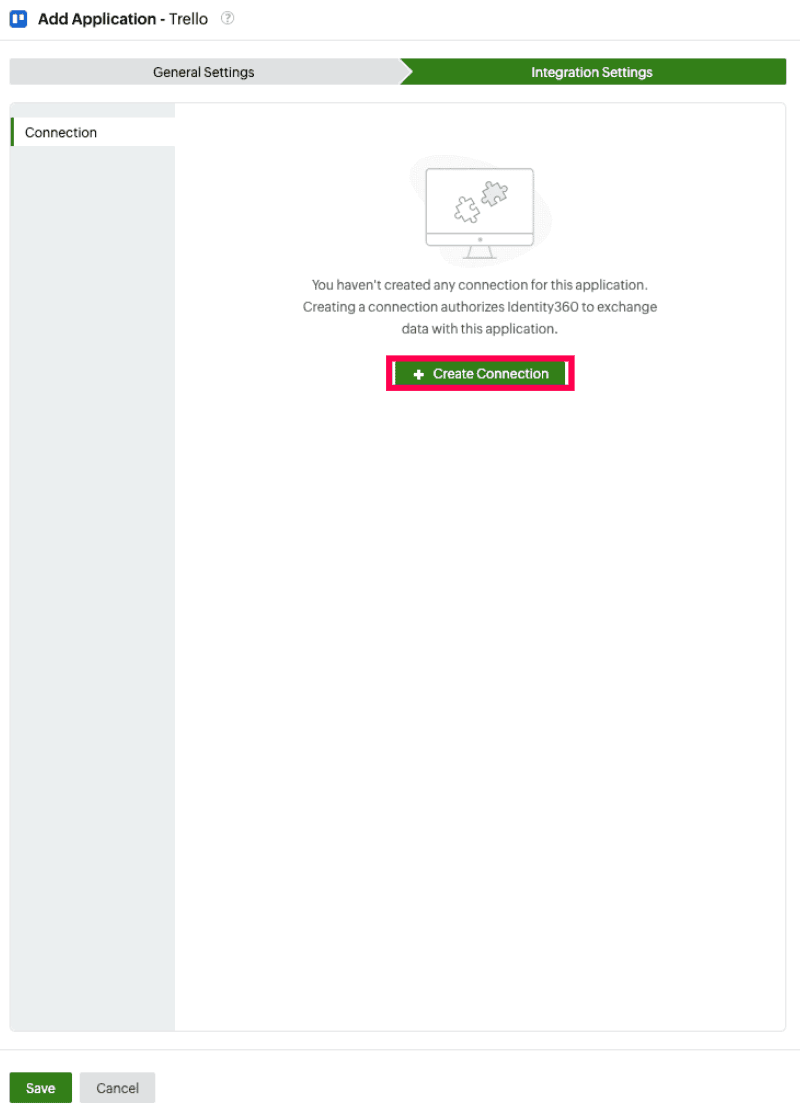 Creating a new connection for Trello.
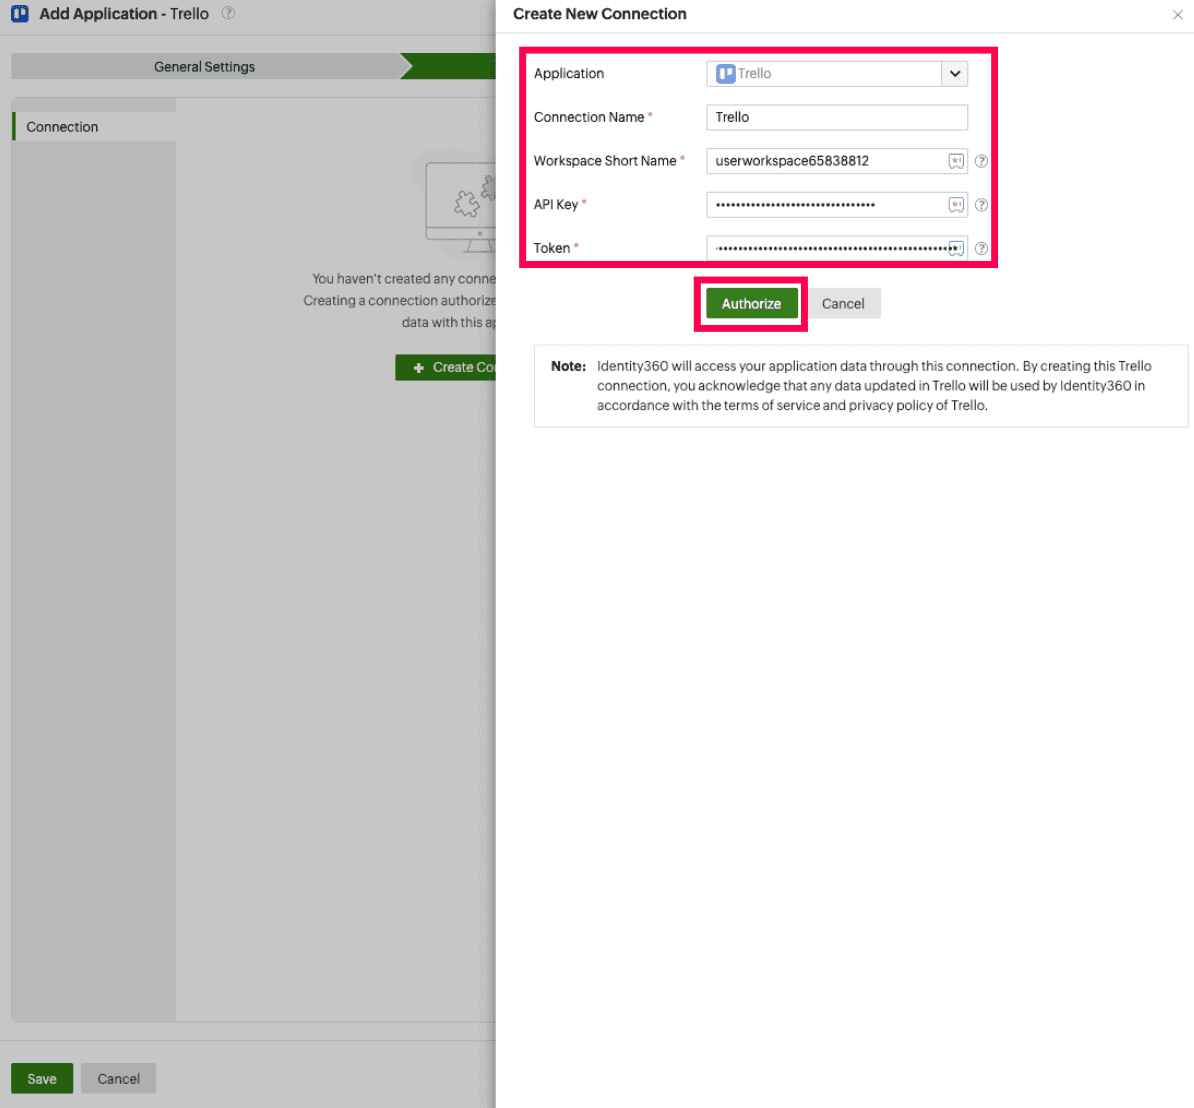 Configuring a new connection for Trello.
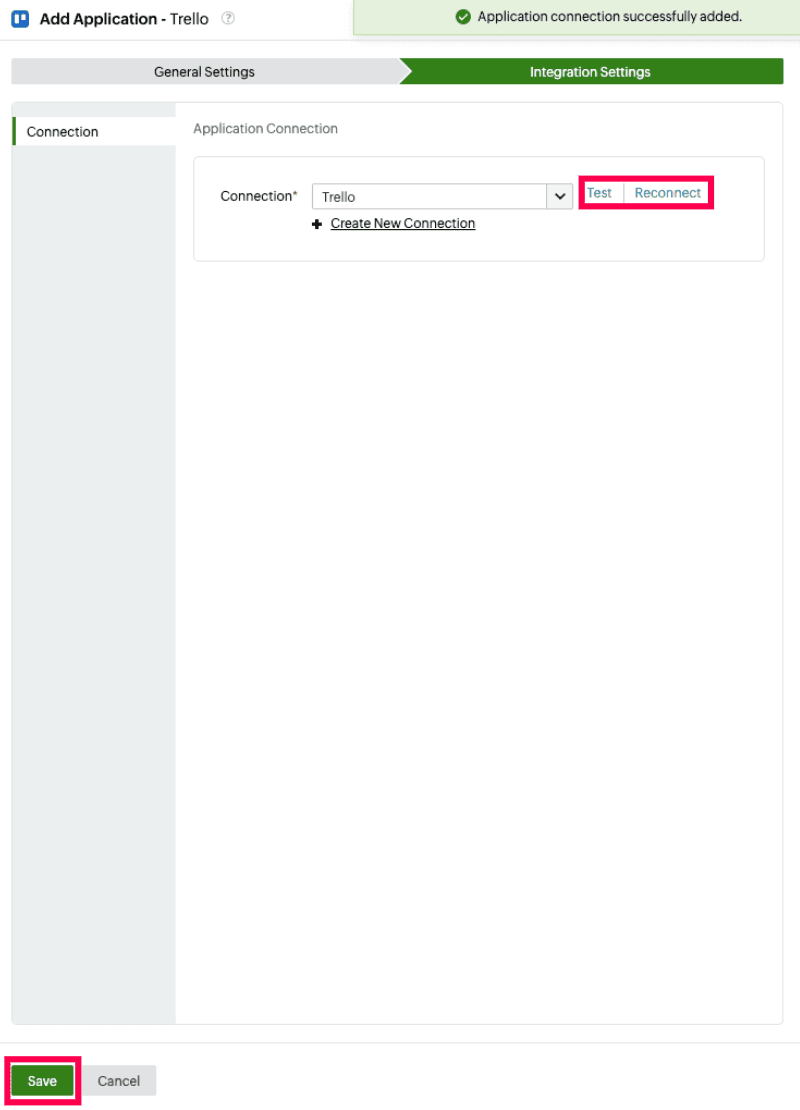 Testing the connection to Trello.
You have now successfully configured provisioning for Trello, ensuring that user accounts are provisioned and synced to the application automatically.