Creating and managing roles
Last updated on:
In this page
Overview
Roles define the set of permissions assigned to a user or a group of users in the product console. They determine what actions a user can perform and what data they can access. By creating and managing roles effectively, you can ensure that each user has the appropriate level of access, maintaining both operational efficiency and data security. This page elaborates on how to create new roles and manage existing ones.
Creating a role
- In your account, navigate to the Settings tab.
- Under Admin Settings, select Technicians and Roles.
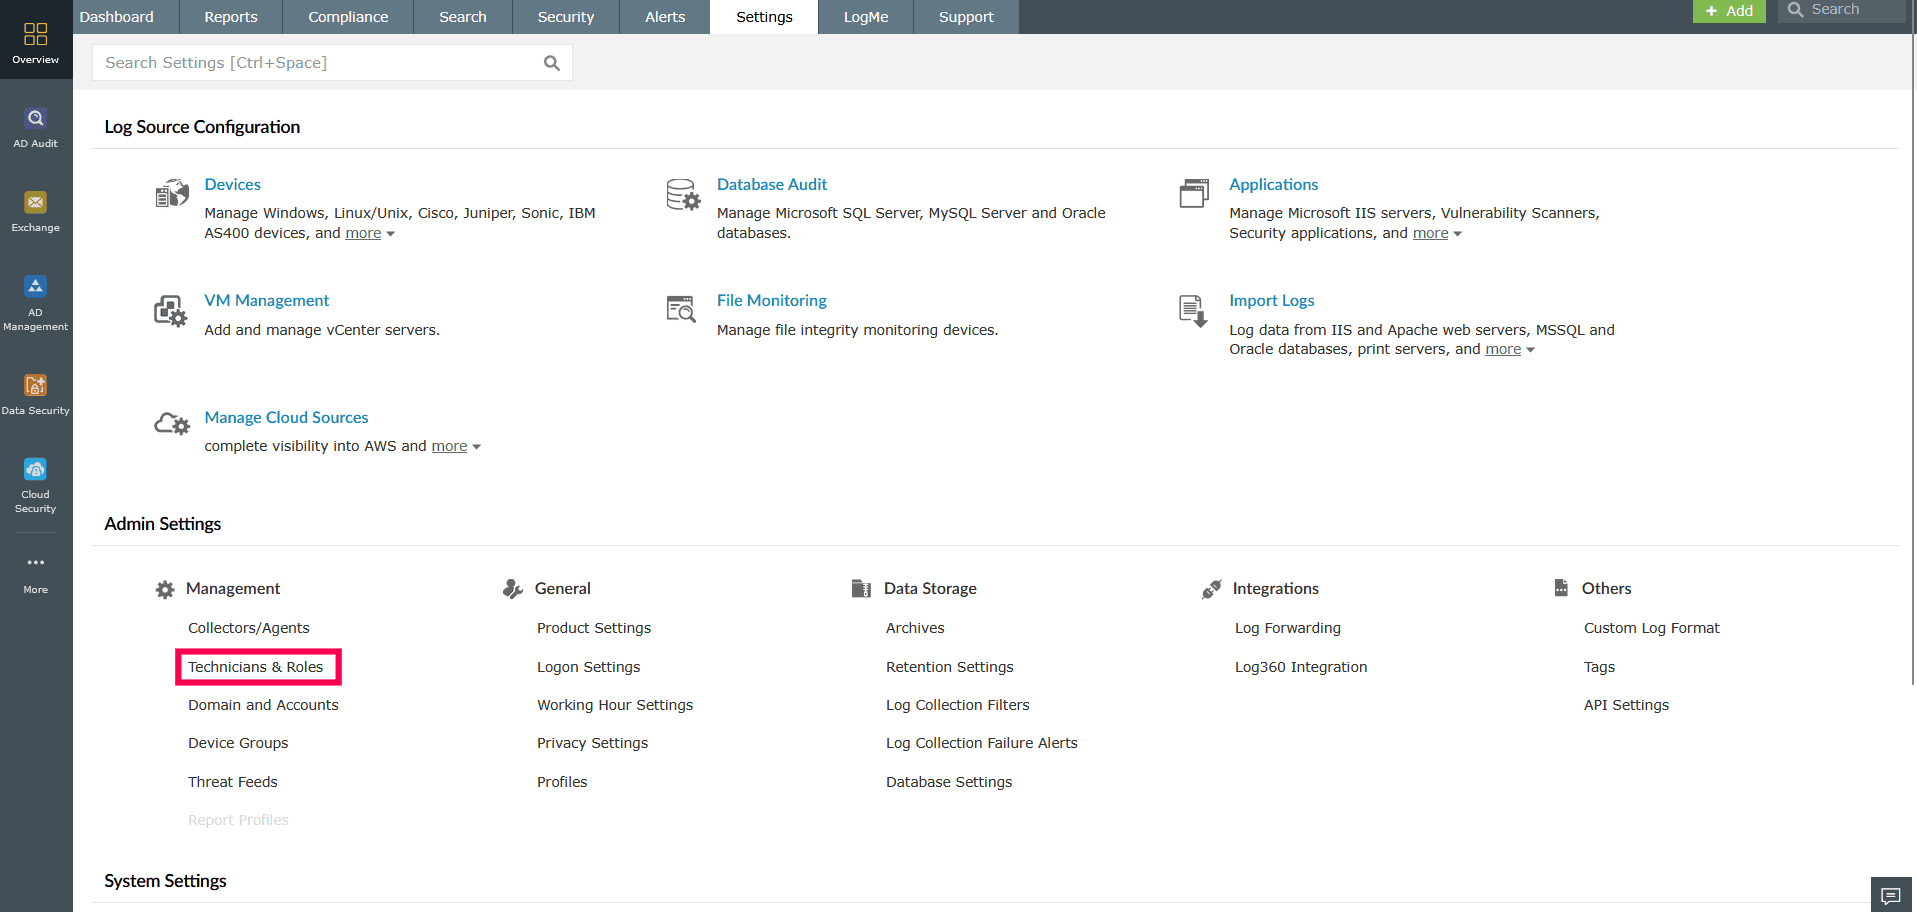
Figure 1: Navigating to Technicians and Roles - On the Manage Technicians page, click Manage Roles.
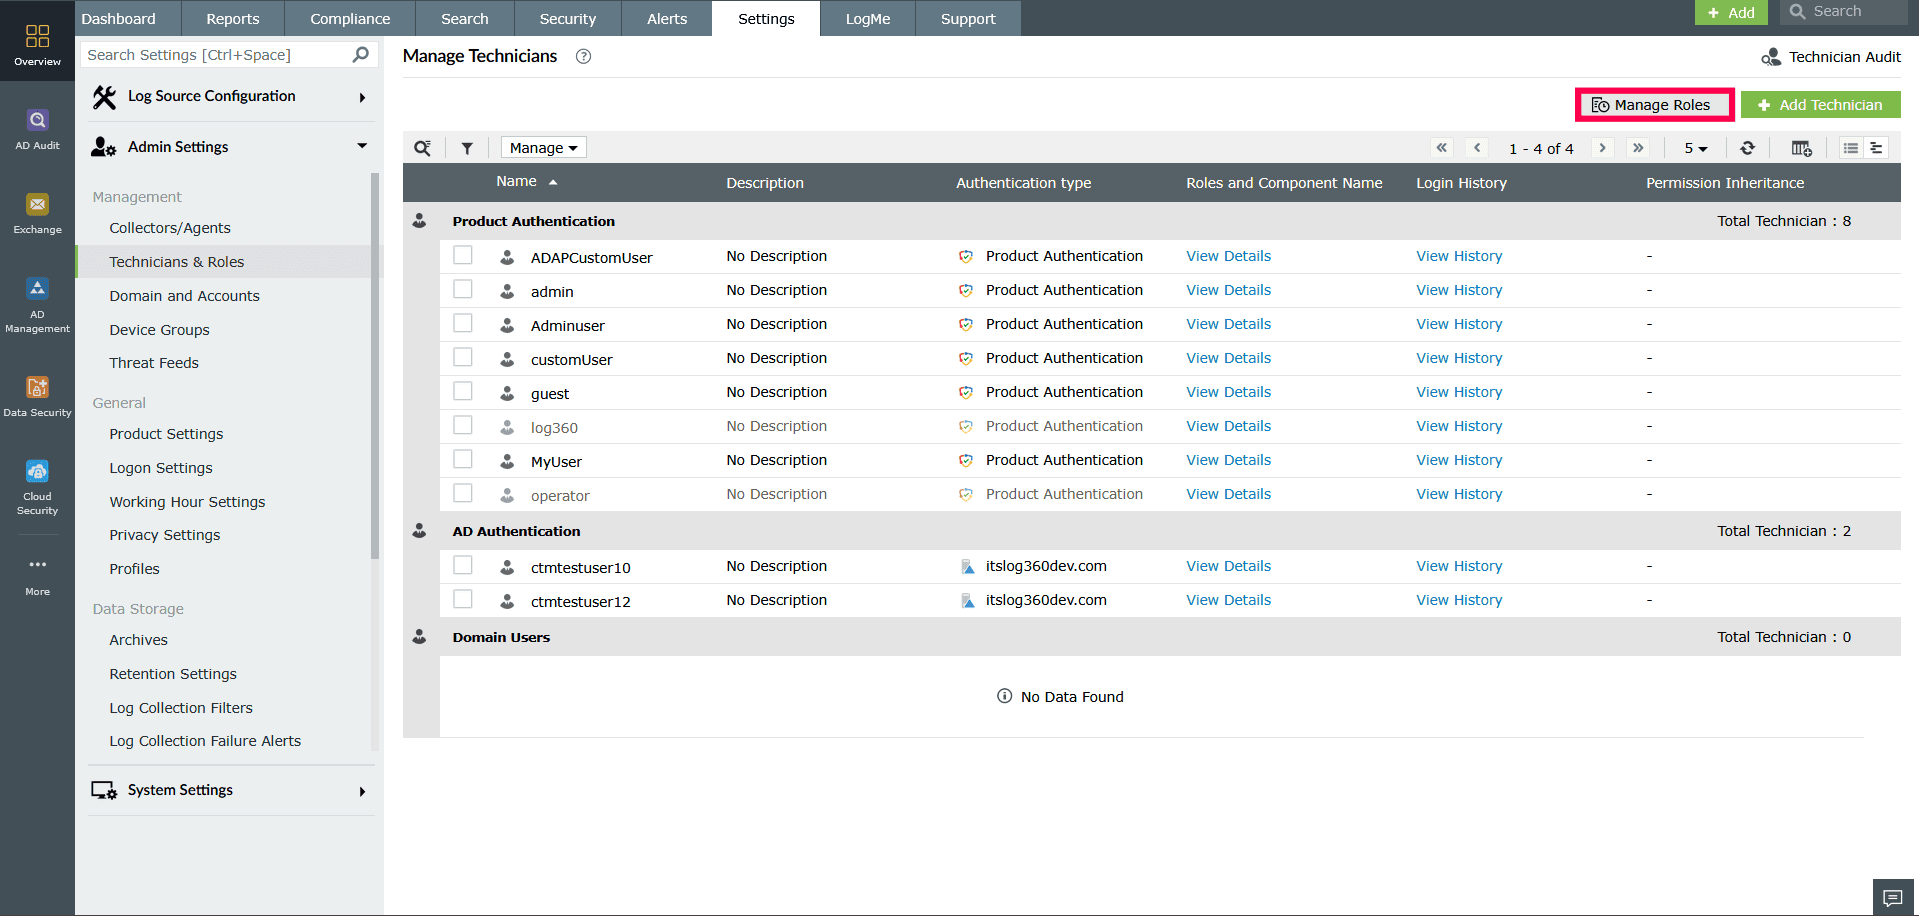
Figure 2: Navigating to Manage Roles - In the top-right corner, click Create New Role.
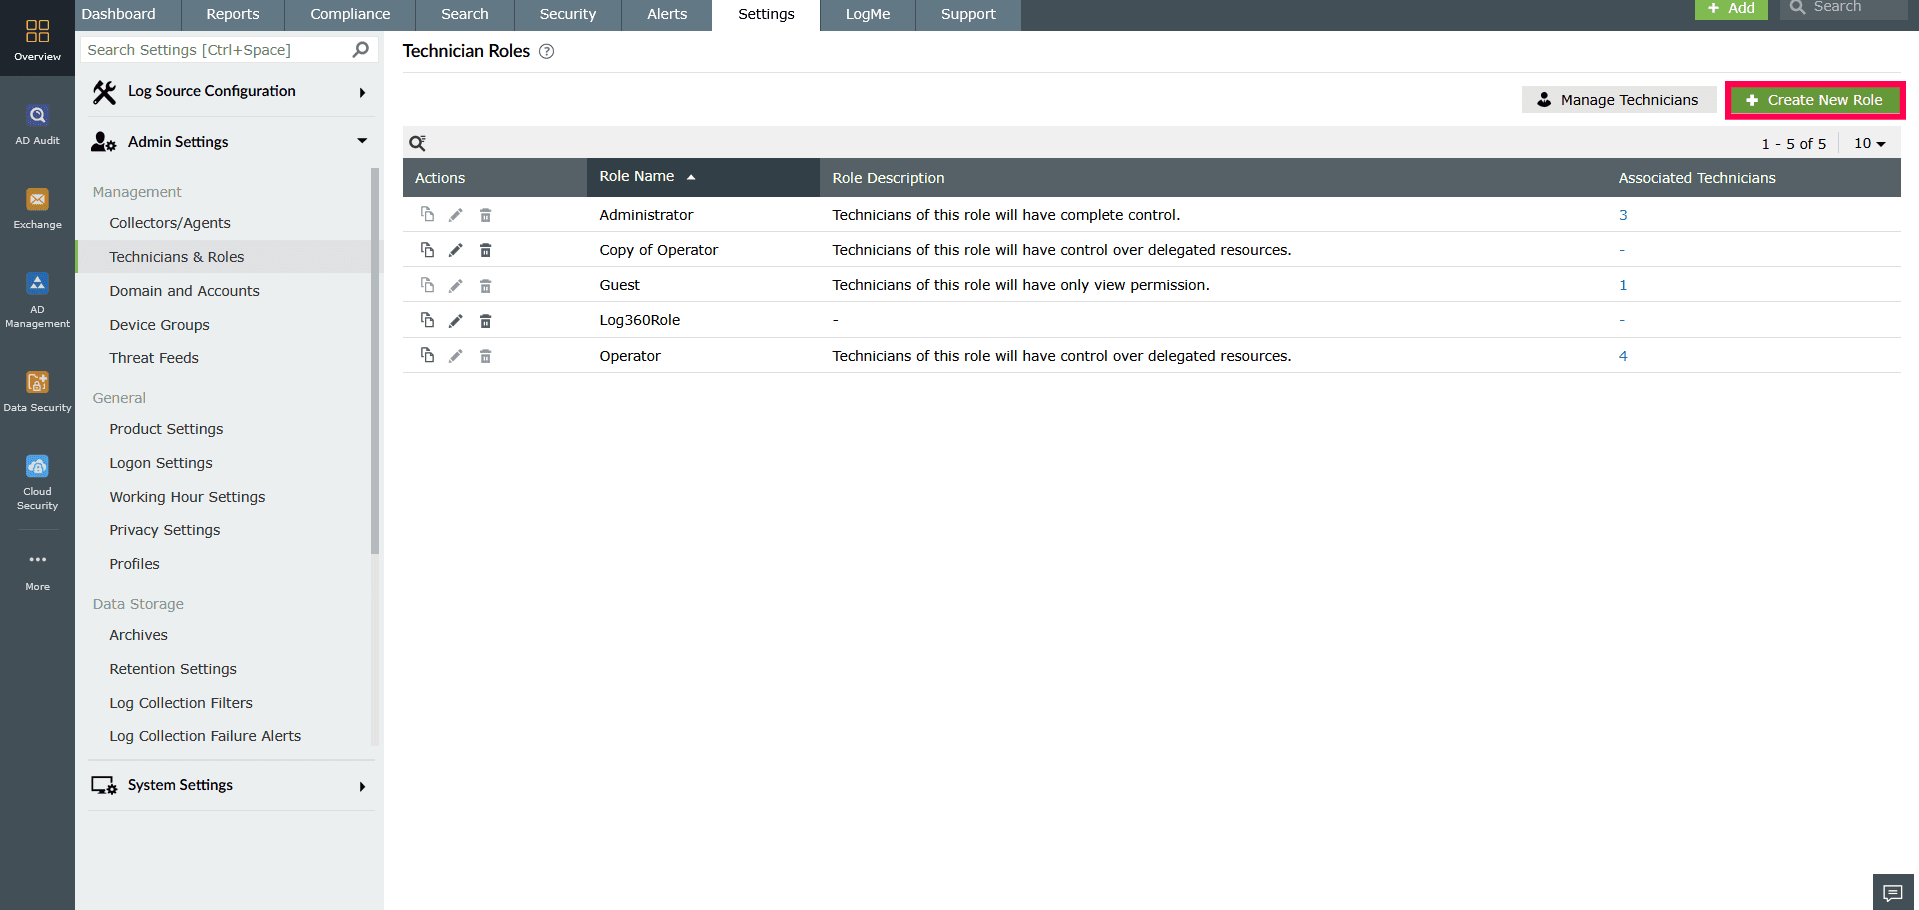
Figure 3: Creating a new role - Enter a Role Name. You may also provide a Description (optional).
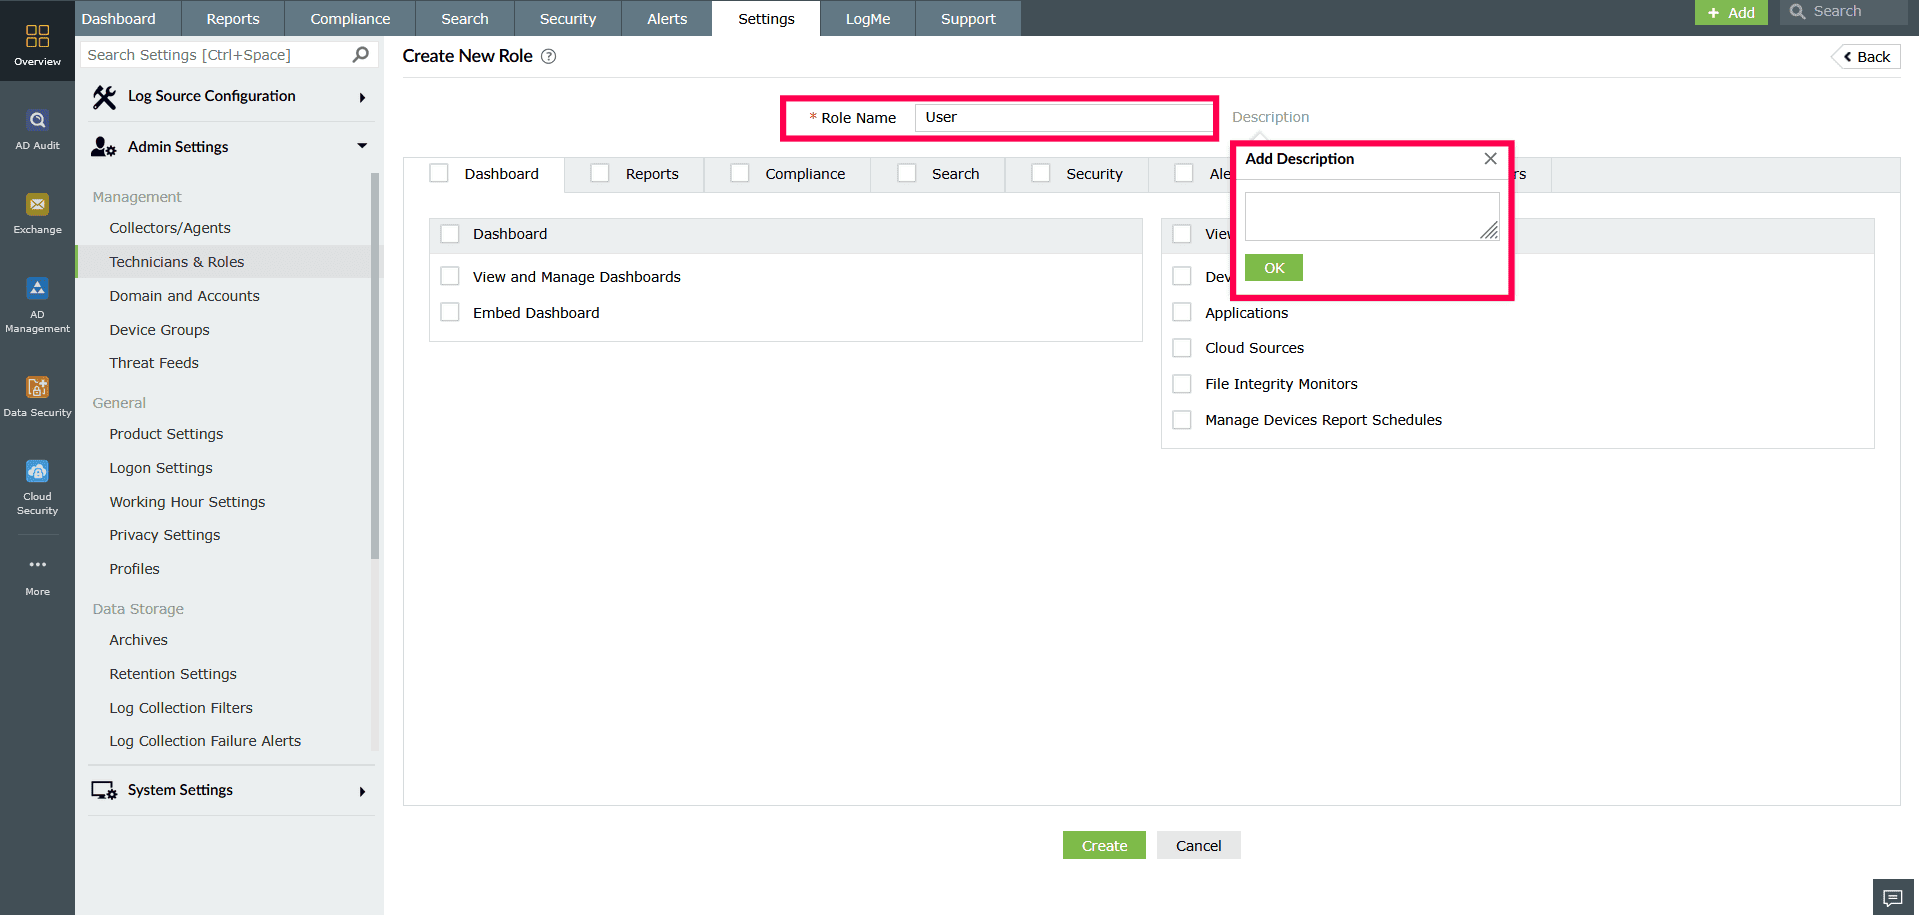
Figure 4: Adding role name and description - The available permissions are grouped under these tabs: Home, Reports, Compliance, Search, Security, Correlation, Alerts, Settings, and Others.
- Select the checkbox beside a tab to grant all permissions under that tab.
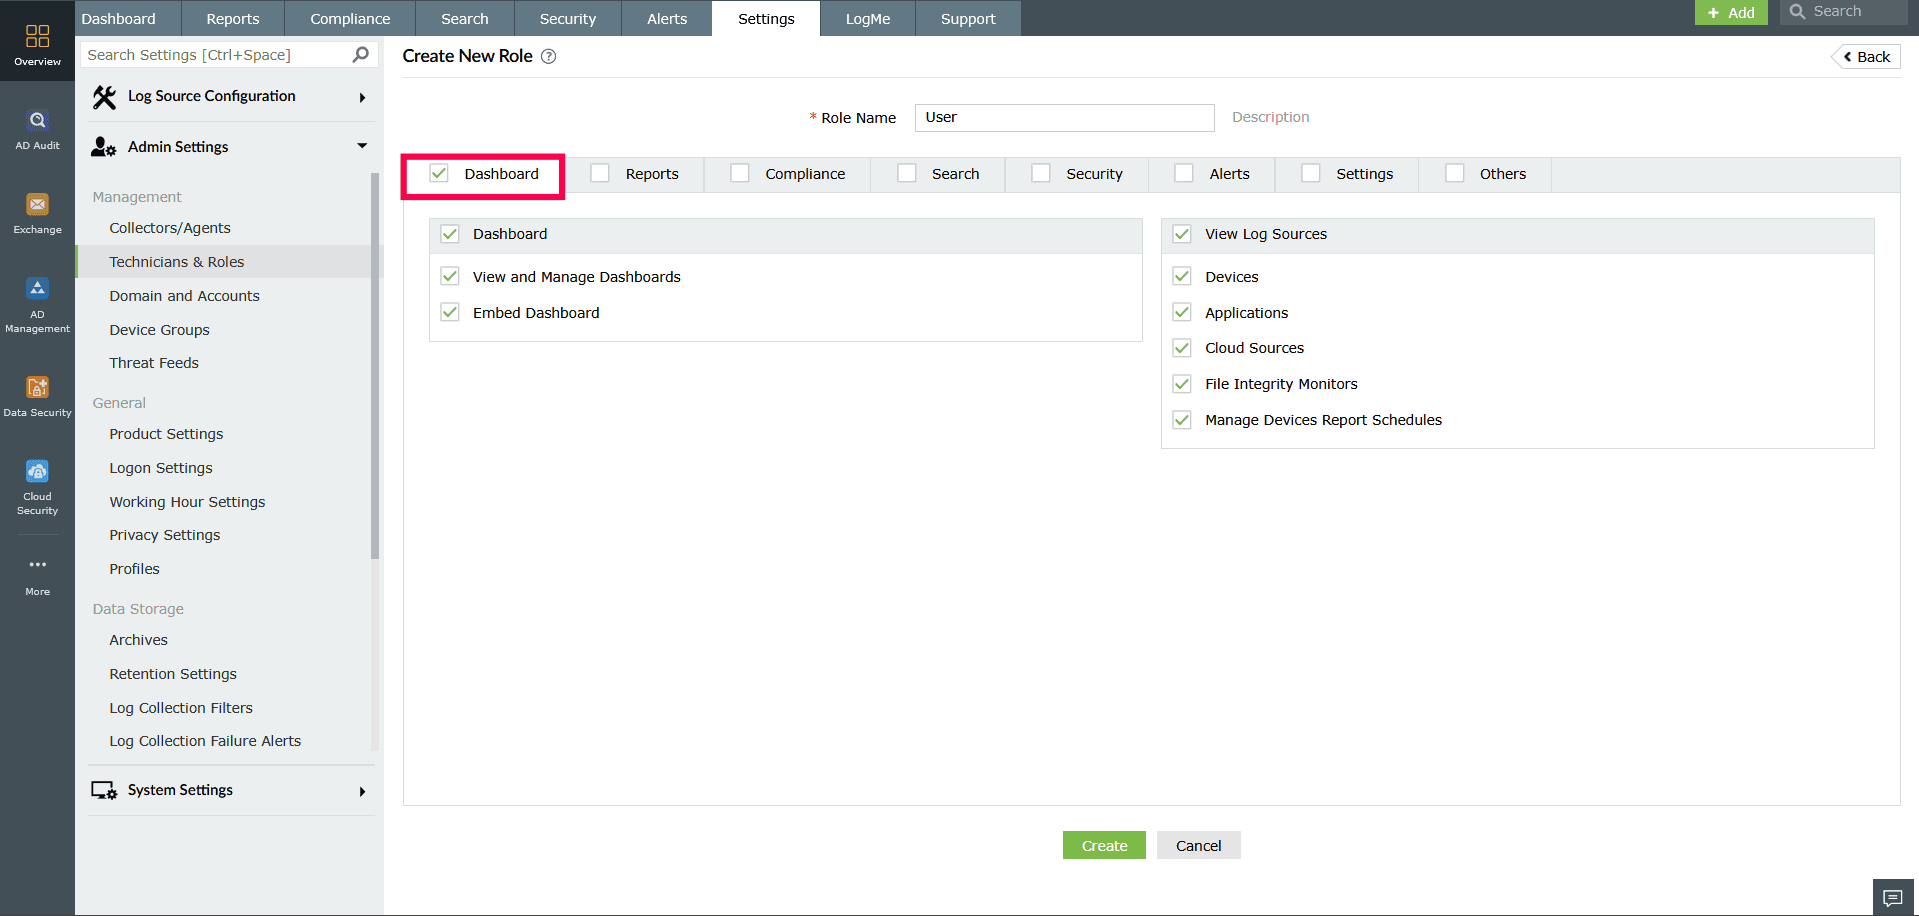
Figure 5: Configuring permissions - You can also click the tab to select individual permissions. The tabs and their permissions are as follows:
- Dashboard:
- Dashboard: Allow users to view, create, and manage dashboards.
- View the Log Sources: Assign permissions to view device, application, and file integrity monitoring logs.
- Use the section-level checkbox to select all options at once.
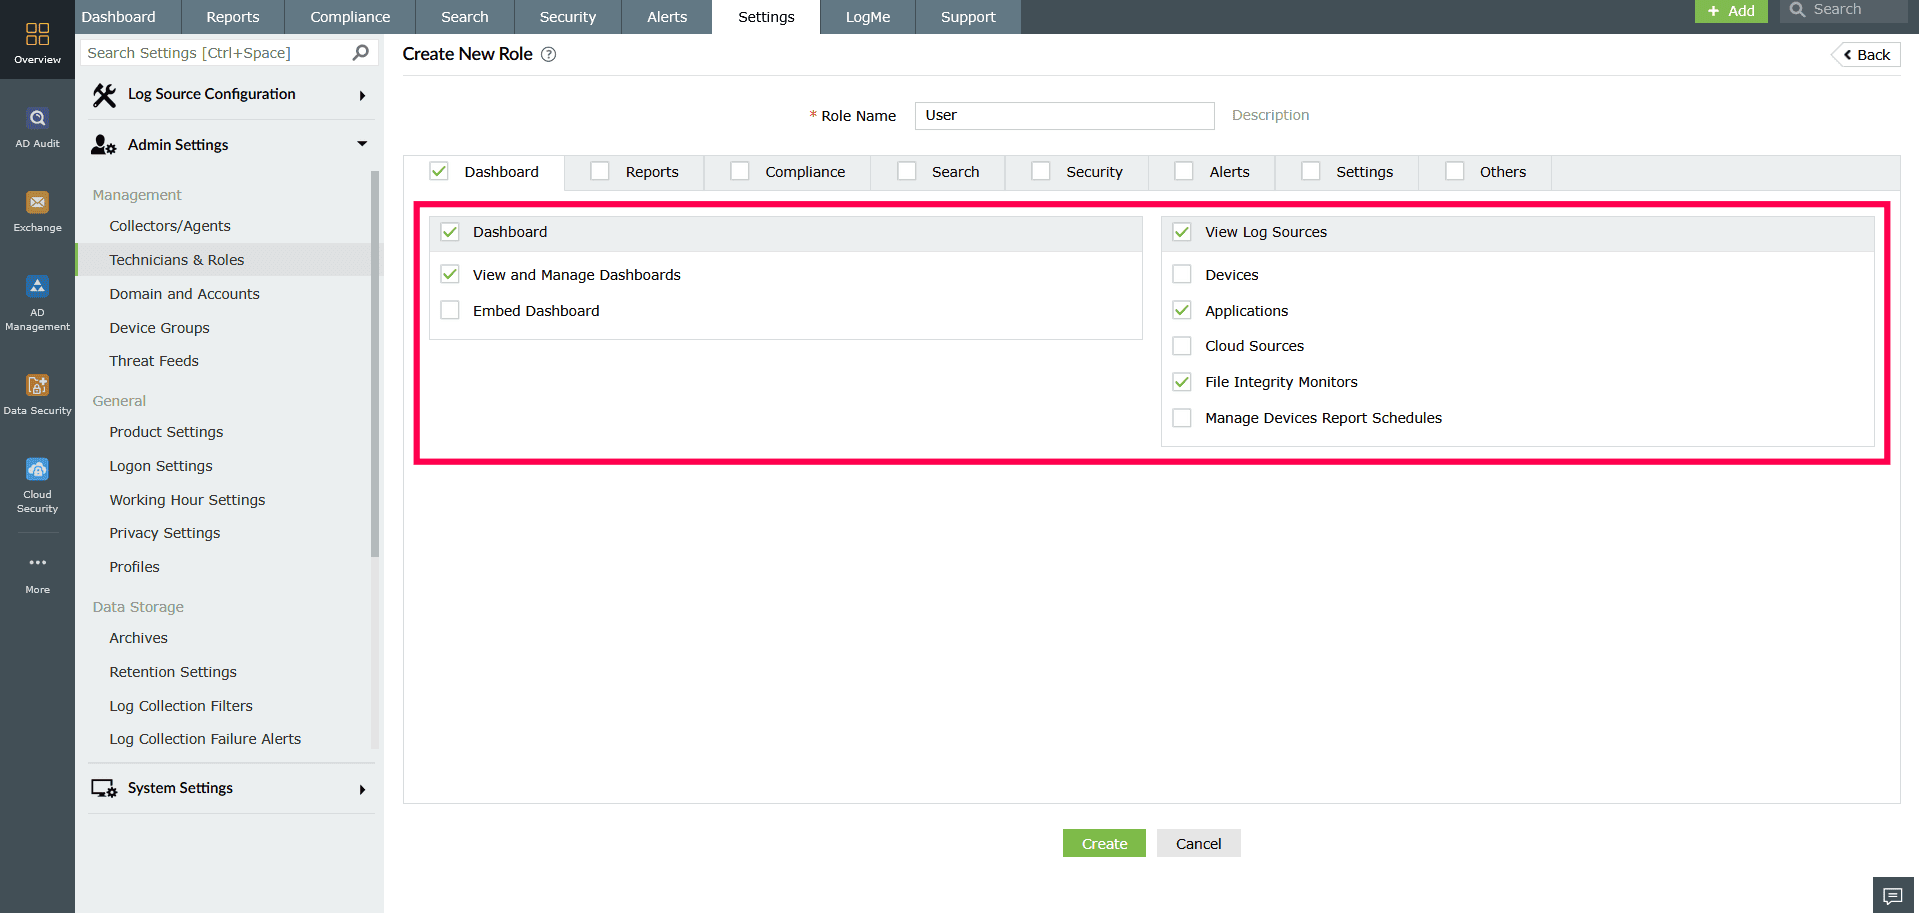
Figure 6: Configuring permissions in the Home tab - Reports:
- Choose whether users can view, schedule, and create reports.
- Select General to grant all permissions under this tab.
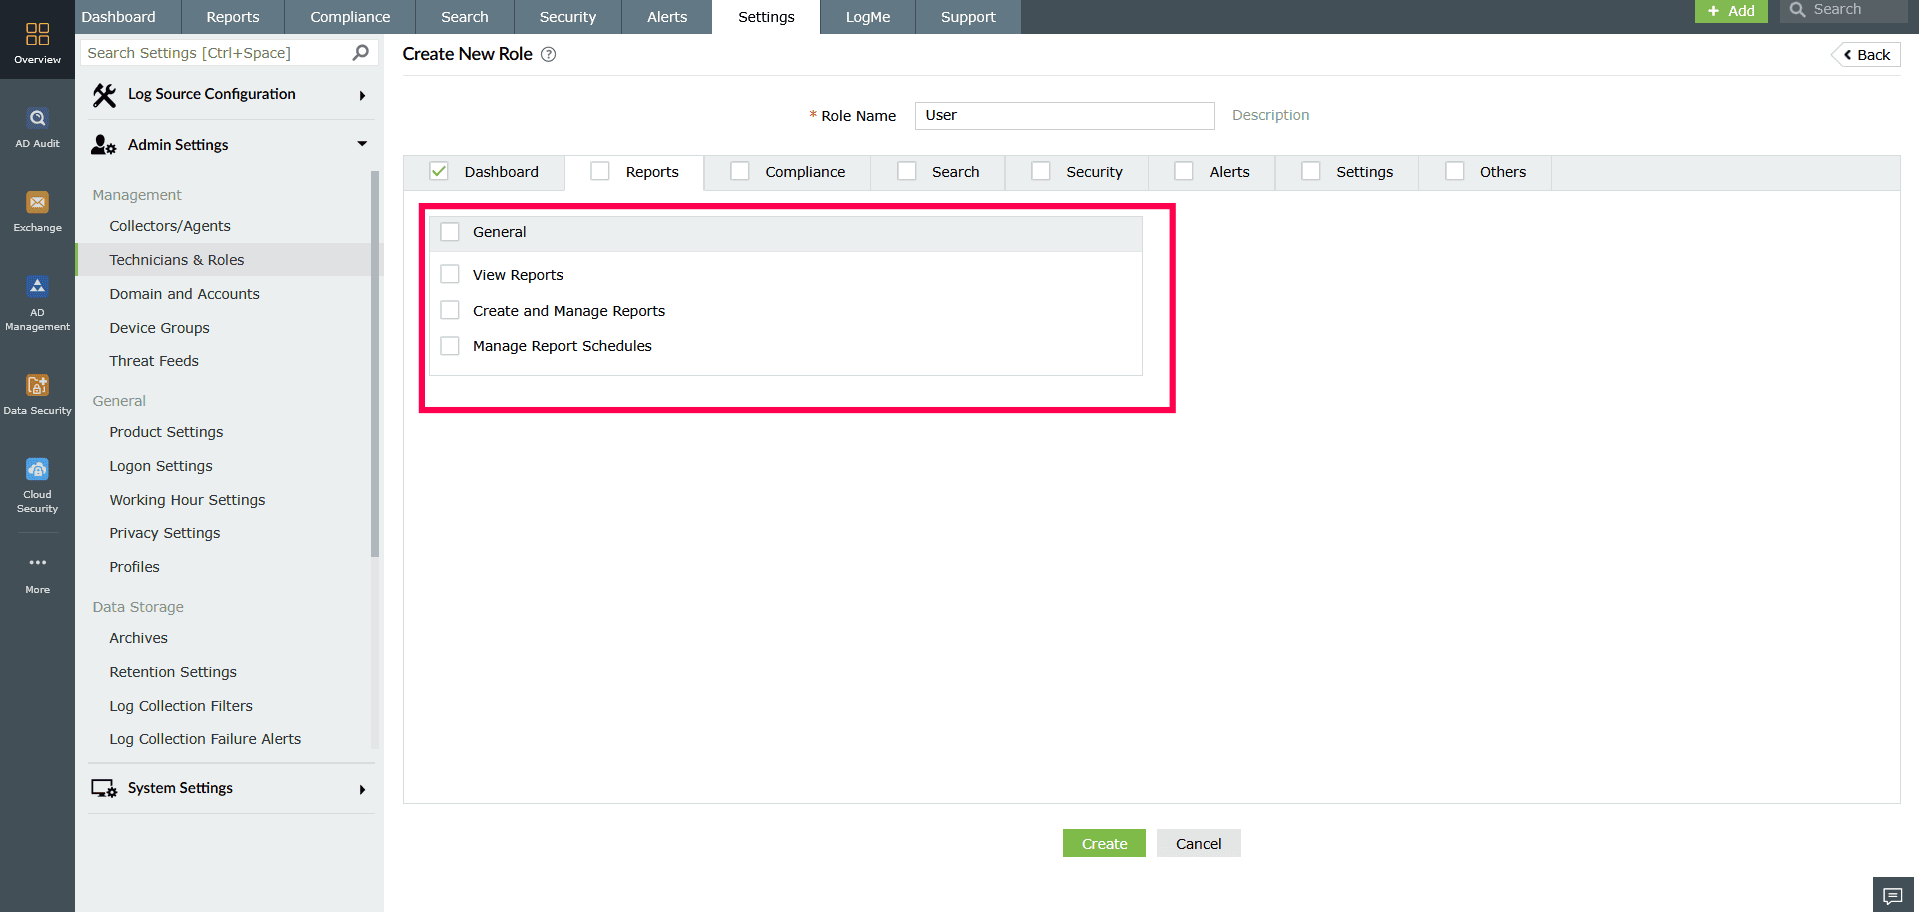
Figure 7: Configuring permissions in the Reports tab - Compliance
- Allow viewing, creating, and scheduling of compliance reports.
- Use General to assign all compliance permissions.
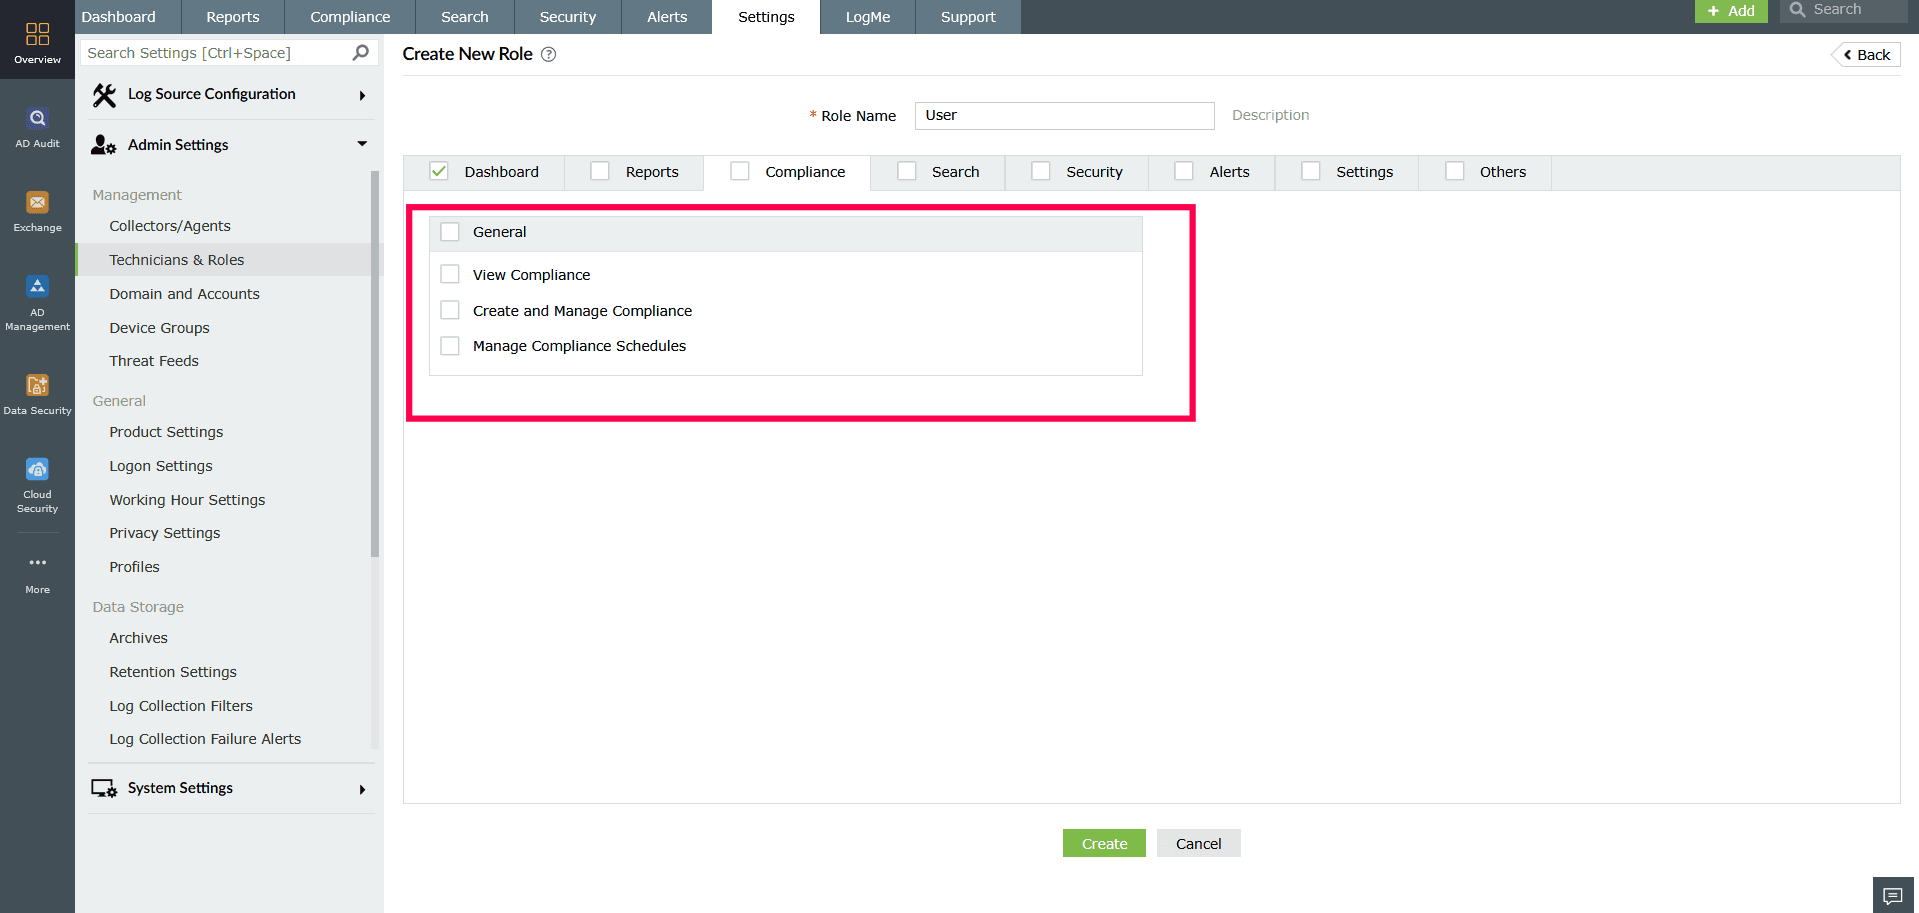
Figure 8: Configuring permissions in the Compliance tab - Search
- Allow or restrict the ability to search collected logs.
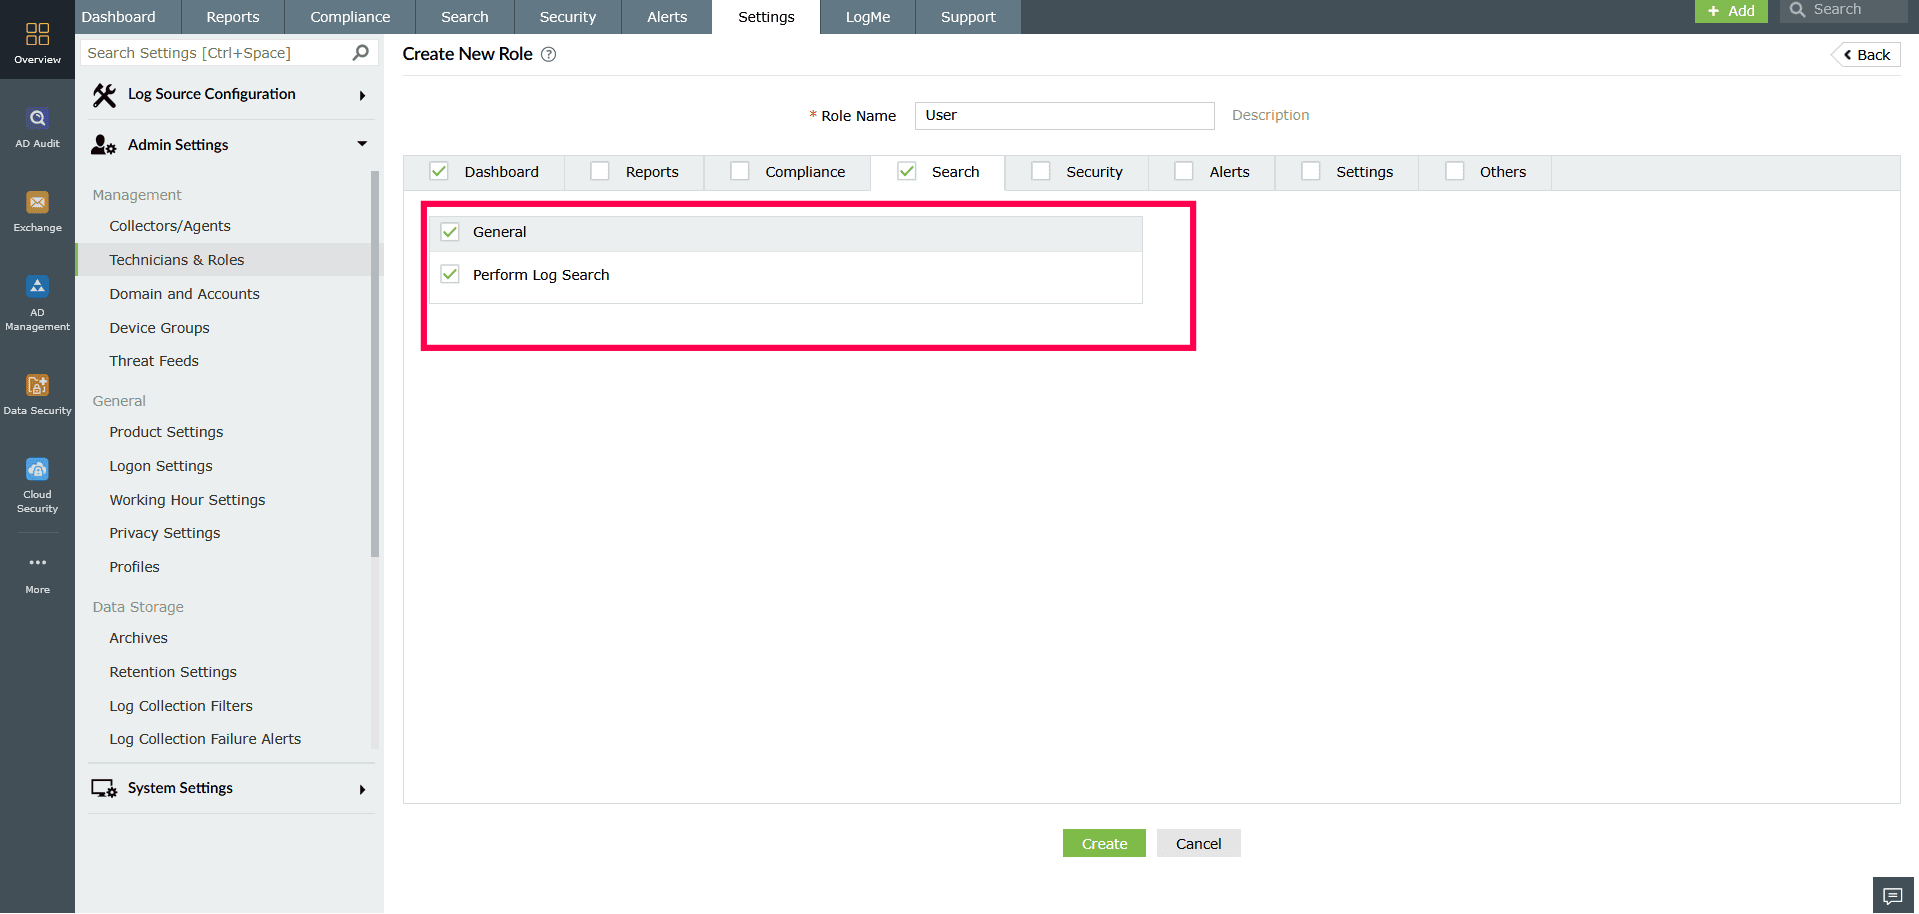
Figure 9: Configuring permissions in the Search tab - Security
- Security: View security reports, manage security rules, create and manage security actions, manage report schedules, and create security rules. Includes permission for accessing the security dashboard.
- Activity Monitoring: View reports, create and manage rules, and schedule activity monitoring reports.
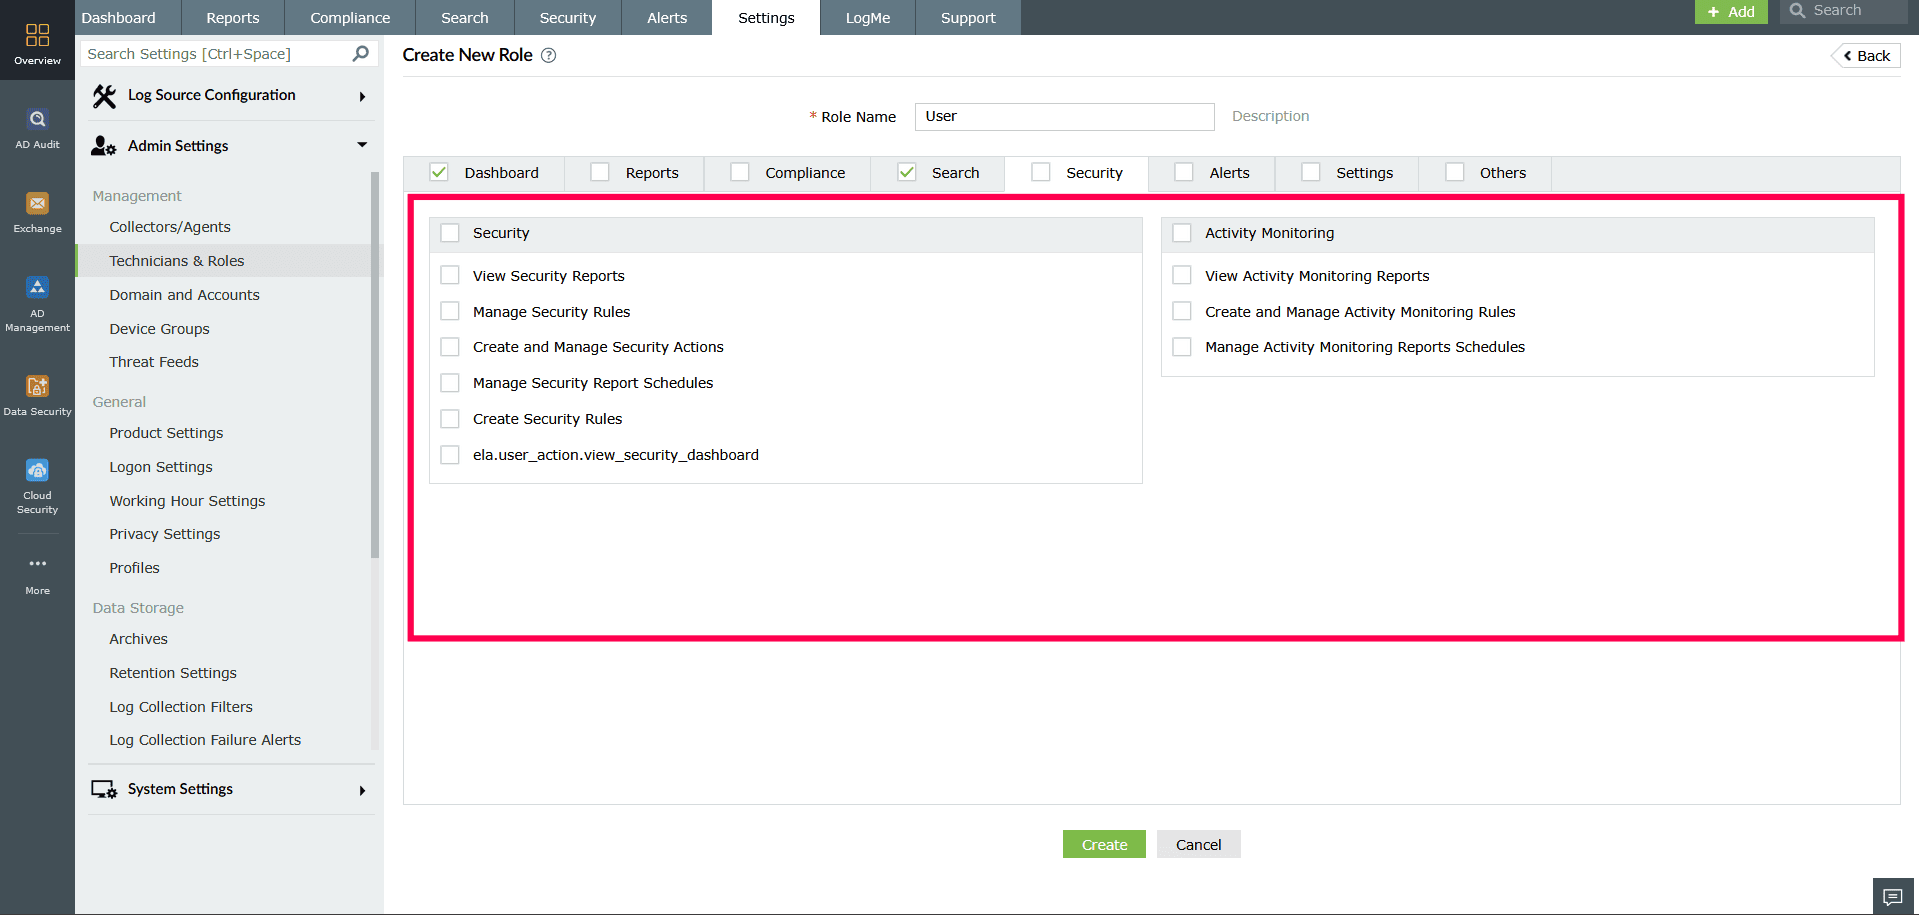
Figure 10: Configuring permissions in the Security tab - Alerts
- Alerts: View all or personal alerts, manage alert profiles, and assign alert rules.
- Incidents: View all or personal incidents, manage incidents, and manage incident rules.
- Ticketing Tools: Configure ticketing integrations, create tickets, and view tickets.
- Incident Workflows: Manage workflows for incident handling.

Figure 11: Configuring permissions in the Alerts tab - Settings
- Log Source Configuration: Configure and manage devices, applications, databases, virtual machines, file integrity monitoring, manage cloud sources, and import logs.
- Admin Settings: Manage device groups, threat feeds, report profiles, log archives, log retention settings, database settings, log collection filters, log collection failure alerts, privacy settings, profiles, log forwarder, Log360 integrations, custom log parsing rules, and tags.
- System Settings: Manage general and system-level configurations.
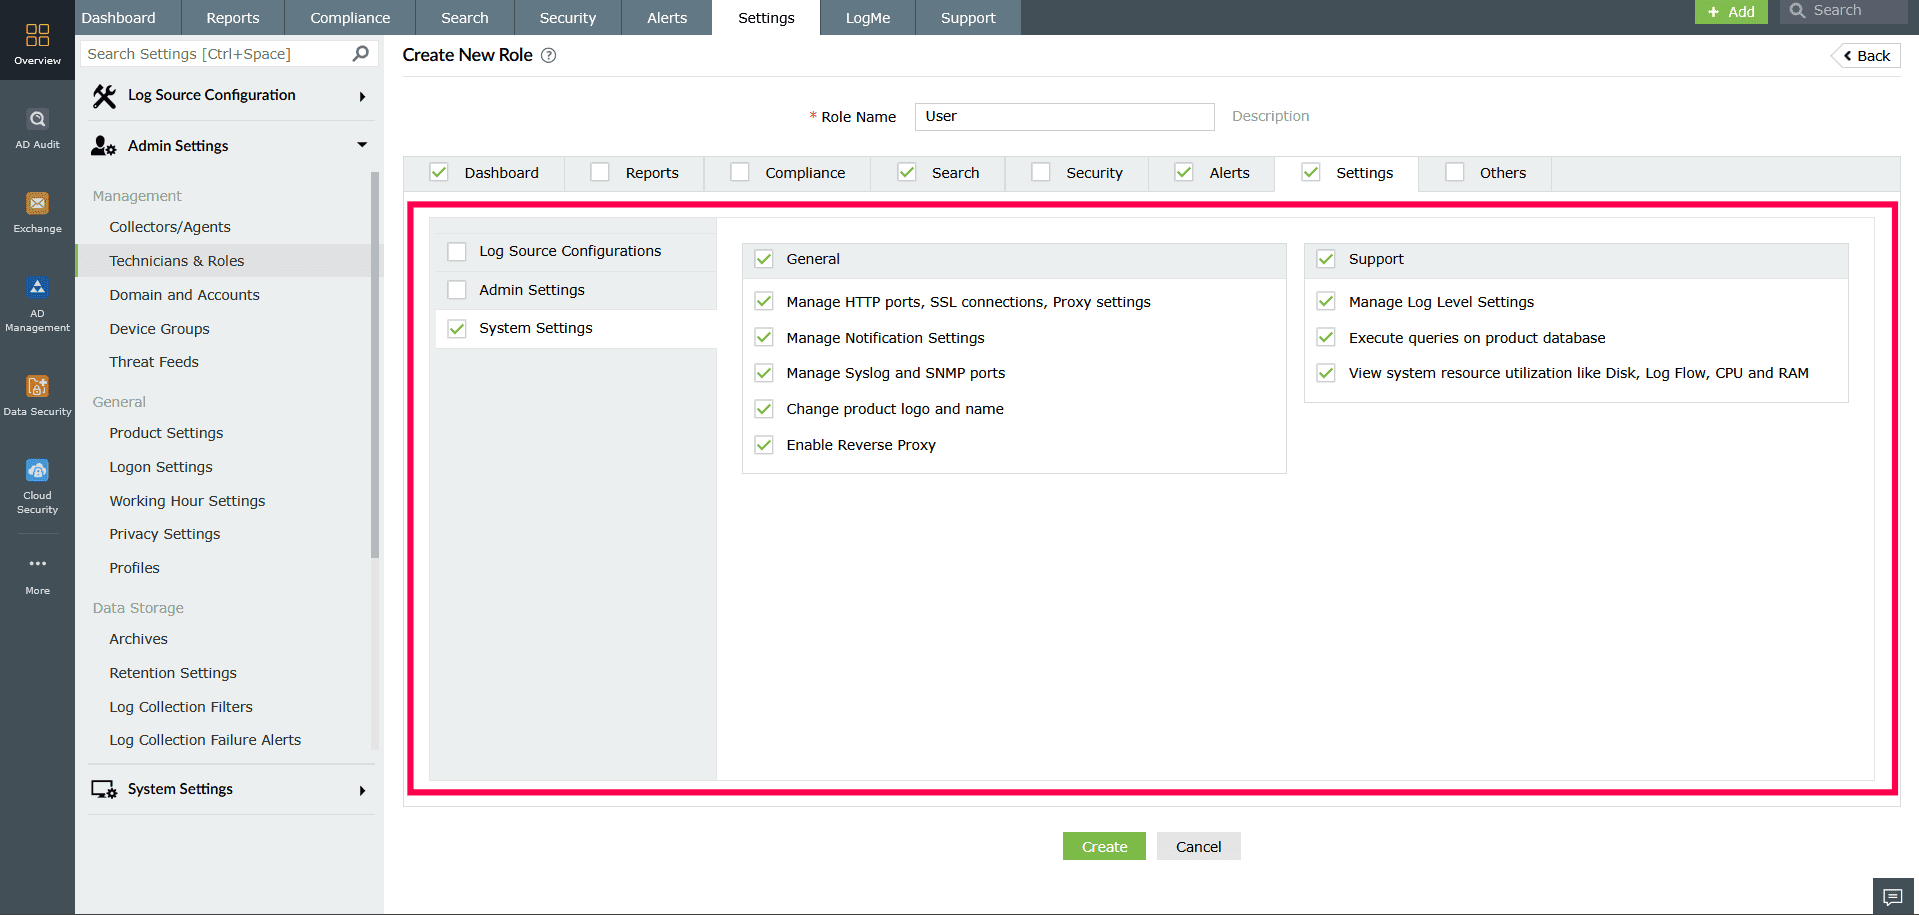
Figure 12: Configuring permissions in the Settings tab - Others
- Grant access to view product support information, supported log sources, and notifications.
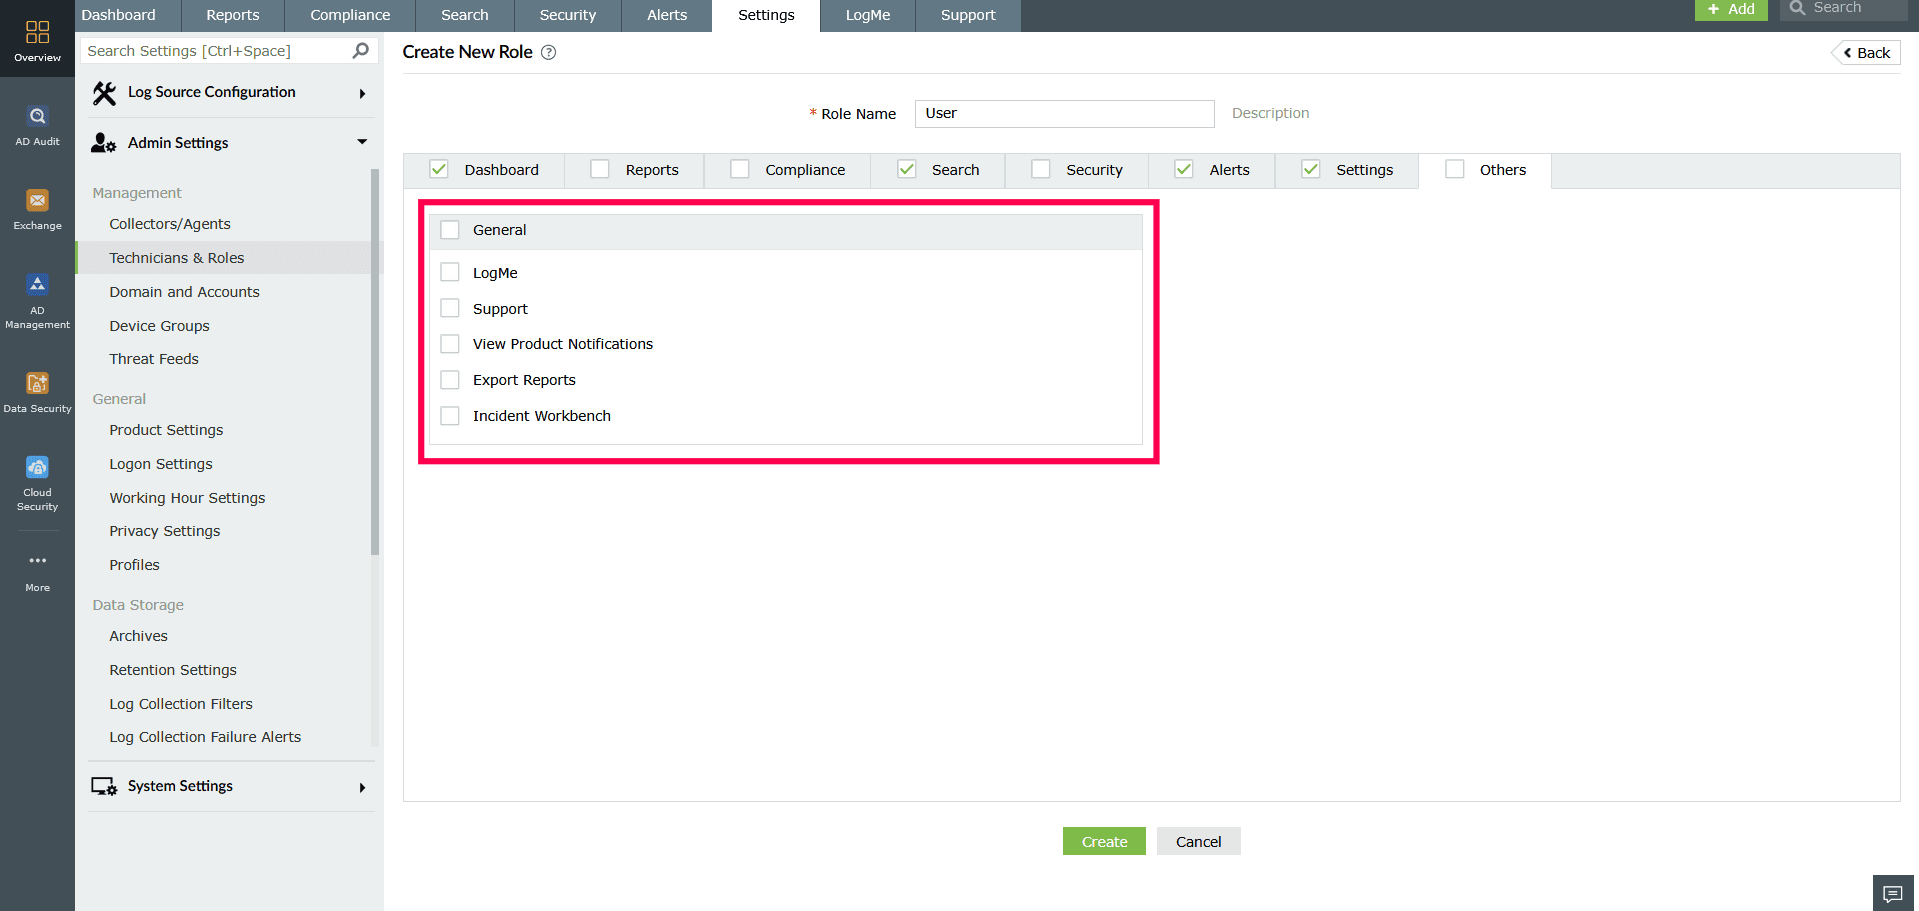
Figure 13: Configuring permissions in the Others tab
- Dashboard:
- After selecting all required permissions, click Create to save the role.
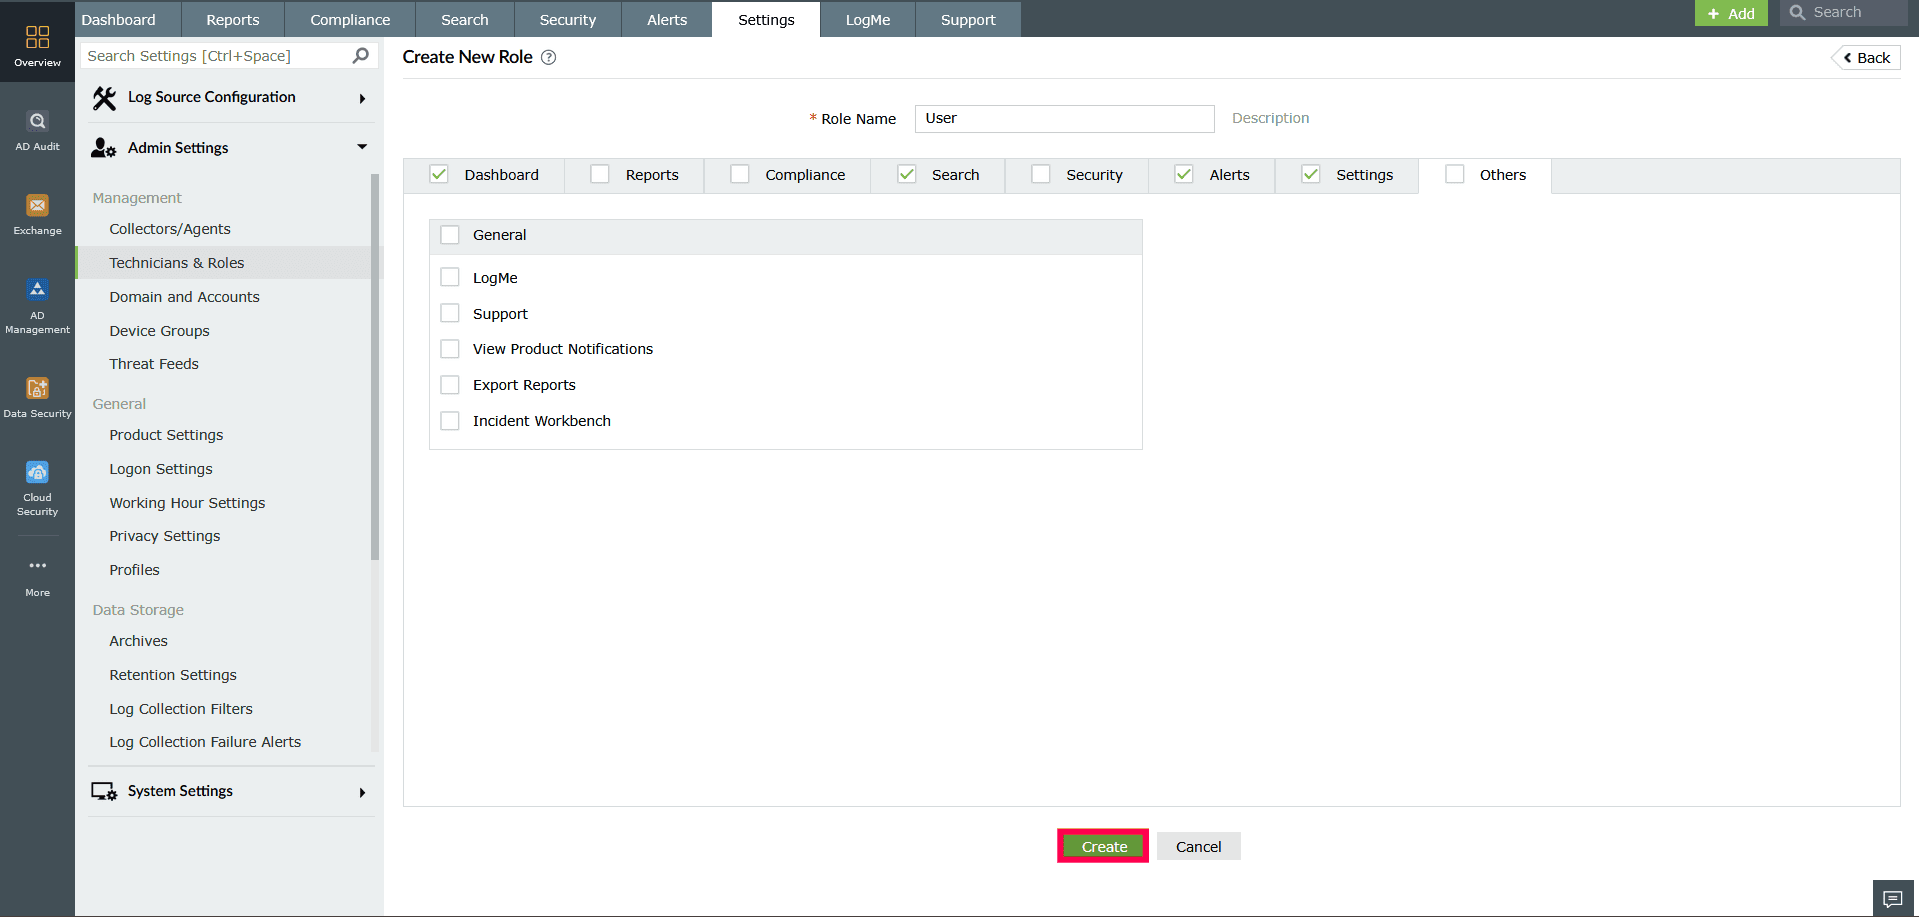
Figure 14: Creating a new role
Managing roles
- Click the
 icon to create a duplicate of an existing role.
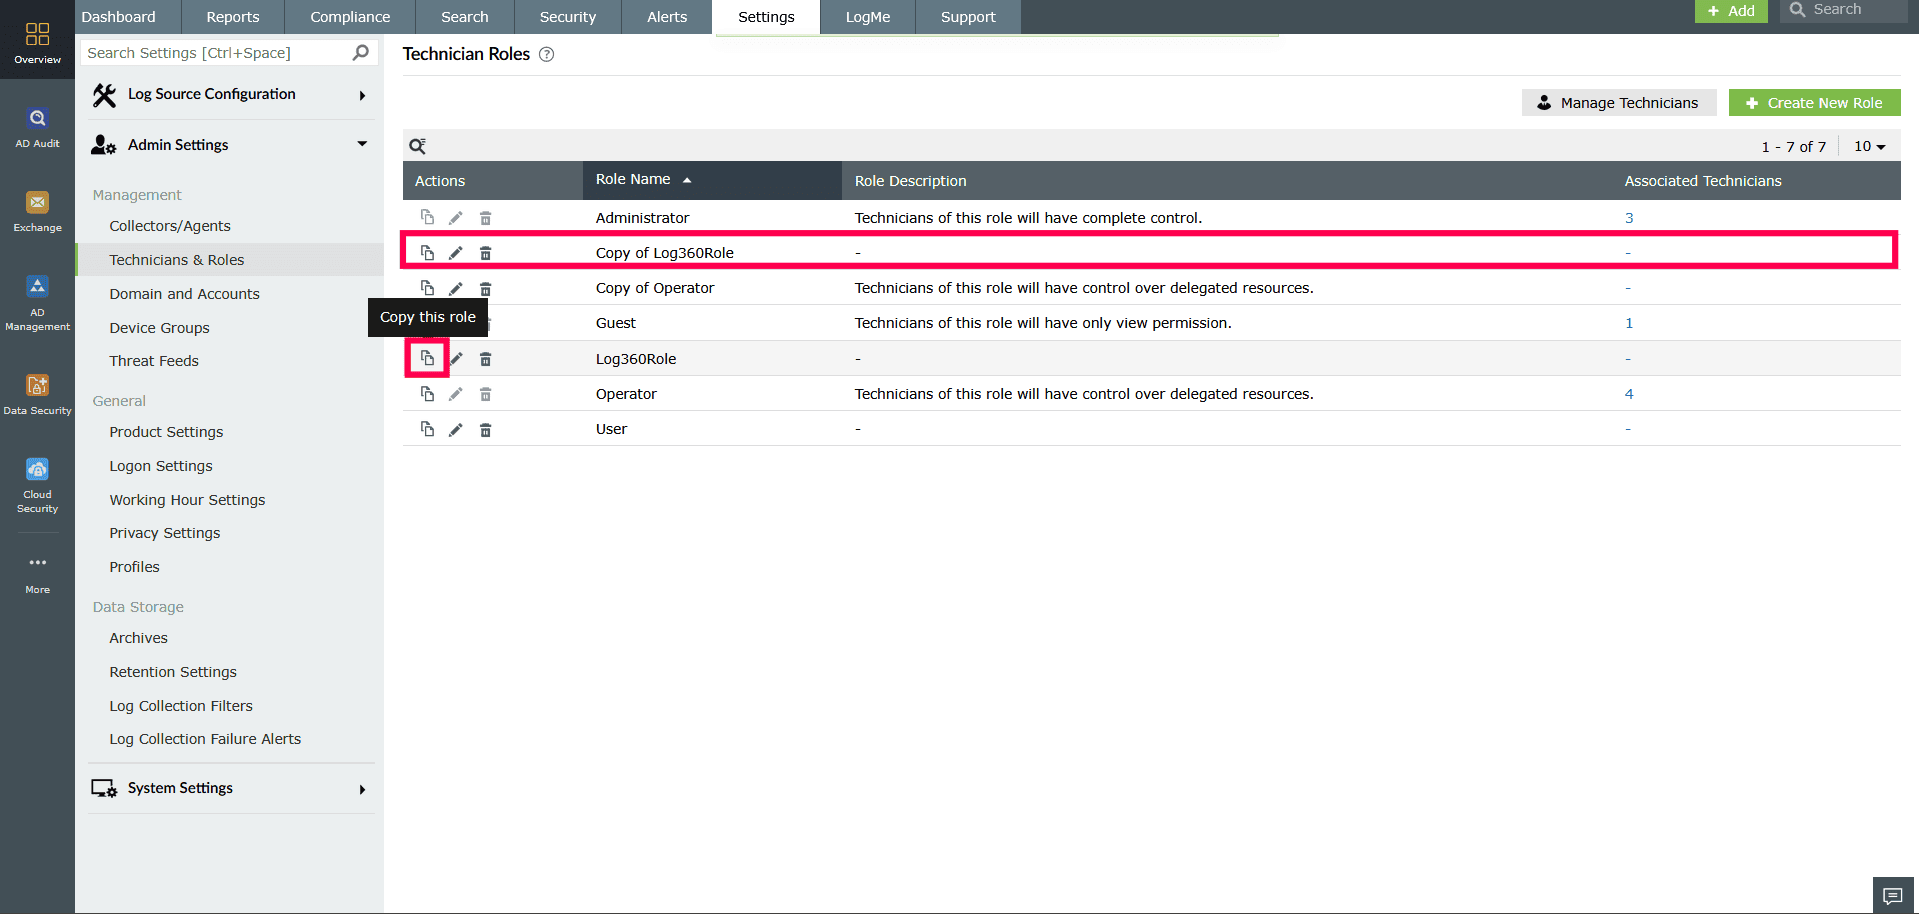
Figure 15: Making a copy of a role NOTE Default roles such as Guest, Admin, and Operator cannot be edited or modified. - Click the
 icon to modify the permissions of a role.
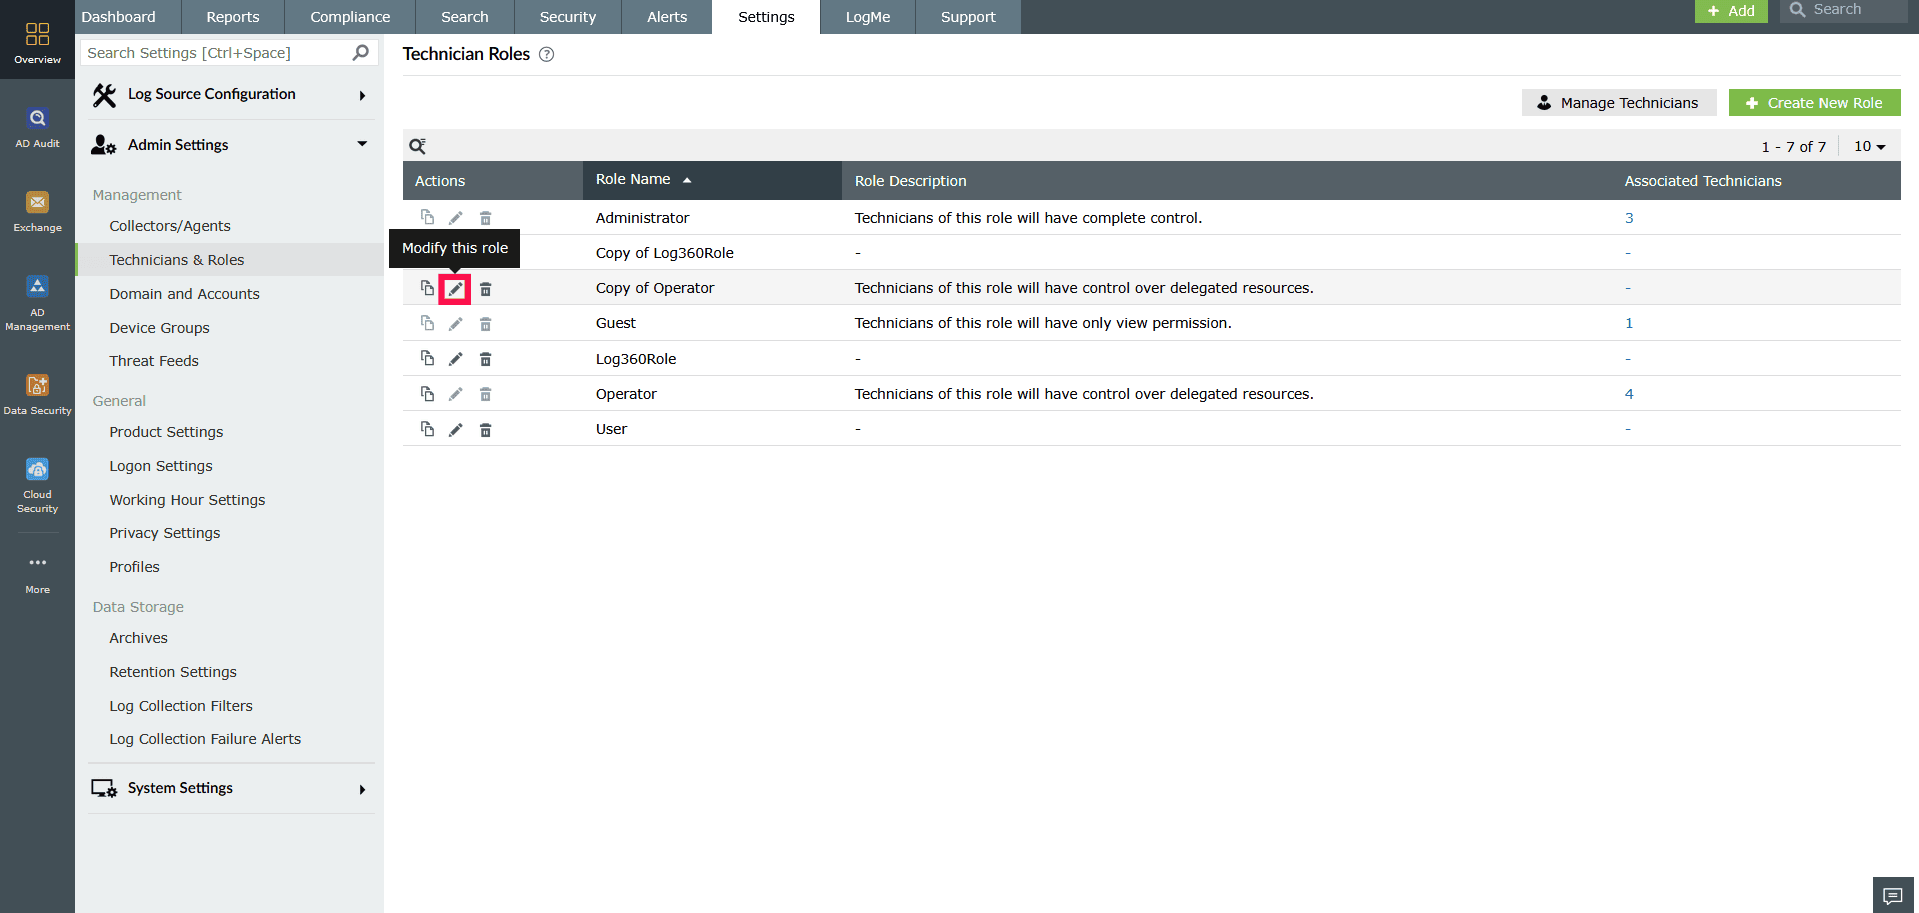
Figure 16: Modifying a role - This opens the Modify Role page where you can change permissions.
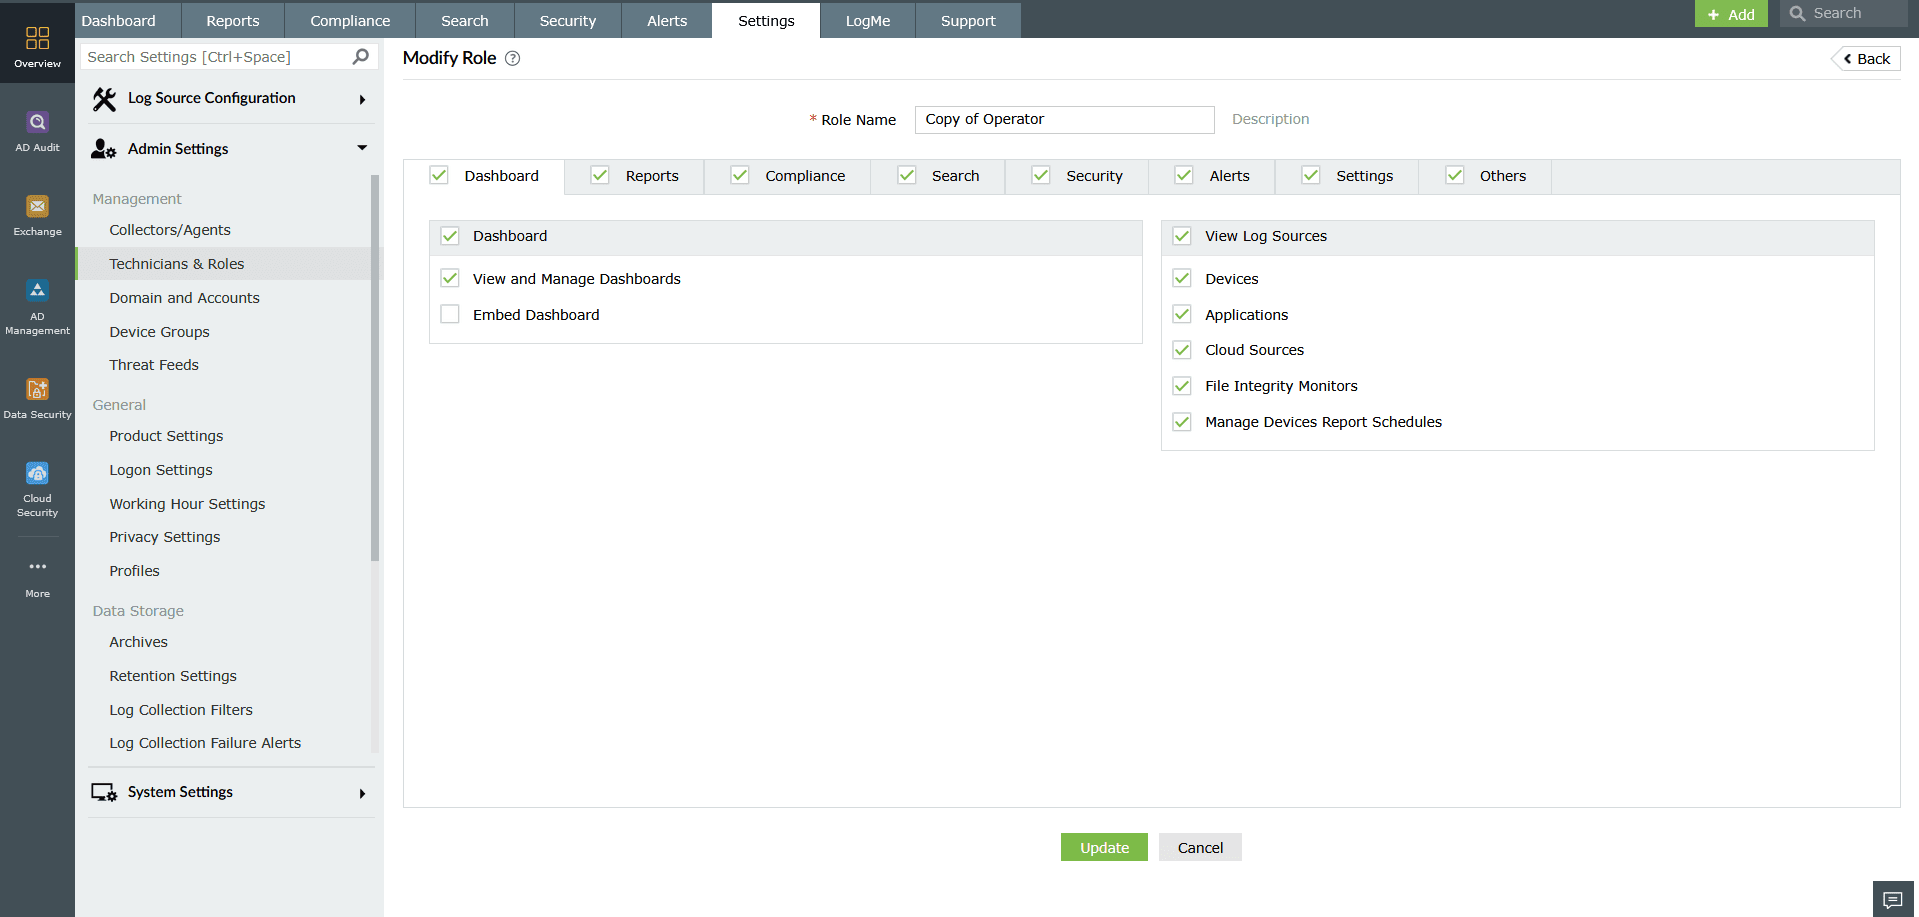
Figure 17: Modifying a role - Click the
 icon to remove a role.
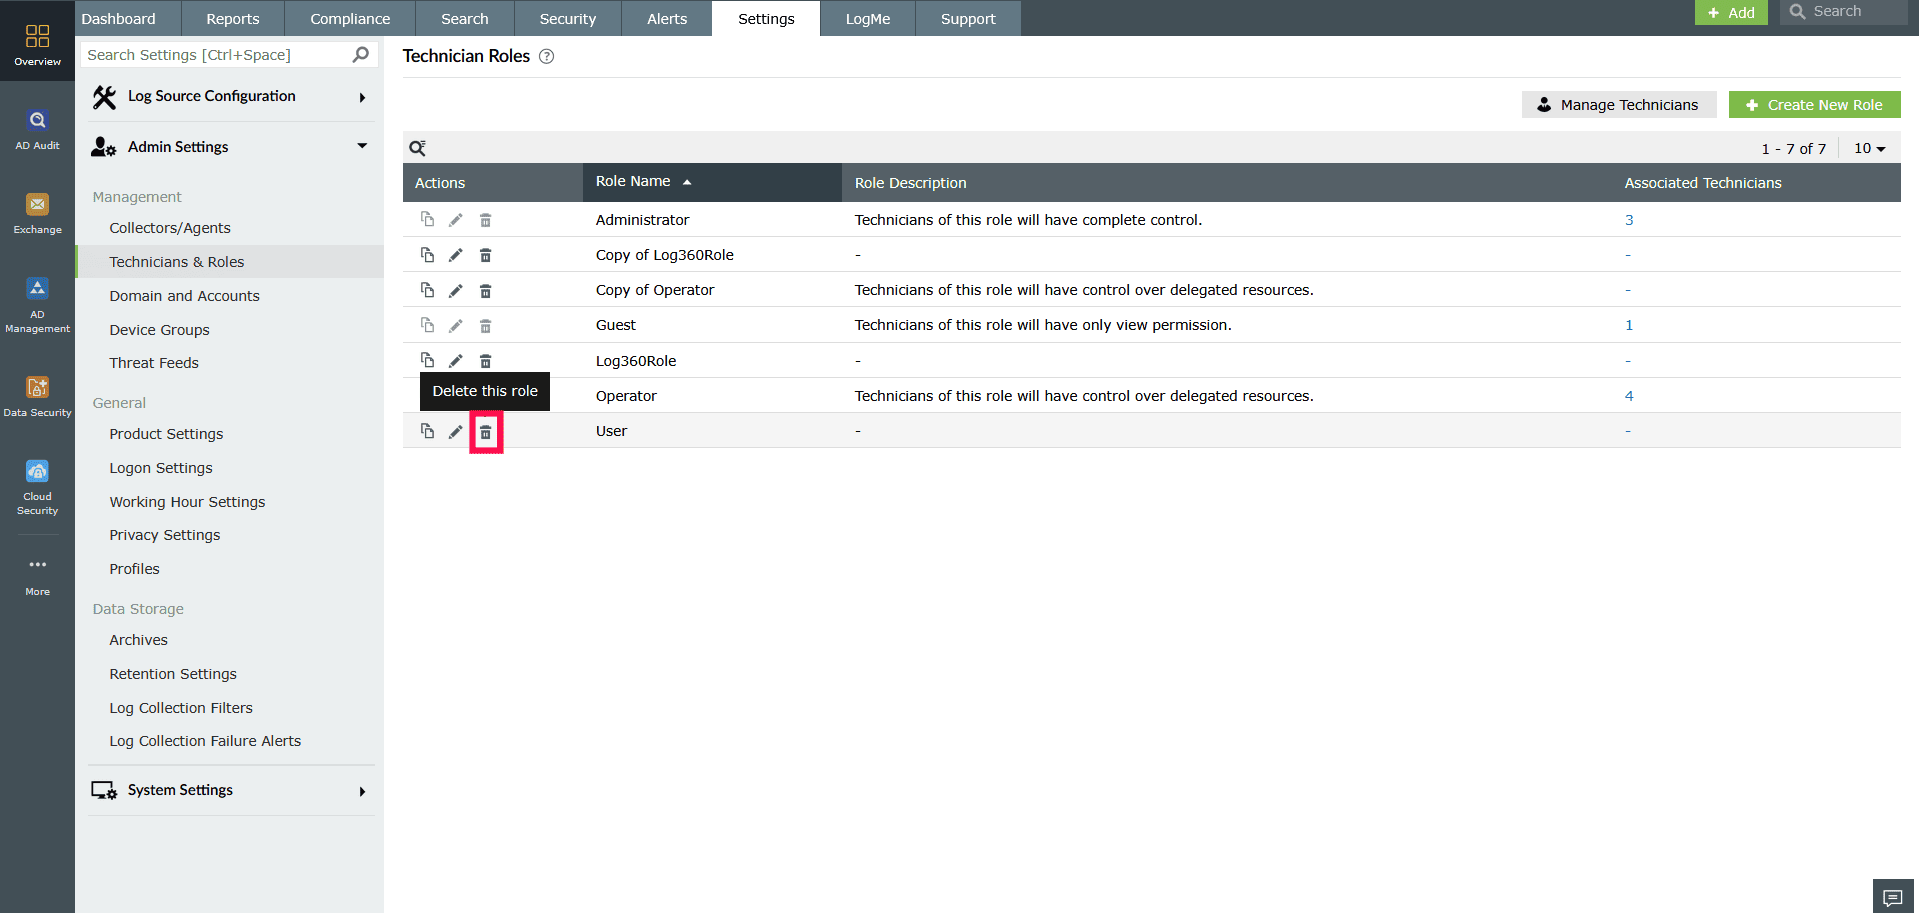
Figure 18: Deleting a role - In the confirmation popup, click Yes to confirm deletion.
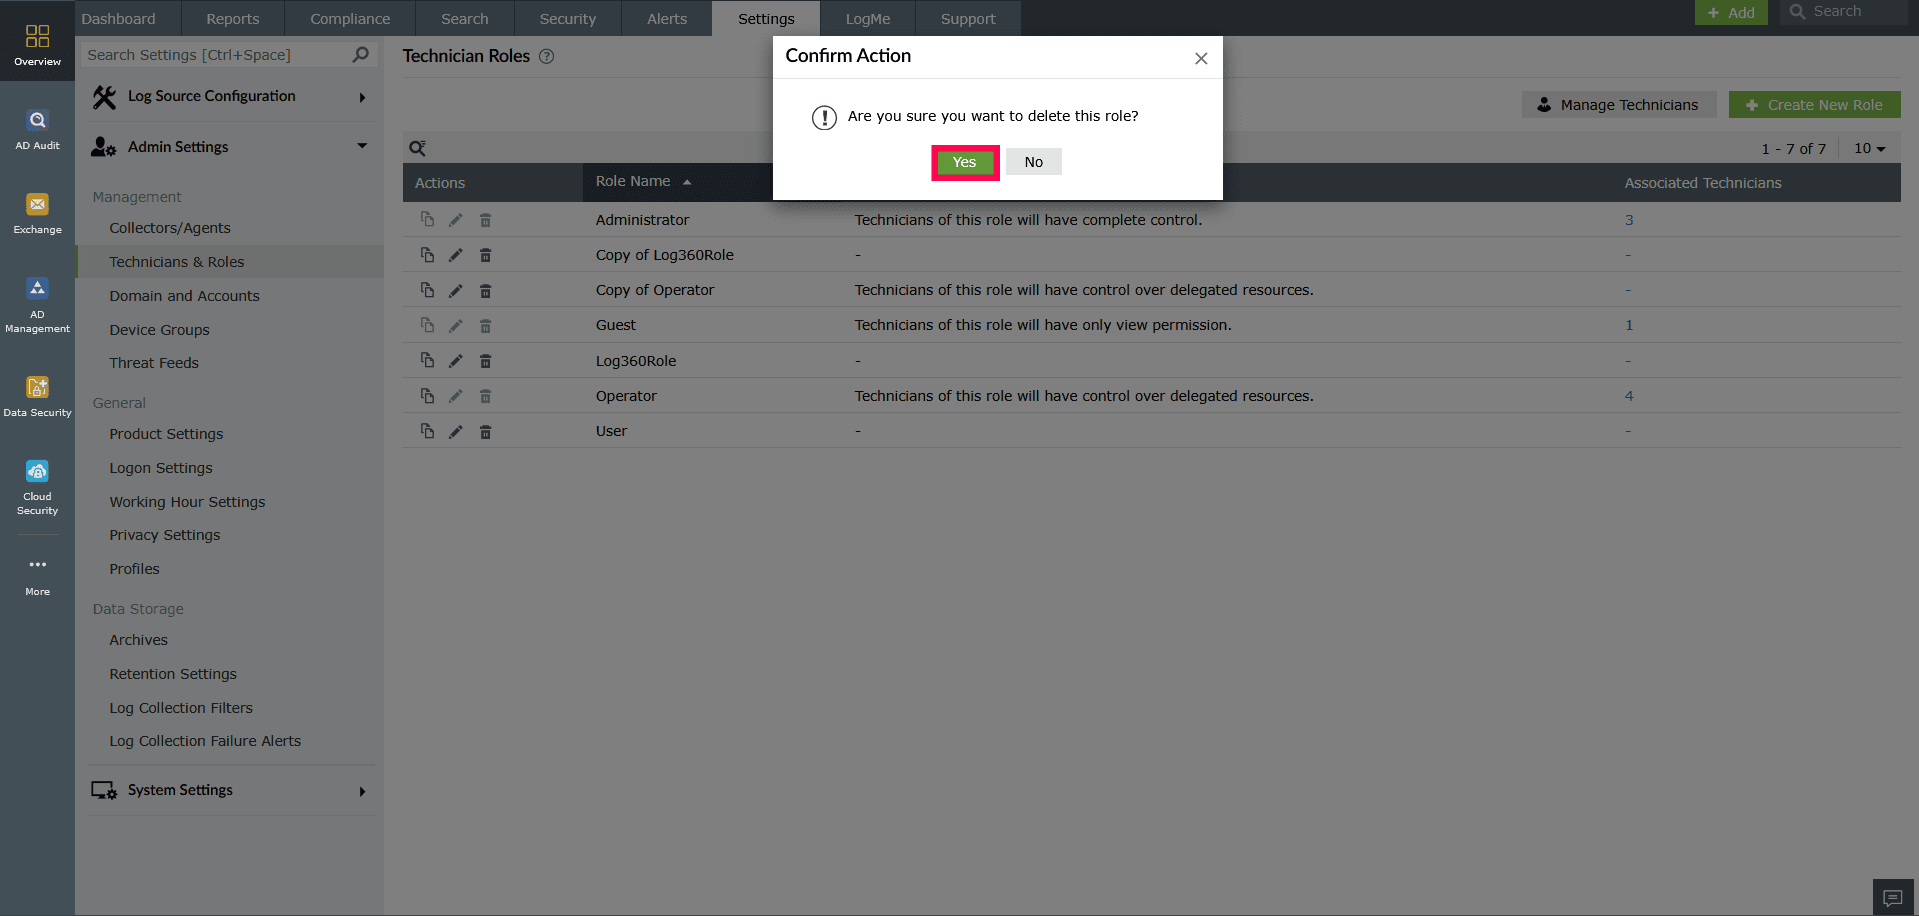
Figure 19: Deleting a role - Use the
 icon to find roles by their name.
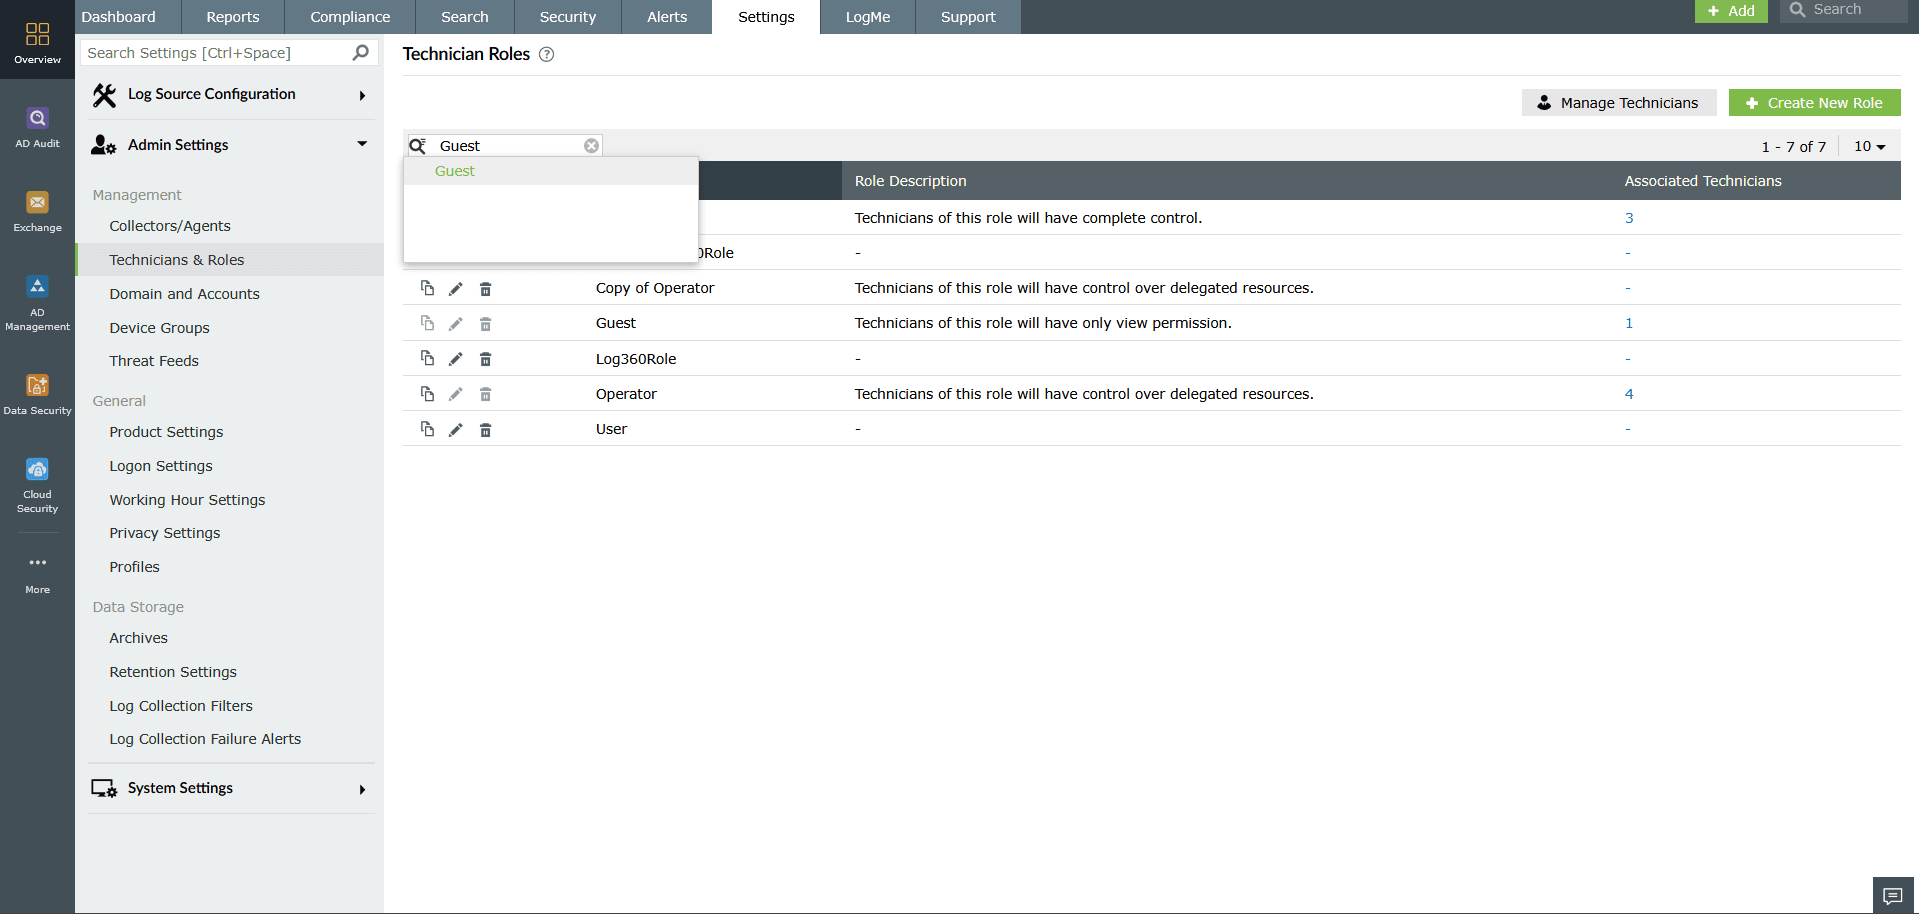
Figure 20: Searching for a role - To view the technicians associated with each role, click the number shown under the Associate Technician column.
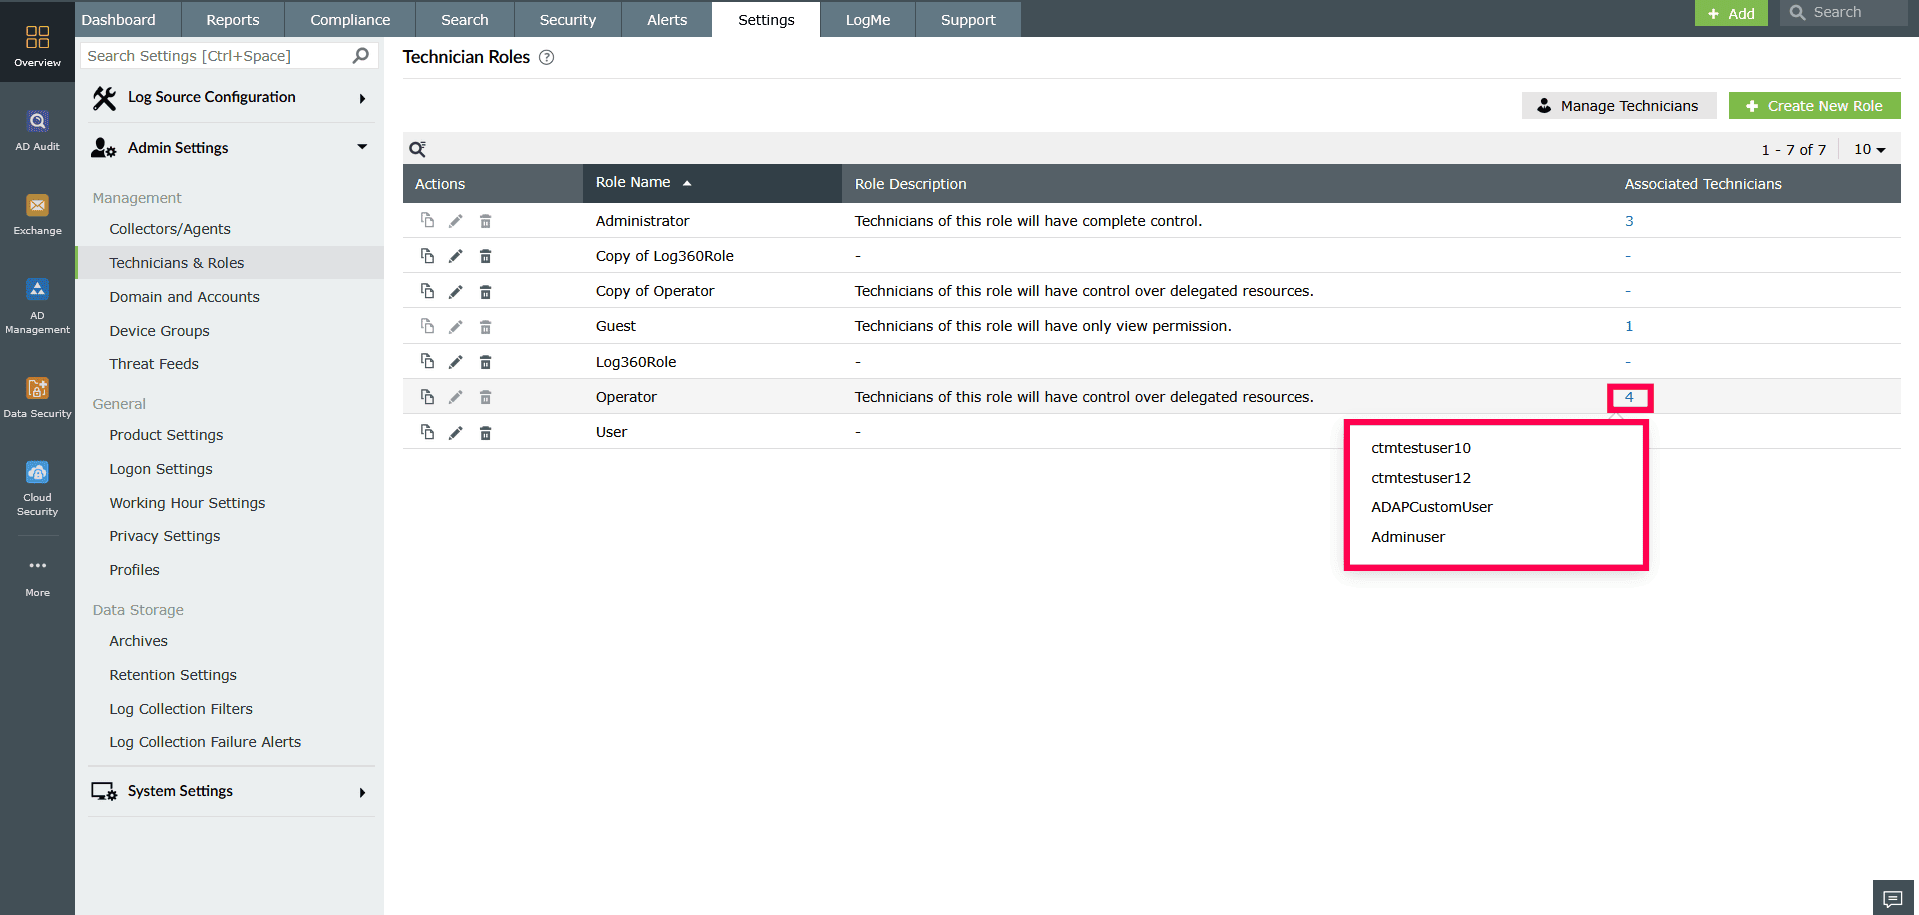
Figure 21: Viewing associated technicians
Read also
This page explained how to create and manage roles. For more details on the feature, see the articles below: