Managing technicians
Last updated on:
In this page
Overview
Centralized Technician Management offers a centralized interface for administrators to manage technician accounts from a single console. This section details how you can view, edit, delete, and update multiple technician details from the product console.
Viewing and managing technician details
- In your account, navigate to the Settings tab.
- Under Admin Settings, select Technicians and Roles.
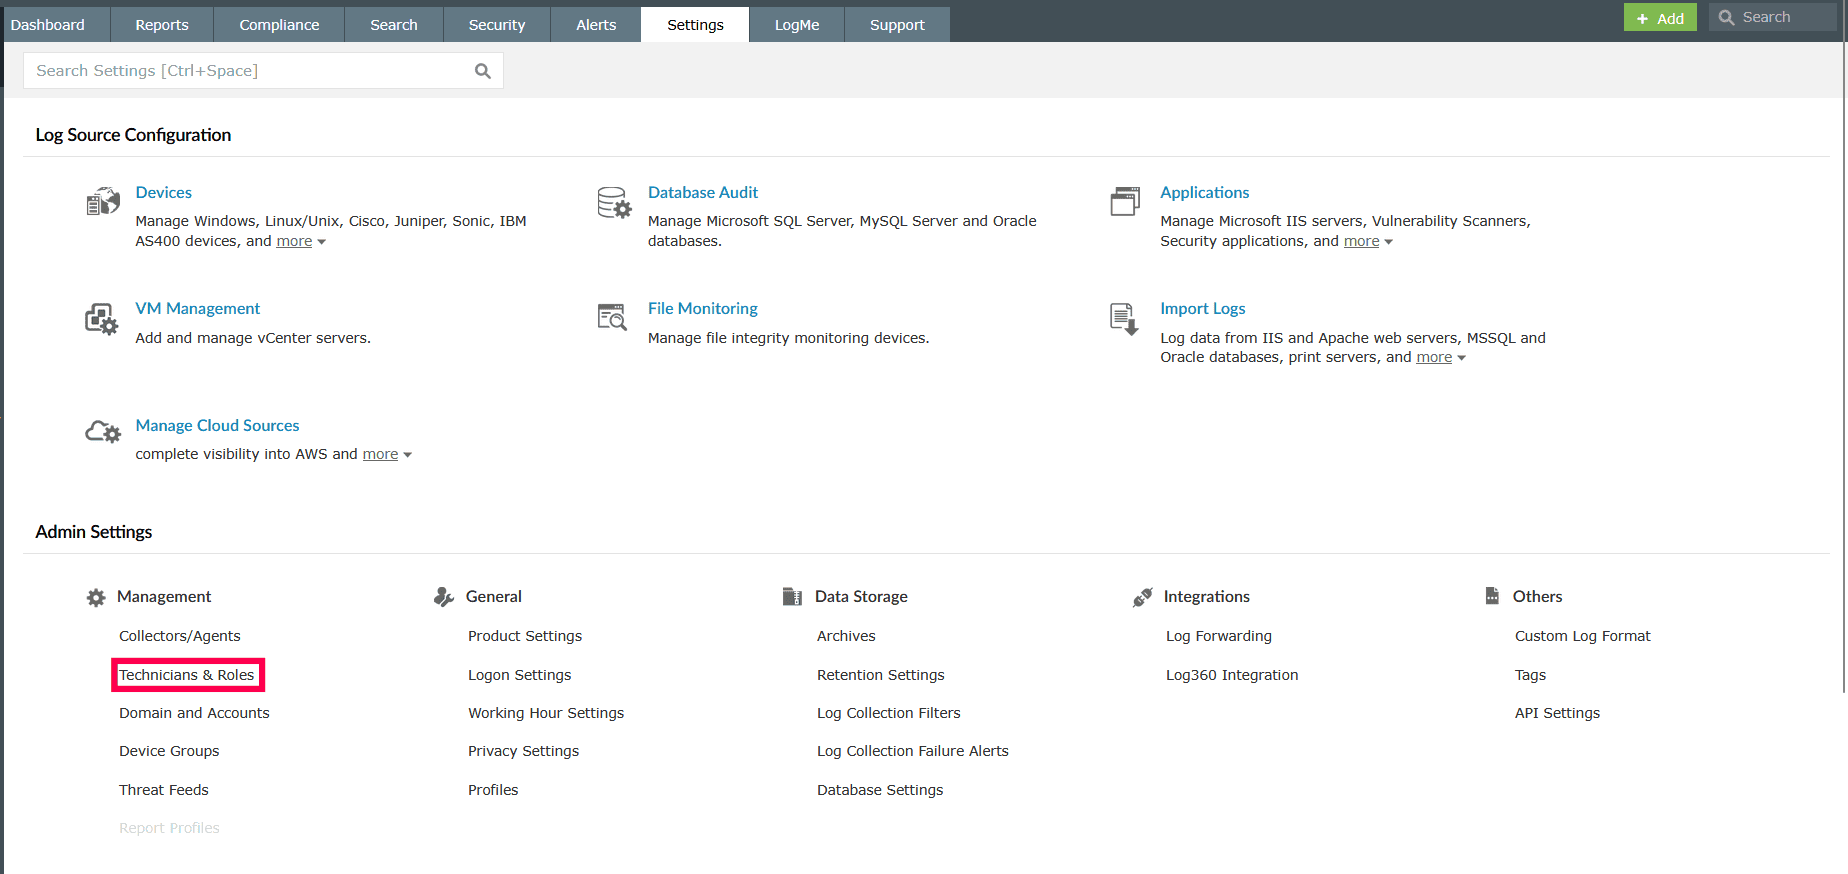
Figure 1: Navigating to Technicians and Roles - On the Manage Technicians page, click View Details for the desired technician.
NOTE In group view, users listed under Other Authentication are those originally created via a group or Organizational Unit (OU) but whose role and delegation settings have been modified within a Child Component.
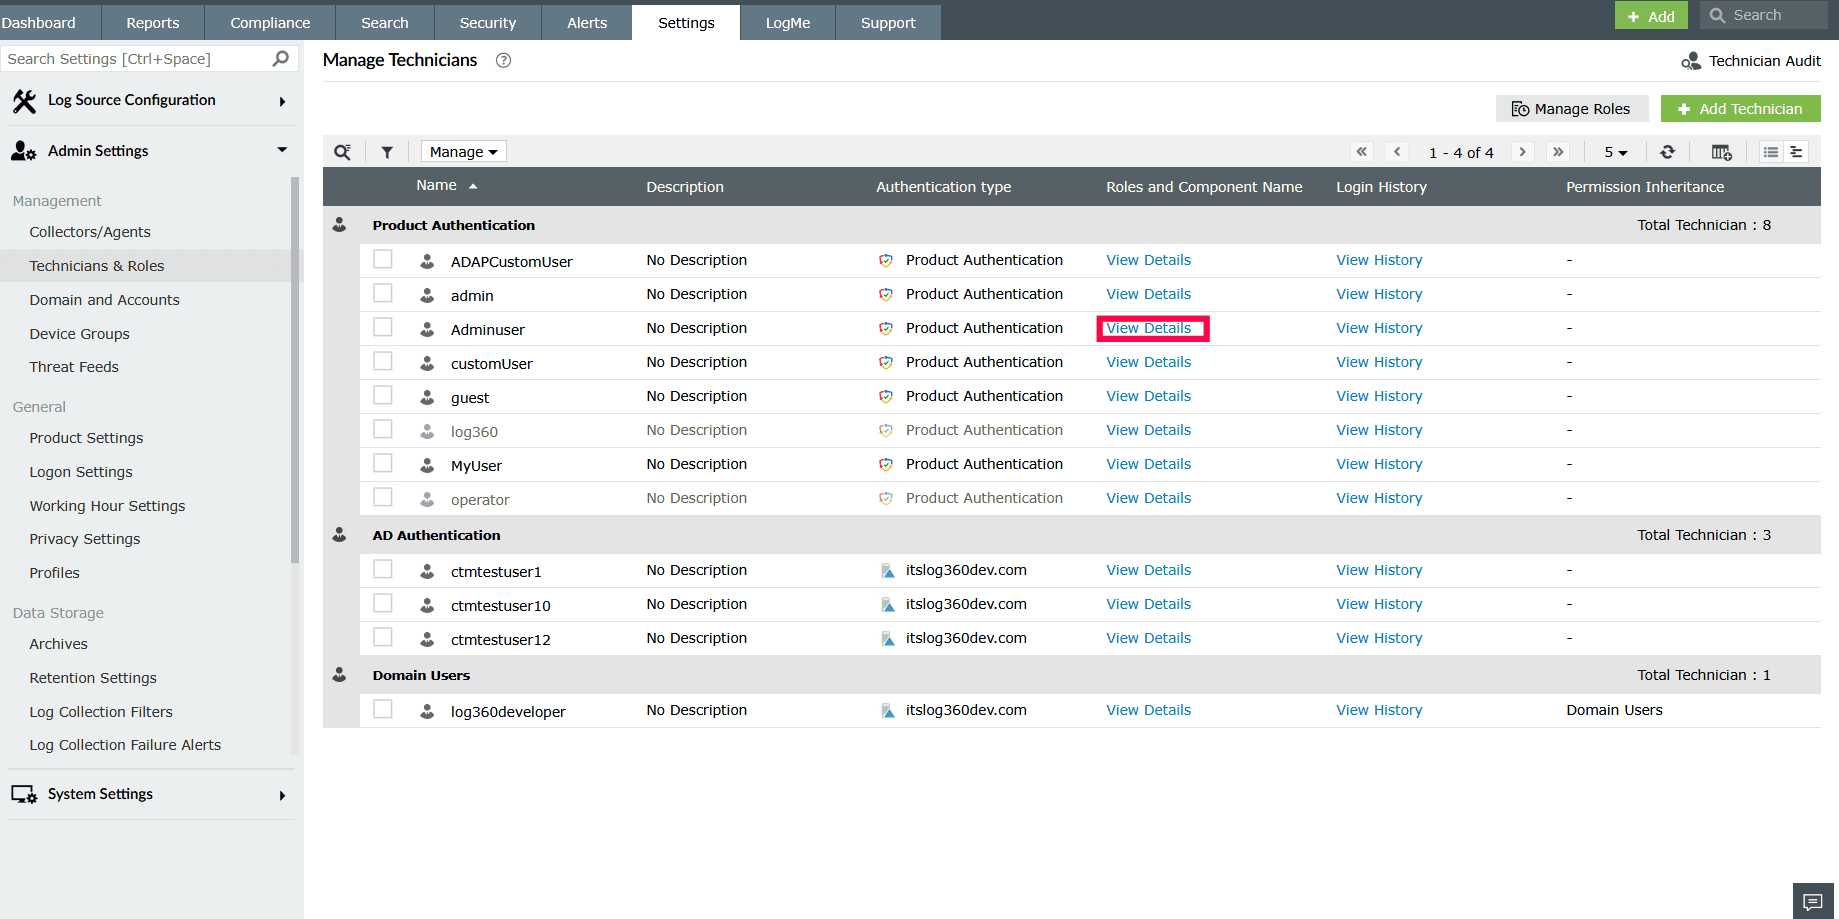
Figure 2: Viewing role and component details - In the details window, click
 icon next to any assigned component to disable.
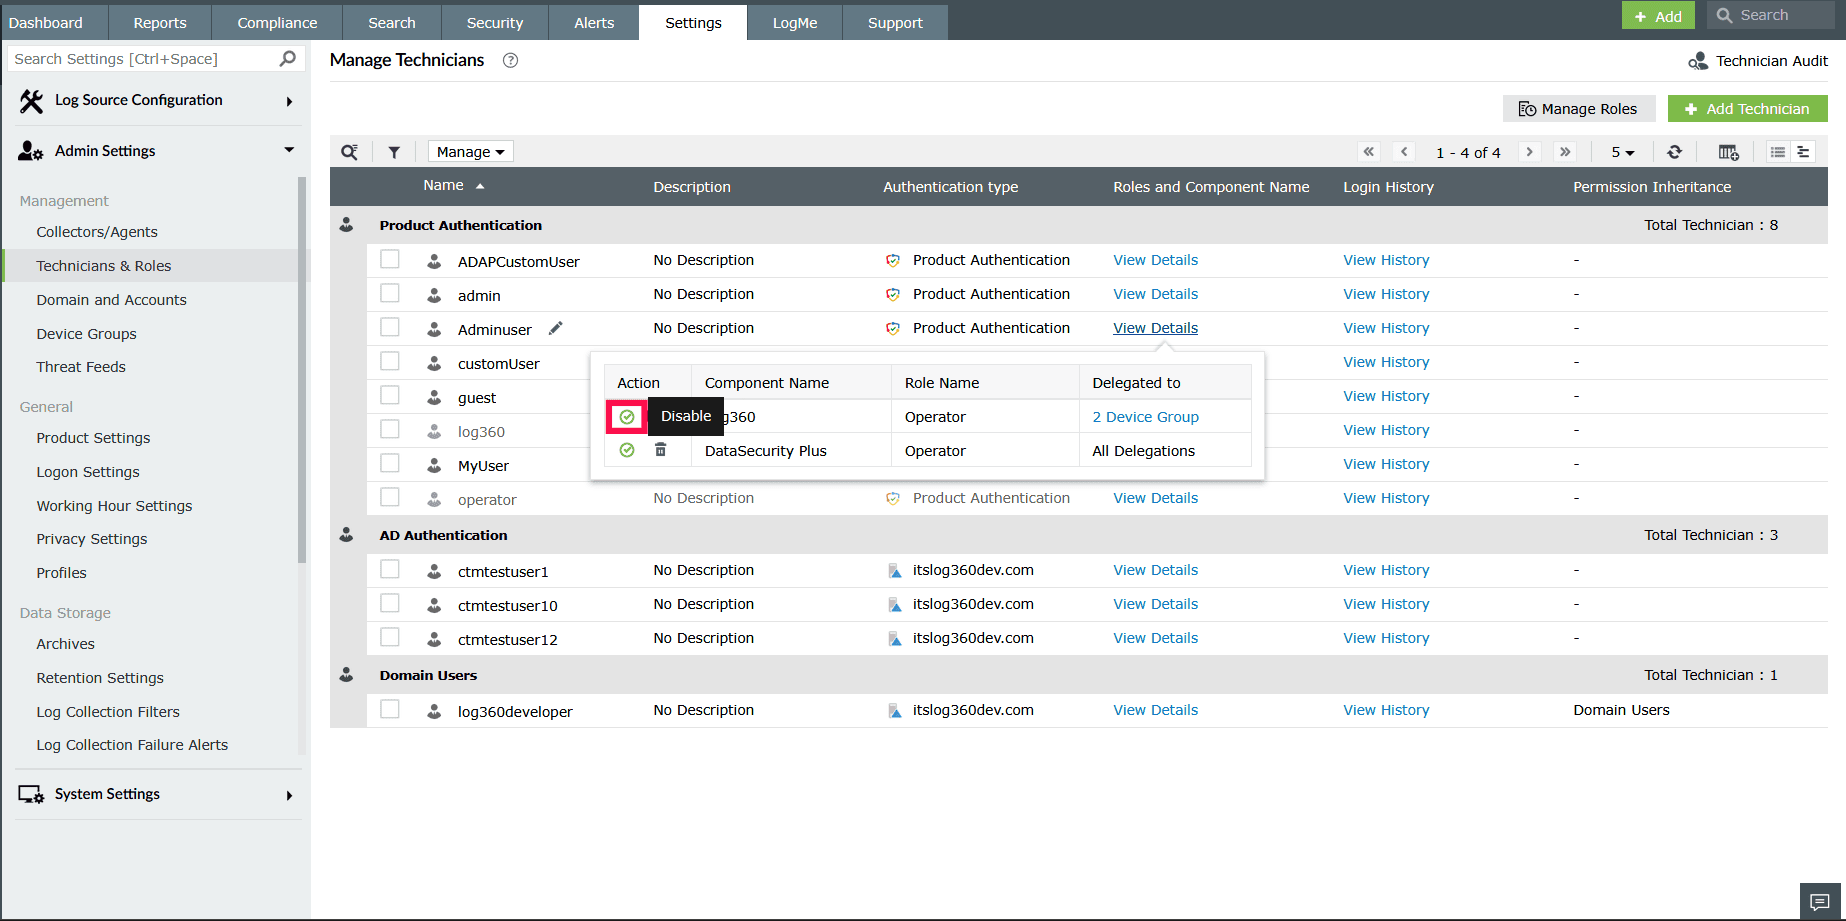
Figure 3: Disabling a component - In the confirmation pop-up, click Yes to disable.

Figure 4: Disabling a component - To re-enable, click the
 icon to reassign the component to the technician.
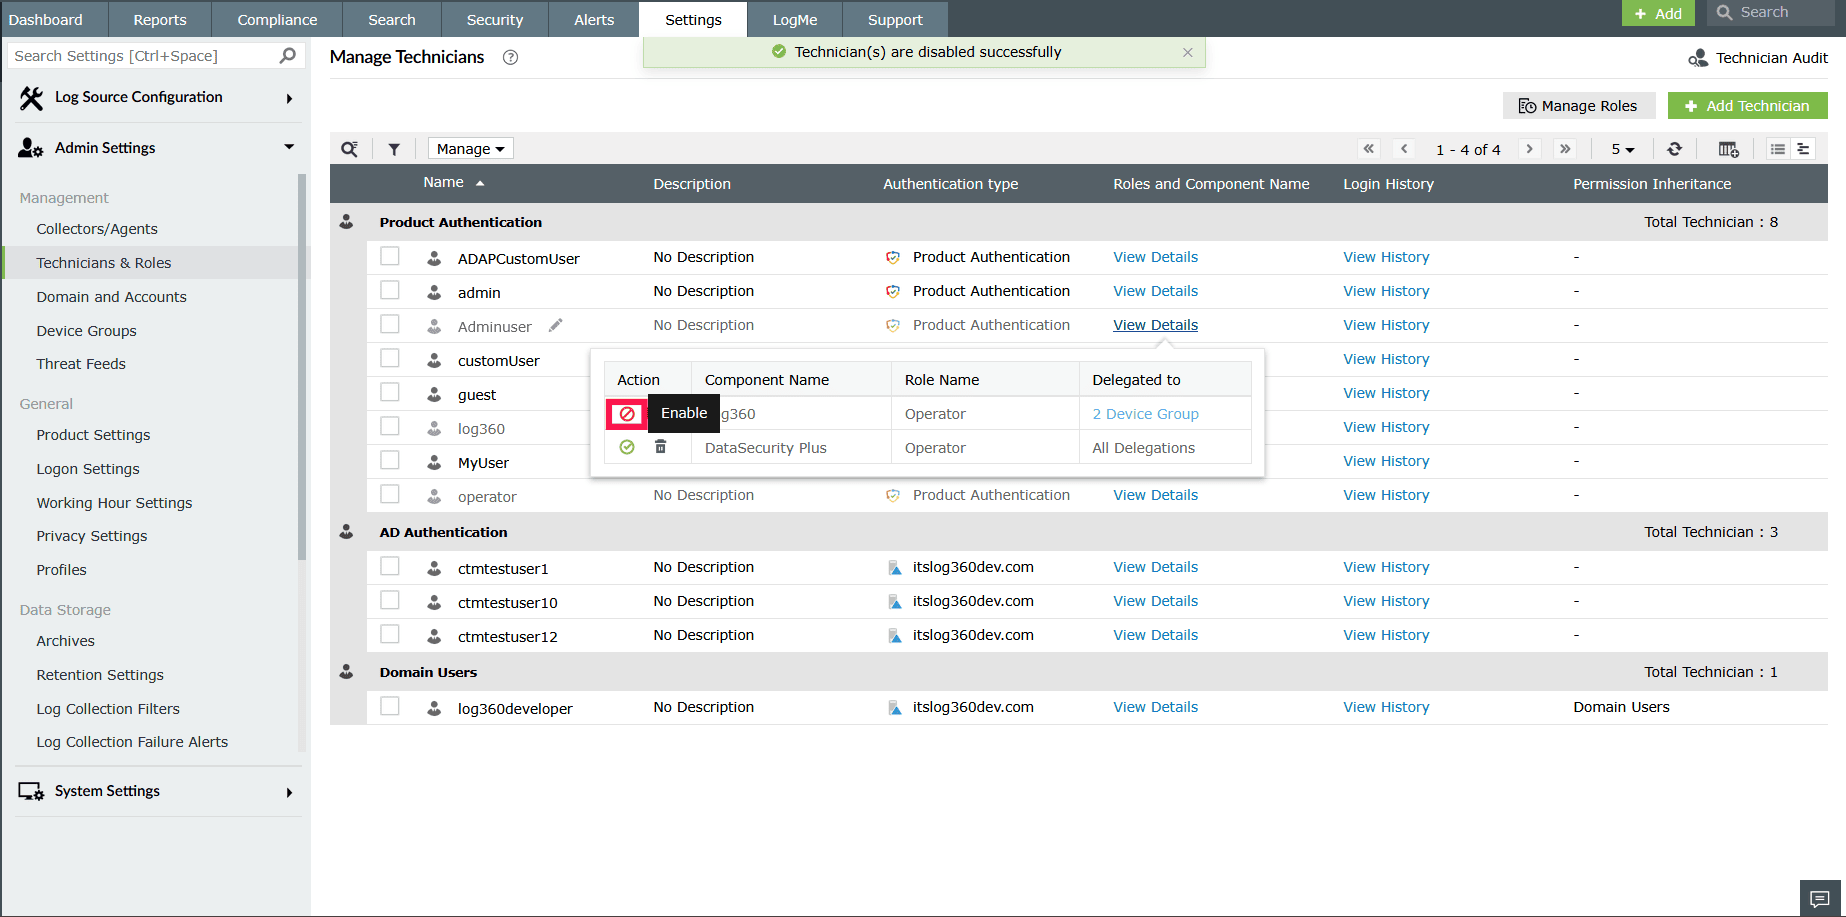
Figure 5: Enabling a component - Click the delete icon next to the component you want to remove.
NOTE Technicians created in Log360 can only be deleted after they have been removed as technicians from all the integrated components.
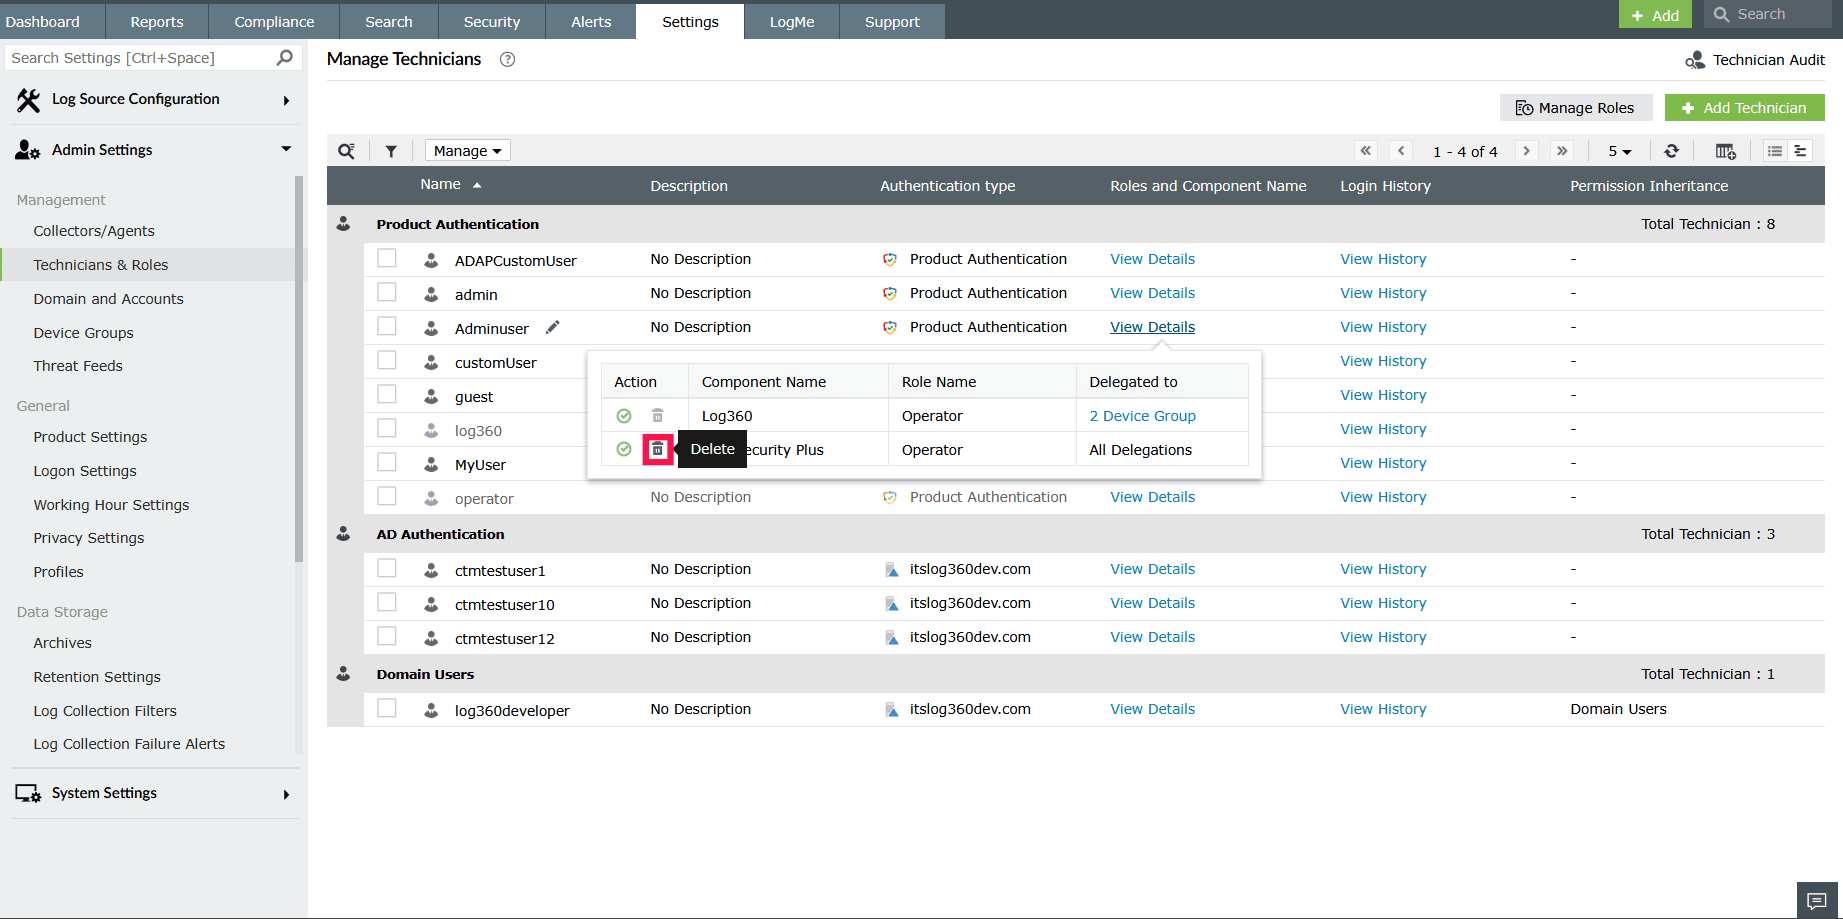
Figure 6: Deleting a component - Confirm the deletion in the pop-up by clicking Yes.
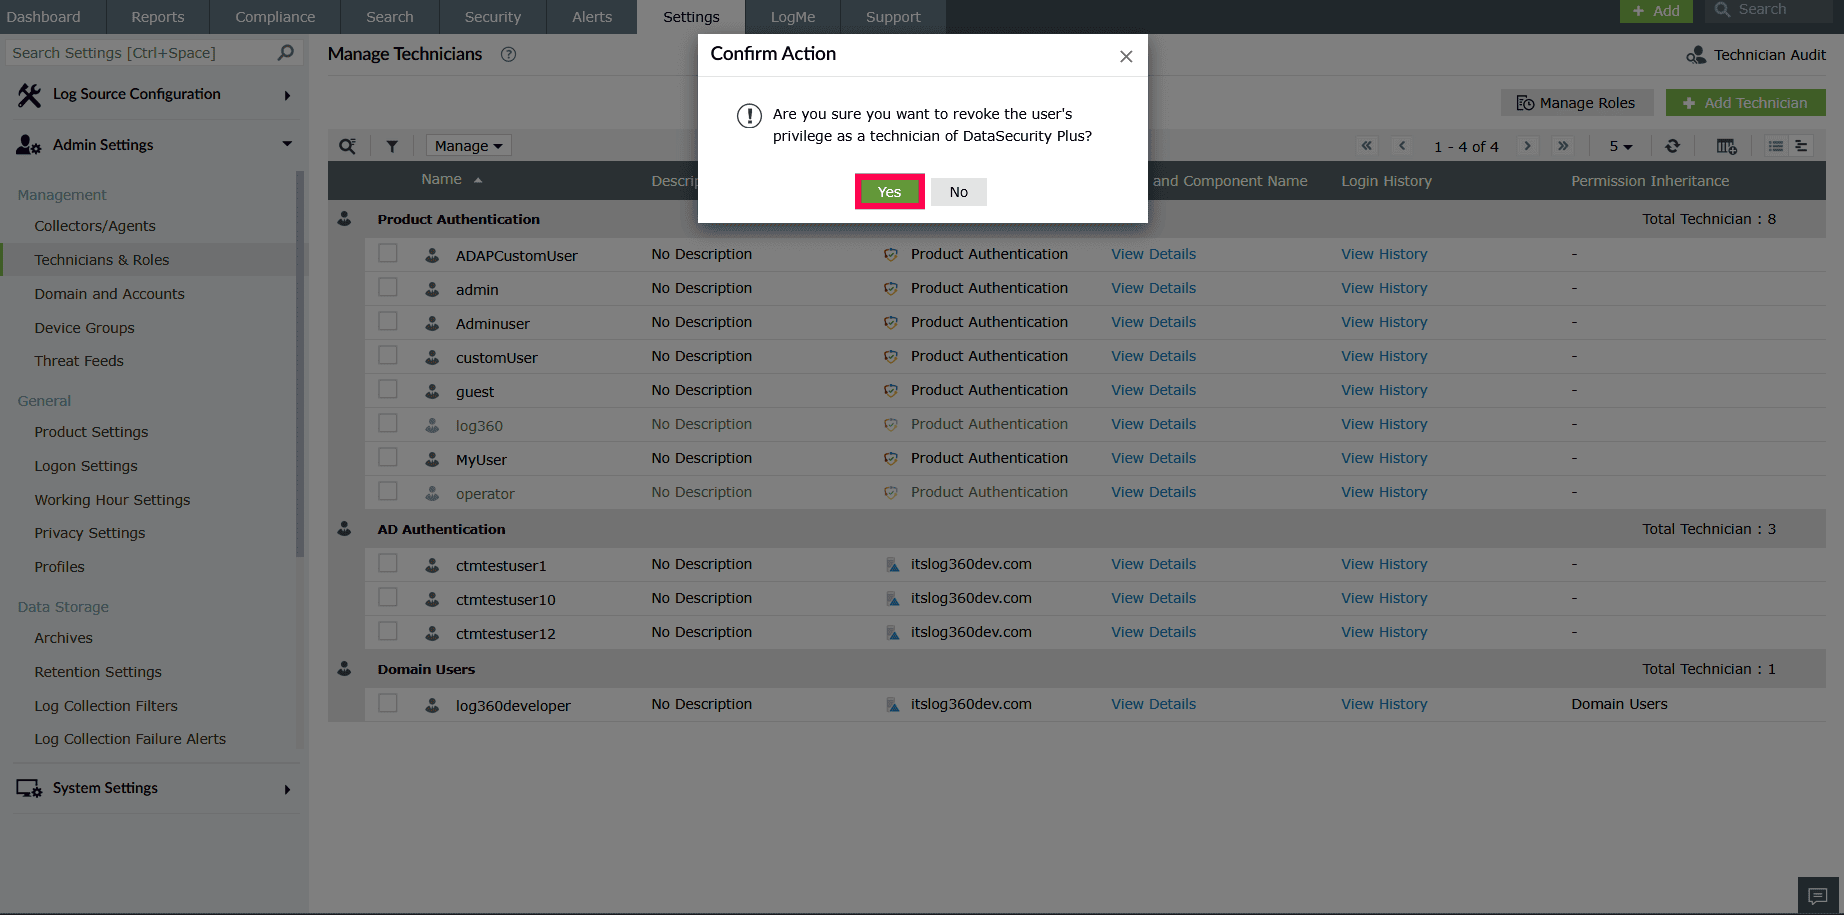
Figure 7: Confirming deletion - Click the device group hyperlink (for example, 2 Device Group) to open a list of all device groups assigned to the technician.
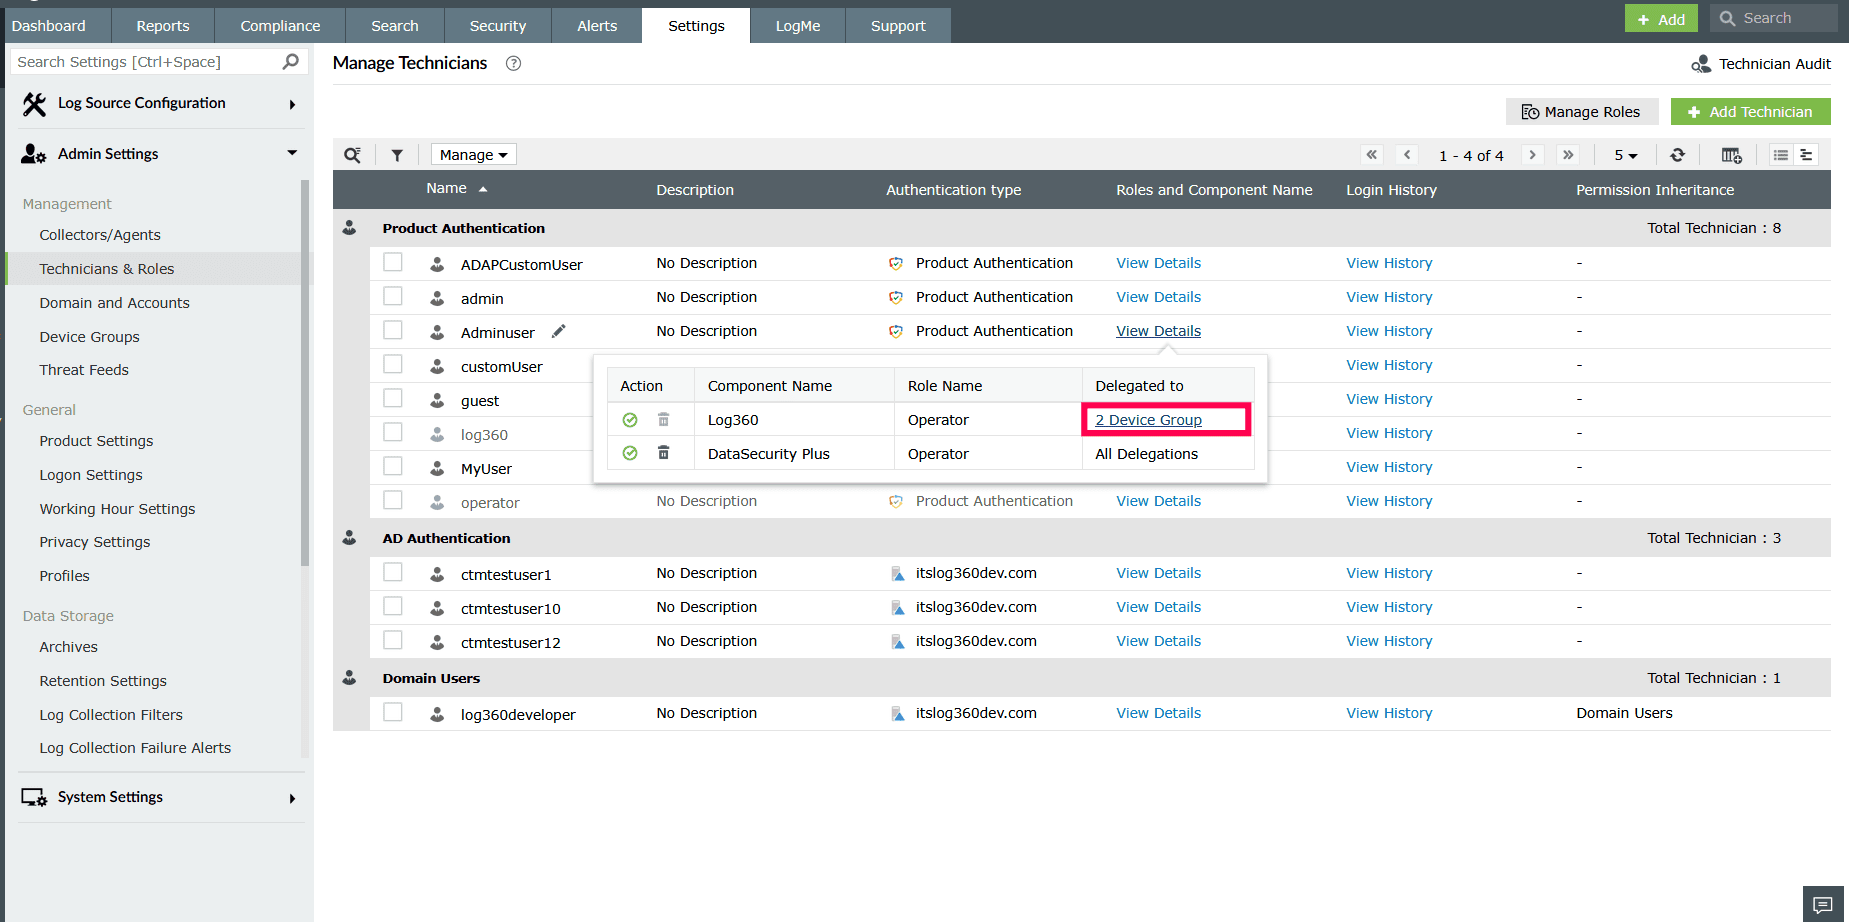
Figure 8: Viewing delegations - The window displays each group and the devices within it. You can also use the Search Device field to locate a device by name.
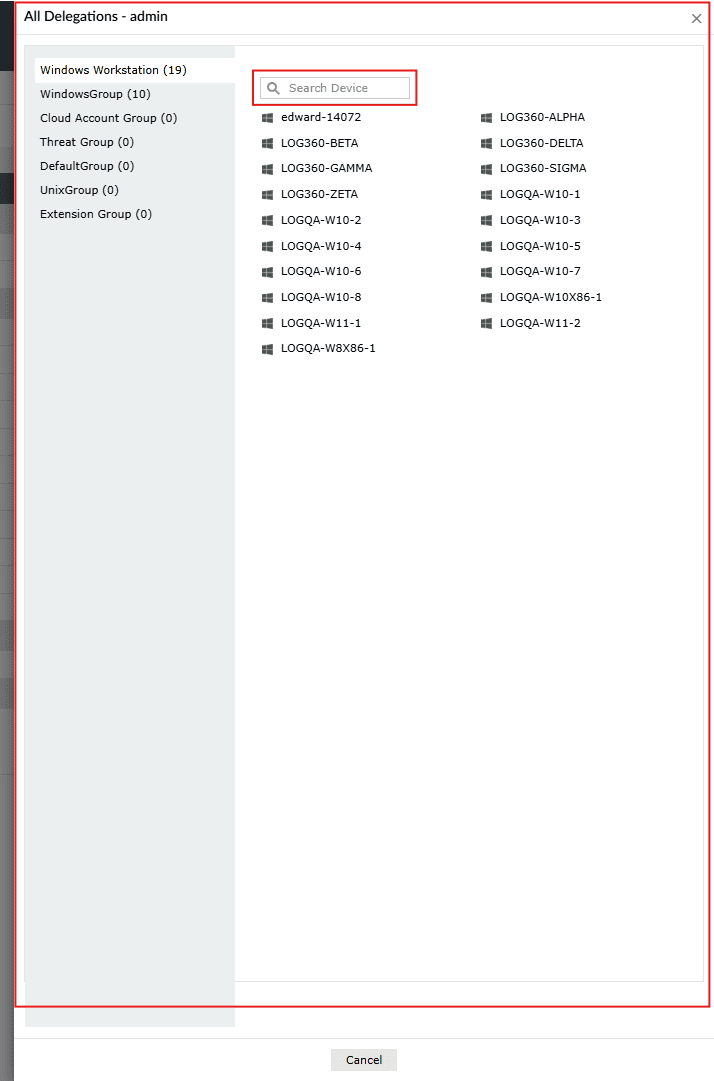
Figure 9: Viewing device groups - Under Login History, click View History to see detailed records of the technician's login activity, including logon and logoff times.
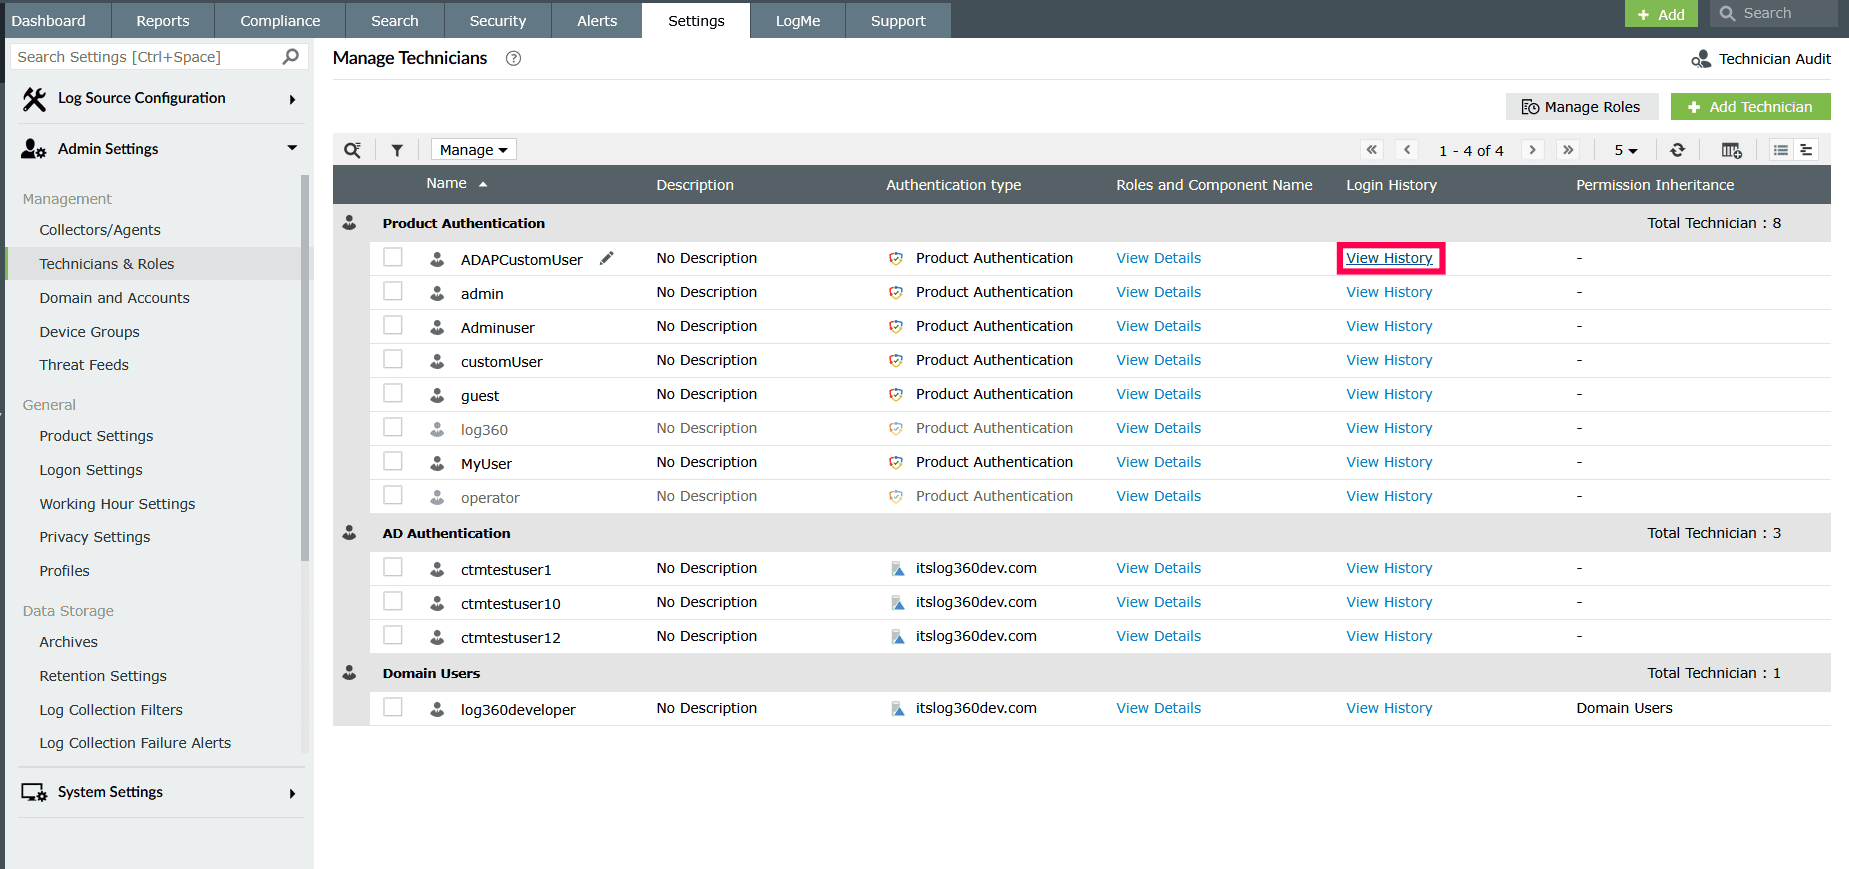
Figure 10: Viewing login history - You can also click the
 icon to locate devices by their IP address.
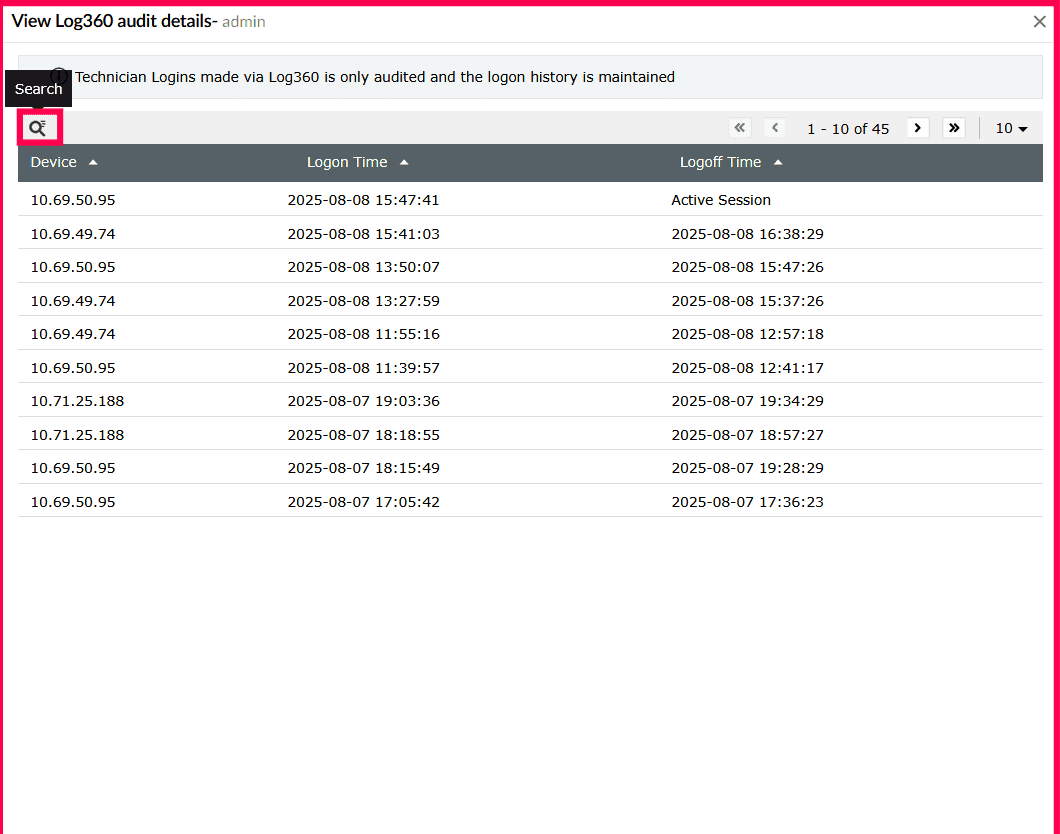
Figure 11: Searching devices using IP address - The Permission Inheritance column applies only to users belonging to a group or OU and indicates the specific group or OU from which their delegation, role, or permissions are inherited.
- Click the
 icon to add or remove columns. Select the checkboxes for the columns you want to display, then click Apply to save your changes.
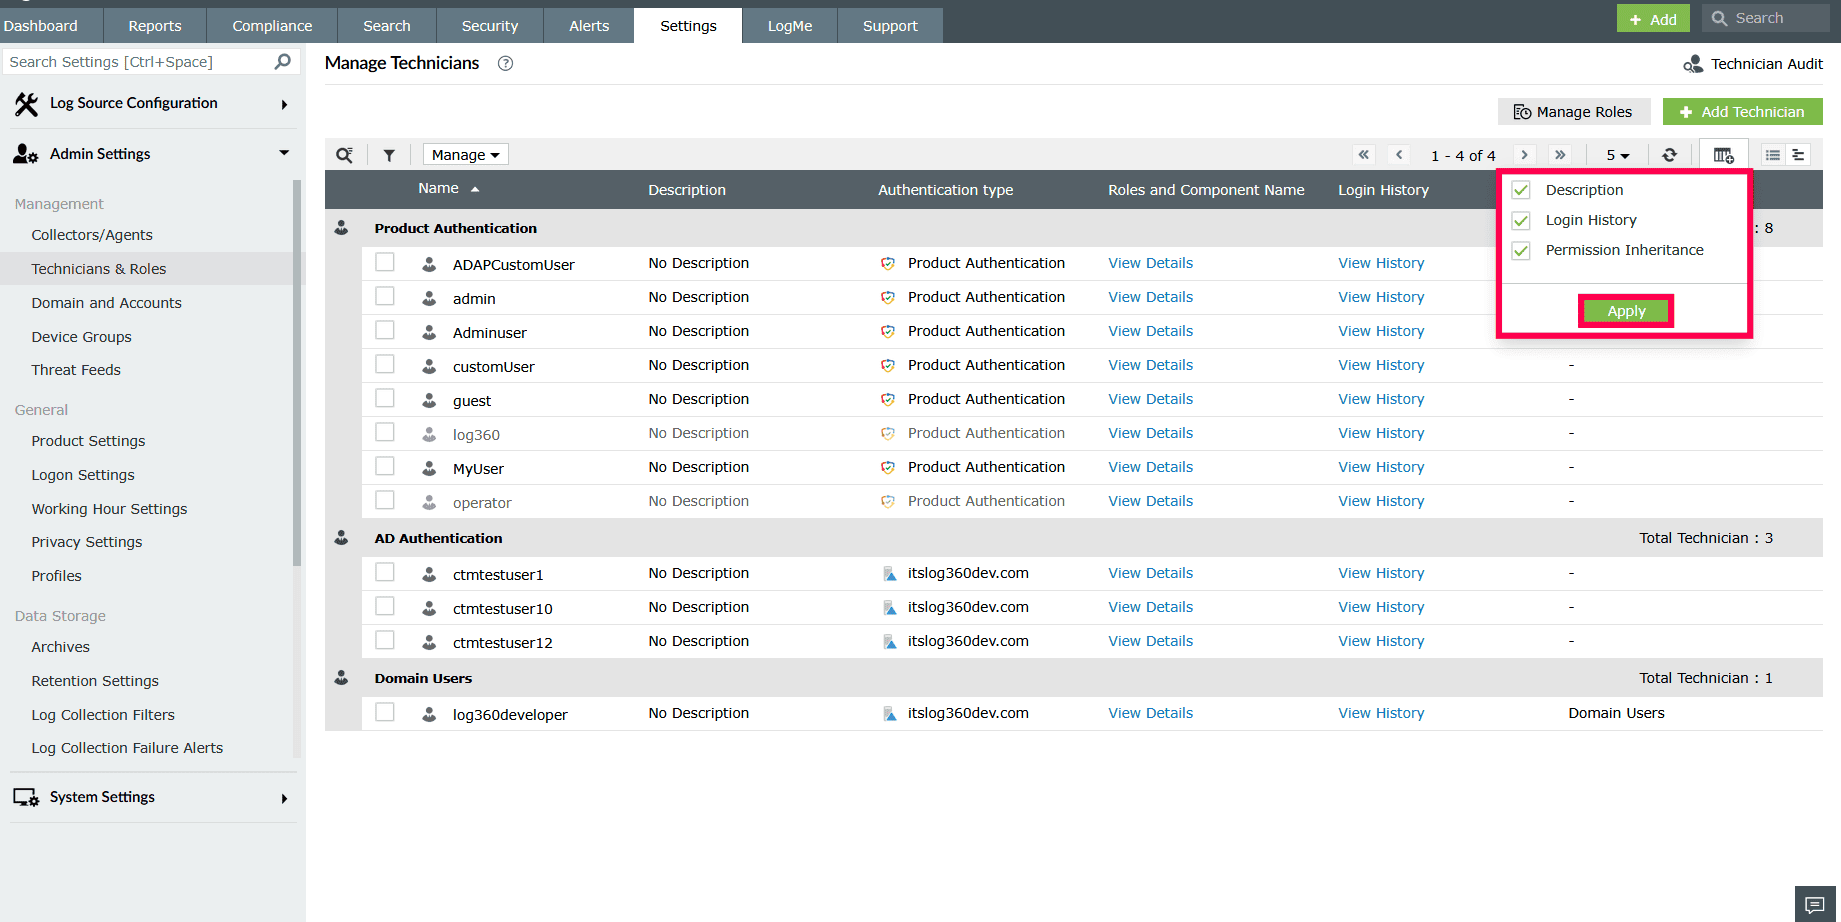
Figure 12: Adding or removing columns - In the top right corner, click this
 icon to switch to group view, and this
  icon to switch to table view.
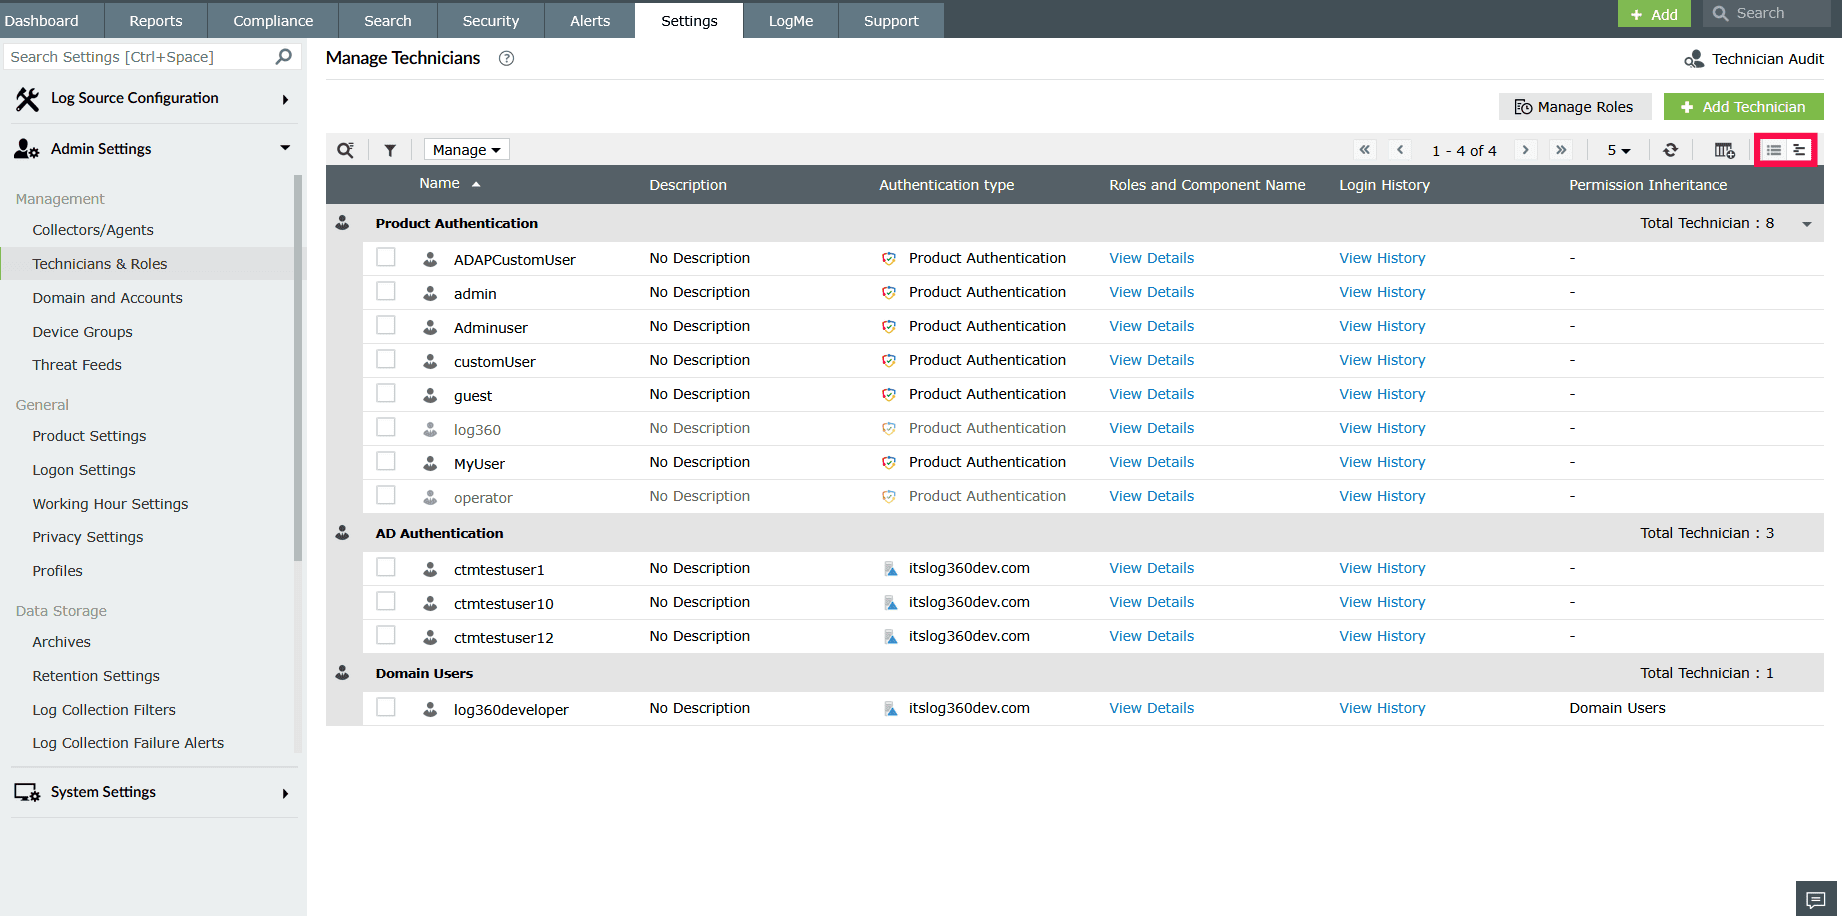
Figure 13: Table view and group view - In the Manage Technicians page, use the icon in the top-left corner to find a technician by name.
- Click the
 icon to narrow down the technician list.
 - In the first dropdown, select the attribute you want to filter by:
- Name
- Authentication Type
- Log360 Roles
- Object Type
- Status
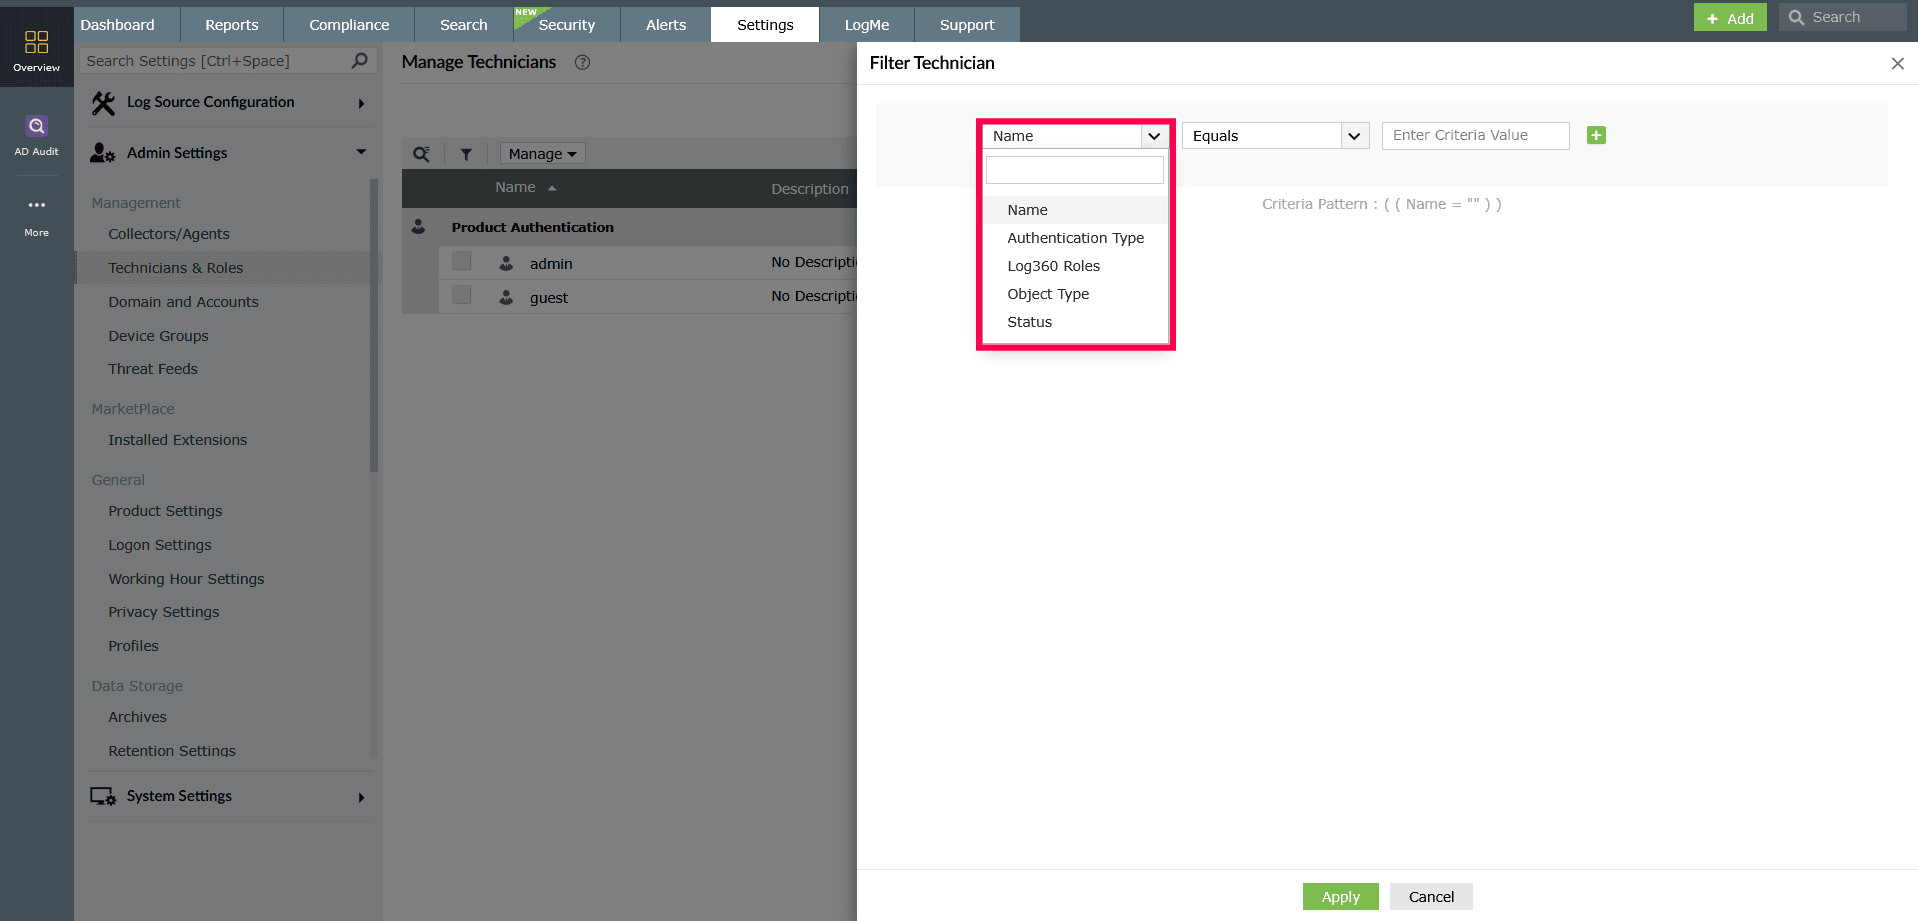
Figure 14: Filtering technicians - The available matching conditions vary based on the selected attribute:
- Name: Equals, Not Equals, Contains, Not Contains, Starts With, Ends With
- Authentication Type, Log360 Roles, Object Type, Status: Equals, Not Equals
- In the next field, enter or select the desired criteria value.
- To add more than one filter condition, click the
 icon and choose whether the additional condition should be applied using AND (both conditions must match) or OR (either condition can match).
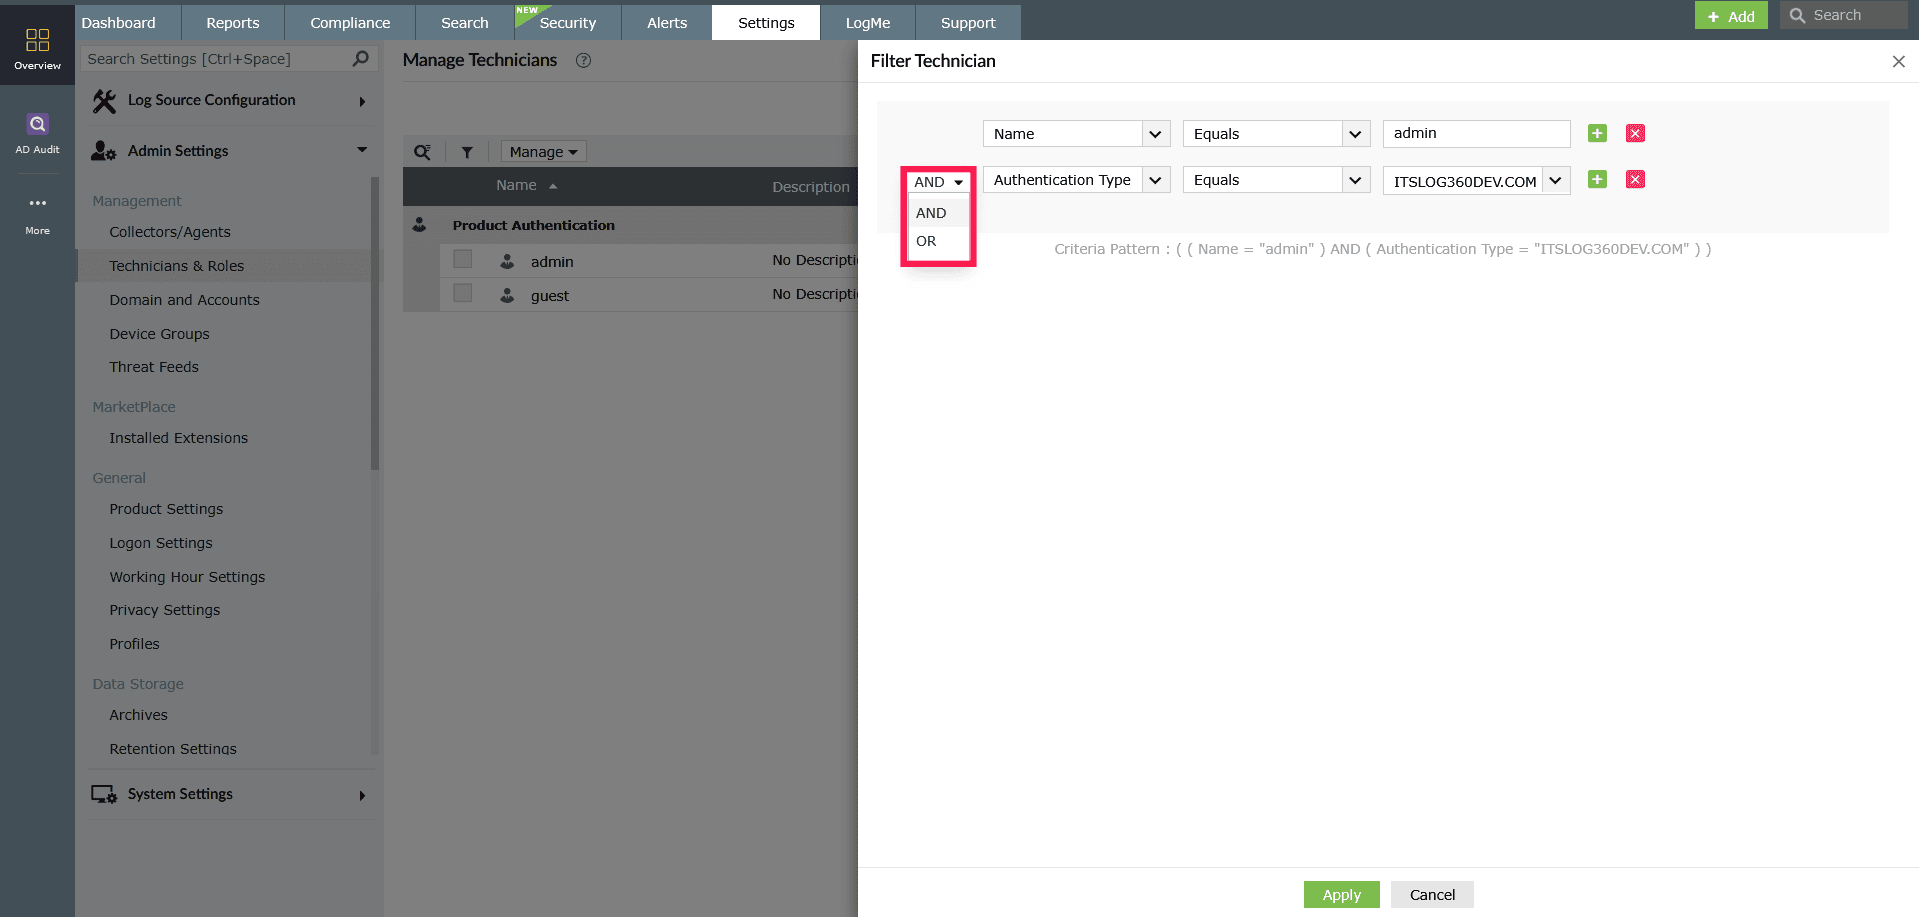
Figure 15: Filtering technicians - To remove a condition, click the
 icon next to it.
 - Click Apply to filter the list of technicians based on your chosen criteria.
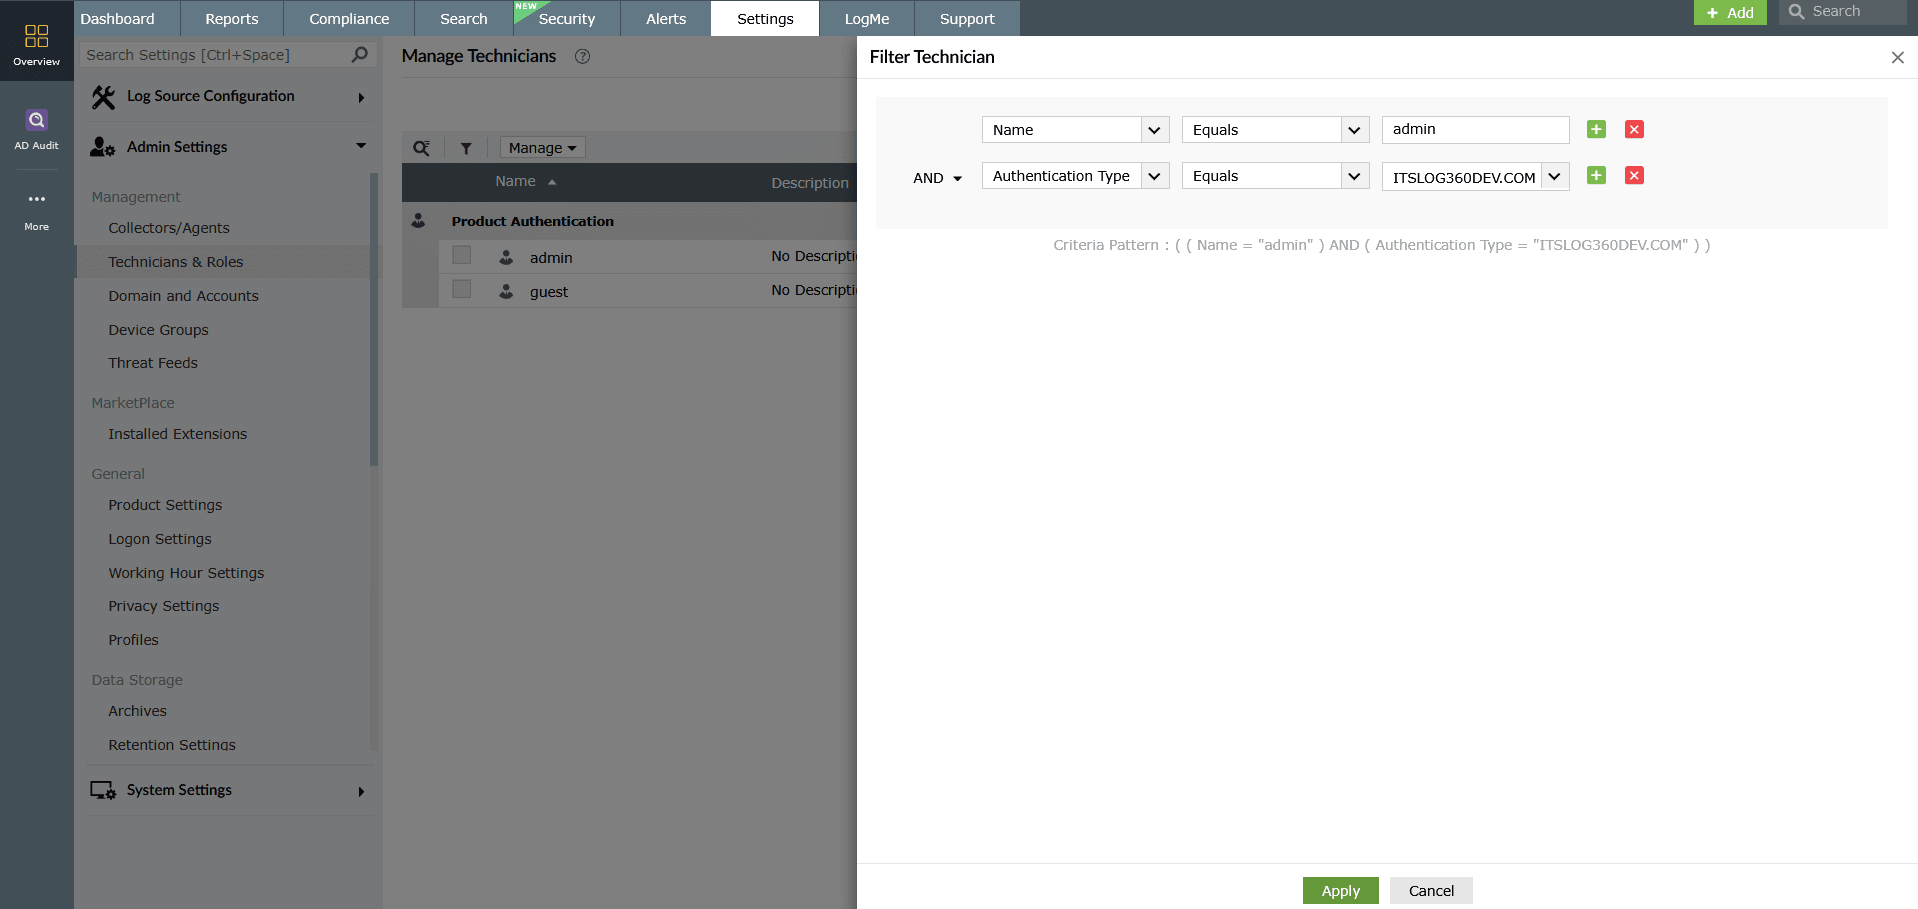
Figure 16: Filtering technicians
Editing technician settings
- In the Manage Technicians page, hover over the technician's name and click the
 icon to modify the technician's settings.
NOTE Changes to technician's roles, permissions, and delegations made directly in a child component's console will be synchronized with Log360. However, password changes are not synced.
icon to modify the technician's settings.
NOTE Changes to technician's roles, permissions, and delegations made directly in a child component's console will be synchronized with Log360. However, password changes are not synced.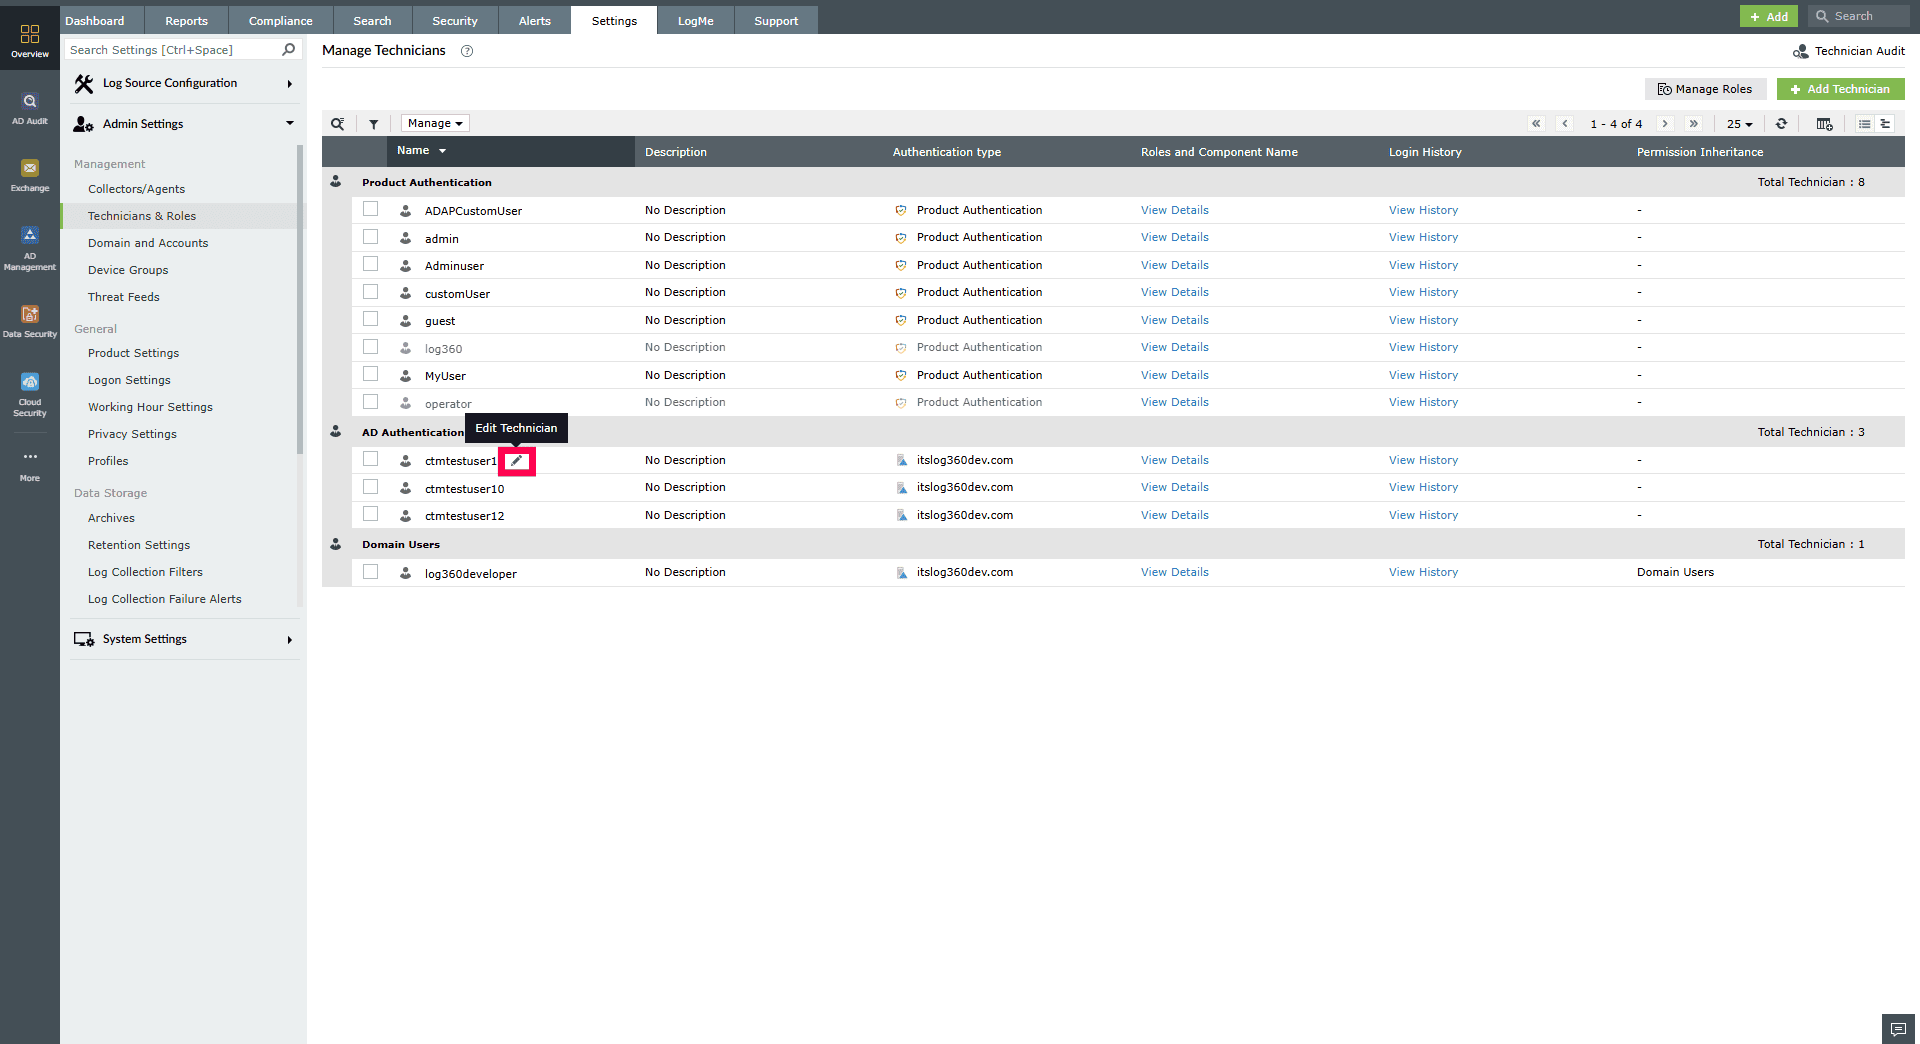
Figure 17: Editing technician settings - In the Edit Technician page, make the required changes.
NOTE If you add a new component to an existing technician, you must reset the password.
- Click Update to save the changes.
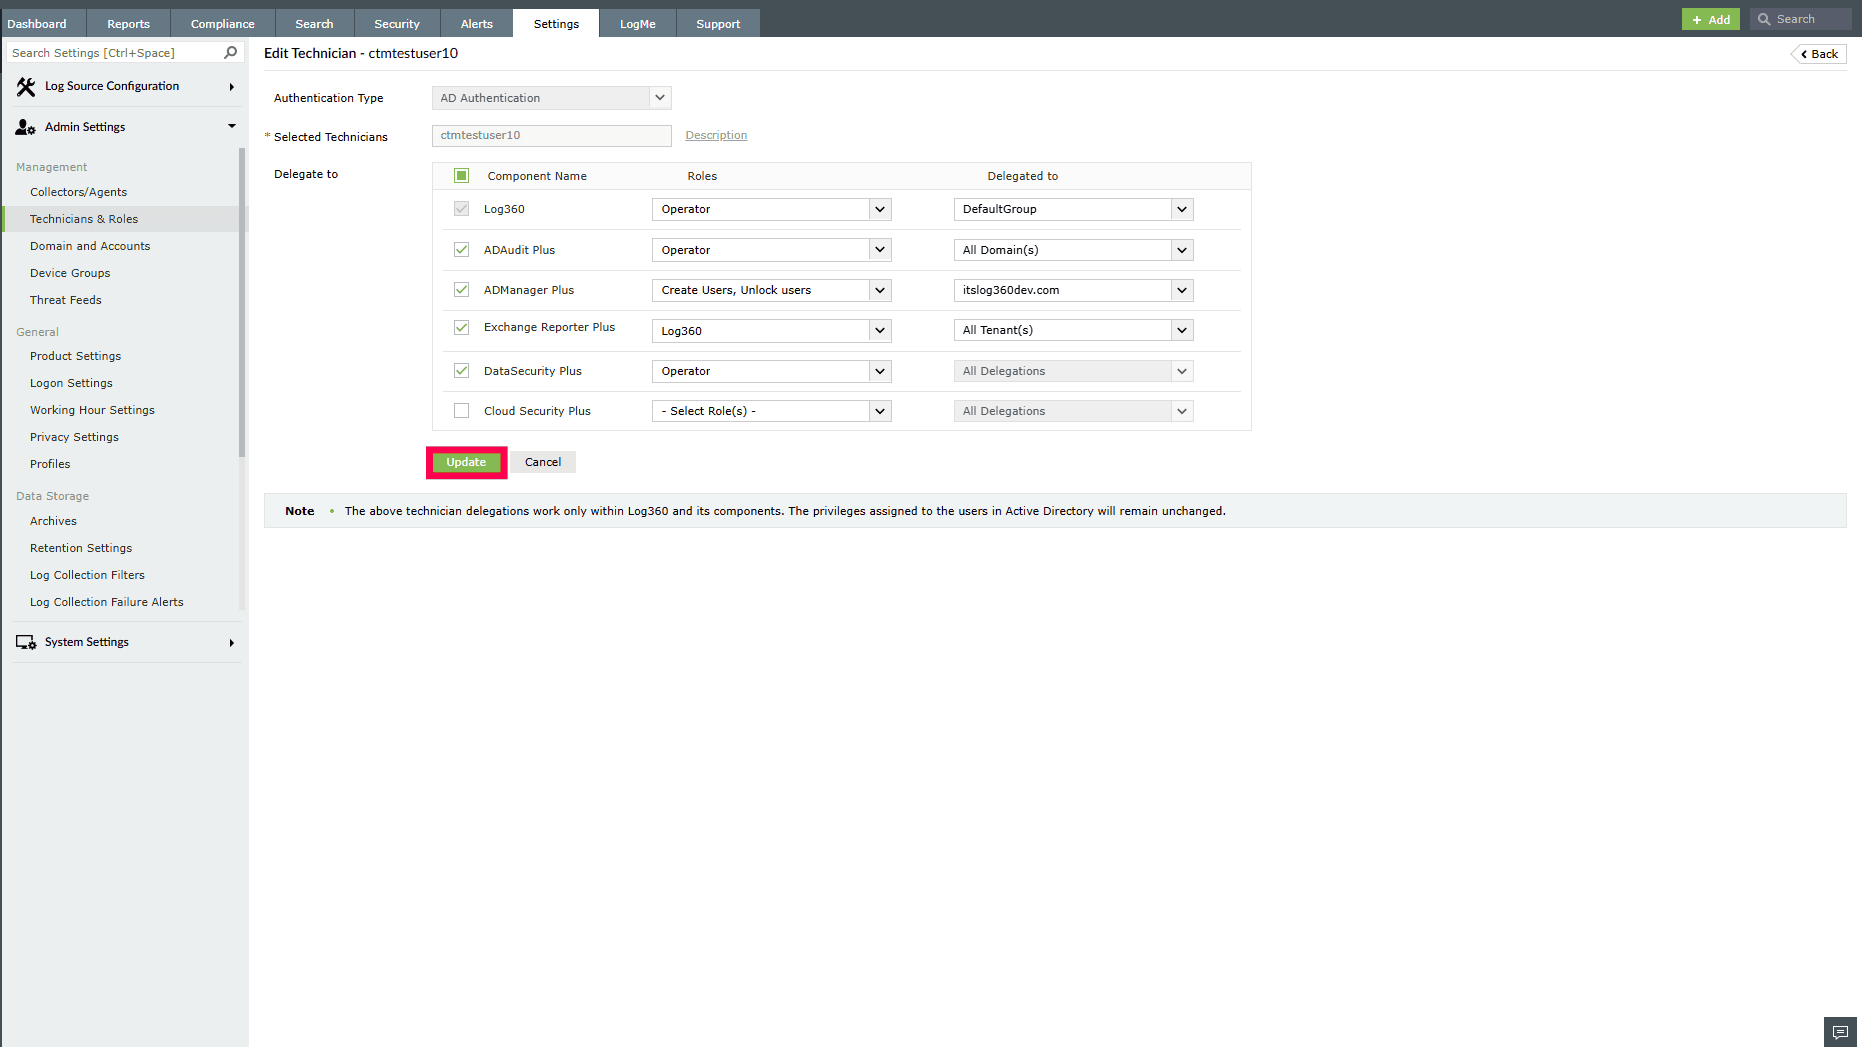
Figure 18: Updating technician settings - To edit a group, hover over its name and click Edit.
NOTE If a technician who belongs to an AD group is edited, they will be removed from that group and appear as an individual technician under AD Authentication in the grouped view.
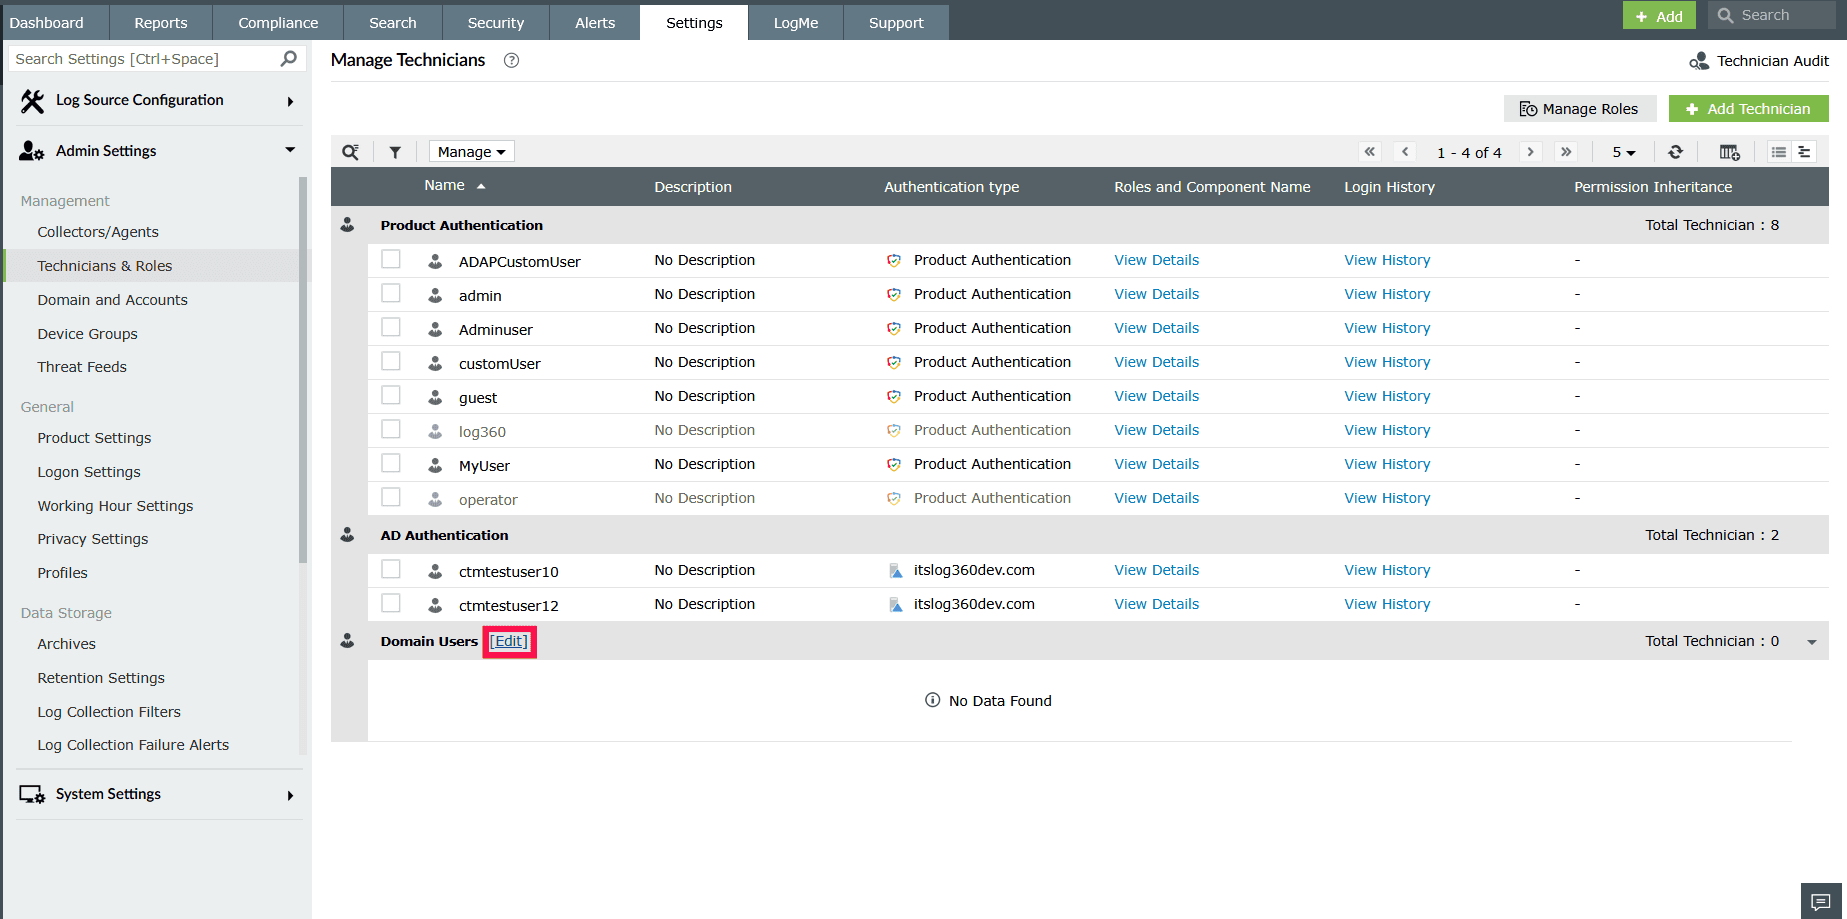
Figure 19: Modifying group settings - In the Edit Technician page, make the required changes and click Update to save the changes.
Editing settings for multiple technicians
NOTE Editing multiple technicians at once is not supported for default technicians or for the currently logged-in user.
- On the Manage Technicians page, select the checkboxes next to the technicians you want to edit.
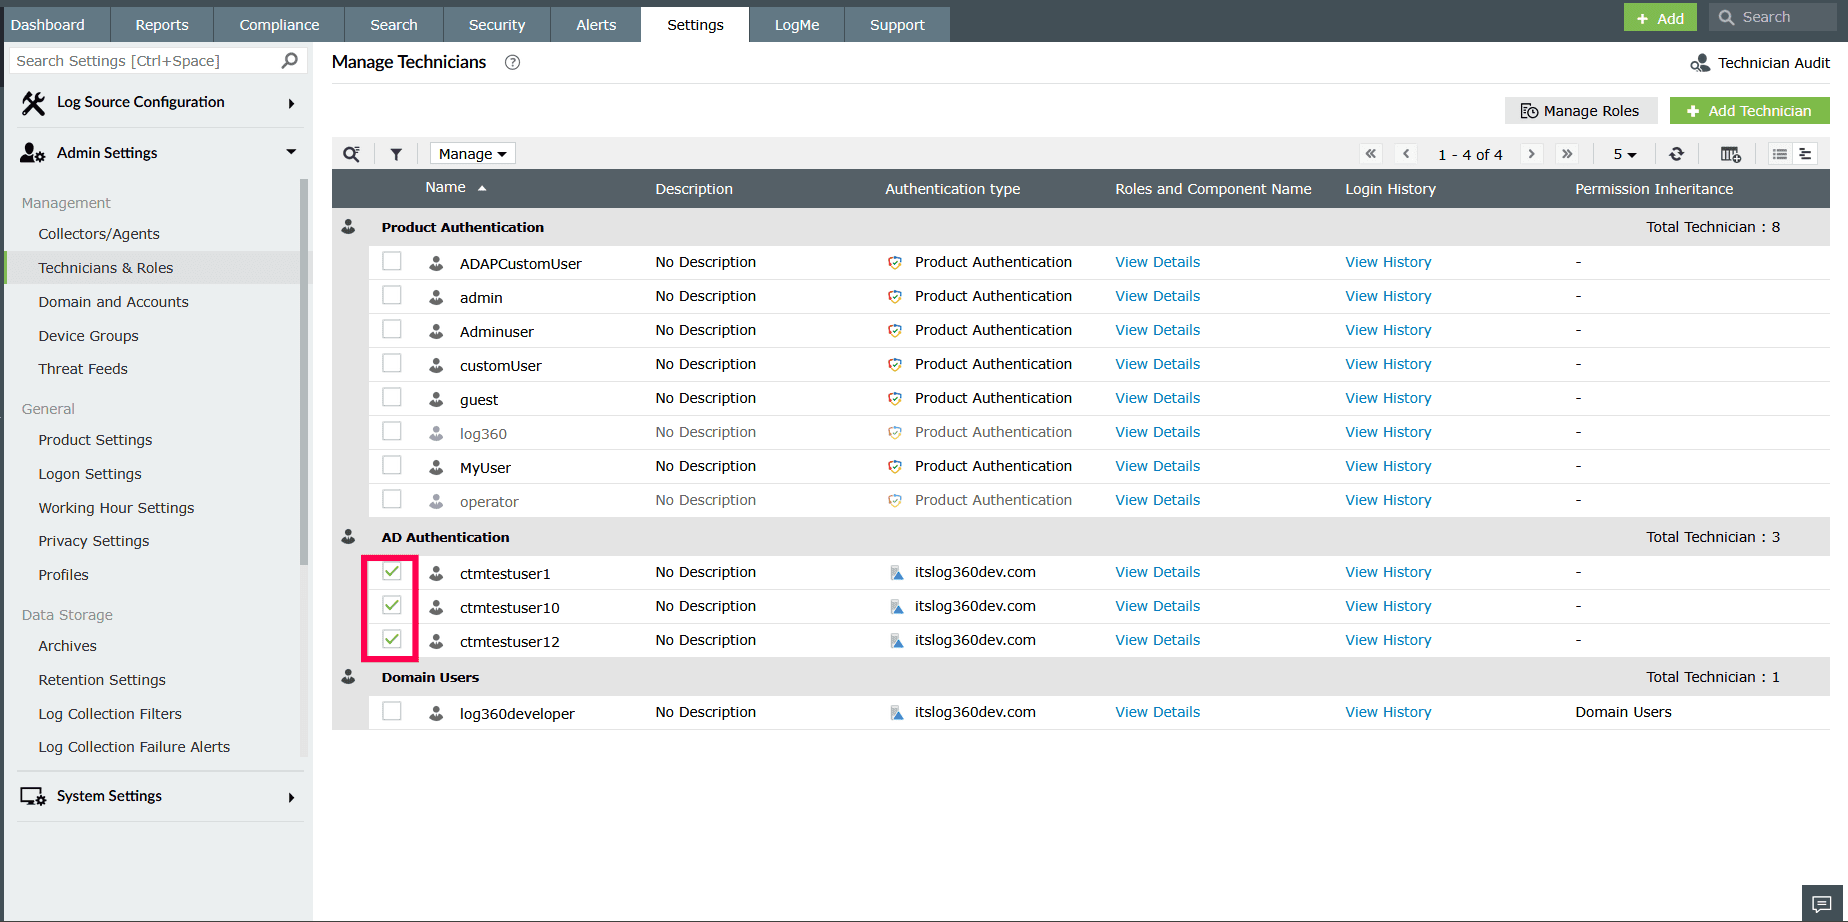
Figure 20: Selecting technicians - Click the Manage drop-down menu.
- From the menu, click Edit to update settings for multiple technicians.
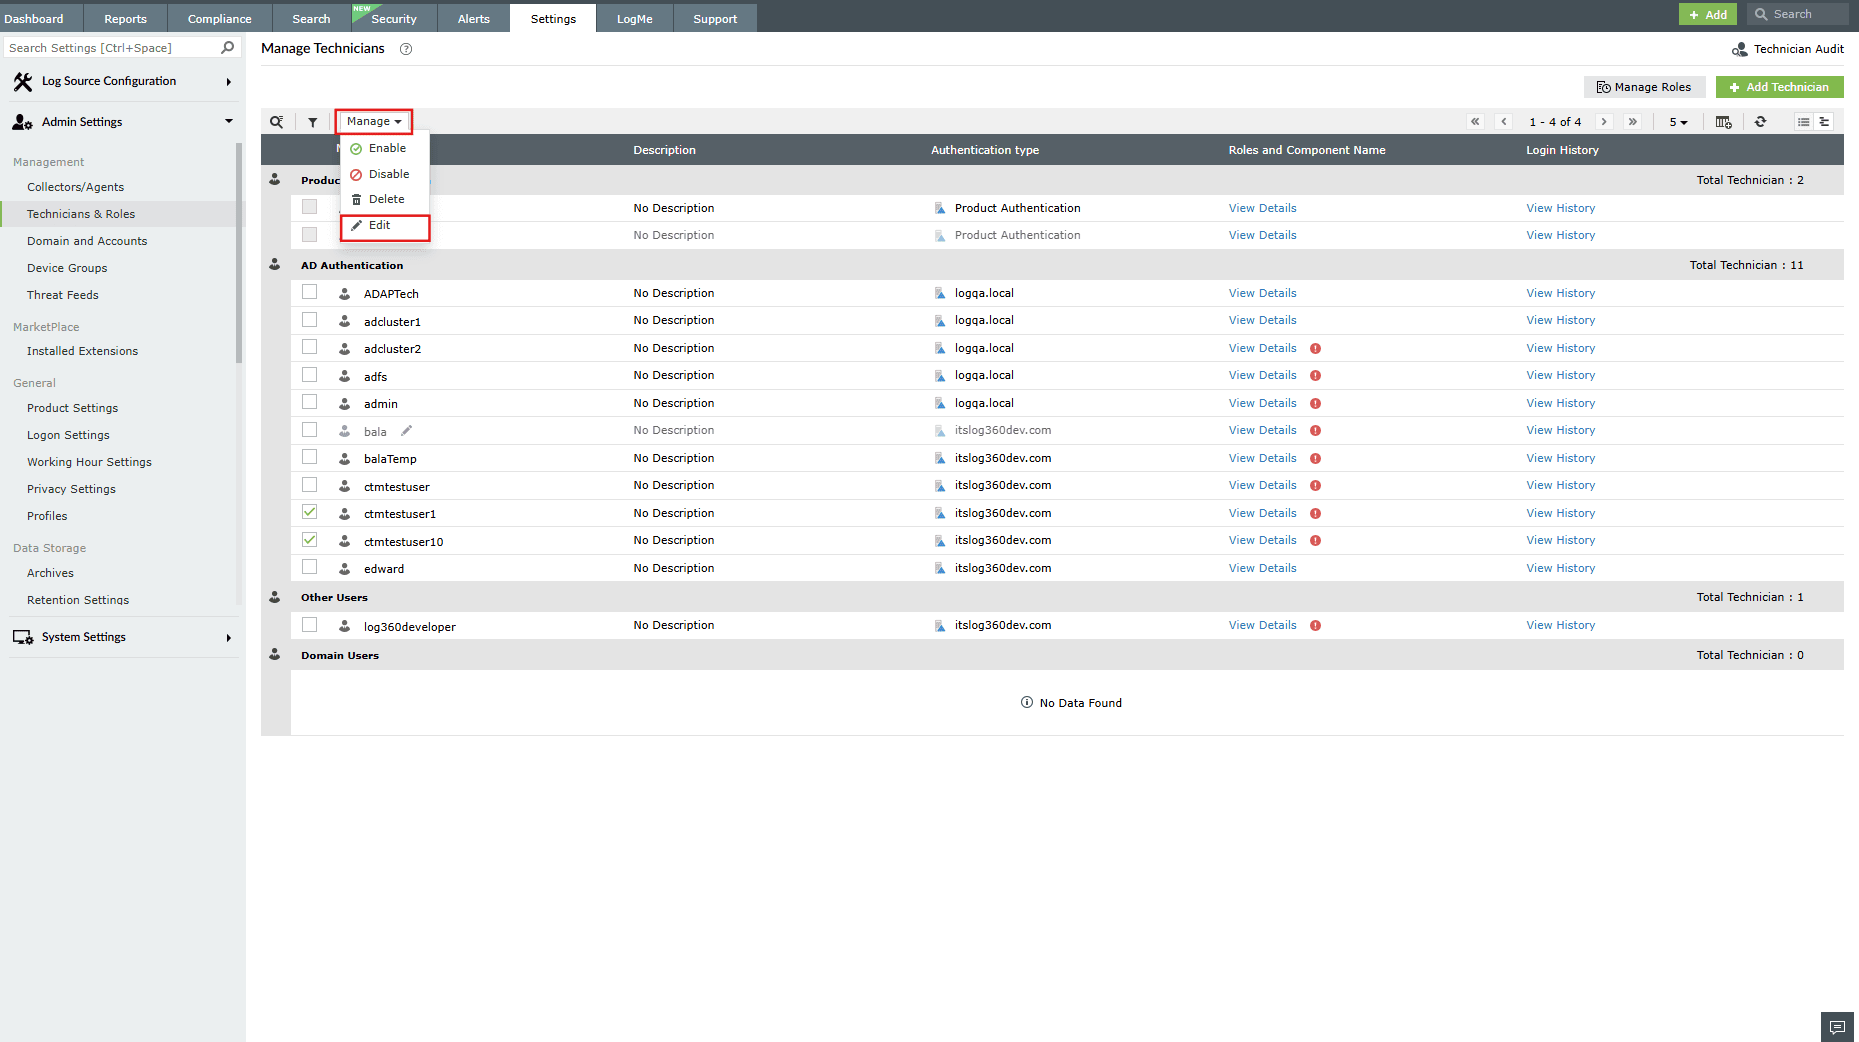
Figure 21: Editing settings for multiple technicians - Make the required changes to the selected technicians.
- Click Update to apply the changes.
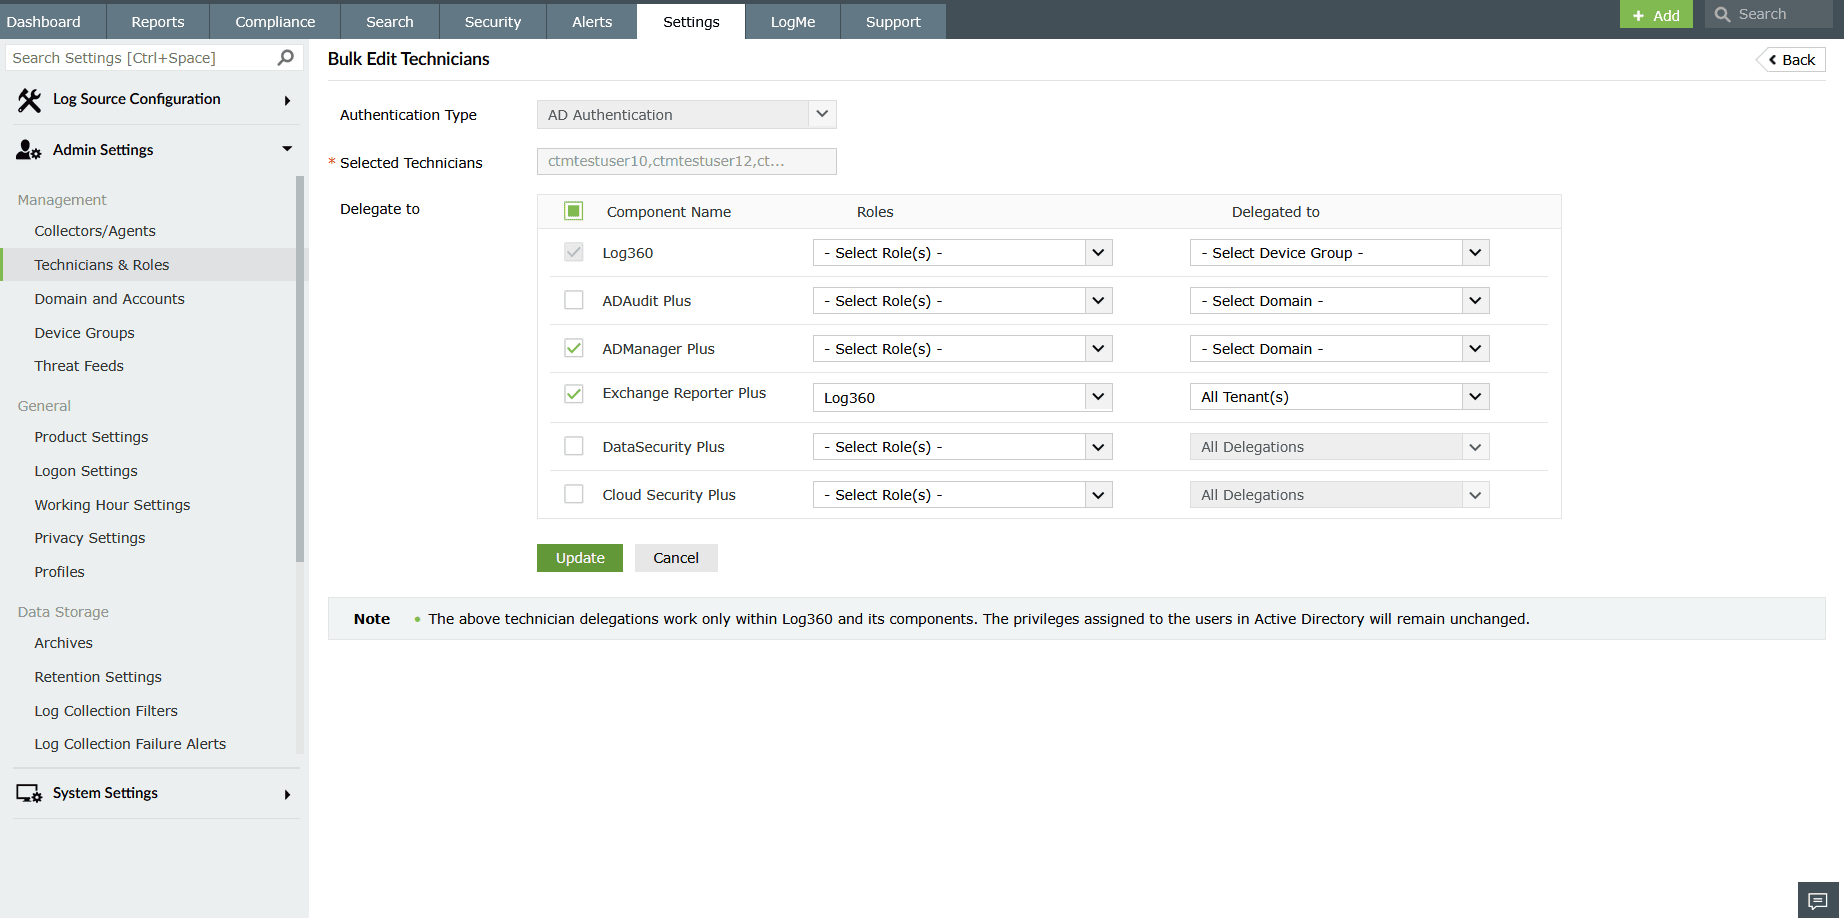
Figure 22: Updating technician settings
Enabling or disabling technicians
To disable technicians
- On the Manage Technicians page, select the checkboxes next to the technicians you want to disable.
- Click the Manage drop-down menu.
- Select Disable from the list.

Figure 23: Disabling technicians - In the confirmation pop-up, click Yes to proceed.
NOTE Disabled technicians cannot log in or perform any assigned actions until they are enabled again.
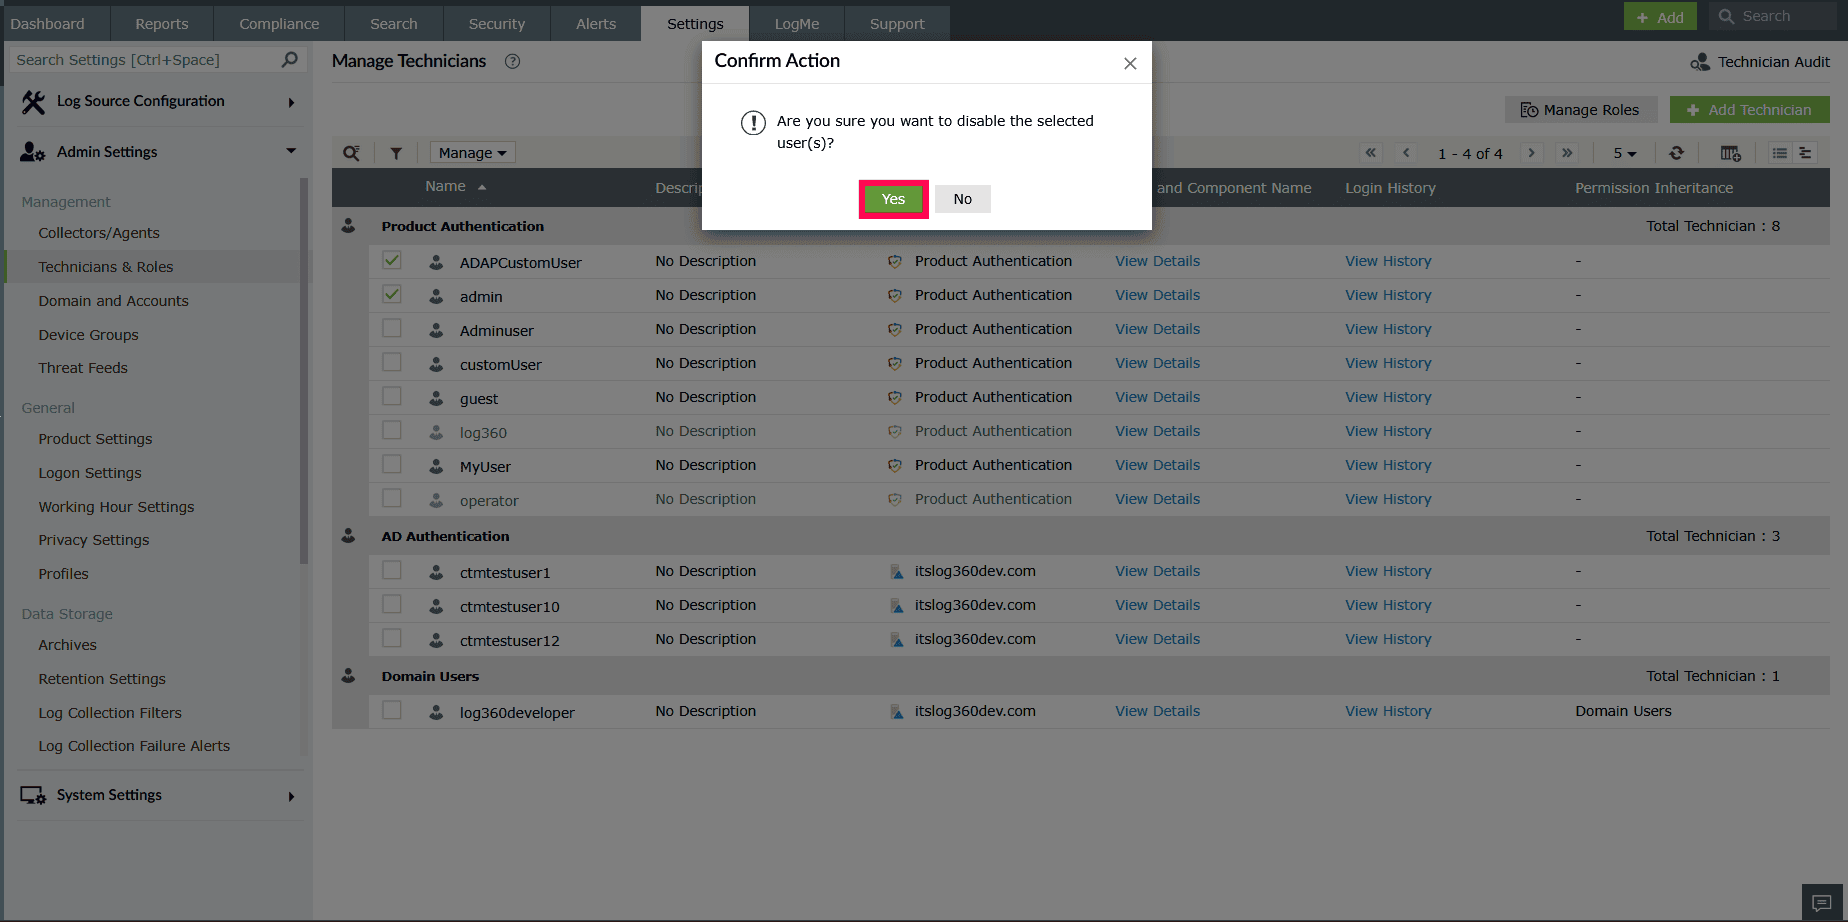
Figure 24: Disabling technicians
To enable technicians
- On the Manage Technicians page, select the checkboxes next to the technicians you want to enable.
- Click the Manage drop-down menu.
- Select Enable from the list.
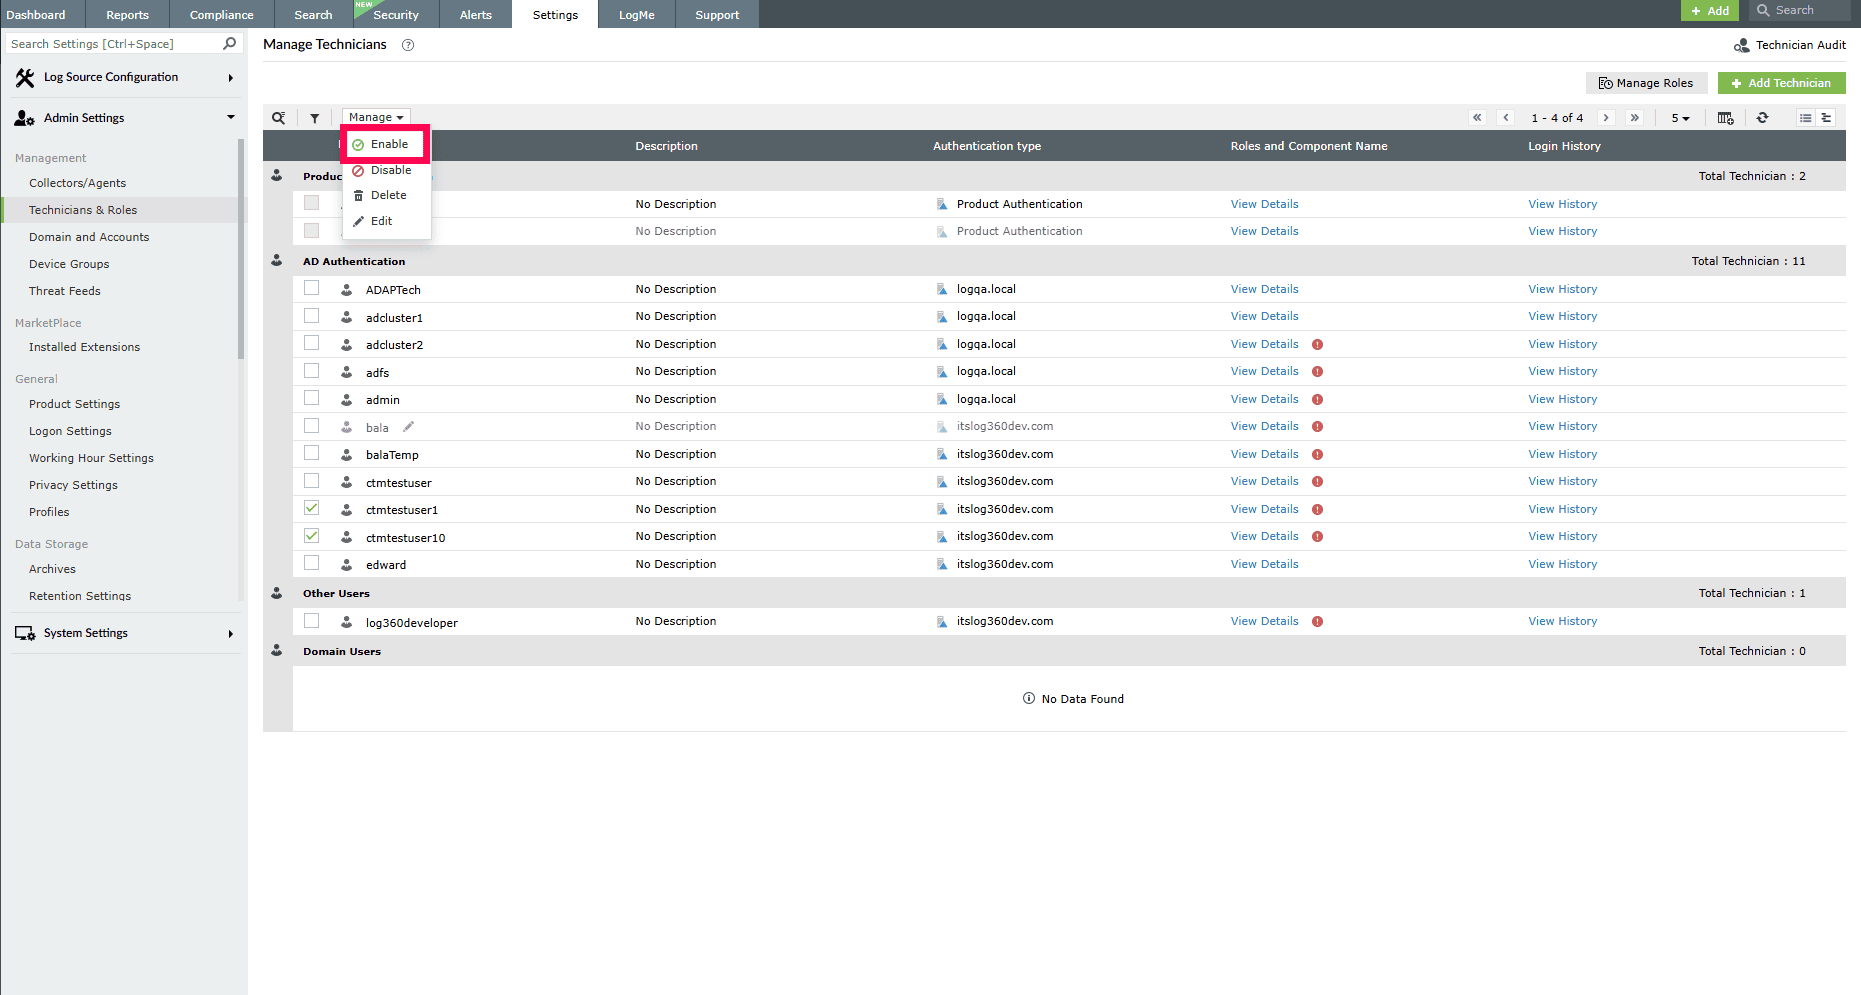
Figure 25: Enabling technicians
Deleting technicians
- On the Manage Technicians page, select the checkboxes next to the technicians you want to delete.
NOTE If an AD group is deleted, any technician who was part of that group will be converted to an individual technician and placed in the Others group.
- Click the Manage drop-down menu.
- Select Delete from the list.
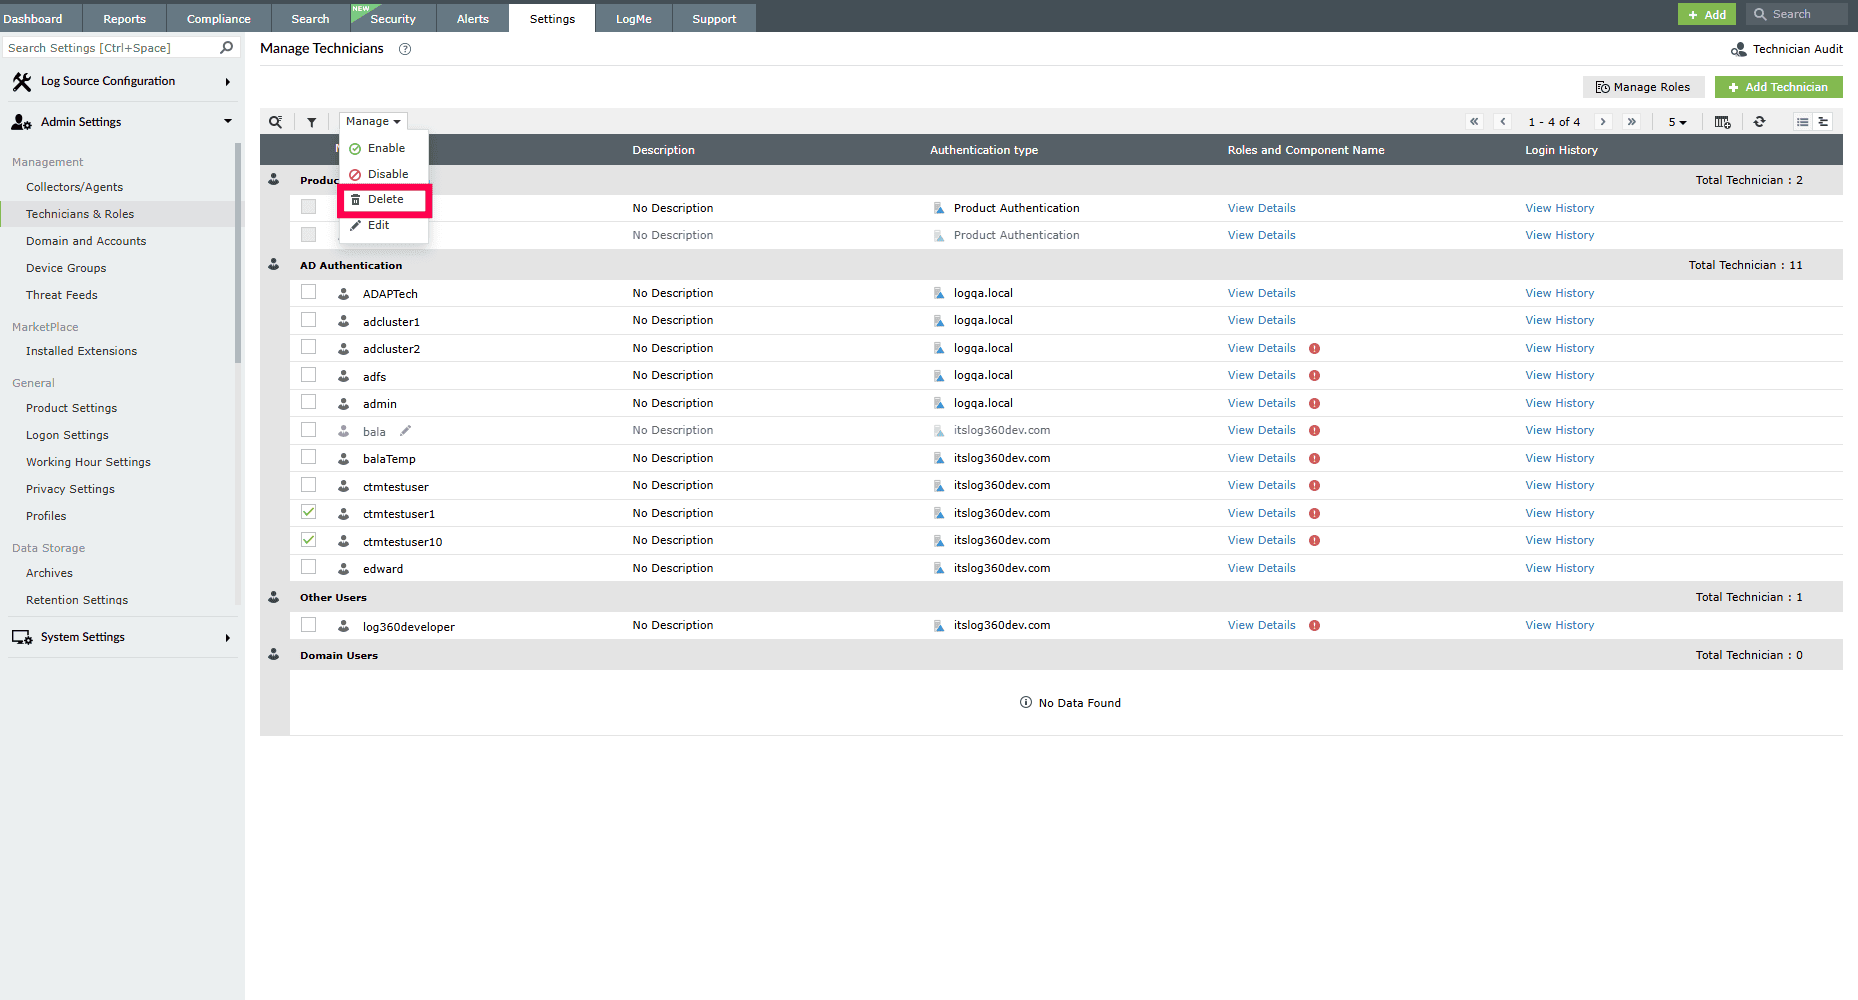
Figure 26: Deleting a technician - In the confirmation pop-up, click Yes to proceed.
NOTE You cannot delete default technicians or the currently logged-in user.
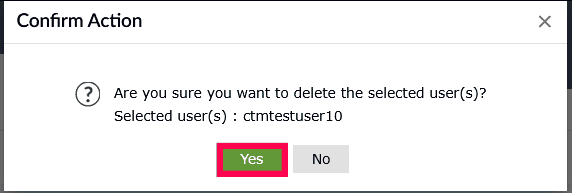
Figure 27: Deleting a technician
Read also
This page elaborated on viewing, editing, updating multiple technicians, enabling/disabling, and deleting technicians. For more related functionalities, refer to the following article: