Check unallocated device(s) status
Last updated on:
In this page
Overview
This section guides you through accessing the unallocated device(s) list, understanding the reasons for unallocation, and taking corrective action to ensure full monitoring coverage.
Check unallocated device status
To view devices that couldn't be assigned through auto allocation, you can check the status of unallocated devices and gain insights as to why certain devices remain unallocated and take corrective action, if needed.
Steps to check status of unallocated device(s)
- Navigate to the Settings tab and click on Devices.
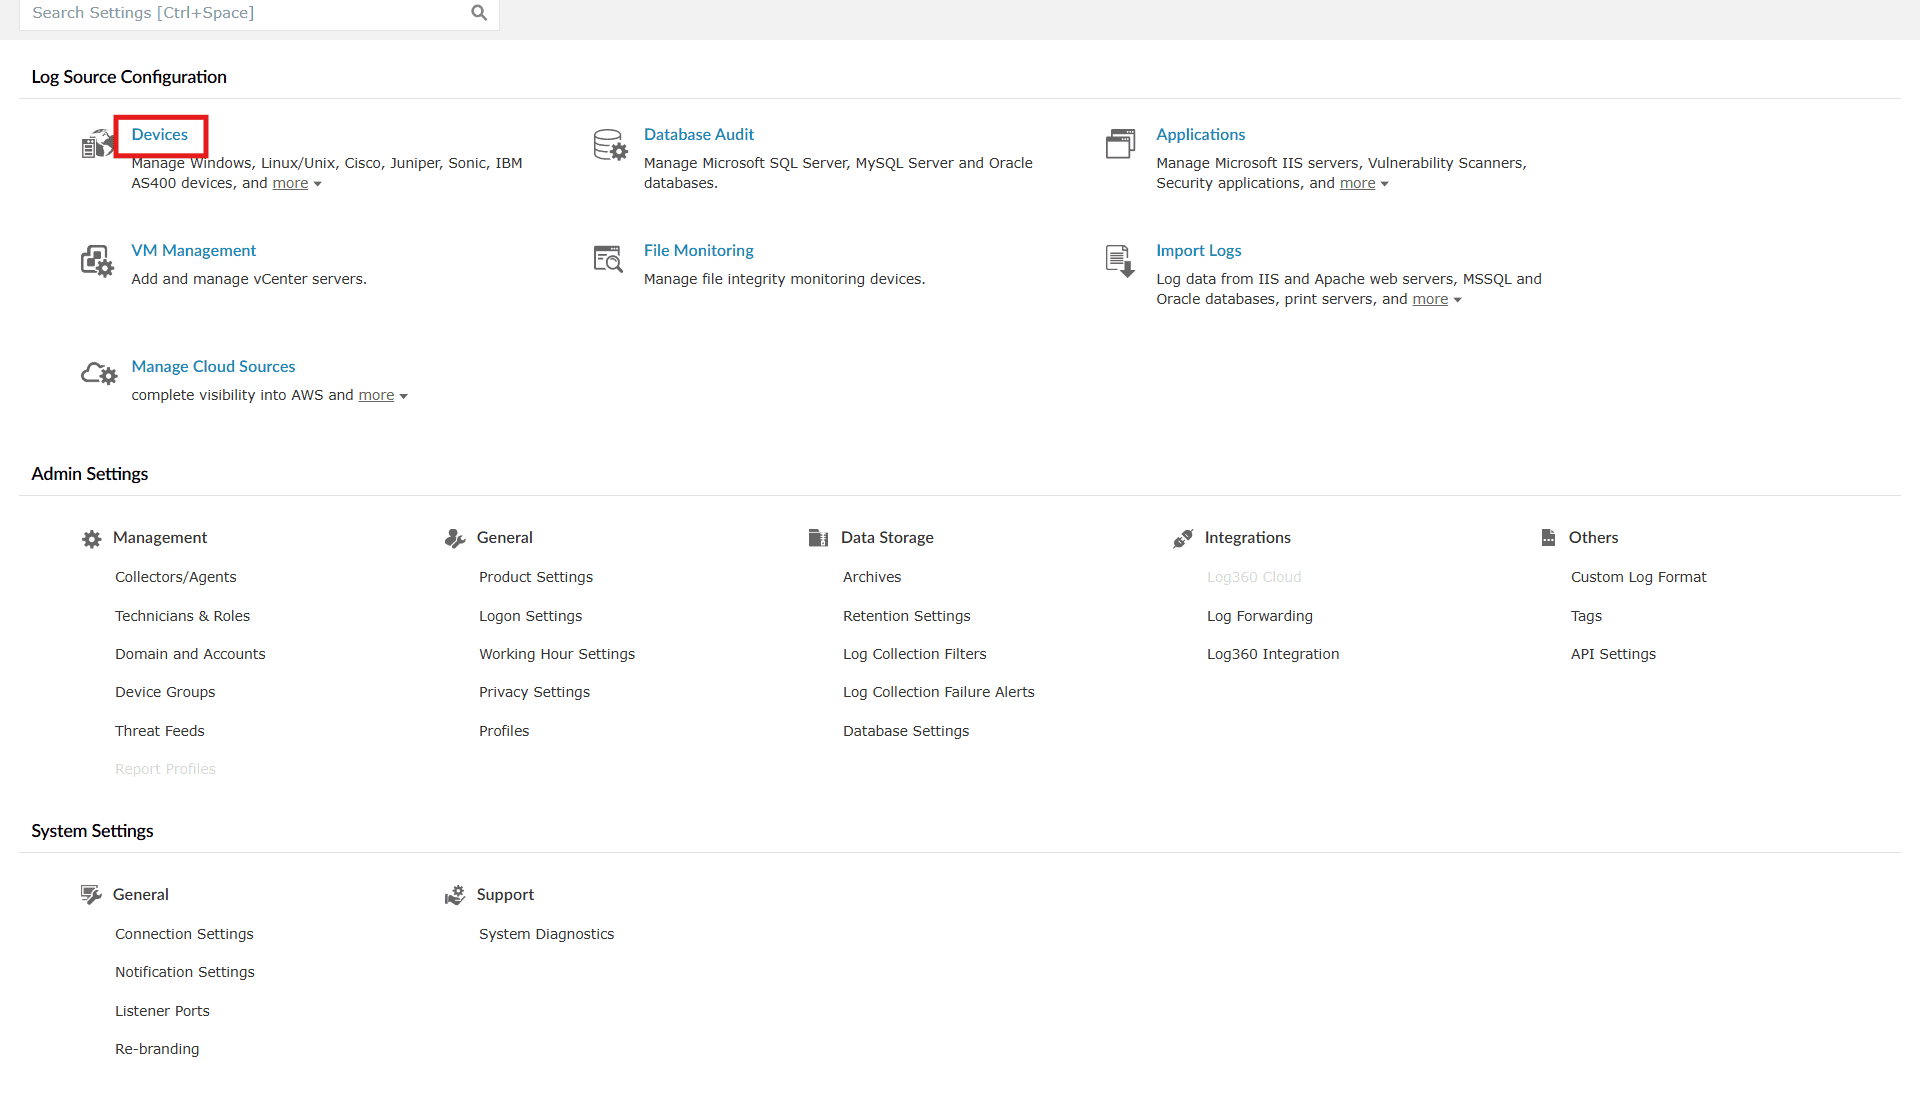
Image 1: Device settings in the product console - You will be taken to the Device Management module. Click on the Add Device(s) button to check the status of unallocated devices.
NOTE Status will be shown only when the auto allocation feature is in an enabled state.
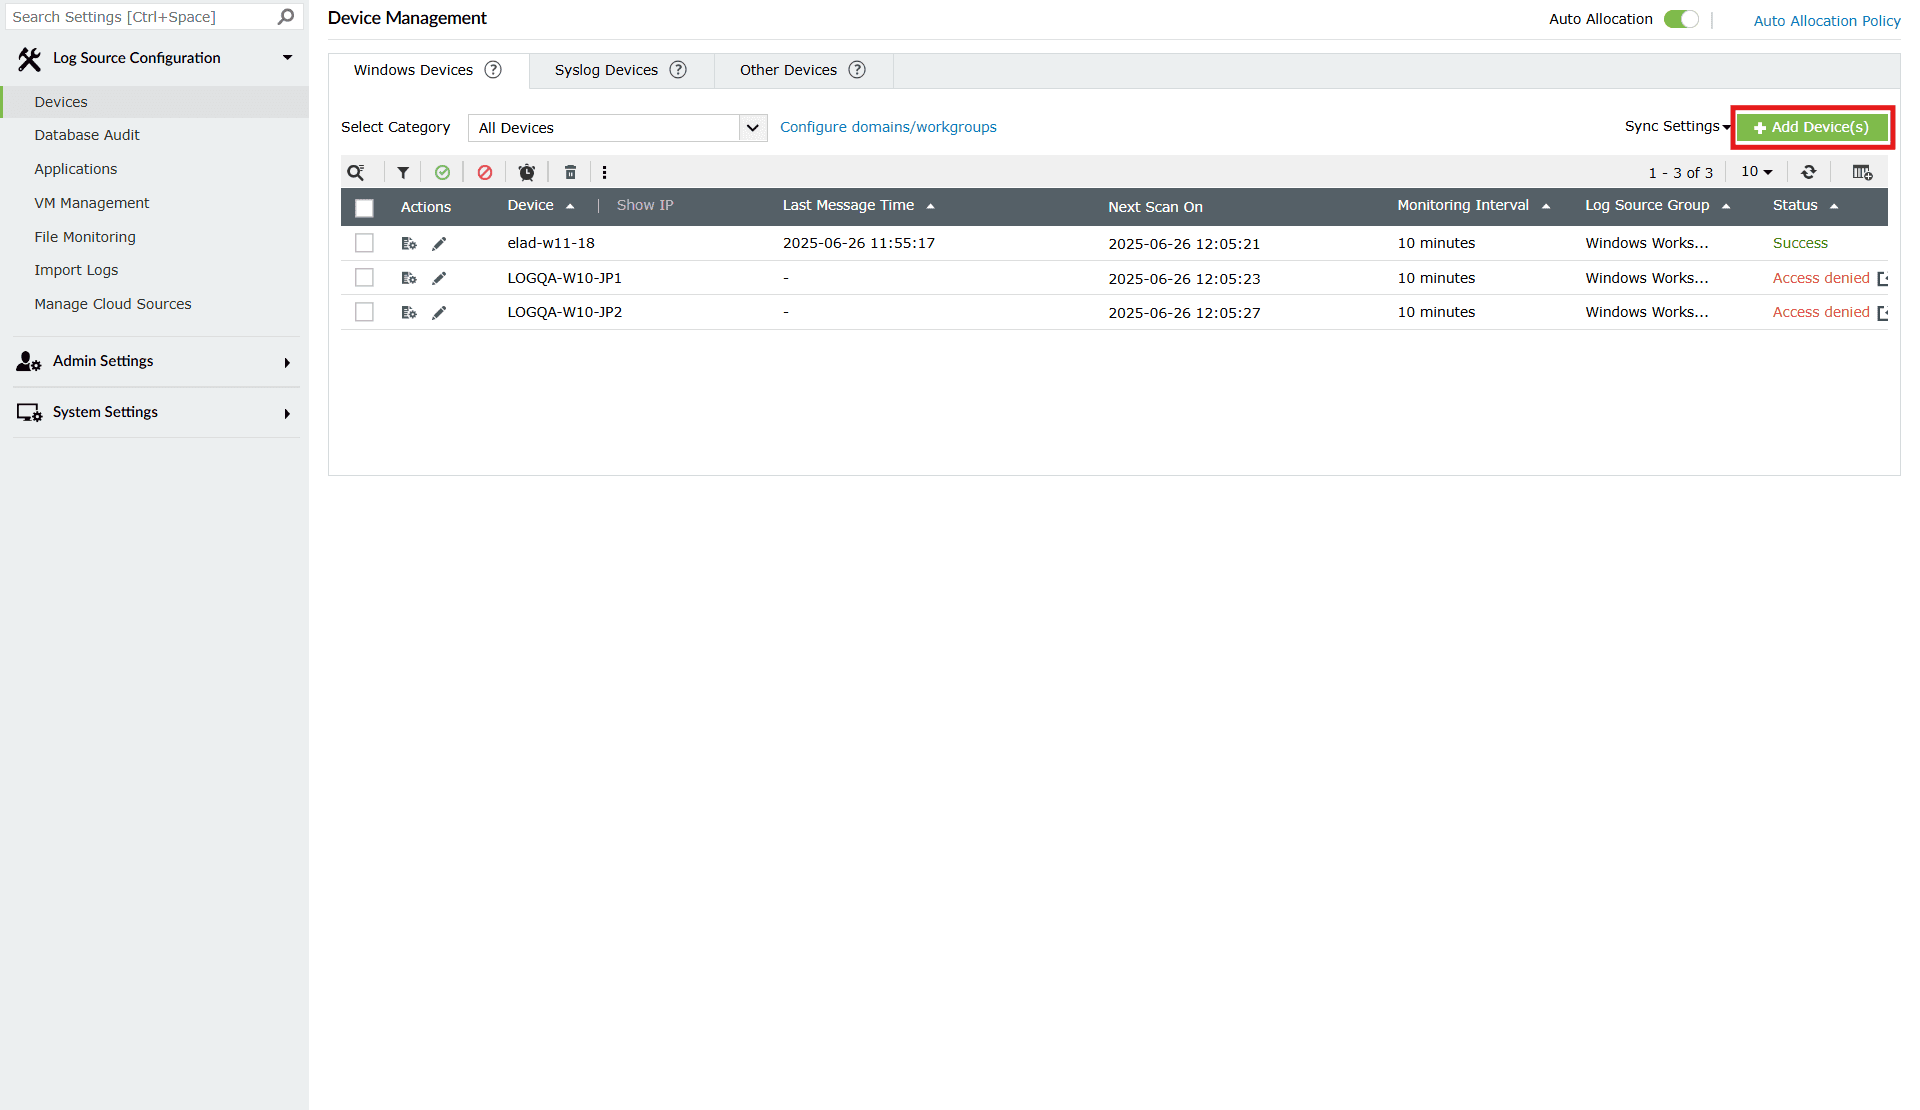
Image 2: Device allocation settings in the product console - A pop-up box appears along with a list of the Unallocated Device(s), their Operating System, the Organizational Unit they belong to, and the Reason for being unallocated.
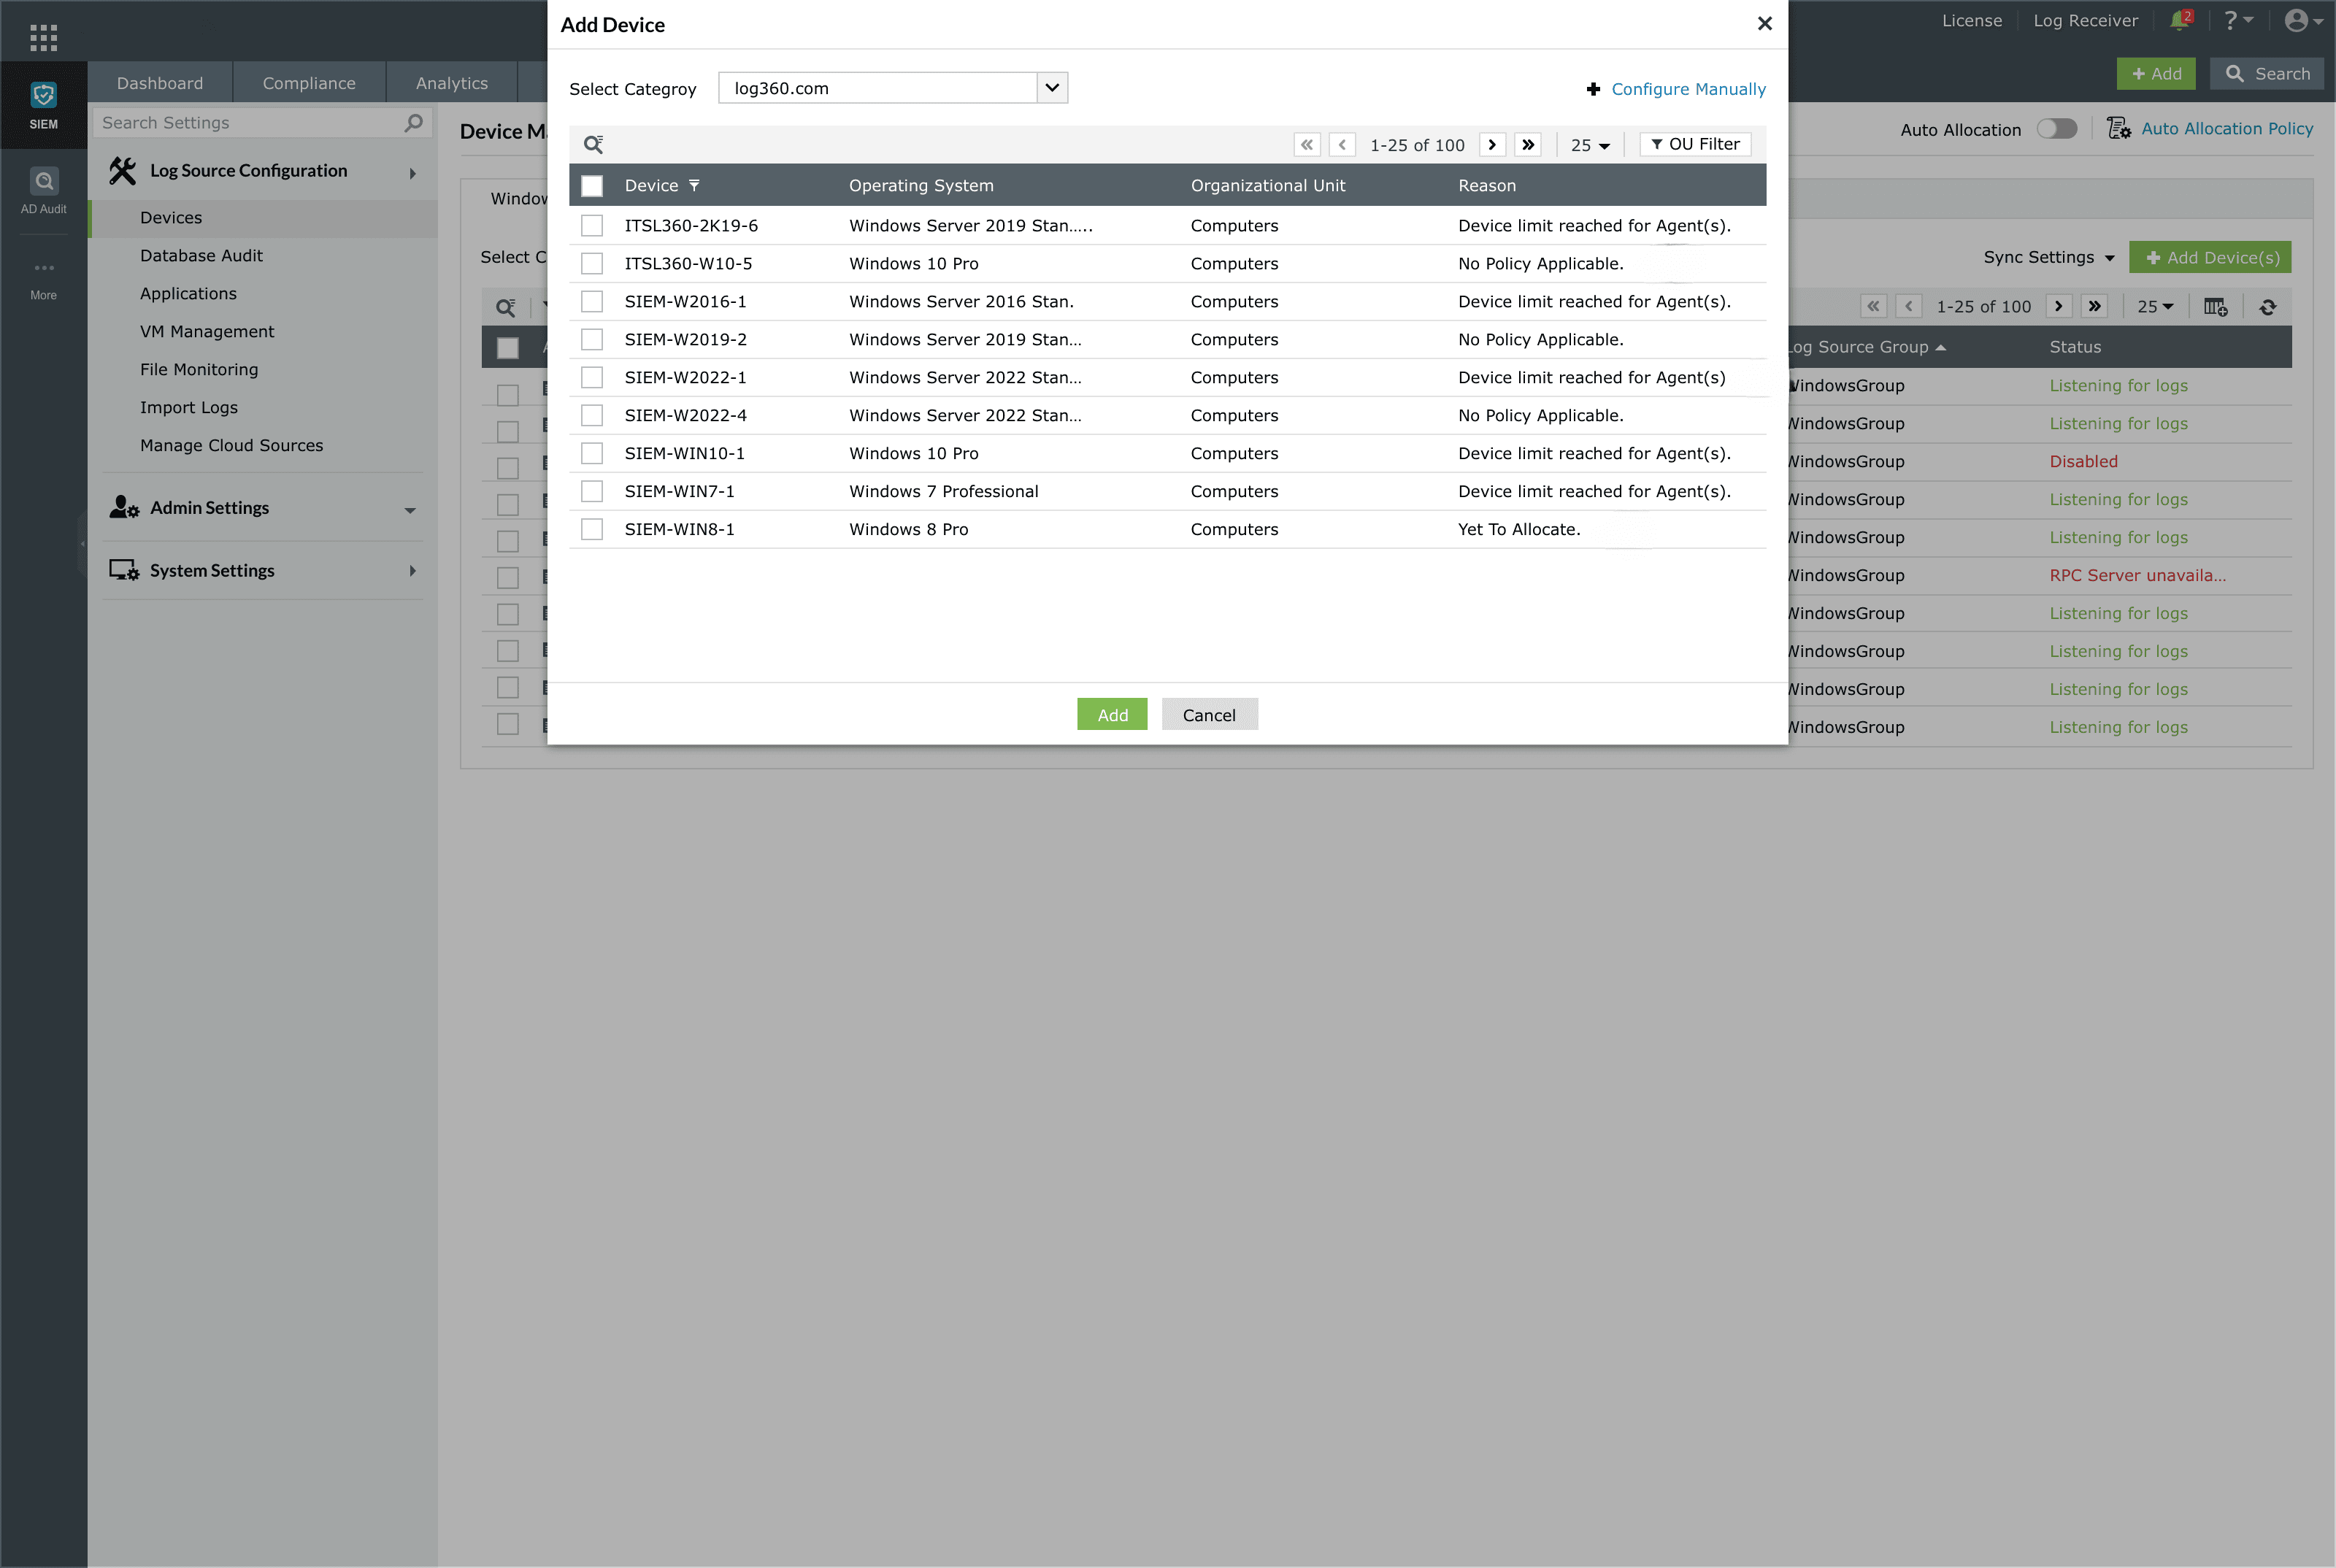
Image 3: Device auto allocation in the product console
Hover the mouse pointer over the reason you would like to read completely, and a tool-tip highlighting the full version of the reason appears. There are three different types of status that could be listed under the possible reason(s) for the unallocation as listed below:
- No Policy Applicable: The device does not match the criteria of the policy with respect to the selected domain, OU (Organizational Unit) container or the workgroup in the policy.
- Device limit reached for Agent(s): The Auto Allocation Policy's device count limit has been reached.
- Yet to Allocate: Device is yet to be allocated in the upcoming schedule.
- Licence Limit Exceeded: Device is not allocated due to license insufficiency.
- Unknown Device: Corrupted Devices in domain or device with improper details.
- Deleted device(s) can't be auto allocated: Devices which are deleted manually that we will not add through auto allocation.
Read also
This document explained how to check the status of devices that were not allocated through auto allocation. For more details on related features, see the articles below: