
Log Search
Last updated on:
In this page
Overview
Log Search provides a robust engine that helps you retrieve log data efficiently during investigations. It allows you to search across raw logs collected by the product and identify events such as misconfigurations, unauthorized access attempts, unusual logons, malware activity, application errors, and more.
The product supports both basic search and advanced search, allowing analysts to construct queries using wildcards, phrases, boolean operators, comparison operators, and grouped conditions.
This page explains how to search logs in ManageEngine Log360 using basic and advanced search options.
How search works?
Log Search retrieves logs based on the filters and criteria configured in the Search page. The search engine evaluates the following components together to return matching results:
1. Log Source
Defines the devices, device groups, or log collectors from which logs should be retrieved. Only logs collected from the selected sources are considered during the search.
2. Log Type
The Log Type filter specifies the category of logs to be searched. Log types represent different types of collected logs, such as Windows event logs, Unix logs, or application logs.
Selecting a log type restricts the search to logs belonging to that category, helping you retrieve more relevant results.
If All Log Types is selected, the search is performed across all available log types from the selected log sources.
3. Time range
The Time Range filter determines the period from which logs are retrieved. Only logs generated within the selected time period are included in the search results.
You can select a predefined time period, specify a custom date and time range, or search logs from a recent period using the Last option. The search can also be refined based on All Hours, Business Hours, or Non-business Hours.
4. Search criteria
Defines the conditions that logs must match. Criteria can be configured using:
- Basic search expressions
- Advanced search (field, operator, value)
- Boolean operators (AND, OR, NOT)
- Comparison operators (=, !=, >, <, >=, <=)
- Wildcards and grouped conditions
5. Query execution
Log Search retrieves logs based on the selected log source, log type, time range, and search criteria.
The system first filters logs according to the selected log sources, log types, and time range, and then evaluates the specified search criteria to identify matching records.
If no search criteria is specified, logs matching the selected filters are displayed.
Understanding basic search queries
This section explains the different types of search expressions you can use when performing a basic search. Understanding these query formats helps you construct precise search criteria and retrieve relevant results quickly.
1. Boolean operators
Use boolean operators to combine or exclude search conditions. The supported operators are AND, OR, NOT.
Syntax: <field name>=<field value> <boolean> <field name>=<field value>.
Example: HOSTNAME = 192.168.117.59 AND USERNAME = guest
2. Grouped Searches
Use round brackets () to combine multiple conditions into logical groups. You can also combine them with other conditions using boolean operators.
Syntax: (<search criteria group>) <boolean operator> <search criterion>
Example: (SEVERITY = debug OR FACILITY = user) and HOSTNAME = 192.168.117.59
3. Comparison operators
Comparison operators are used to define conditions that determine which logs are retrieved.
| Operator | Symbol | Basic Search | Advanced Search |
|---|---|---|---|
| Equals | = | Supported | Supported |
| Not Equals | != | Supported | Supported |
| Greater Than | > | Supported | Supported |
| Less Than | < | Supported | Supported |
| Greater Than or Equal To | >= | Supported | Supported |
| Less Than or Equal To | <= | Supported | Supported |
| Contains | — | Supported | Supported |
| Not Contains | — | Supported | Supported |
| Starts With | "String*" | Supported | Supported |
| Ends With | "*String" | Supported | Supported |
| Between | — | Not supported | Supported |
| Not Between | — | Not supported | Supported |
Syntax: <field name> <comparison operator> <field value>.
Example (Basic Search): SEVERITY = Emergency
This search retrieves logs where the SEVERITY field equals Emergency.
Example (Advanced Search): Field: MESSAGE, Operator: Contains, Value: failed
This search retrieves logs where the MESSAGE field contains the word "failed".
Between
Example (Advanced Search): Field: SEVERITY_LEVEL, Operator: Between, Value: 3 and 7
This search retrieves logs where the SEVERITY_LEVEL field has a value between 3 and 7.
Not Between
Example (Advanced Search): Field: SEVERITY_LEVEL, Operator: Not Between, Value: 3 and 7
This search retrieves logs where the SEVERITY_LEVEL field has a value outside the range of 3 and 7.
Contains
Syntax: <field name> contains "<value>"
Example: MESSAGE contains "failed"
This search retrieves logs where the MESSAGE field contains the word "failed".
Not Contains
Syntax: <field name> not contains "<value>"
Example: USERNAME not contains "admin"
This search retrieves logs where the USERNAME field does not contain the word "admin".
4. Wildcard searches
Wildcard searches allow you to search for partial values when the exact value is not known.
Single-character wildcard (?)
The ? wildcard matches exactly one character.
Syntax: <field name> = <partial field value>?
Example: USERNAME = user?
This search retrieves logs where the USERNAME field matches values such as user1, user2, or userA, where only the last character varies.
Multiple-character wildcard (*)
The * wildcard matches multiple characters.
Syntax: <field name> = <partial field value>*
Example: IPADDRESS = 54.164.139*
This search retrieves logs where the IPADDRESS field matches any value beginning with 54.164.139.
Combination of single and multiple wildcards (? and *)
The ? and * wildcards can be combined for more flexible searches.
Syntax: <field name> = <partial field value><?><*>
Example: MESSAGE = login?fail*
This search retrieves logs where the MESSAGE field contains values such as "login failed", "login1 failure", or "login2 failed attempt", where ? represents a single character and * represents multiple characters.
5. Phrase Searches
Phrase searches allow you to search for a complete word or phrase within log data. To search for a phrase, enclose the term in double quotes.
Syntax: <field name> = "<phrase>"
Example: MESSAGE = "session closed"
This retrieves logs where the MESSAGE field contains the exact phrase "session closed".
Searching without a field name
You do not need to specify a field name to perform a search. Simply enter any term or phrase directly in the search box and Log360 will look it up. By default, the term is searched for in the log message.
Example: "session closed"
This retrieves all logs where the message contains the phrase "session closed", without requiring you to specify MESSAGE =.
How to Search: Basic and Advanced
This section explains how to perform Basic or Advanced log search in the product.
- Log in to the product console.
- Go to the Search tab.
- Click Pick Log Source to select the devices from which logs should be retrieved. This is optional.
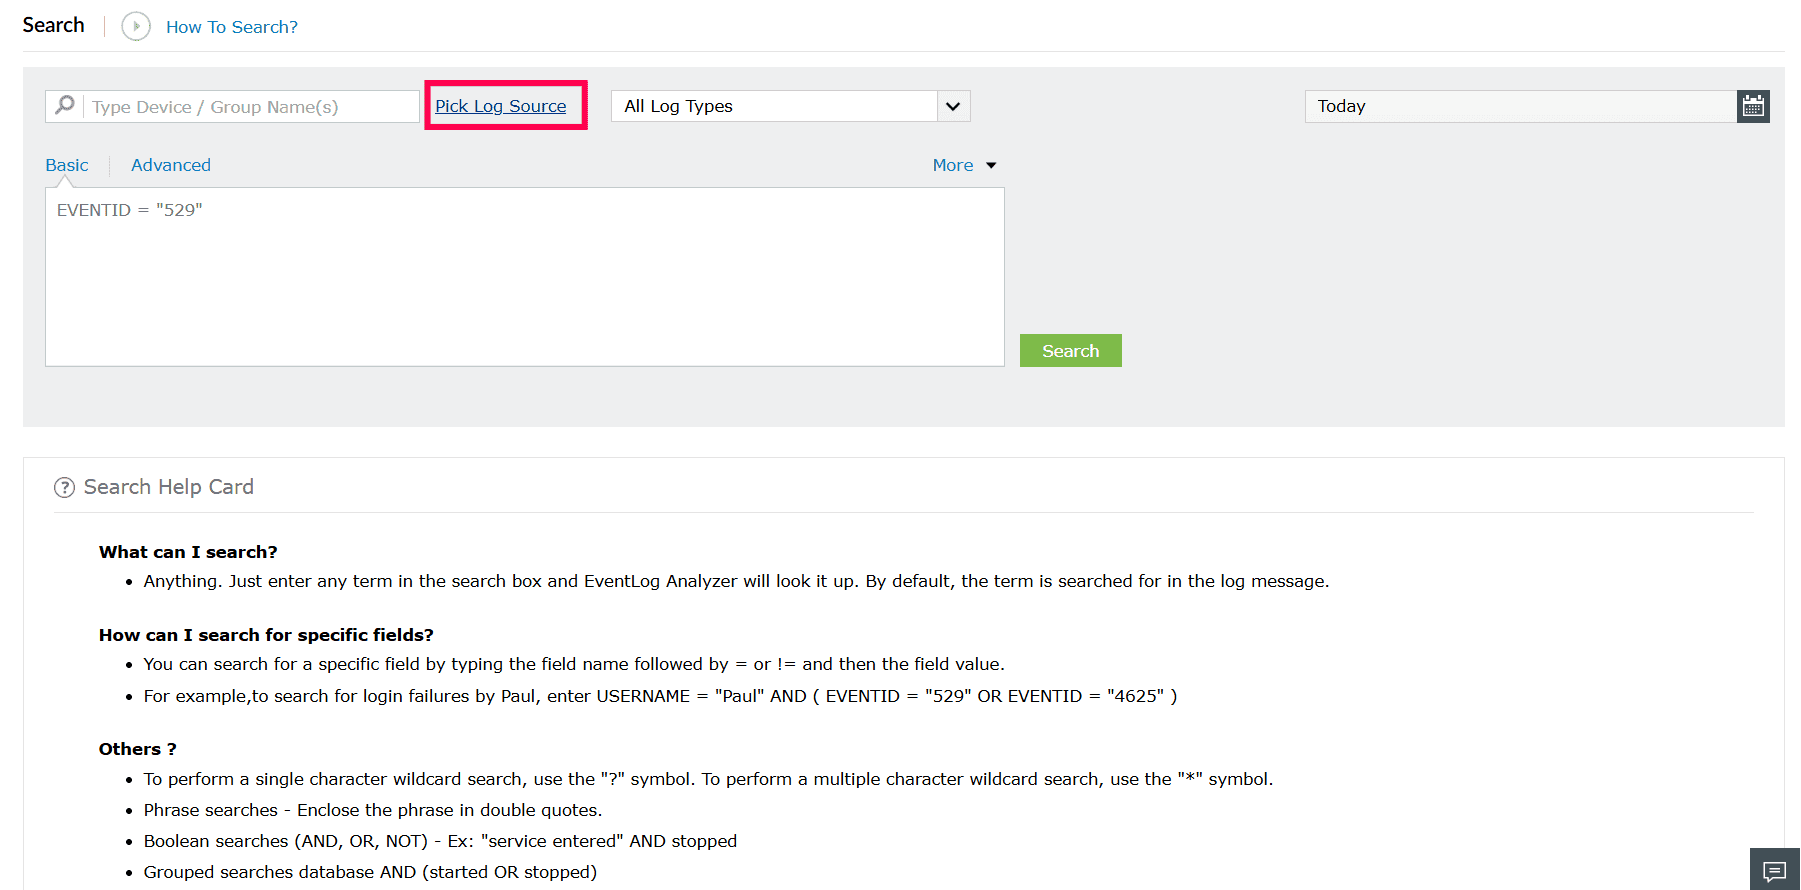
Figure 1: Selecting pick log source - In the Select Log Source window, choose the required log sources by selecting the checkbox next to it.
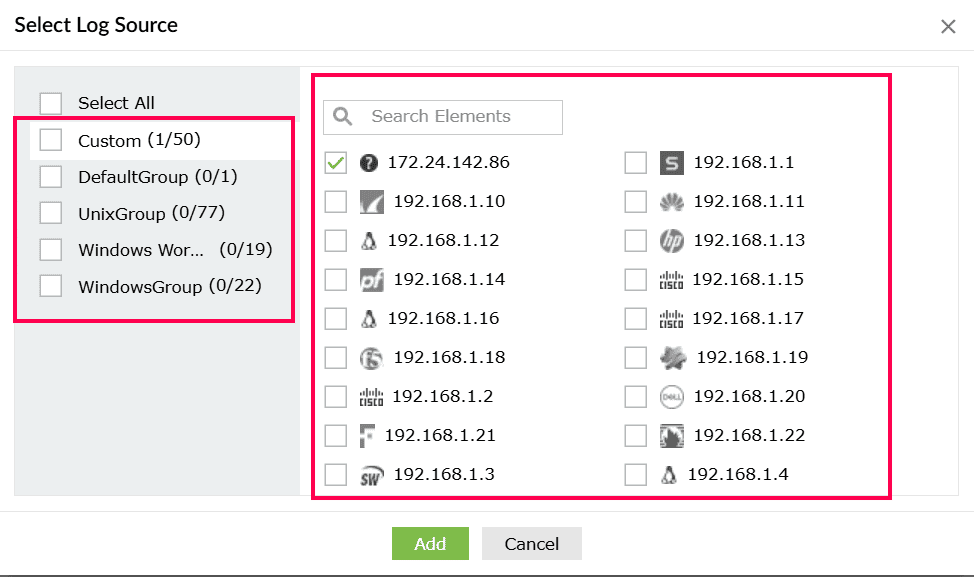
Figure 2: Selecting log source - You can select individual devices, device groups.
NOTE Click Select All to include all available log sources. If no log source is selected, the search is performed across all available devices by default.
- Click Add to apply the selected log sources to the search.
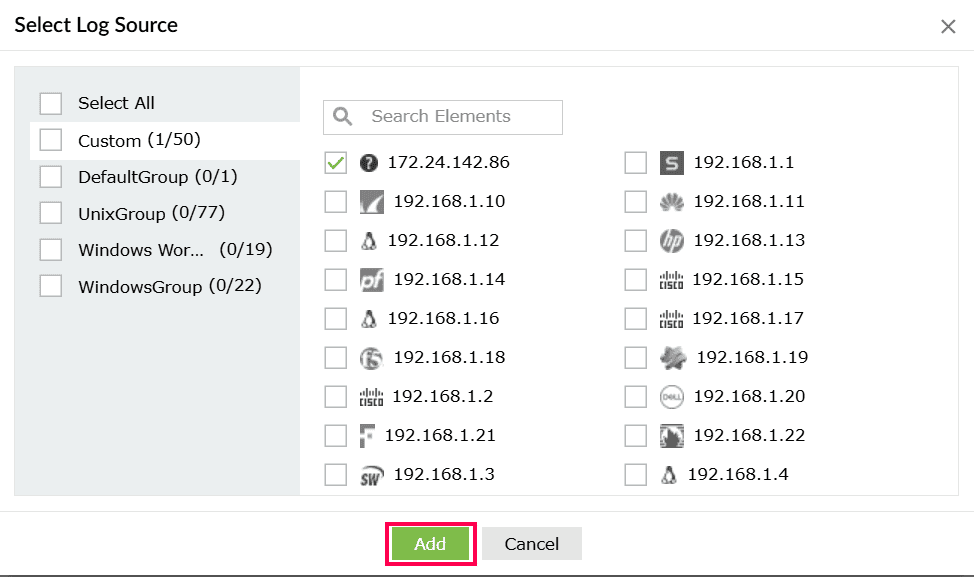
Figure 3: Selecting log source - From the Log Type drop-down, select the required log type to narrow the search to a specific category of logs. The drop-down lists all available log types based on the selected log sources, including any configured custom log formats.
For example, select Windows Event Logs when investigating Windows logon failures. Similarly, if the device is an MSSQL server, select SQL Server as the log type to view only SQL-related events for that device.
NOTE By default, All Log Types is selected and the search is performed across all log types. Fields and values in the search criteria are populated based on the selected Log Source, Log Type, and time range. If no matching data exists for the configured criteria, the field will not return any results.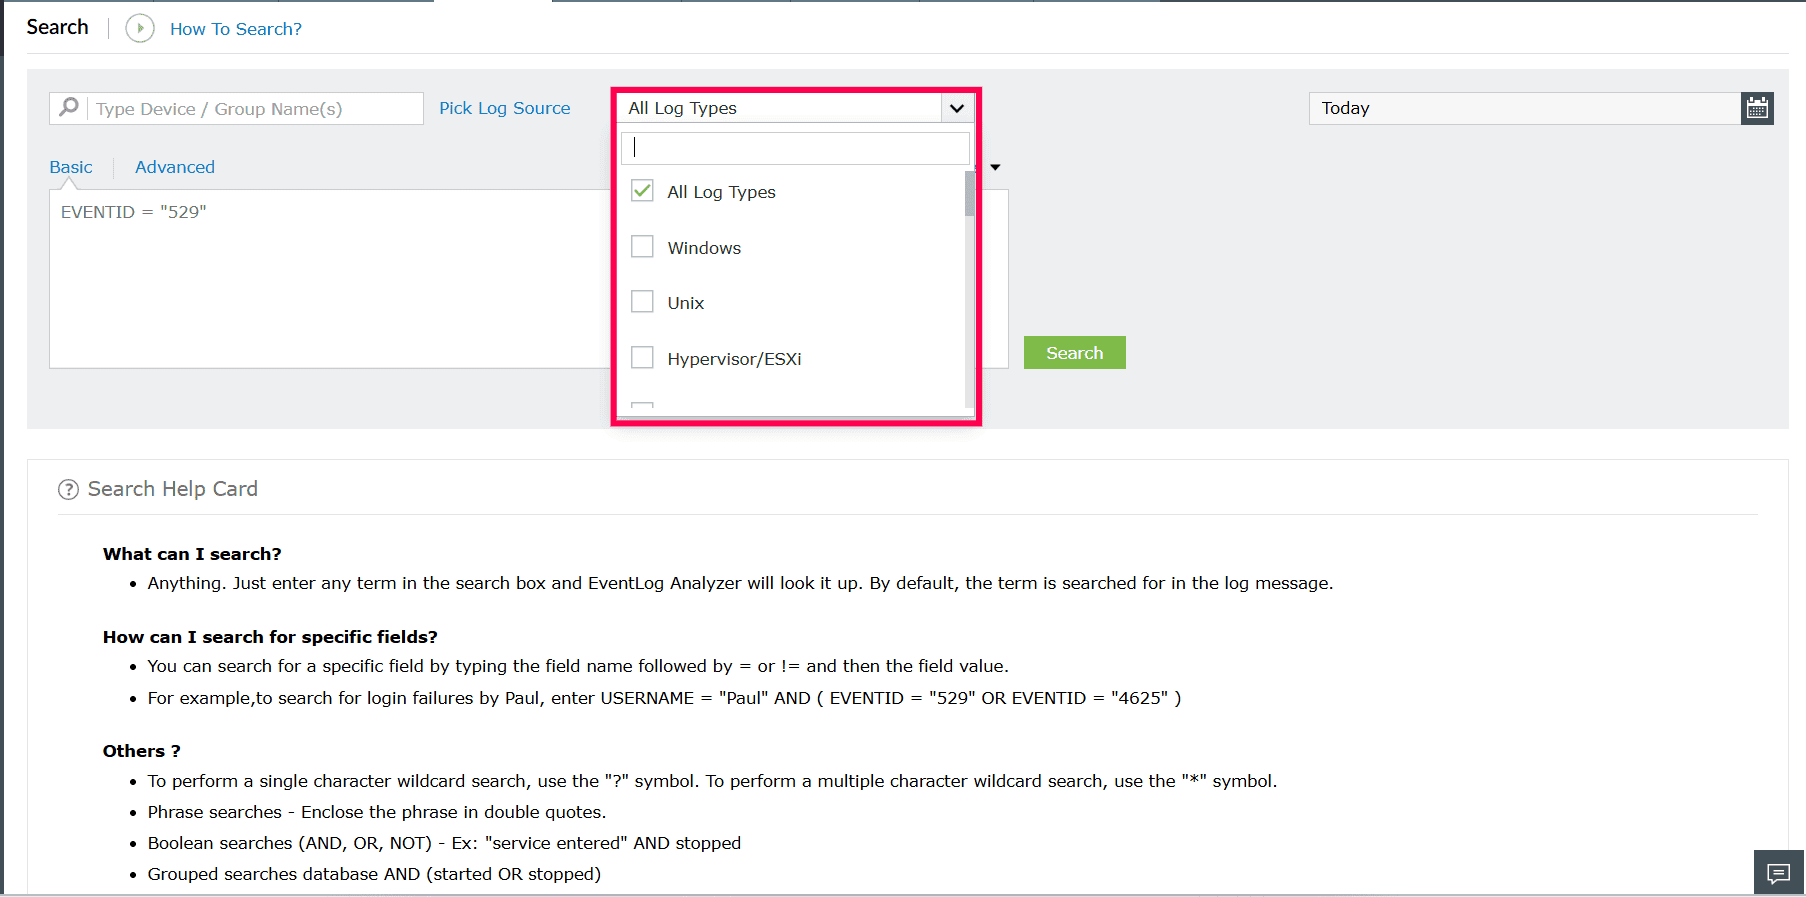
Figure 4: Selecting log type(s) - Click the
 icon to open the time filter.
 - Select one of the predefined options such as Today, Yesterday, Last 7 days, Last 30 days, This month, or Last month.
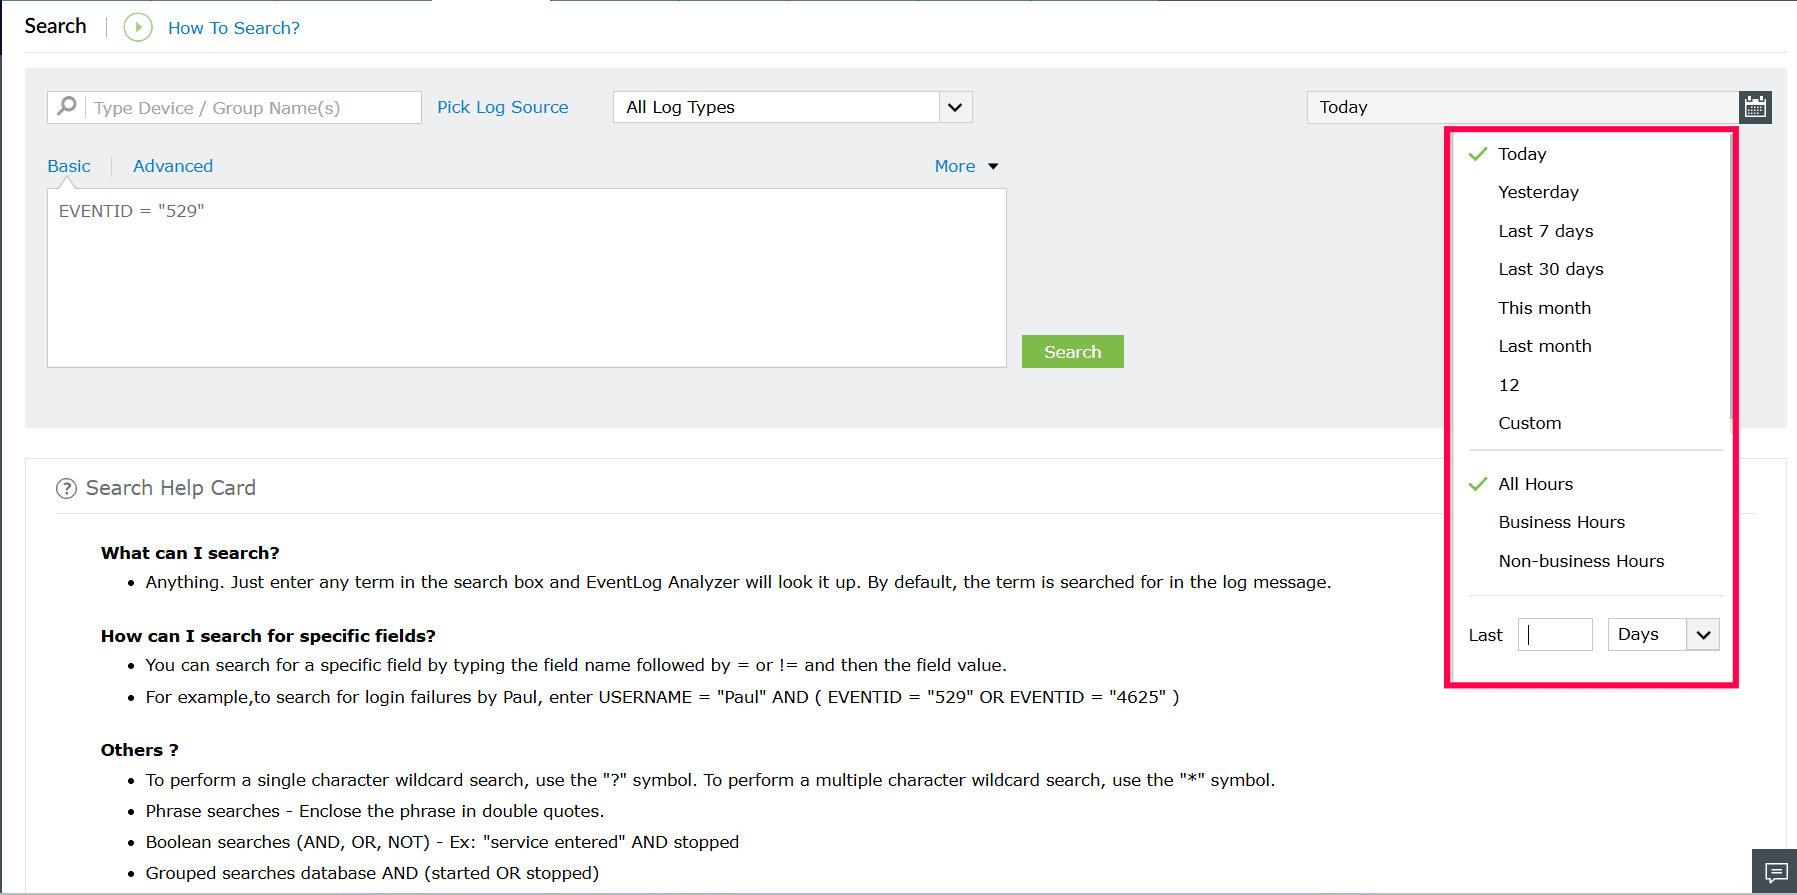
Figure 5: Using time filter - Select Custom to define a specific date and time range.
- Use the calendar to choose the From and To dates. Specify the start and end times as required.
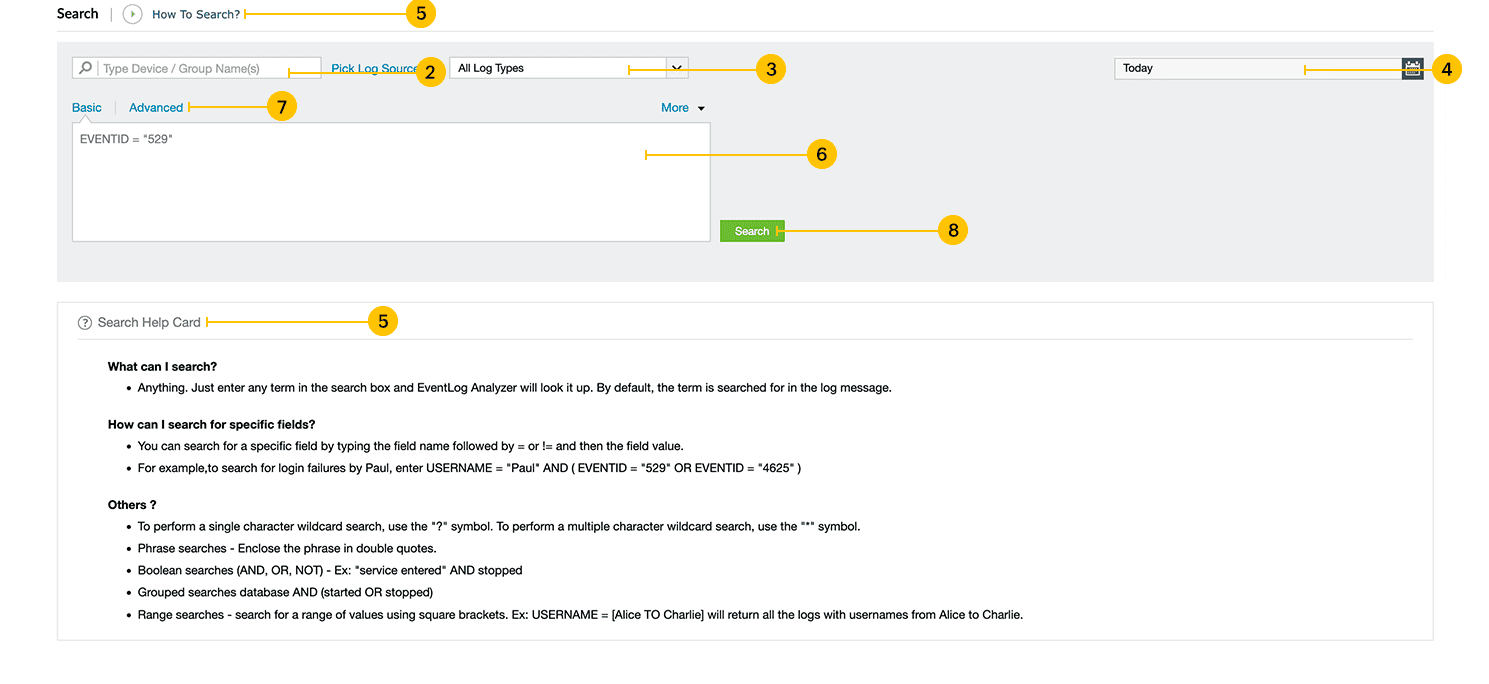
- Select the Save this time period checkbox. Enter a name for the time range in the provided field.
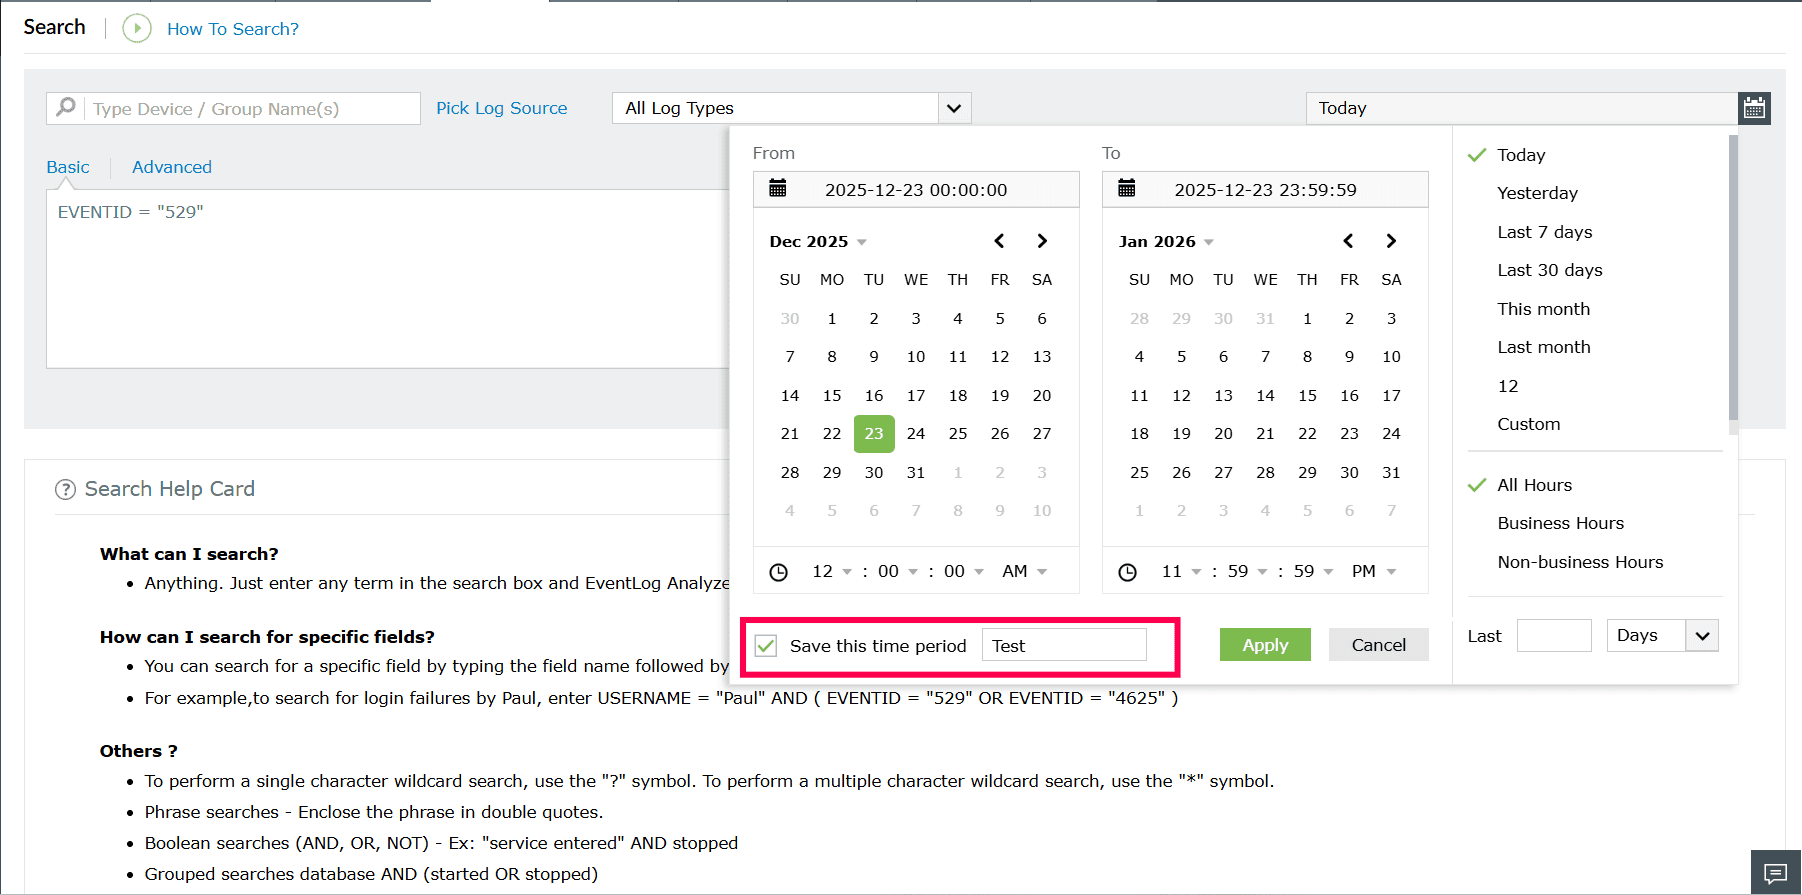
Figure 7: Saving custom time period - Click Apply to save the selected time range.
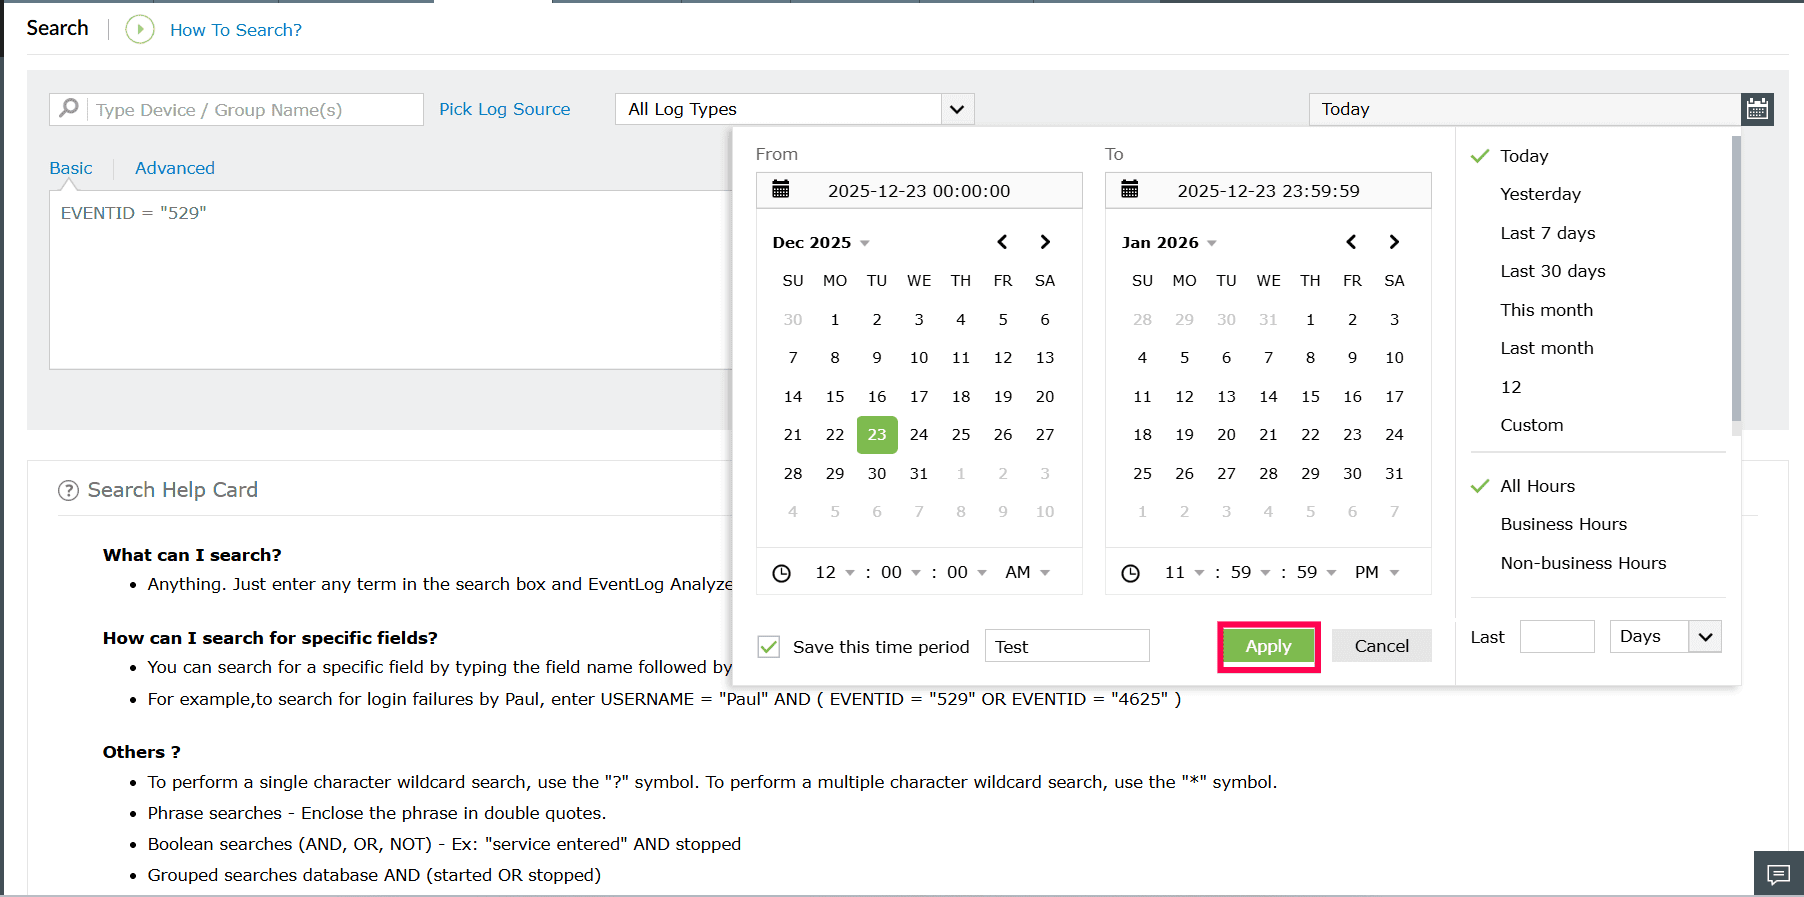
Figure 8: Saving the selected time range NOTE The saved time period appears in the list and can be reused for future searches.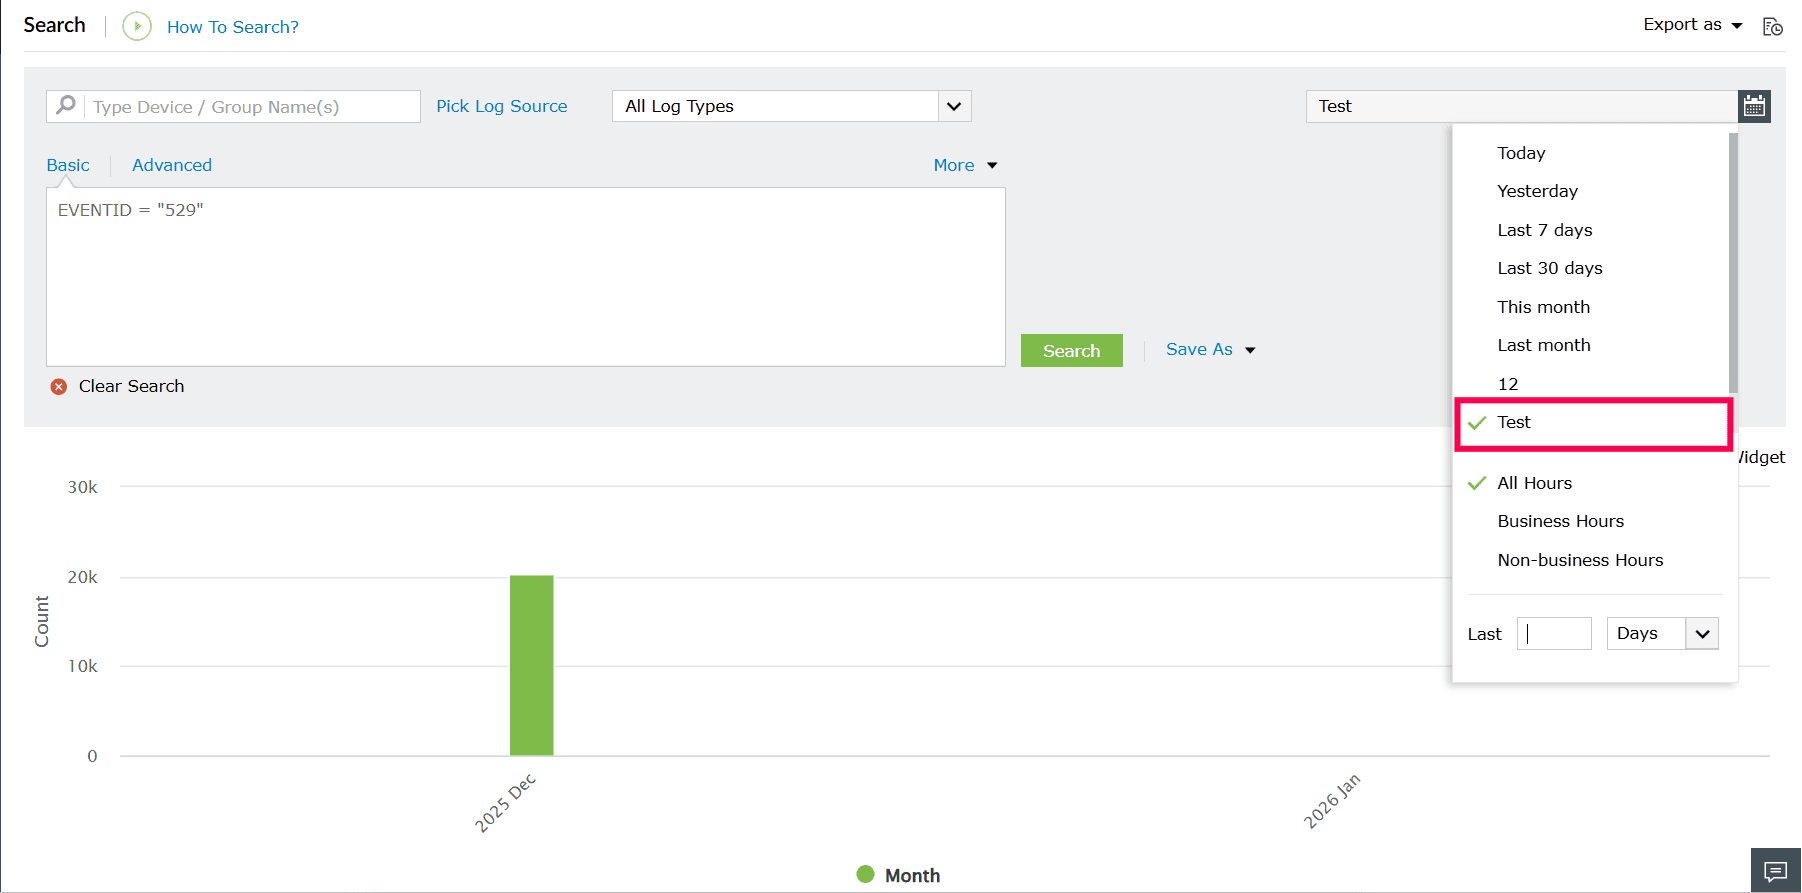
Figure 9: Viewing saved time period Click the
 icon next to a saved time period to remove it.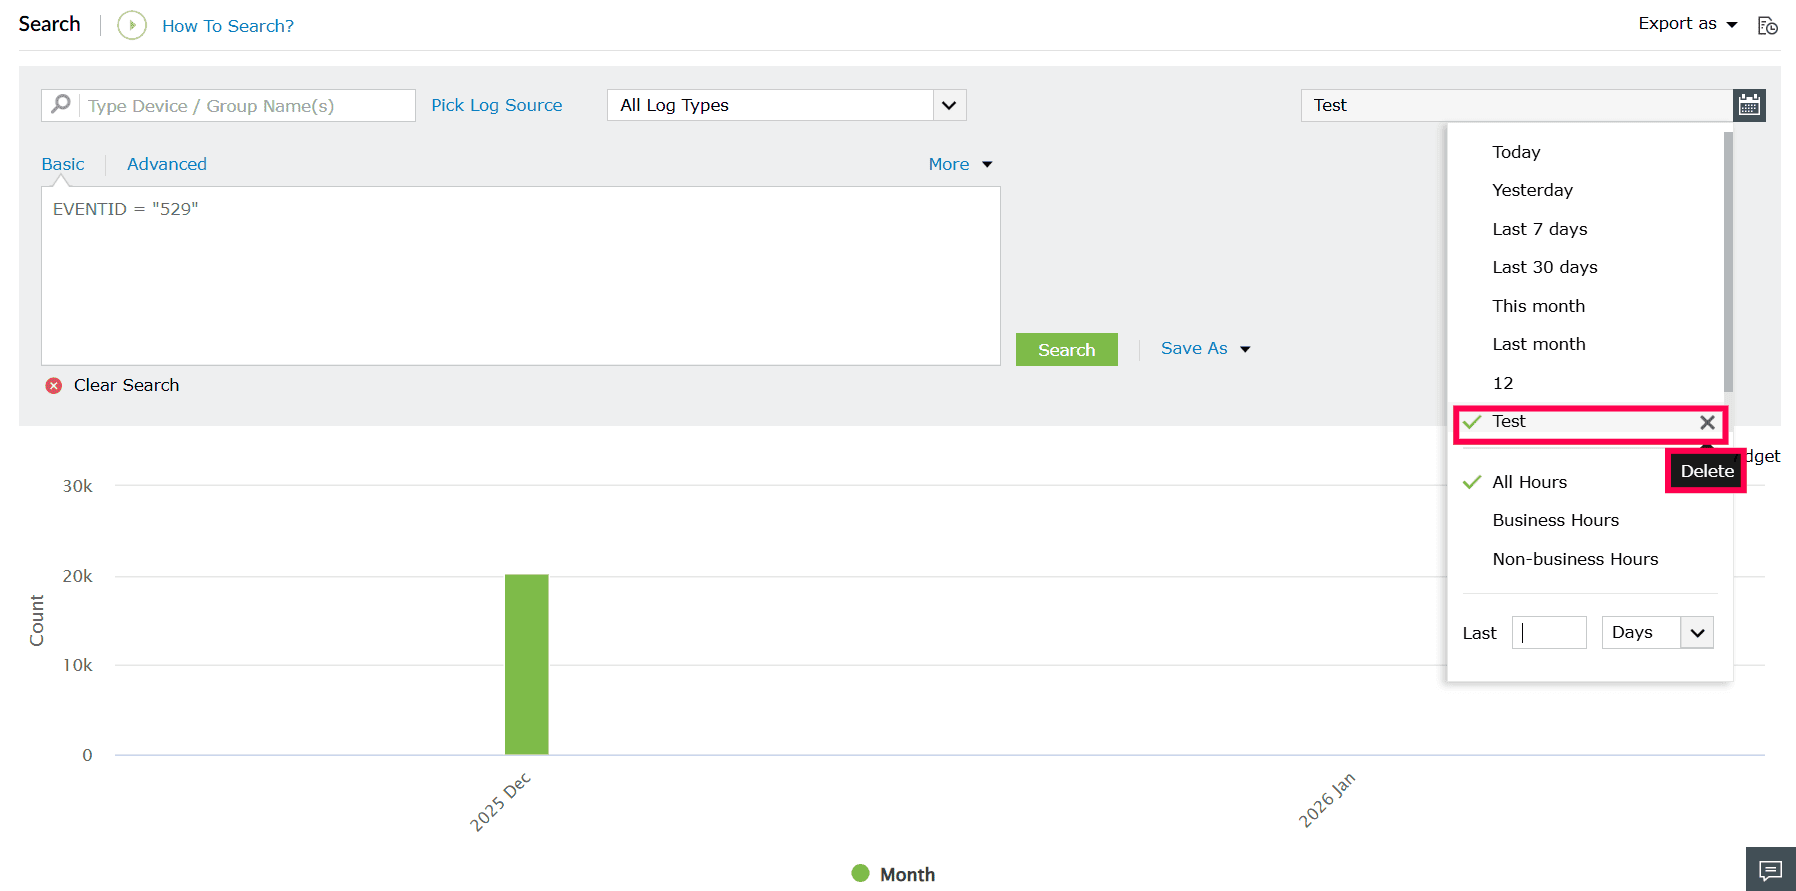
Figure 10: Deleting saved time period In the confirmation pop-up, click Yes to delete it.
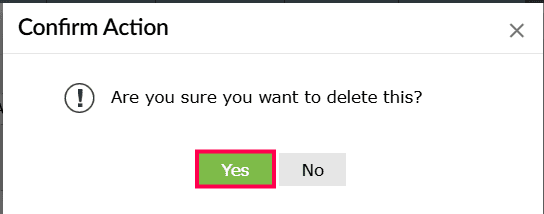
Figure 11: Confirming deletion - In the Last field, enter a numeric value and select Hours, Days, Weeks, or Months.
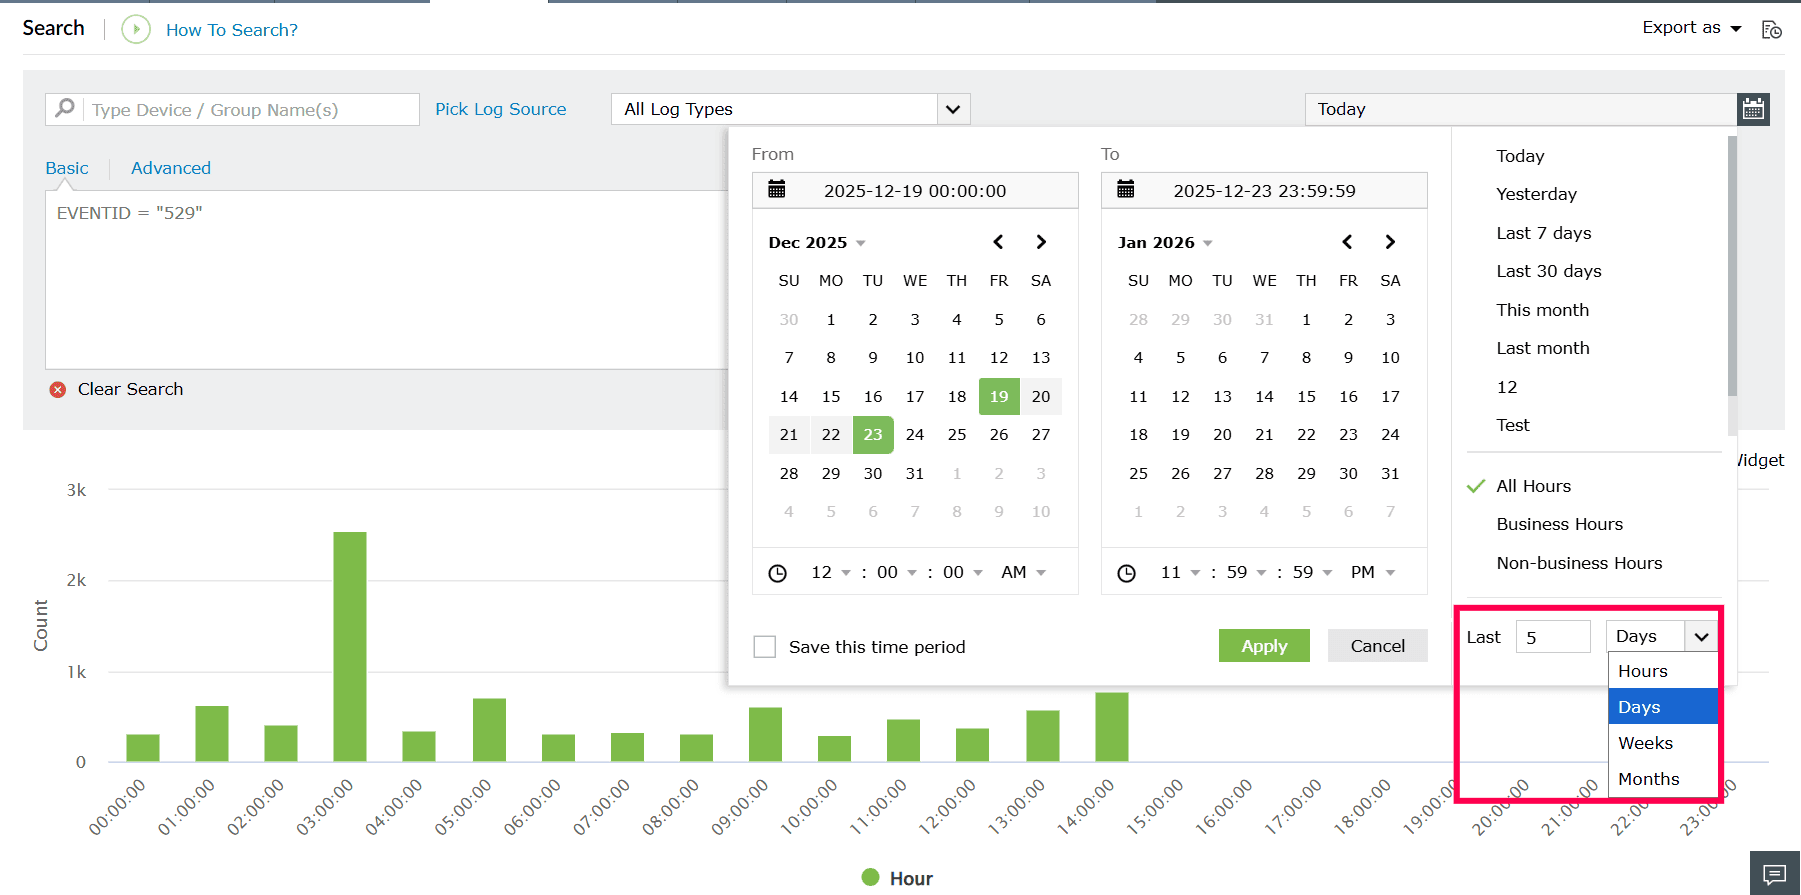
Figure 12: Selecting a custom date and time range - When a value is entered, the calendar automatically opens and reflects the calculated time range.
- Click Apply to confirm the selection.
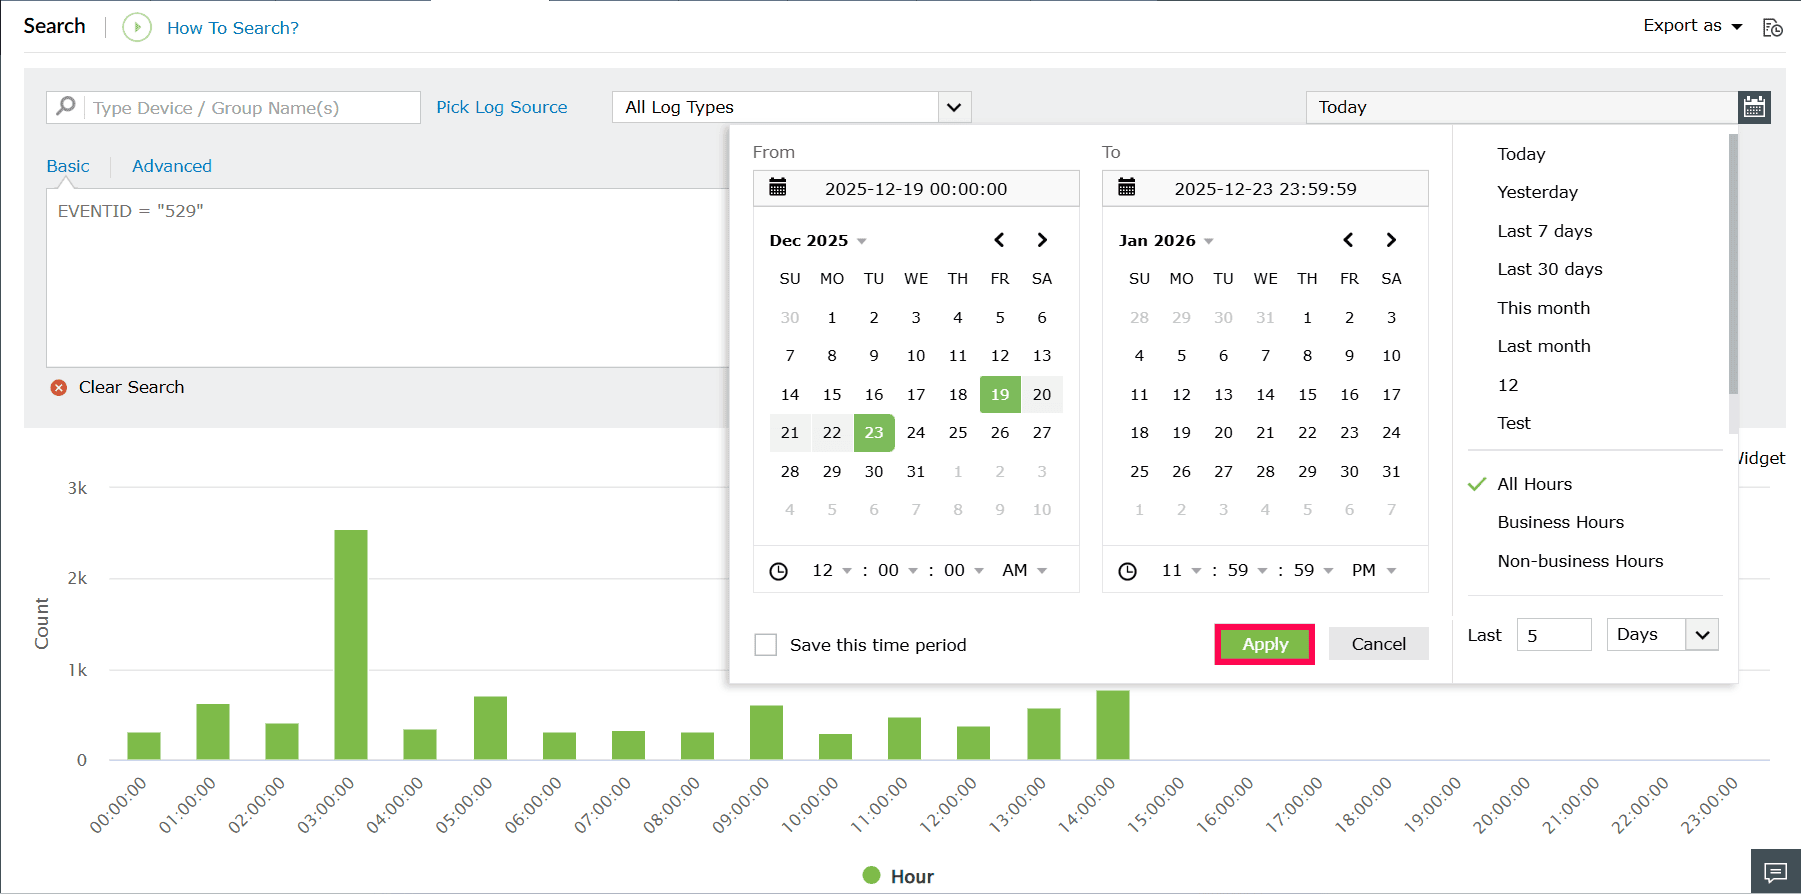
Figure 13: Saving the selected time range - You can further refine the search based on time of day:
- All Hours - Includes logs generated throughout the day.
- Business Hours - Displays logs generated during the configured business hours.
- Non-business Hours - Displays logs generated outside business hours.
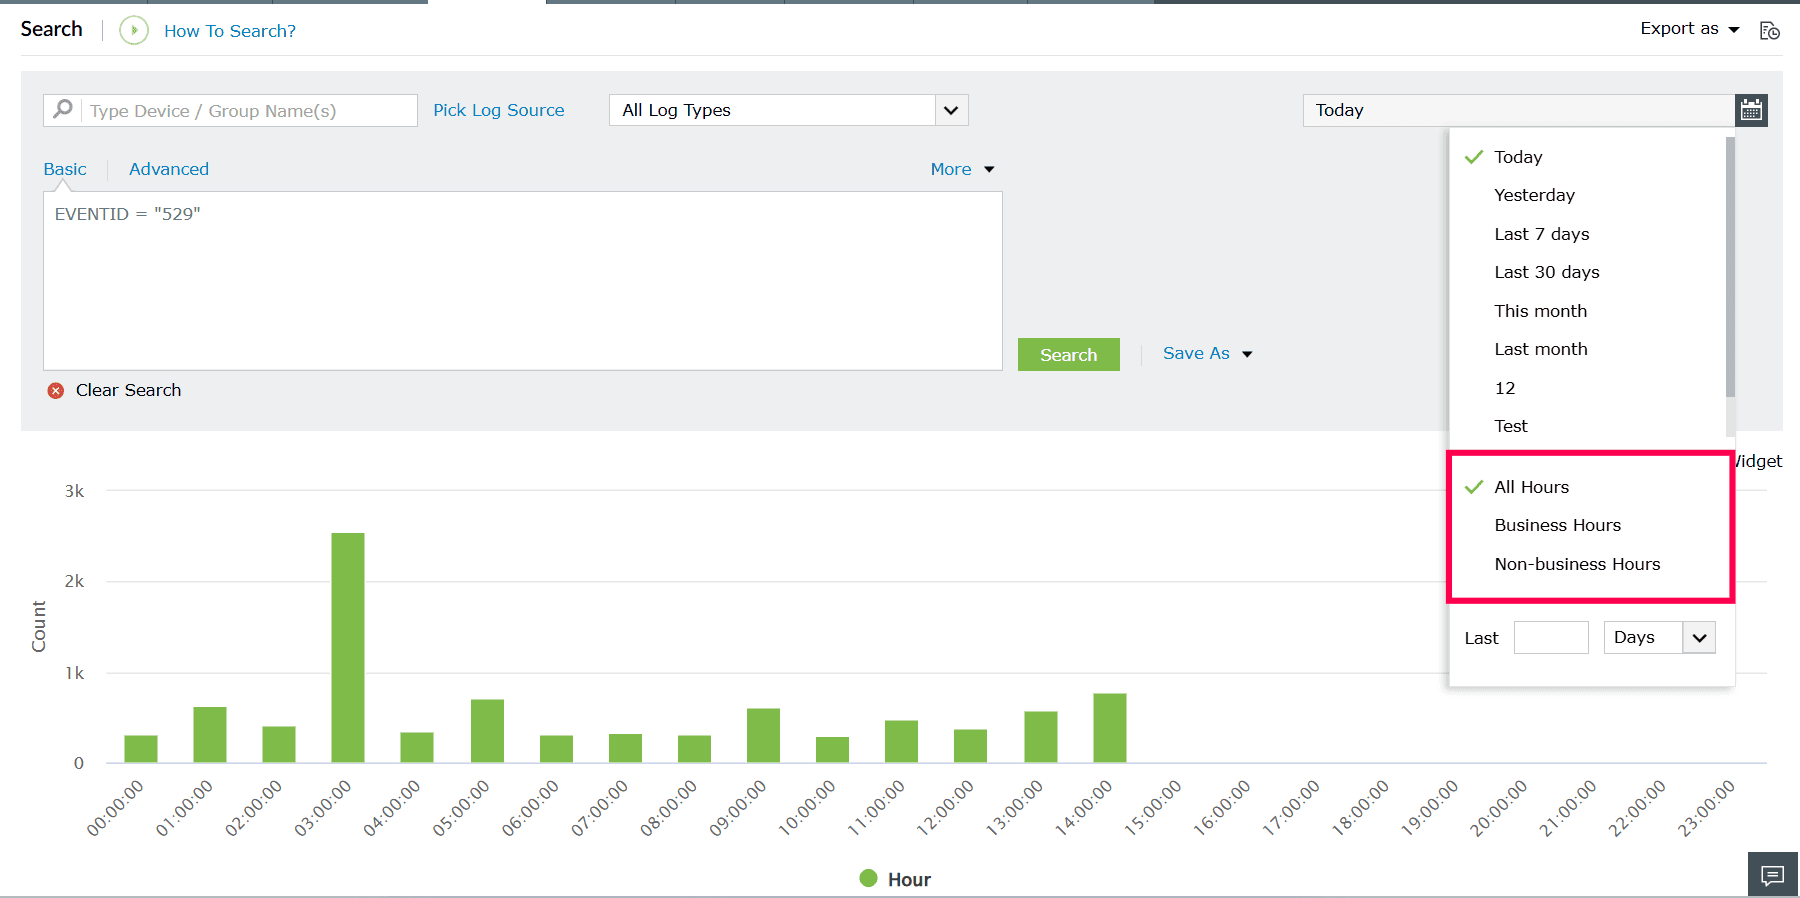
Figure 14: Selecting a custom date and time range - In the Basic search, enter your search criteria.
- You can search using field value.
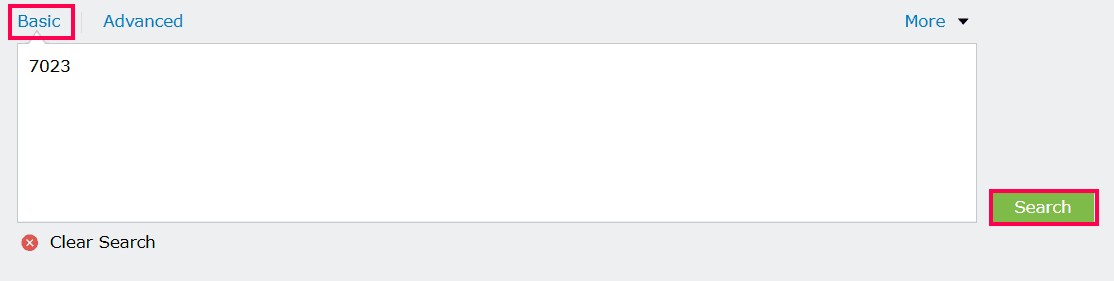
Figure 15: Searching using field value - You can search using field name and value.
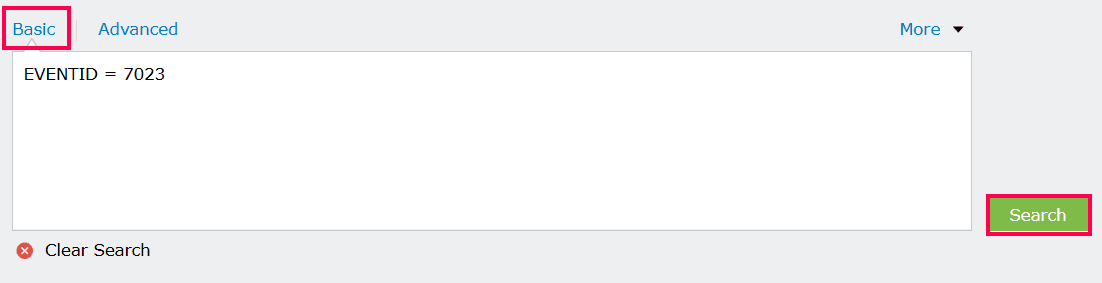
Figure 16: Searching using field name and value
NOTE If no query is entered, the search runs across all logs for the selected filters. - You can search using field value.
- Click Search to view the matching log results.
- To perform an advanced search, click the Advanced tab next to the Basic search.
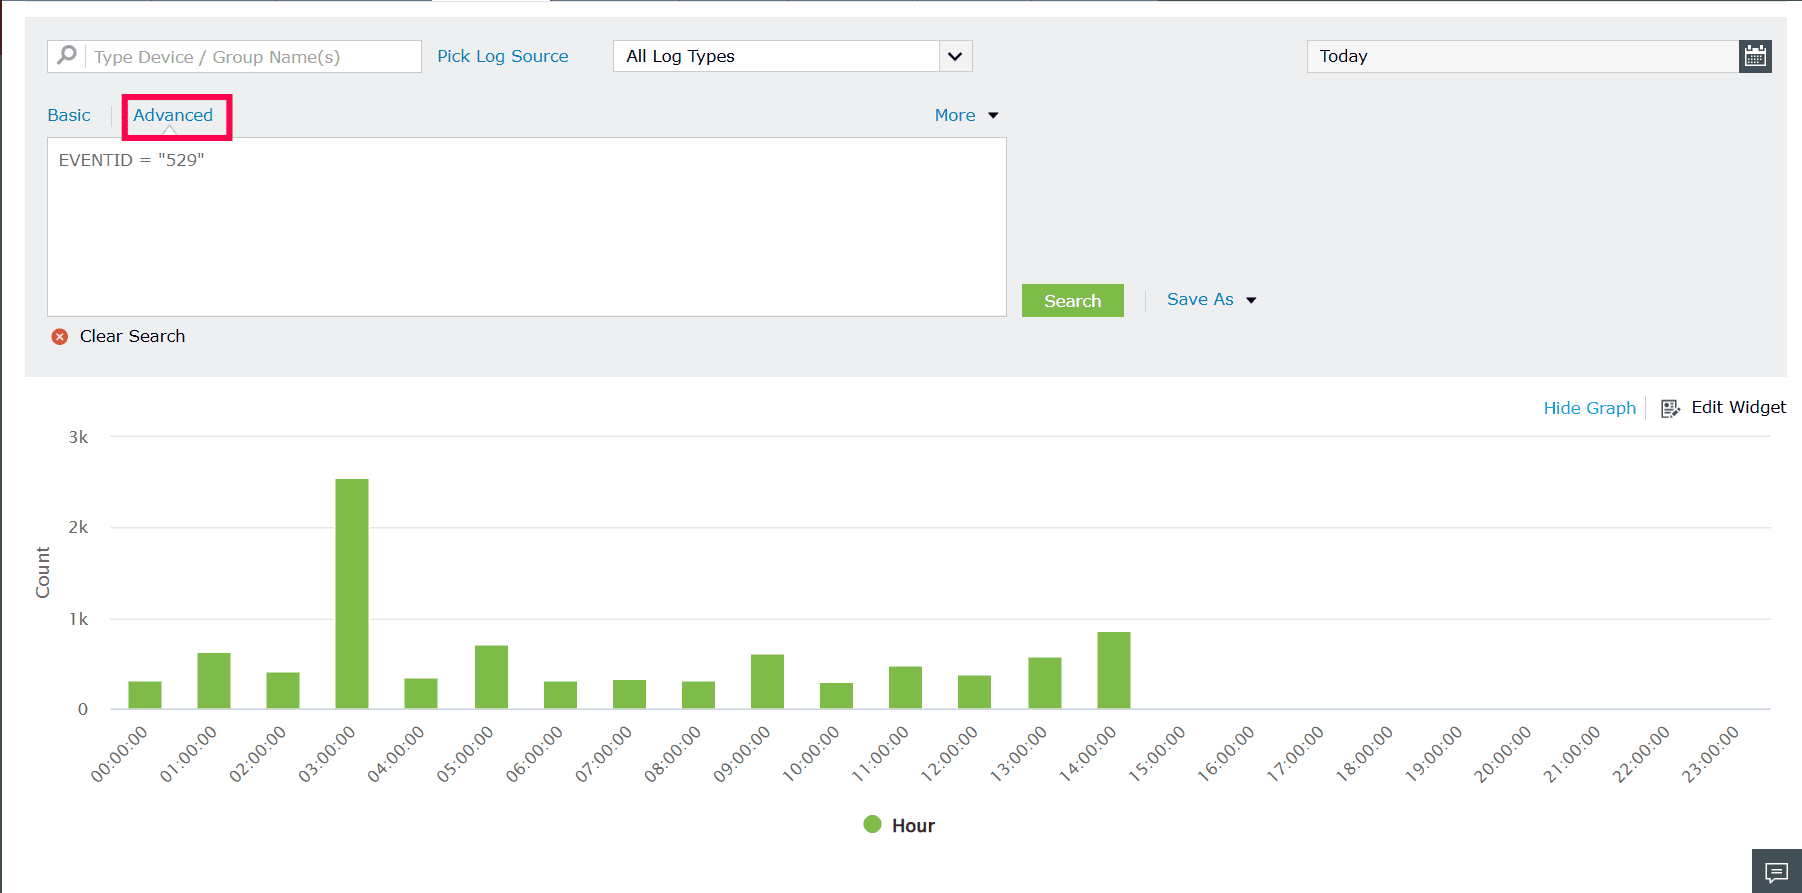
Figure 17: Performing advanced search - In the Criteria window, select a field from the first drop-down.
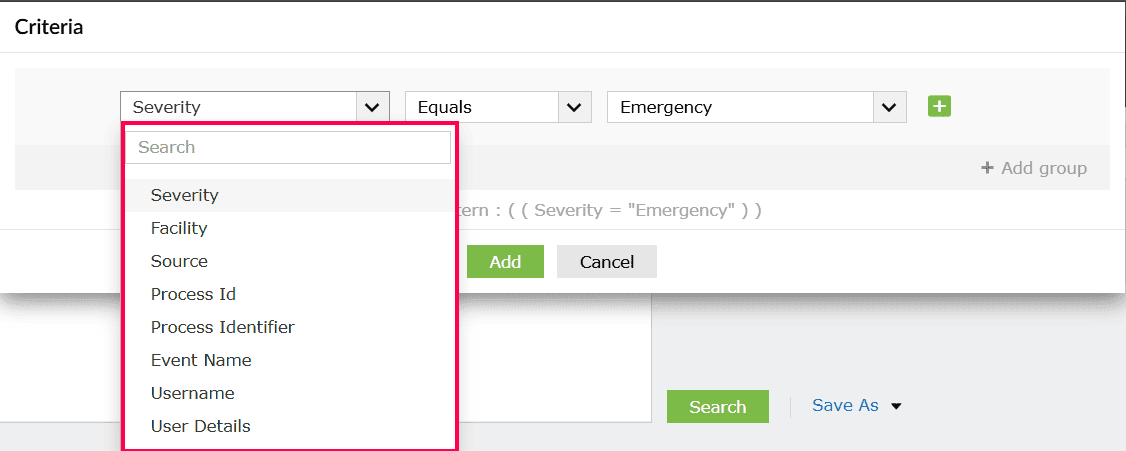
Figure 18: Selecting a criteria - From the operator drop-down, choose one of the following:
- Equals - to match logs where the selected field exactly matches the specified value.
- Not Equals - to exclude logs that match the specified value.
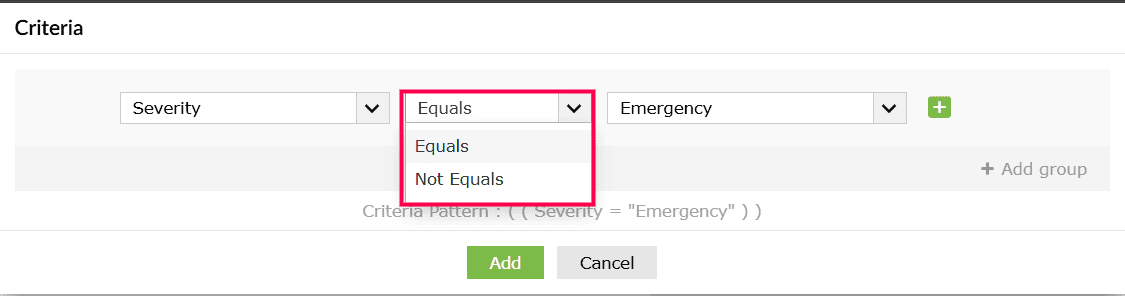
Figure 19: Selecting a criteria - Select or enter the required value in the corresponding field.
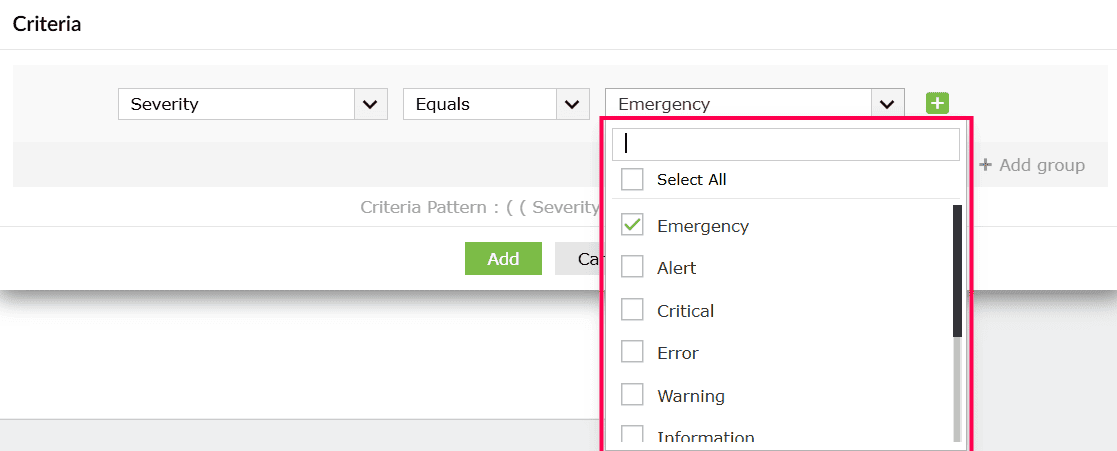
Figure 20: Selecting a criteria - To add another condition, click the
 icon.
icon. - To remove a condition, click the icon next to that condition.
- Choose the logical operator AND or OR to define how multiple conditions are evaluated:
- AND - Displays results only when all specified conditions are met.
- OR - Displays results when any one of the specified conditions is met.
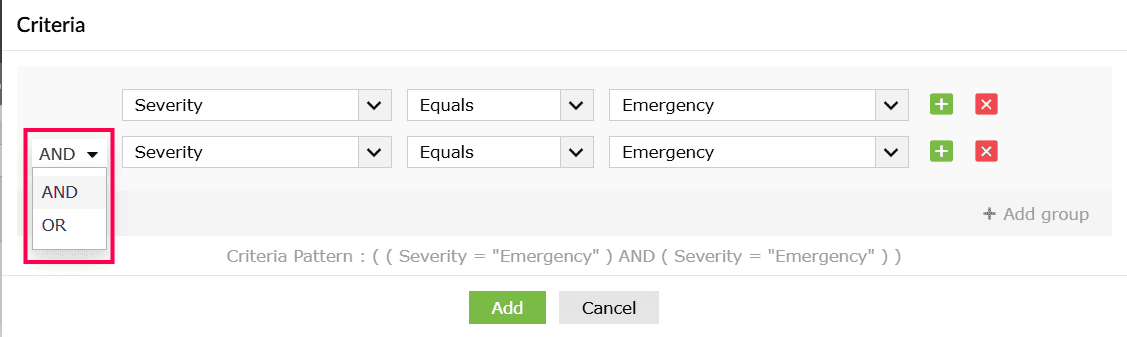
Figure 21: Adding a condition - Click Add group to group multiple conditions together and build complex queries.
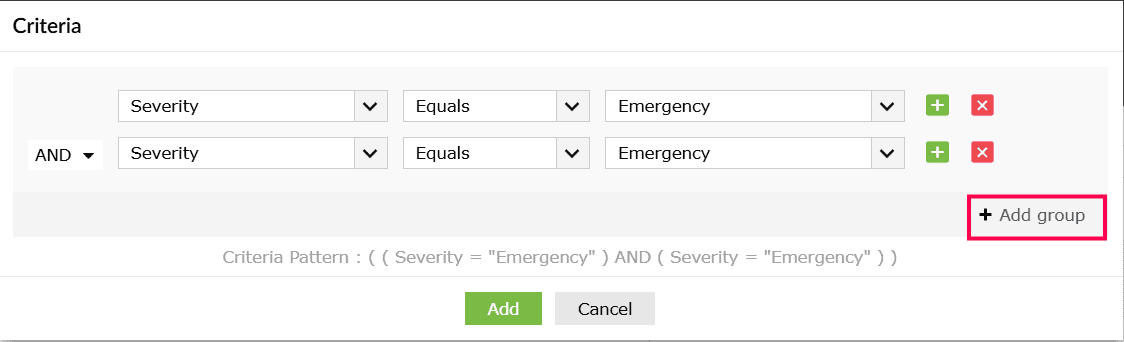
Figure 22: Adding a group - Use the AND / OR operator between groups to define how the grouped conditions are evaluated together.
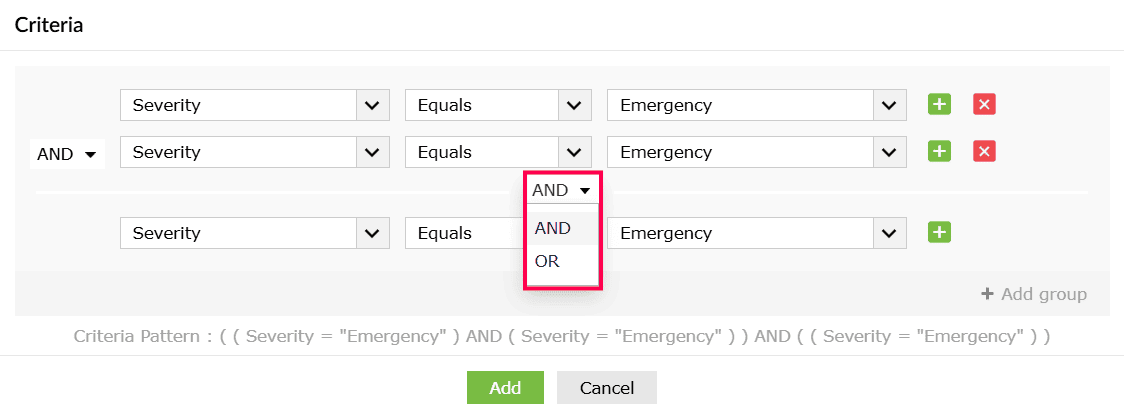
Figure 23: Configuring a group - To remove a group, hover next to the group, and click the
 icon that appears.
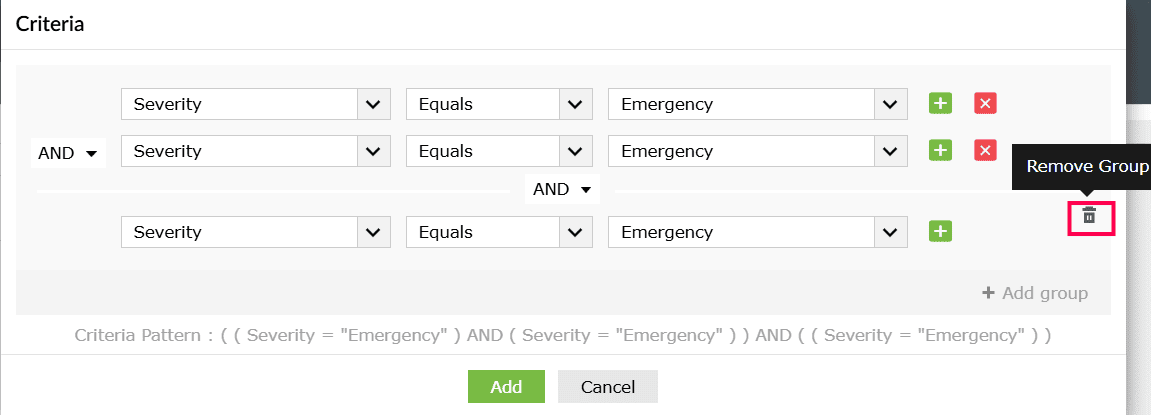
Figure 24: Removing a group - Click Add to apply the criteria and then click Search to view the results.
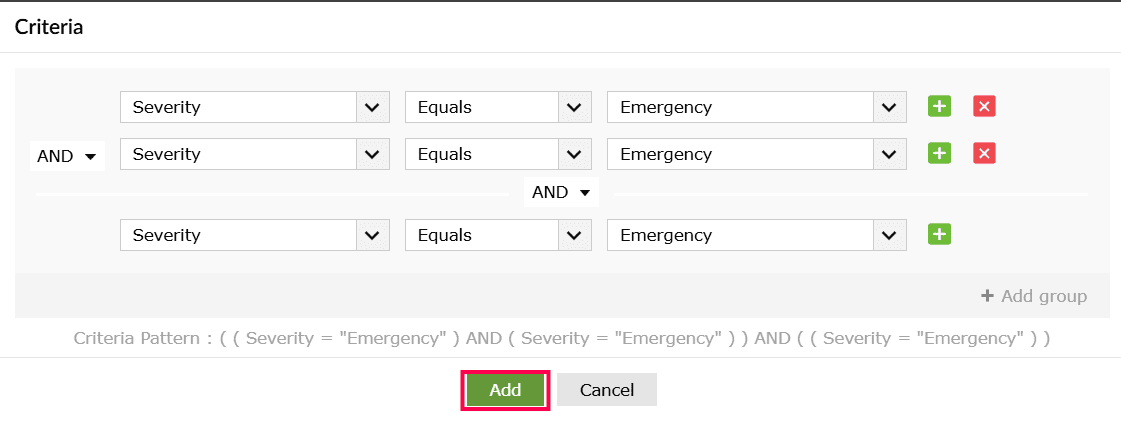
Figure 25: Adding a criteria - In the Search page, Click More and select Search History to view previously executed search queries.
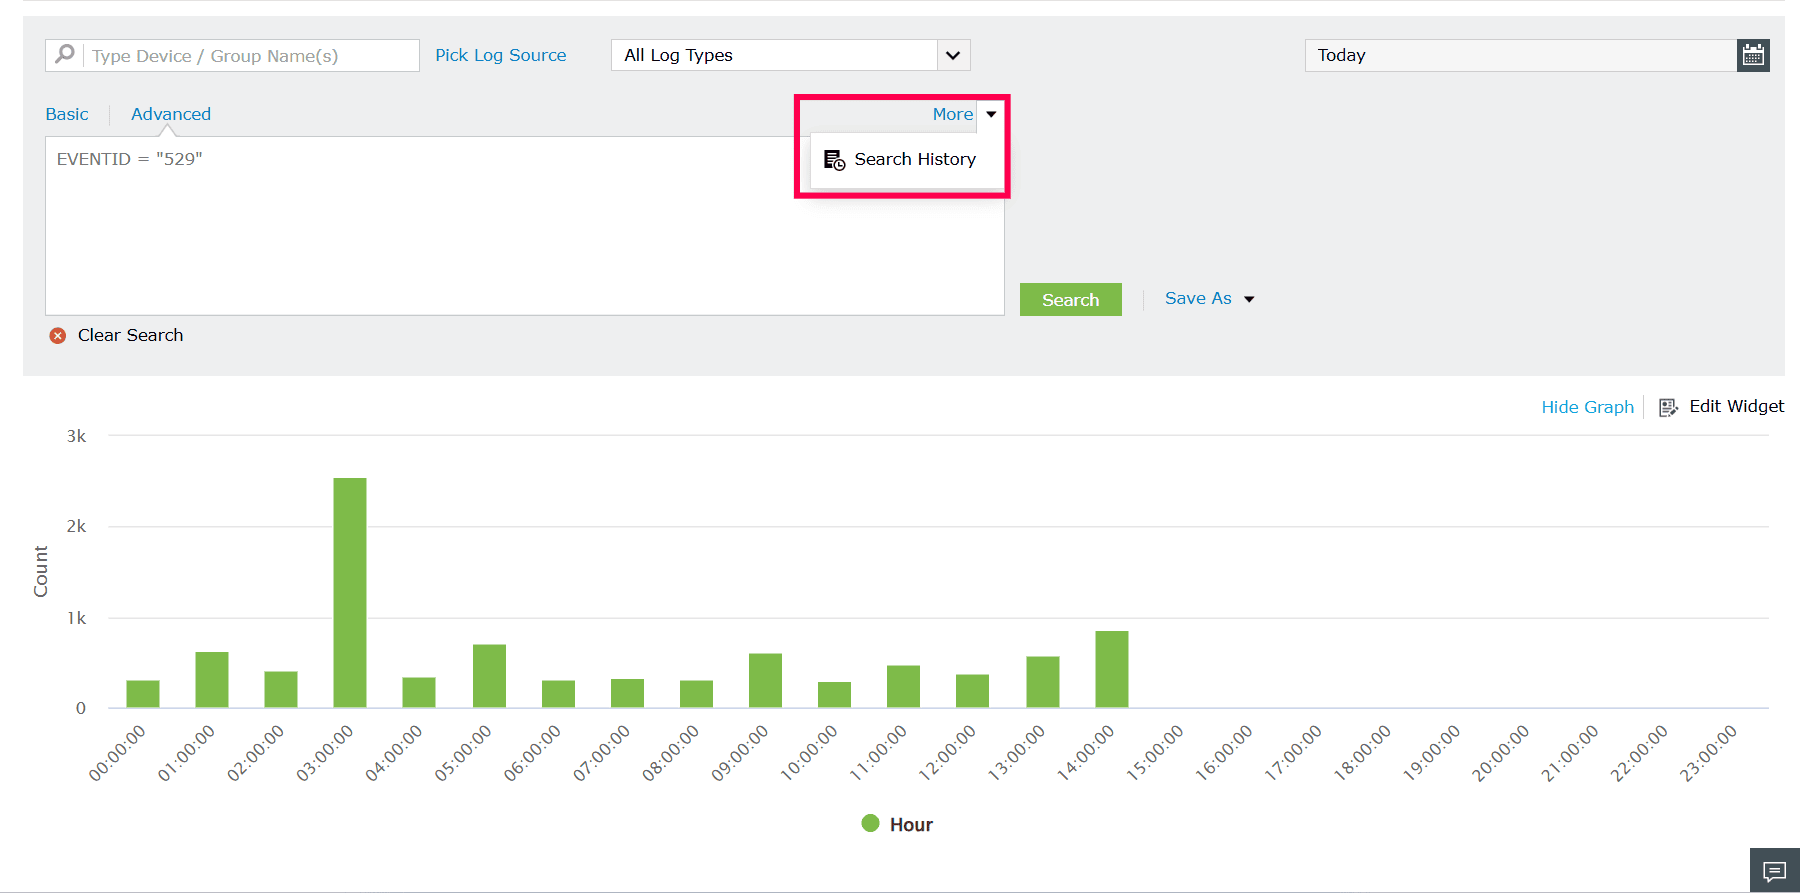
Figure 26: Viewing search history - Select query with date to re-run a query along with its original time period.
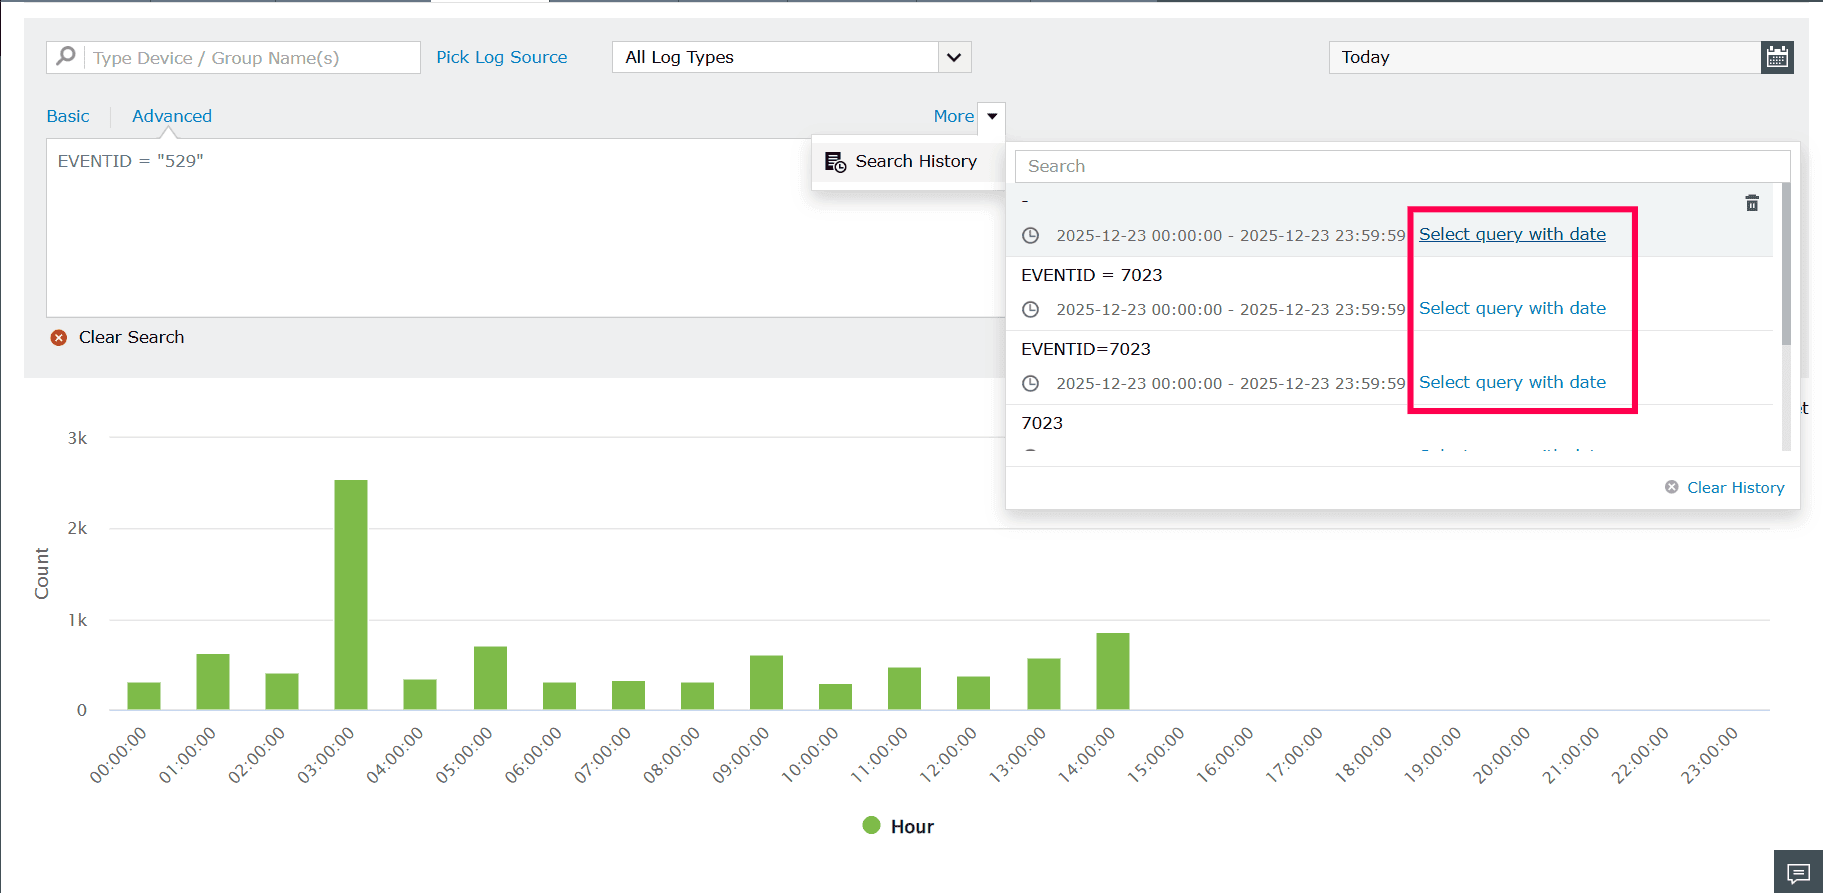
Figure 27: Viewing search history - Click the icon next to a search query to remove it.
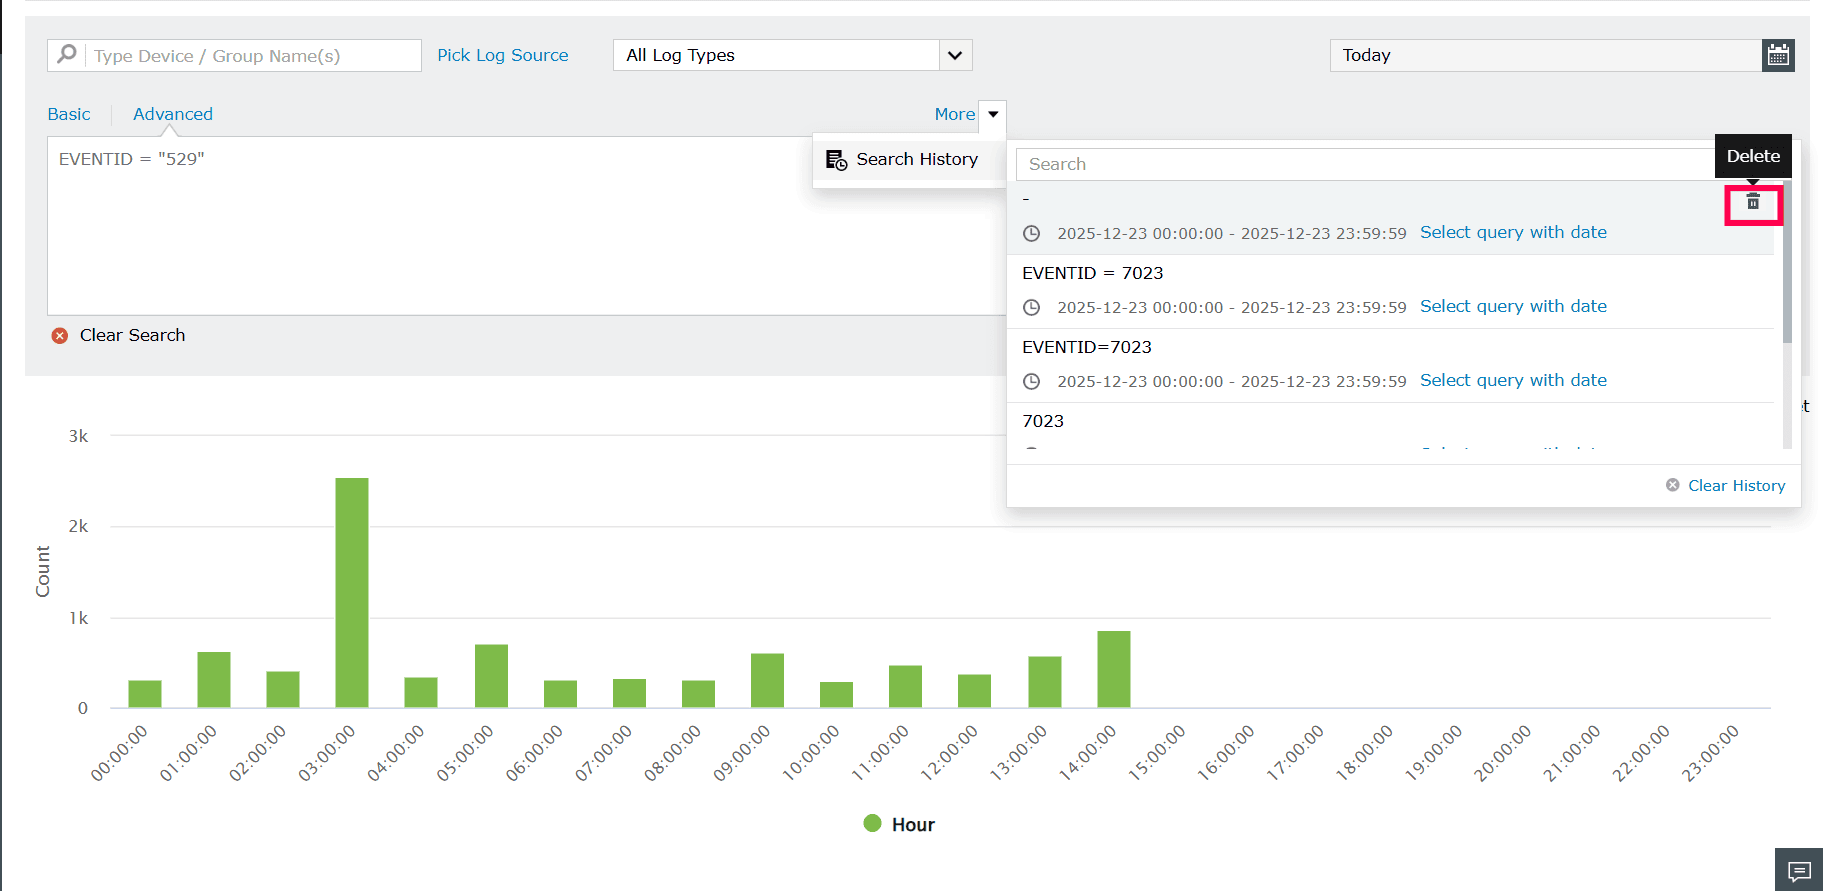
Figure 28: Deleting a search history - In the confirmation pop-up that appears, click Yes to remove a search history.
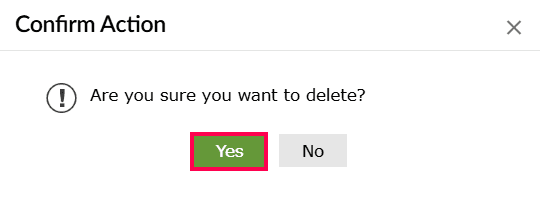
Figure 29: Confirming deletion - Click Clear History to remove stored search history entries.
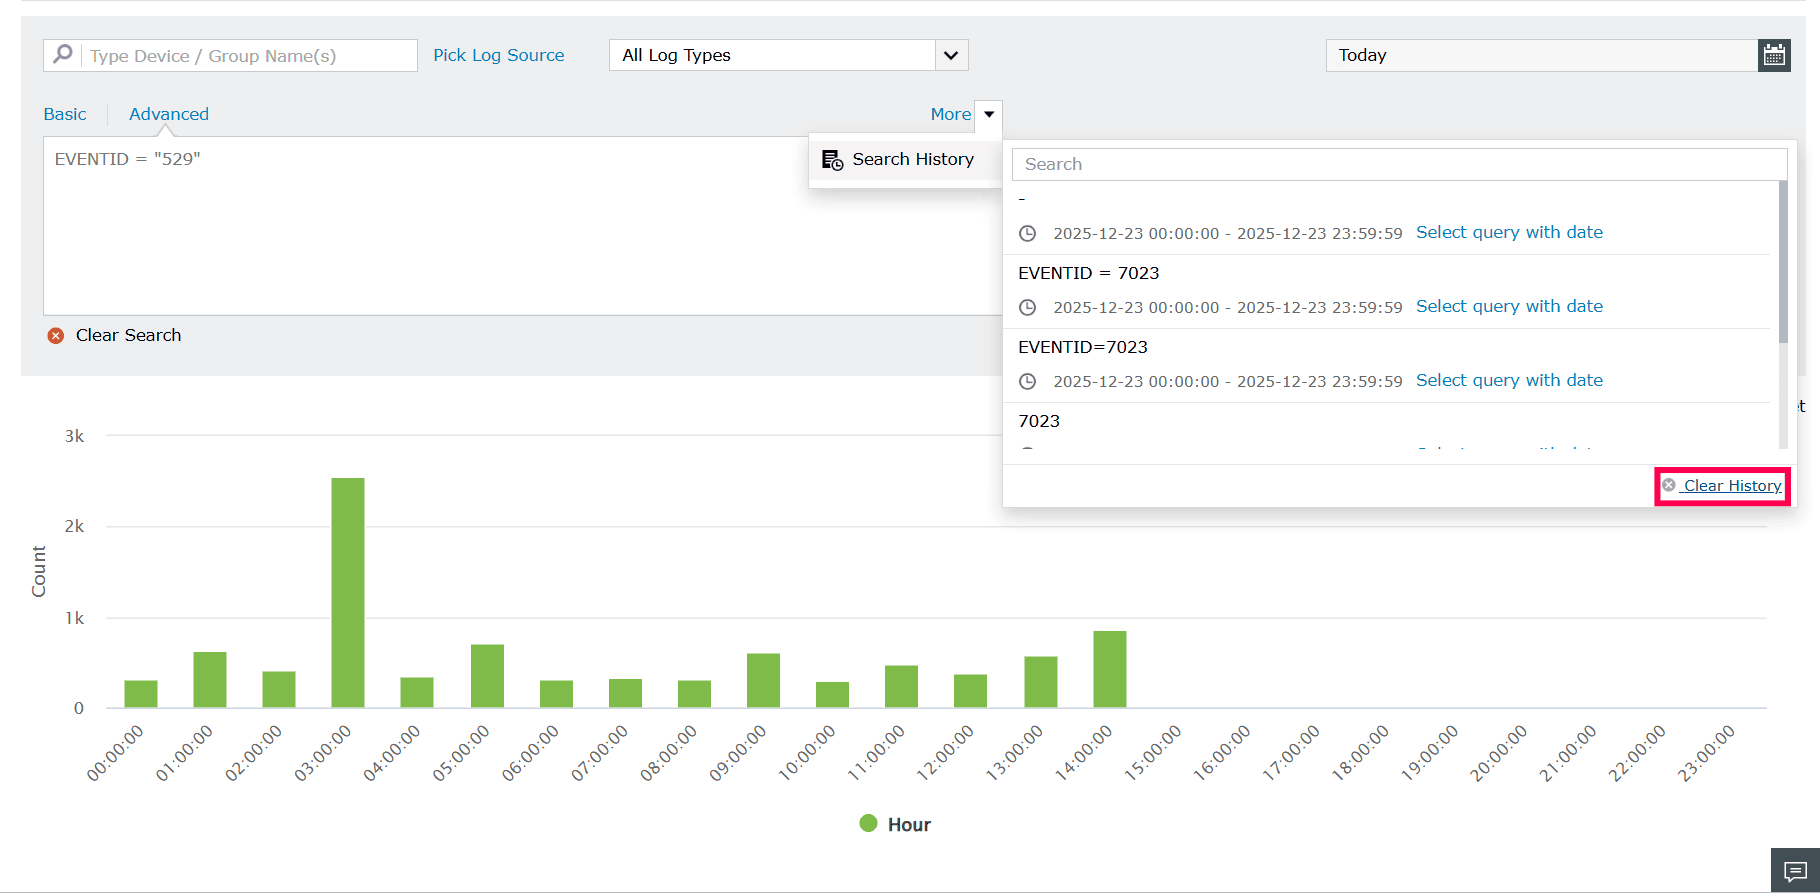
Figure 30: Clearing history - In the confirmation pop-up that appears, click Yes to clear the history.
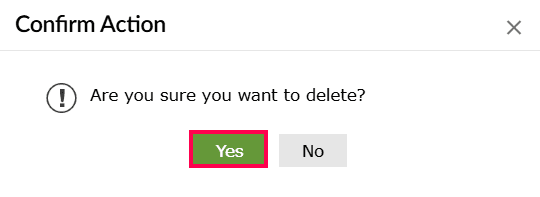
Figure 31: Confirming deletion - In the Search page, click Clear Search to reset the search query and filters.
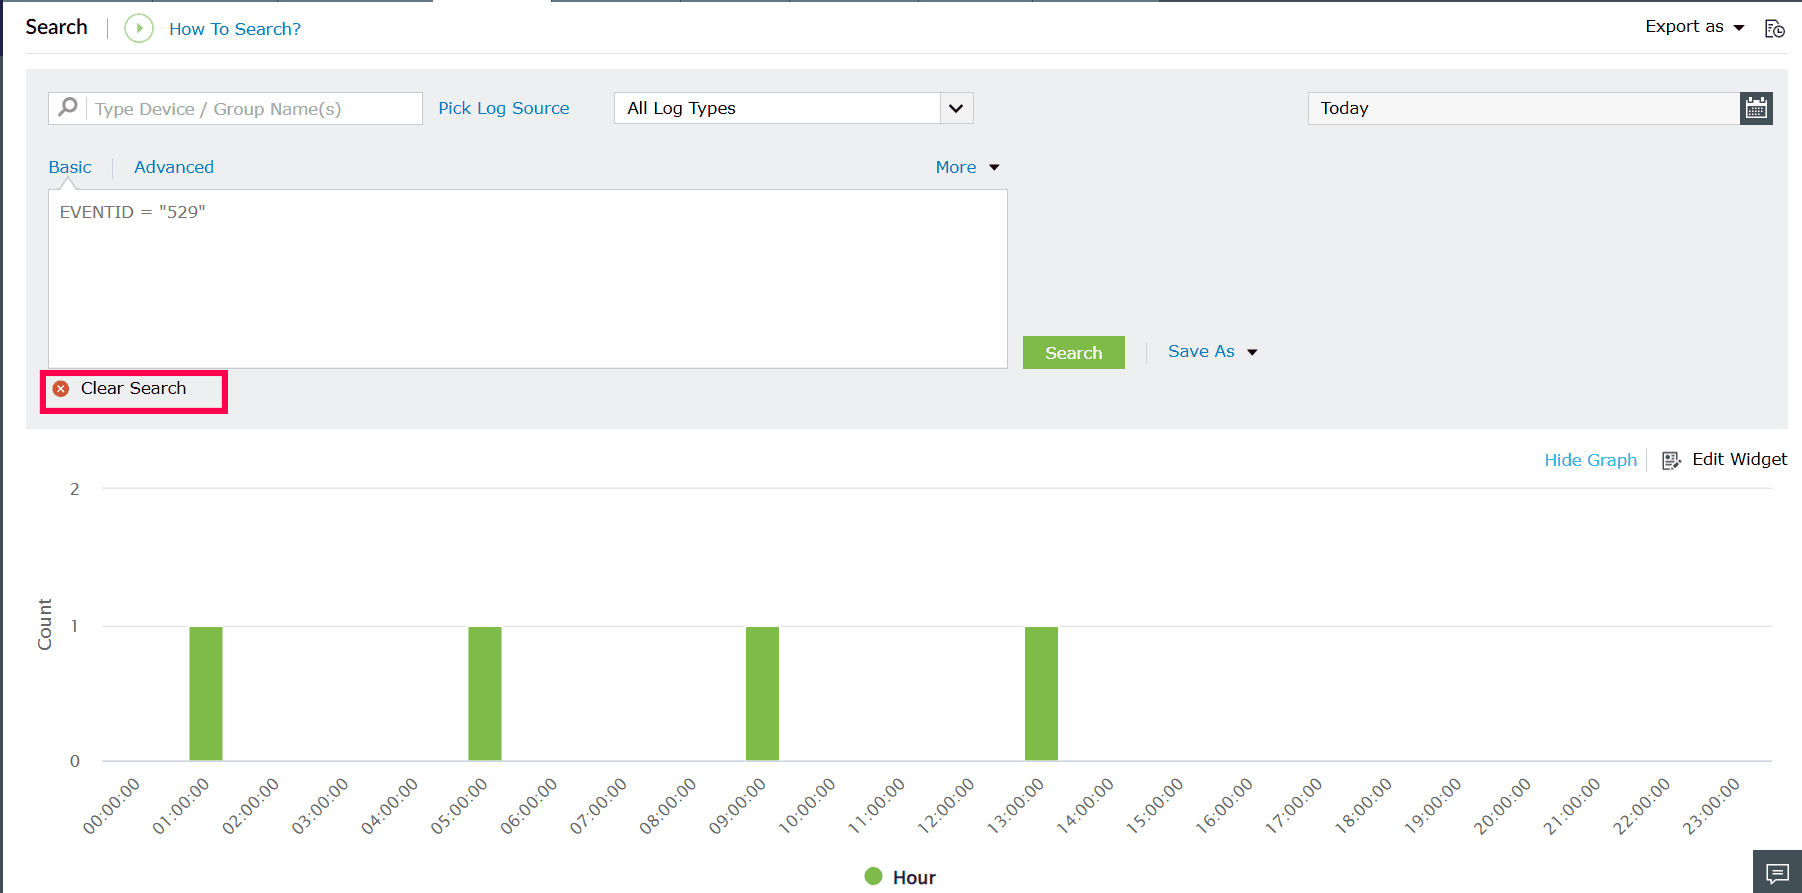
Figure 32: Clearing search
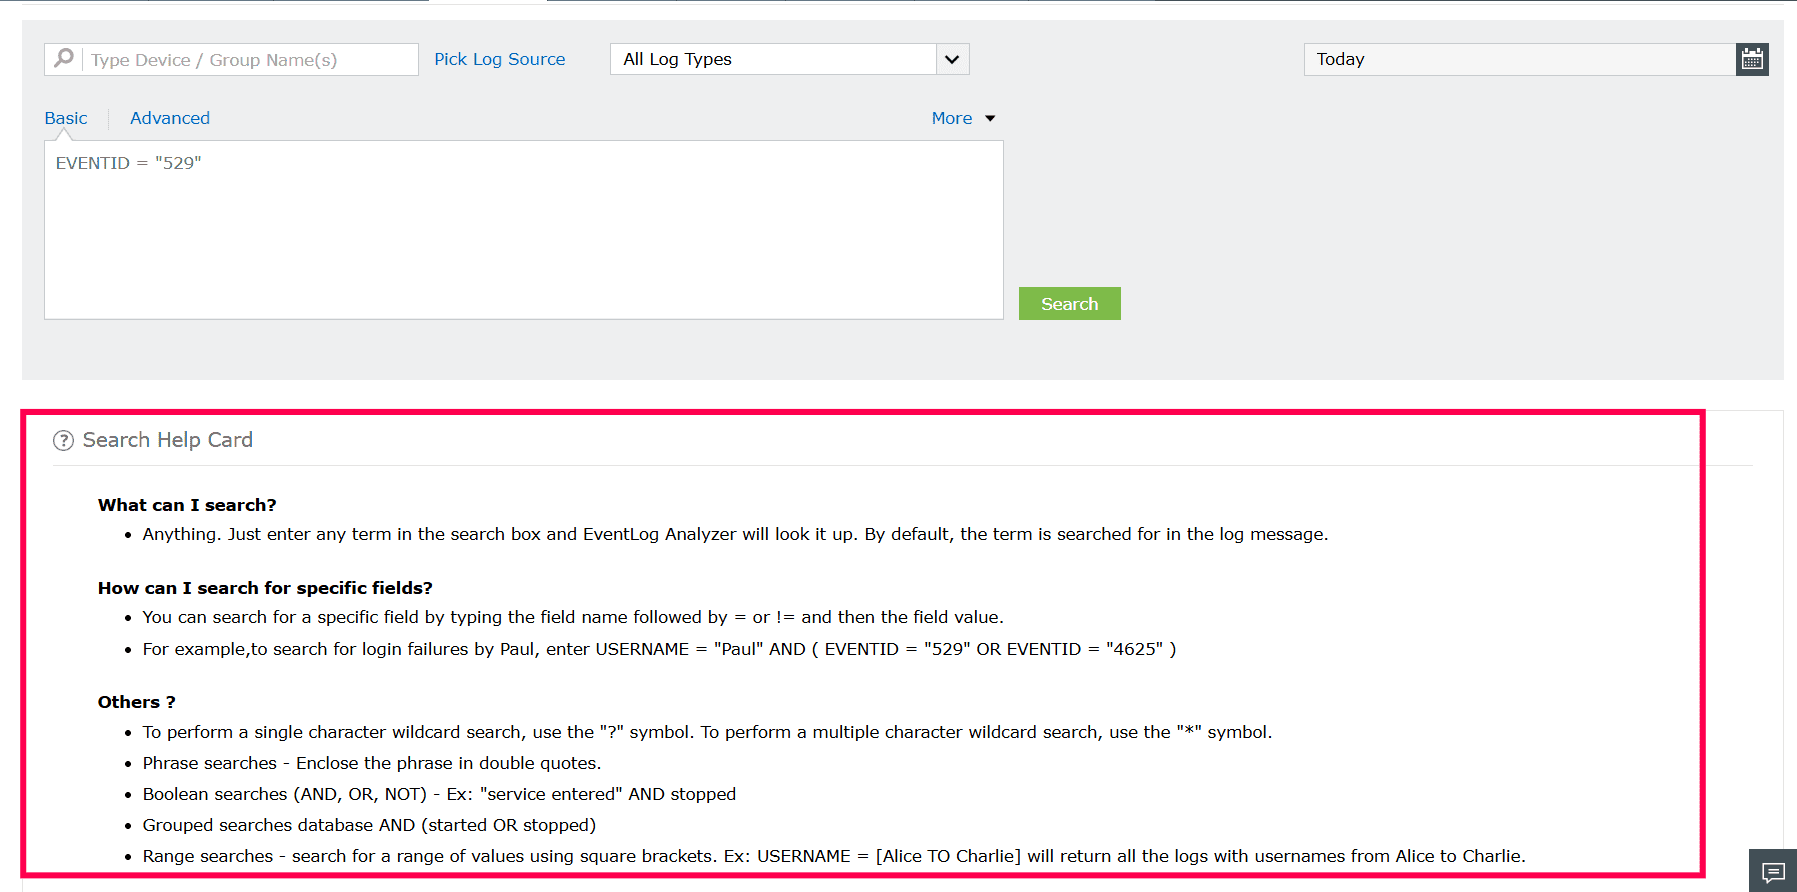
The Search Help Card provides an overview of the supported search query types. You can also watch how to search tutorials to help you learn how to use search effectively.
Searching archived logs
Logs stored in the product's Elasticsearch have a configurable retention period, after which logs are deleted. In addition, an archive period is configured, beyond which logs are archived and stored as ZIP files to optimize memory usage.
For example, if the archive period is set to 30 days and the retention period is set to 90 days:
- Logs that are less than 30 days old are available for searching.
- Logs that are older than 30 days but less than 90 days are archived.
- Logs beyond 90 days are deleted.
To search logs that are beyond the archive period, the archived ZIP files must be unarchived before they can be searched. This process may take time depending on the size of the archived data. Logs become available for searching as and when the ZIP files are unarchived.
In such cases, a confirmation prompt is displayed showing details such as the number of indices to be unarchived, the expected unarchive size, and the available storage space. Click Yes to proceed with unarchiving the data.
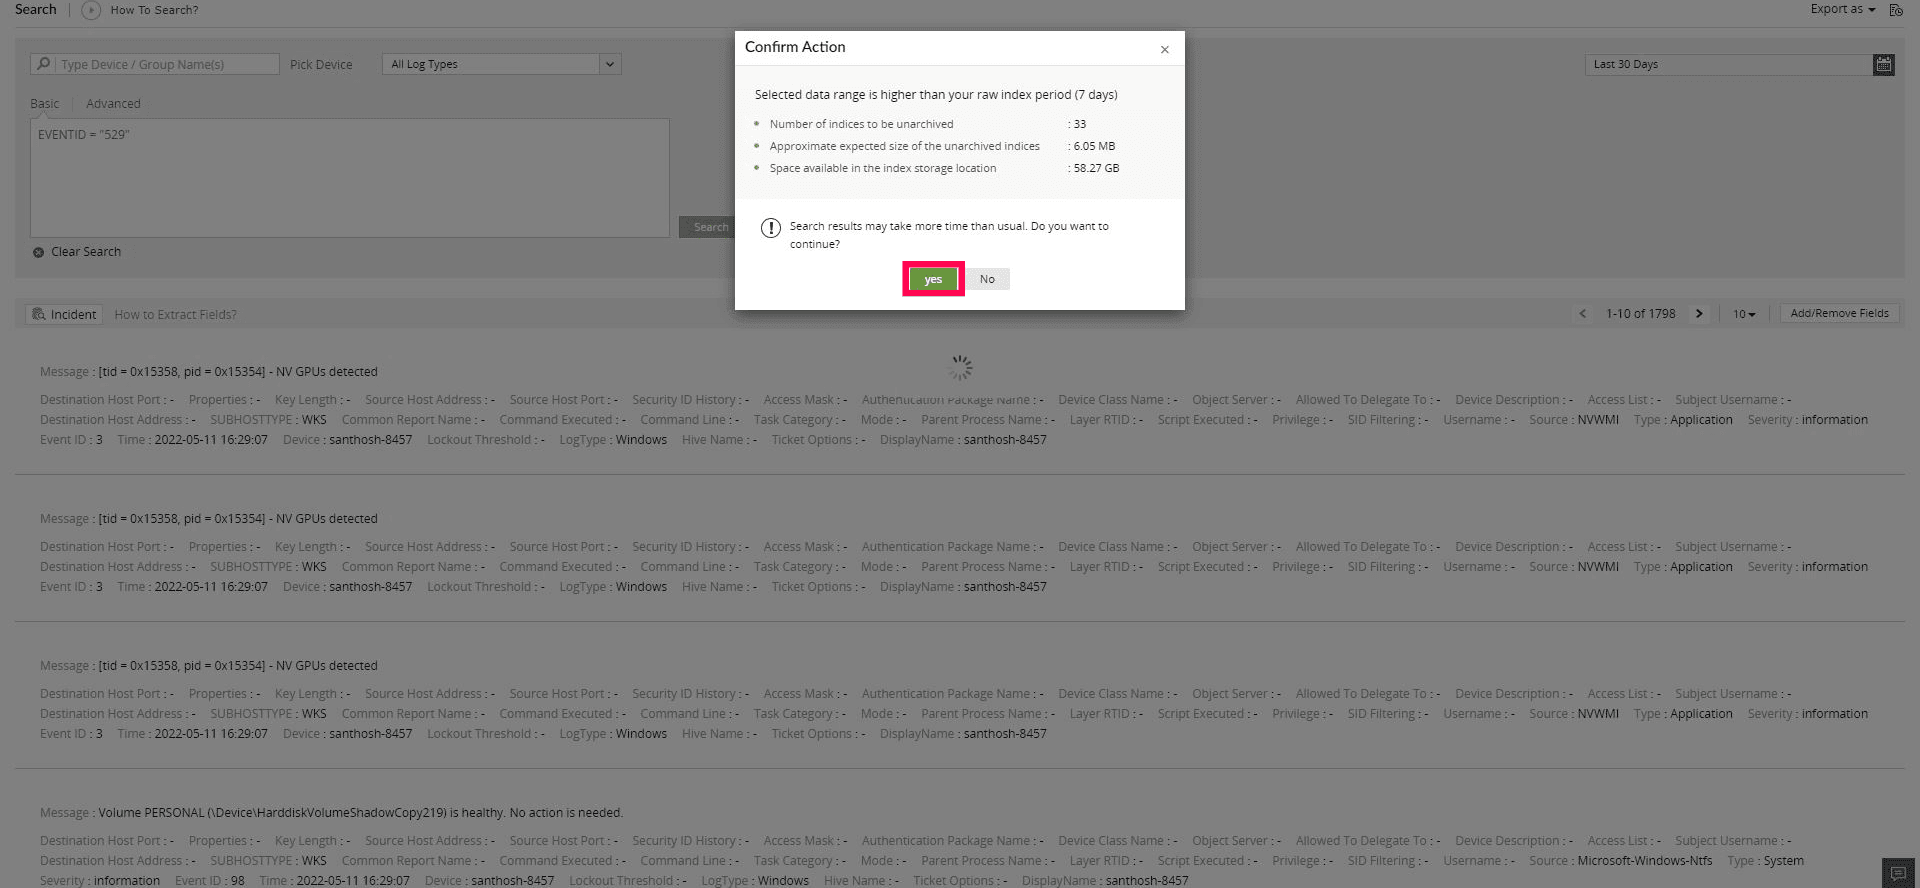
Once confirmed, the unarchiving process begins, and the search results are displayed after the required data becomes available.
Read also
This page explained how to perform basic and advanced log searches, construct search queries, and search archived logs. For more information on related search capabilities, refer to: