
Creating and managing tags
Last updated on:
In this page
Overview
By creating and managing tags in ManageEngine Log360 you can bookmark important logs and complex search queries using tags. Tags and their associated notes support only alphanumeric characters. While any user can add notes to a tag, editing tag criteria is restricted to the user who created the tag and users with admin privileges in the product.
This page explains how to create, edit, search, and delete tags for efficient log analysis.
Use cases
- Reuse complex searches: Save frequently used search queries as tags and retrieve them instantly without re-entering multiple criteria.
- Search across multiple log sources: Associate logs from different sources (such as UNIX, Windows, or application logs) with a single tag and fetch them quickly when needed.
- Add notes for future reference: Include troubleshooting tips or observations with a tag to help users understand the purpose of the tagged logs during future analysis.
Creating a tag
To create a tag, follow the steps below.
- Log in to the product console.
- Navigate to Search tab.
- Specify the search criteria to locate the required event and click Search.
NOTE For more information on performing log searches, refer to Log Search.
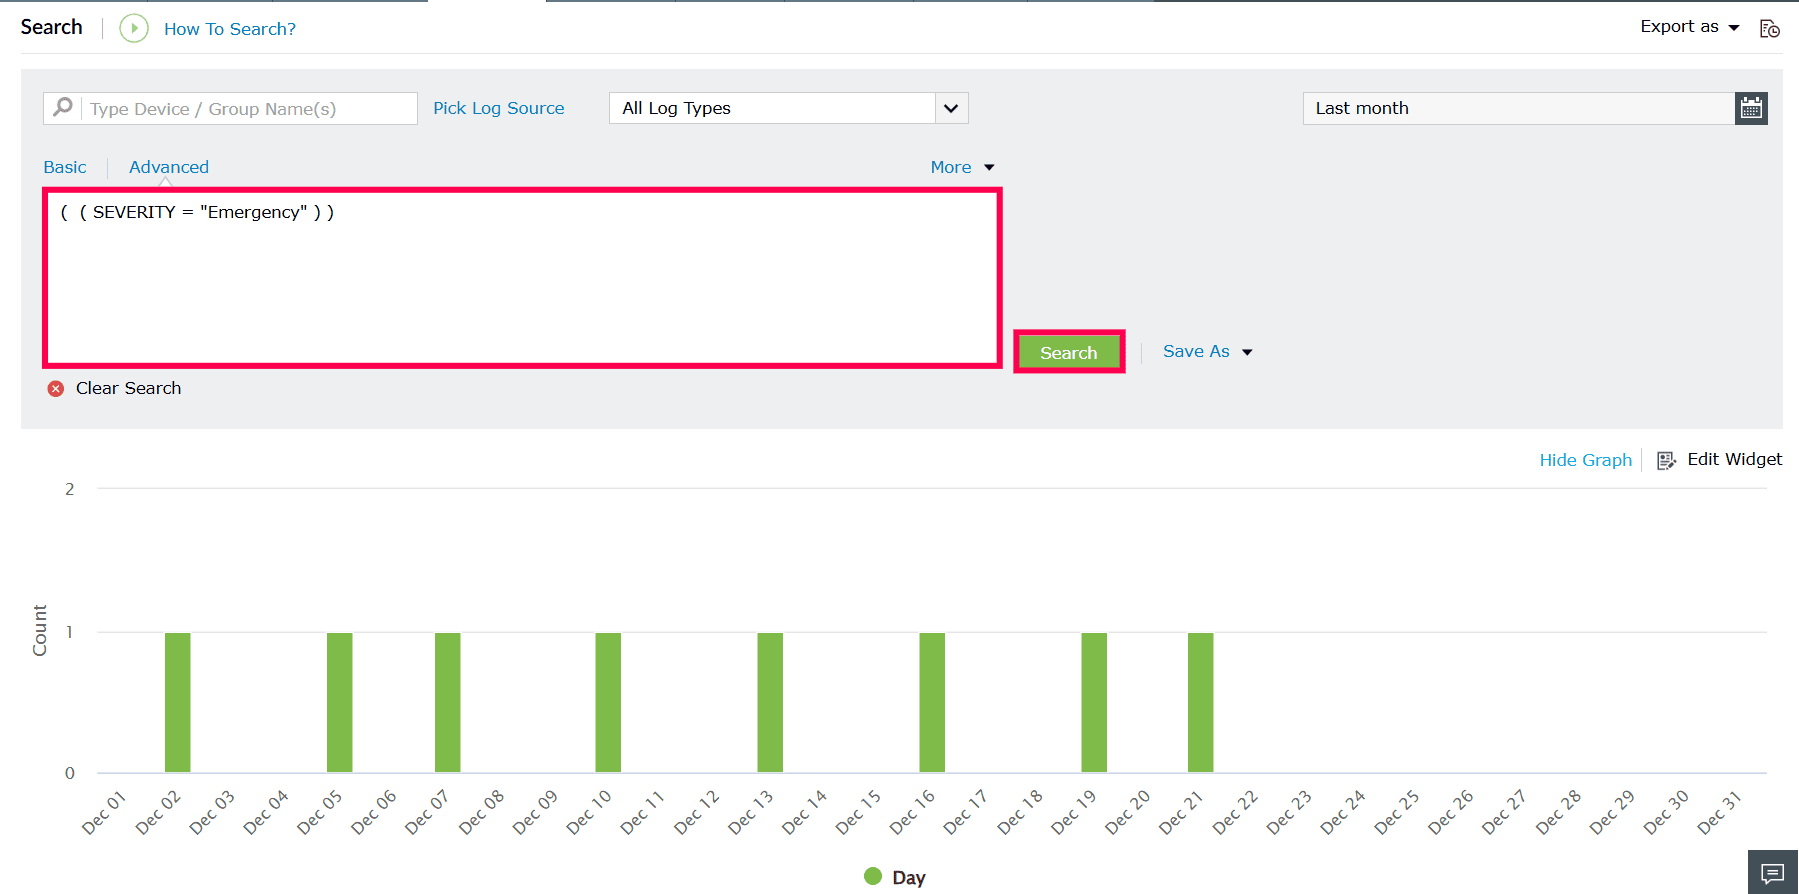
Figure 1: Specifying search criteria - In the displayed search results, click the
 icon on the right side of any log entry.
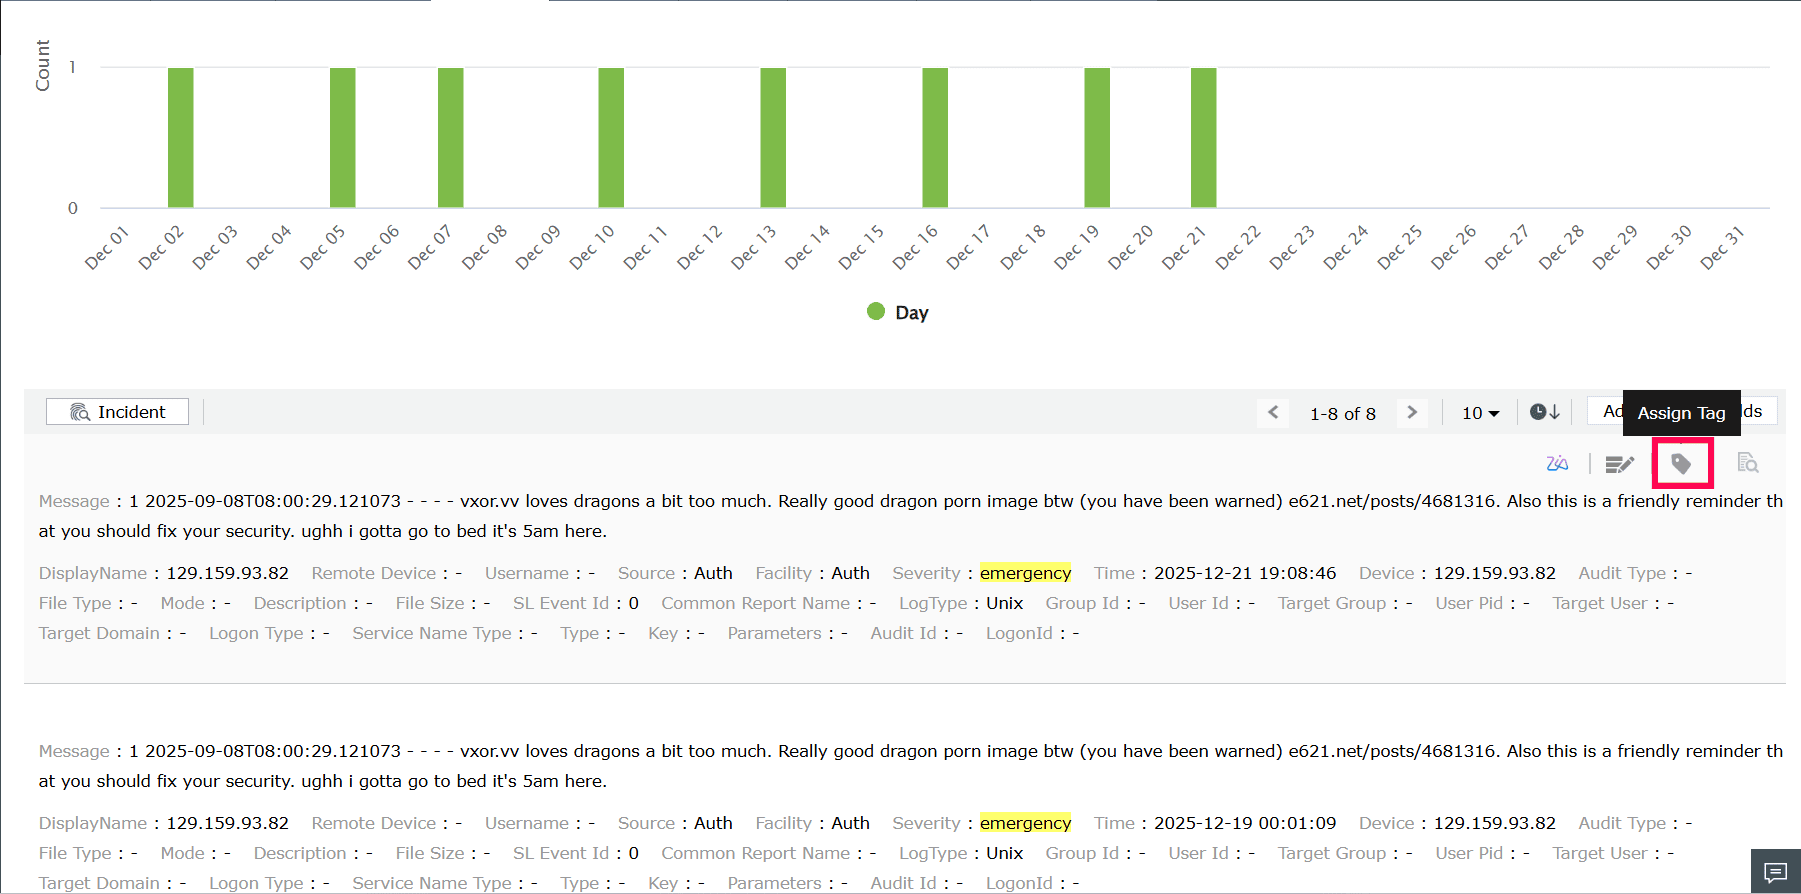
Figure 2: Assigning a tag - In the Add Tag window, enter the following details:
- Tag Name - Enter a unique name for the tag. This name is used to identify the tag and can be referenced later in searches using the # prefix. The tag name can contain only alphanumeric characters.
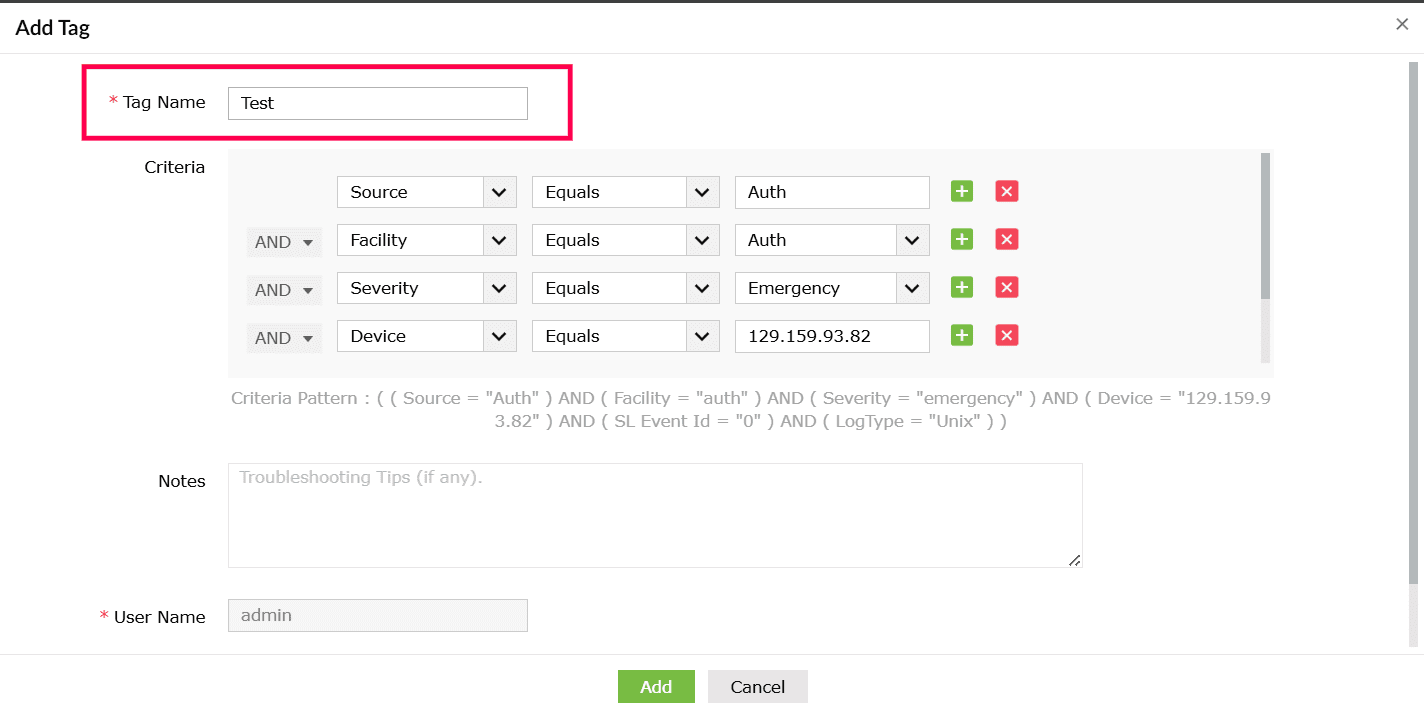
Figure 3: Entering a tag name - Tag criteria: Select from the predefined list based on the fields available in the search results.
NOTE The tag criteria are automatically populated based on the event selected for tagging. You can modify or customize the criteria as required before saving the tag.
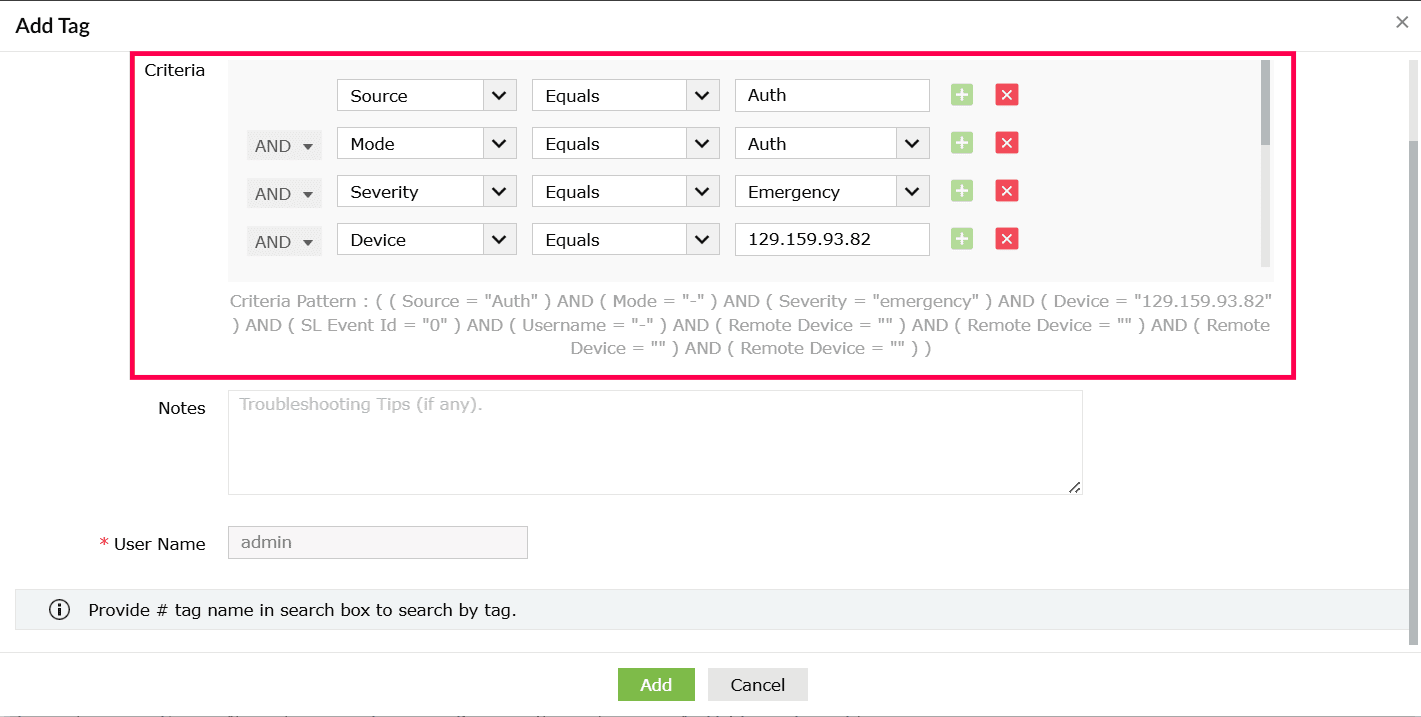
Figure 4: Configuring criteria - In the dropdown between criteria, select AND to ensure all specified conditions are matched, or select OR to match any one of the specified conditions.
NOTE A maximum of 10 criteria can be added to a tag.
- Click
 icon to add a criterion, or click the
  icon to delete a criterion.
NOTE The list of available criteria fields is based on the columns currently displayed in the search results.- If a required field is not available, click Add/Remove Fields at the top-right corner of the search results page to open the Select Columns window.
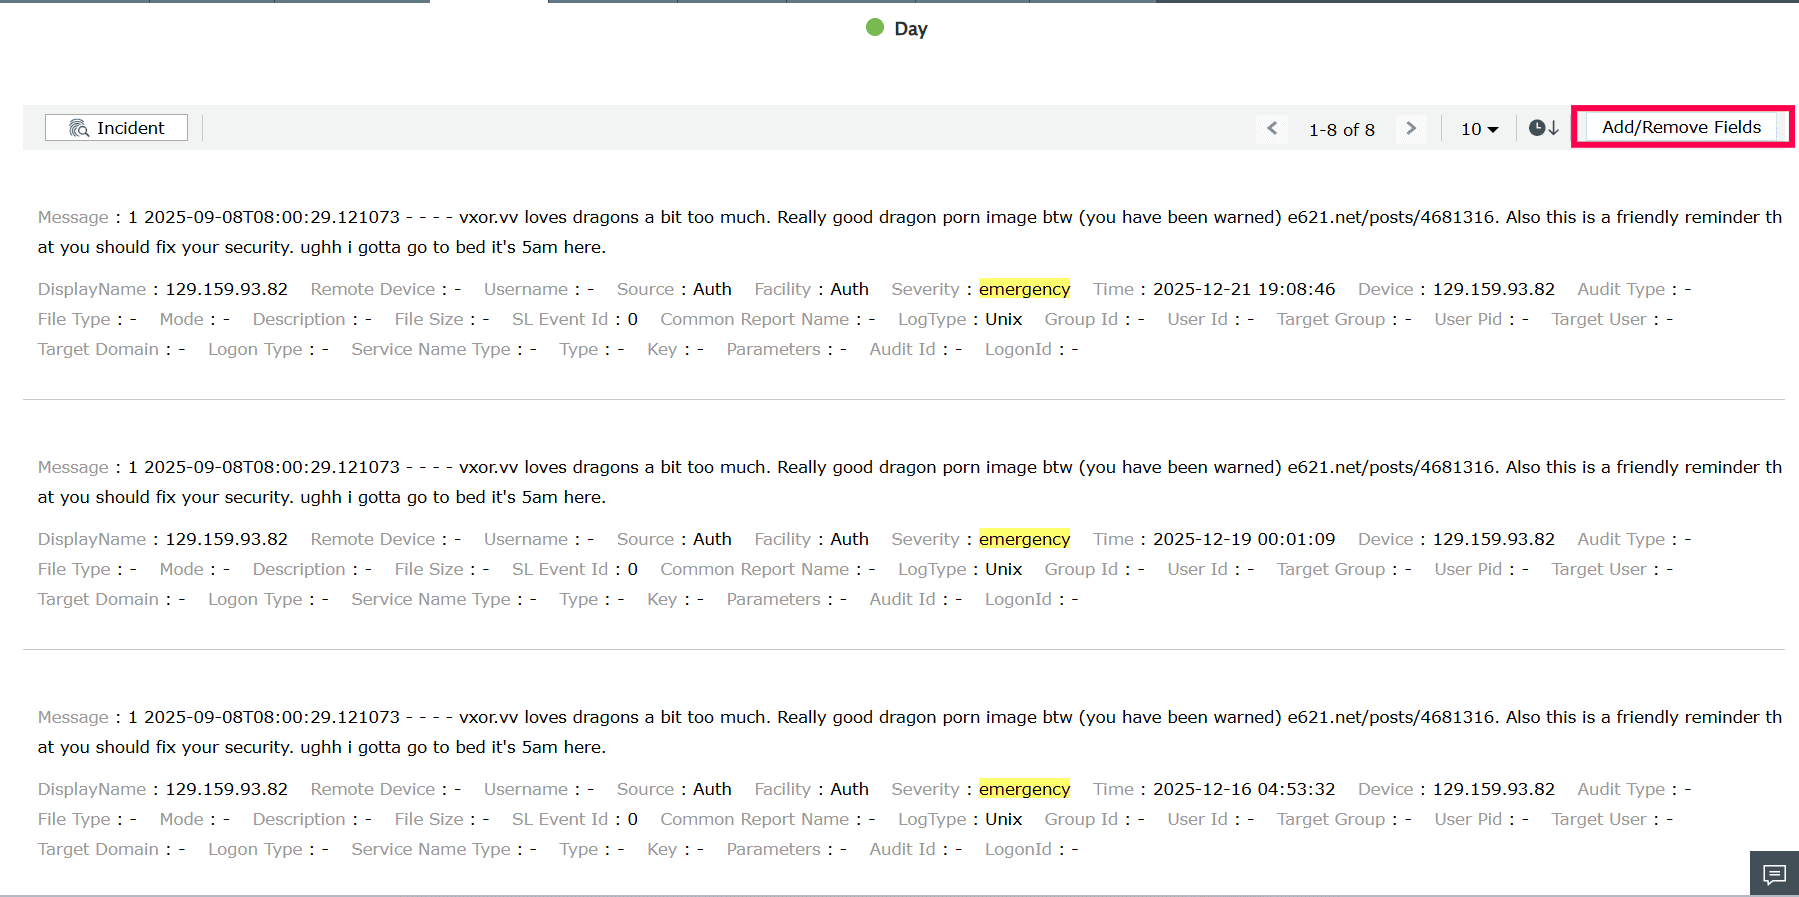
Figure 5: Adding/removing fields - In the Select Columns window, use the dropdown to switch between log sources and view their associated fields.
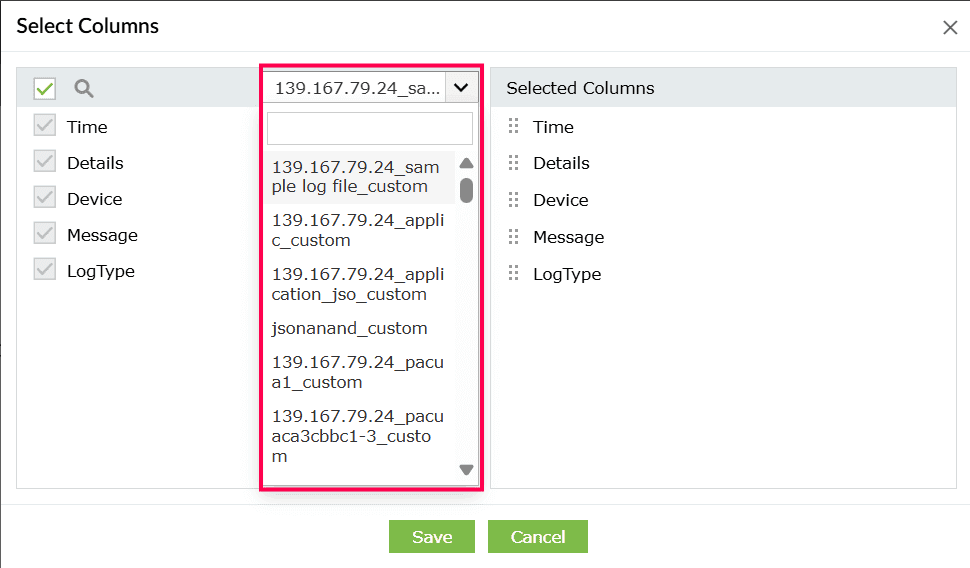
Figure 6: Selecting column - Select the checkbox next to the required fields and click Save before creating the tag.
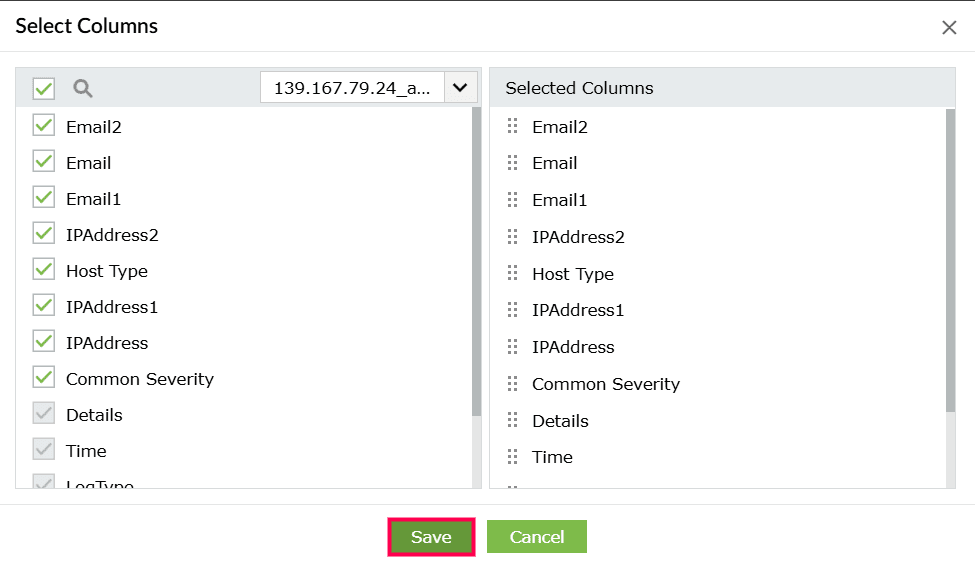
Figure 7: Saving selected columns
- In the dropdown between criteria, select AND to ensure all specified conditions are matched, or select OR to match any one of the specified conditions.
- Notes (Optional): Add notes, troubleshooting tips, observations, or remediation steps related to the tagged logs to help with future analysis or investigations. Although adding notes is optional, it is recommended, as it helps other users understand and validate the purpose of the tag.
- User name: By default, the currently logged-in user name is displayed.
- Tag Name - Enter a unique name for the tag. This name is used to identify the tag and can be referenced later in searches using the # prefix. The tag name can contain only alphanumeric characters.
- Click Add to save the tag.
Editing a tag
- Log in to the product console.
- Navigate to Settings tab.
- Go to Admin Settings. Under Others, select Tags.
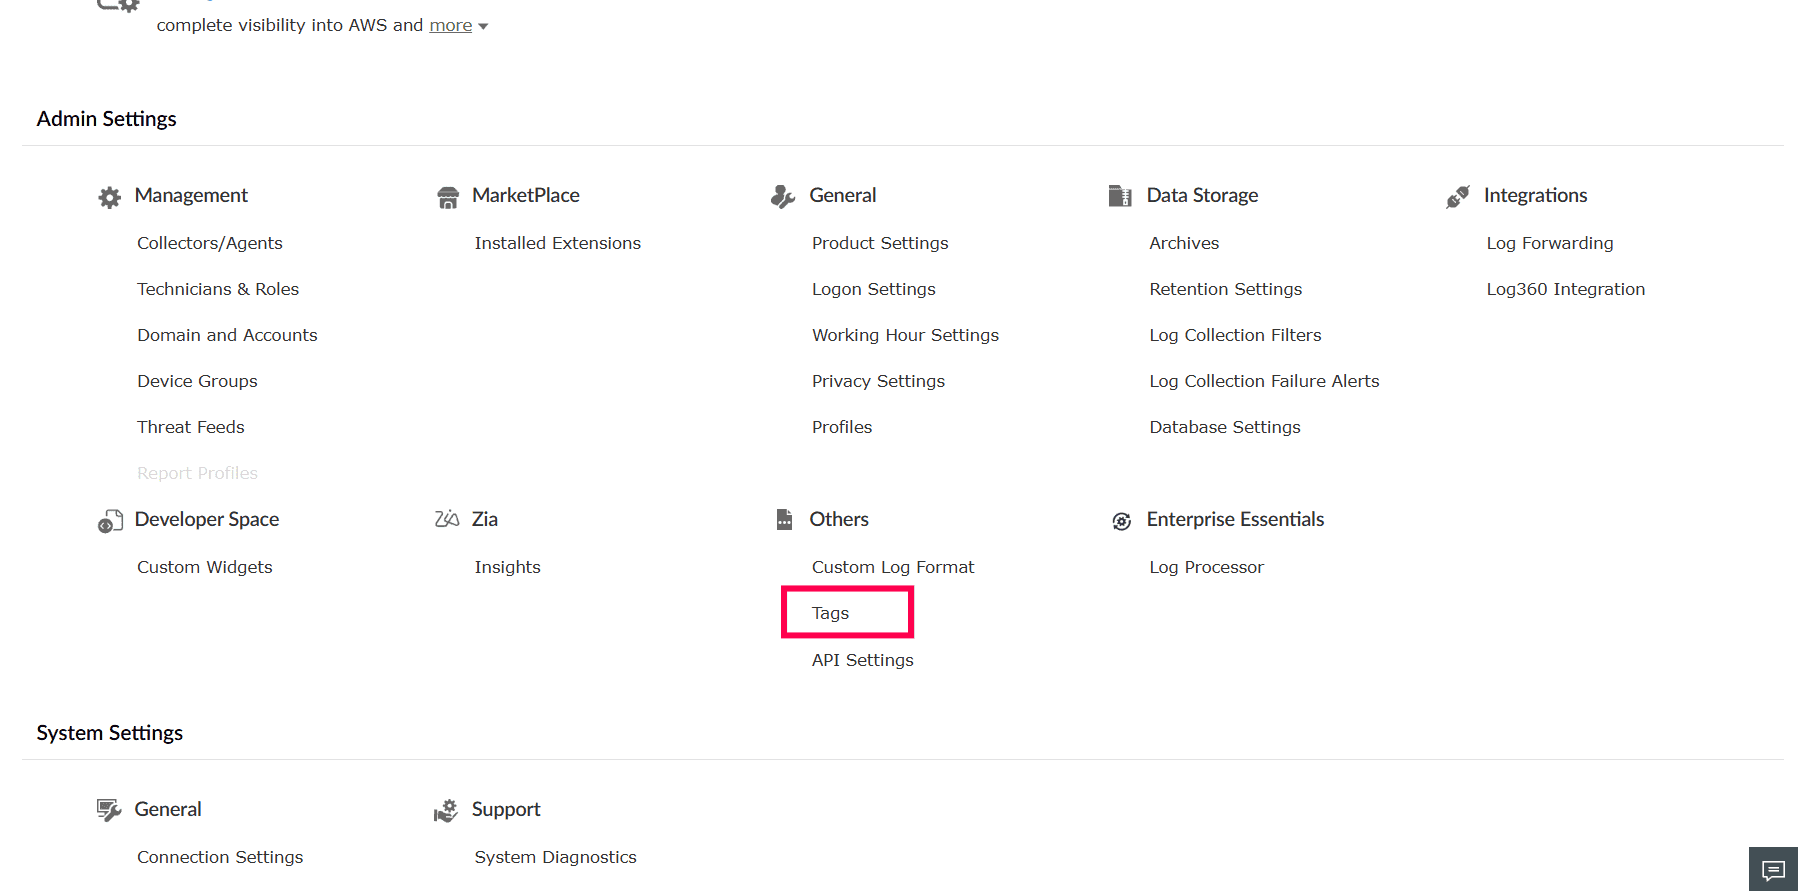
Figure 8: Navigating to Tags - Click the
 icon next to the required tag.
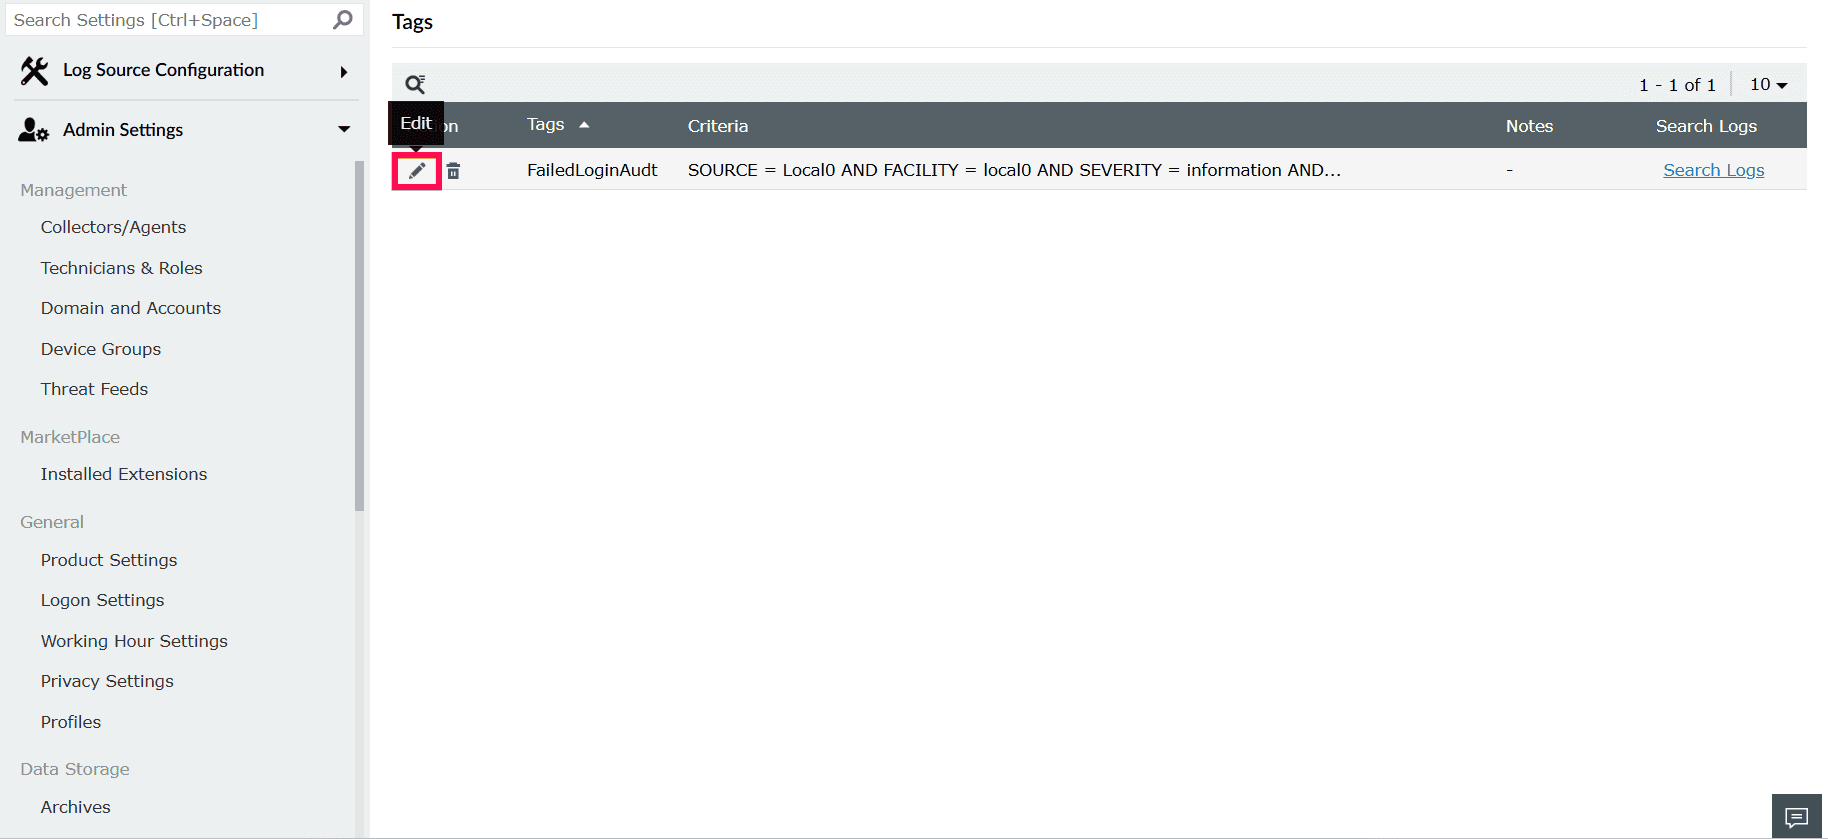
Figure 9: Editing a tag - Modify the tag criteria as needed and click Update to save your changes.
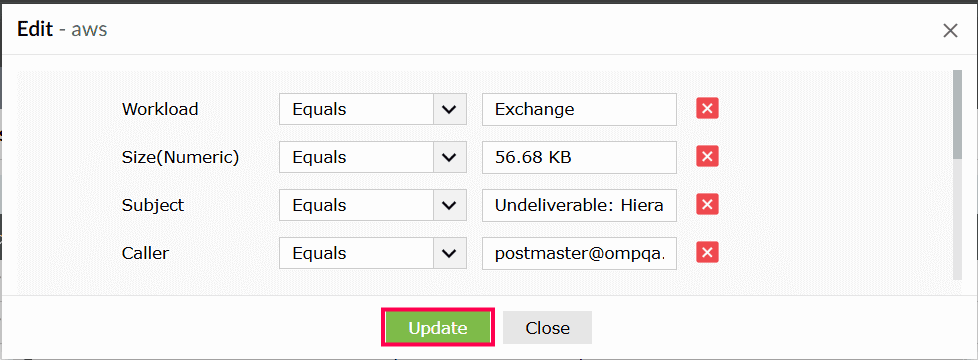
Figure 10: Updating changes
Performing log search using a tag
- Log in to the product console.
- Navigate to Search tab.
- To search logs using a tag, enter the tag name prefixed with # in the search query box.
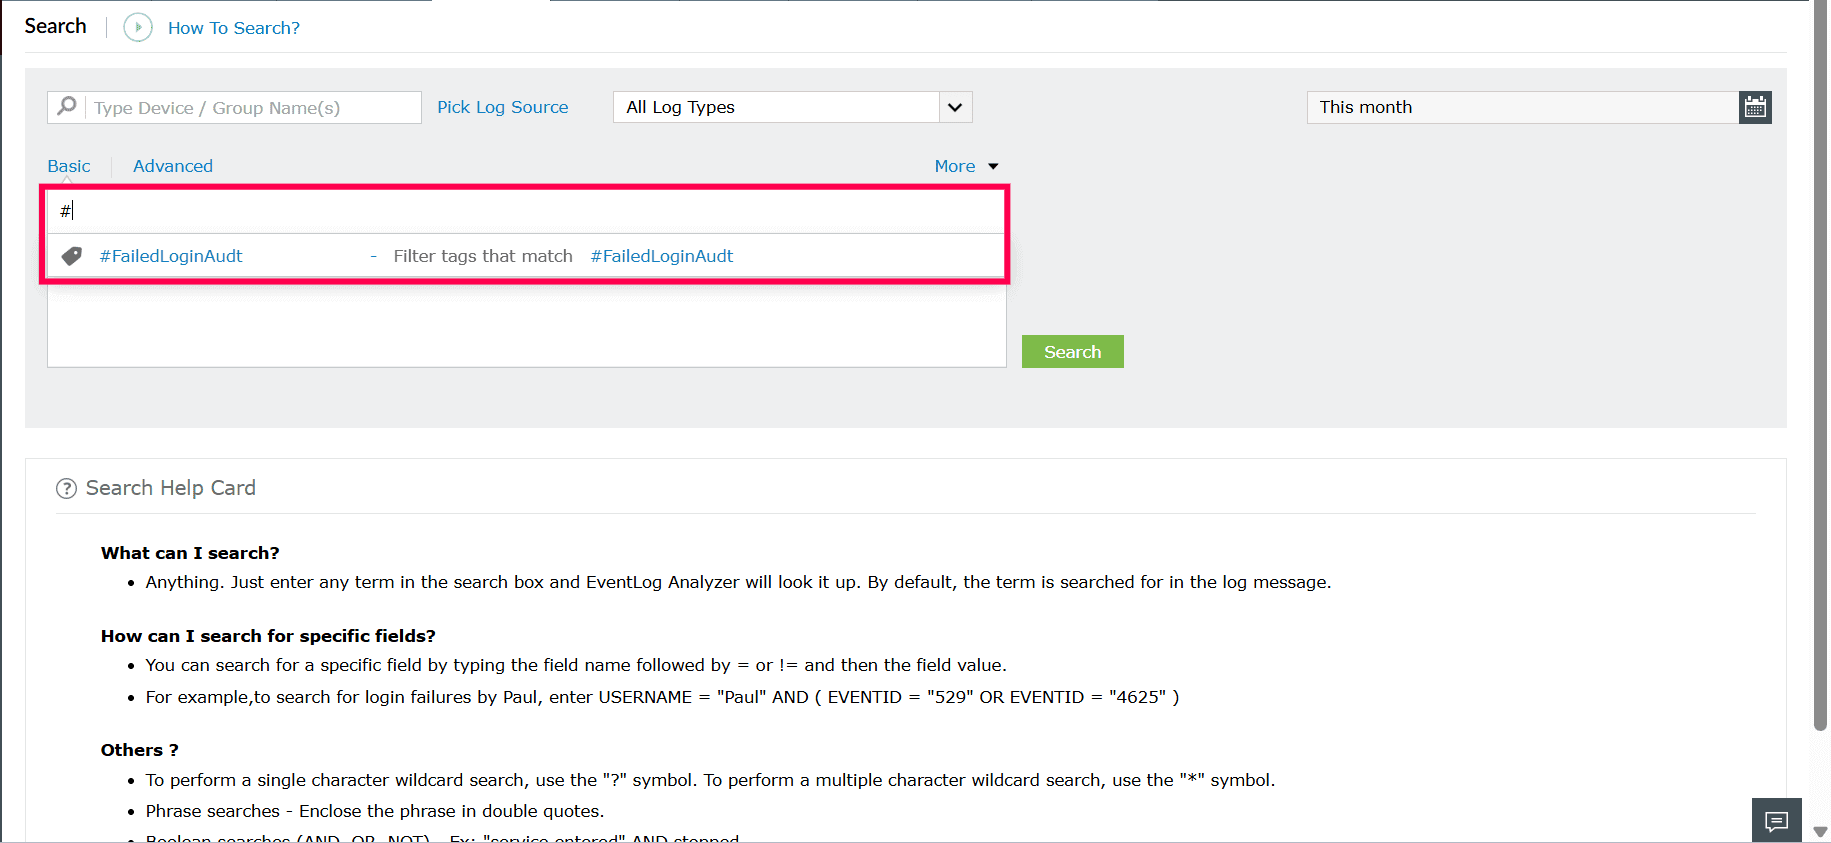
Figure 11: Performing log search using a tag
Deleting a tag
If a deleted tag was used in saved searches or search history:
- The saved search or history entry will still be available.
- The system does not distinguish between a deleted tag and a regular search keyword.
When the search is executed, the tag name is treated as a normal text/string query instead of a predefined tag reference. As a result, the original tag criteria are not applied, and the search behavior defaults to standard keyword matching.
- Log in to the product console.
- Navigate to Settings tab.
- Go to Admin Settings. Under Others, select Tags.
- Click the
 icon next to the tag you want to remove.
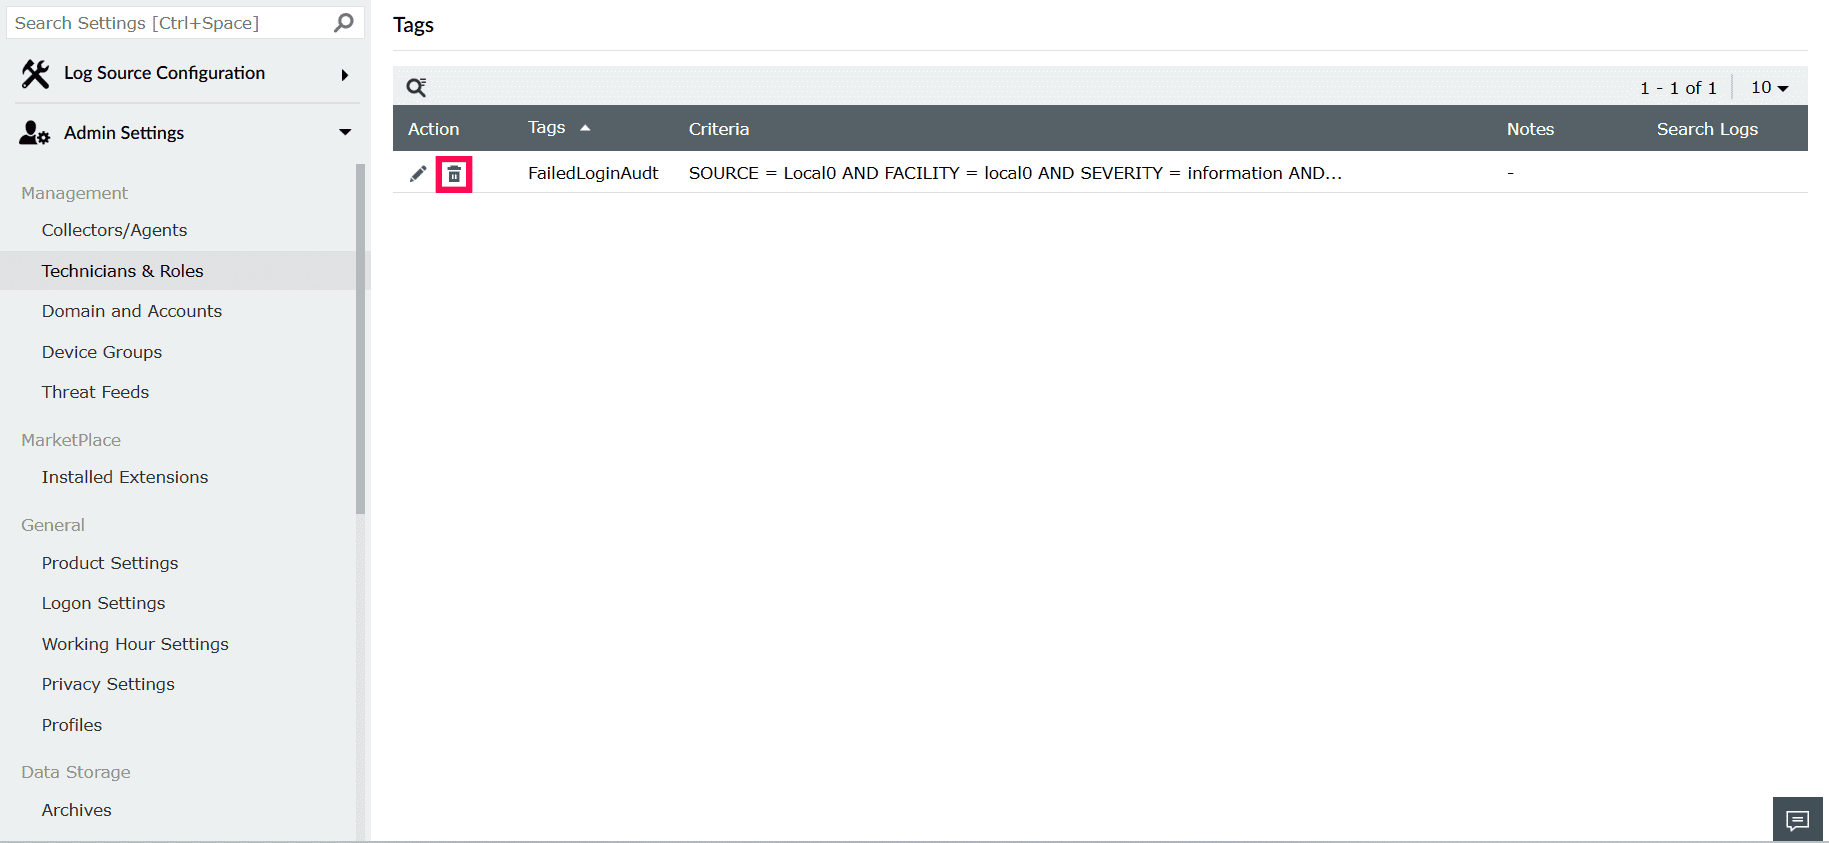
Figure 12: Deleting a tag - In the confirmation pop-up, click Yes.
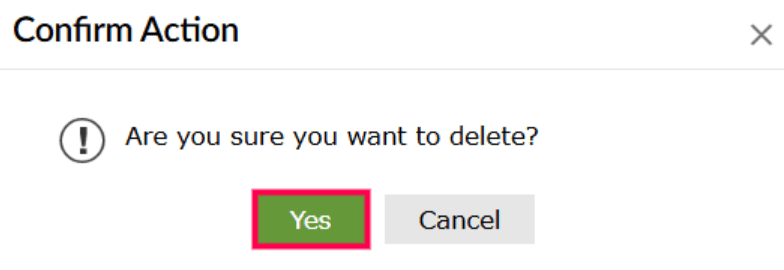
Figure 13: Confirming deletion
Read also
This page explained how to create and manage tags, associate search criteria, and perform log searches using tags. For more information on related search features, refer to: