Personalize
Last updated on:
In this page
Overview
This page guides you on how to personalize your product experience. You can update your basic account details such as the email ID associated with your login and select your preferred language for the product interface. Changes are applied instantly after saving and reloading the product interface.
Steps to configure the personalize tab
- In the product console, navigate to the Account icon and click on it.
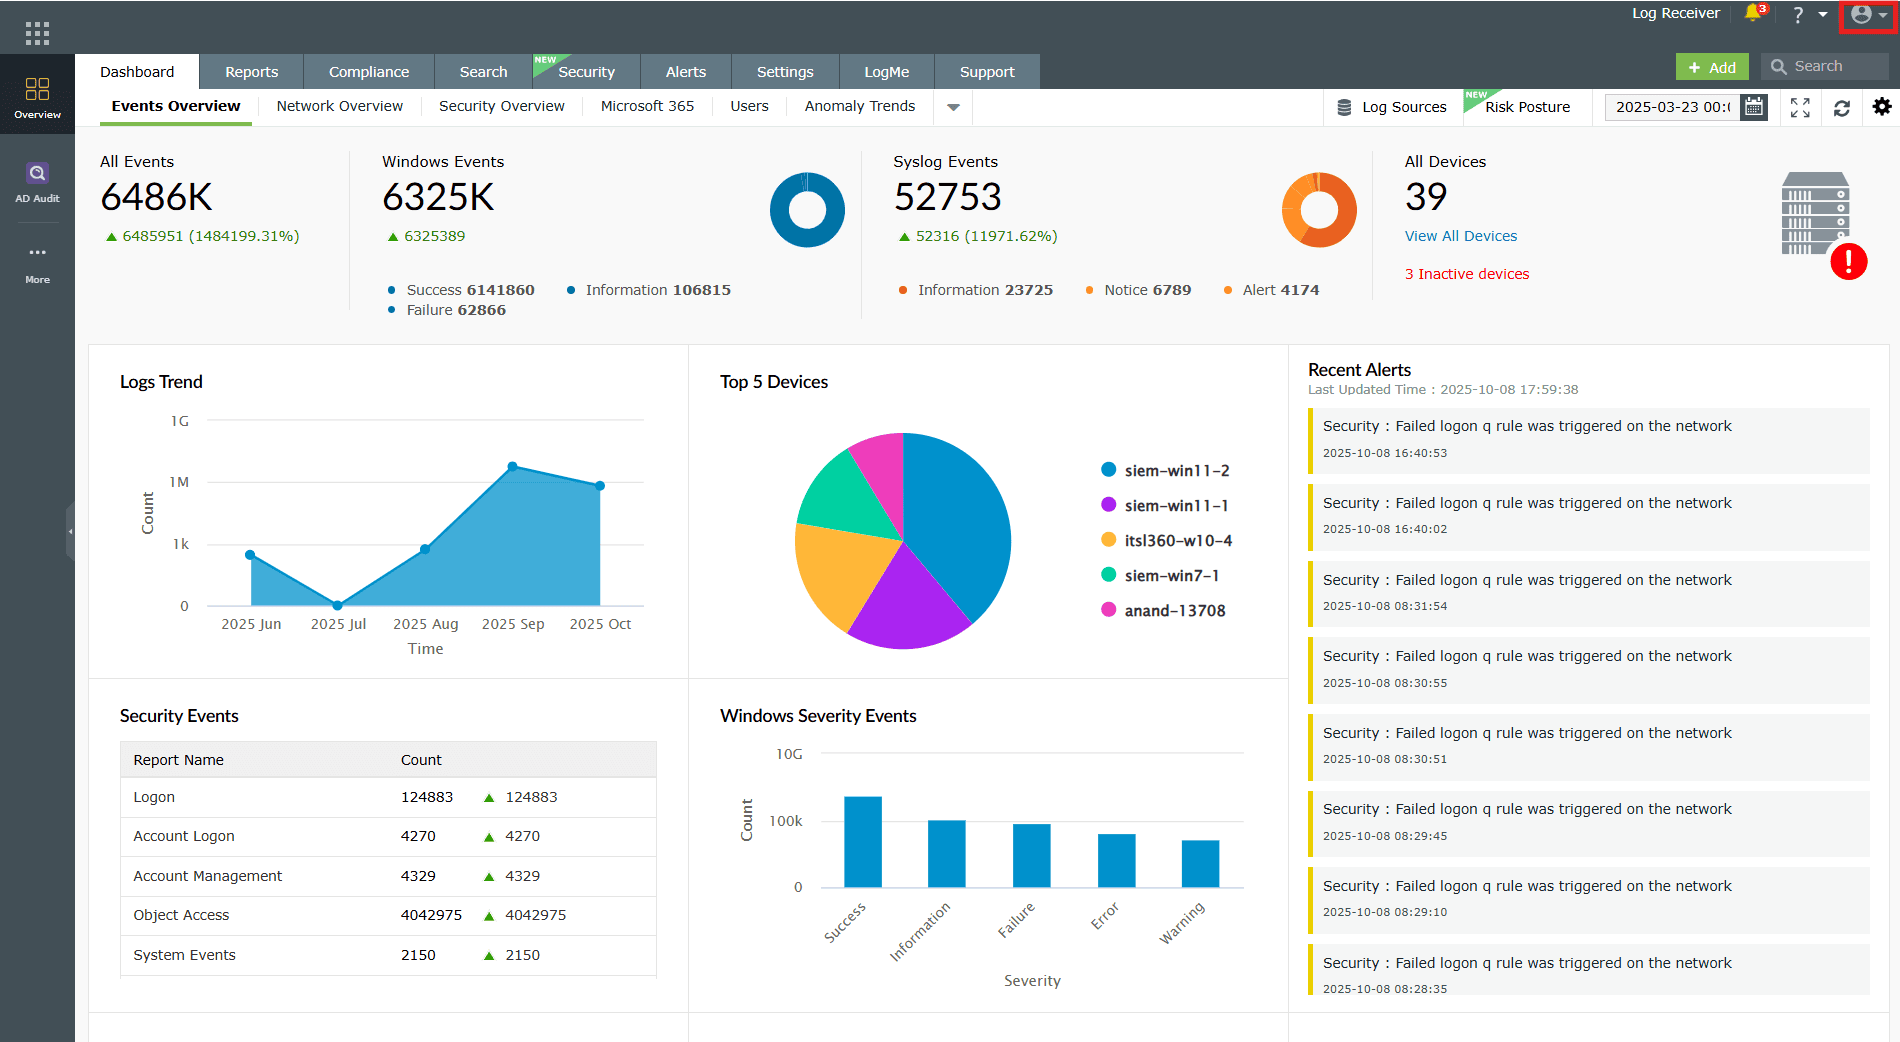
Image 1: Account icon in the product dashboard - Once the drop-down appears choose My Account.
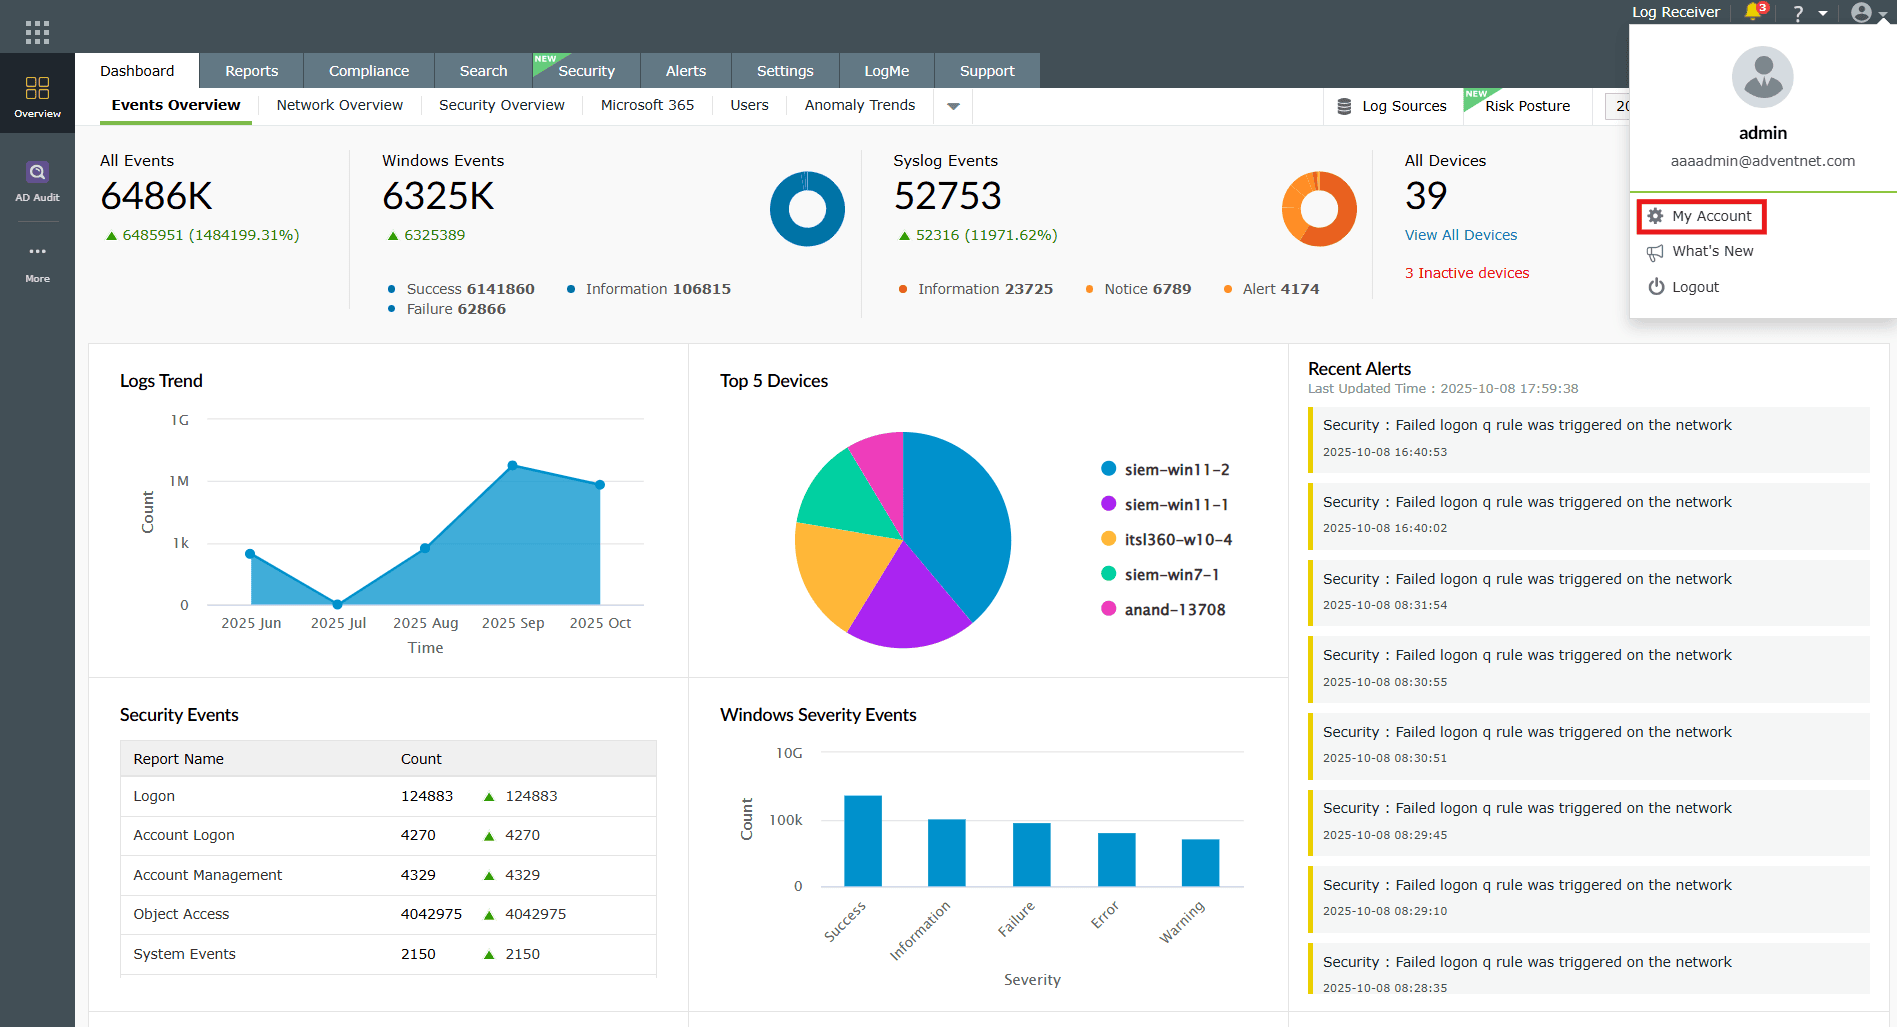
Image 2: My Account option in the product dashboard - You will be taken to the Personalize tab as shown below.
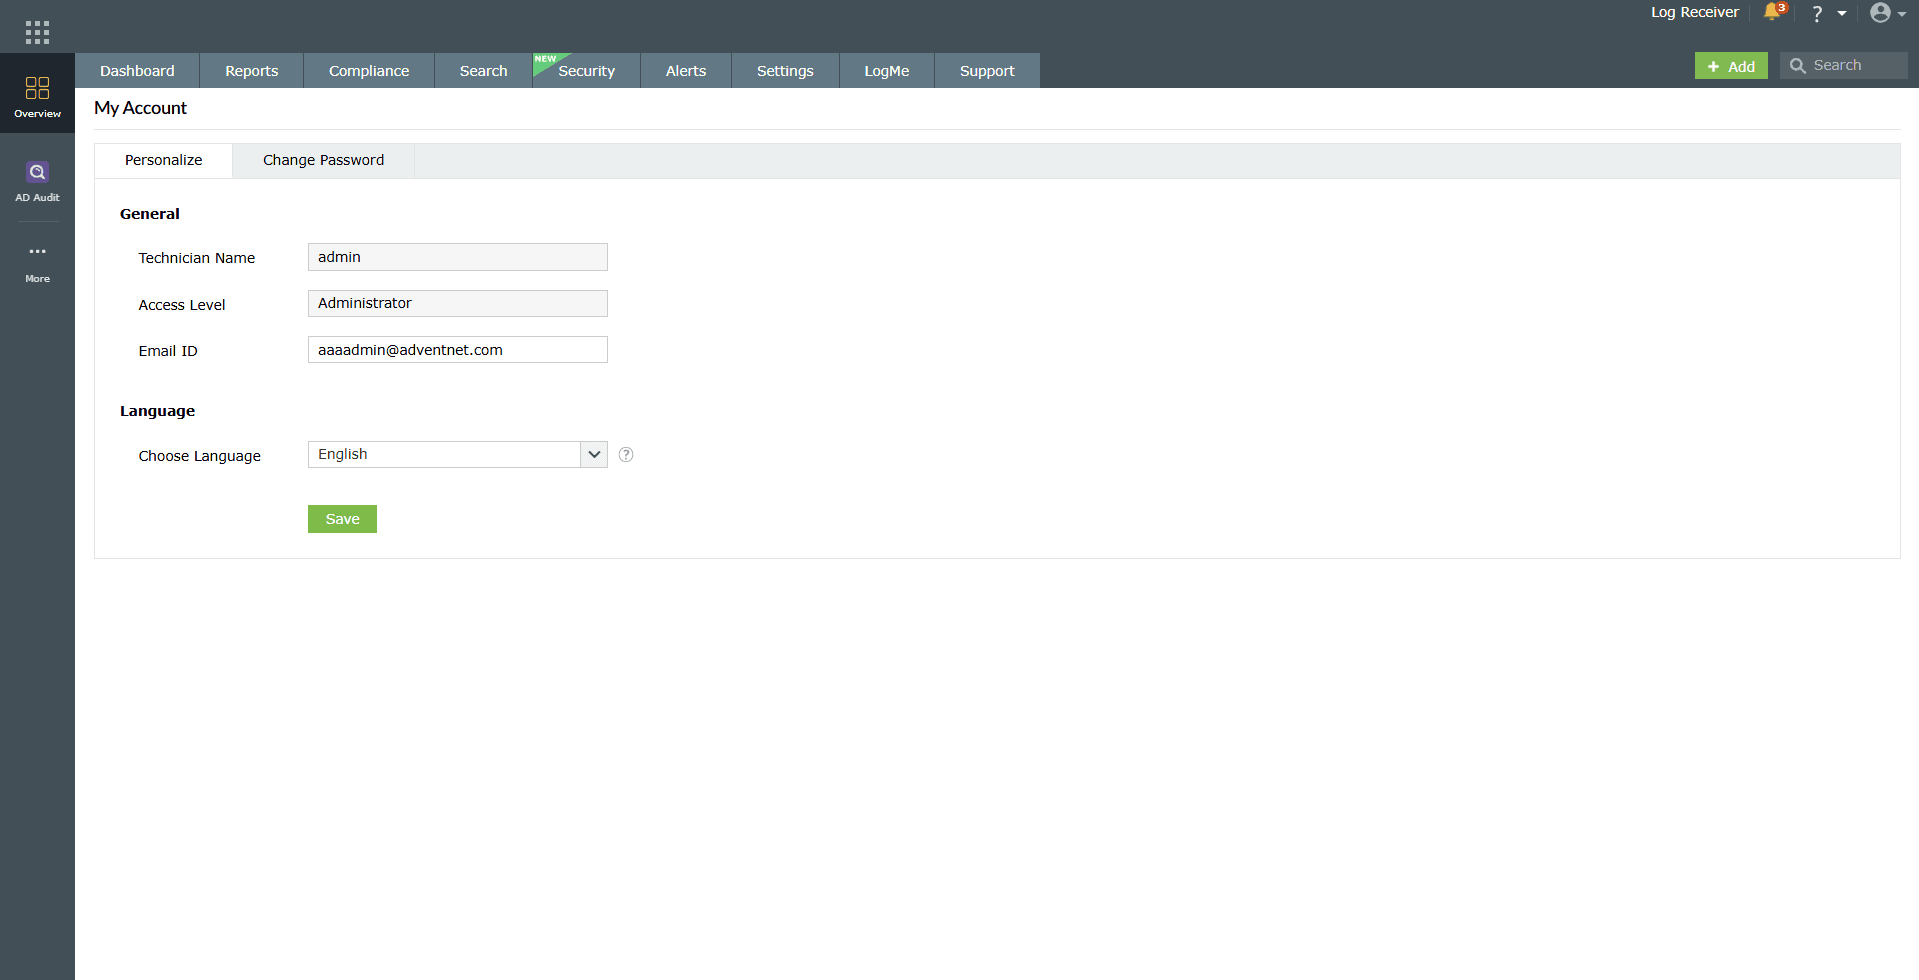
Image 3: Personalize tab in the account settings - From this tab, you can view the below fields:
- General: This section displays your basic account information.
- Technician Name: Displays the name of the logged-in user. (This field cannot be edited.)
- Access Level: Indicates the permission level assigned to the user. For example, Administrator. (This field cannot be edited.)
- Email ID: Displays the registered email ID of the user. This can be updated if required.
- Language: This section allows you to choose the preferred language for the product interface.
- Choose Language: Select the display language for the product from the drop-down menu. The default language is English.
- General: This section displays your basic account information.
- After editing the required details, click Save.
- A Confirm Action pop-up appears. Configured changes will be applied to the product interface upon reloading. Click on Reload.
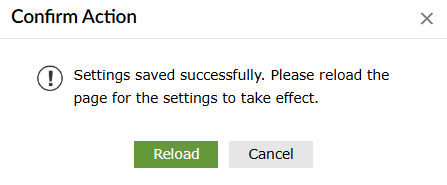
- The updated information will be reflected immediately in your account after the reload.
Read also
Explore related settings to enhance your product efficiency and experience, including configuring user preferences, managing access permissions, and customizing your product console interface.