Roll out Microsoft Teams for your organization
The first step for any organization that decides to deploy Teams is to set up chats, teams and channels. But before you go ahead with the deployment, you need to be aware of all the prerequisites and ensure that these are in place for a smooth experience. Before you start deploying Microsoft Teams in your organization, ensure that you've checked off the two most important prerequisites listed as below.
- Ensure that you have sufficient Teams licenses for everyone in your organization. Teams is included in most Microsoft 365 and Microsoft 365 licenses. You can also manage or buy more licenses under the Licenses tab in the Microsoft 365 admin center.
- Check your network and environment to make sure that you have met the network and bandwidth requirements needed for the deployment of Teams. For detailed information on the same, click here.
Getting started with chats, teams and channels
- To start off, head over to the Users tab in the Azure Active Directory Admin Center and delegate the Microsoft Teams admin roles to other admins in your organization.
- Check the default Messaging policies in the Microsoft Teams admin center. You can either go ahead with the default settings or change them to suit your needs.
- You can also change Teams settings found in the Org-wide settings tab, and these changes will be applied to all your teams in the organization.
- The Guest access setting allows invited individuals outside your organization to access teams and channels. This setting is turned off by default. You can use this setting to control the features that guests are allowed to use.
- The External access setting allows Teams users from an external organization or domain to participate in your chats or calls. Unlike guest access which is applied to an individual, external access is granted to a whole domain.
- Your users can now install the Microsoft Teams application and get started.
How can M365 Manager Plus help?
M365 Manager Plus is a complete management solution for Microsoft 365. It can help you set up teams and channels in bulk, almost instantly and with very minimal effort. You can also set up automated workflows, and delegate custom help desk roles to non-admins to share your workload.
Creating teams in bulk using M365 Manager Plus:
- Navigate to the Management tab.
- Go to Microsoft Teams in the left pane.
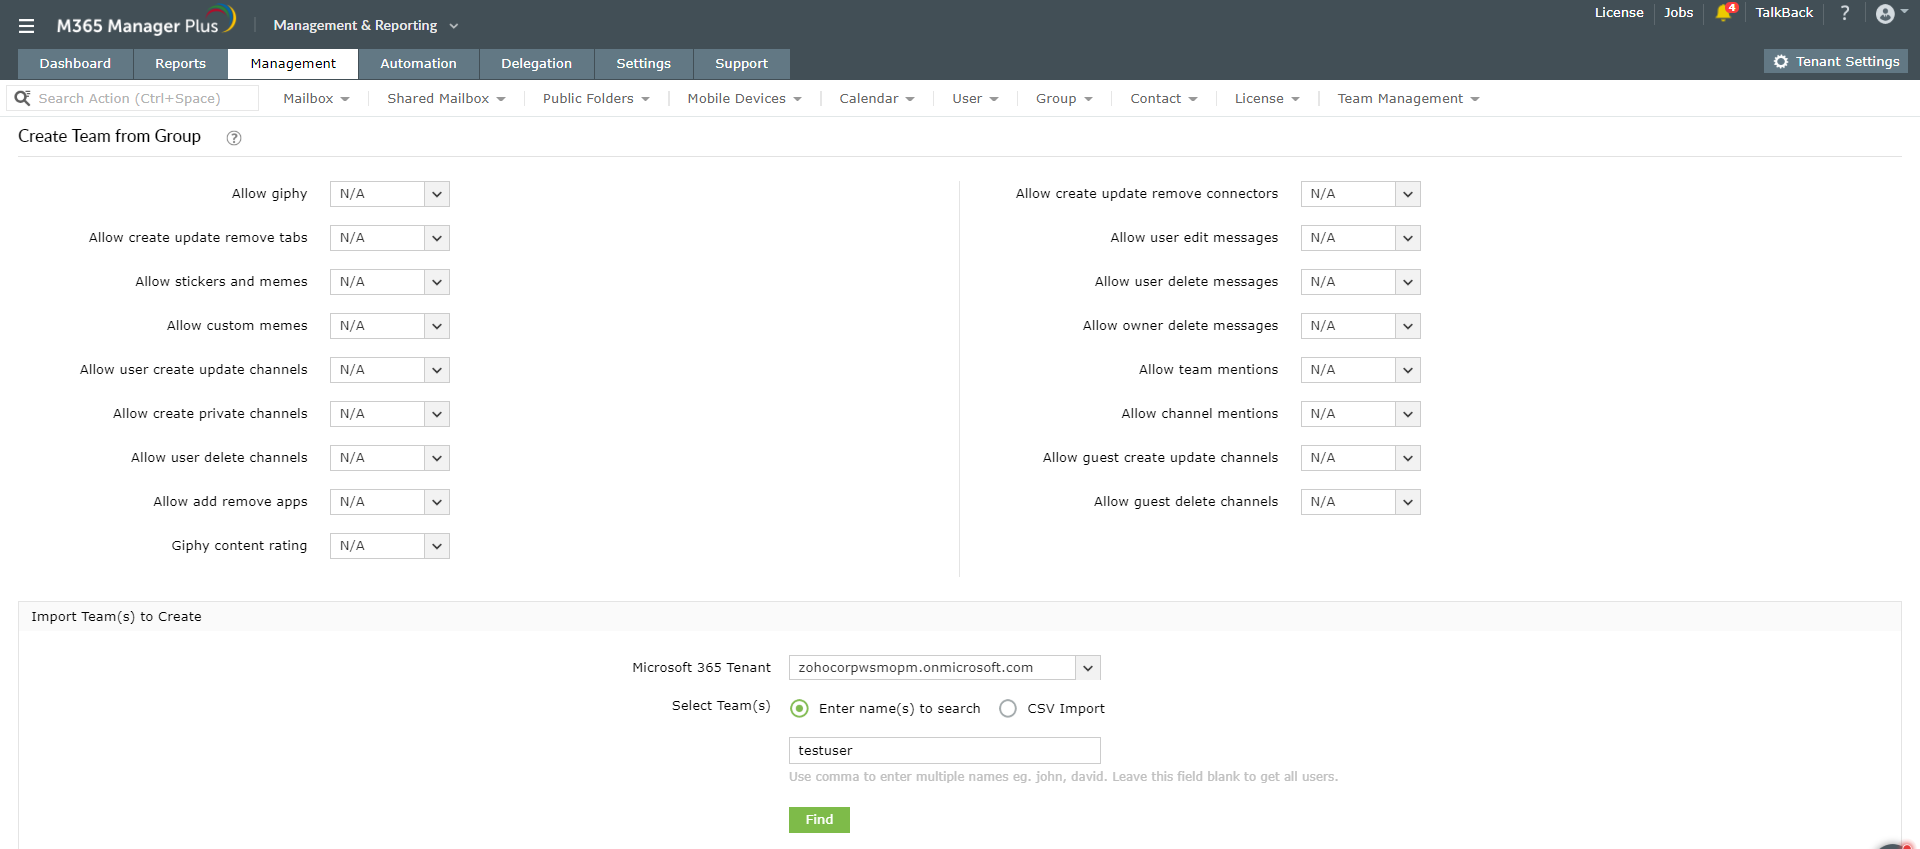
- Select Team Tasks > Create Team or Create Team from Group.
- Select the required Microsoft 365 Tenant from the drop-down box.
- Import the required CSV file.
- Click Import Team(s).
The imported CSV file must consist of details such as DisplayName, Description, Visibility, Owner, and rules that help manage user permissions in Microsoft Teams.
To learn more about managing Microsoft Teams using M365 Manager Plus, click here.