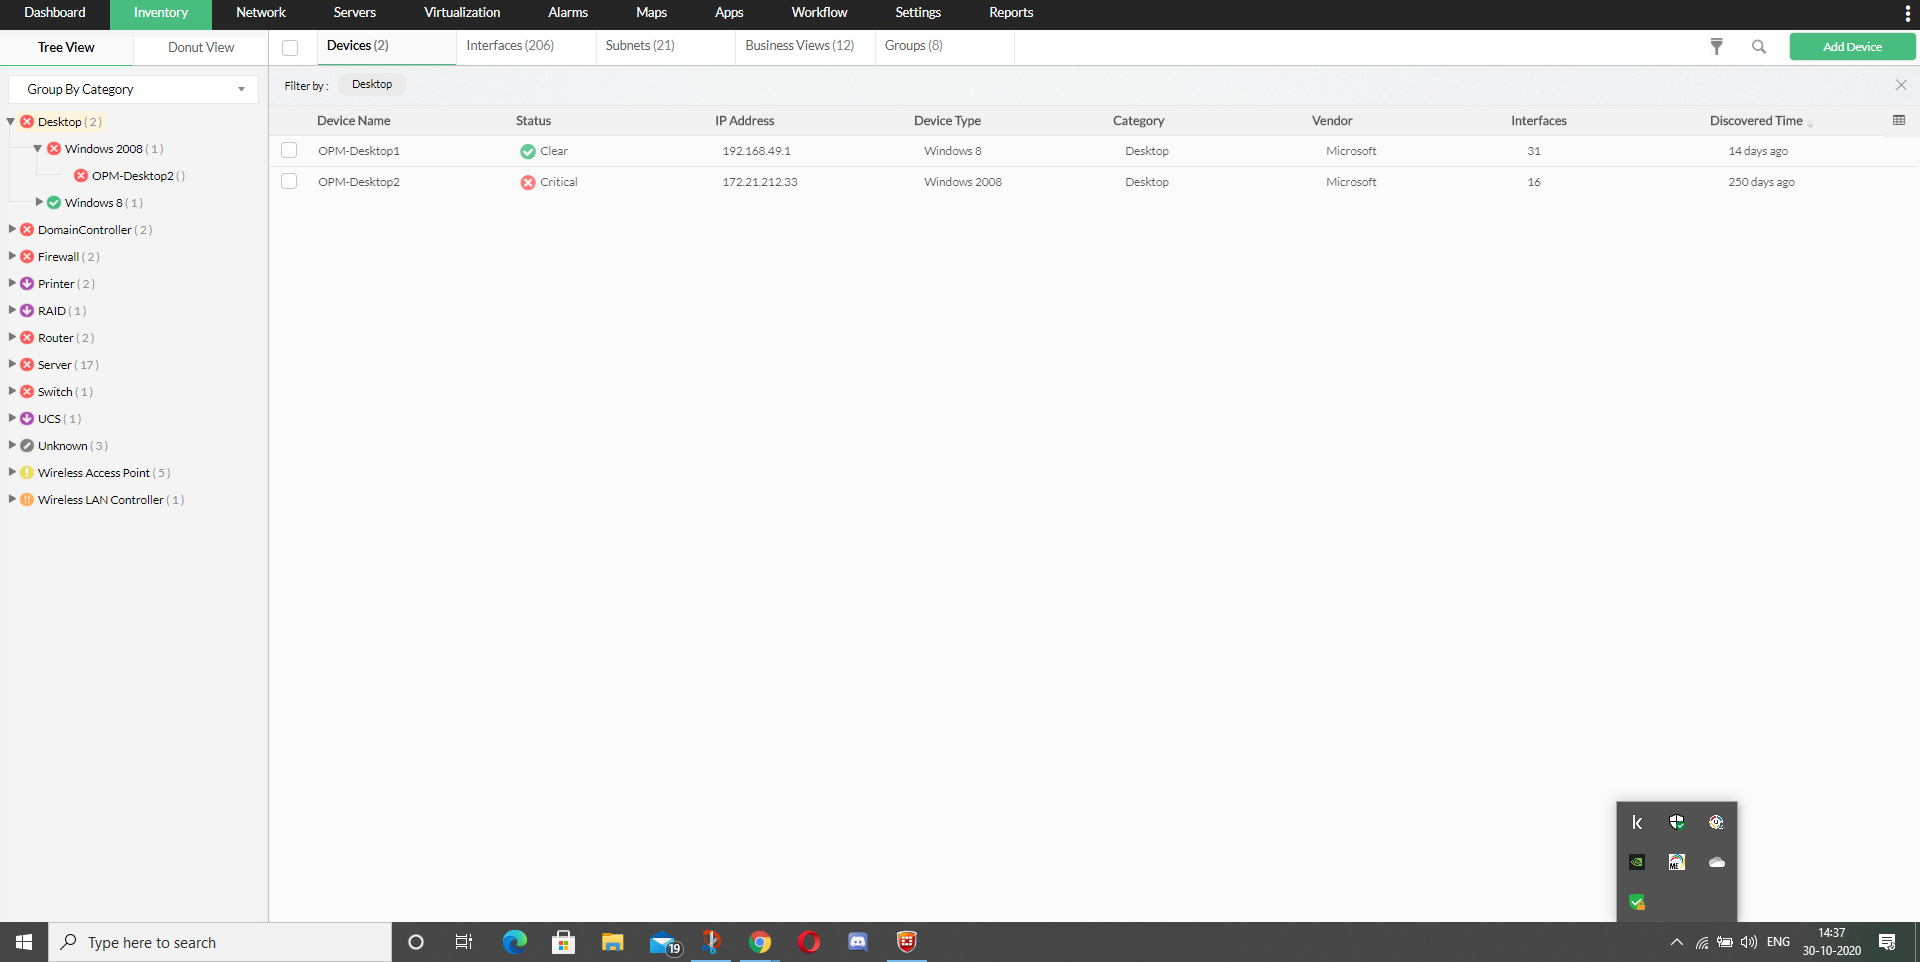
Starting OpManager
After installation, all the OpManager-related files will be available under the directory that you choose to install OpManager. This is referred to as OpManager Home directory.
If OpManager is installed as a Windows service, you'll be prompted to start the service after installation. The Web Client is automatically invoked upon installing as a service. Enter the log-on details. The default user name and password is 'admin' and 'admin' respectively.
Via Control Panel:
To start OpManager as a Windows Service, follow the steps below:
- Click Start, point to Settings, and then click Control Panel.
- Under Administrative Tools, select Services.
- In the details pane, right-click ManageEngine OpManager and click Start.
To stop the ManageEngine OpManager service, right-click the ManageEngine OpManager service in the Services window and click Stop.
Via Command Prompt:
To start OpManager as a Windows Service using Command Prompt:
- Type "cmd" in the search bar and run Command Prompt. Ensure that you are logged in as administrator.
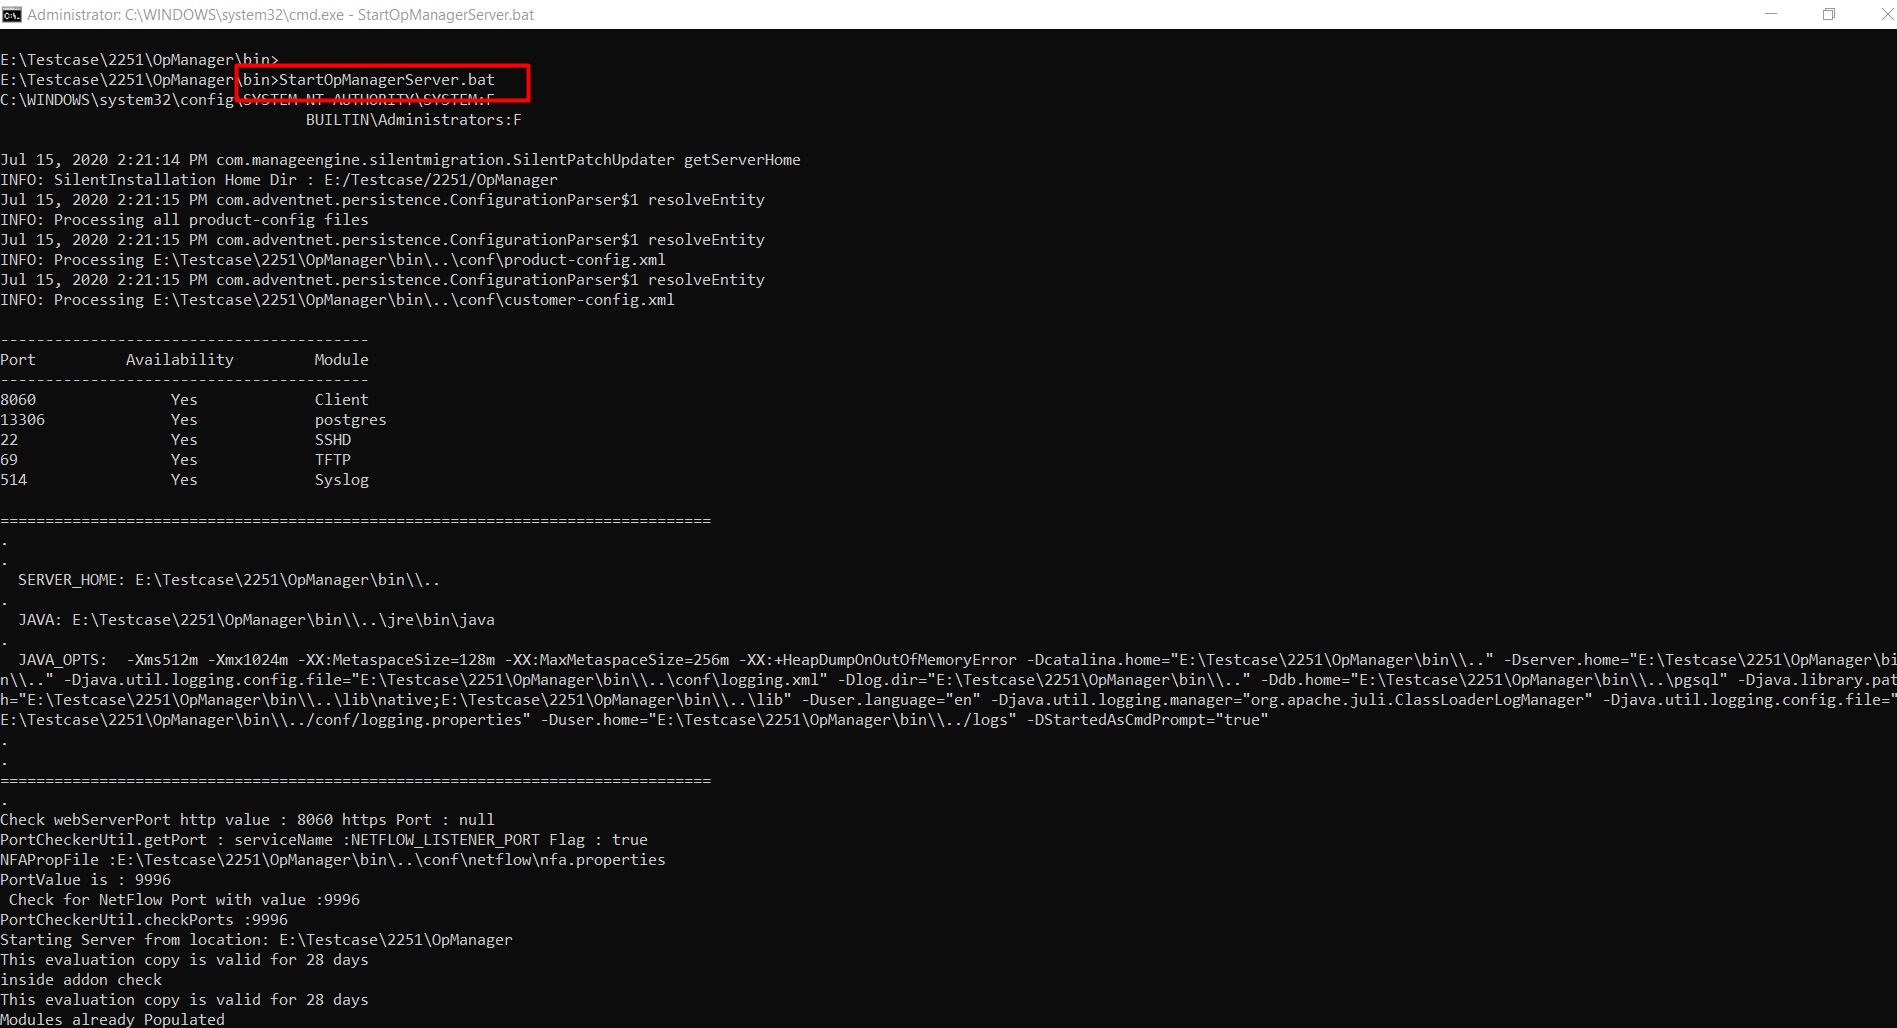
- Enter the path where OpManager is installed in your hard drive and access the bin directory.
- Execute StartOpManagerServer.bat files to start OpManager.
- To stop OpManager, execute ShutDownOpManager.bat.
On Windows machines, an icon is displayed on the system tray to manage the application. You can start the client, start the server, and shut down the server using this icon.
- Log in as 'root' user.
- Execute the StartOpManagerServer.sh file present in the <OpManager Home>/bin directory.
To stop OpManager running on a linux machine, execute the ShutDownOpManager.sh file present in the <OpManager Home>/bin directory.
Alternatively, you can choose to start OpManager as a service:
- Open Terminal and log in as 'root' user.
- Access the path where OpManager is installed.
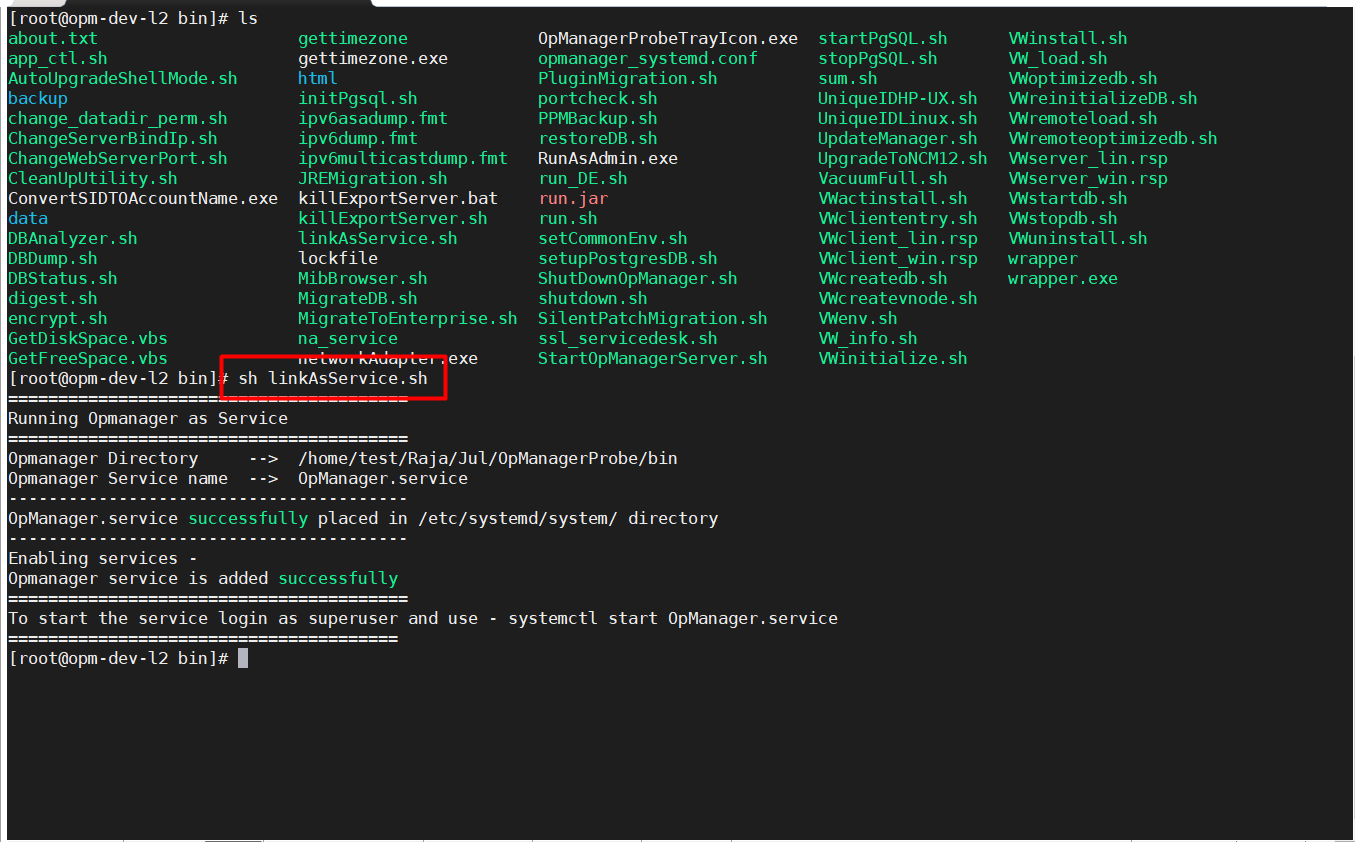
- Execute the linkAsService.sh file present in the< OpManager Home>/bin directory by using the sh linkAsService.sh command.
- Start OpManager by executing systemctl start OpManager.service or /etc/init.d/OpManager.service start files, depending on your OS version.
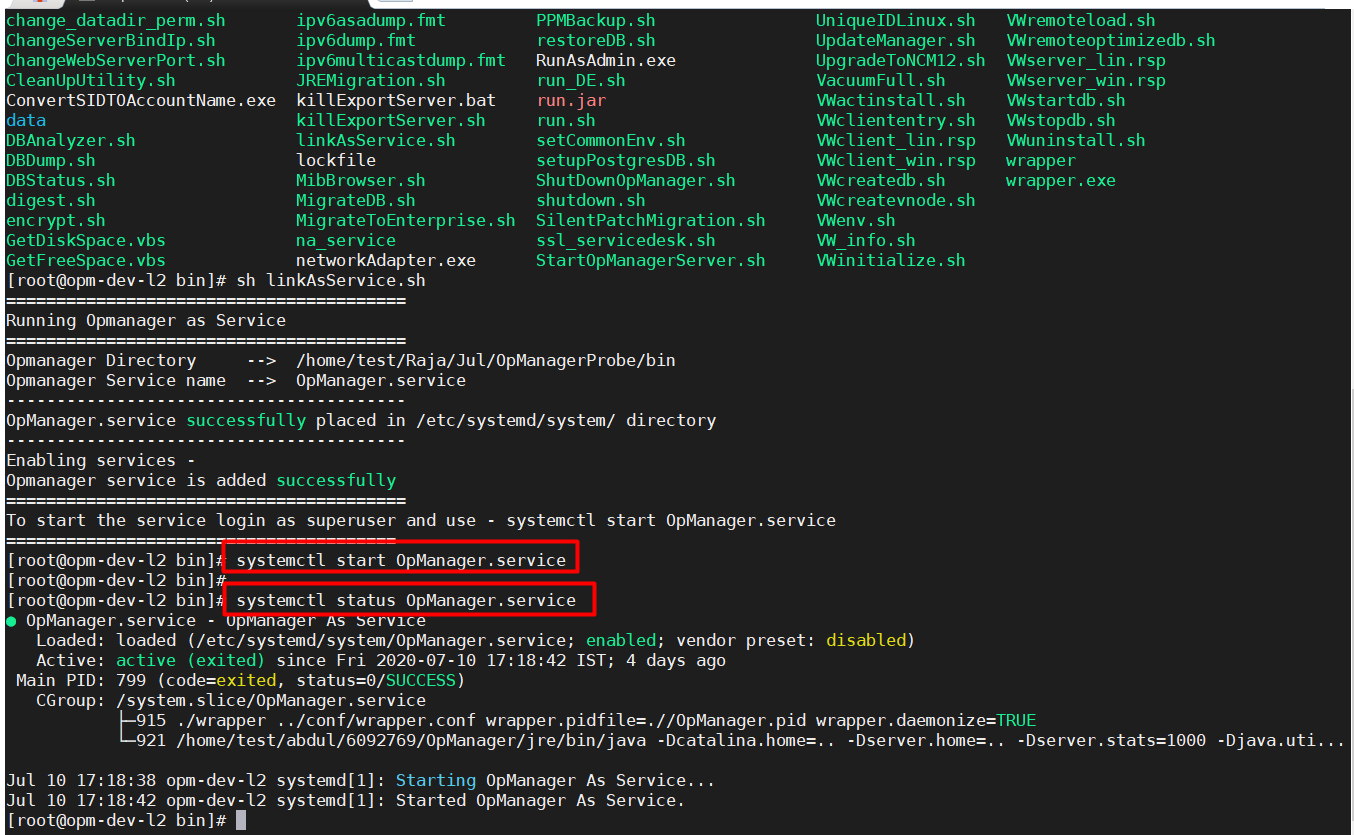
- Check the status of OpManager by executing the systemctl status OpManager.service or /etc/init.d/OpManager.service status files.
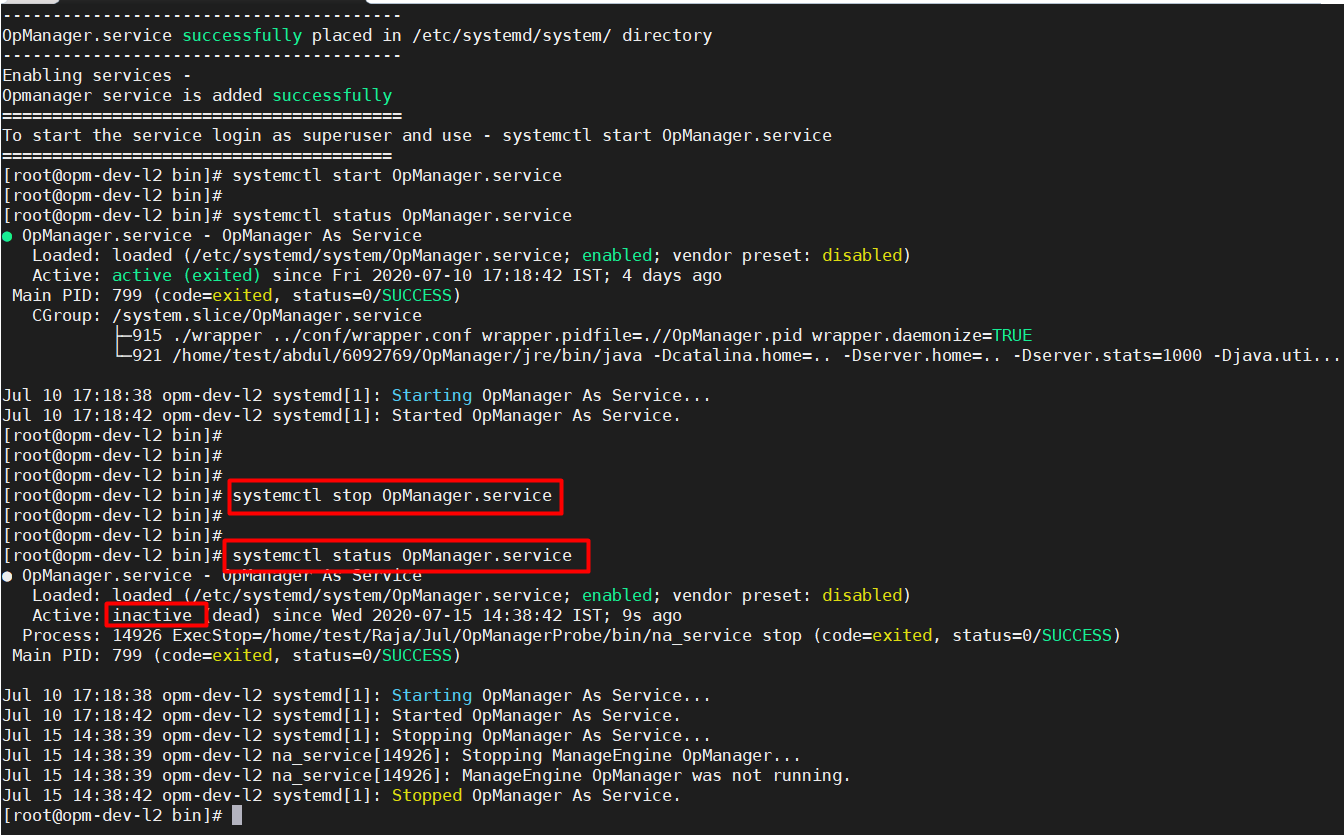
- Stop OpManager by executing the systemctl stop OpManager.service or the/etc/init.d/OpManager.service stop commands.
- Open a JavaScript-enabled Web browser such as Google Chrome or Mozilla Firefox.
- Type http://<host_name>:<port_number> in the address bar and press Enter. Here, <host_name> is the name of the machine in which OpManager is running and <port_number> is the port that you have chosen to run OpManager Web Server during installation.
[Note: If you have enabled SSL, connect as https://<host_name>:<port_number> in the address bar and press Enter.]
- Type the User Name and Password and click Login. The default user name and password are 'admin' and 'admin' respectively.
- If the client is not accessible, check if the port is not blocked by Windows Firewall.
Alternatively, if the OpManager server is running on Windows machines, you can start the Web client using,
Start > Programs > ManageEngine OpManager > OpManager Web Client.
[OR]
Right-click the tray icon and select Start Client option.
