Configuring SAML authentication settings for ADSSP
ManageEngine ADSelfService Plus is a Self-service password management, multi‑factor authentication, and single sign-on solution. ADSSP's single sign-on (SSO) eliminates the need for multiple user IDs and passwords, simplifies the login experience of users, and improves security.
To configure ADSSP as an IdP,
- Open ADSSP and navigate to Configuration -> Password sync/ Single Sign On.
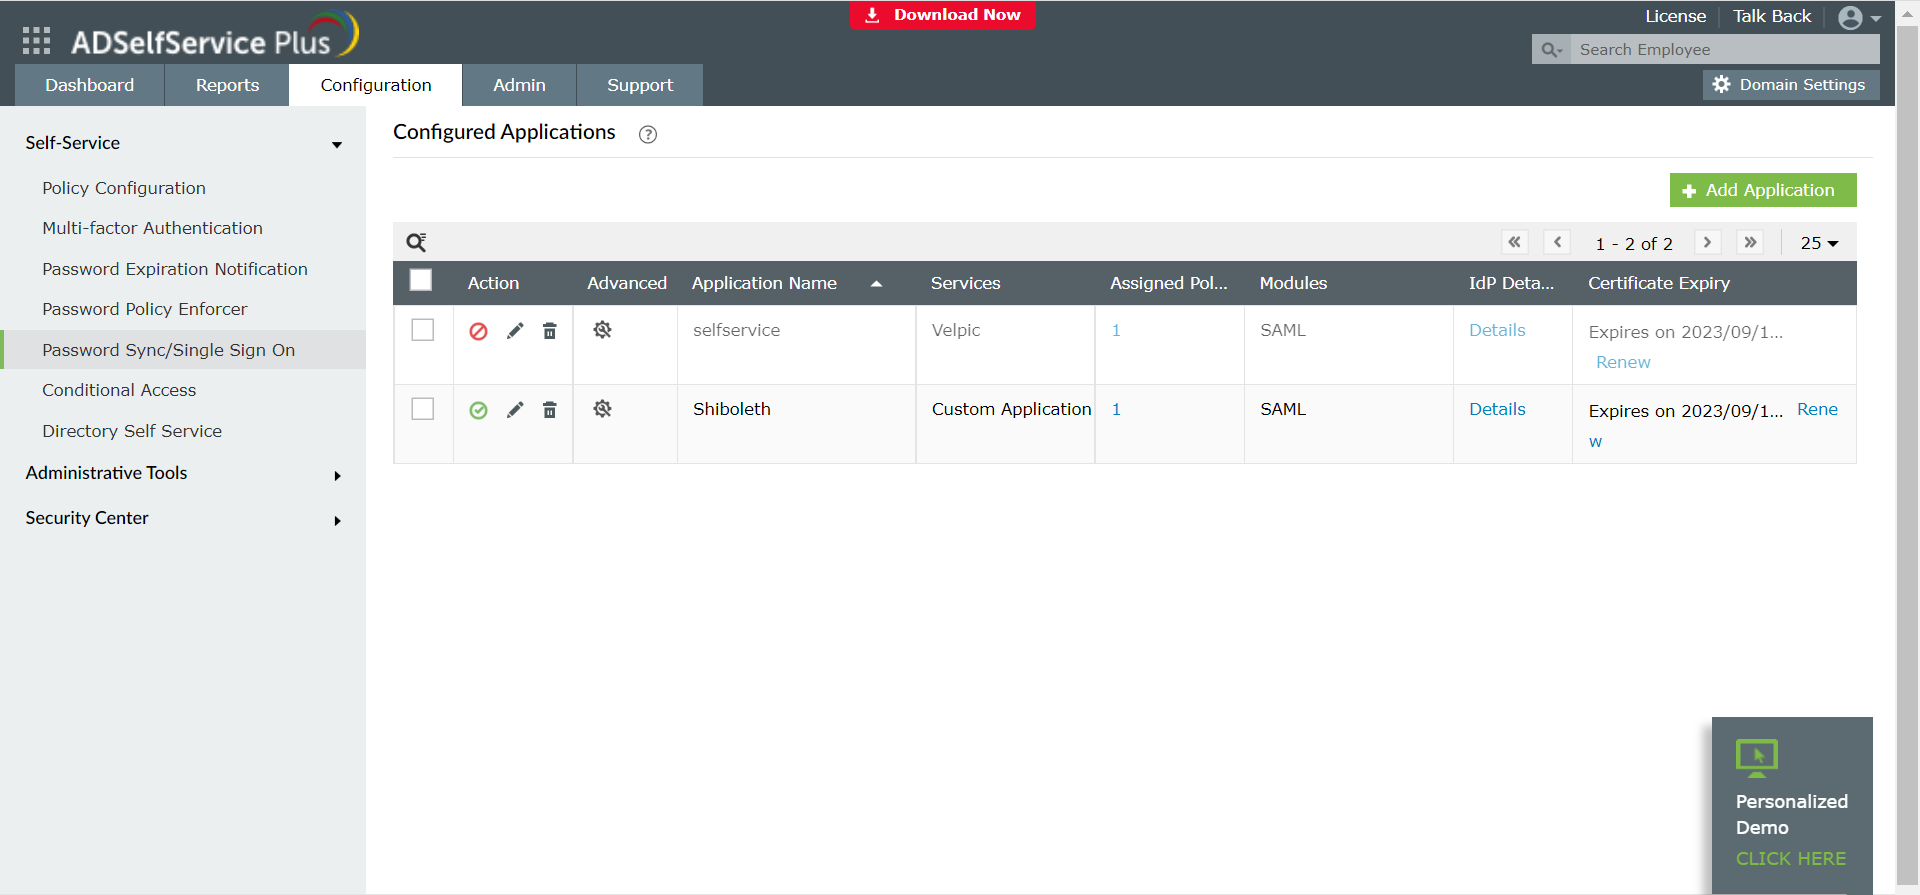
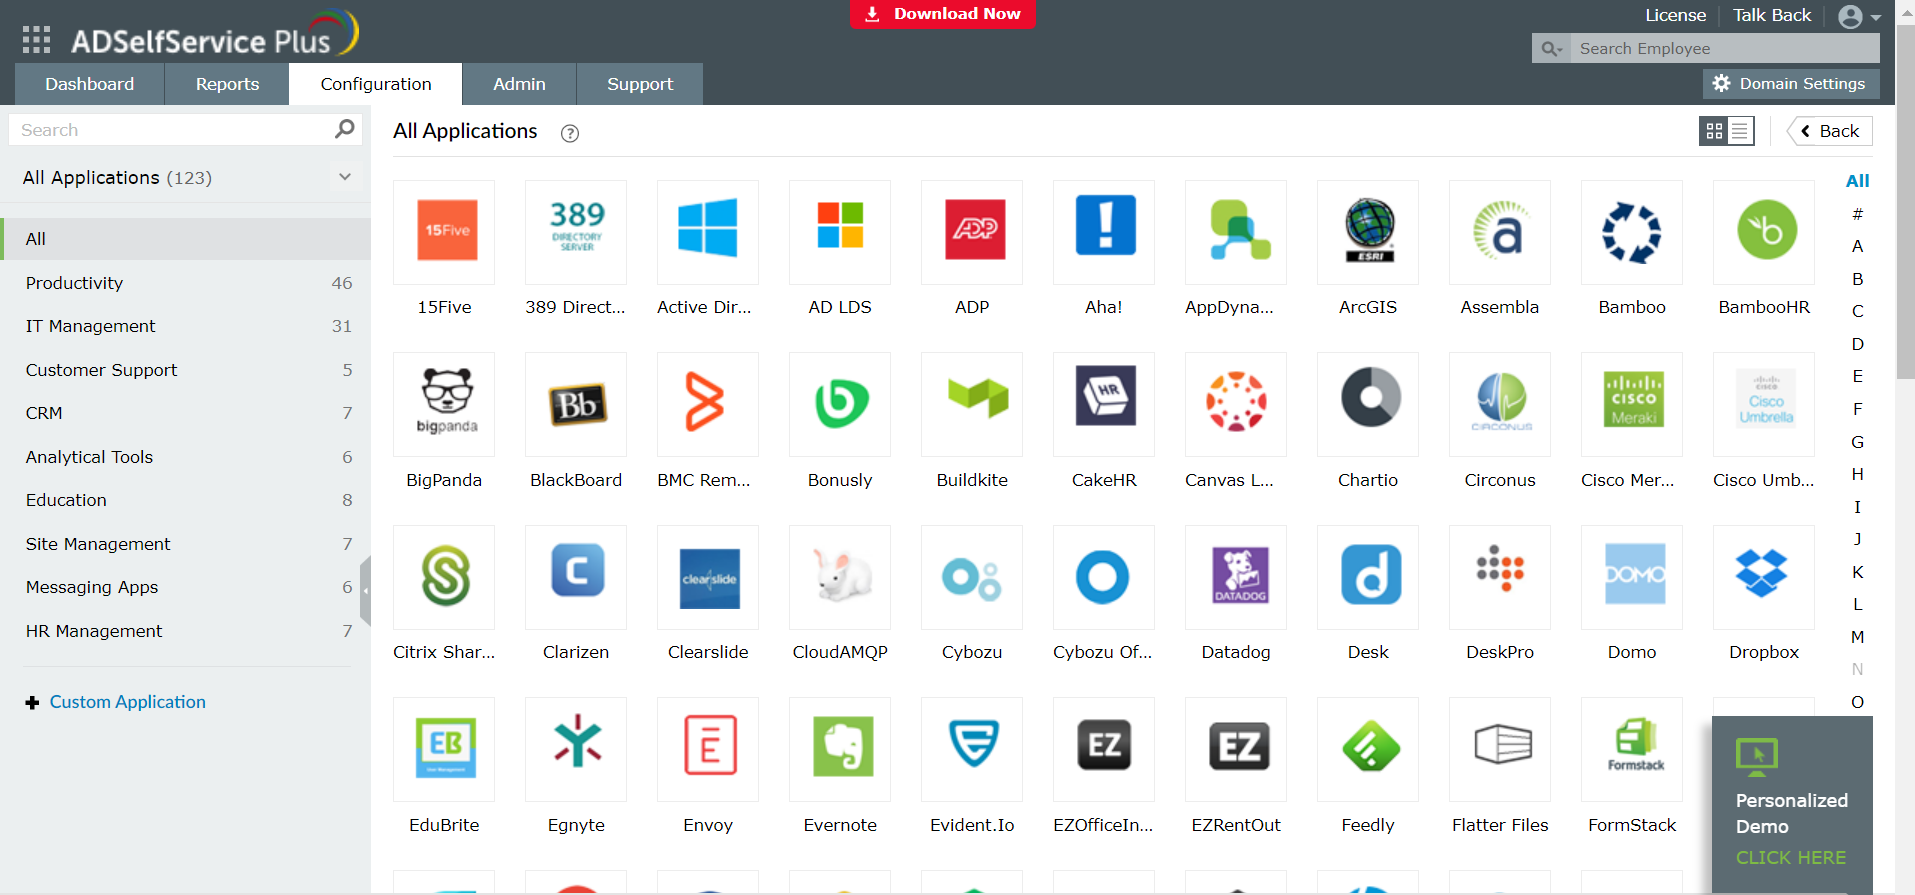
- Click on Add application and then navigate to Custom Application.
- Enter the Application name, Domain name and select All policies in Assign policies.
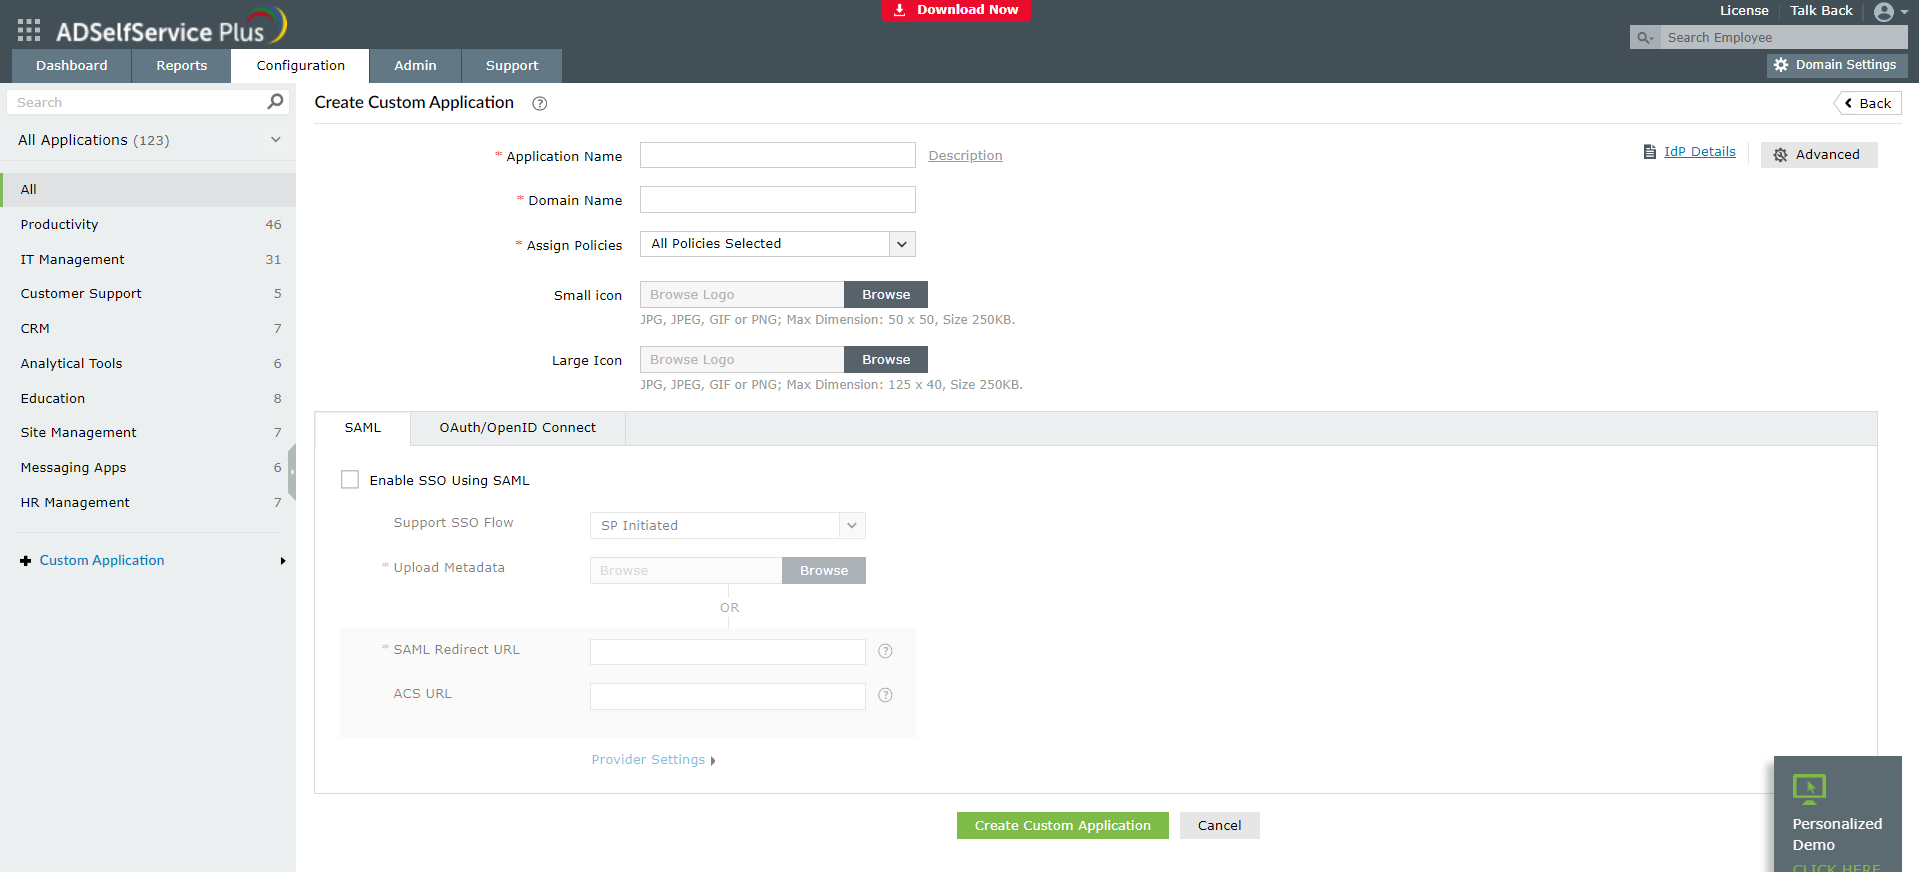
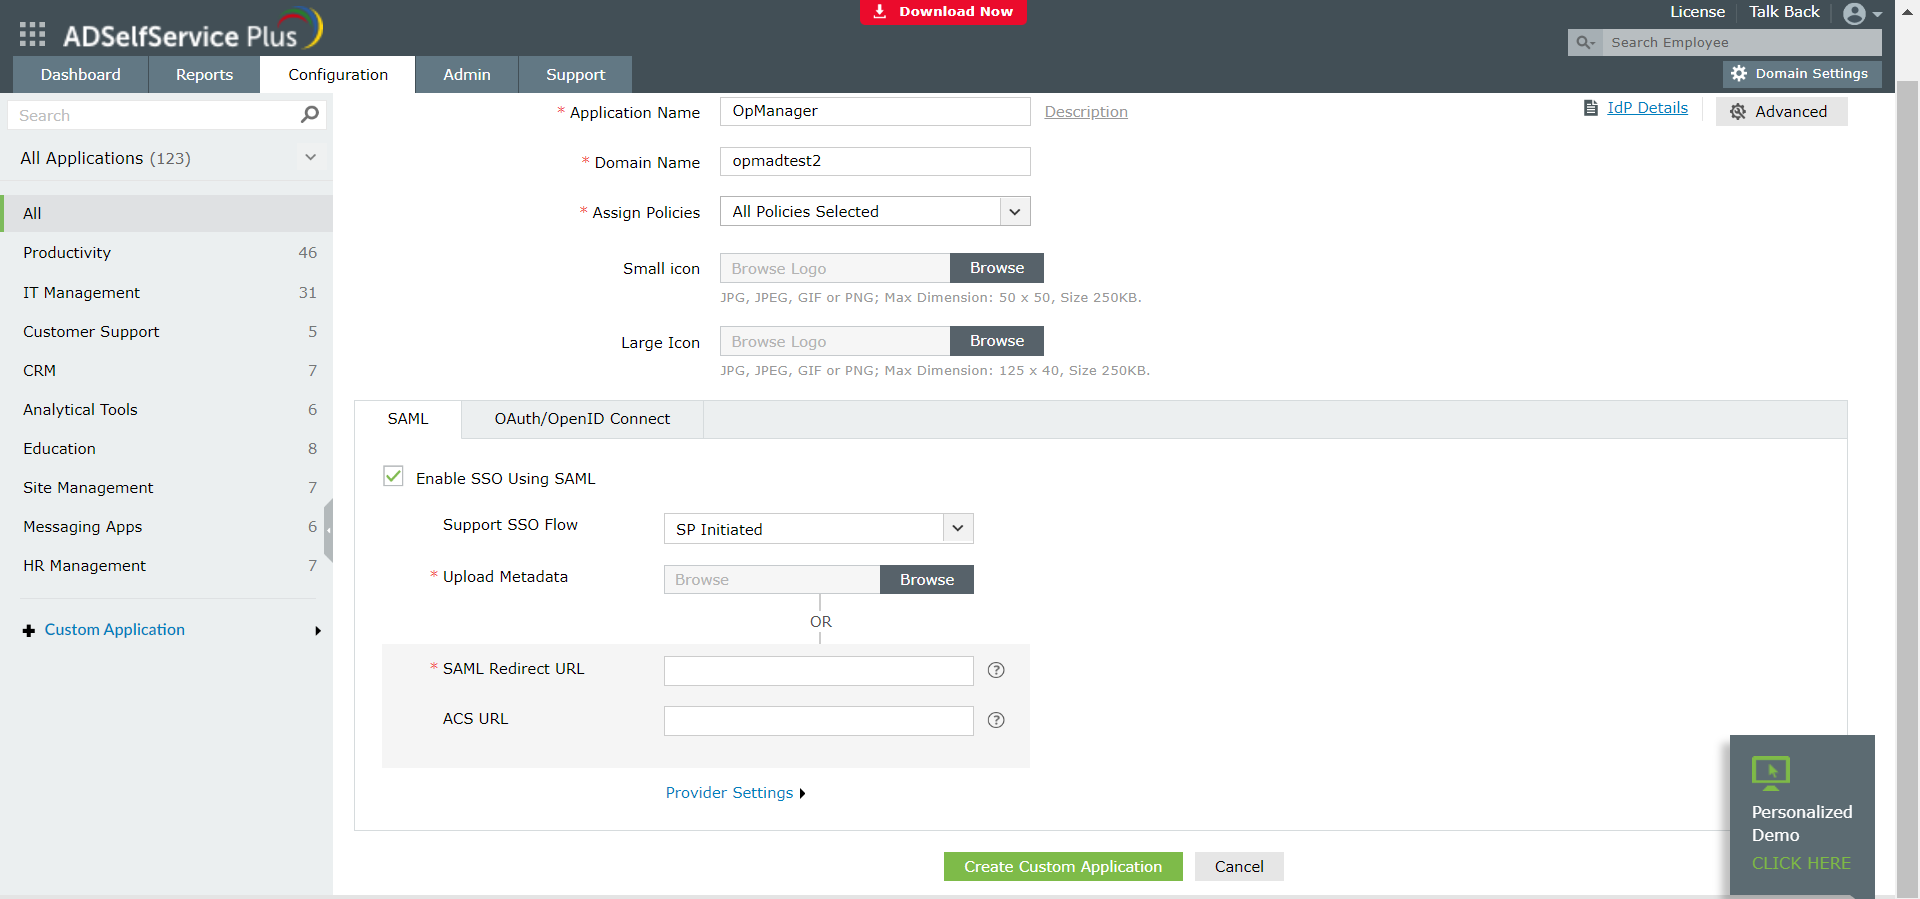
- Click on the Enable SSO Using SAML checkbox to enable SSO using ADSSP.
- The Support SSO Flow can be SP initiated or IdP initiated based on your preference.
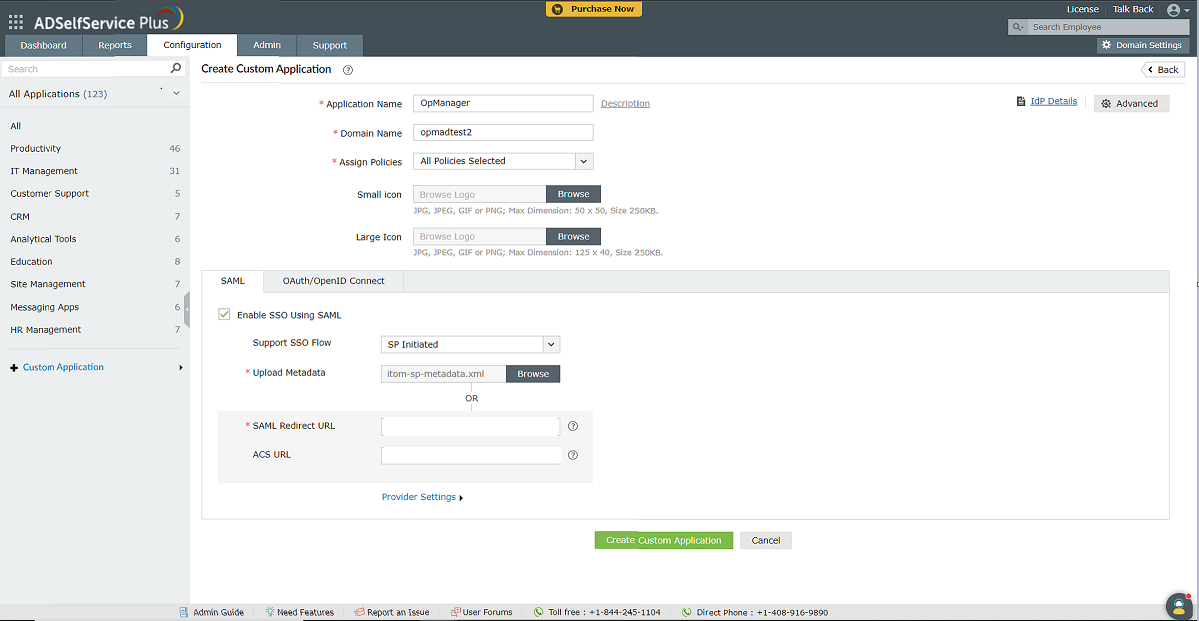
- You can either upload a metadata file or copy and paste the SAML Redirect URL and ACS URL from the SP.
- After entering the SP details, click on Create custom Application.
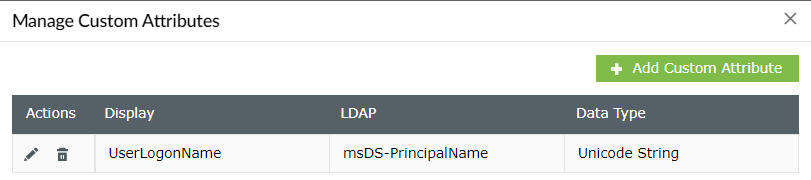
- Then go to Configuration->Self service-> Directory self service -> Manage claim attributes(on top right)->Add custom attribute and enter the required details.
- Open AdselfservicePlus, go to Configuration->Self service-> Password sync/single sign on -> SAML Application -> Advanced settings, enter the Source attribute and the Target attribute and click Save.
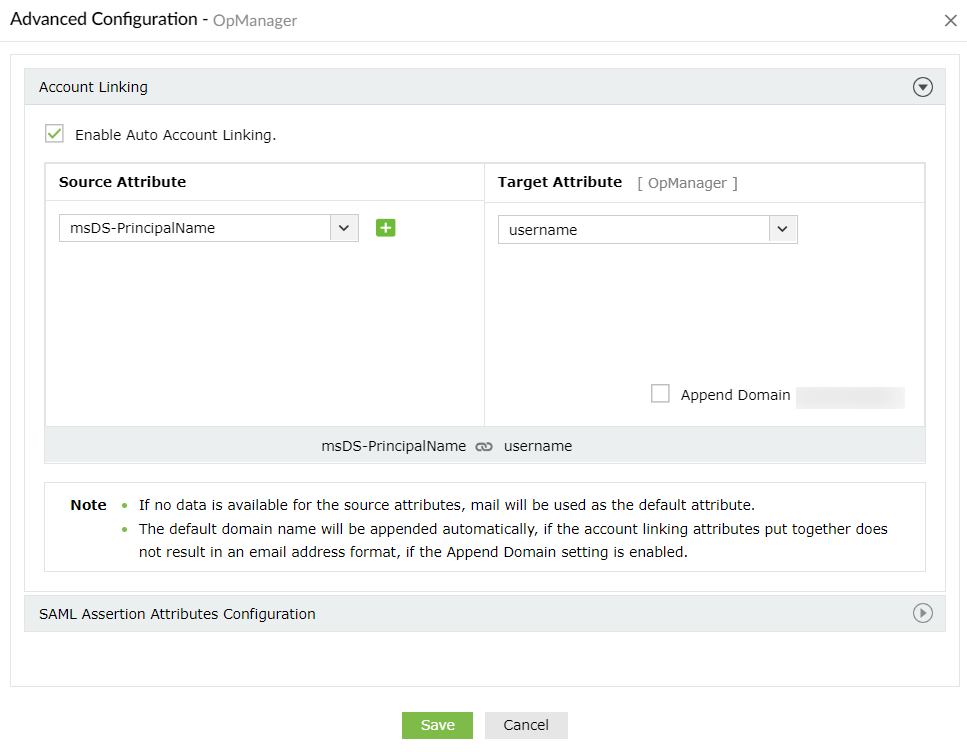
Note: Uncheck the Append Domain option if it's been checked already. The Source attribute's format should be like "(domainname)/(username)"
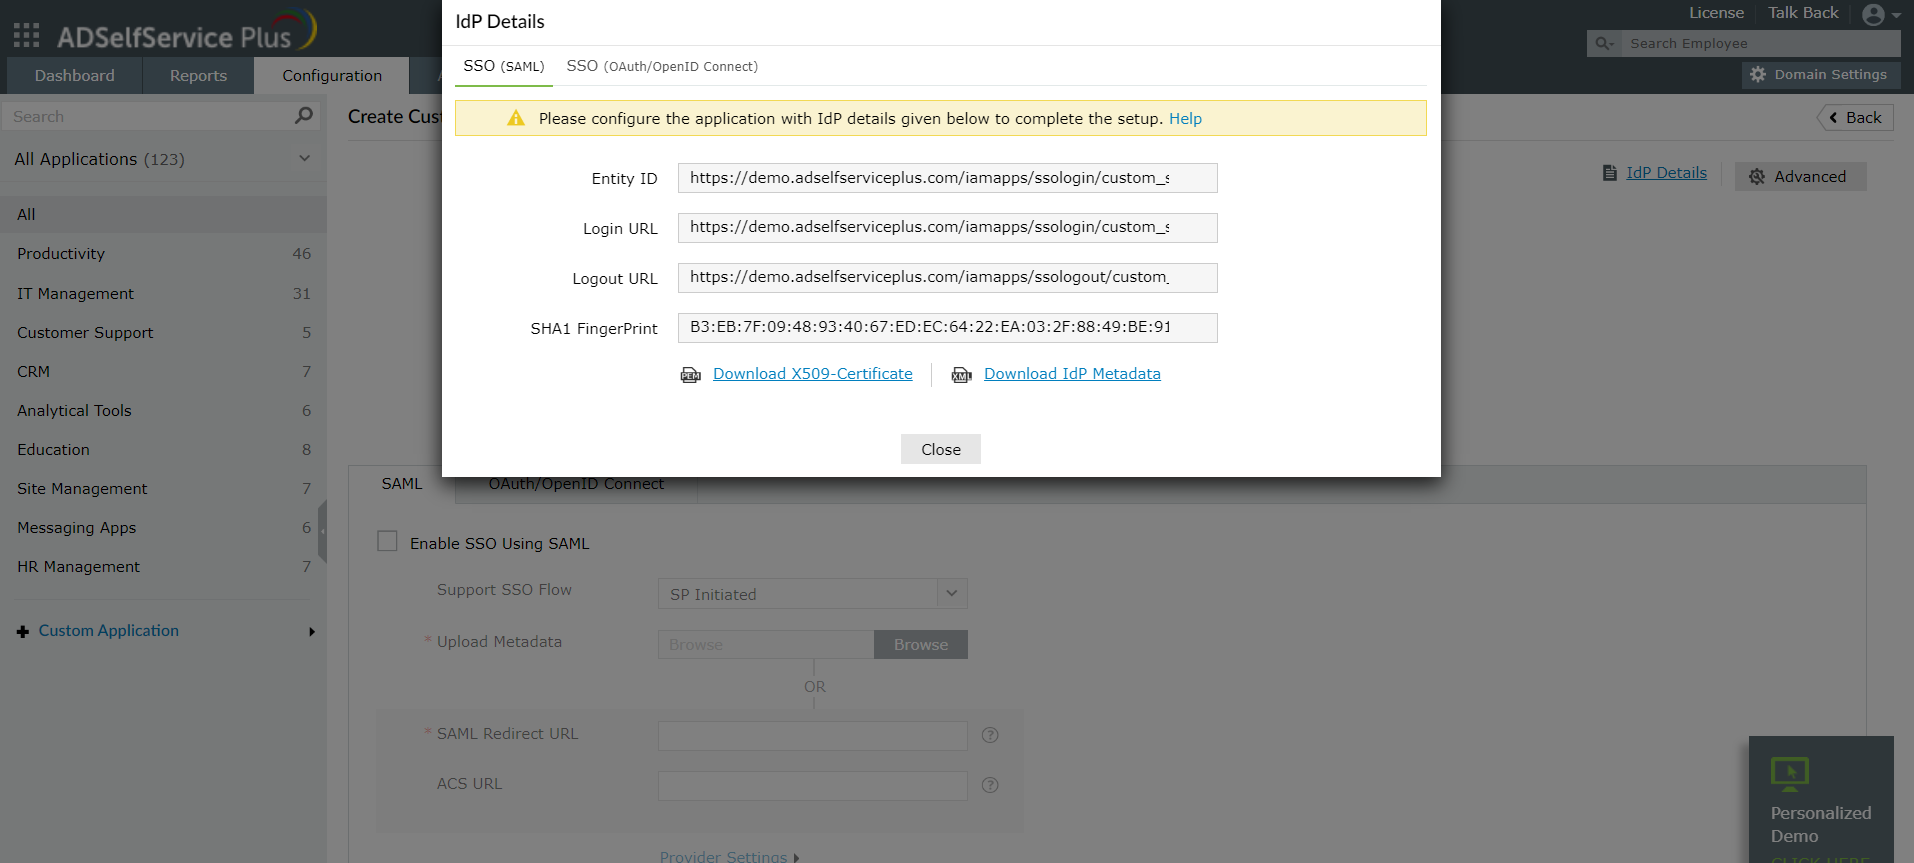
- After successfully configuring the application, the IdP details will be displayed. You can either copy and paste them on the SP end, or you can download the metadata file and upload it directly.
Click here for steps to configure IdP details in OpManager. Once the configurations are done on both ends, SAML authentication via ADSSP will be enabled in OpManager. In OpManager's login portal, choose to Login with ADSSP and enter the required credentials to login.