Connection Groups
Access Manager Plus lets you create connection groups to facilitate bulk edits and bulk configuration of settings to all the connections associated with that particular group. Connection groups can also serve as a means to combine similar types of connections under one umbrella and view them separately from the Connections tab.
- Creating a new connection group
- Associating connections to an existing connection group
- Deleting a connection group
1. Creating a New Connection Group
Follow the below steps to create a new connection group and associate connections to it.
- Navigate to the Manage tab.
- Click Connection Groups from the left pane and click Add Group.
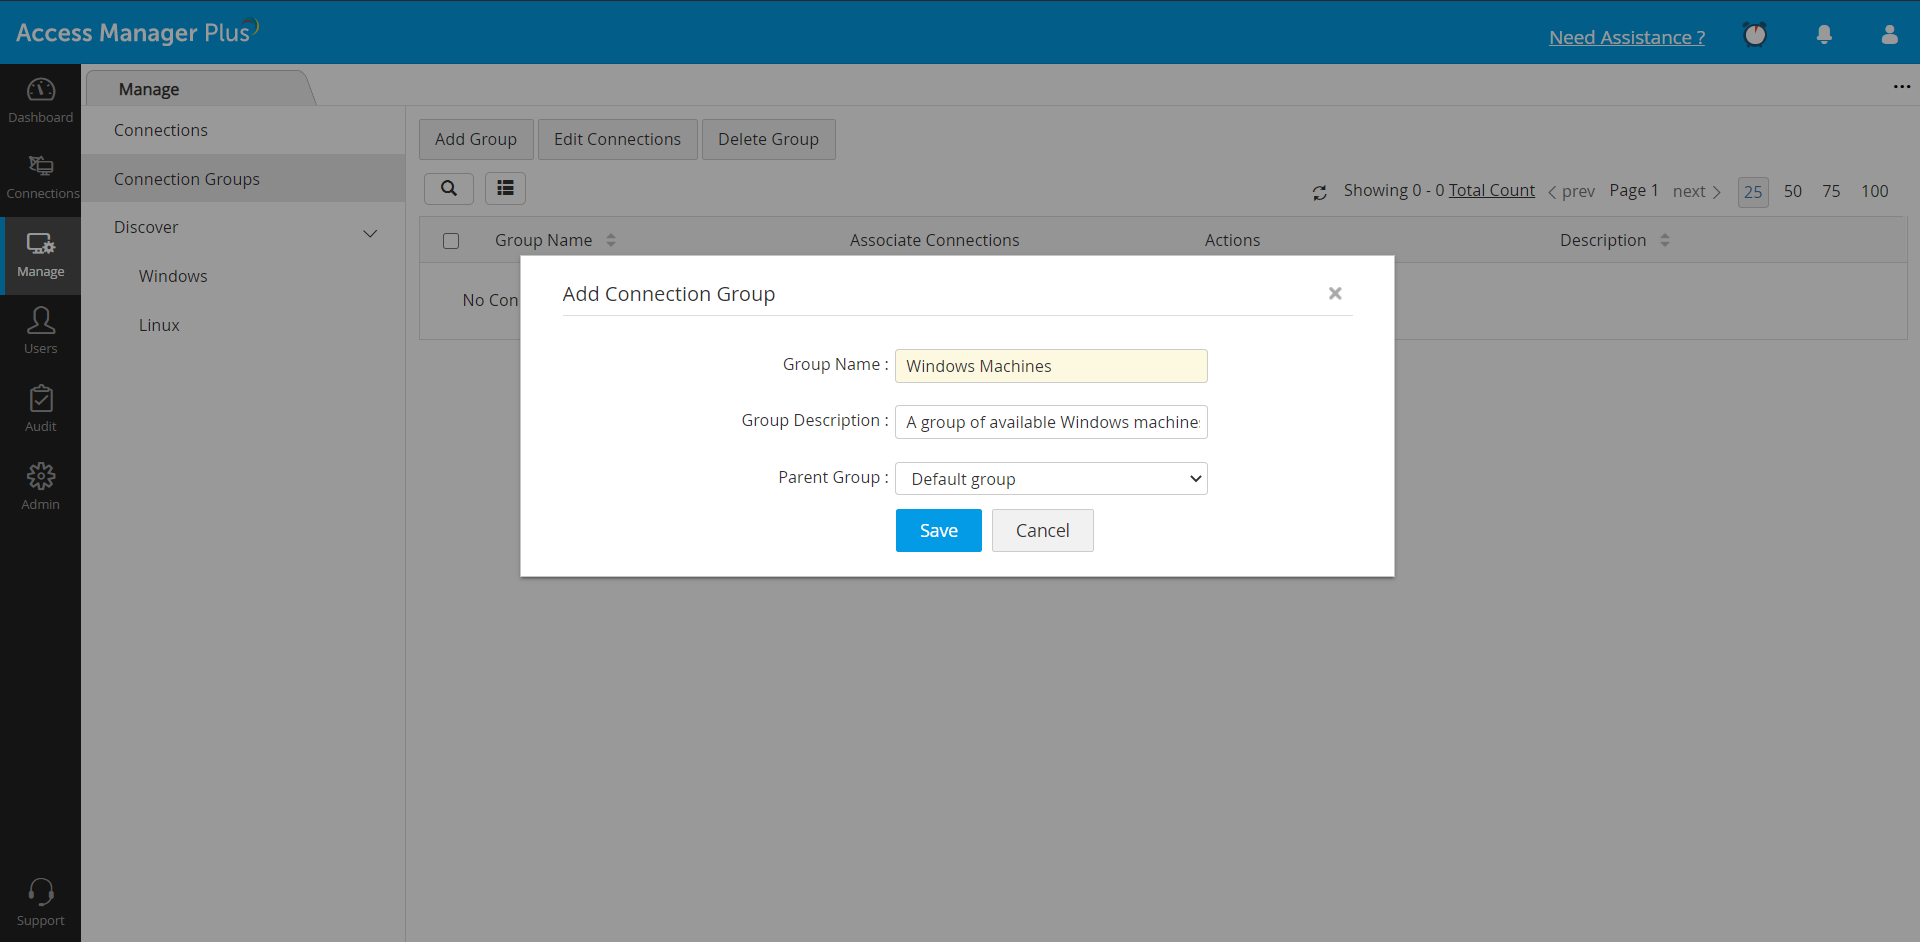
- In the pop-up that opens, add a group name, group description and choose a parent group. Default group will be selected in case there are no other groups available.
- Click Save.
- In the Associate Connections window, all the available connections will be listed below. Click Add to Group beside the required connection to associate it with the newly created connection group. To add connections in bulk, select connections using the checkboxes and click Add to Group from the top bar.
- To remove a connection from the group, simply click Remove from Group option beside the connection name.

2. Associating Connections to an Existing Connection Group
Follow the below steps to add or remove connections from a previously created connection group.
- Navigate to the Manage tab and click Connection Groups from the left pane.
- All the existing connection groups will be displayed here. Click the Associate Connections icon beside the connection group to which you wish to add connections.
- In the Associate Connections window, all the available connections will be listed below. Click Add to Group beside the required connection to associate it with the newly created connection group. To add connections in bulk, select connections using the checkboxes and click Add to Group from the top bar.
- To dissociate a connection from the group, simply click Remove from Group option beside the connection name.
2.1 Bulk Group Operations
Use the Edit Connections option to perform bulk edits in connection attributes for connections across multiple groups. Follow the below steps to achieve this
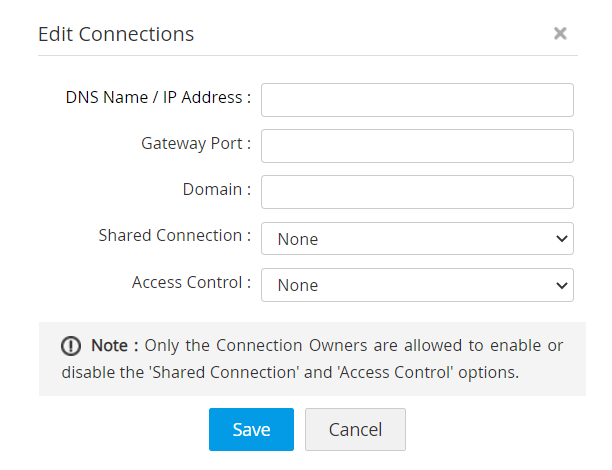
- Select the required connection groups and click the Edit Connections option from the top. In the Edit Connections window, you can change the following attributes for all connections that are part of the selected groups: DNS Name/ IP Address, Gateway Port, Domain. However, while the aforementioned attributes can be modified by anyone, only the respective connection owners can enable or disable the Shared Connection and Access Control options.
- To leave previously configured settings untouched for the Shared Connection and Access Control options, choose None in the respective drop-downs. Doing so will preserve existing settings for these two options while allowing you to modify other attributes of the connections in the selected groups.
- In case you enable or disable the Shared Connection or Access Control option, the changes will be applied to only the connections that are owned by you. The configuration for other connections will remain unchanged. Click Save to save changes.
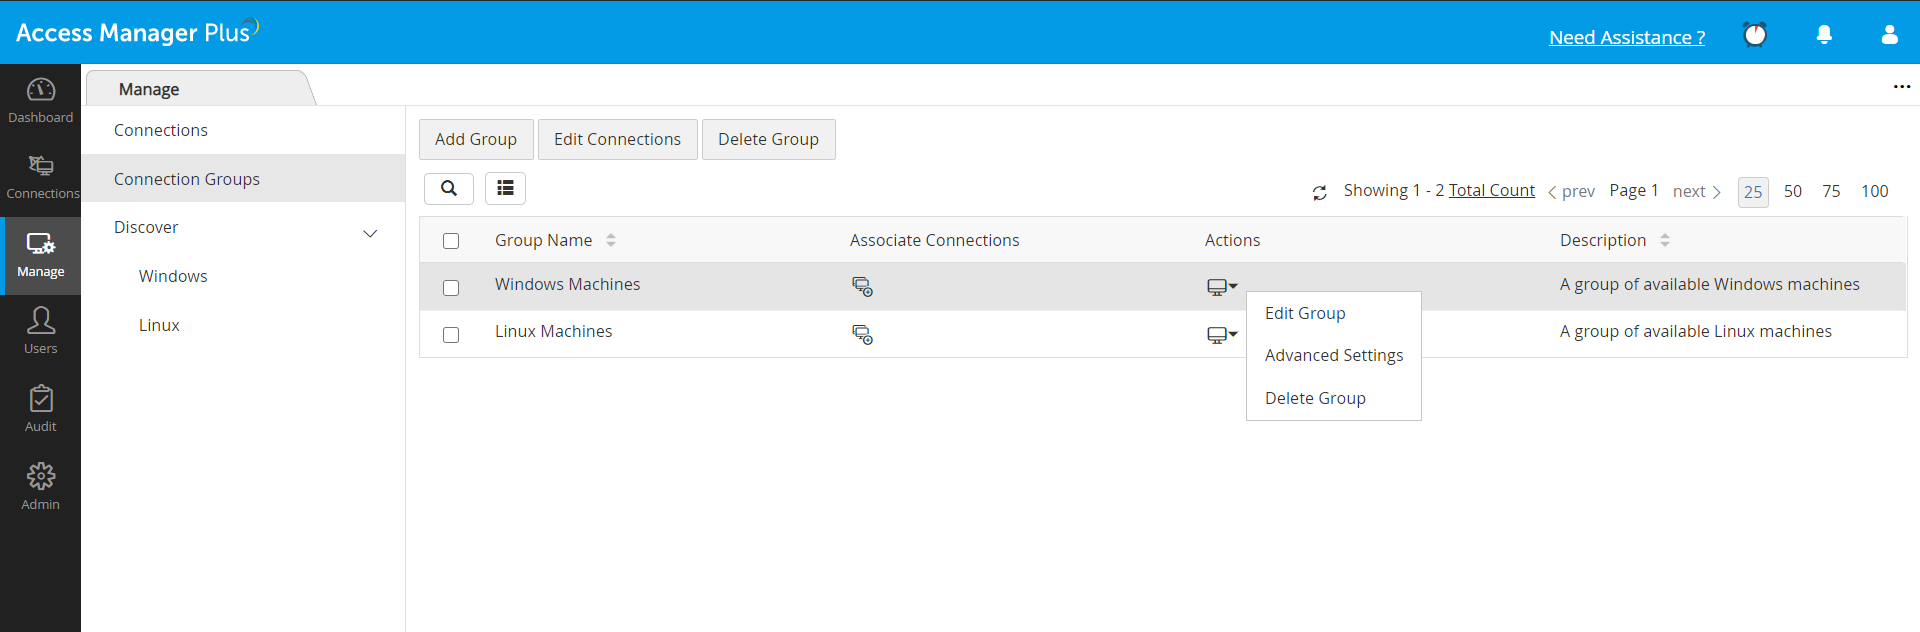
Once a connection group is created, make use of the Group Actions options to perform bulk setting changes on all the connections that are part of the group.
- Click Group Action drop-down beside a connection group.
- Click Edit Group to edit the group name and description.
- Click Delete Group to delete only the selected group.
- Click Advanced Settings to apply bulk configuration settings to all the connections that are part of the group. Click here to learn more about advanced settings.
Precedence level for advanced settings:
If advanced settings were previously customized for a particular connection before it was added to the group, whichever setting was applied latest will take precedence.
Example: Connection A is added to Group 1, however prior to adding to the group, Connection A had customised advanced configuration. A different set of configuration is applied to Group 1 later. In this case, the individual settings Connection A had will be overriden by the group settings. However, if settings for Connection A are reconfigured after adding it to Group 1, then the group settings will be overridden and the reconfigured individual settings will apply to Connection A.
3. Deleting a Connection Group
To delete an existing connection group, follow the below steps:
- Navigate to the Manage tab and click Connection Groups from the left pane.
- To delete a single group, click the Group Actions drop-down beside it and choose Delete Connection Group [OR] To delete multiple groups at a time, select the groups and click Delete Connection Group from the top bar.
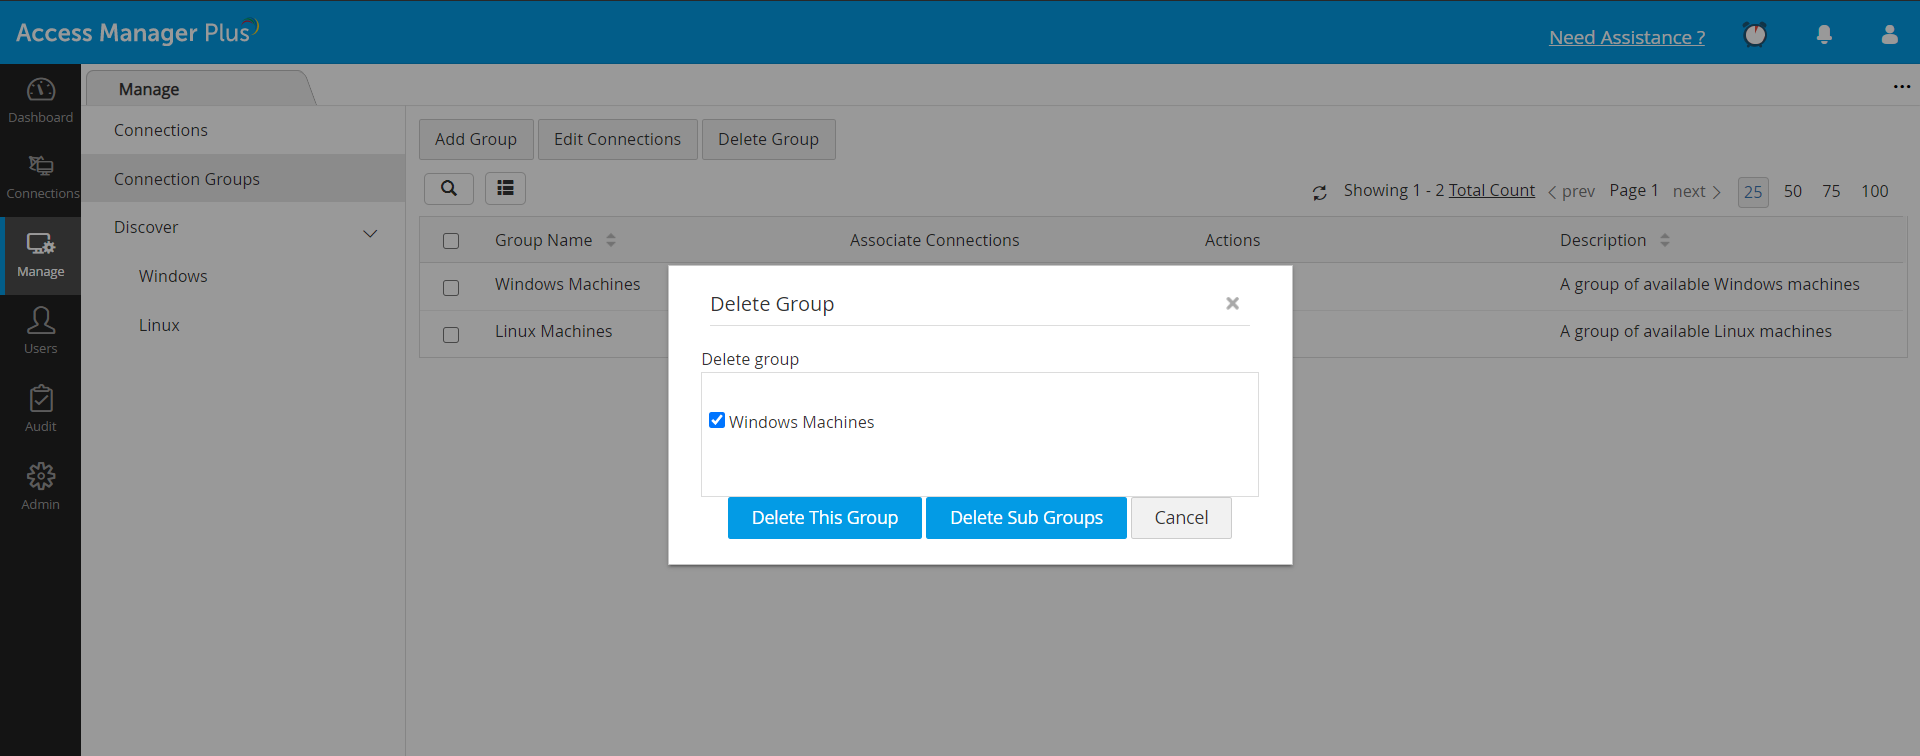
- In the confirmation pop-up that appears, you will find two options:
- Delete This Group - Click this option to delete only the selected group and retain all the sub groups that are part of it.
- Delete Sub Groups - Click this option to delete both the parent group and all the sub group that are part of it.
Note: All details regarding the group creation and association of connections to the group will be recorded under Audit>>Connection Audit.