Installing Access Manager Plus
Access Manager Plus is a privileged session management software which can be installed in both Linux and Windows. The following are explained in this document:
- Prerequisites
- Steps to Install Access Manager Plus in Linux
- Steps to Install Access Manager Plus in Windows
1. Prerequisites
Before you begin the installation make sure to do the following:
i. Download the latest version of Access Manager Plus.
ii. Ensure it satisfies the System Requirements.
2. Steps to Install Access Manager Plus in Linux
- Download the file ManageEngine_AMP.bin for linux.
- Execute the command chmod a+x <file-name> to assign the executable permission.
- Execute the command: ./<file_name>.
- Execute the command ./<file_name> -i console, if you are installing on a headless server.
- Follow the step-by-step instructions as they appear on the screen. Now, Access Manager Plus will be installed in your machine in the location chosen. Henceforth, this installation directory shall be referred to as AMP_Home.
3. Steps to Install Access Manager Plus in Windows
- Start the installation by double clicking the ManageEngine_AMP.exe icon.
- The InstallShield Wizard for Access Manager Plus appears on the screen.
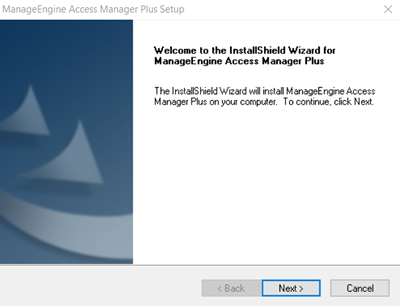
- Click Next to continue the installation.
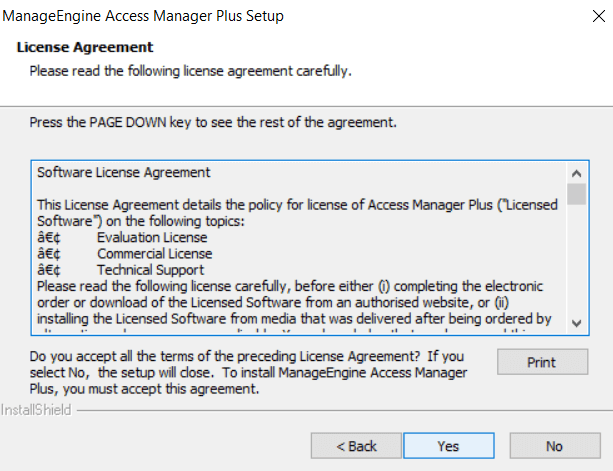
- The Software License Agreement appears on the screen. Read the Agreement and click Yes to agree and proceed with the installation.
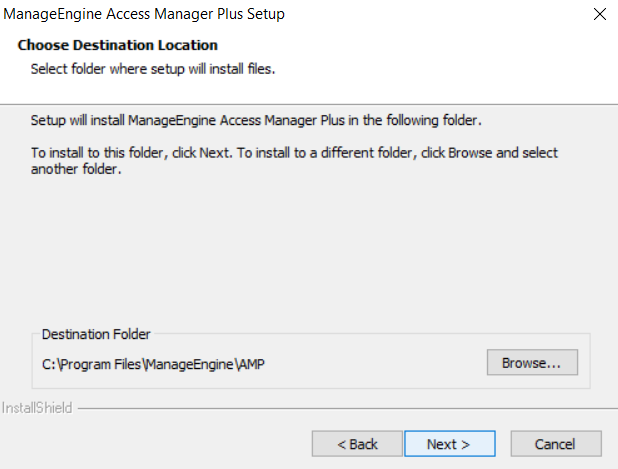
- Click Browse, if you want to install the Access Manager Plus in your desired location other than the default location,'C:\Program Files\Manage Engine\AMP', else click Next.
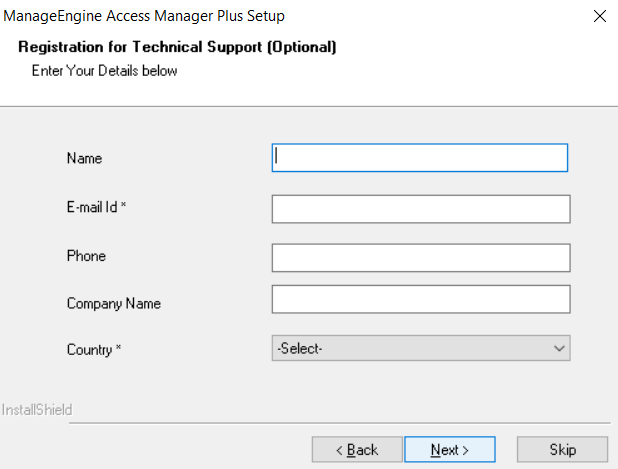
- The Registration for Technical Support dialog box appears. Fill in the necessary details such as Name, E-mail Id, Phone, Company Name and Country, and click Next.
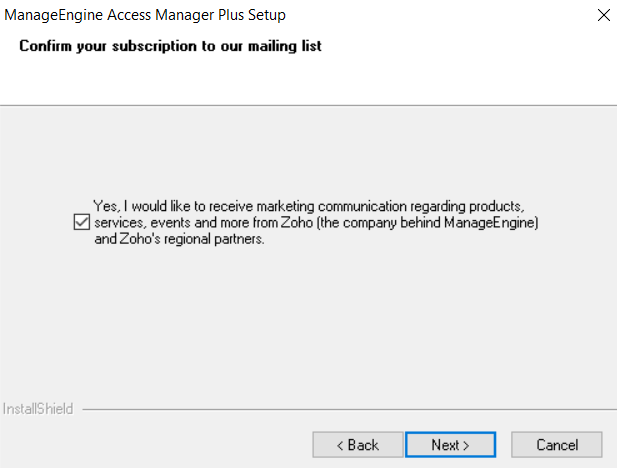
- Select the check box to confirm your subscription to our mailing list.
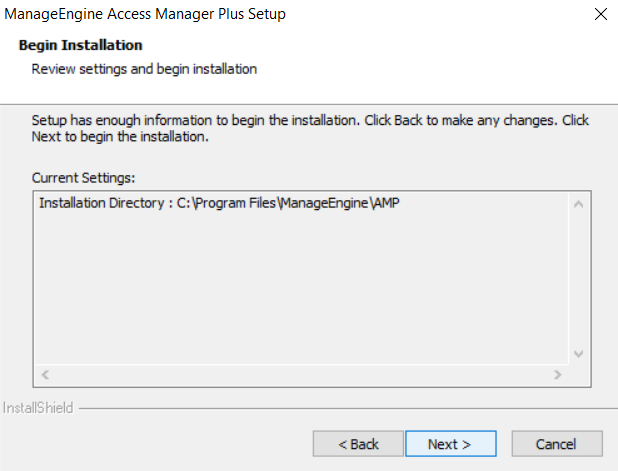
- Now, the Begin Installation Wizard appears that will require you to review your settings and begin the installation. Click Back to make any changes or click Next to proceed with the installation.
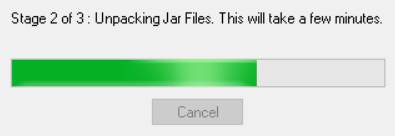
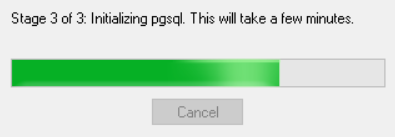
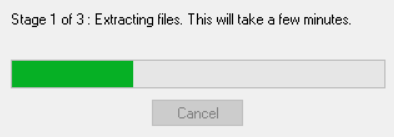
- The installation starts and the following happens step-by-step:
- Extracting Files
- Unpacking Jar Files
- Initializing pgsql
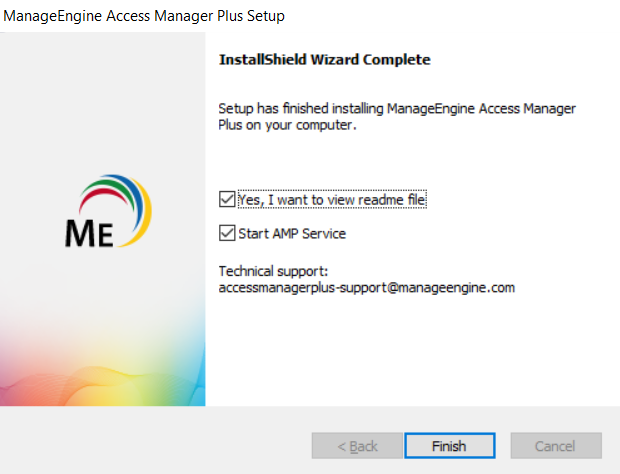
- Now a wizard appears denoting the completion of installation process. Choose to do any of the following by selecting the corresponding checkboxes:
- View the readme file by selecting the Yes, I want to view readme file check box.
- Start the AMP service by selecting the Start AMP Service check box.
- Uncheck the boxes if you wish not to view the readme file nor start AMP service.
Top