- Related Products
- AD360
- Log360
- ADAudit Plus
- ADSelfService Plus
- EventLog Analyzer
- Exchange Reporter Plus

Help Document
ServiceNow settings
ServiceNow application provides IT services management, IT operations management, IT business management services and other solutions. ADManager Plus can now easily be integrated with ServiceNow to perform AD management functions like user creation and modification, password reset, and more from ServiceNow itself.
If you're an existing ADManager Plus user, ensure that you've updated the product to the latest version. The integration with ServiceNow is supported by versions 7064 and above.
Steps to integrate ADmanager Plus with ServiceNow
- Log in to ADManager Plus and click the Admin tab.
- Under System Settings, click Integrations.
- Under ITSM/Help Desk Tools, click ServiceNow.
- In the ServiceNow URL field, enter the URL for integration.
- Click Test Connection and Save to establish a connection and save the settings.
Note: The Enable Integration button is turned on by default. Toggle it off to disable the ServiceNow integration.
Steps to configure the ADManager Plus integration in ServiceNow
- Download and install the ADManager Plus plug-in from the ServiceNow store.
- In the Navigation bar, click All and expand ADManager Plus.
- Click Configuration.
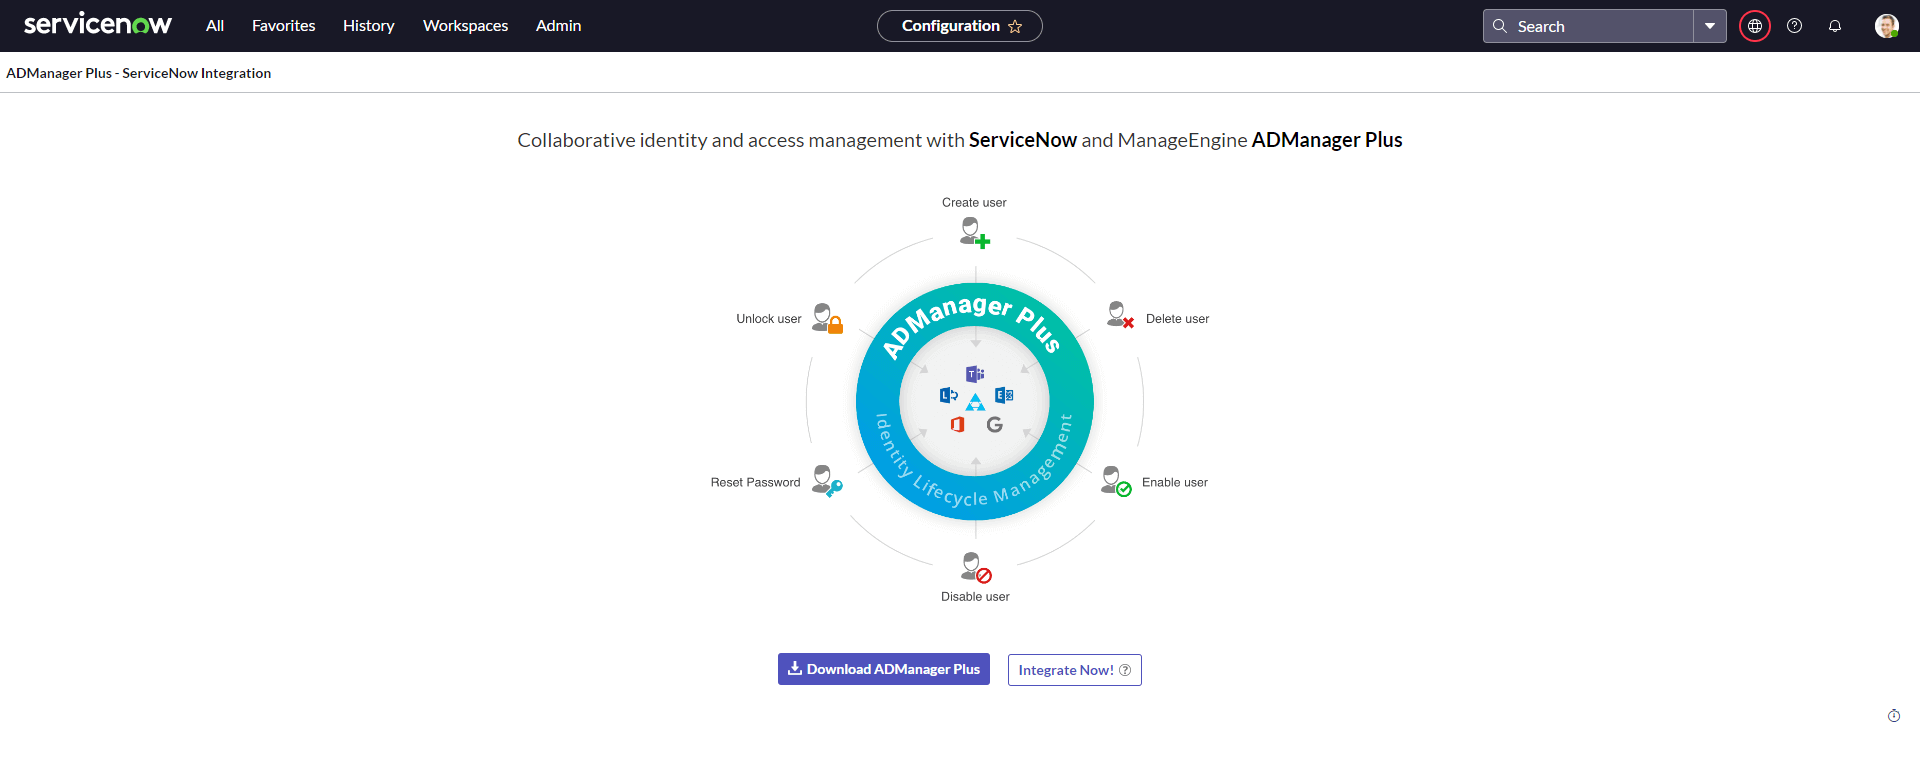
- In the page that opens, click the Integrate Now! button.
- Fill in the following fields:
- ADManager Plus URL: Enter ADManager Plus' URL.
- Use MID Server: Enable this option if you'd like to use a MID server to communicate with ADManager Plus. Choose the desired MID server from the list of available servers.
What is a MID server?
A MID server acts as a mediator and facilitates communication and data transfer between ServiceNow and external applications. It has to be installed on the system where ADManager Plus is running. Click here to learn more about the MID server.
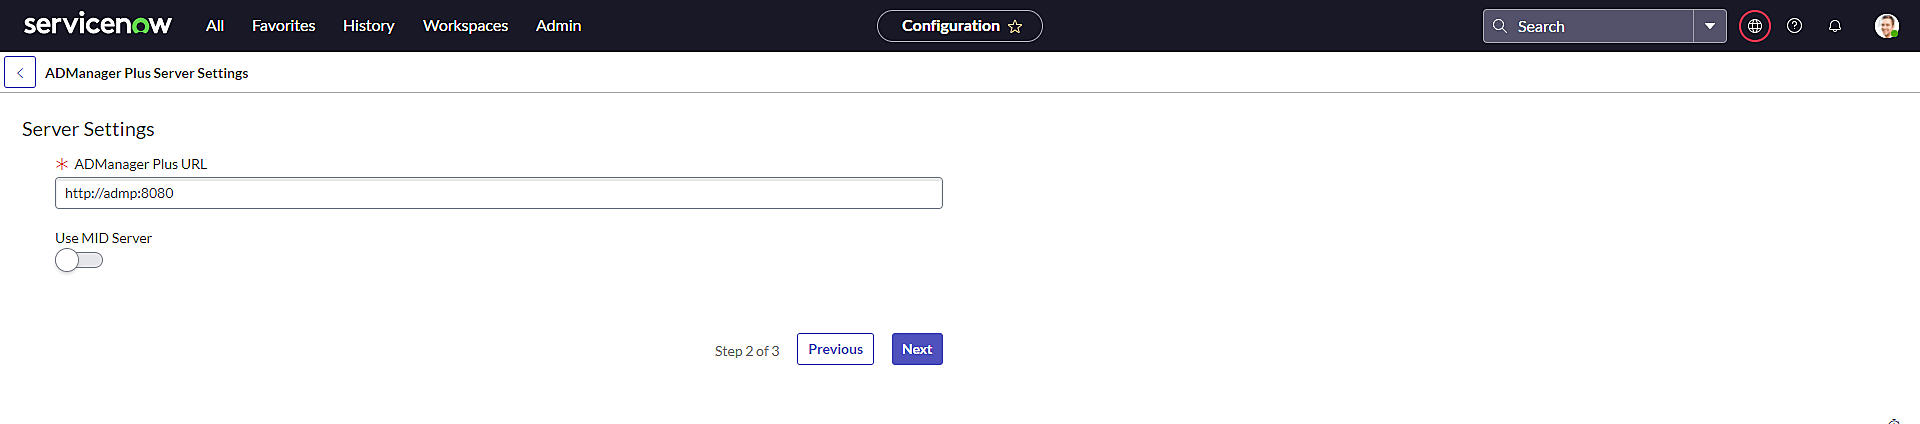
- Click Next.
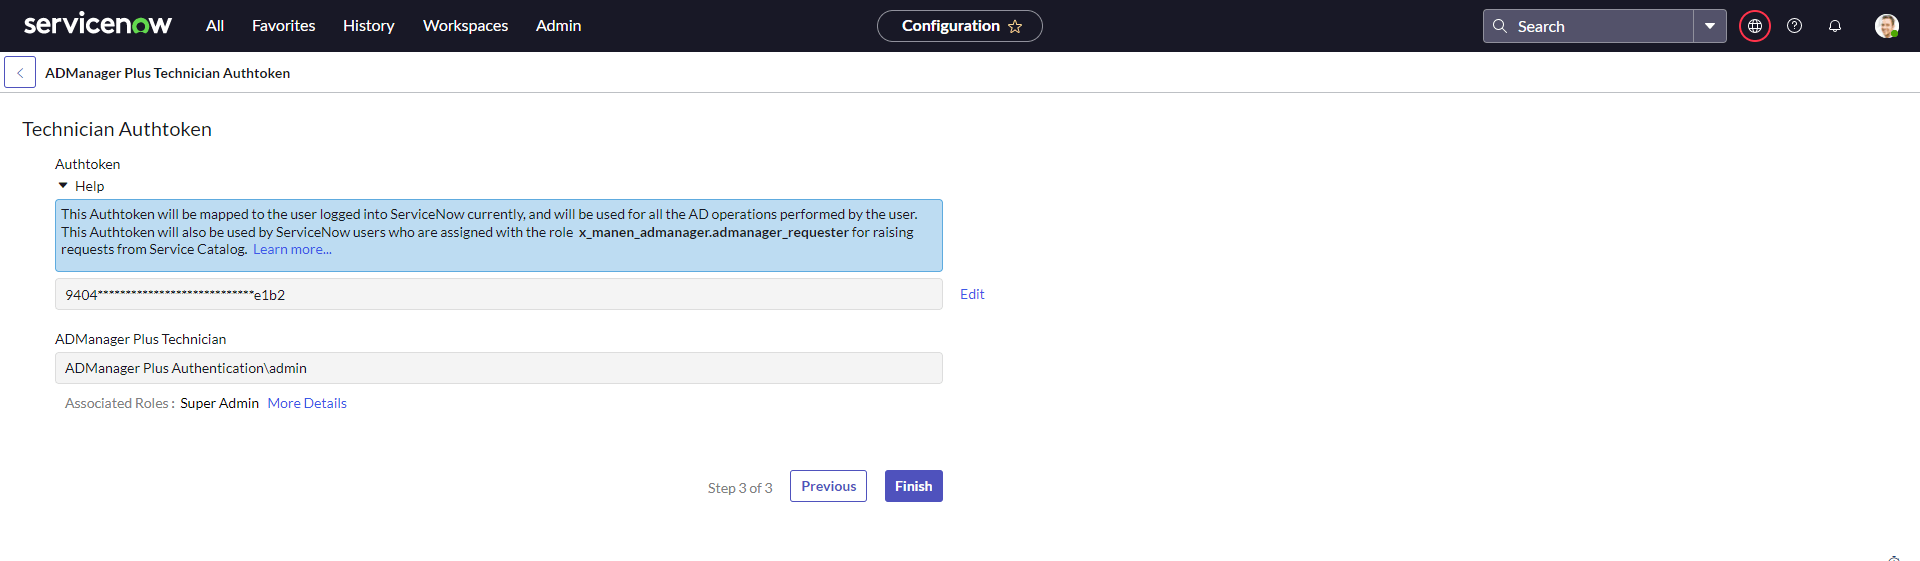
- Enter the ServiceNow technician's authtoken in the Authtoken field, and click Validate to fetch the associated technician from ADManager Plus.
Note: The technician's authtoken can be obtained by navigating to Delegation > Configuration > Technician Authtokens in ADManager Plus. Technicians' authtokens are available only in the default admin account for security reasons.
- Once the technician's details are auto-populated in the ADManager Plus Technician field, click Finish.
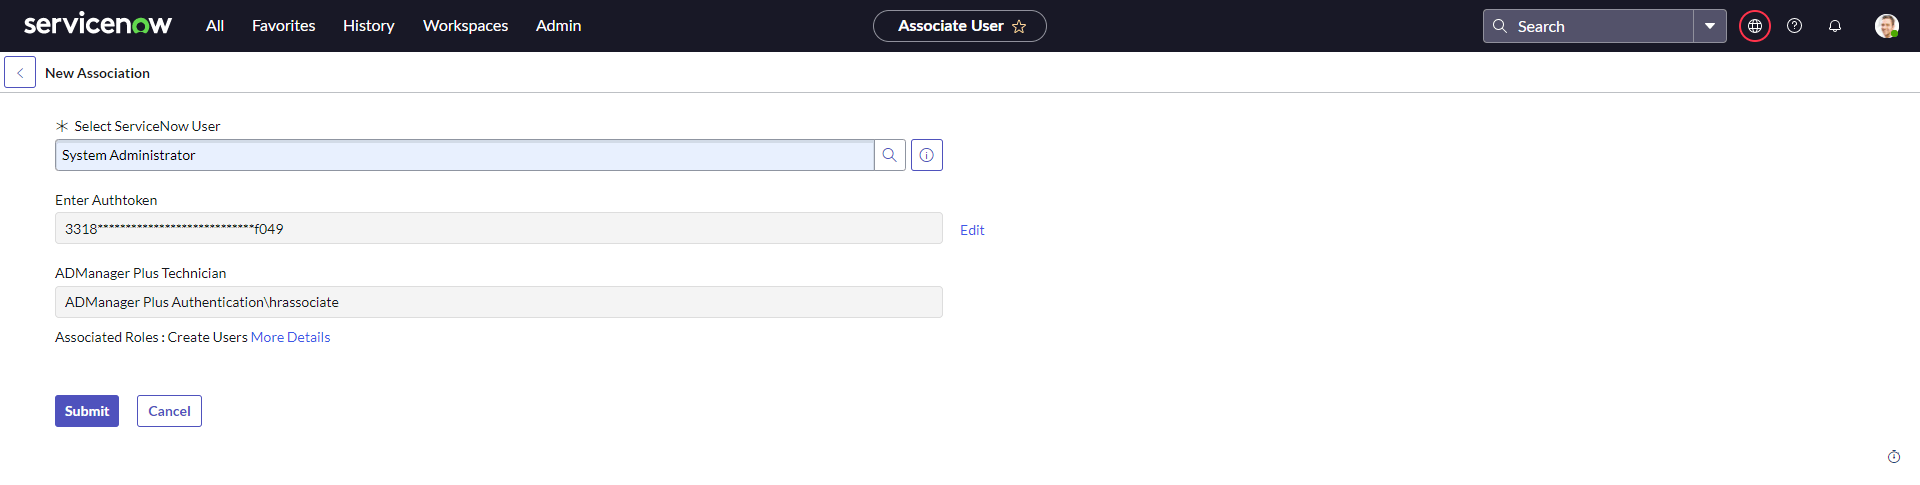
- You can associate more ServiceNow technicians by selecting the Associate Users option under ADManager Plus. Select the ServiceNow user from the drop-down list, specify the technician's authtoken in the Enter Authtoken field, and click Submit.
Note: Authtokens can be easily edited in the future by clicking the Edit icon next to the Enter Authtoken field.
How to perform an AD management action in ServiceNow
If you're an admin and would like to perform a user management action in ServiceNow:
- Click All and expand ADManager Plus.
- Select the desired user management action or file management action from the list of actions, and fill in the required fields.
- Click Submit.
You can also raise a request to perform these actions from ServiceNow's Service Catalog after adding Active Directory Management as a category.
- Click All and search for Service Catalog.
- Select Service Catalog and click the + icon located in the top-right corner.
- Select Active Directory Management and click Add here.
- Select the desired user management action and fill in the required fields.
- Click Submit.
Note: Technicians with requester roles can only raise a request to perform a user management action, and these requests, referred to as incidents, can only be created from the Service Catalog. These incidents are then reviewed and executed by technicians with admin roles.
To respond to an incident:
- Click All and search for Incidents.
- Select Incidents under Service Desk and click the incident that you'd like to review from the list of incidents.
- On the page that opens, right-click the form header to access the form context menu.
- Select the corresponding user management action in the form context menu. For instance, if it is a user creation request, select Create AD User.
- Review the fields and their values, and click Submit.
How to customize the user creation form in ServiceNow
To customize the user creation form in ServiceNow:
- Log in to ServiceNow.
- Navigate to All > ADManager Plus > Actions.
- Hover over Create User and click the edit icon that appears.
- In User Creation Fields:
- Add and remove fields to the Selected Fields section using the side arrows. Only the fields in the Selected Fields section will be available in the user creation form.
- You can move and arrange the fields in the Selected Fields section using the up and down arrows next to the section.
- If you'd like to make a field mandatory, hover over the field and click Set as Mandatory.
- Click Save to update the changes.
Note:
- User creation fields can be customized in instances integrated with ADManager Plus builds 7180 and above, and ServiceNow plugin versions 2.0.2 and higher.
- The user creation fields are text boxes and require technicians to enter a value.
- Fields can also be added or removed and made silent or read-only in the User Creation Templates in ADManager Plus. Therefore, it is recommended to add only the required fields to the user creation form in ServiceNow.
- All management actions performed through ServiceNow are carried out using REST APIs. These REST API calls have usage limit based on the number of technicians licenses. To learn more about the REST API usage limit, click here.
Actions supported
- Provision users
- Reset passwords
- Enable or disable AD user accounts
- Unlock AD user accounts
- Add or Remove users from groups
- Set or Revoke folder permissions
- Delete AD user accounts
- Modify department and manager attributes