Configuring Application Filters in .NET Agent
APM Insight includes an option to exclude select applications from being monitored. Users can use this to enhance the performance of the applications they require and avoid monitoring unnecessary ones.
Configuring Application Filters using agent configuration tool
Follow the steps given below to monitor select .NET applications with APM Insight:
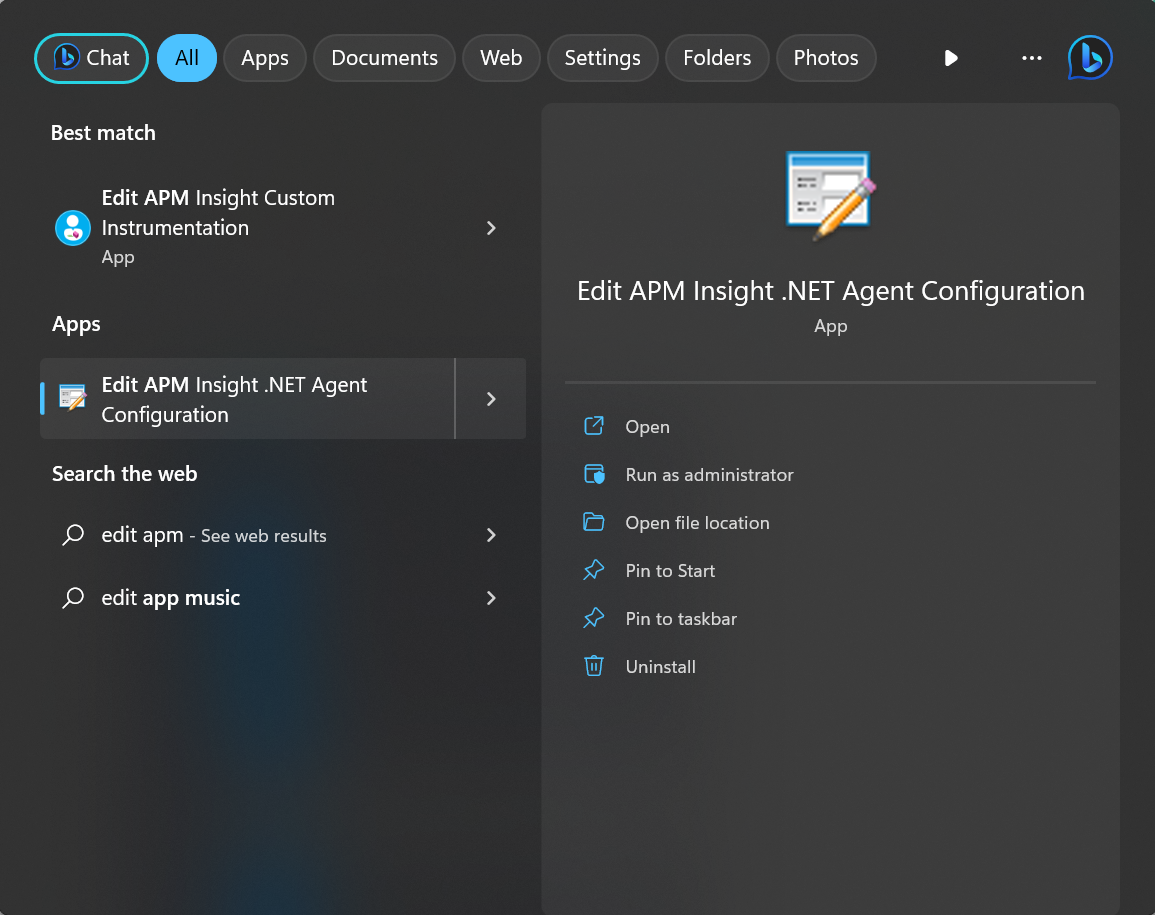
- Go to Start and click the Edit APM Insight .NET Agent Configuration tool to launch it.Note: The Edit APM Insight Configuration tool is automatically installed when you install your APM Insight .NET agent.
- Once the tool is launched, go to the Applications tab.Note: This dialog box is launched automatically during the APM Insight .NET agent installation.
- Click on the Use Application Filterscheck box.Note: All the IIS-hosted applications will be listed in the Applications tab. Only the selected applications will be monitored.
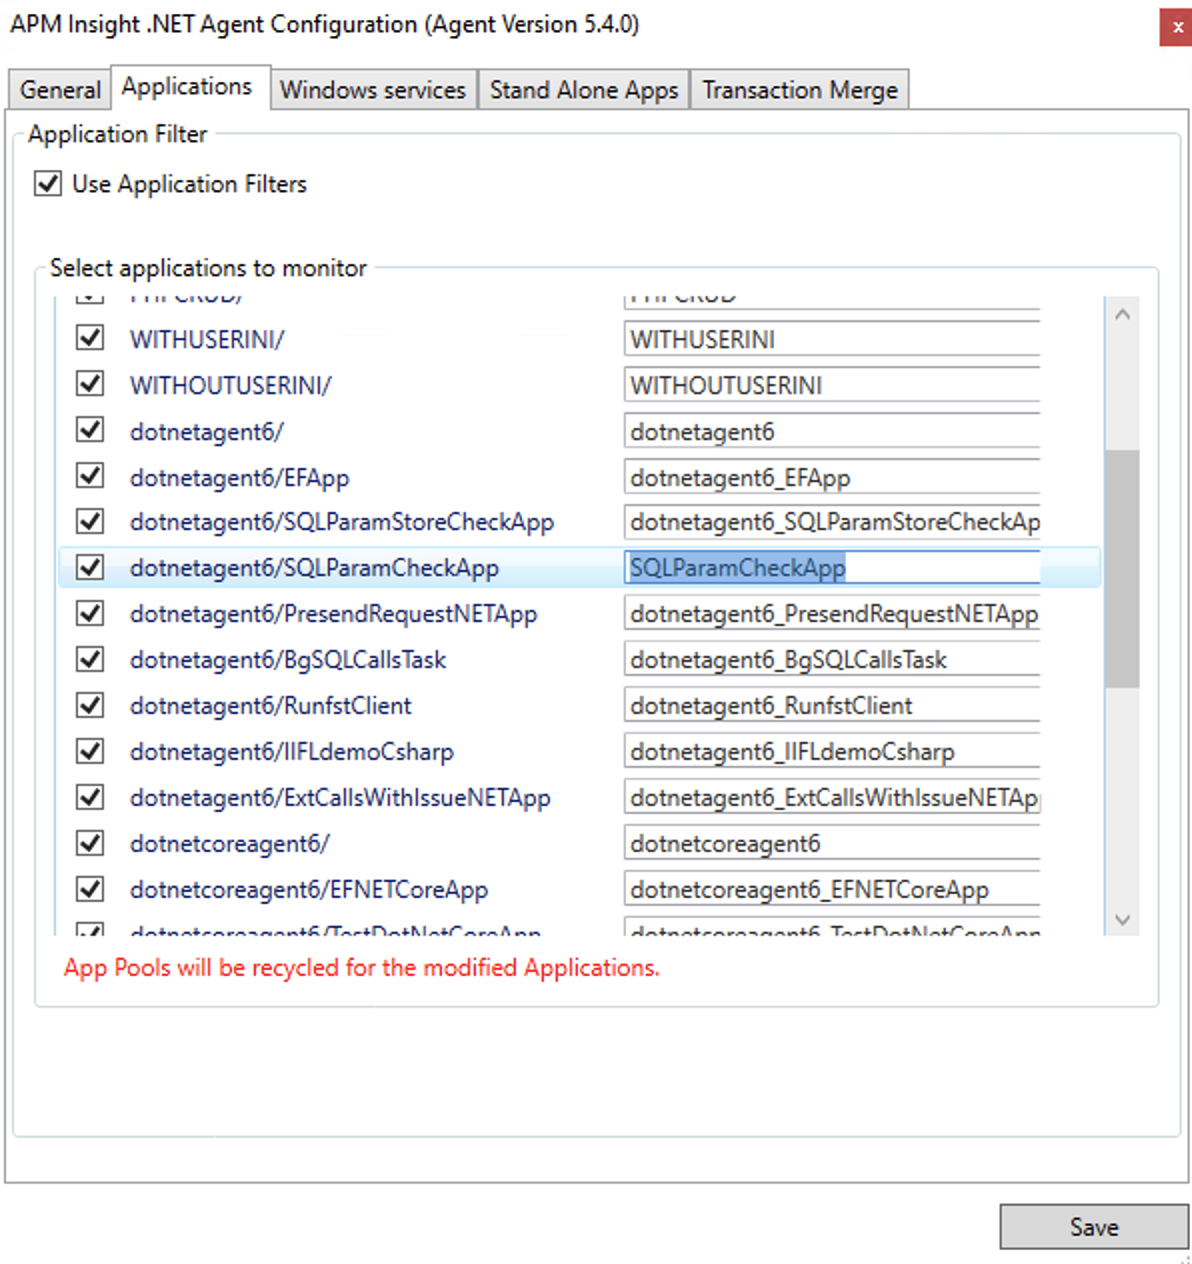
- Select the applications you want to monitor.Note: By default, all applications will be selected for monitoring.
- Provide a unique name for each one of the applications selected in the text box present under the APM Insight key column.Note: This will not affect the IIS.
- Click Save.Note: Application pools will be recycled immediately for the modified applications.
Configuring Application Filters Manually
Follow the steps given below to configure application filters manually:
Changes in APM Insight agent configuration
- Go to the APM Insight .NET Agent installation folder.
- Open DotNetAgent folder.
- Open appfilter.conf file and edit the following keys,
use.app.filters=true (default)
Example:
use.apminsight.appnames=true (default is false)
include.app.names={json formatted appnames}include.app.names = { "Default Web Site/" : "ServerRoot", "Default Web Site/Services/wcf1" : "Service1", ... }
- Copy this appfilter.conf file and paste it in the following location
- Agent data path:
%SystemDrive%\\ProgramData\\DotnetAgent
- Agent data path for Windows server 2003:
%SystemDrive%\\Documents and Settings\\All Users\\Application Data\\DotNetAgent
- Agent data path:
- Restart the .NET Agent windows service to effect changes
Changes in IIS Manager
- Launch IIS Manager.
- Select web application
- For IIS 7.0 and above, Go to Application Settings section & add the following key value pair. This is required to avoid conflicts in application names.
key = apminsight.appname
value = <custom application name> (Use this name in configuration file) - For IIS version 6.0, open the web.Config file and edit <appSettings> section as follows.
<add key="apminsight.appname" value="<custom application name>"/>
...
</appSettings> - Save the web.Config file.
- Repeat the steps for all applications to be monitored.
