- Related Products
- Log360
- AD360
- ADManager Plus
- ADAudit Plus
- ADSelfService Plus
- Exchange Reporter Plus
 Click here to expand
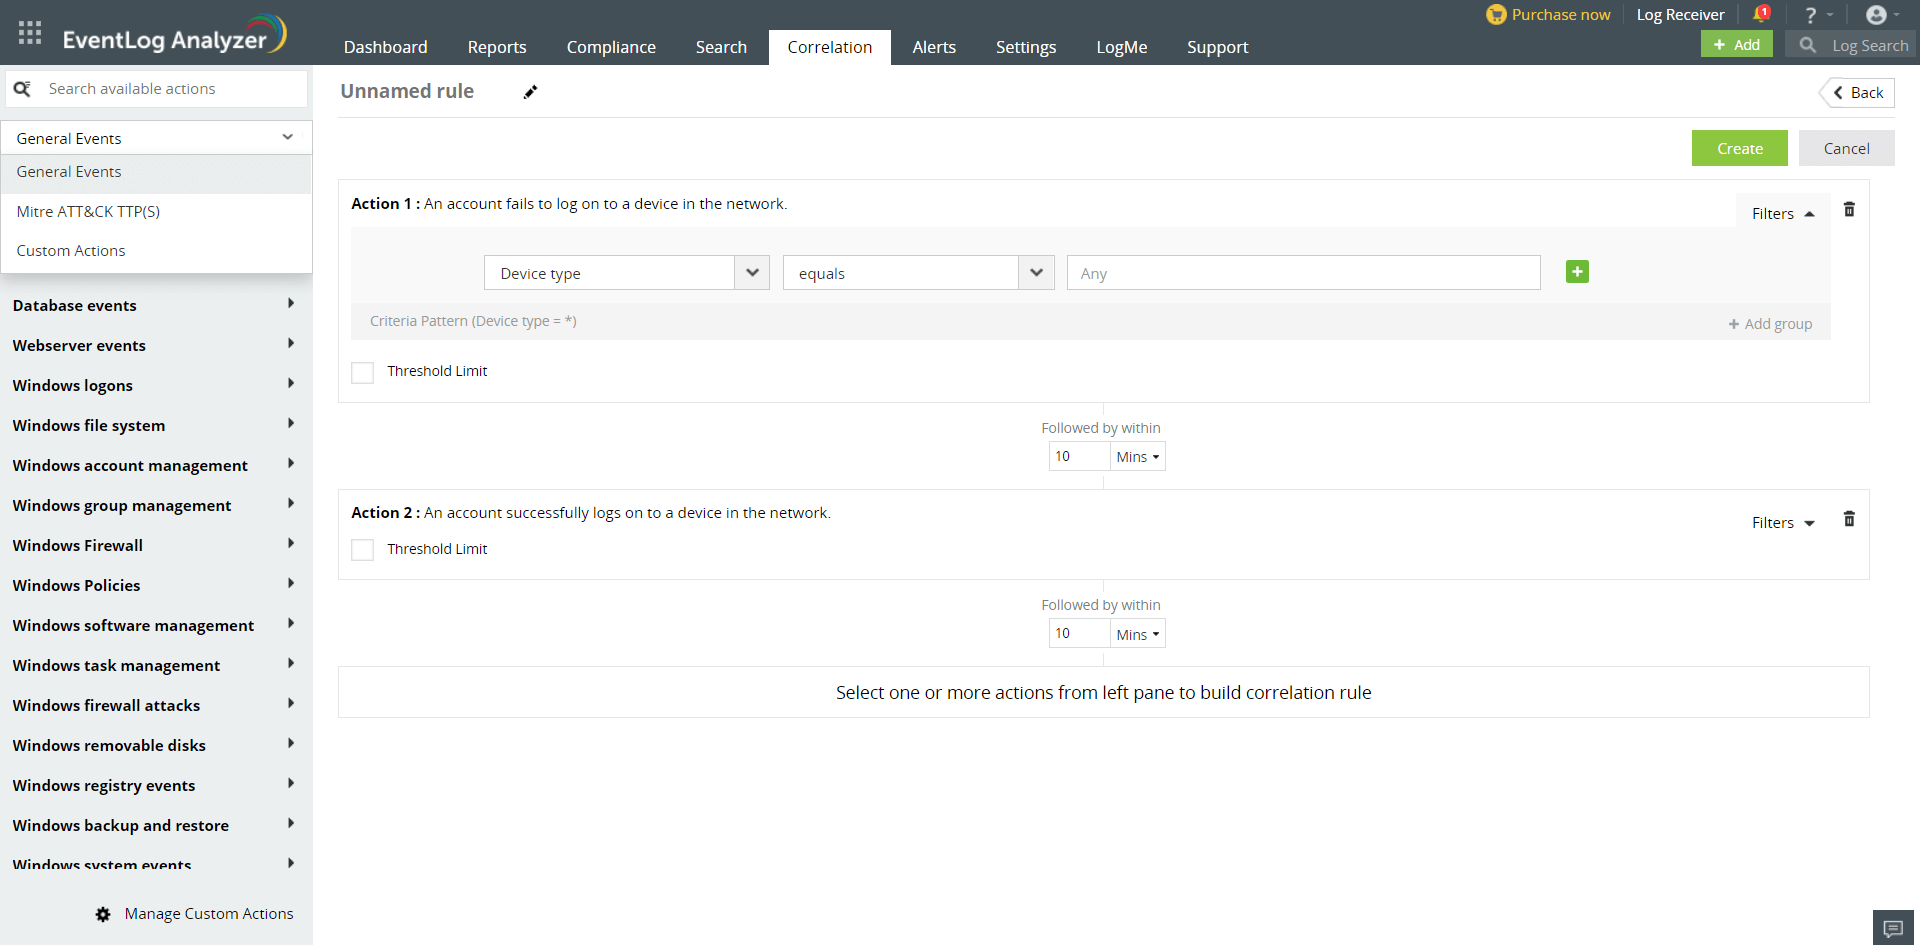
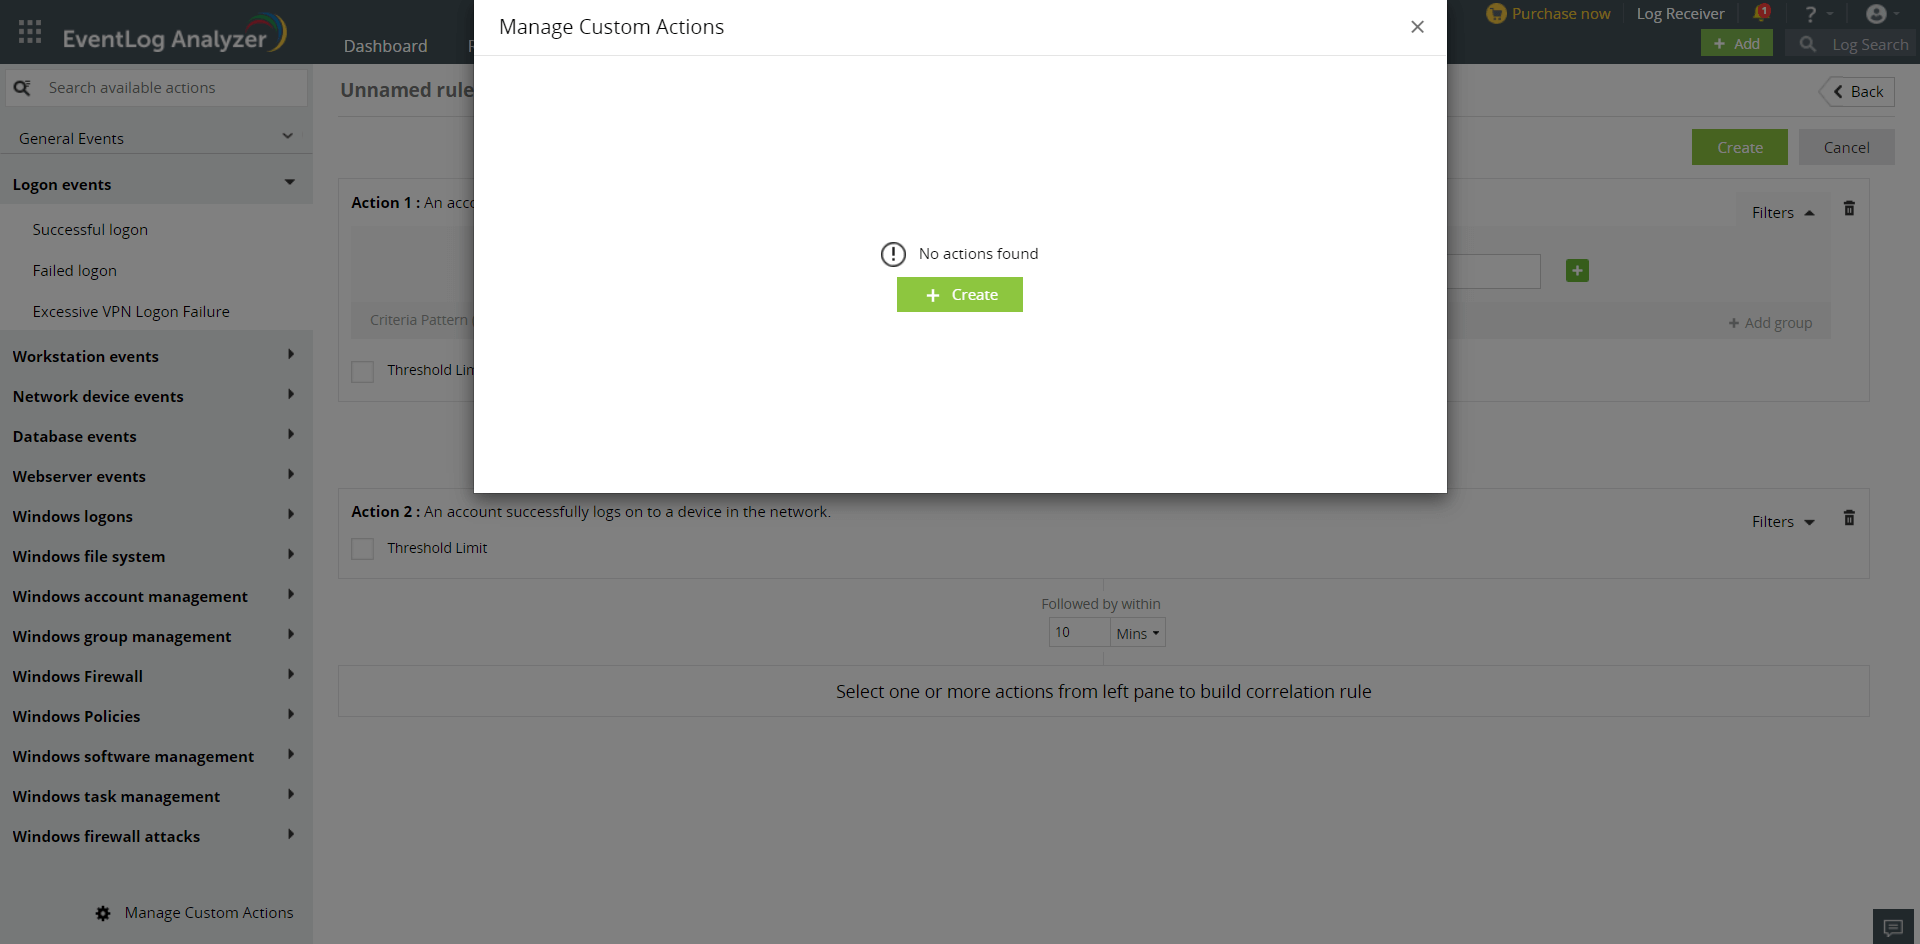
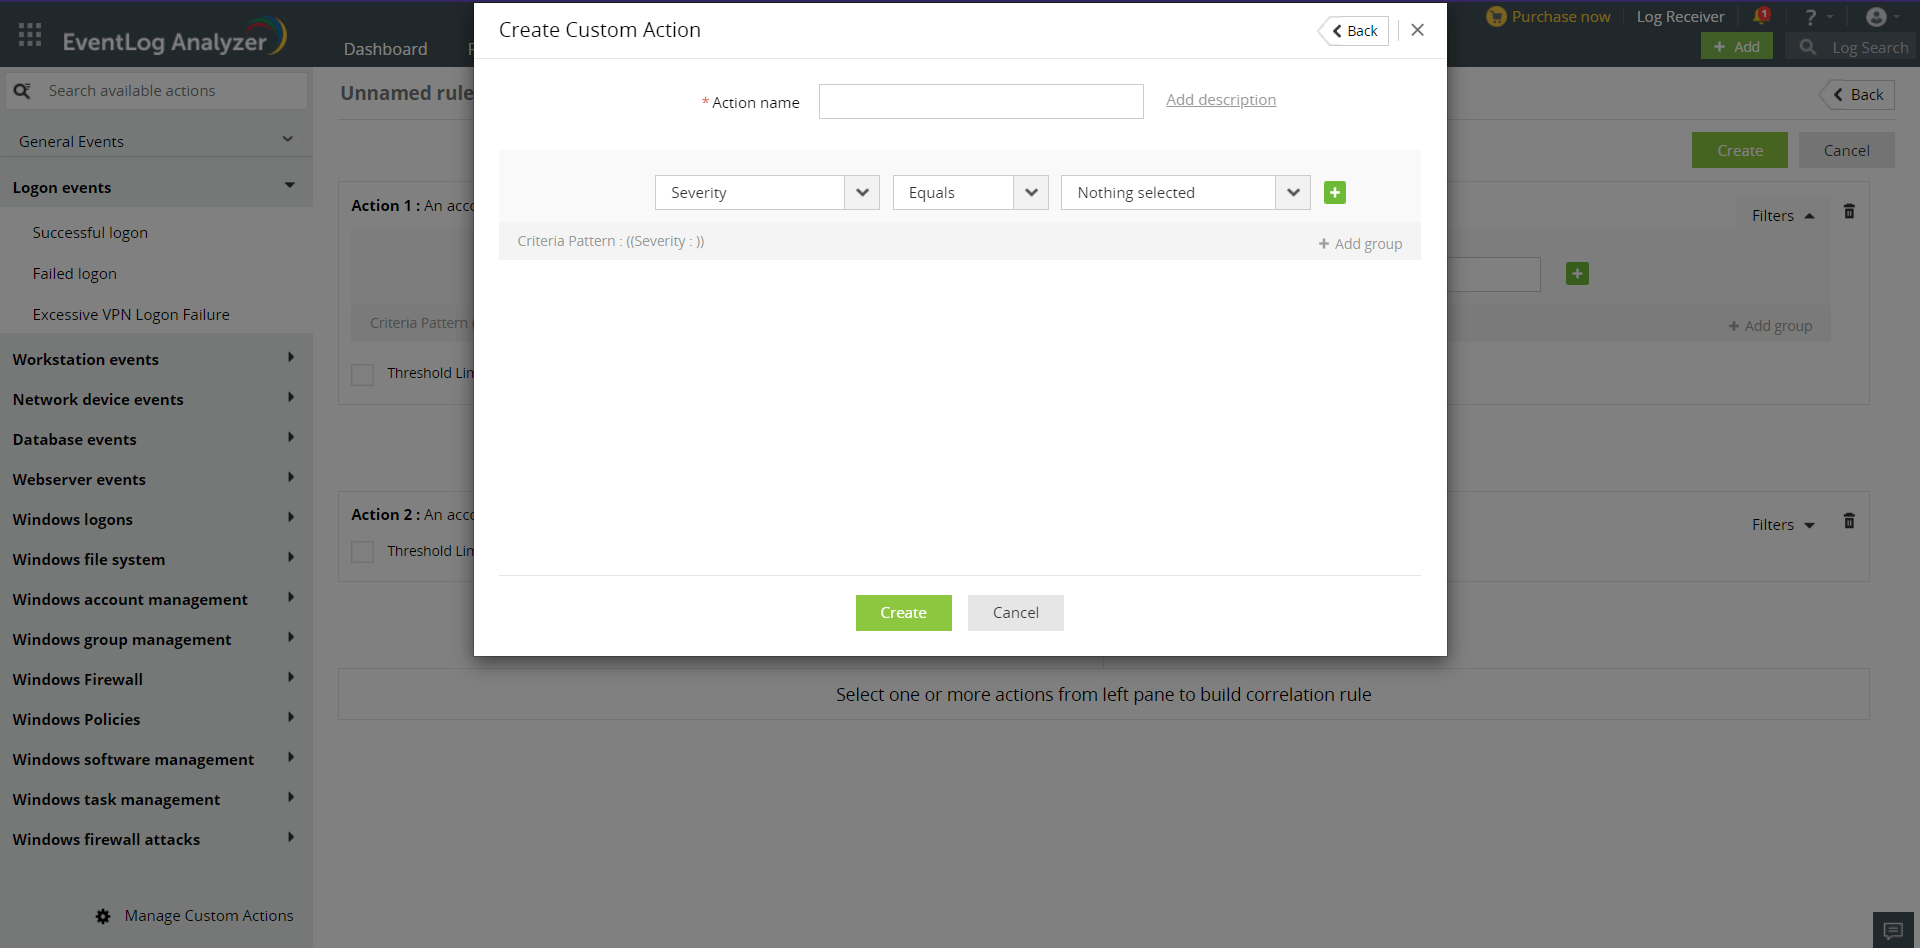
EventLog Analyzer comes equipped with a custom correlation rule builder, which allows you to form custom rules easily by combining various network actions, and specifying the threshold limits and filter criteria as per expected attack patterns in your organization. This enables you to create a highly flexible and powerful rule set that suits your specific organizational environment.
To open the correlation rule builder, click on the Correlation tab of the product. Click on Manage Rules on the top right of the tab and select +Create Correlation Rule on the top right. Creating a custom rule involves:
To know more about what correlation is, how correlation rules are structured, and more, see Understanding correlation.
To create correlation rules, select one or more actions from the following groups:
To build a new rule, follow the below steps:
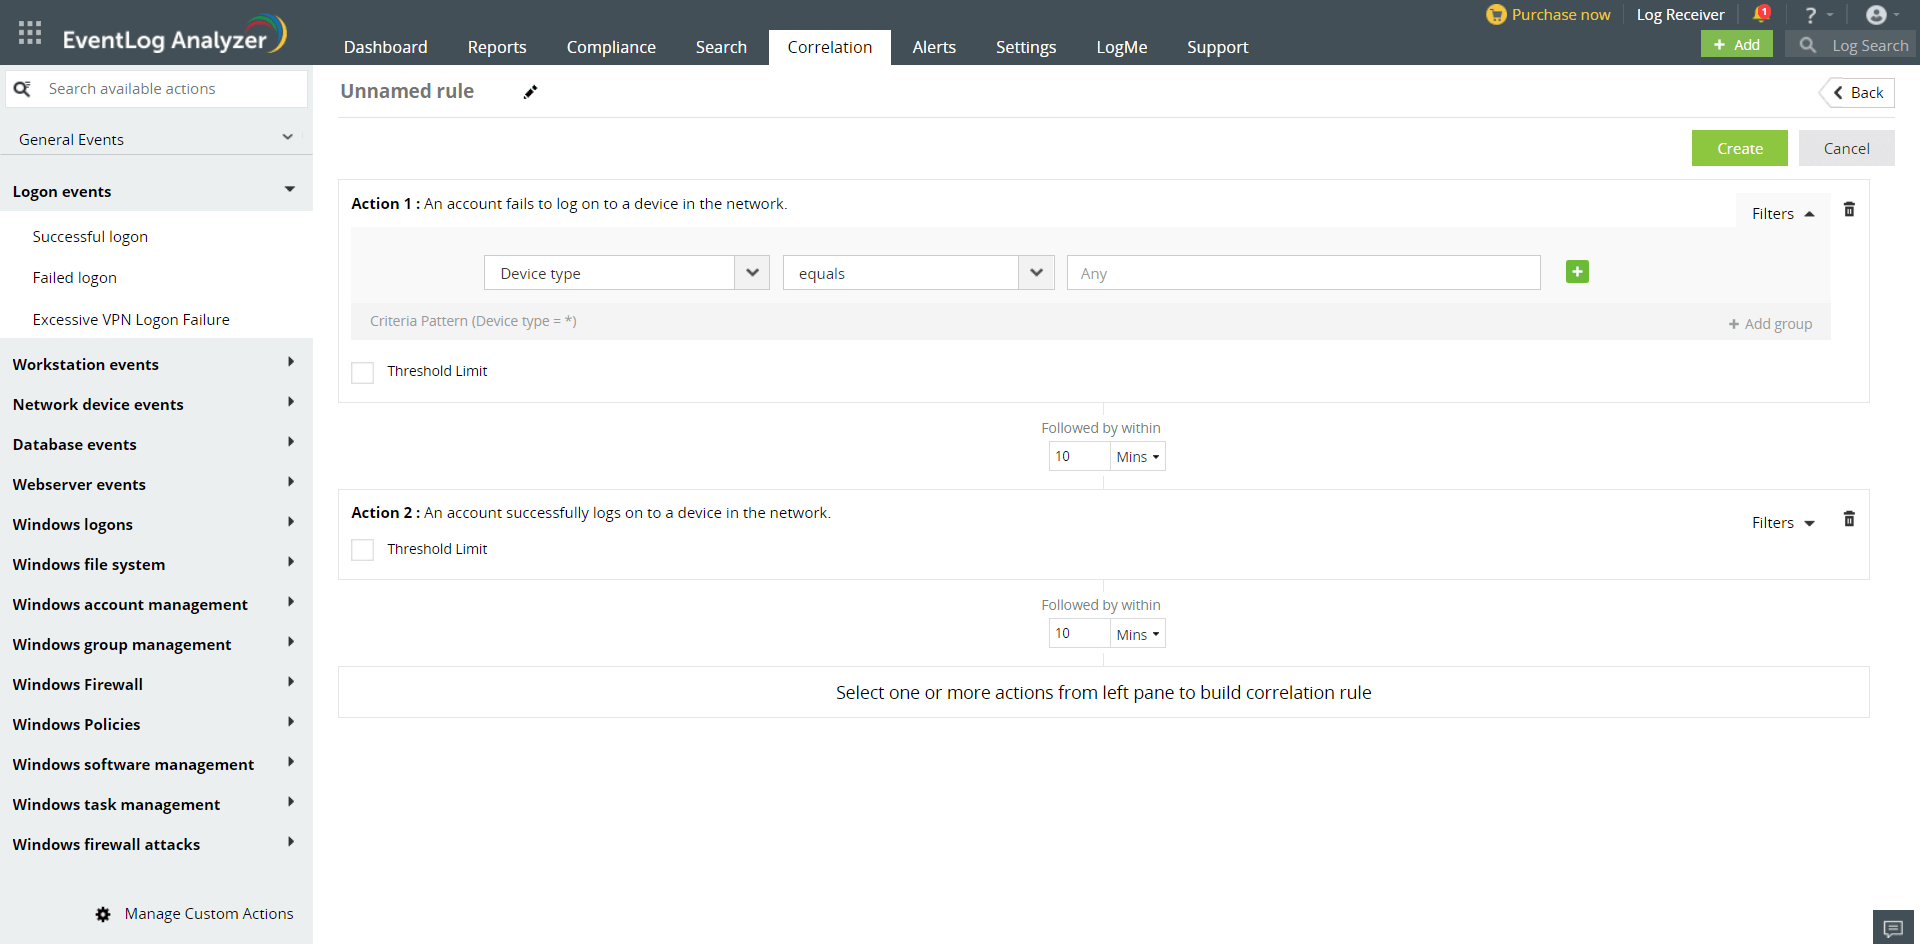
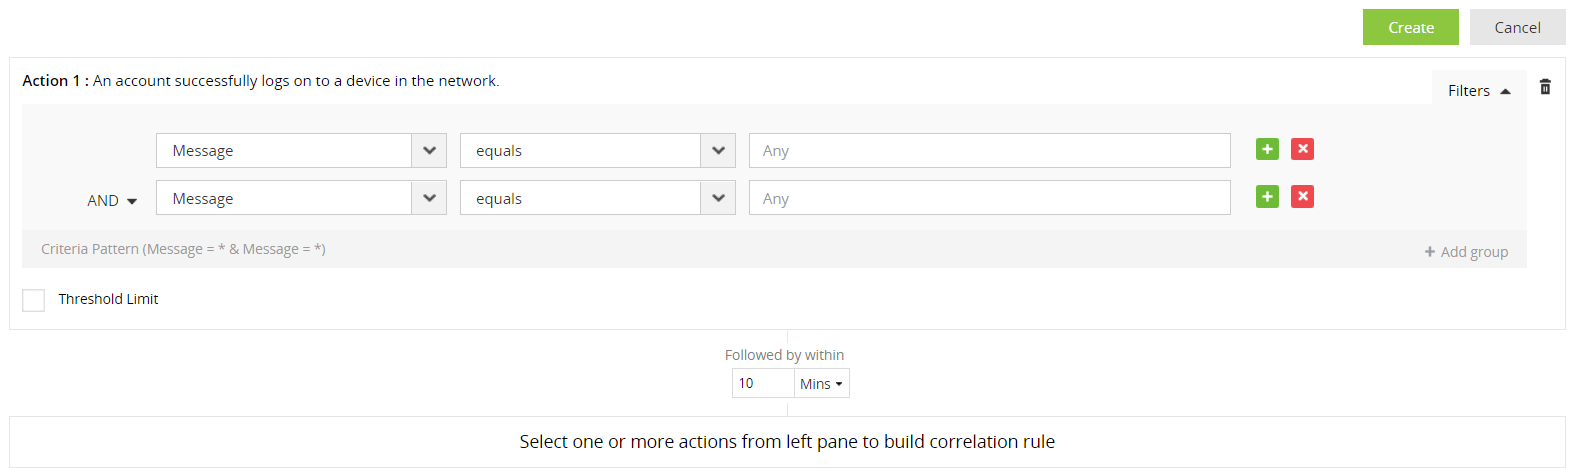
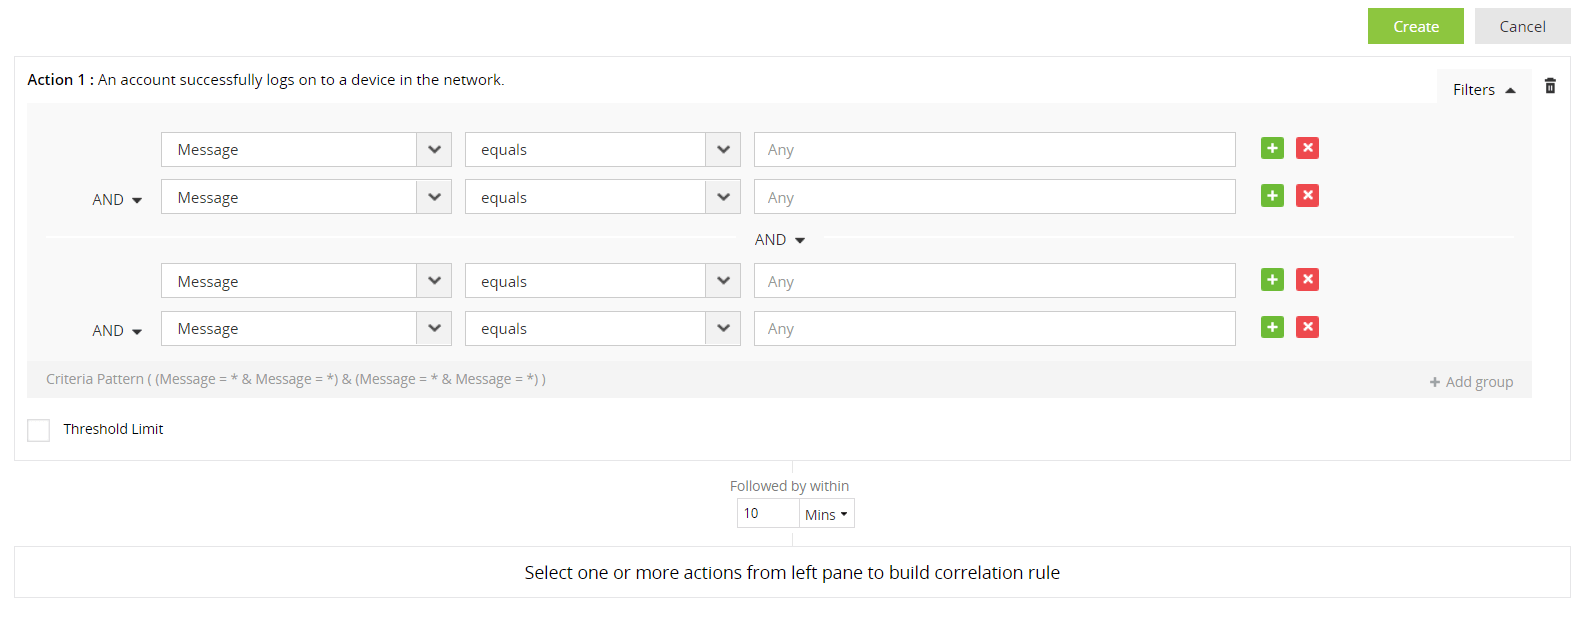
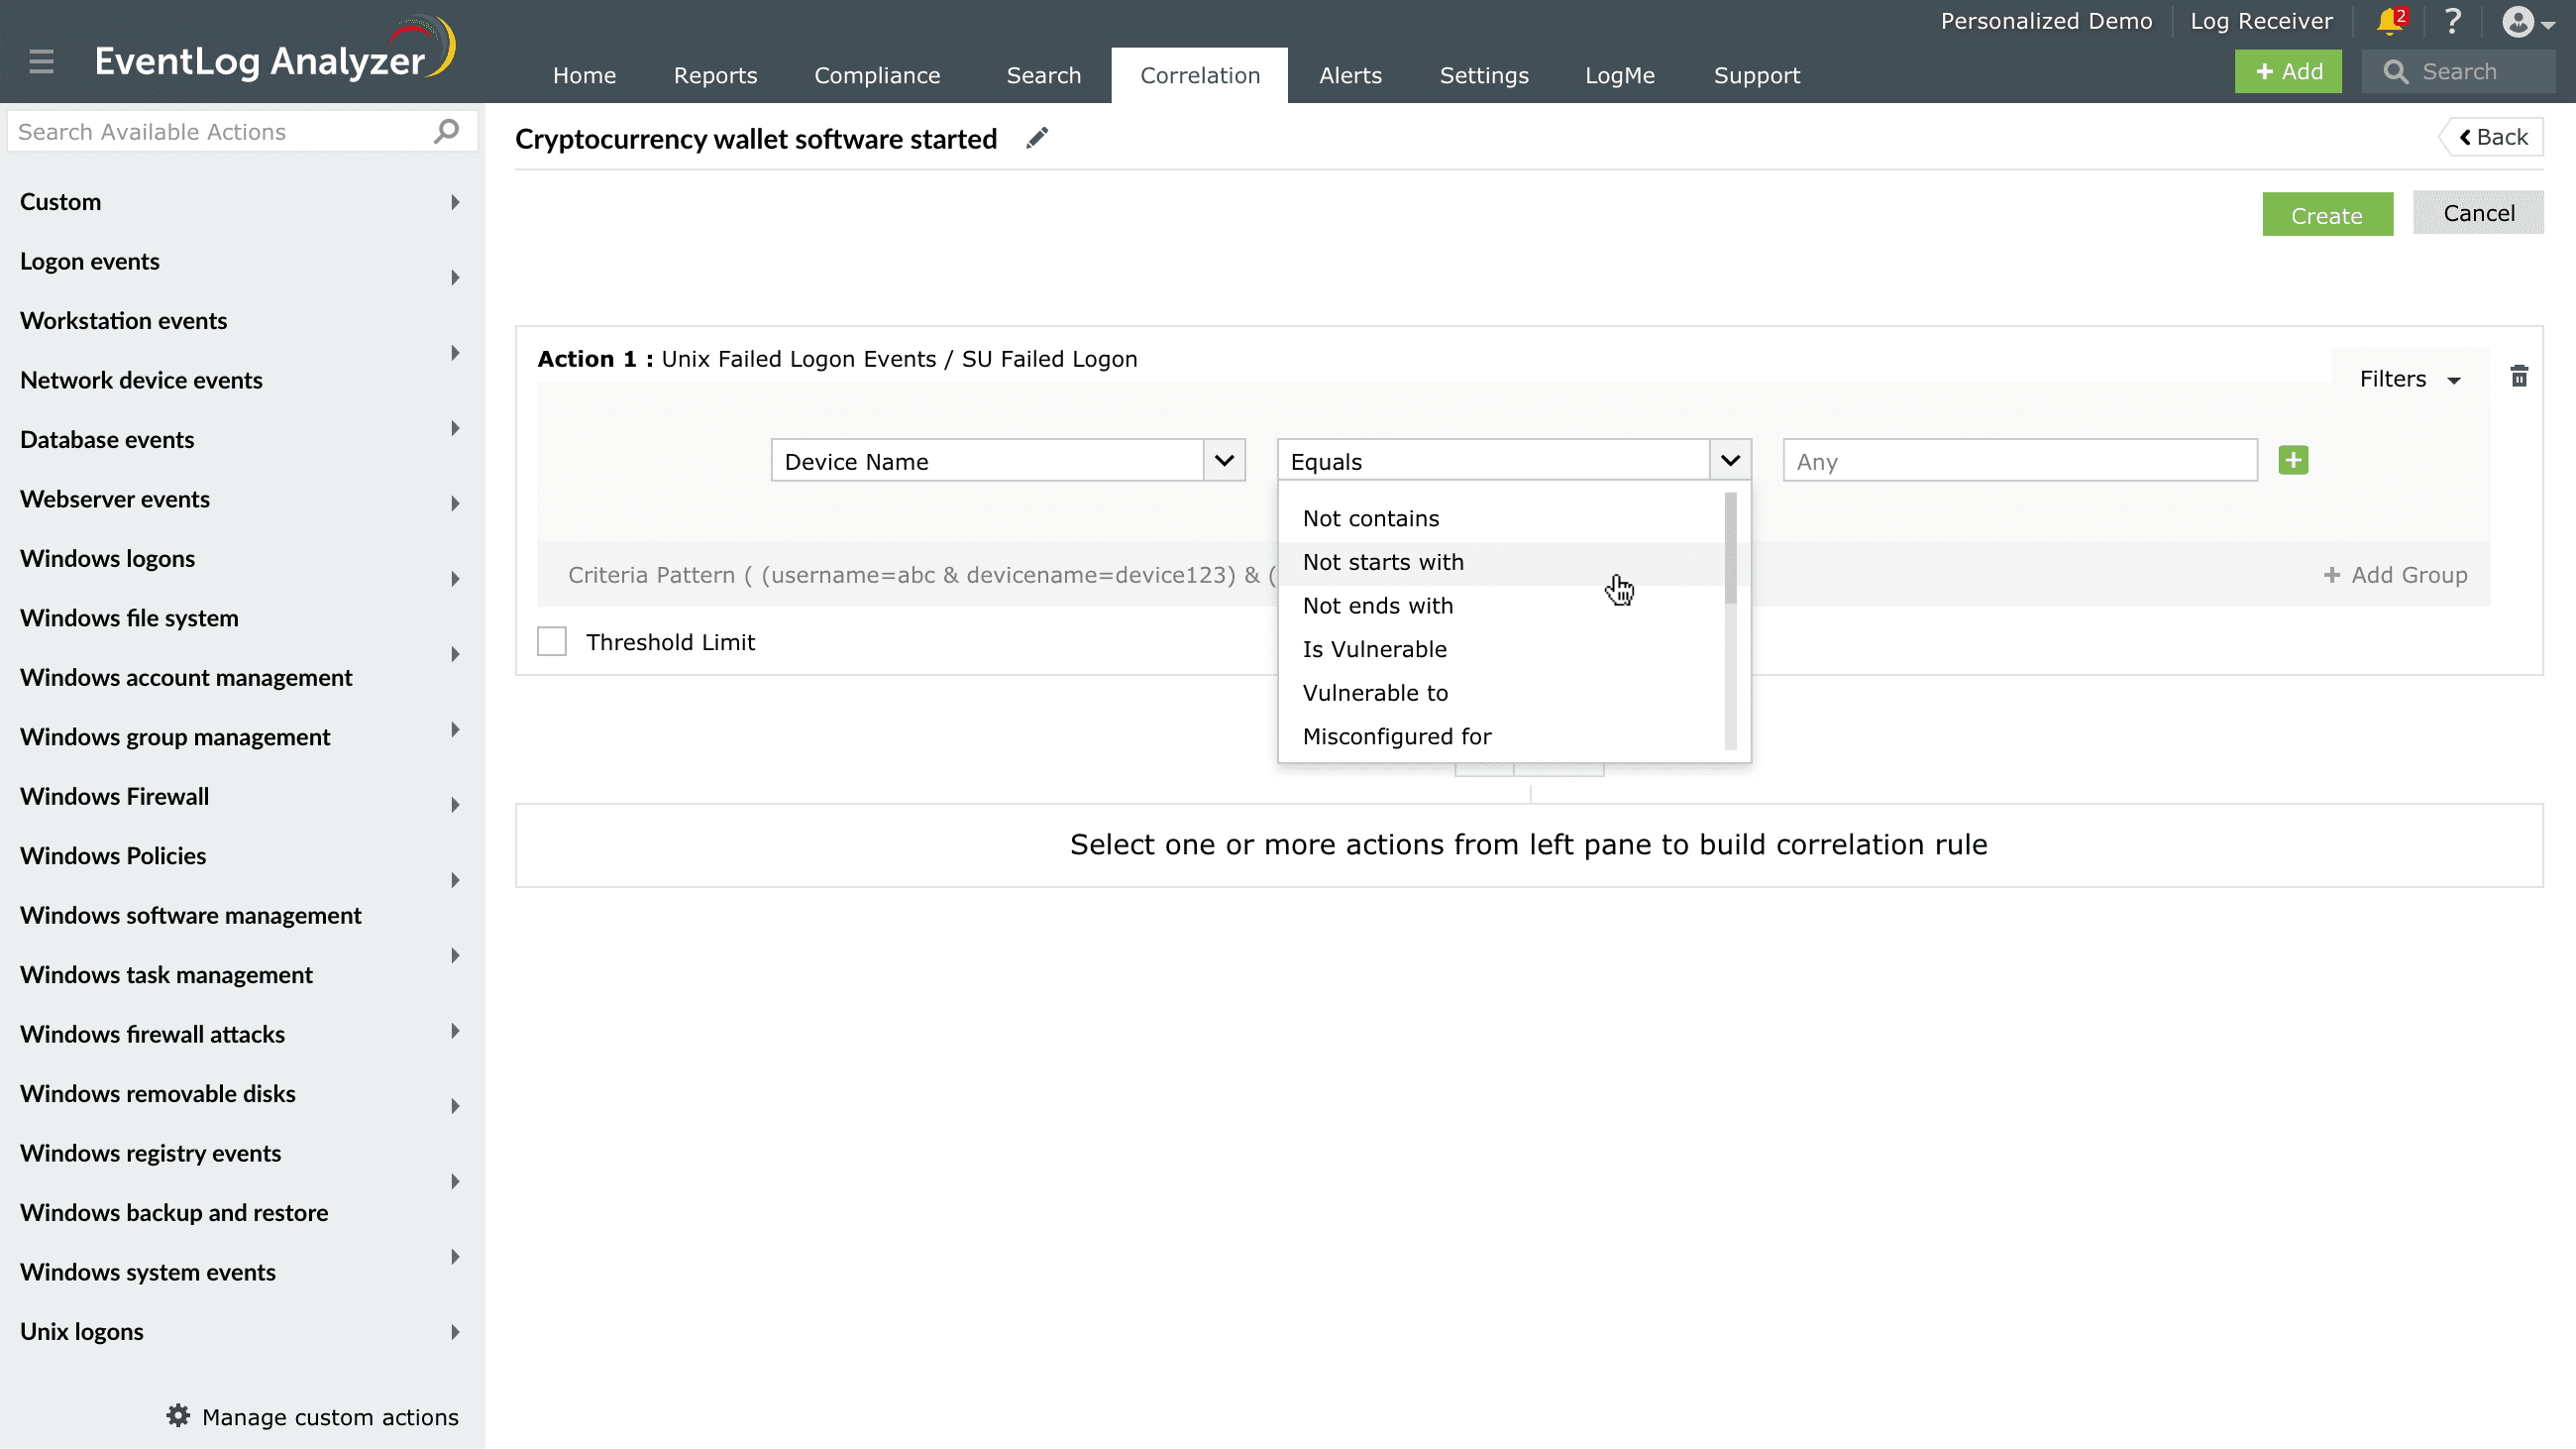
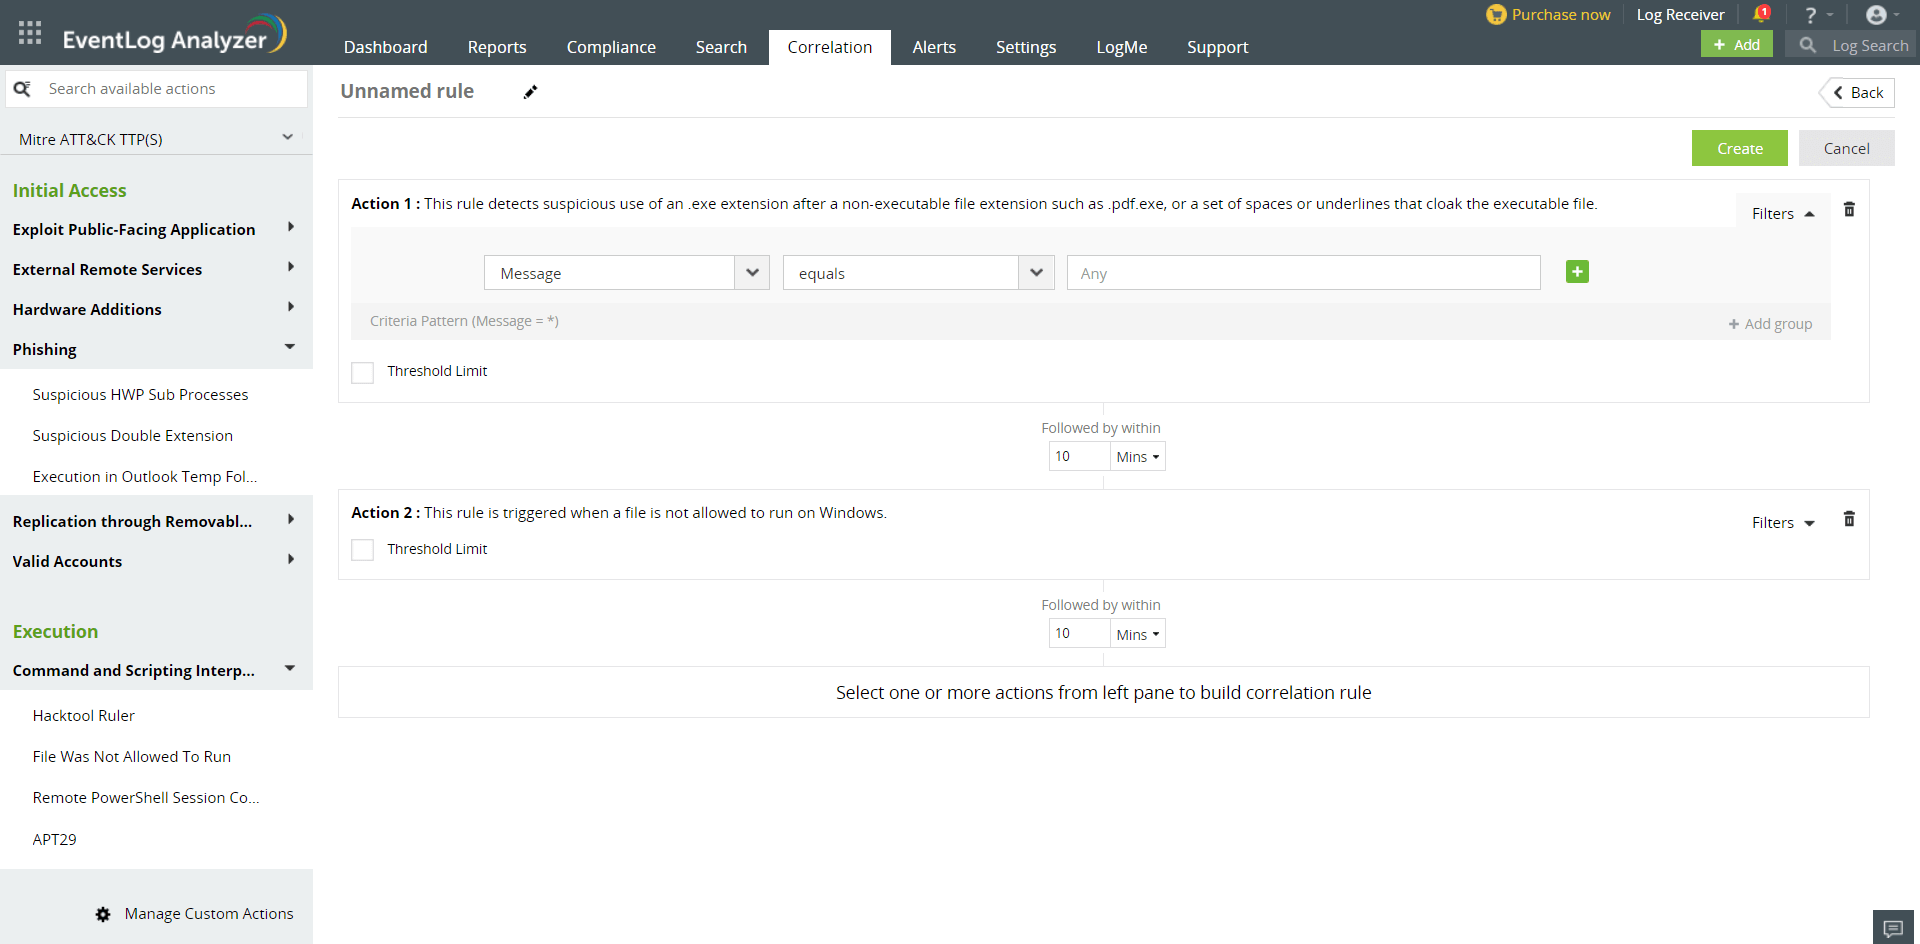
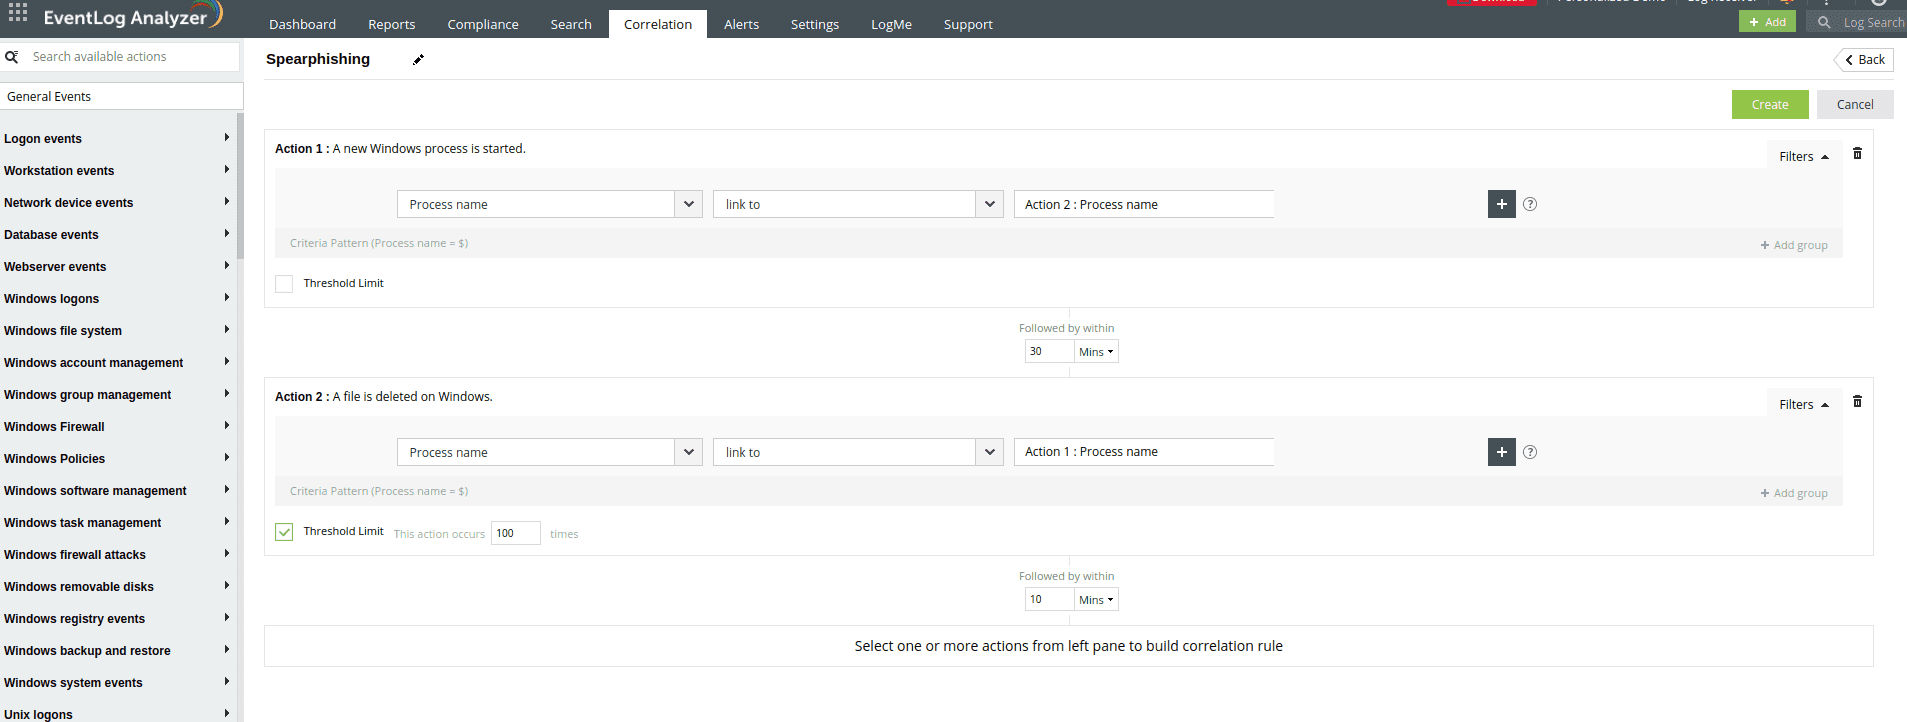
Each action in a correlation rule corresponds to a log. Logs contain various fields, and each field has a specific value. With advanced options (found under Filters on the right of the action), you can provide filter criteria for each field of the log/action, specify a threshold limit on the minimum number of repetitions of the action, and also bunch the filter criteria into groups, which can be used to create rules for complex scenarios.

When you provide more than one not equals comparison, the set of values provided need to hold true for the action to be accepted. The same holds true for the not contains, not starts with, not ends with, and not between comparisons.
Less than, greater than, between, and not between conditions are applicable only for IP, port number, and privilege fields.
Port range is between 0 and 65535.
Privilege range is between 1 and 15.
The link to comparison type is used to check the value of the selected field against the value of a field in another action (belonging to the same rule). For instance, if the field Device type of Action 1 is linked to Action 2's Device type value, then Action 1 would get triggered only if the value of both the linked fields are the same.
When you choose link to, the ![]() icon appears at the end of the filter. Clicking on the icon will present a new tab.
icon appears at the end of the filter. Clicking on the icon will present a new tab.

Click the check box corresponding to the field of the second action against which you want to compare the value of the previous action. Click OK to complete linking the two actions.
Note: Using the link to condition, you cannot link a field to another one having the is variable condition.
The is constant condition is used to treat the specific field as constant. When you select this condition, this action will get triggered when the field's value remains constant in all the iterations. For instance, if the is variable condition is applied for the 'Target User' field in an action, the action would get triggered when the value of this field is the same in all iterations. The action doesn't get triggered if events get generated with different values for that field.
The 'is variable' condition is used to treat a field as a variable. When you select this condition, this action will get triggered when the field's value keeps changing each time it is checked. For instance, if the is variable condition is applied for the 'Target User' field in an action, the action would get triggered when the value of the field is different in each iteration.
Note: A field having the is variable condition cannot be linked to another one using the link to condition.
The 'is malicious' condition is available only for IP address fields. It can be used to check if the detected IP address is present in the predefined list of malicious IP addresses that the product has stored in the internal database.
These comparators are available only after successful integration with Endpoint Central and can be used with device fields.
Note: To utilize the vulnerability and misconfiguration comparators, please configure data enrichment for ManageEngine Endpoint Central. Click here to know how.
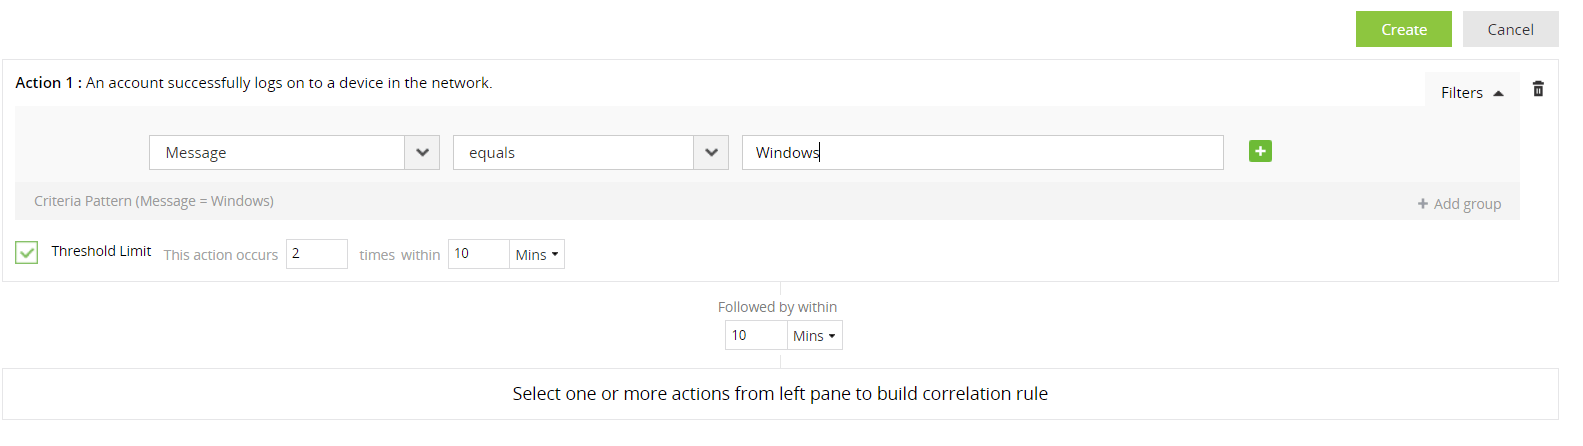
A threshold limit filter for an action allows you to specify the minimum number of times the action has to occur (within the time window specified for the action to follow from the previous action), for the rule to be triggered. To set a threshold limit, click on the Filters link on the right of the action, and select the Threshold Limit checkbox. In the text box provided, specify the minimum number of occurrences.
Note: If the action is the first action in the rule, then you should also provide a time window within which the repetitions have to be observed (as it is the first action and there is no preceding action or time window).
Along with the rule definition, you can also provide some descriptive information to finish configuring the rule:
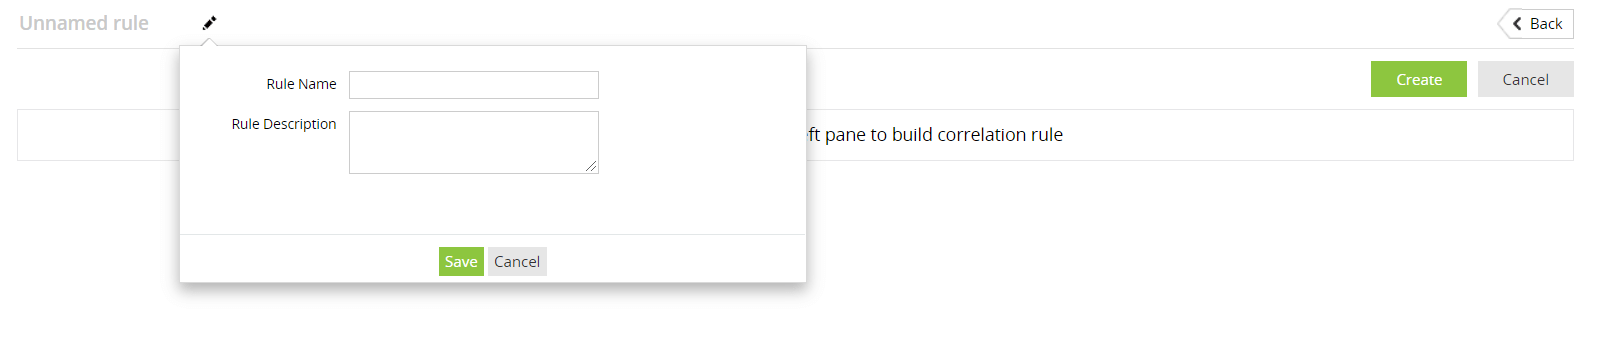
Click Save to save these rule configurations.
Once you have built the rule pattern and specified the configurations, click Create so that the rule gets saved and EventLog Analyzer can start correlating logs to check for this rule pattern.
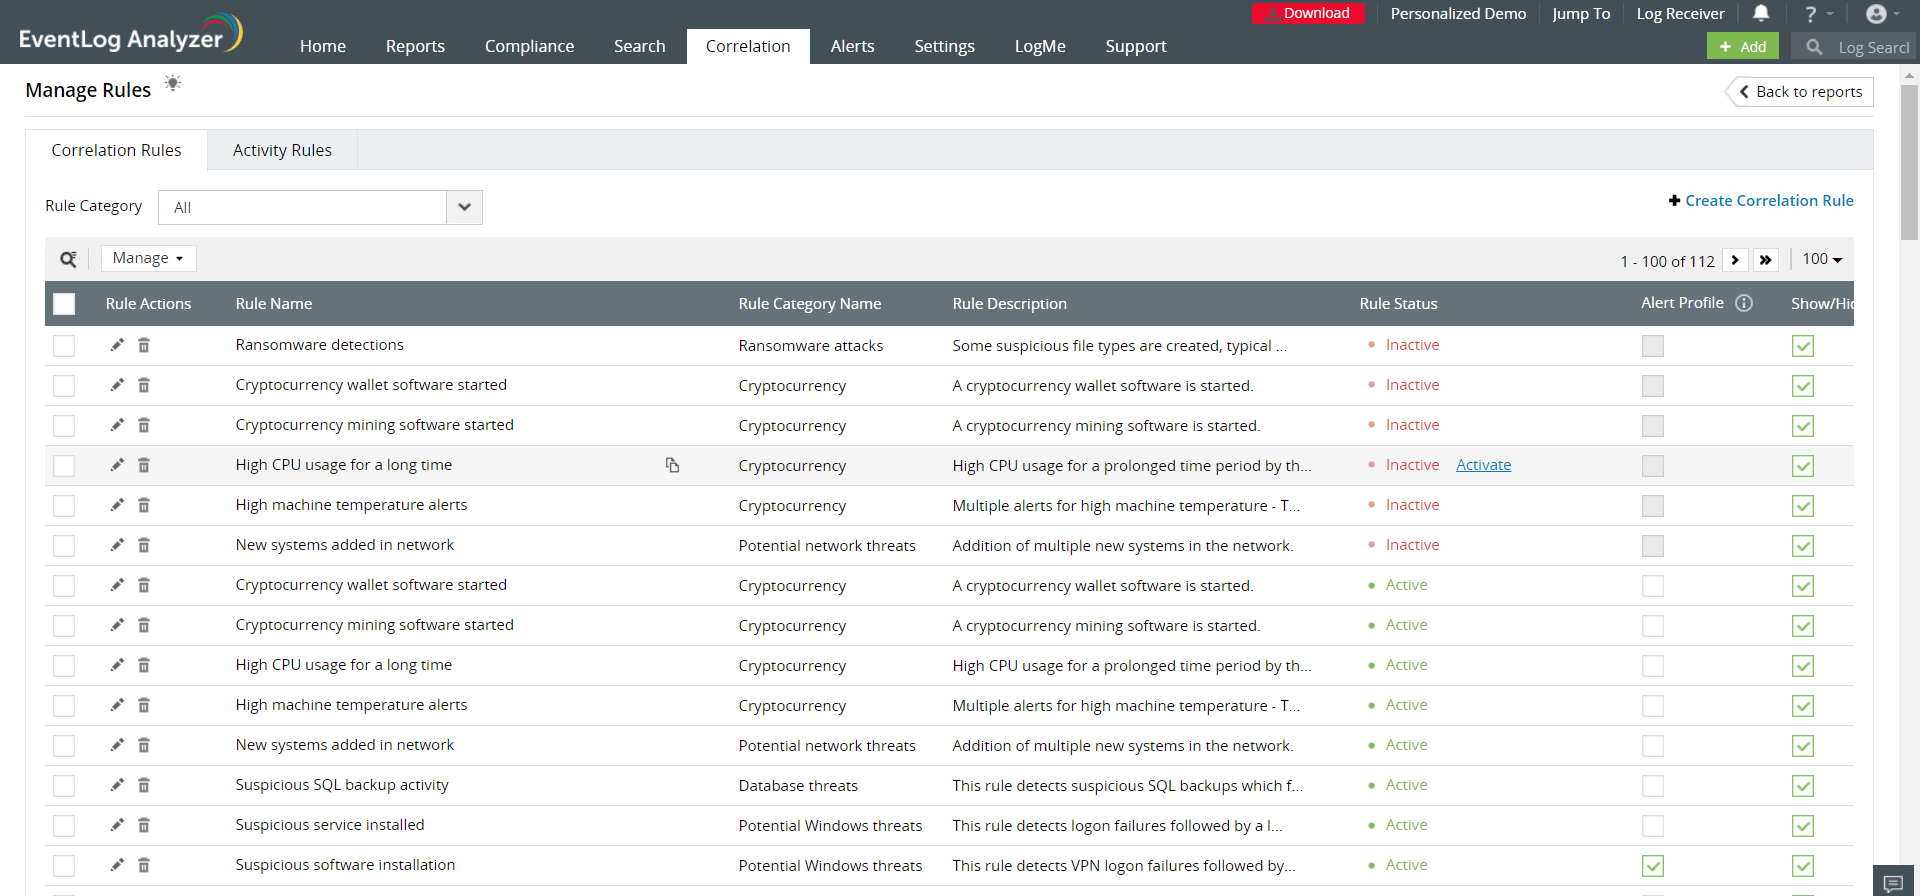
You can now choose what report will be displayed by clicking on the check box. The selected report will be displayed or hidden from the Correlation Custom Rules Screen.
You can now create correlation rules utilizing the available correlation actions for Mitre ATT&CK TTP(s).
Click here to know more about MITRE ATT&CK TTP(s).
Correlation reports are crucial for enhancing an organization's security posture since they provide insight into potential security issues. They also help you identify patterns of malicious activity, and facilitate timely response actions. Here are some best practices for creating correlation rules..
An attacker targets an individual by delivering malicious Excel files pretending to be a legitimate file via email. When the victim opens the file, it will run a macro and launche a malicious process capable of doing destructive activities.
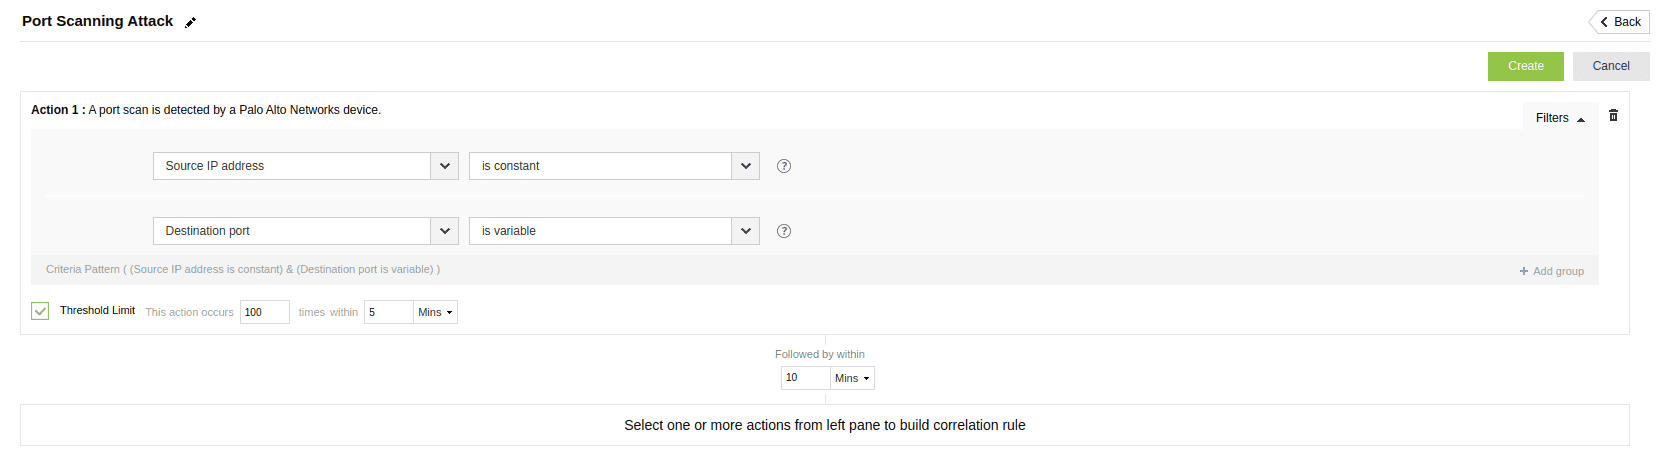
Attackers perform port scanning attacks to identify the weak points in a network.
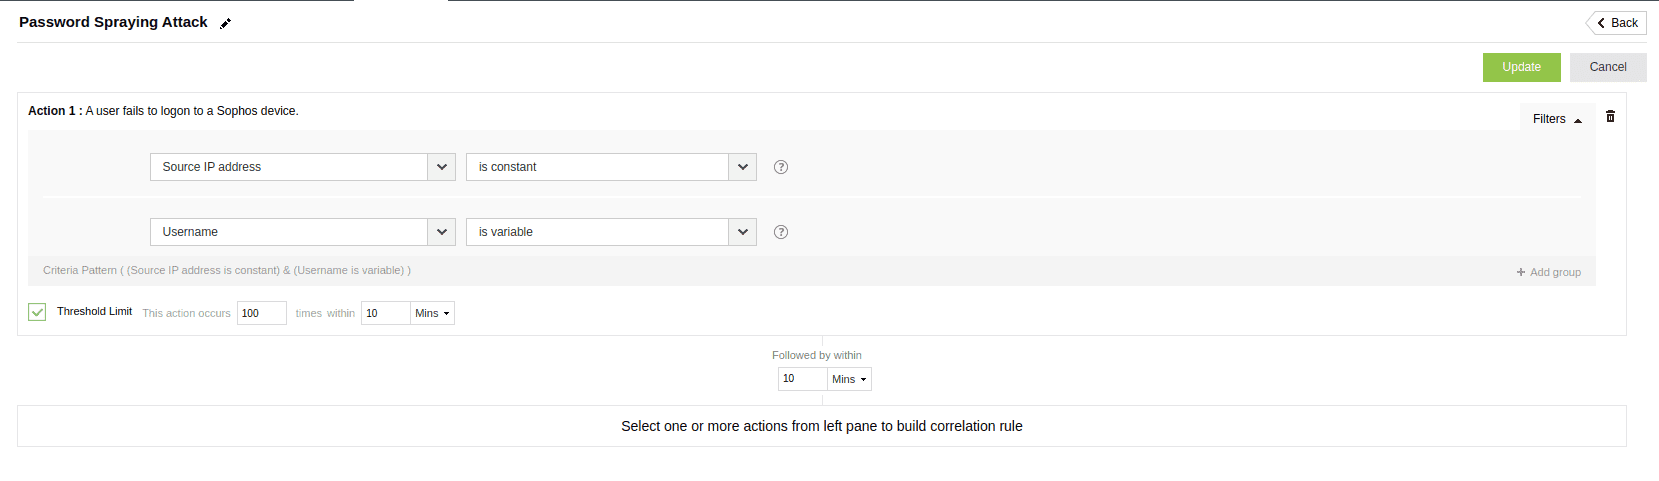
An attacker attempts to access multiple accounts using a few commonly used passwords rather than trying different passwords against a single account.
A security alert is triggered when a user's account is accessed from two geographically distant locations within a timeframe that is shorter than the possible time frame between those locations. This condition implies that it's highly unlikely (or impossible) for the same user to have made both access attempts, indicating a potential security breach or account compromise.

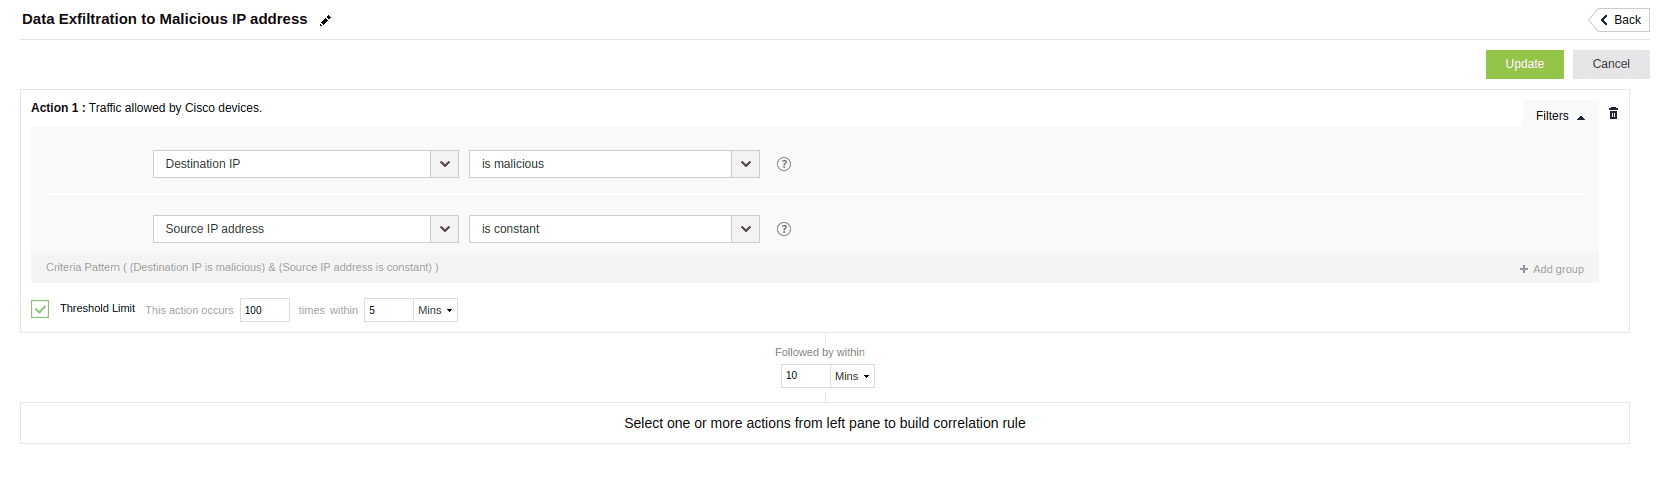
A malicious program exfiltrates data to a malicious IP address which is identifiedby threat analytics.
Copyright © 2020, ZOHO Corp. All Rights Reserved.