WinRM management for DNS and DHCP servers in OpUtils
Windows Remote Management (WinRM) is a Microsoft protocol that enables secure remote communication and management of Windows-based systems. In OpUtils, WinRM is used to establish a secure connection with Microsoft DNS and DHCP servers, allowing administrators to remotely retrieve and manage configuration data, zone or scope details, and IP-related records - all from within the OpUtils console.
By leveraging WinRM, administrators can perform DNS and DHCP monitoring and management tasks without manual server access, ensuring faster operations, improved accuracy, and enhanced security.
Authentication types:
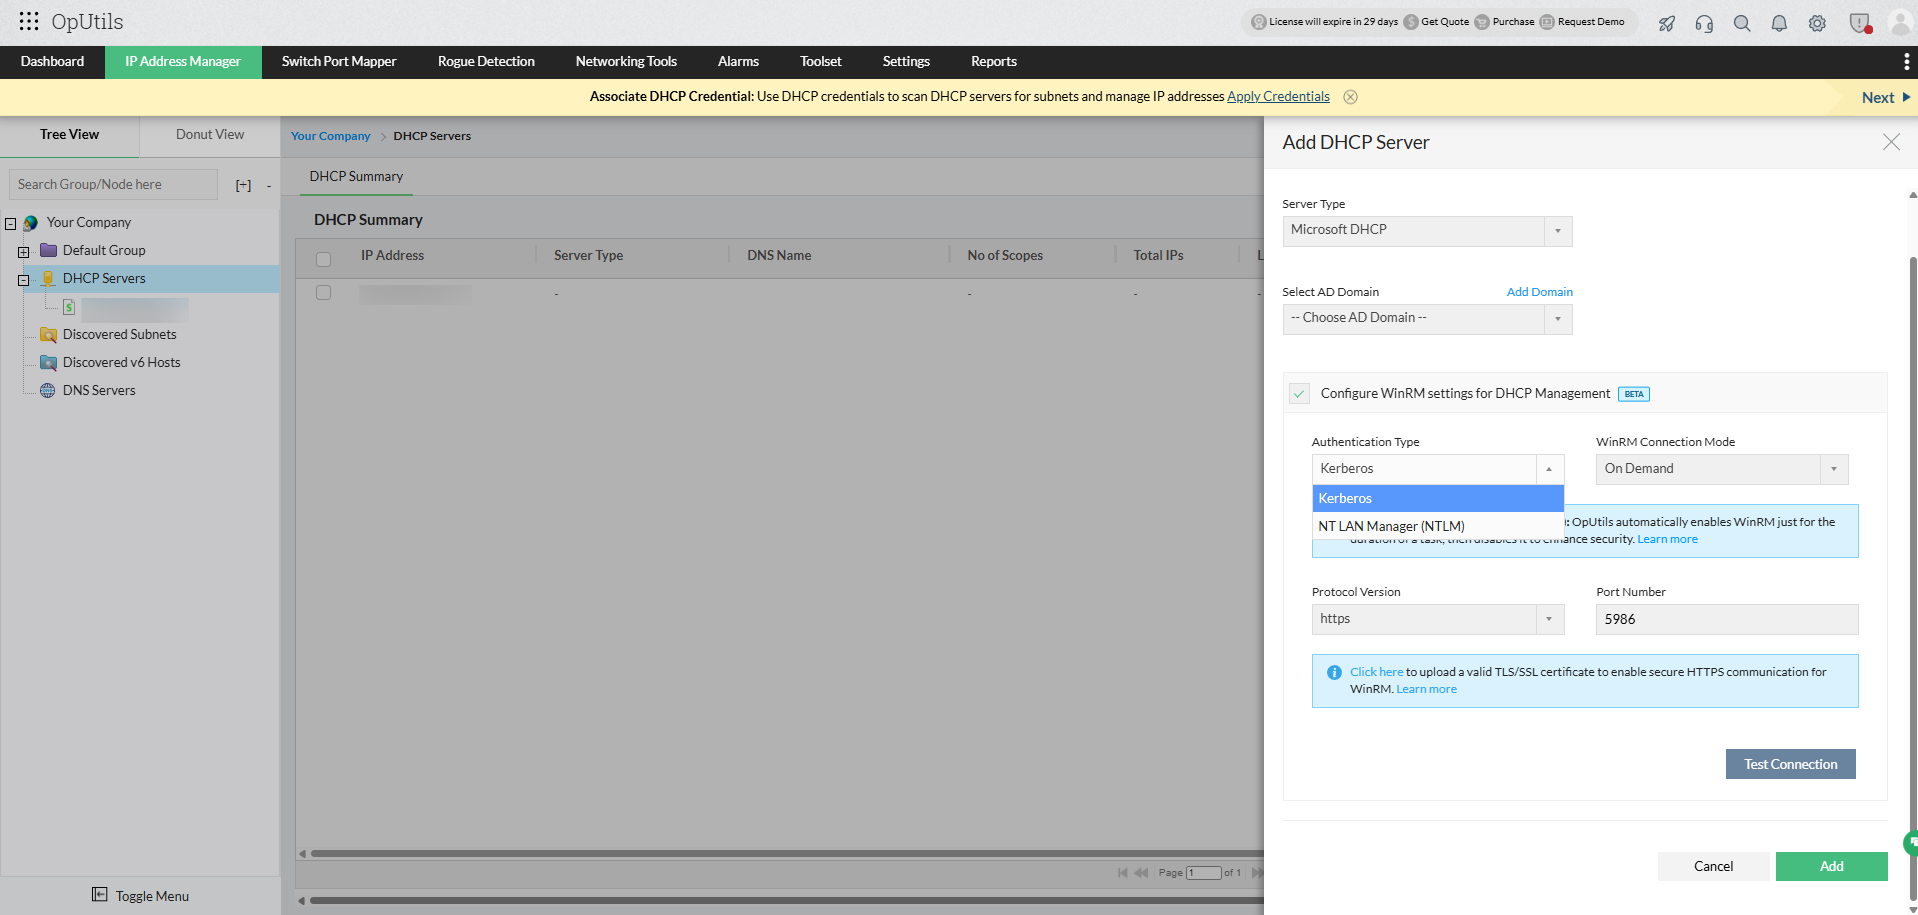
OpUtils supports two authentication mechanisms for establishing WinRM connections with Microsoft DNS and DHCP servers:
1. Kerberos authentication (recommended)
Kerberos is the most secure and preferred method for WinRM communication. It uses a trusted certificate over HTTPS to ensure encrypted data exchange between OpUtils and the Windows server.
Requirements:
- Both the OpUtils server and the target Windows server (DNS or DHCP) must belong to the same or a trusted Active Directory domain.
- A valid TLS/SSL certificate must be uploaded in OpUtils to enable HTTPS communication.
- Port 5986 (customizable) must be open for WinRM over HTTPS.
Note: When using Kerberos, you don’t need to add the target server to the trusted hosts list in OpManager/OpUtils installation server machine, as authentication is securely handled through the domain.
2. NTLM authentication
NTLM is an alternative authentication type used when Kerberos is not used. It’s relatively less secure since it relies on hostname-based authentication rather than certificates.
Requirements:
- The user must manually add the target server’s hostname or IP address to the trusted hosts list on the OpUtils server.
- WinRM should be enabled on both the OpUtils server and the target Windows server.
- Port 5985 (HTTP) (customizable) or 5986 (HTTPS) (customizable) should be open, depending on your configuration.
Note: NTLM is best suited for non-domain or testing environments where Kerberos configuration isn’t feasible.
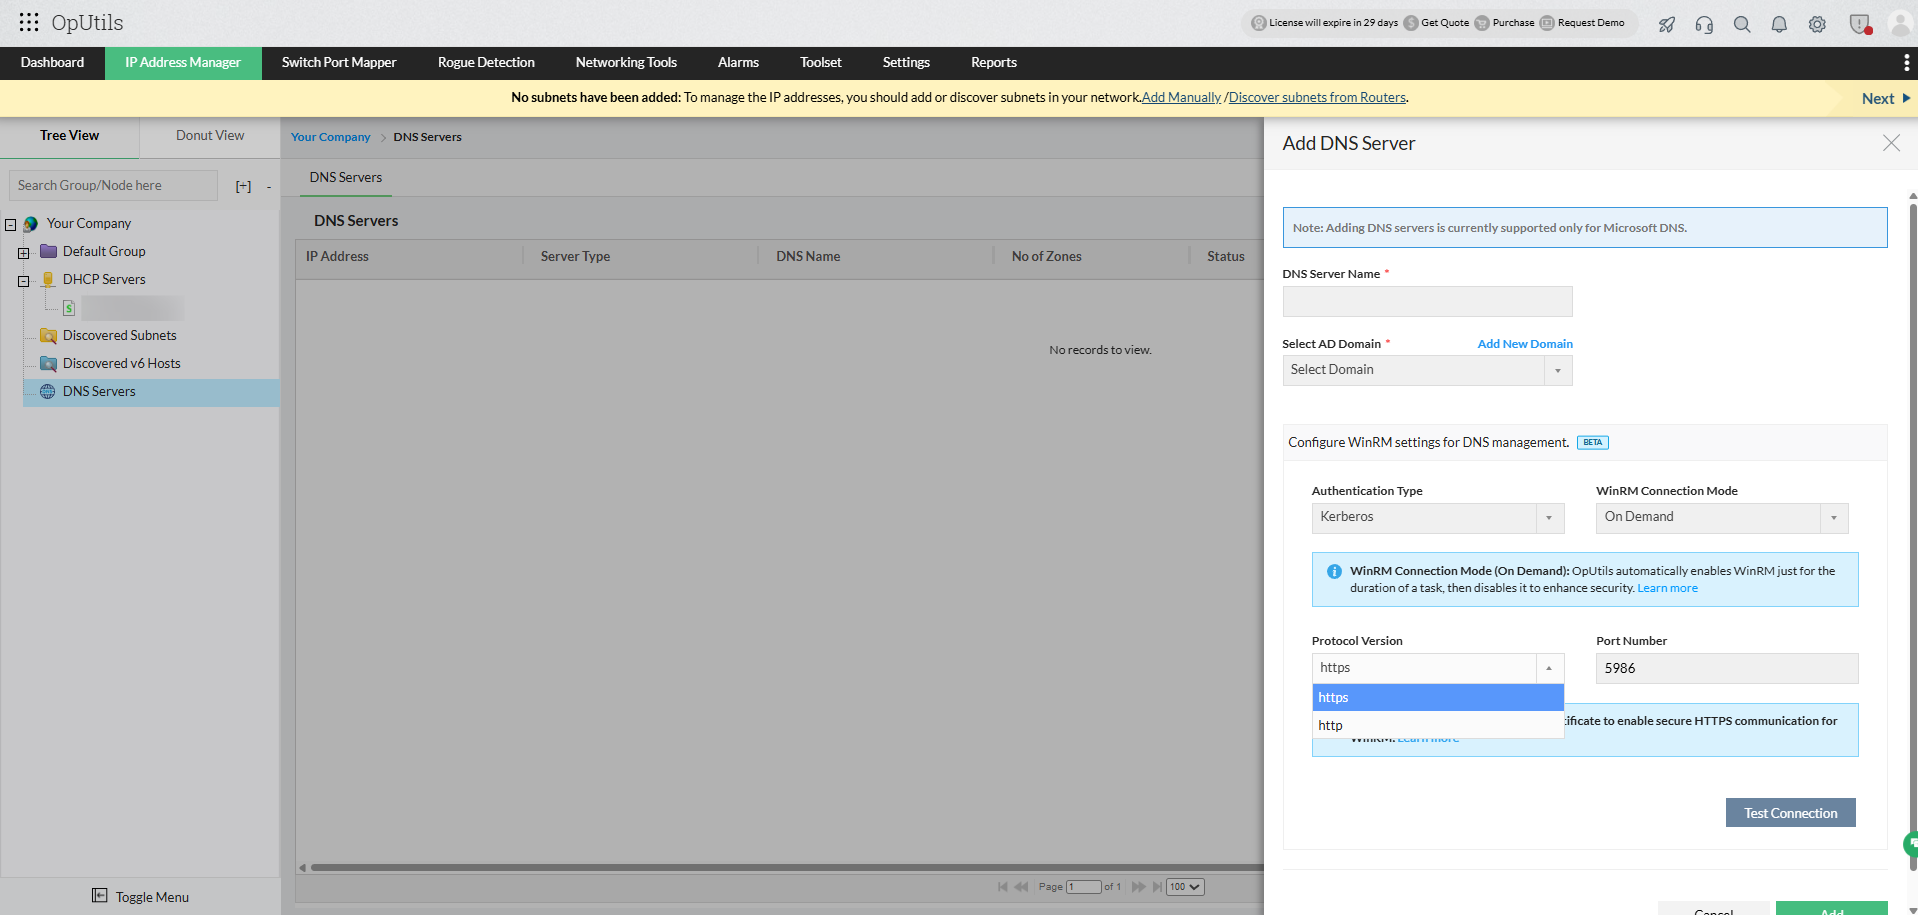
Uploading TLS/SSL certificate in OpUtils
When configuring Kerberos/NTLM authentication for WinRM, a valid TLS/SSL certificate must be associated with the Windows server to enable secure HTTPS communication.
If you already have a valid certificate:
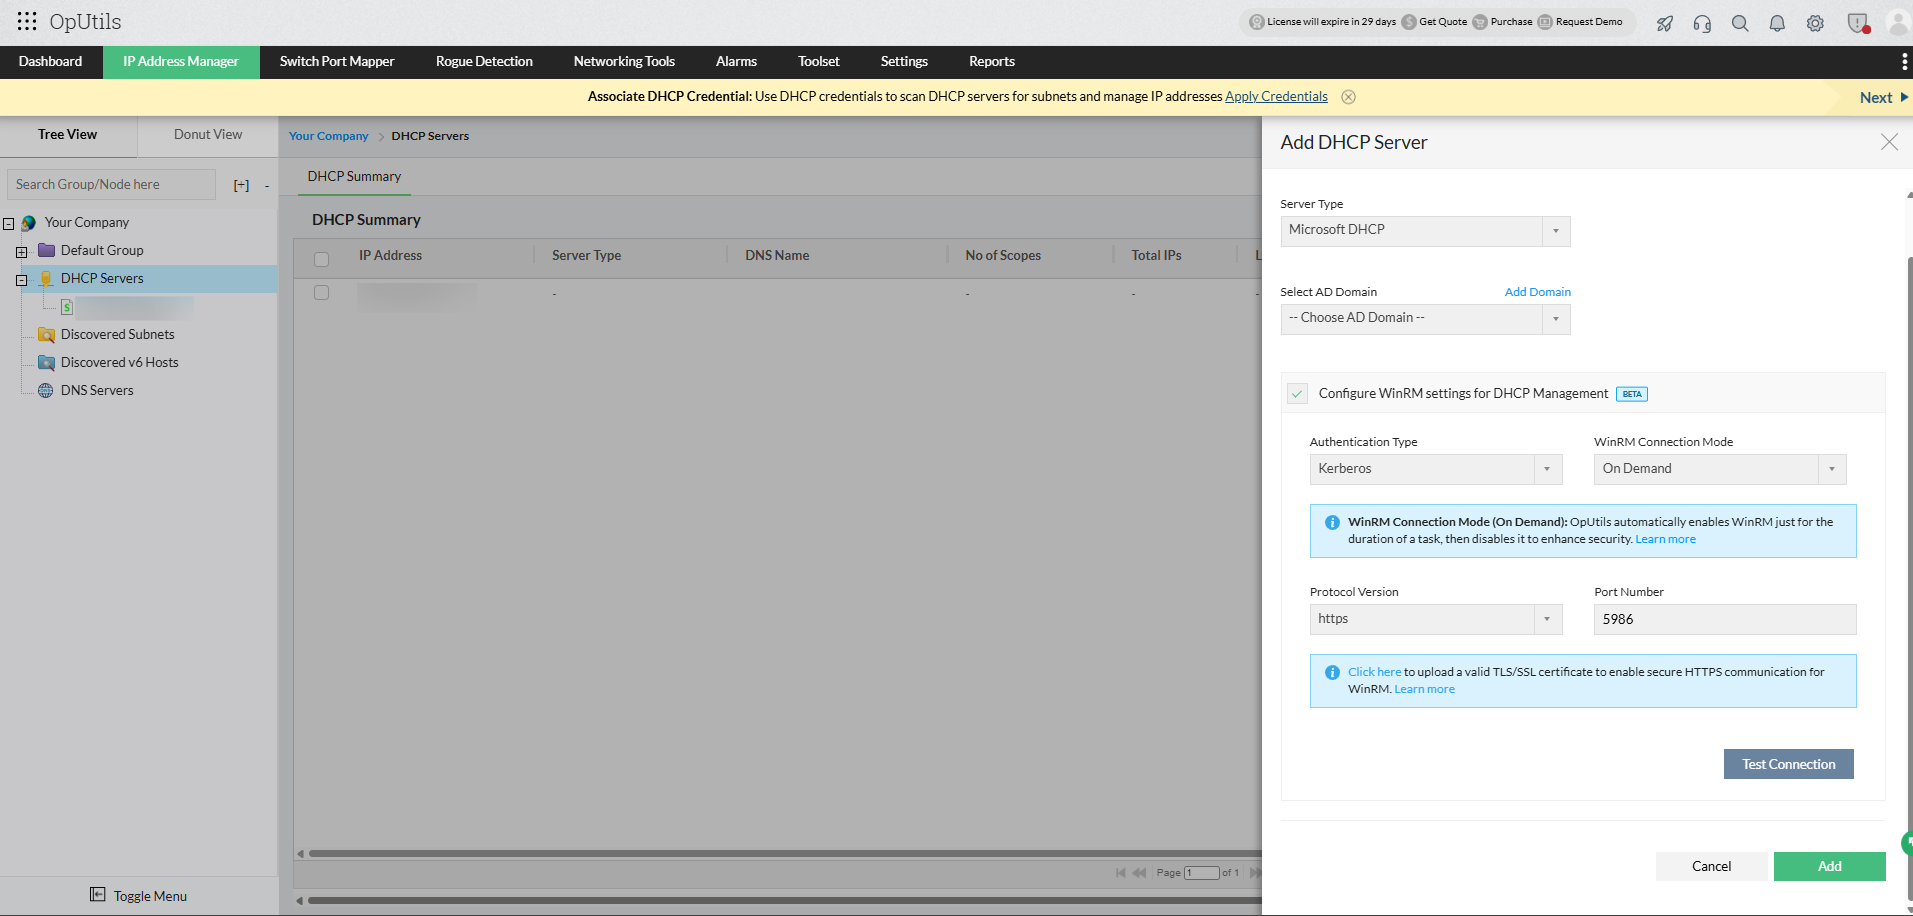
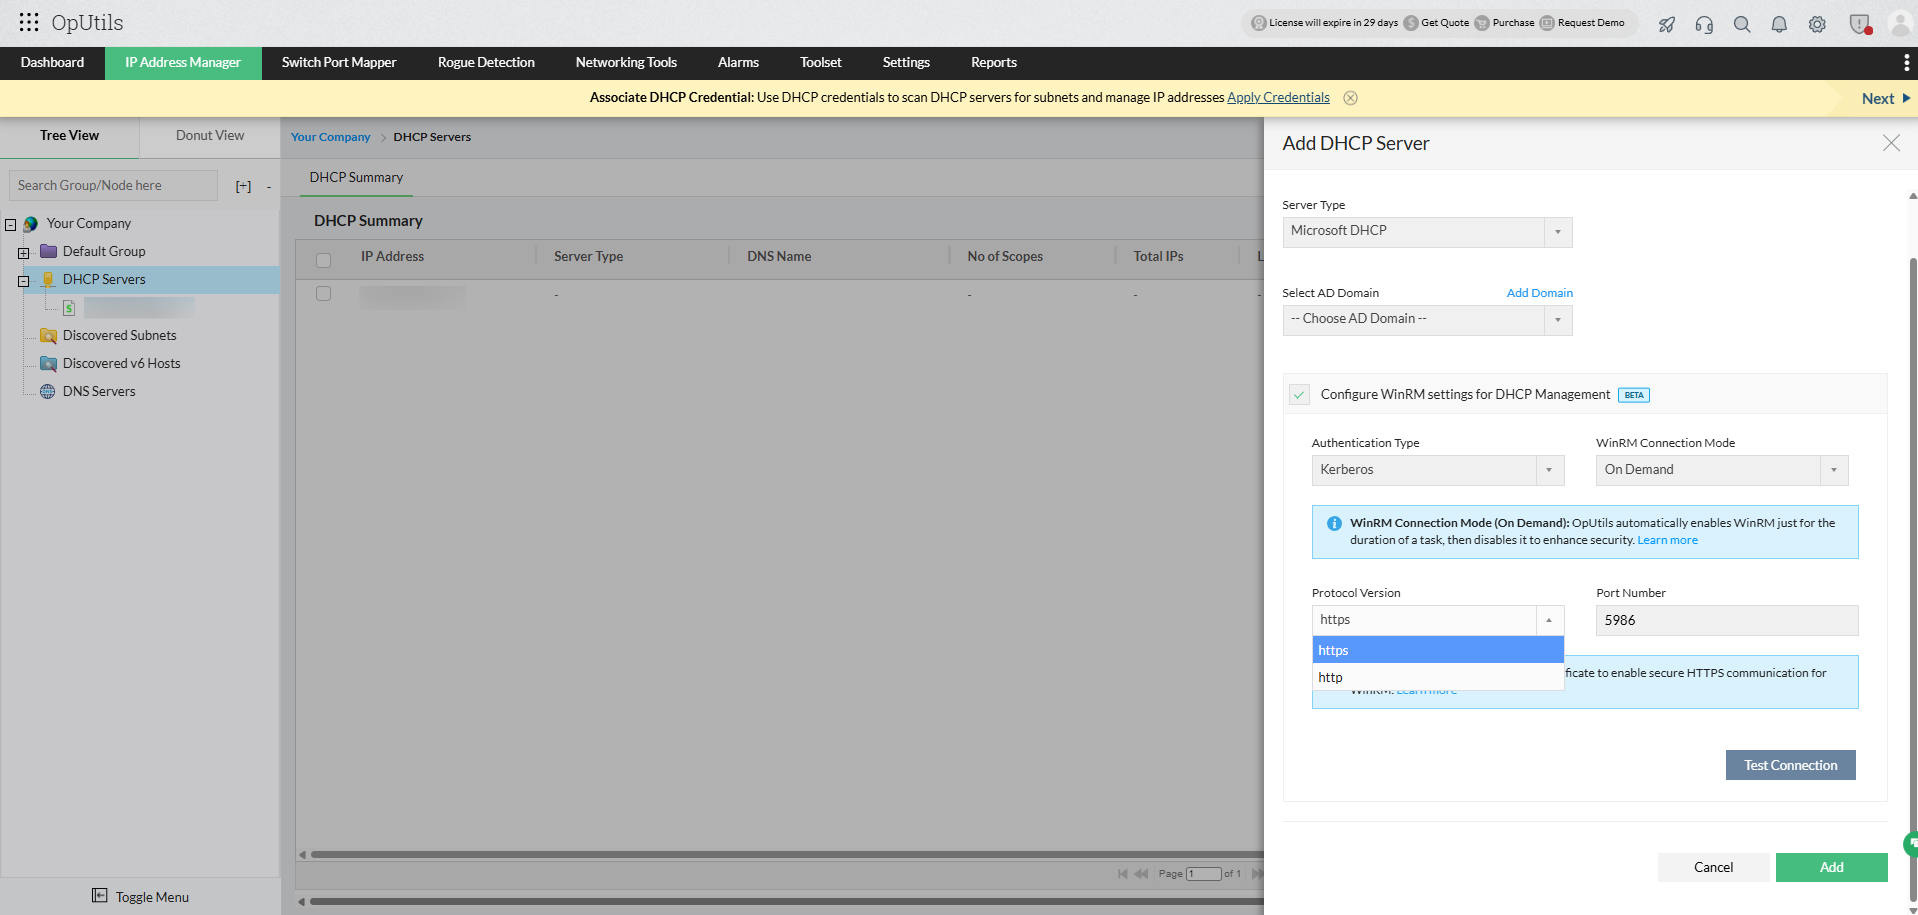
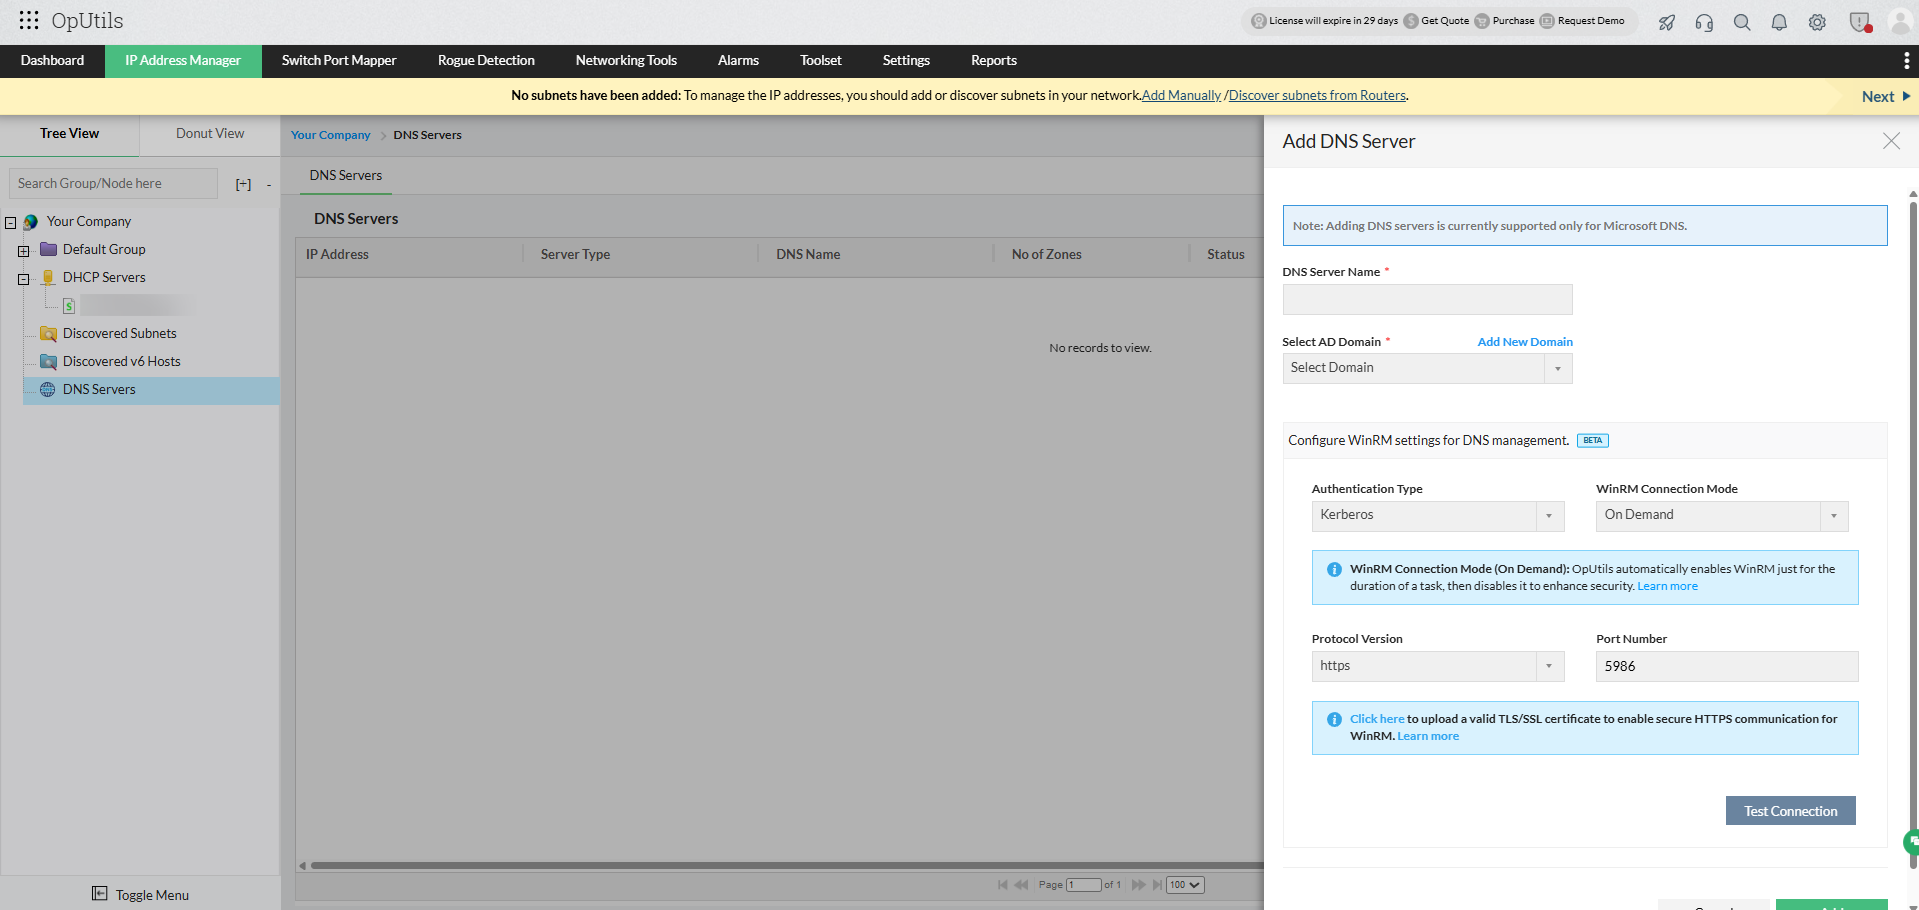
- Navigate to Add DNS/DHCP Server → Configure WinRM settings for DNS/DHCP Management (Beta) in OpUtils.
- Under Protocol Version, select HTTPS (recommended).
- Click Upload TLS/SSL certificate to add the certificate directly within OpUtils.
Tip: You can access this option from the Add DHCP Server or Add DNS Server form under WinRM settings.
If no certificate is available, you can manually configure one using PowerShell on the target Windows server:
winrm create winrm/config/Listener?Address=*+Transport=HTTPS @{Hostname="<hostname>"; CertificateThumbprint="<certificate_thumbprint>"}
This creates a secure WinRM listener over HTTPS, enabling encrypted communication between the OpUtils server and the target Microsoft DNS or DHCP server.
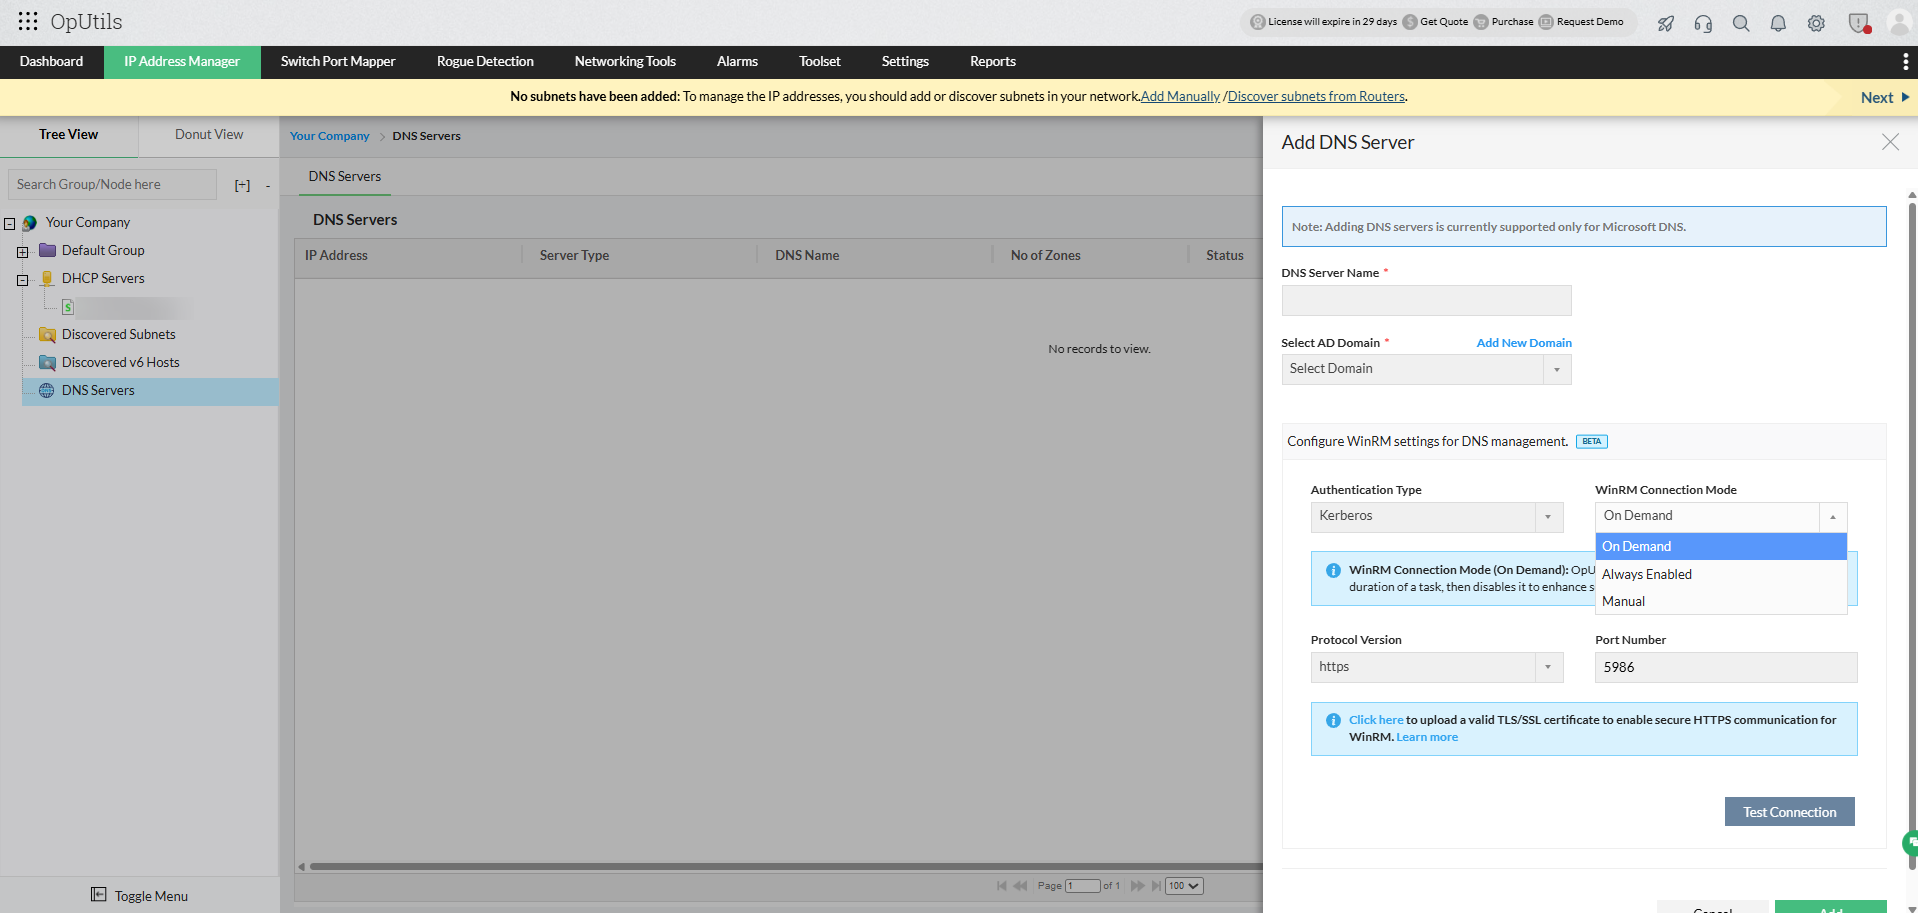
WinRM connection modes:
OpUtils offers flexible connection modes that help administrators balance performance, security, and resource utilization when managing Microsoft DNS and DHCP servers.
1. On demand (recommended):
In this mode, WinRM connections are initiated only when a DNS or DHCP related task such as data retrieval, zone or scope refresh, or configuration update is performed. Once the operation is complete, OpUtils automatically terminates the connection to minimize the attack surface and enhance security.
Ideal for: Environments that prioritize strong security controls and optimized resource usage.
2. Always enabled:
In this mode, the WinRM connection between OpUtils and the target Windows server (DNS or DHCP) remains continuously active. This ensures faster access to DNS and DHCP data and reduces response time, as no reconnection is required for each operation.
Ideal for: High-frequency monitoring or real-time DNS and DHCP management environments.
3. Manual:
In this mode, OpUtils does not automatically enable or manage the WinRM connection. Administrators must manually configure WinRM settings on both the OpUtils server and the target Windows server before establishing communication.
Ideal for: Environments with strict network policies or customized security configurations.


How to manually enable WinRM on both systems
To establish a WinRM connection between OpUtils and Microsoft DNS or DHCP servers, you must enable and configure WinRM on both the OpUtils server and the target Windows server.
On the OpUtils server:
- Open PowerShell as an Administrator.
- Run the following commands to enable and configure WinRM:
winrm quickconfig - Add the target server (DNS or DHCP) as a trusted host (applicable when NTLM is used):
Set-Item WSMan:\localhost\Client\TrustedHosts -Value "<Server_IP_or_Hostname>" - Verify that the WinRM listener is configured correctly:
winrm enumerate winrm/config/listener
On the target Windows server (DNS or DHCP):
- Open PowerShell as an Administrator.
- Run the following command to enable WinRM:
winrm quickconfig - When prompted, confirm the creation of a WinRM listener.
- Ensure the firewall allows WinRM traffic:
netsh advfirewall firewall add rule name="WinRM" dir=in action=allow protocol=TCP localport=<port_number> - Test the connection from the OpUtils server:
Test-WSMan <Server_IP_or_Hostname>