Custom Modules: Web Tabs
SDAdmins can create and design modules from scratch to meet the unique needs of their organization using Custom Modules.
Web tabs are one of the two types of custom modules and they function like any other module, where you can collect, store, view, edit or delete data. You can access web tabs from the navigation bar.
Requesters and technicians can access web tabs only if they have permission.
Add Web Tab Record
To add a new record to a web tab type custom module, click the name (Display Plural Name) of the module on the navigation bar, and do the following:
-
Click New.
-
Provide the necessary details and add attachments as applicable.
-
Finally, click Save.
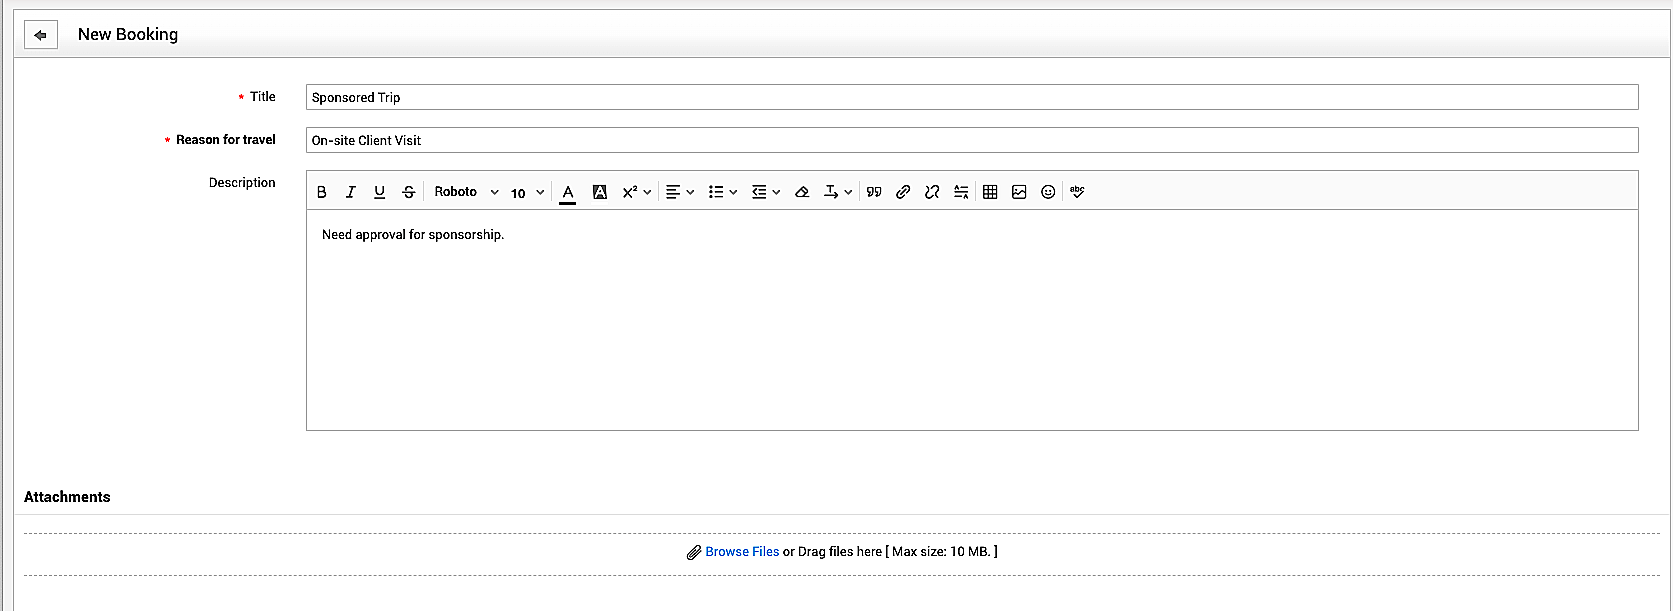
Access Record Details
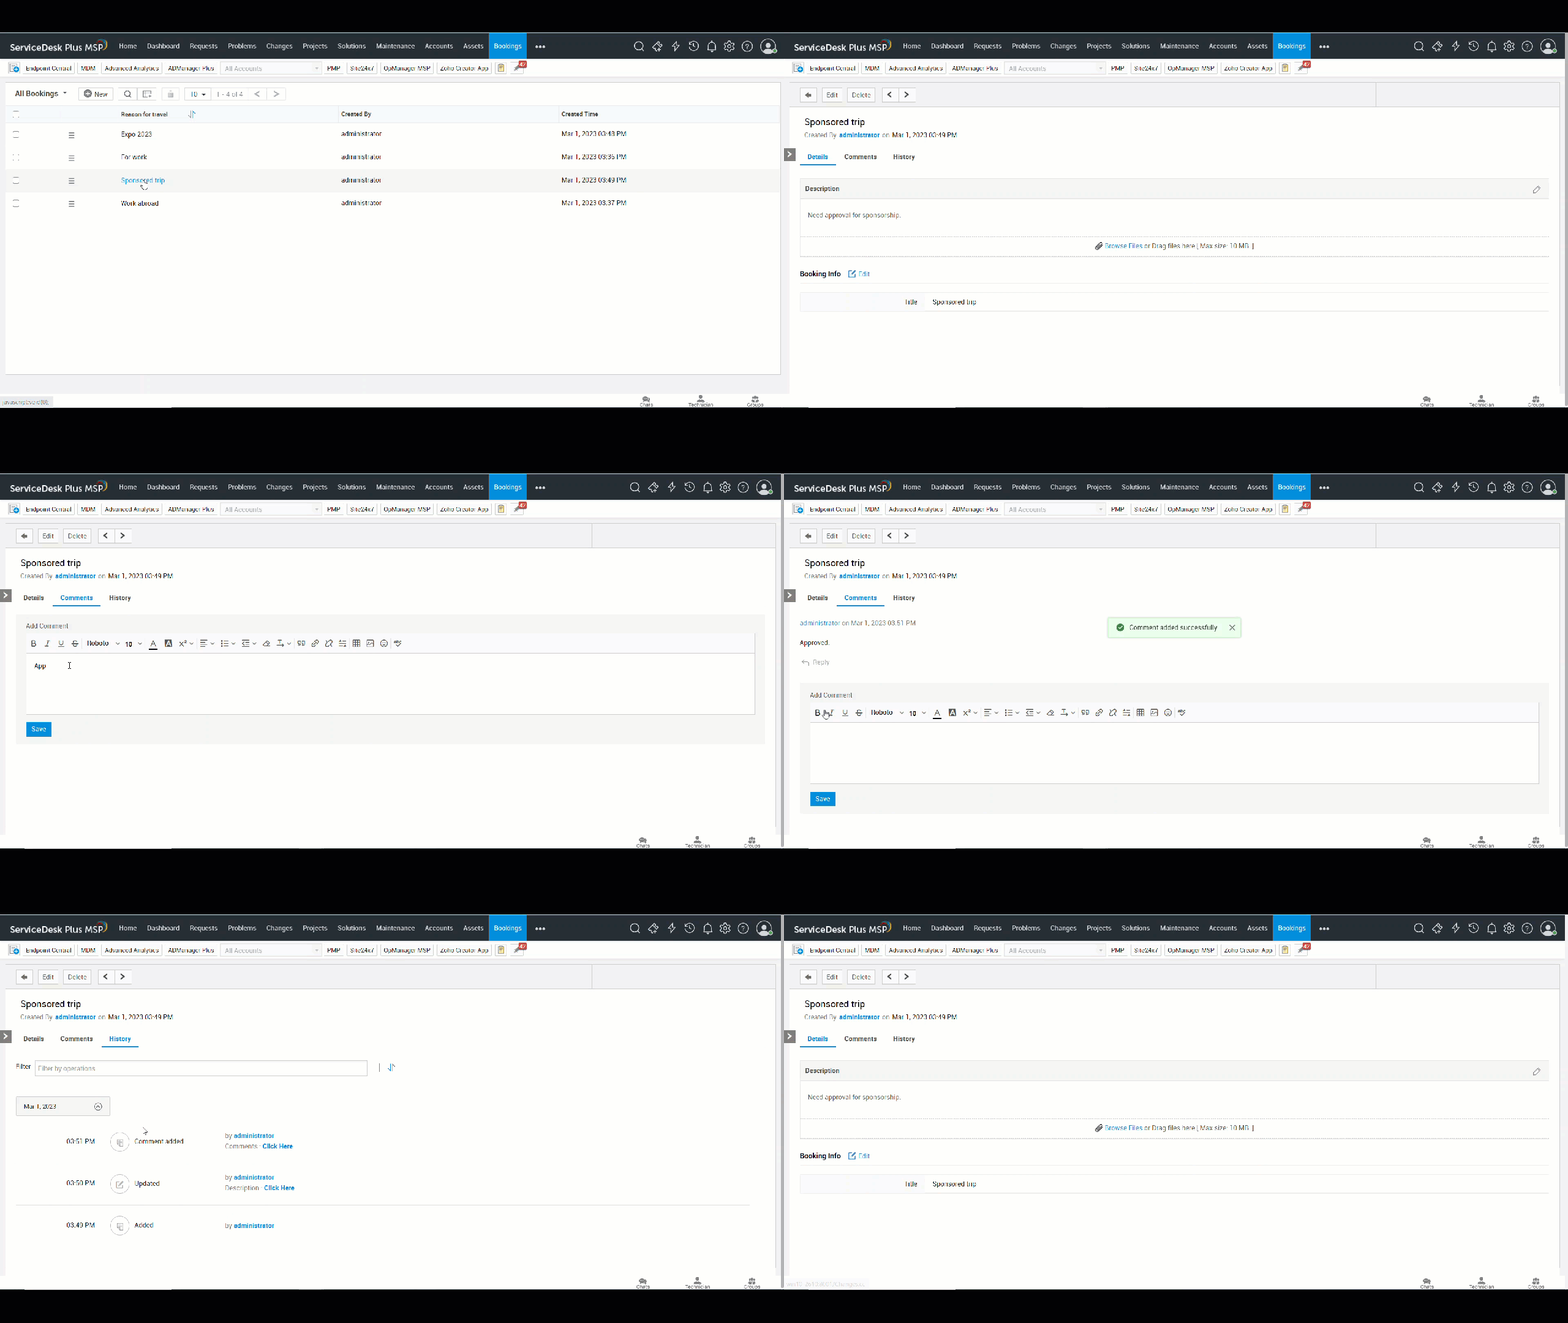
You can view record details from the details page. To access the record details page, go to the custom module by clicking its name on the navigation bar, and click the record title. On the details page, you can add comments if it is enabled for the module. You can also access the history page for the record.
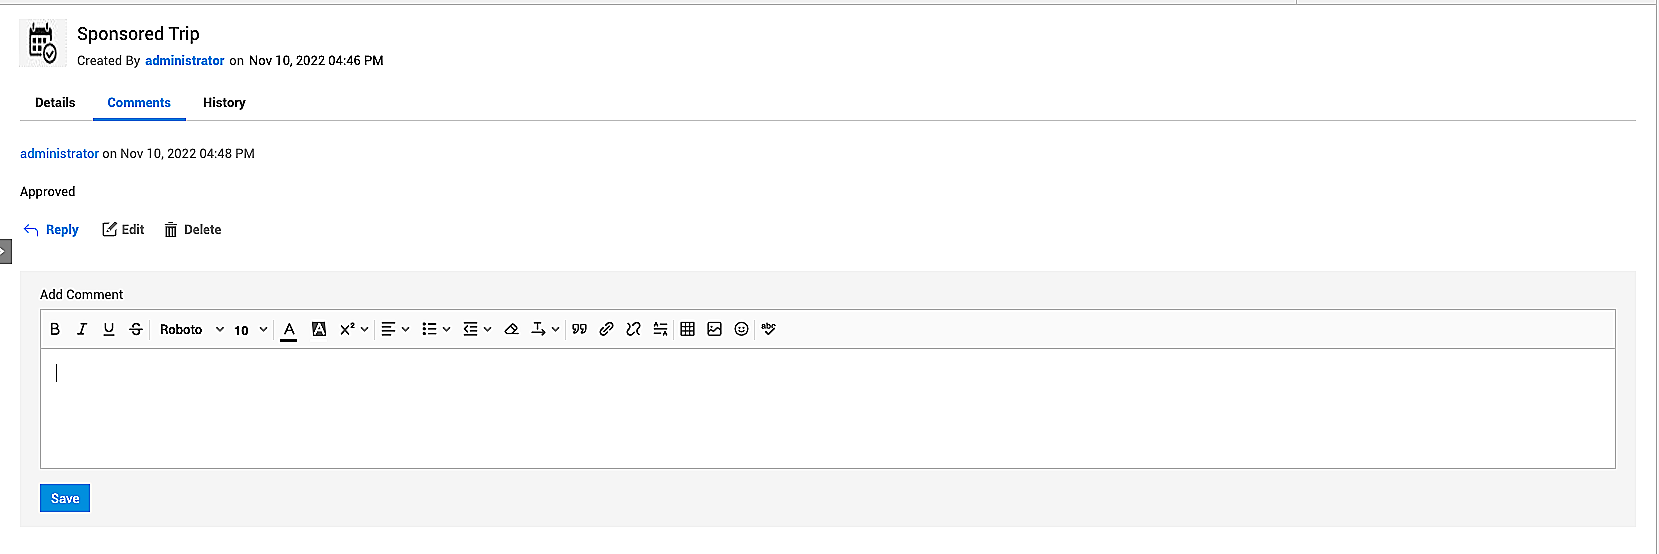
Options to reply, edit, or delete comments are available.
Manage Records
You can manage your custom module records from the list view. To access the list view, click the name of the custom module on the navigation bar.
-
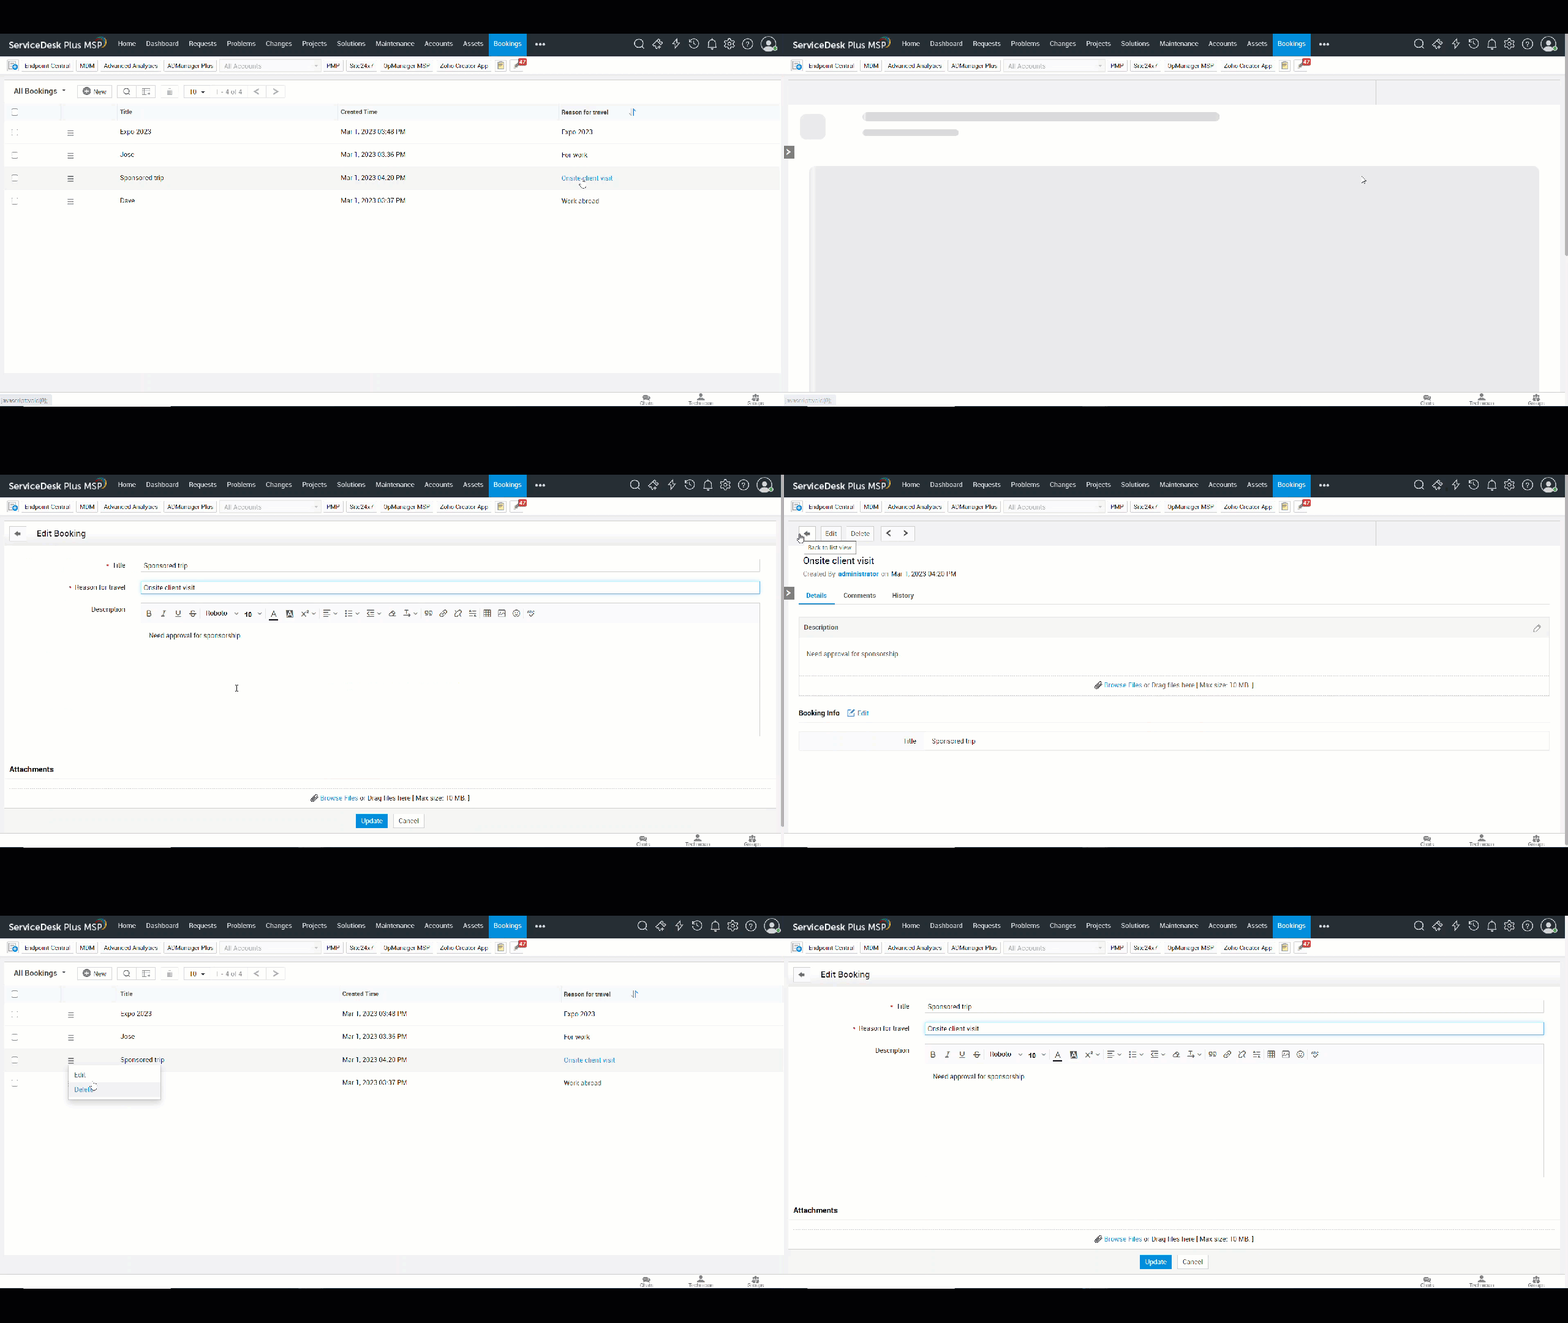
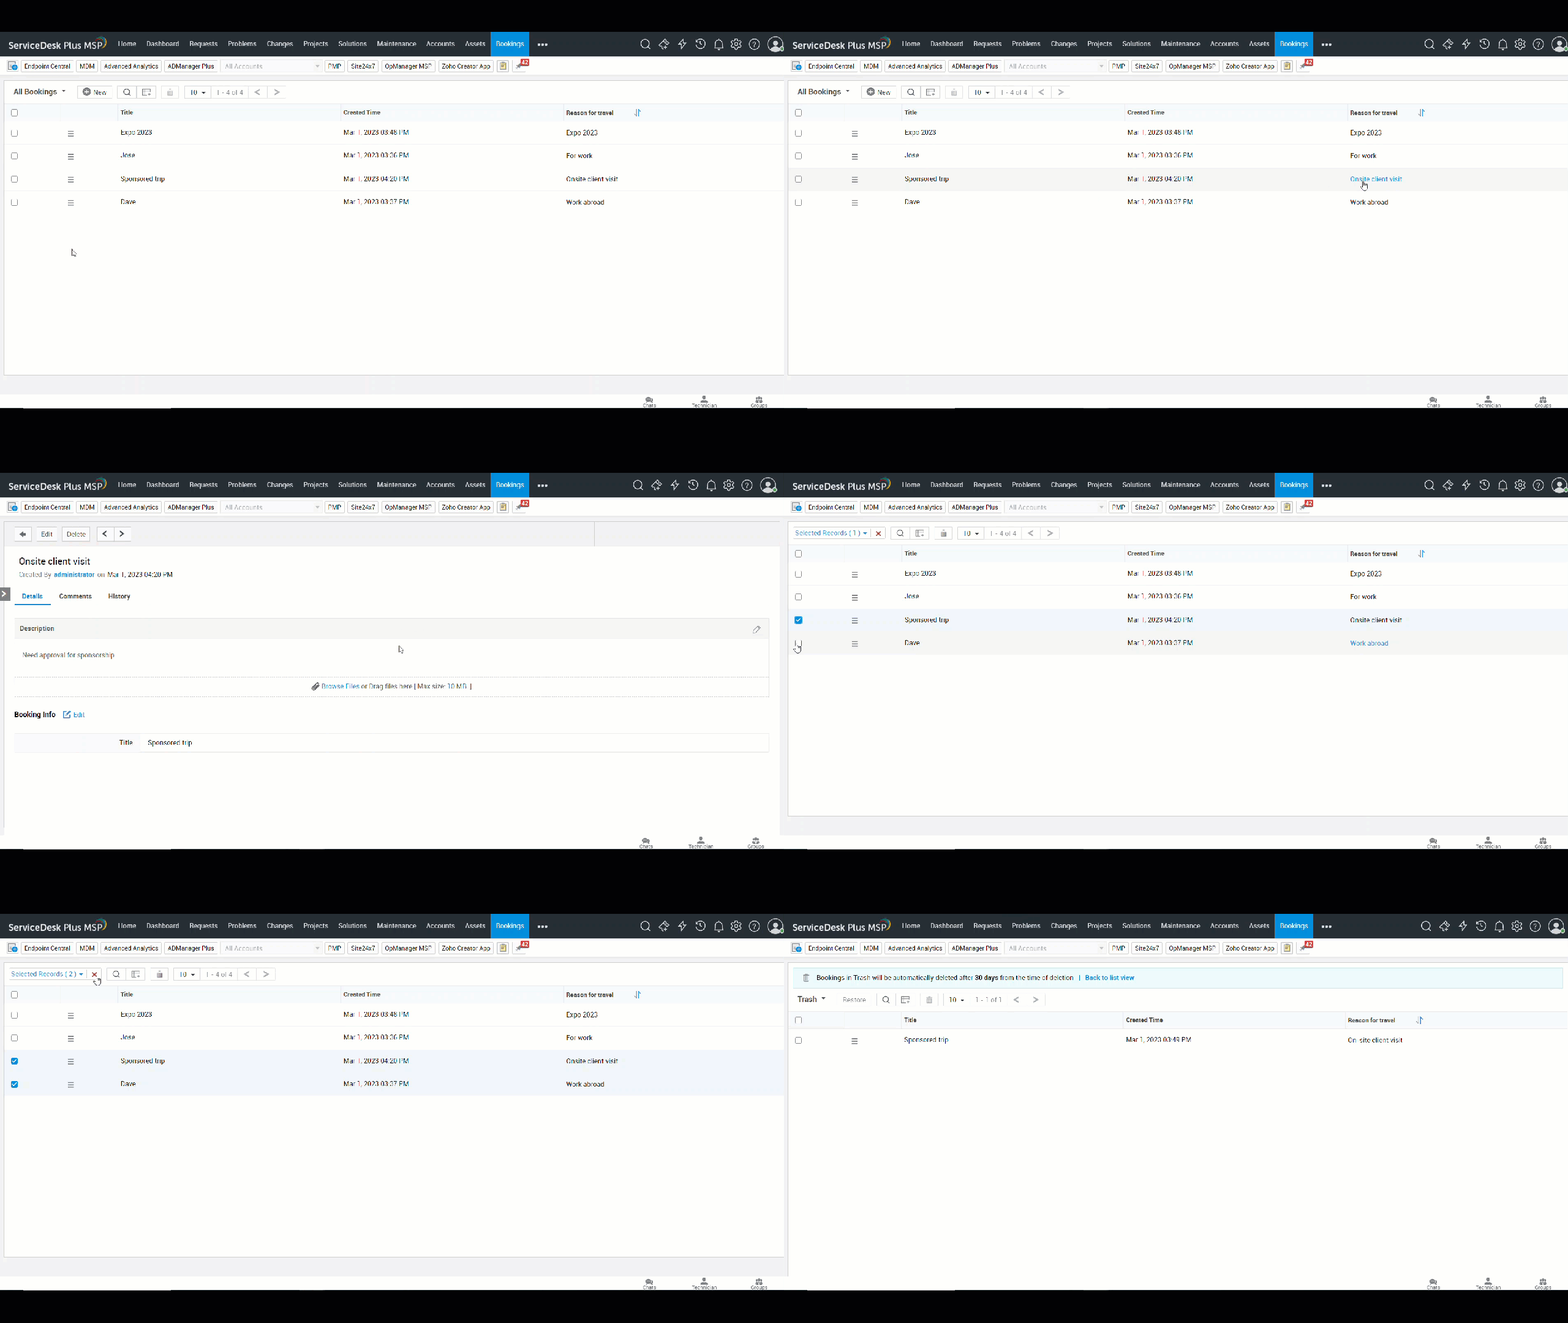
To edit a record, click the Title (or any other Single Line field that is marked as Primary) to go to the details page, click Edit, make the necessary changes, and click Update. Alternatively, you can click Actions
, and select Edit to open the edit form.
-
To delete a record, click the Title to go to the details page, click Delete or click Actions
, select Delete, and confirm your action. Note that deleted records will be moved to Trash. You can access trash by selecting Trash from the list view filter on the top left.
-
To delete records in bulk, select the records, and click Delete
.
-
To perform a column search, click Search
, and enter your search keyword in your preferred column search box.

Customize List View
-
To add or remove columns, click Coloum Customizer
, and select or unselect columns as required.

-
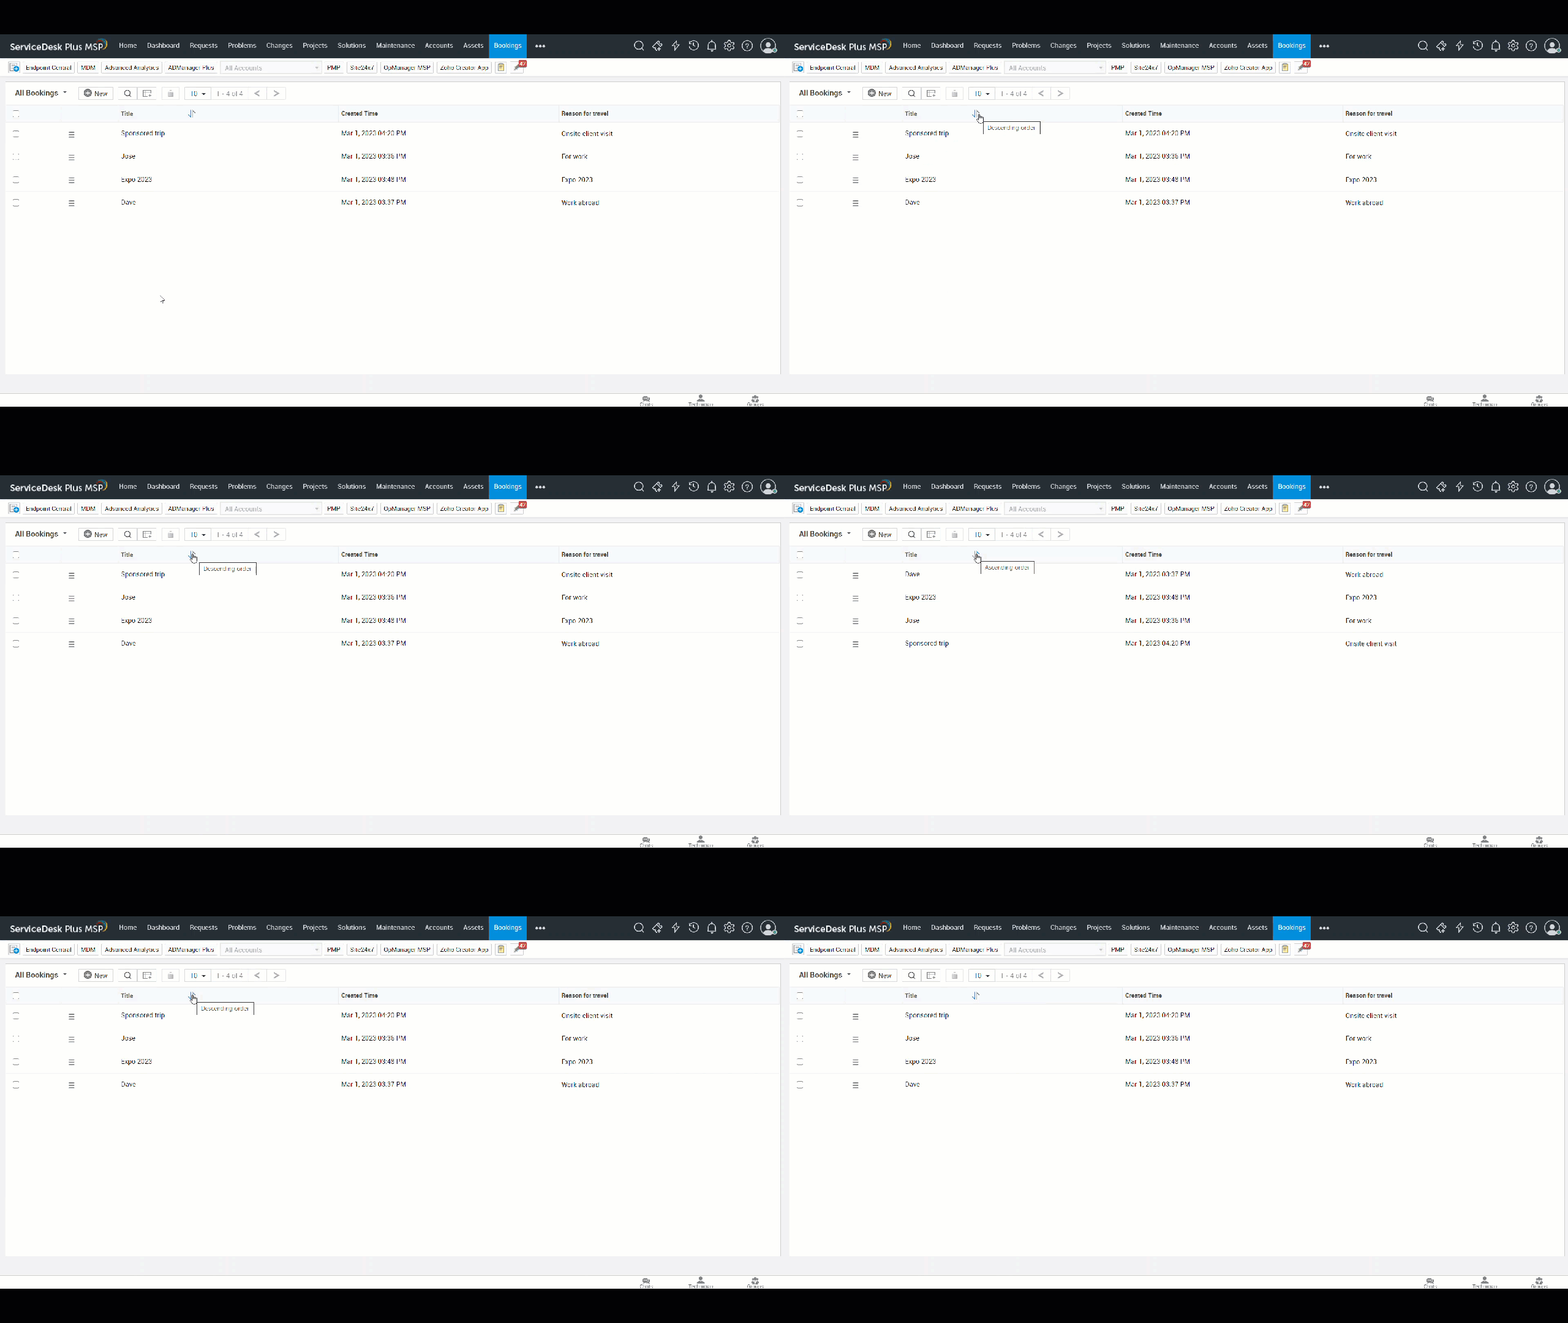
To sort columns in ascending or descending order, click the column header. For example, to sort the list view based on the Title values, click the Title header. Columns that support sorting are indicated using the sort icon
.
-
To limit the number of items per page, select your preferred value from the records per page drop-down.

-
To navigate between pages, use the navigation Previous
and Next
arrows.

