Two-Factor Authentication
Two-factor Authentication (2FA) provides an extra layer of security for your users by mandating an additional mode of authentication along with regular passwords.
Role required: SDAdmin
Supported Additional Authentication Modes
Email verification: Users will be required to verify an authentication code received via email.The email verification template is customizable. In the email text, you can use $secretCode, which will be replaced by a unique code each time the email is sent to the users.
Google Authenticator: Users will be required to verify a time-based OTP (TOTP) generated by Google Authenticator app or any TOTP authenticator app such as Microsoft Authenticator, Duo Mobile, etc.
Note:SDAdmin can enable/disable any or all of the supported additional authentication modes.
Two-factor authentication for User Login
Enable this option to prompt users for authentication during login.
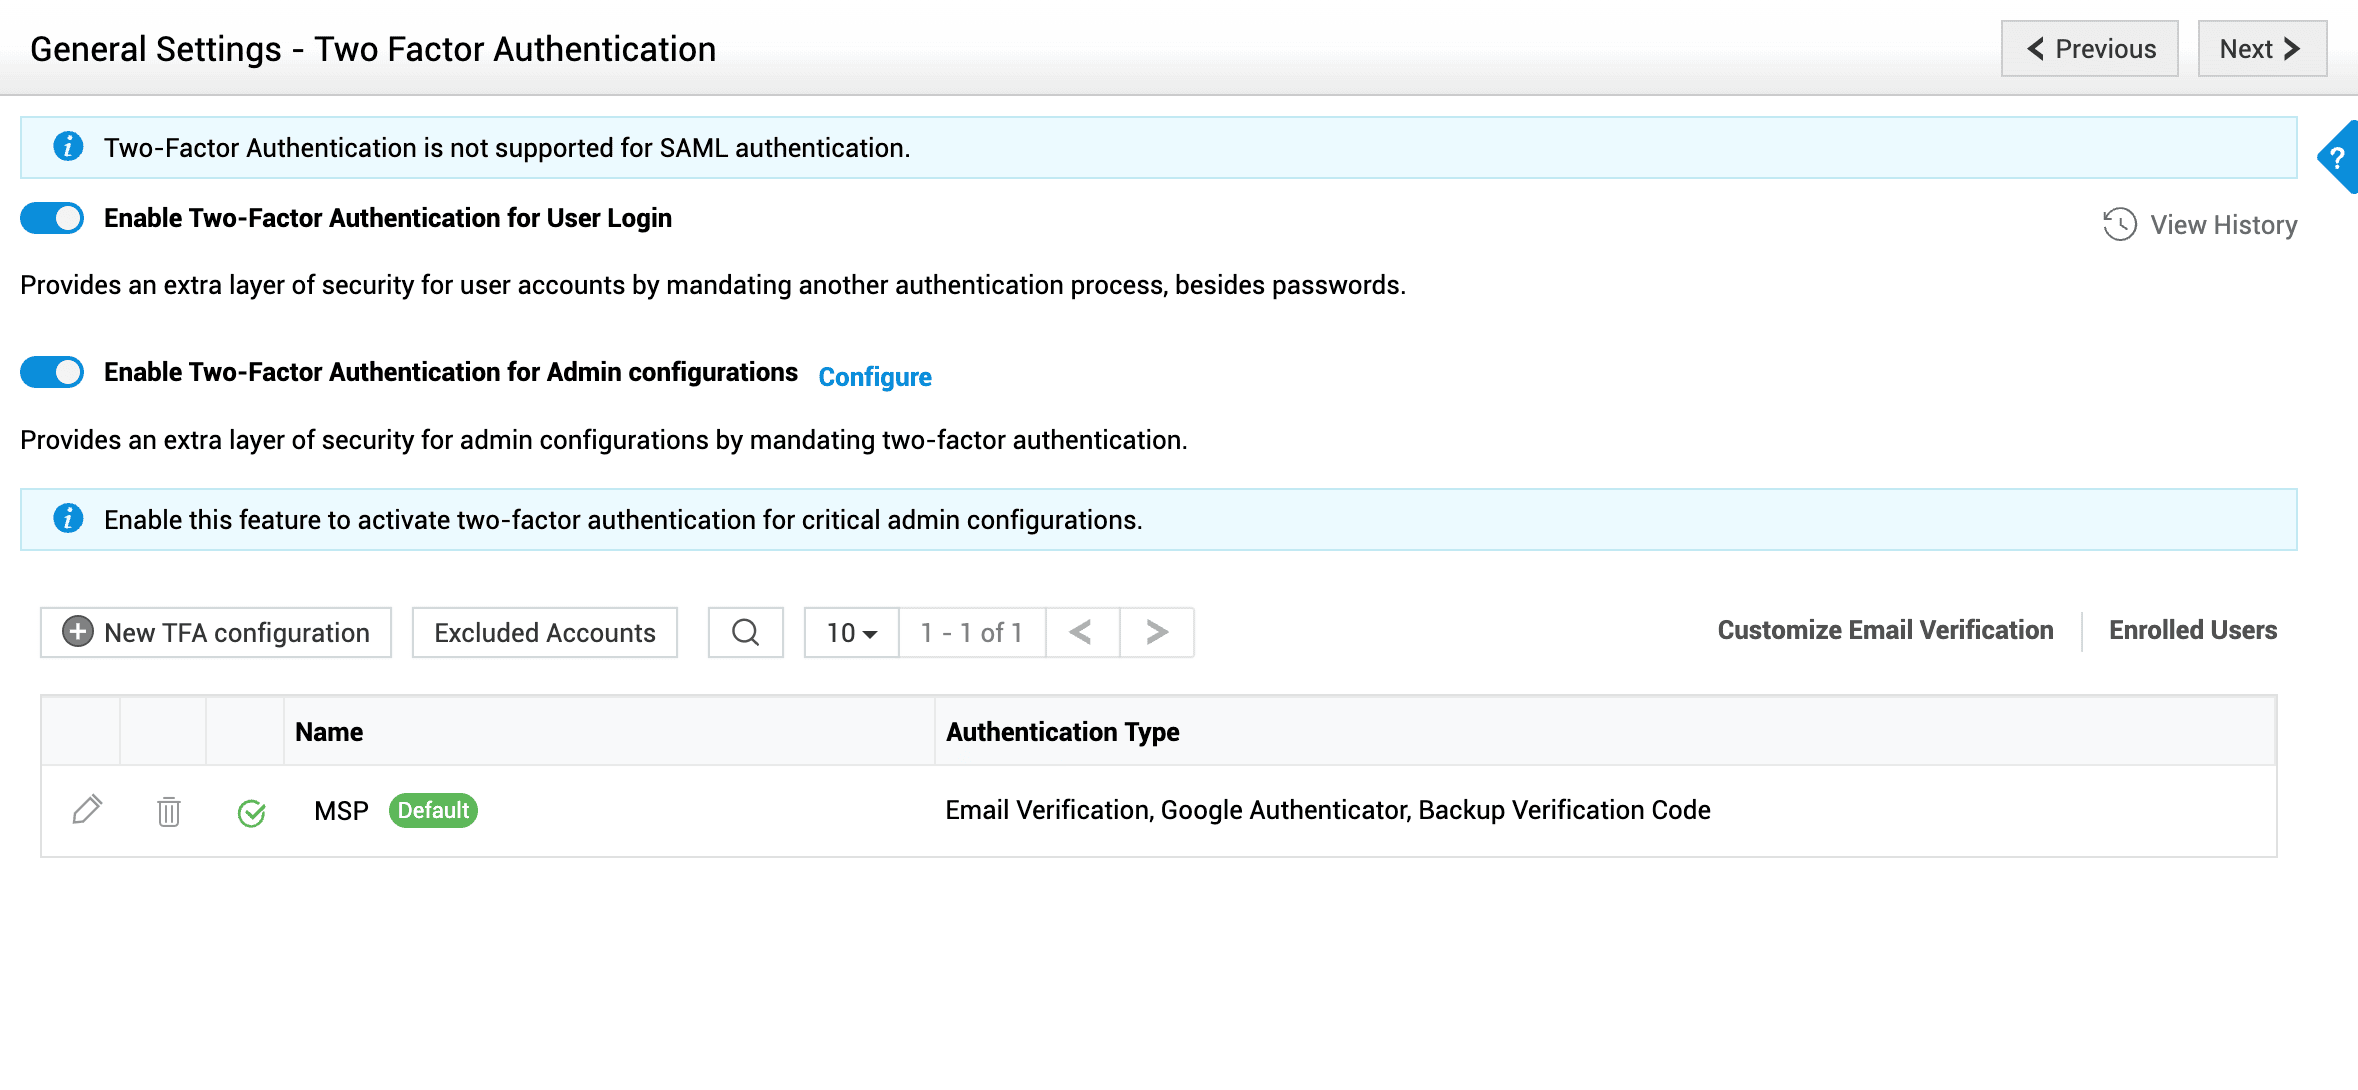
Once two-factor authentication is enabled, the users have to enroll themselves during their first-time login.
Enrolling for Two-Factor Authentication
On enabling two-factor authentication, users logging into the application for the first time must enroll themselves by following the steps given here.
Note: Users configured with a valid email address will be auto-enrolled and can skip this step.
Enrolling for email verification mode
- Go to the login page, and provide the username and password.
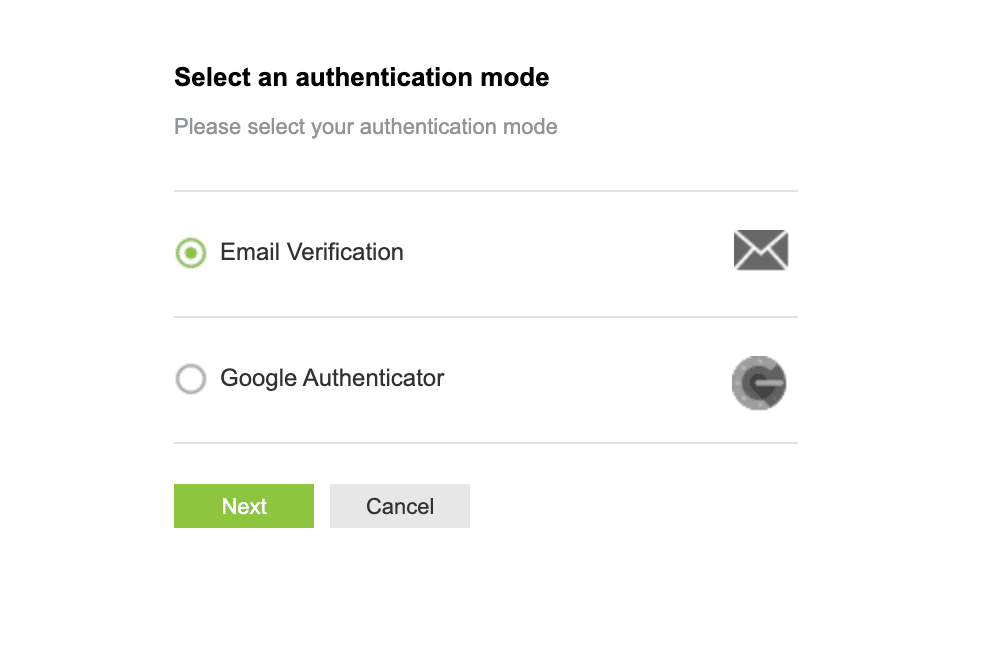
- In the enrollment form, choose Email Verification and click Next.
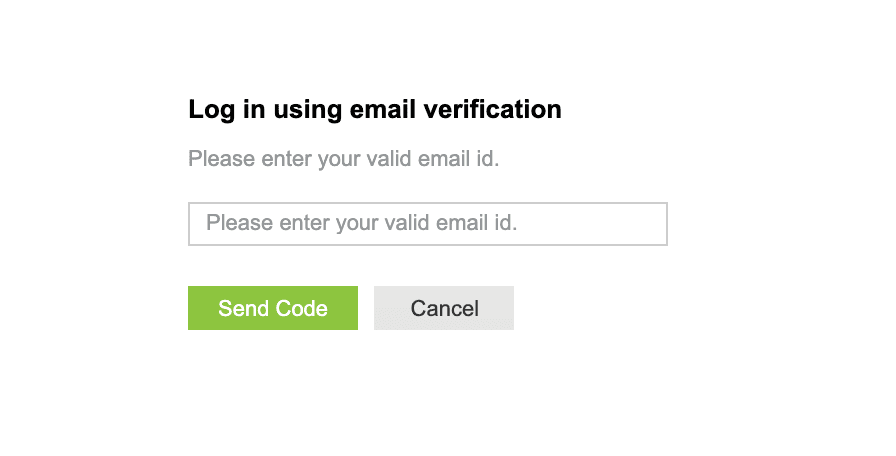
- Enter your email address and click Send Code.
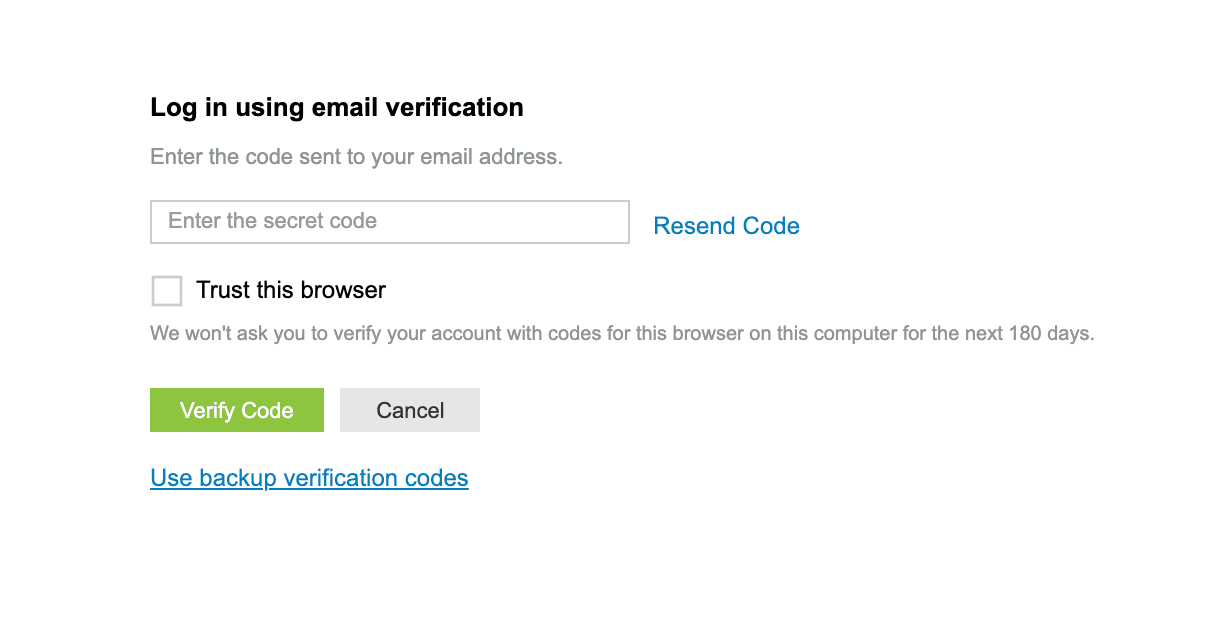
- Enter the verification code as received in your email to log in to the application.
Enrolling for Google Authenticator mode
- Go to the login page, and provide your username and password.
- In the enrollment form, choose Google Authenticator and click Next.
- Using your Google Authenticator mobile app (Android/iOS), scan the QR code.
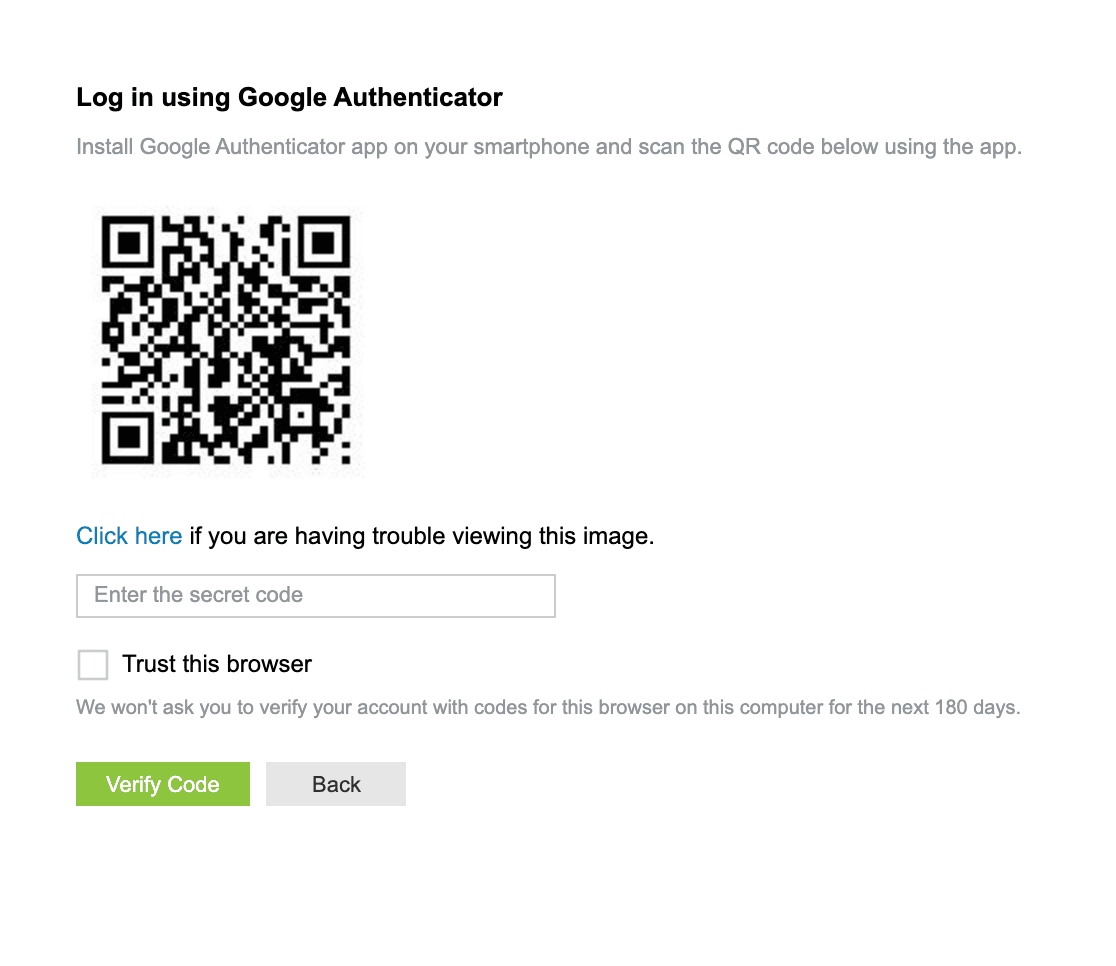
Alternatively, you can obtain the secret key by invoking the Click here option below the QR code and enter it in your Google Authenticator app.
- Now, enter the time-based OTP from Google Authenticator app into the textbox and click Verify code to log in to the application.
You can check the Trust this browser option to avoid the second verification for a period of 180 days.
If you have trouble verifying with any of the modes, you can use backup codes.
You can manage trusted browsers, modify mode, view, download, or generate backup codes from the user panel.
Backup Codes for User Login
Backup codes can be enabled only for user logins. Enabling backup verification codes allows users to view, download, or generate codes that can be used as an alternative to any of the authentication methods.
Manage Two-Factor Authentication Settings
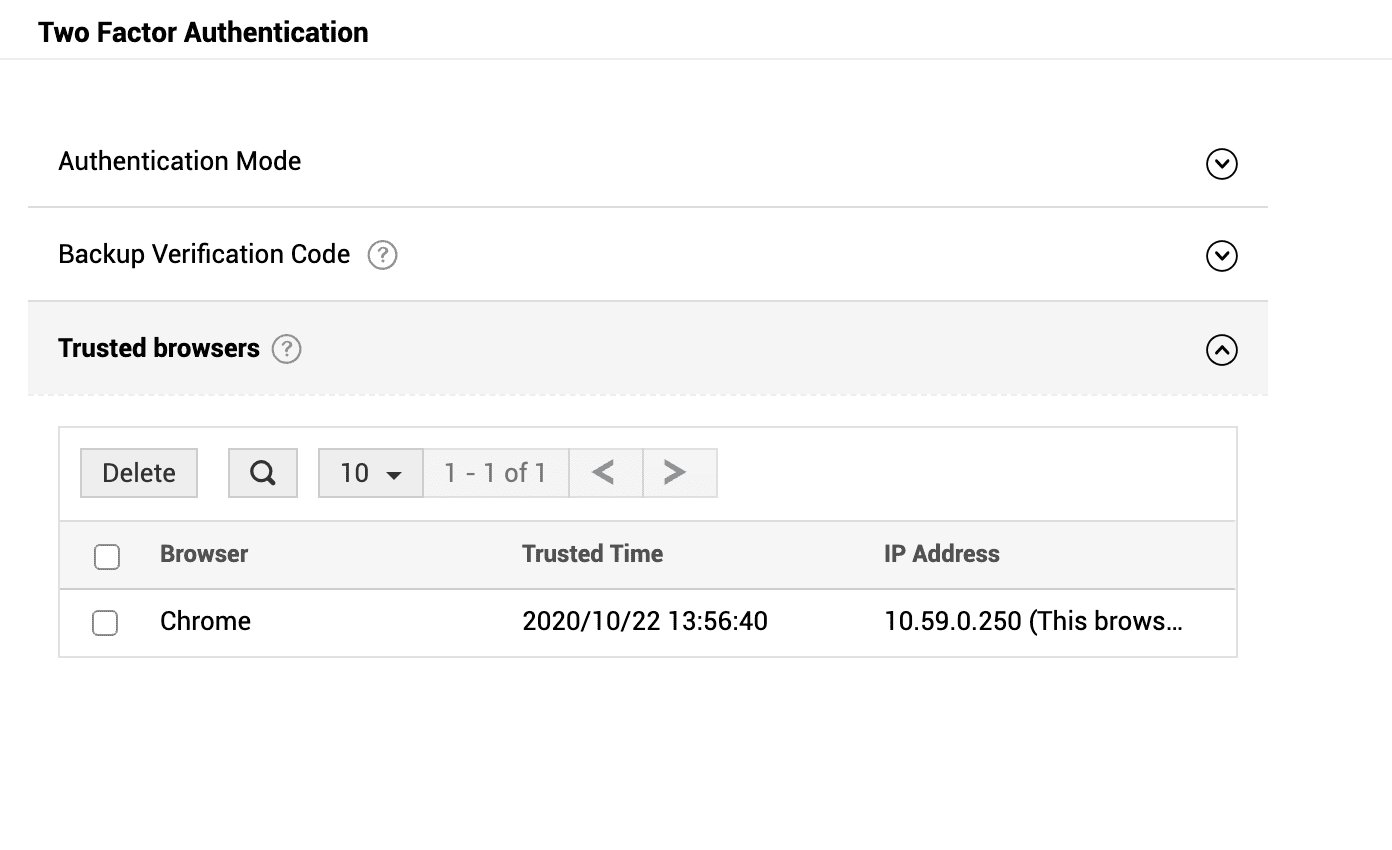
You can manage trusted browsers, modify mode, view, download, or generate backup codes from the user panel.
Click the user icon on the upper-right corner and click Two Factor Authentication.
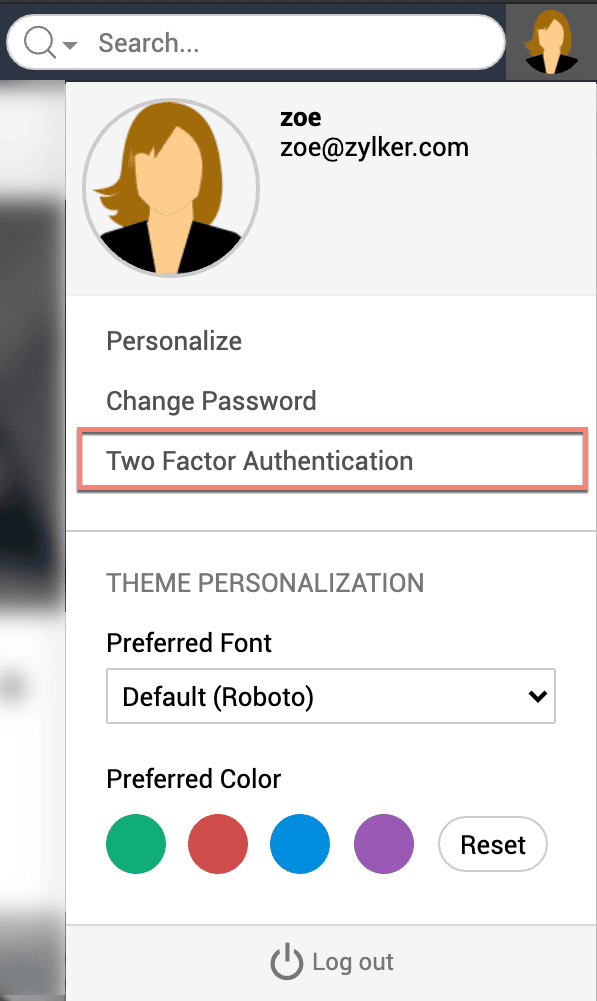
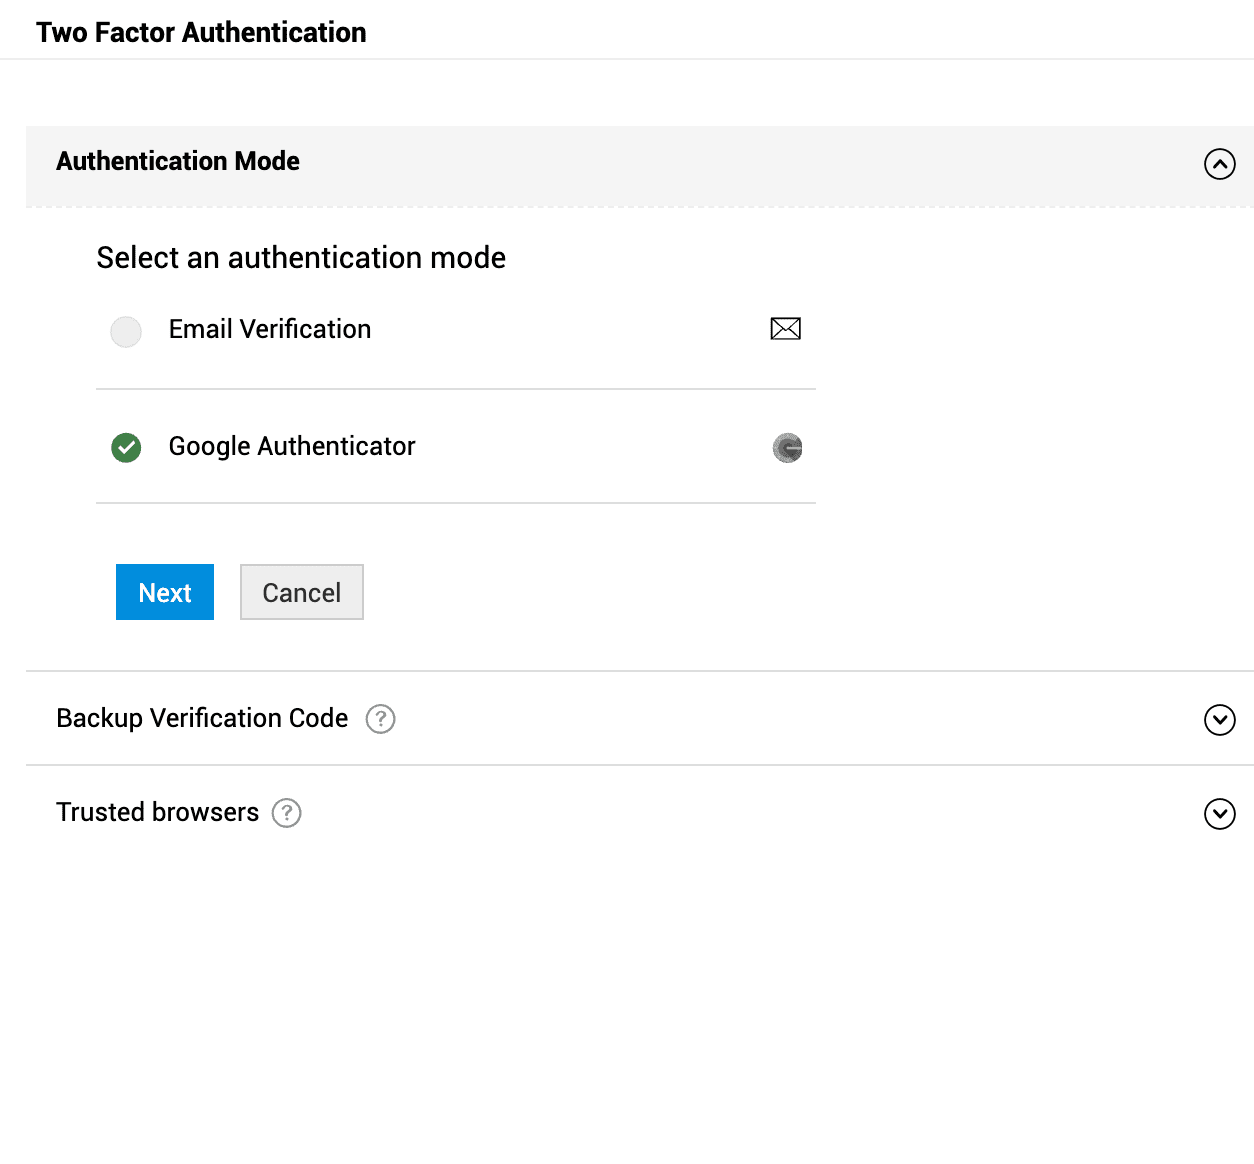
To modify mode, click Authentication Mode and then click Modify Authentication and select your preferred mode and verify it by following the steps for enrollment.
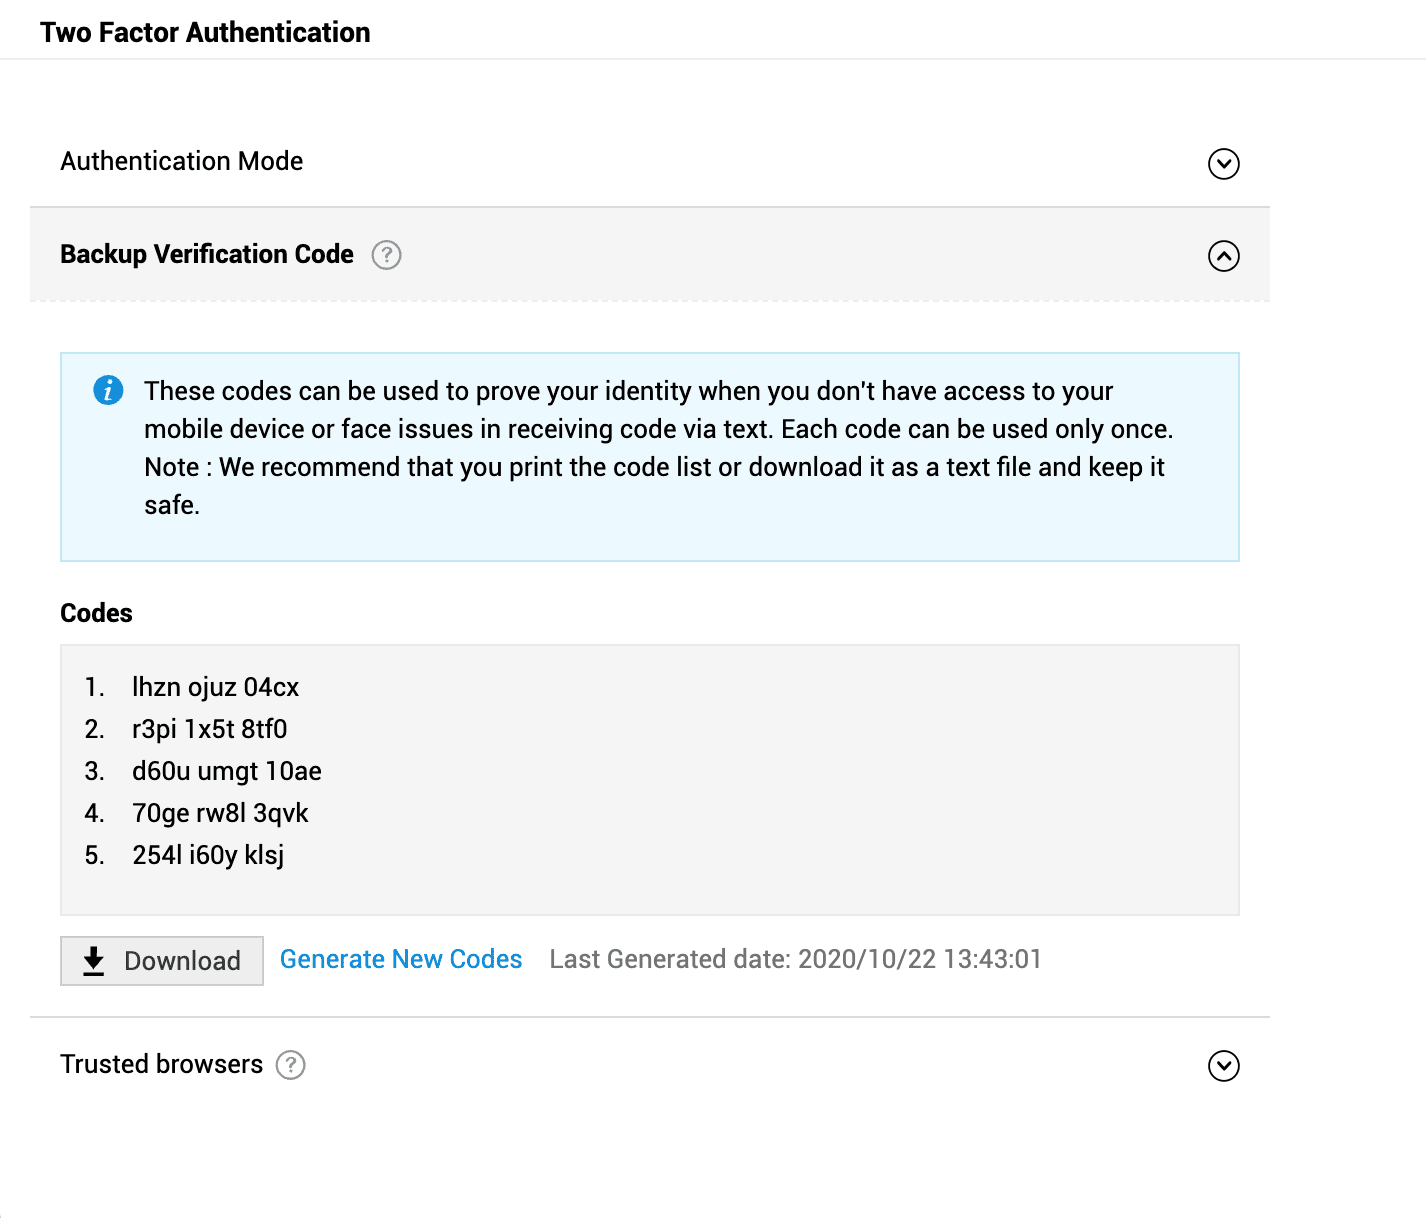
Click Backup Verification Code to view codes. You can also download or generate new codes using the appropriate options.
Click Trusted Browsers to view the list of browsers marked trusted. To remove, select one or more browsers and click Delete.
Note:
This option is available only when two-factor authentication is enabled by your admin.
Each backup verification code can be used only once and make sure that you generate a new set of backup verification codes before using all the codes in the existing set.
Two-factor authentication for Admin Configurations
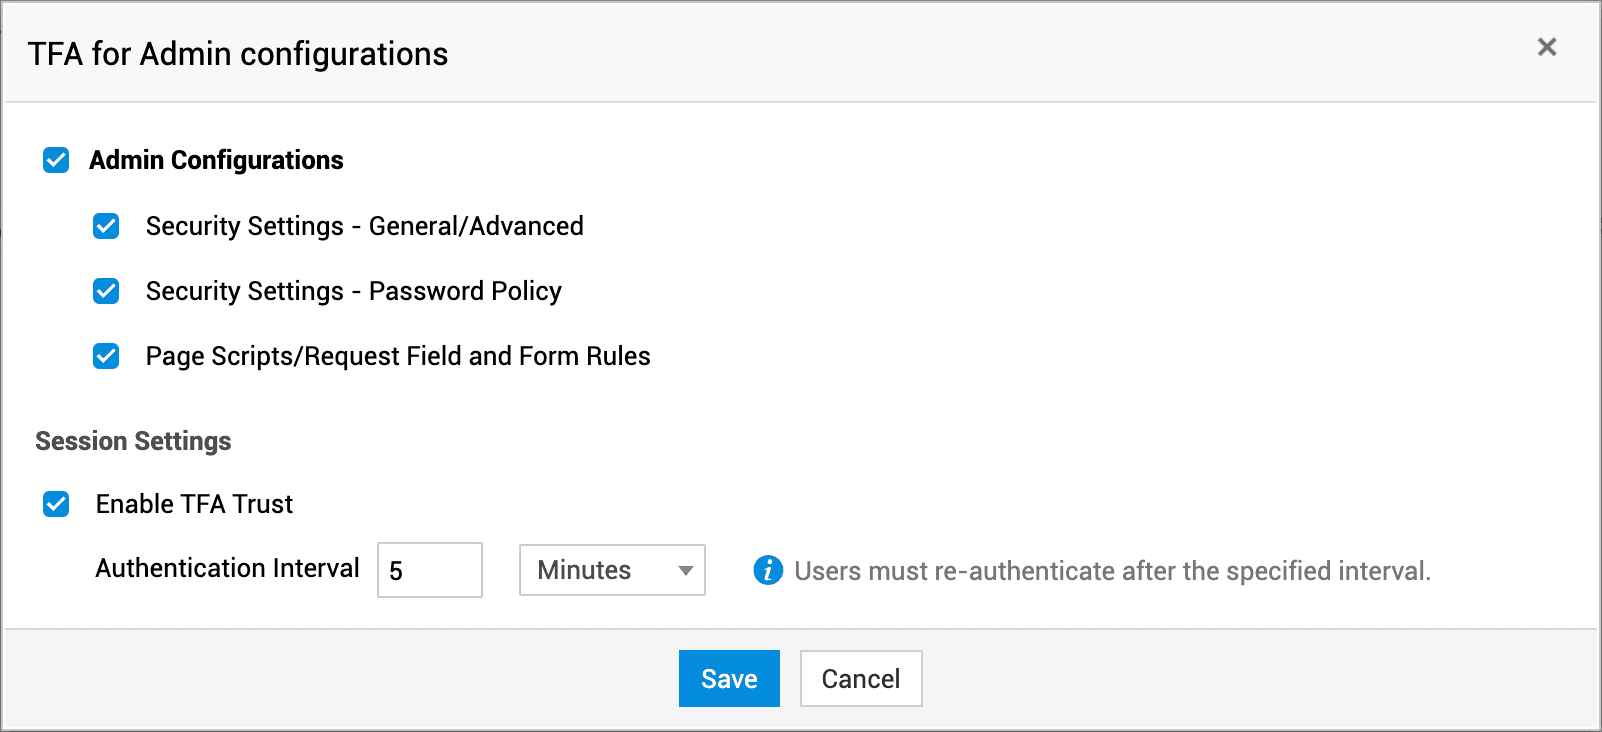
Enabling this option prompts the admin to authenticate themselves while modifying security settings under Admin > General Settings > Two Factor Authentication.
Two-factor authentication for admin configurations can be enabled for general/advanced security settings, password policy and Page Scripts/Request Field and Form Rules
Once enabled, the admin has to enroll for two-factor authentication during their first-time login.
Enable TFA Trust to establish a time frame during which the admin can modify the security settings without the need for re-authentication.
Account based TFA Configurations
You can configure and manage multiple TFA configurations and enable them as per your requirements.
Click on New TFA Configuration and setup the configuration as default for all accounts or associate the necessary accounts and select the authentication method.
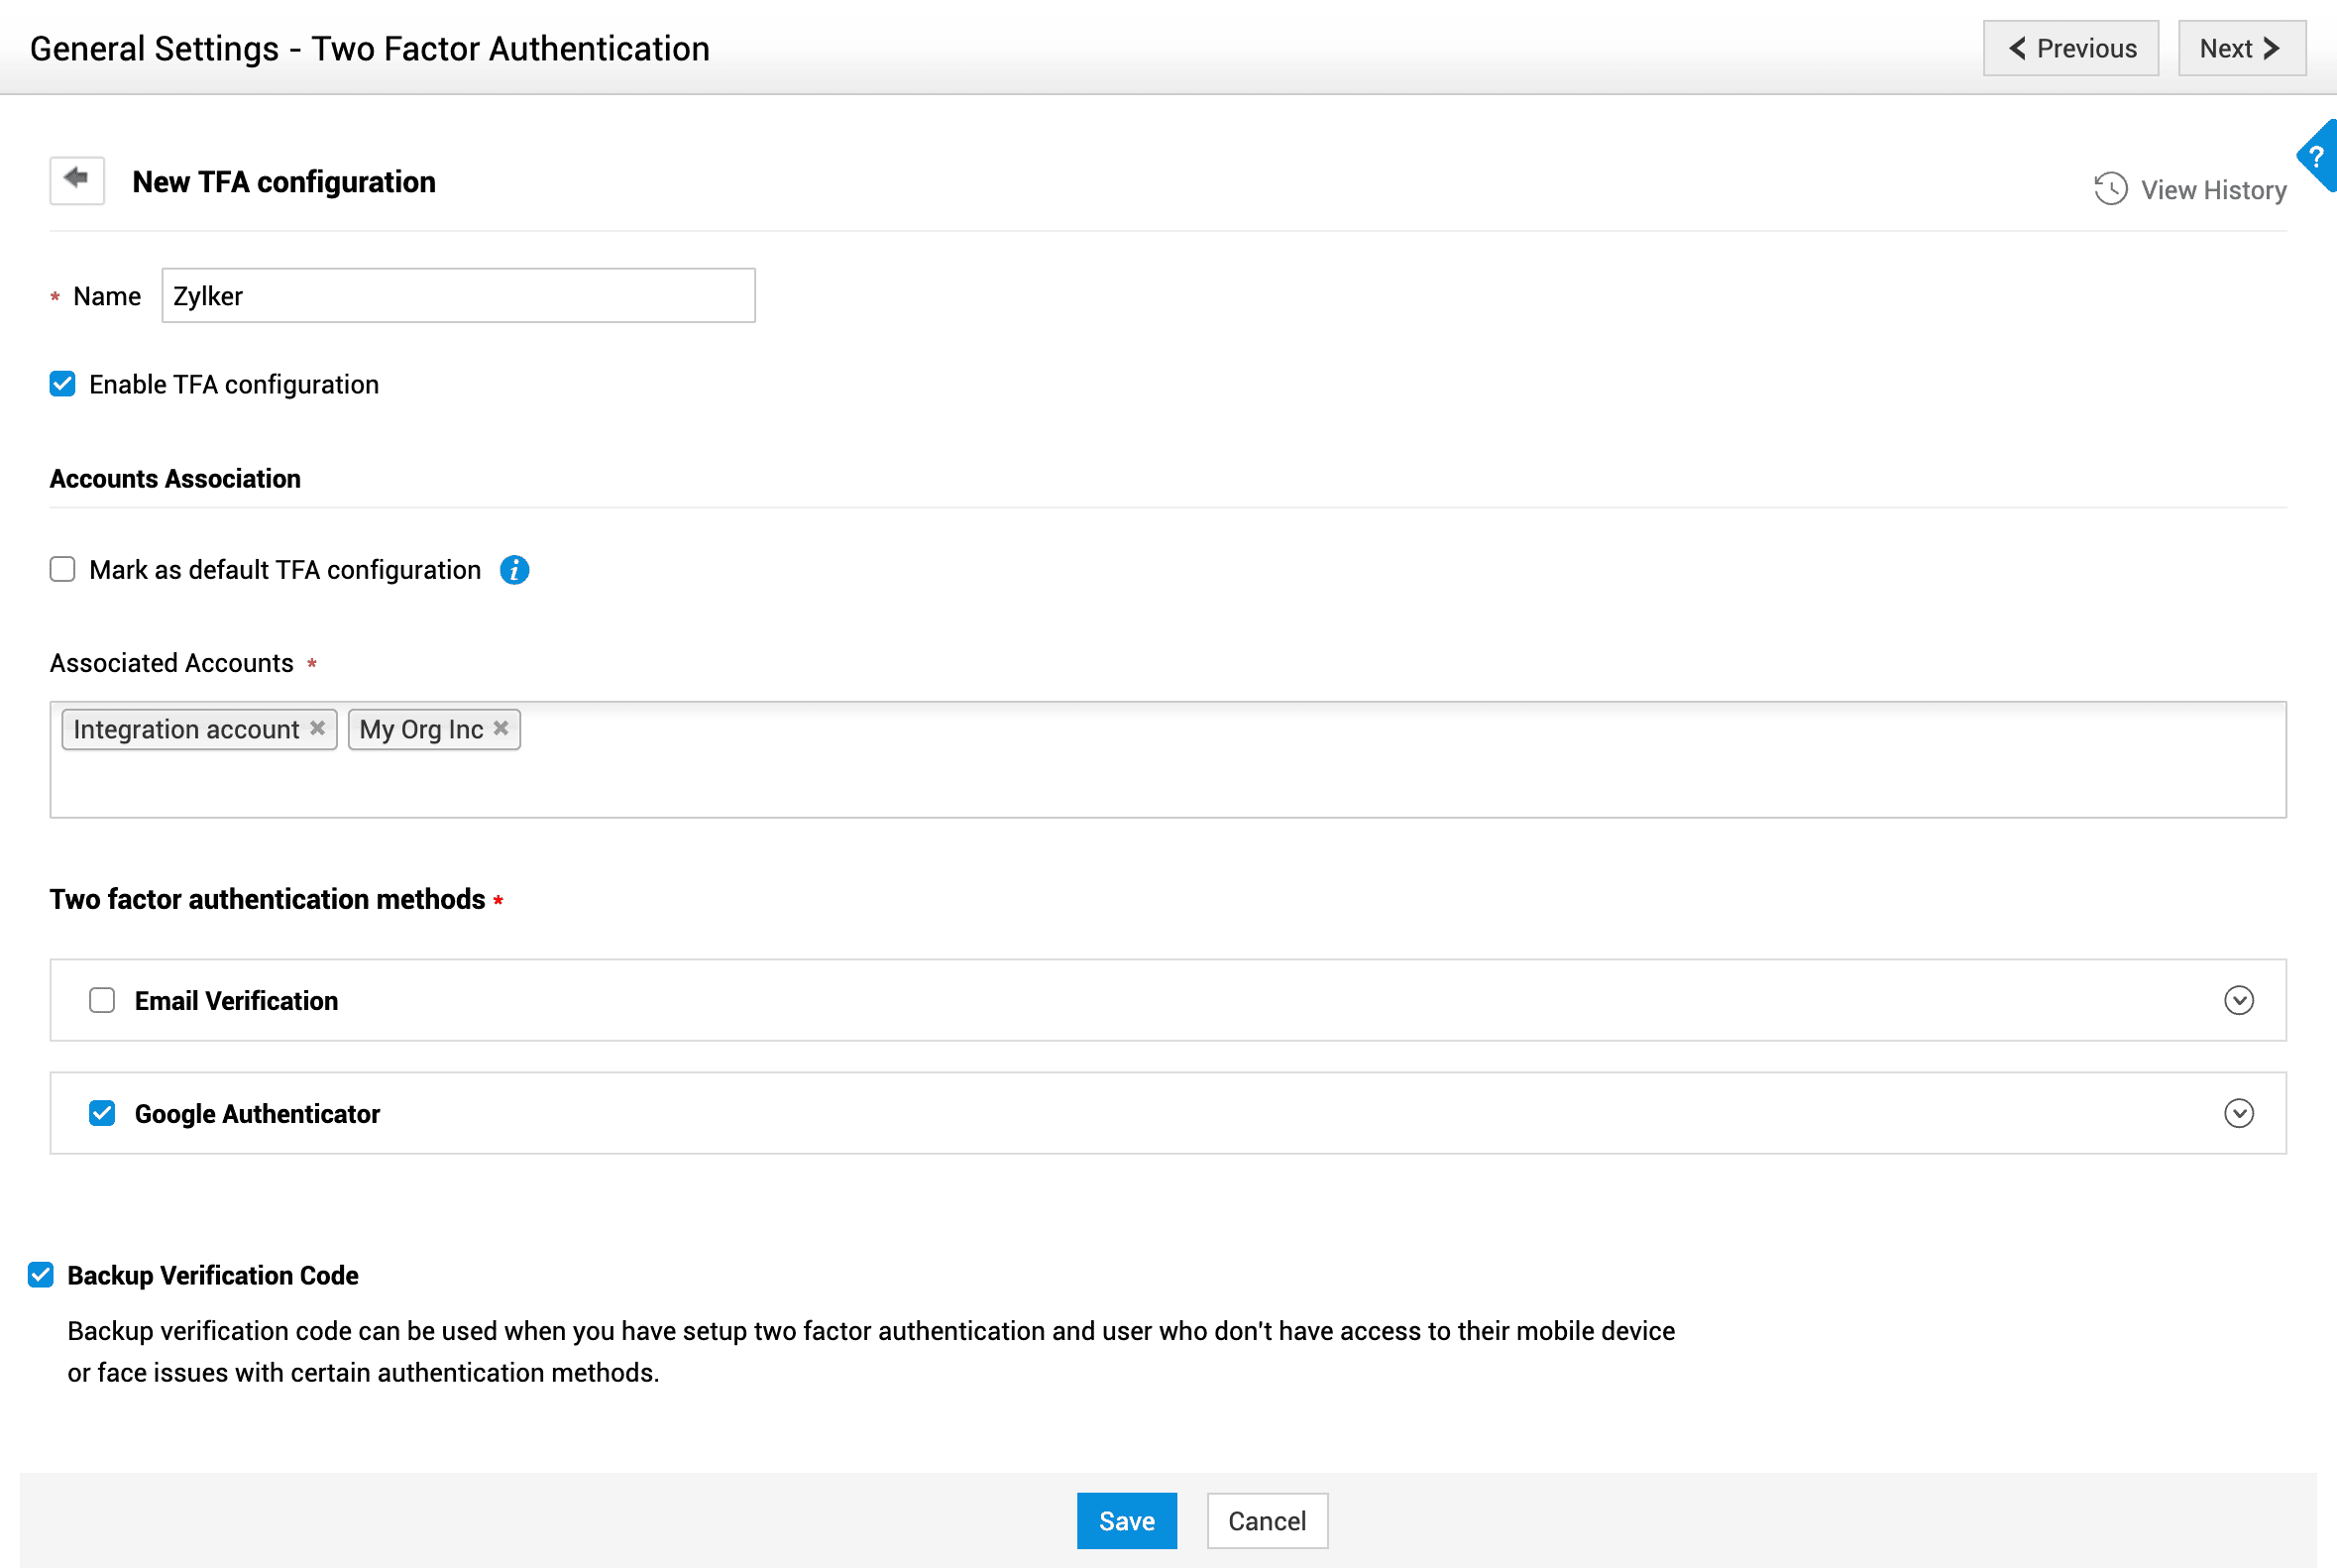
Click Excluded Accounts to configure accounts that will not use the TFA configuration.
Managing Enrolled Users
You can manage users who have enrolled for two-factor authentication under Admin > General Settings > Two Factor Authentication > Enrolled Users.
Here you can view details such as username, domain name, and authentication type, or delete user enrollment. To delete user enrollment, select one or more users and click Delete.


