
User Groups
You can classify all the ServiceDesk Plus - MSP end-users (requesters) within your organization into various User Groups. In Site based implementation, categorizing users into groups is especially necessary to prevent users from accessing certain items. The users can be restricted to view certain service items, solutions, announcements and request template.
NOTE: The User Groups are account based, and the account should be selected before adding the User Group.
For instance, the announcement - Nortel network is down for a day due to maintenance in the site New York. This announcement is vital for users in site New York alone. A user group is created such that the announcement is available only to the users associated to site New York. The user group can also be filtered based on Department, Email ID, Job Title and Name.
To access the user group configuration page,
-
Click Admin tab in the header pane to open the configuration page.
-
Click User Groups icon
 under Users block. The User Group list view page is displayed where you can add, edit and delete a user group.
Adding New User Group
-
Select the Account to which you want to add the User Group.
-
Click Add User Group link from the User Group list view page.
-
Specify a unique Name for the user group. Say, Sales Team in New York. This field is mandatory.
-
Enter a short Description about this user group.
-
Set the Filter by selecting the Criteria and Condition from the drop down. Enter the value in the text field.
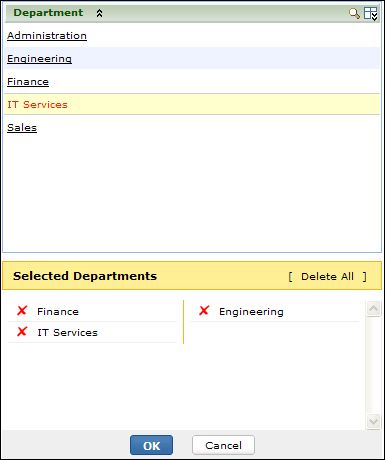
You can also perform a search operation for the values using the search icon . A pop up listing the values for the selected criteria appears. Select a value click ok.
-
To view the requesters under the specified criteria, click Preview button. The requesters list appears in a pop up window.
-
To add another criteria, click the addition button
 and repeat the similar process. Choose to match All the conditions (And) or Any one of the condition (Or) from the drop down.
 -
Click Save to save the user group and return to the list view. Click Save and Add New, to save the user group and add another.
The configured User Groups appear while creating a new Service Item, solution, announcement and request template.
Editing User Groups
-
From the User Groups list view page, click the edit icon
 beside the user group name to edit. The Edit User Group form appears.
 -
Modify the Name and Description field.
-
You can also alter the existing filters set or add new filters using the criteria and condition drop down.
-
Click Save, to save the user group and return to the list view. Even while editing, you can add another user group by clicking Save and Add New button.
Deleting User Groups
-
From the User Groups list view page, enable the check box beside the user group to delete.
-
Click Delete button. A confirmation dialog appears.
-
Click OK to proceed. The User group is deleted from the list.