Site24x7 Integration
Using ServiceDesk Plus MSP integration with ManageEngine Site24x7, you can associate IT automation actions with incident templates and resolve your IT incidents efficiently. This integration enables you to firefight incidents and also monitor critical application servers from a single console.
For example, through this integration, you can associate the action 'Clear Logs' with the 'Low Disk Space' incident template. Using this action, technicians can delete server logs with just a click from within the requests raised using the template.
Pre-requisites
The user must have accounts in both ServiceDesk Plus MSP and Site24x7. If you do not already have a Site24x7 account, sign up here.
Configuring the Integration
Role required: SDAdmin in ServiceDesk Plus MSP, Admin/Superadmin in Site24x7
To configure the integration,
-
Go to Admin > Integrations > Site24x7.
-
Click the Enable Site24x7 menu checkbox to display the option in the application's header. Post integration, technicians can use this menu to access Site 24x7 in just a click.
-
Choose the Site24x7 Datacenter. Click Sign up to create a new account or to log in to Site 24x7.

-
In a new tab, log in to Zoho Developer Console using your site24x7 credentials and click Get Started Now.

-
From the displayed client types, choose Self Client.
-
Click Create. A confirmation window pops up.
-
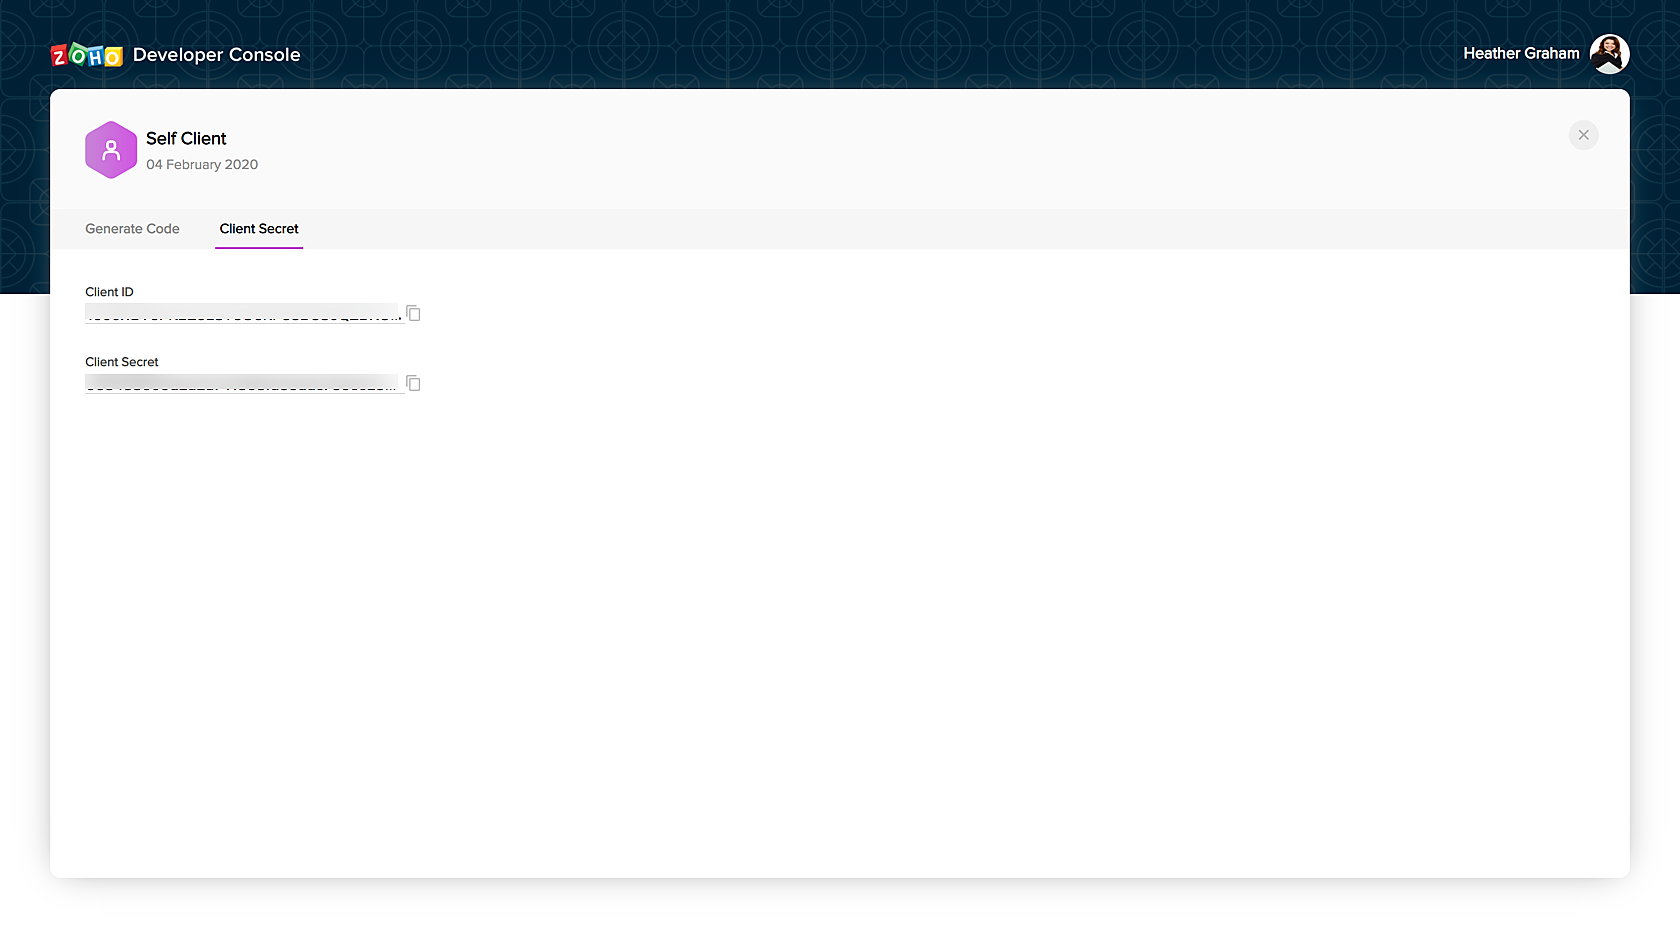
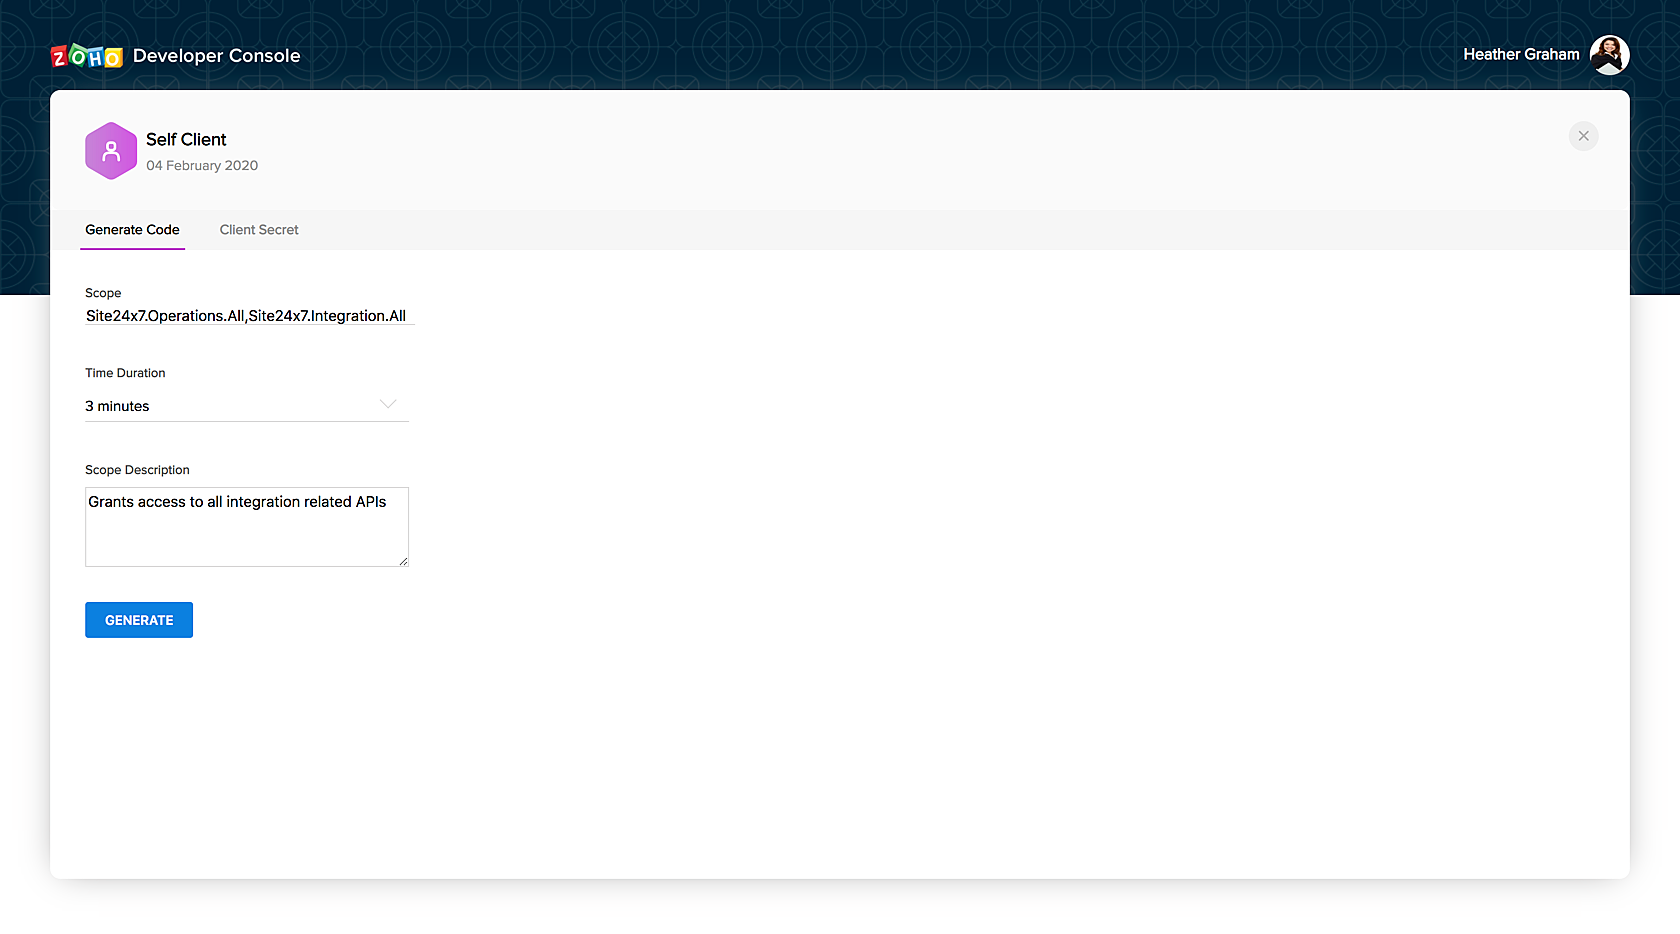
Click OK to proceed. On completion, the self client opens with two tabs, Generate Code and Client Secret.

-
Copy-paste the Client ID and Client Secret from the Client Secret tab to the Site24x7 integration page of ServiceDesk Plus MSP.
-
Under Generate Code in the Self Client, enter the Scope as Site24x7.Operations.All,Site24x7.Integration.All and add an appropriate Description.
-
Under Time Duration, select a validity period for the code generated― the integration must be configured before the code expires.
-
Click Generate.


-
Copy-paste the Generated Code on the Site24x7 integration page of ServiceDesk Plus MSP.
-
Click Test Connection and Save to complete the integration.

Post integration, the configuration page of ServiceDesk Plus MSP will list the Site24x7 actions as shown in the following screenshot:

You can associate roles and request templates with these actions. Click an action to edit as shown in the following screenshot:

Action Execution
On integrating ServiceDesk Plus MSP with Site24x7,
Requests created using the associated templates will list the actions under Custom Actions on the details page.

On clicking the action, a confirmation message pops up. Click Execute to proceed.

You can find the executed action on the request details page as a note under Conversations. Click the link to view the action's history.


