


|
|
Any incident, request for service or request for information can be sent as requests to the supportdesk team in many different ways. Some of the most common modes are,
You can call the helpdesk reporting their problem or requirement and he in turn will file it as a request.
You can submit your query by logging into the customer portal and filing a request.
Or, you can send an Email to the support team, which will automatically get logged as a service request in SupportCenter Plus.
Creating a new request from the application
The new request form can be accessed by two ways in SupportCenter Plus application.
Add New Request
Request tab
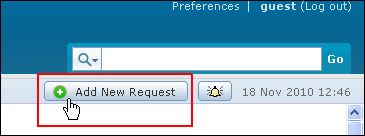
Add New Request
Clicking on the Add New Request takes you directly to the new request form.
You can also click on New request button from the Home tab. To configure the New Request form, go to Step 3 in Request tab.
Request Tab
Click on the Request tab in the header pane to open the request list view page.
Select New Request button. The New Request form opens.
If the administrator has configured Request Templates, then the same is populated in the Template drop down. Select the Template from the list, to raise a request instantly.
If the administrator has selected certain fields as mandatory or the fields which the contacts can set while creating the Request Template, then the same is populated in the New Request form.
If the administrator has specified Request Default Values for fields such as Category and Priority to be displayed in the New Request form, then the same gets populated.
If the administrator has not configured the Request Default Values or the Request Template, select the Priority that can be assigned to the request from the drop down.
By default, the contact logged into the application is displayed as the Contact Name. This field is non editable.
Select the Product to be associated with the request.
You can also classify the request category by selecting the Category, Sub-Category and Item.
Specify the Subject of the request. This field is mandatory.
Provide a brief description about the request in the Description field.
If you wish to attach any relevant files to the request then click Attach a file link. The Add/Remove Attachment window pops up.
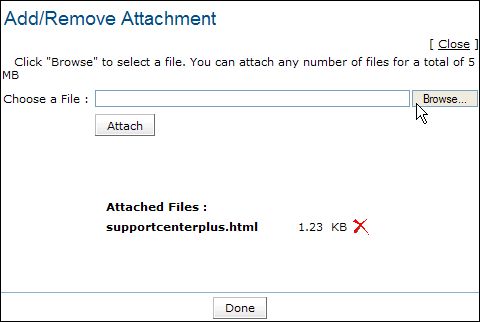
Click Browse button and select the file to be attached from the file chooser window. Click Open button.
Click Attach button. The selected file is listed under Attached Files along with size of the file.
If you have more than one file to attach repeat steps 1 and 2. Ensure that the total size of the attachments does not exceed 5 MB. Click Done. The selected files are attached to the request.
Enter the email address of the CC recipients in the field provided. The CC recipient will receive email on the conversation between the contact and support rep. You can add more than one CC recipient separating each email ID with a comma. Click here to know more on Auto CC.
Click Add request button. The request is added to the request list.
|
|