Remote Access Plus is available on cloud. Secured sign-in!
How to install Remote Access Plus on an AWS instance?
If you wish to ease the process of installing and setting-up Remote Access Plus in your network, you can have your server hosted at an Amazon EC2 instance to instantly access and troubleshoot computers.
Pre-requisites
To host your Remote Access Plus server at an AWS instance, ensure to meet the following pre-requisites.
- You may have to change the configurations according to the number of computers you wish to manage using Remote Access Plus. For instance, if you want to manage up to 1000 computers, we recommend the following configurations.
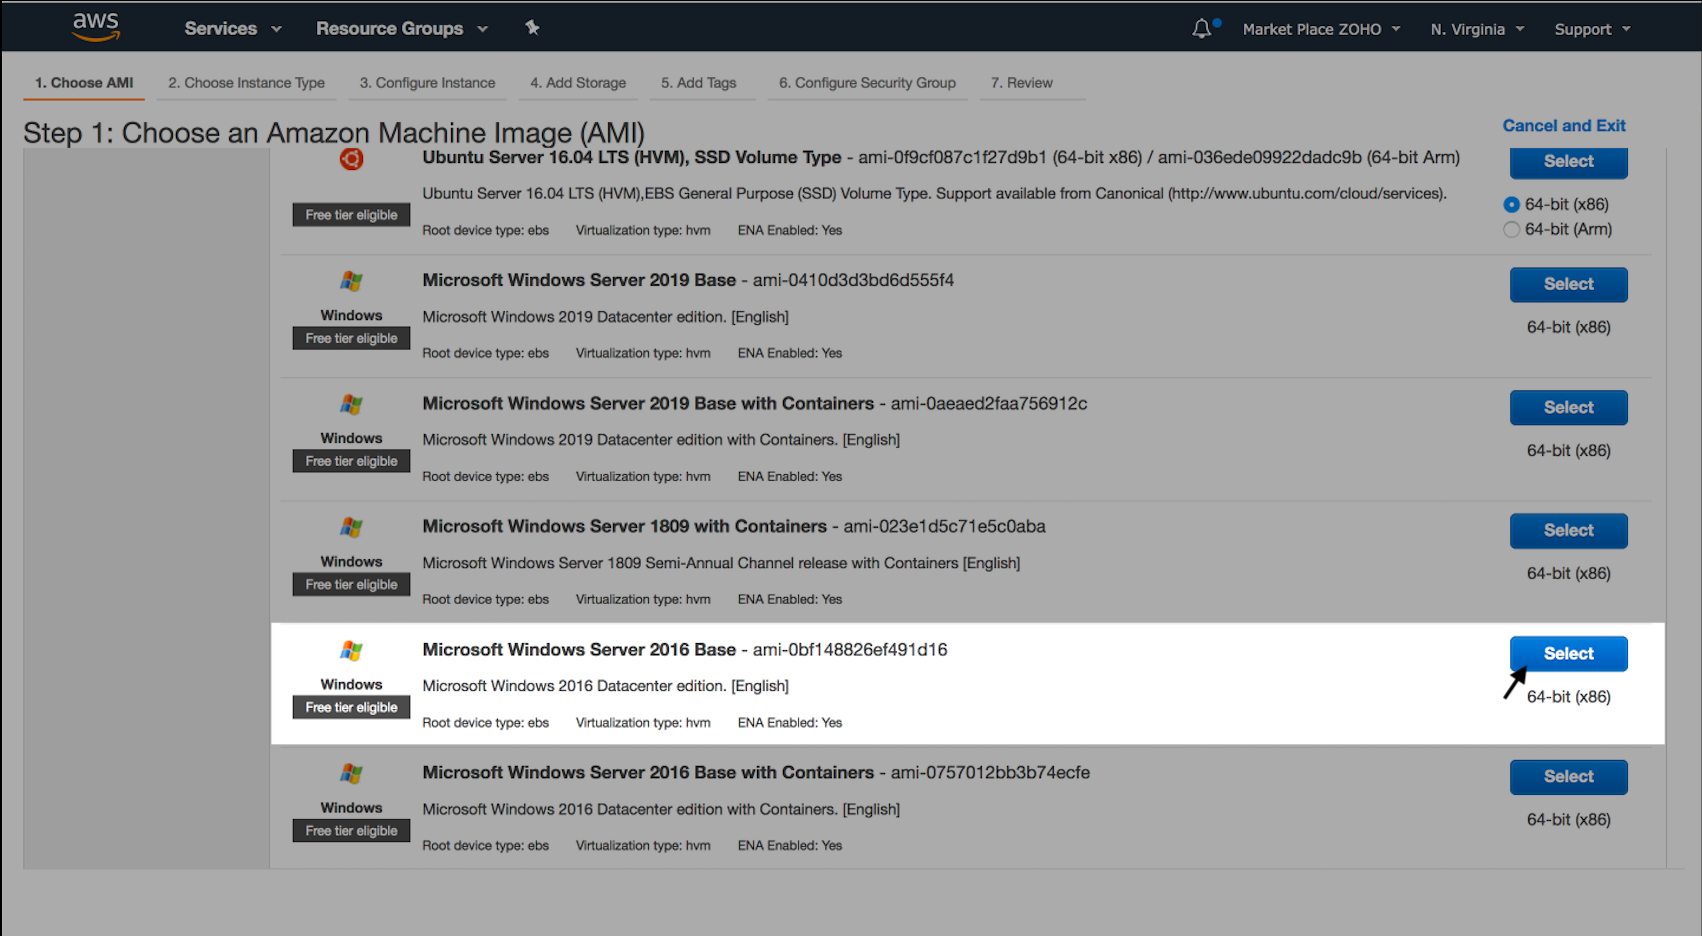
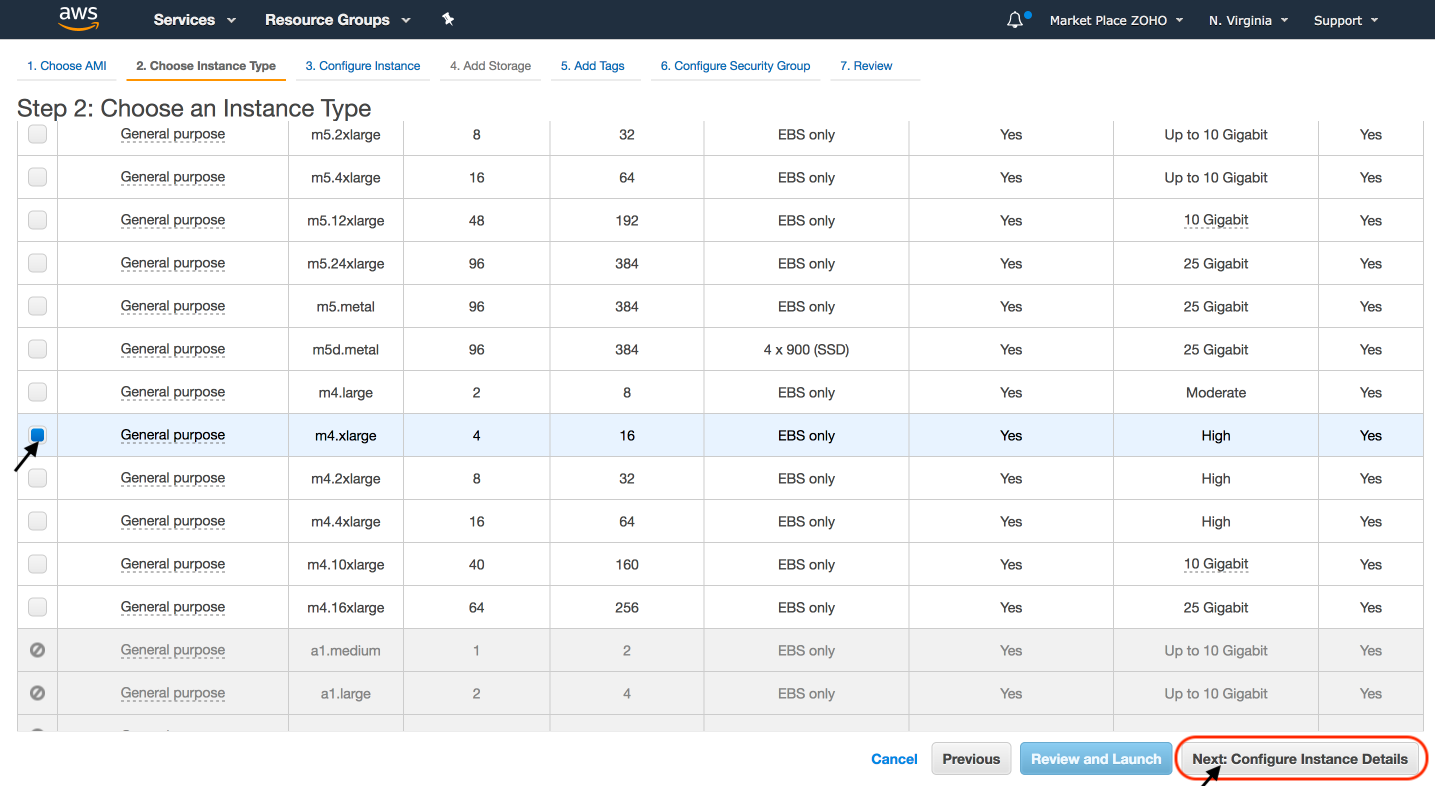
- EC2 instance type m4.xlarge or above. Know more on EC2 instances here
- OS - Windows server 2008 or above
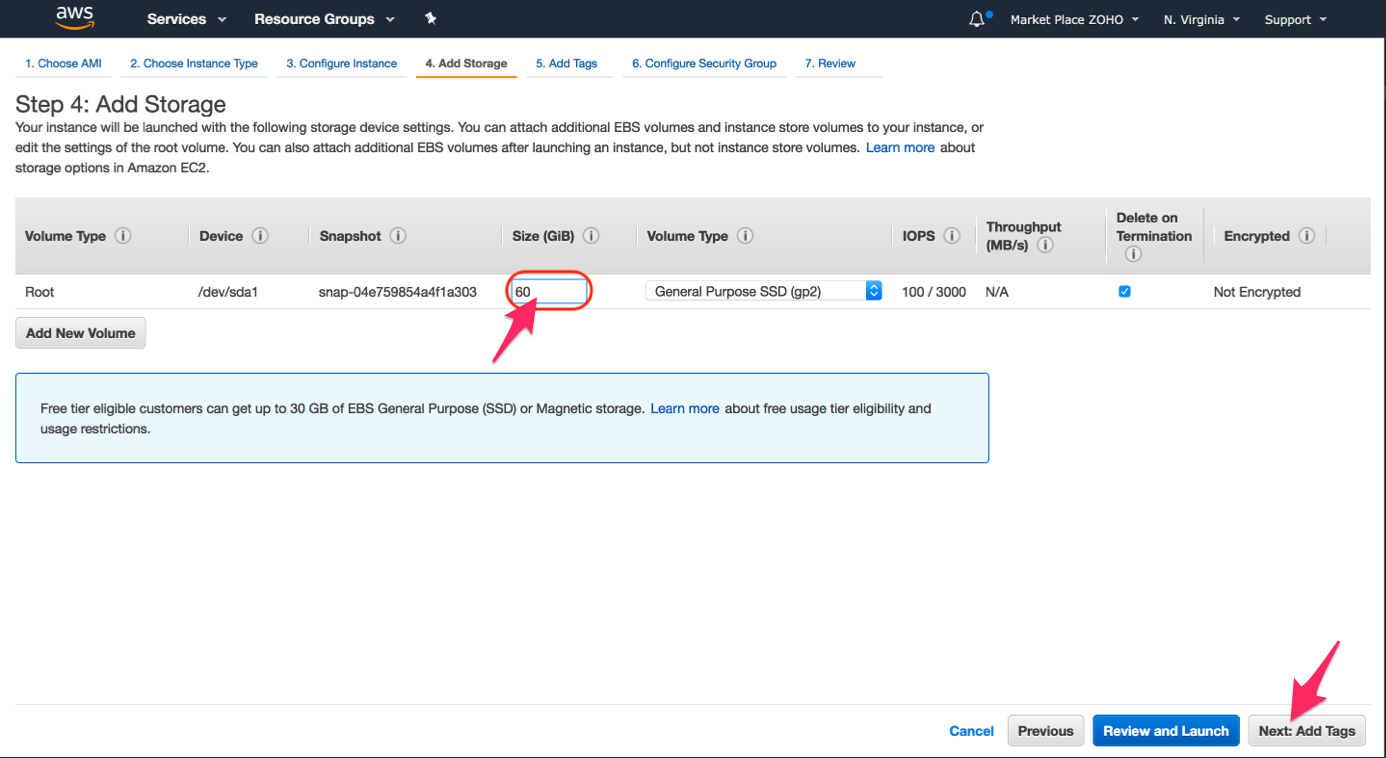
- 60 GB memory space
- The public IP/DNS of the instance should be accessible by the client computers. Ensure that the public IP / DNS is not be blocked by firewall.
Note :
- Your "Public DNS Address" changes when the instance is stopped or terminated.
- Remote Access Plus works based on Client-server model, it is recommended to use an elastic IP address to ensure seamless agent-server communication. Refer here for more info on elastic IP address
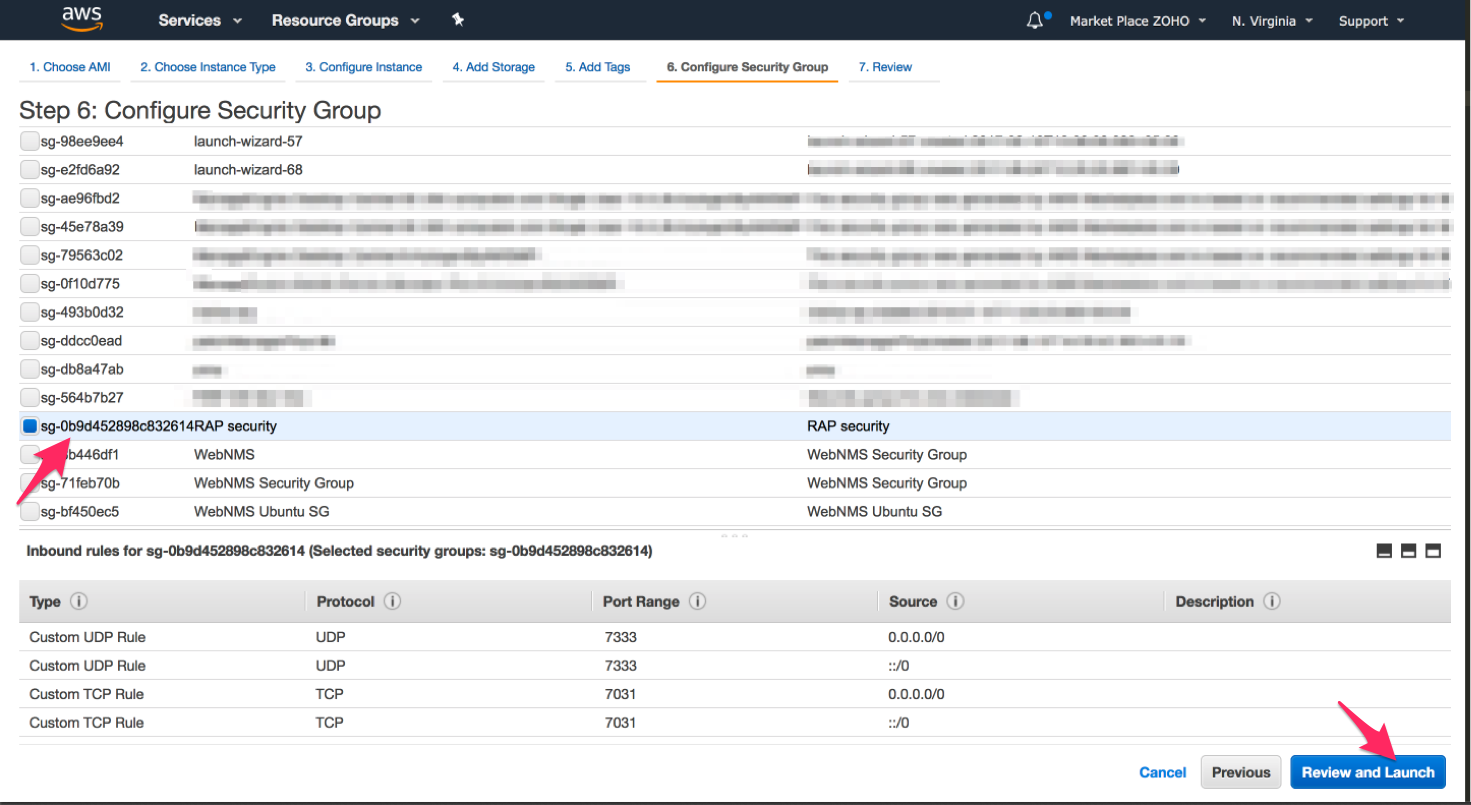
- For the Remote Access Plus agents to seamlessly communicate with the server, ensure to open the required ports at Amazon security groups.
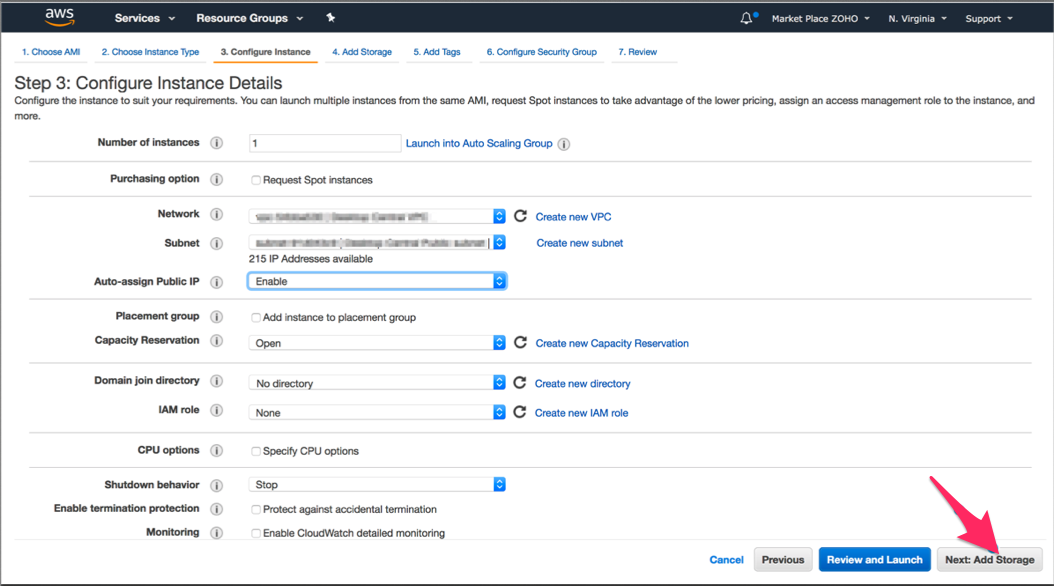
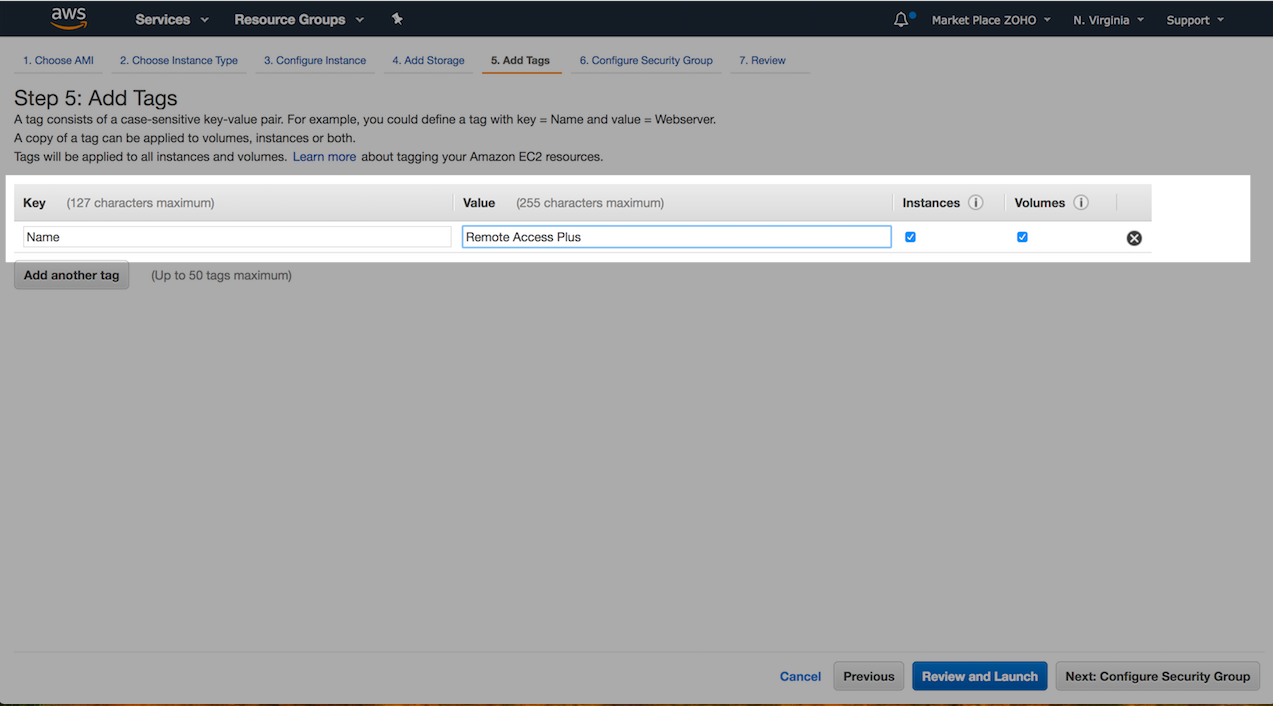
Configure Remote Access Plus at AWS instance
After purchasing your AWS instance, you can install Remote Access Plus server at that instance by following the below steps,
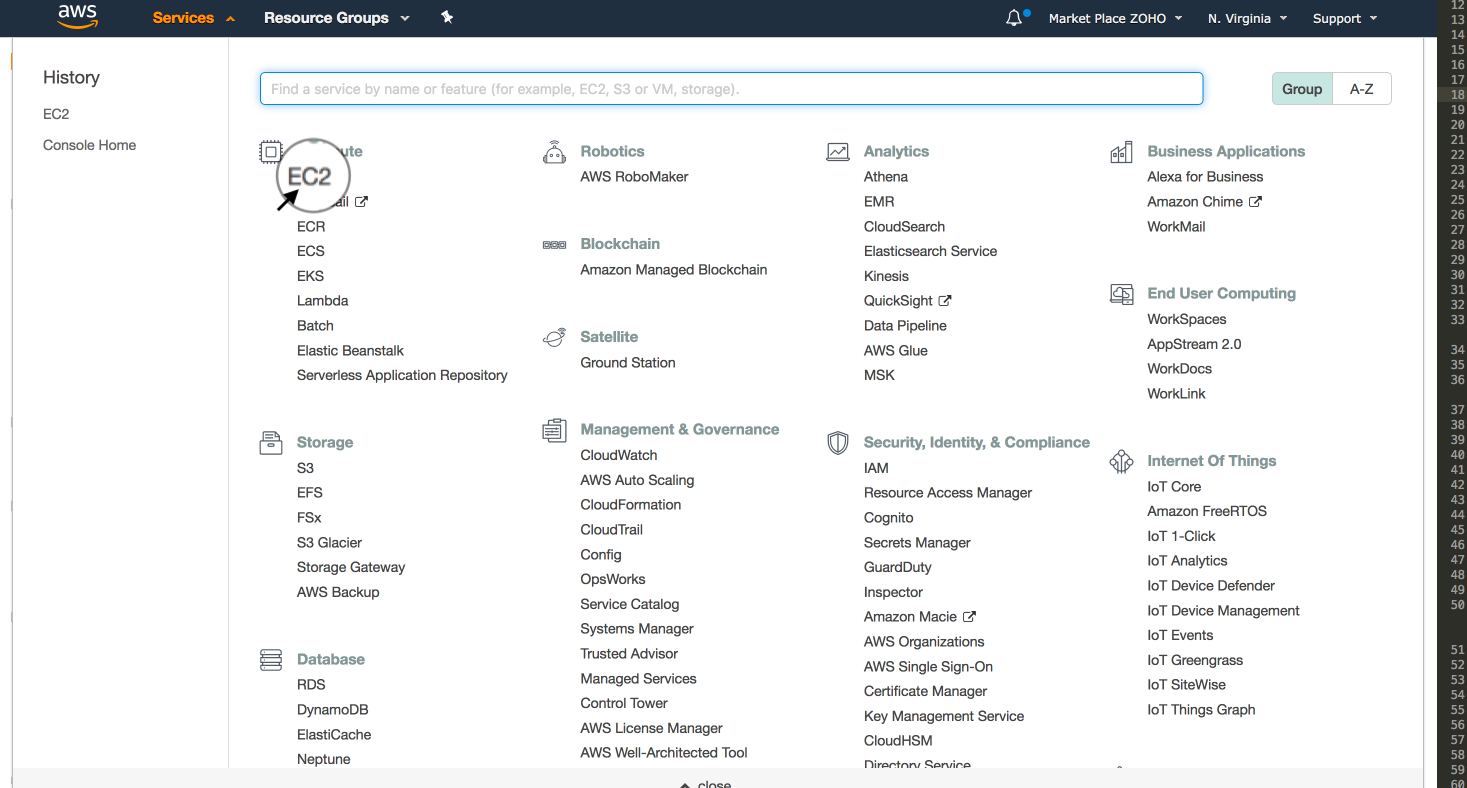
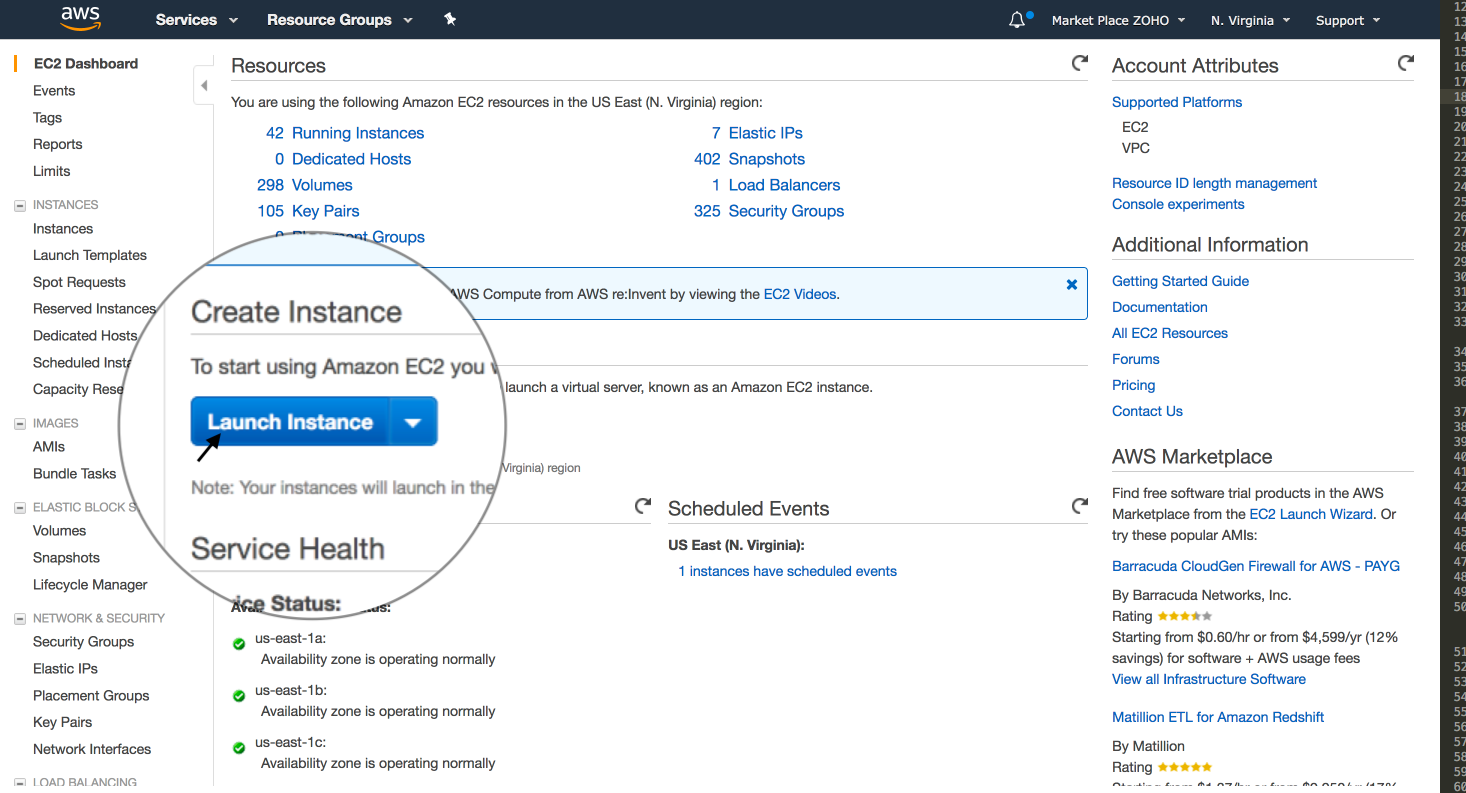
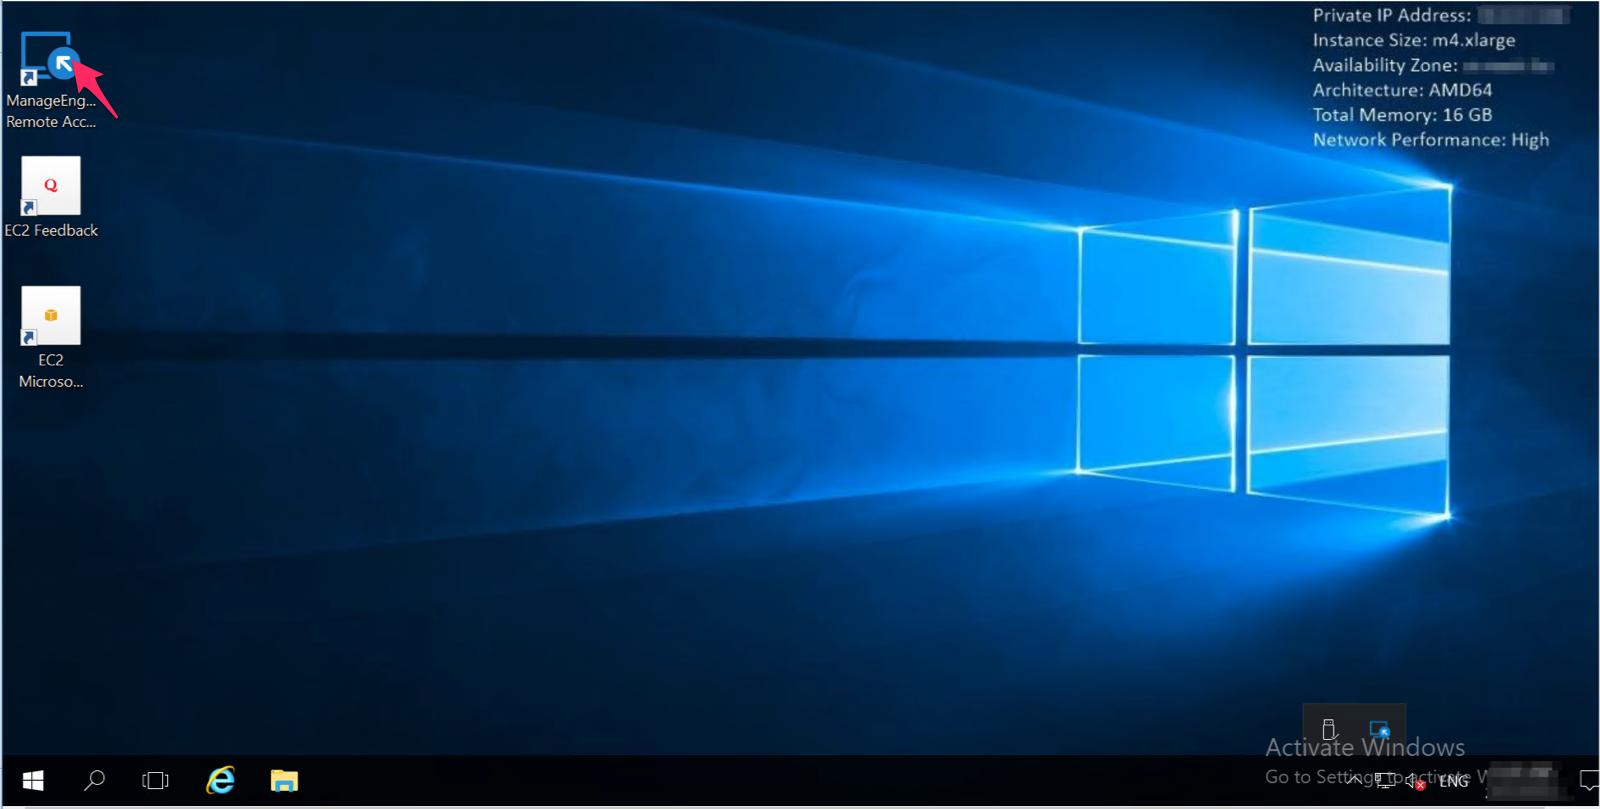
- Remotely connect to your EC2 instance and open the web-browser.
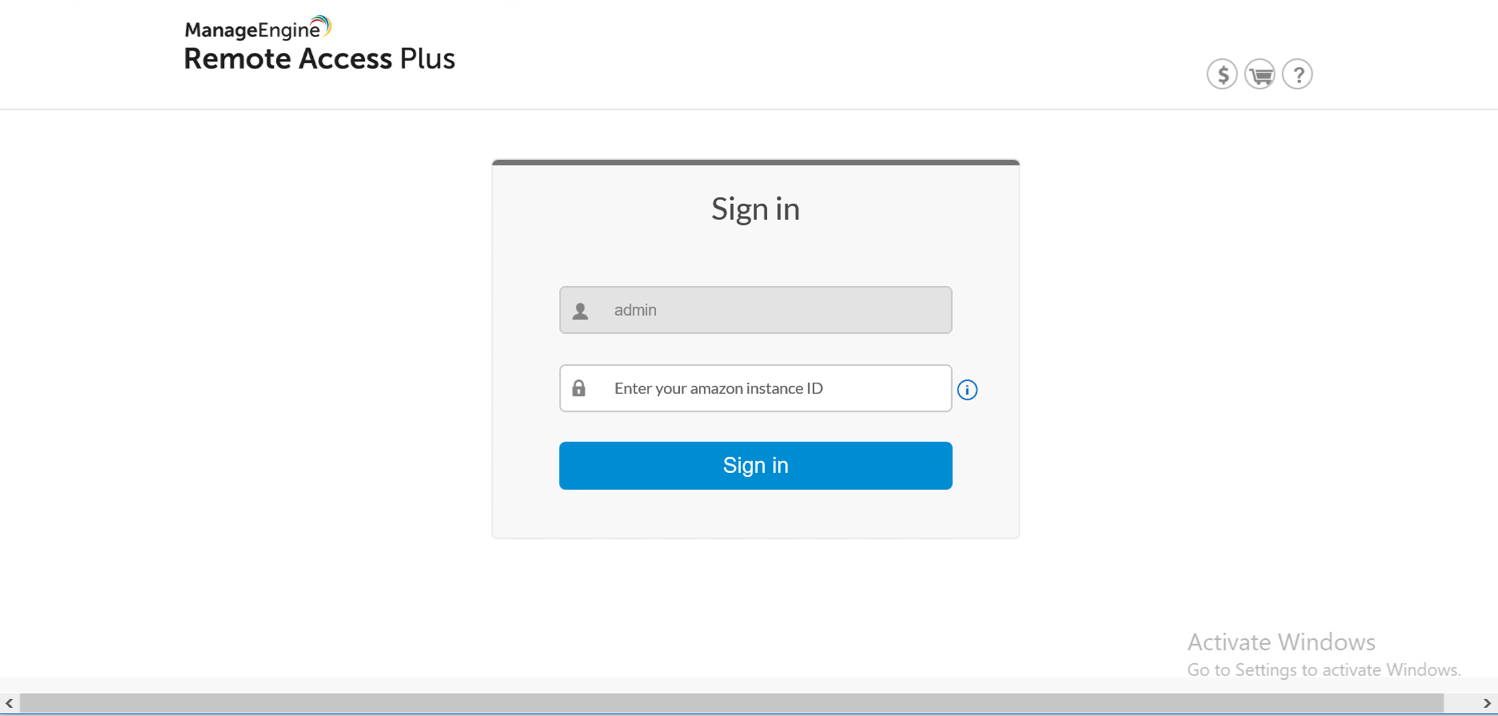
- Now download and install Remote Access Plus.
You've now successfully installed Remote Access Plus at your instance. To start accessing and troubleshooting remote computers, you'll have to deploy agents in computers to be managed. You can install the agent component to remote computers in different ways.
Click on the image to get the step-by-step help