SMTP
This method allows you to create and authenticate a mail server via Basic or OAuth authentication.
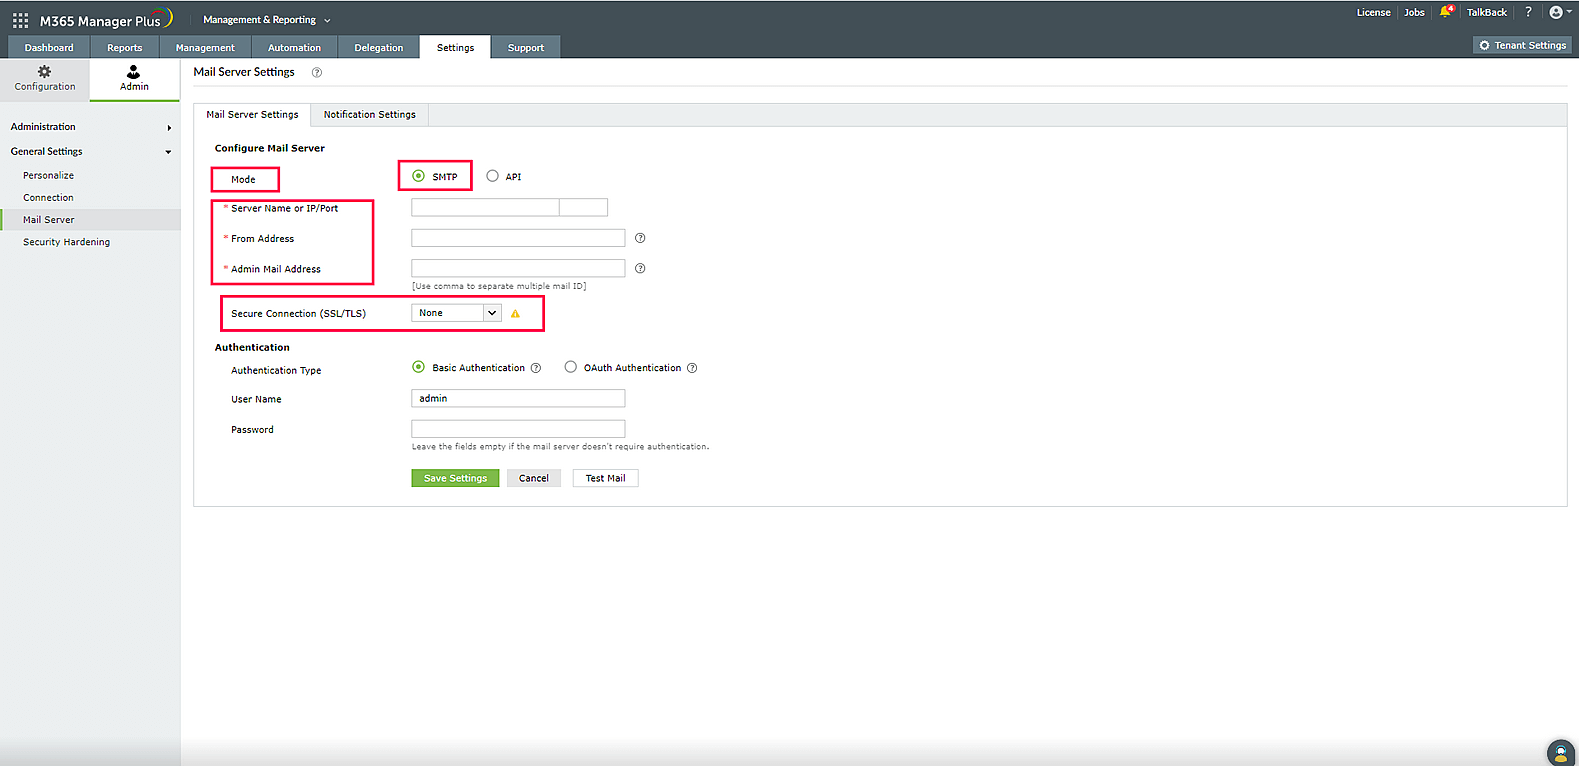
To configure an SMTP mail server:
- In the Mode field, select SMTP.
- Enter your mail server's Server Name or IP and IP/Port number in the respective fields.
- In the From Address field, enter the email address that will be used to send out notifications, alerts, etc., from M365 Manager Plus.
- In the Admin Mail Address field, enter the email addresses, separated by commas, to which the email notifications must be sent.
- Select the connection security type from the available options under Secure Connection (SSL/TLS): SSL, TLS, or None.
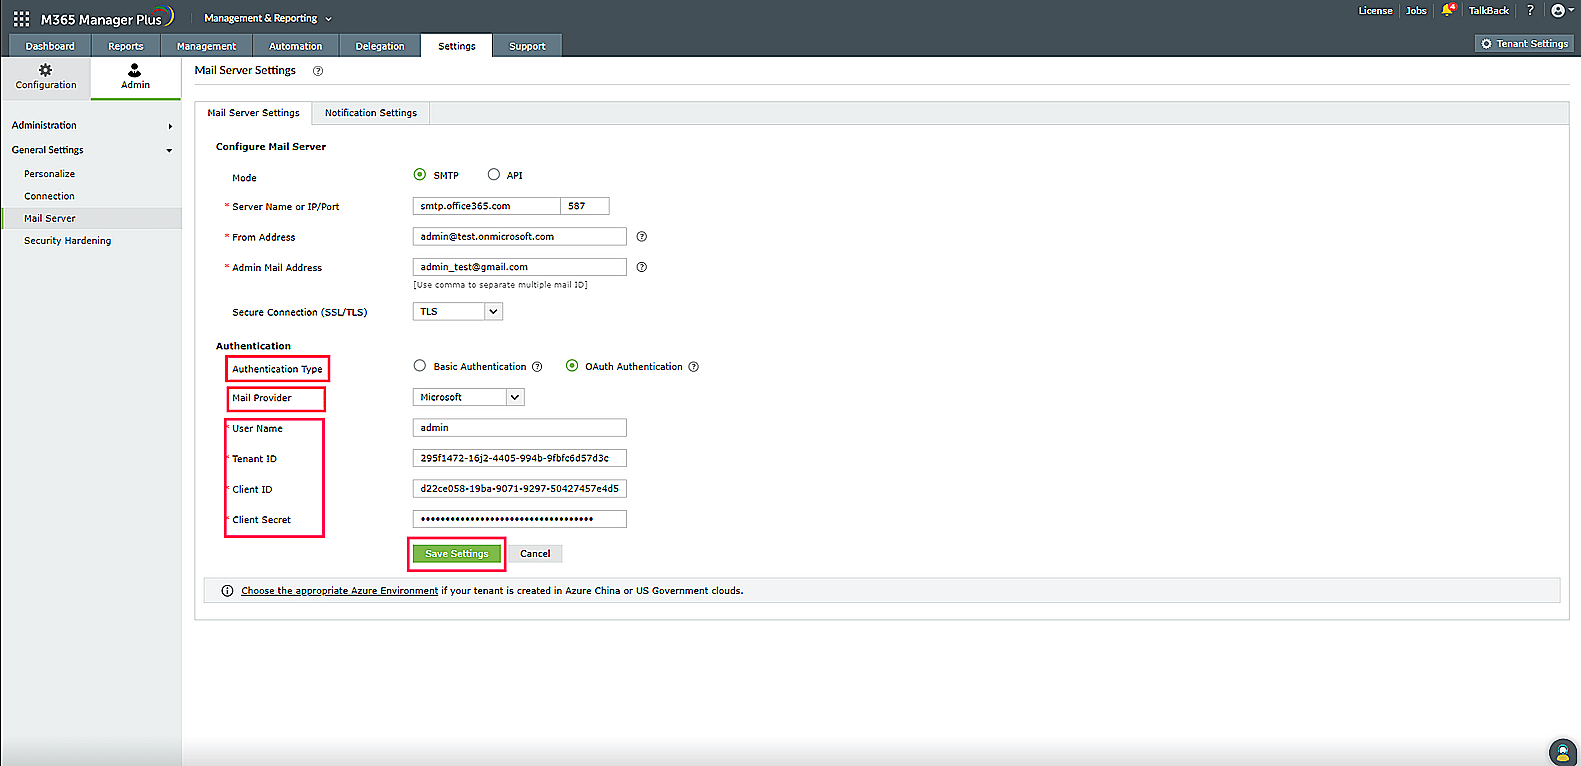
- Select the authentication type from the options provided:
- Basic Authentication
- Enter the Username and Password used to access the mail server.
- If your mail server does not require authentication, leave the fields empty.
- OAuth Authentication
- Select your Mail Provider from the available options: Microsoft or Google.
- If your mail provider is Microsoft, provide the Username, Tenant ID, Client ID, and Client Secret in the respective fields. In M365 Manager Plus, the Azure Cloud is considered the default Azure environment. You can modify the Azure environment setting by clicking the Choose the appropriate Azure Environment link.
Note: To learn how to find your Azure tenant ID, client ID, and client Secret, click here.
- If your mail provider is Google, provide the Username, Client ID, and Client Secret in the respective fields.
Note: To learn how to find your Google client ID and client secret, click here.
- If you have selected Basic Authentication in step 6, you can have M365 Manager Plus send a test email by clicking the Test Mail button.
- If you have selected OAuth Authentication in step 6, you will be redirected to the authorization server login page of the respective mail provider where you must log in with your administrator credentials and provide consent.
- Click Save Settings to save your mail server configuration.
- The mail server is now created and authenticated. You can now use this server to send automated emails using notification templates from M365 Manager Plus.
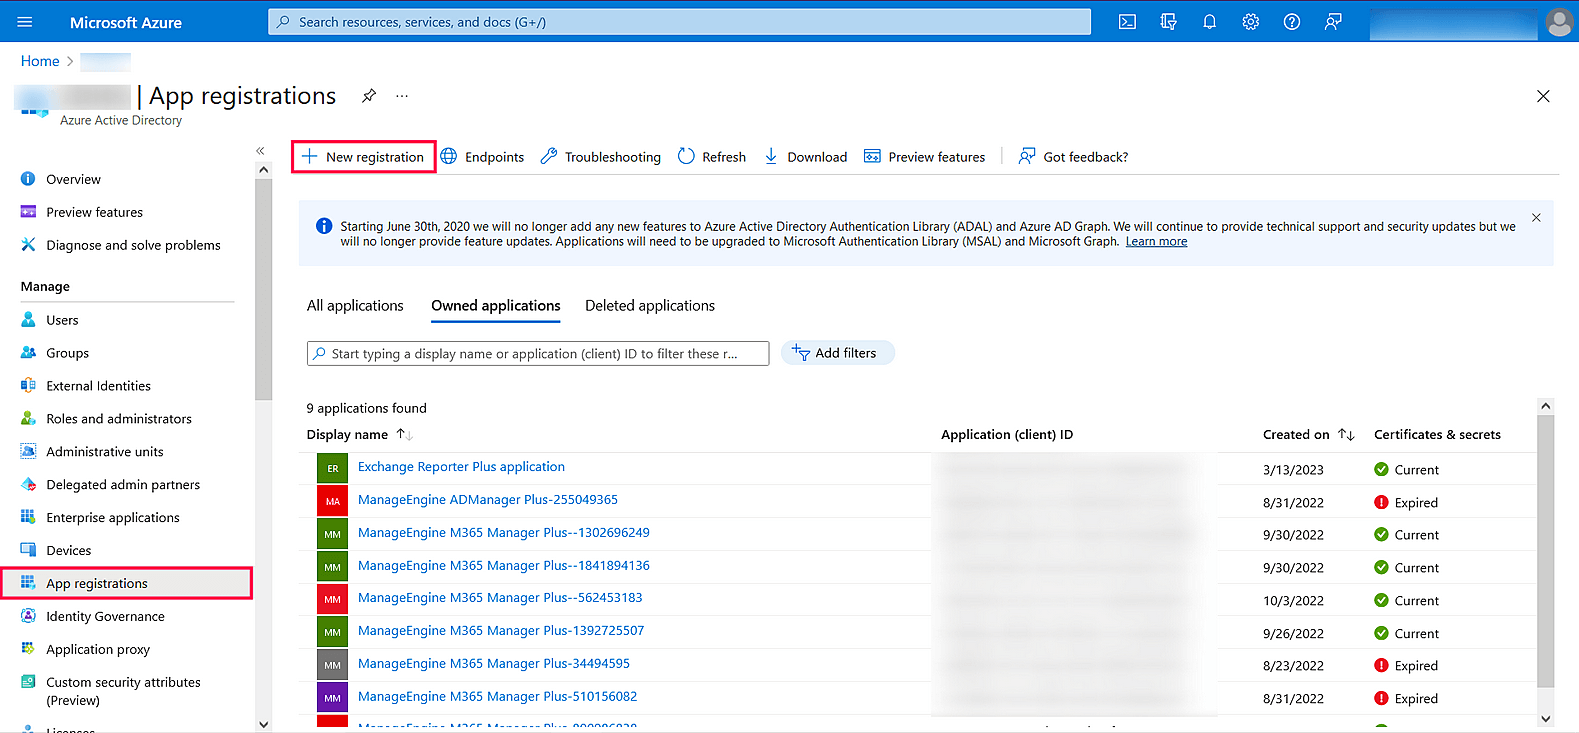
Steps to find your Azure tenant ID, client ID, and client secret for SMTP mail server configuration
- Log in to portal.azure.com.
- Open Azure Active Directory.
- Under Manage, click App registrations → New registration.
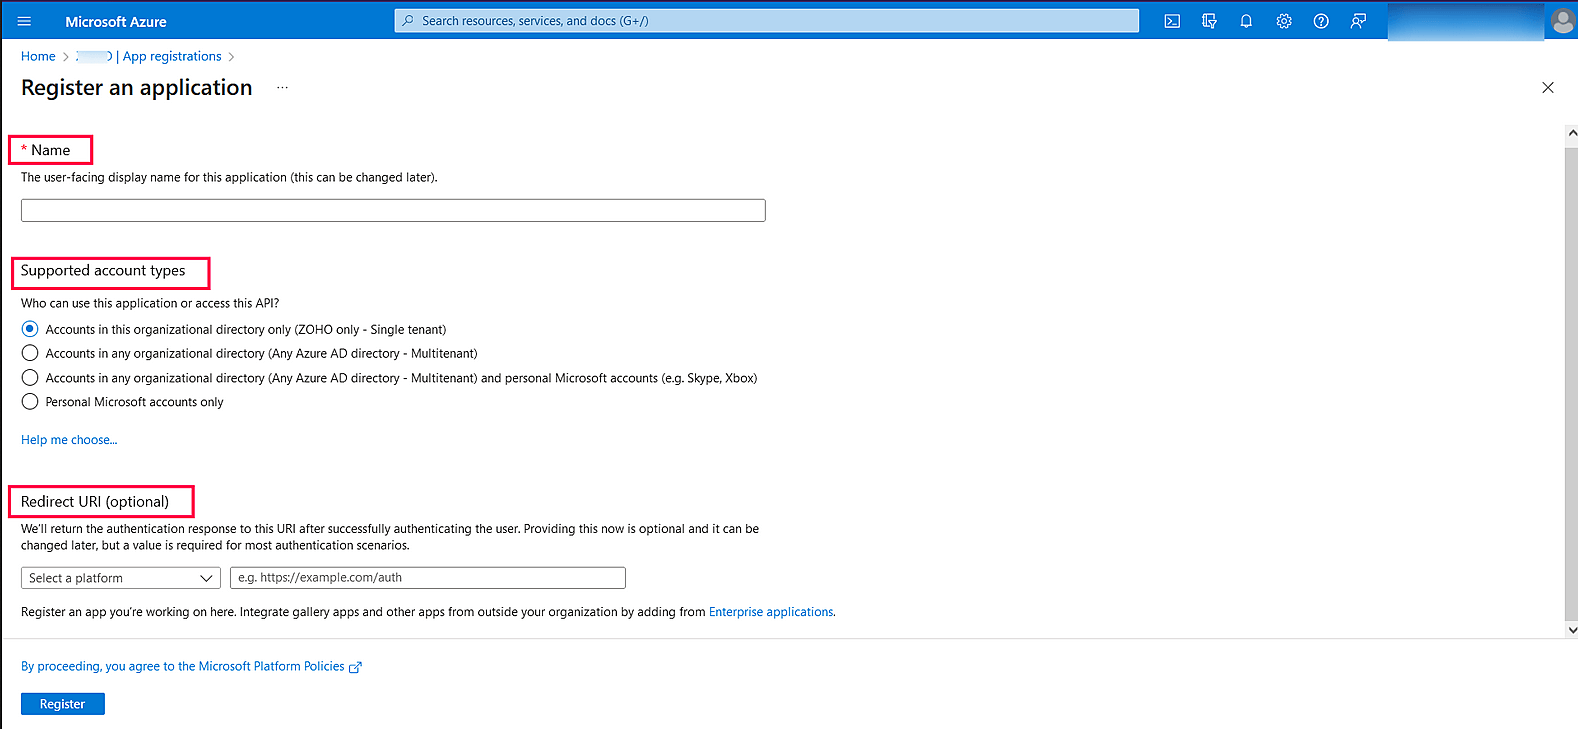
- Provide a Name of your choice and select the Supported account types.
- In the Redirect URI field, select web and paste the following OAuth link:
You can also add the localhost redirect API in the following syntax:
protocol://localhost:port_number/RestAPI/WC/OAuthSetting
For example: http://localhost:8365/RestAPI/WC/OAuthSetting
Note: If you have only added the localhost as the redirect URI, you must access the product using the localhost to configure the mail server.
- Click Register to register the application.
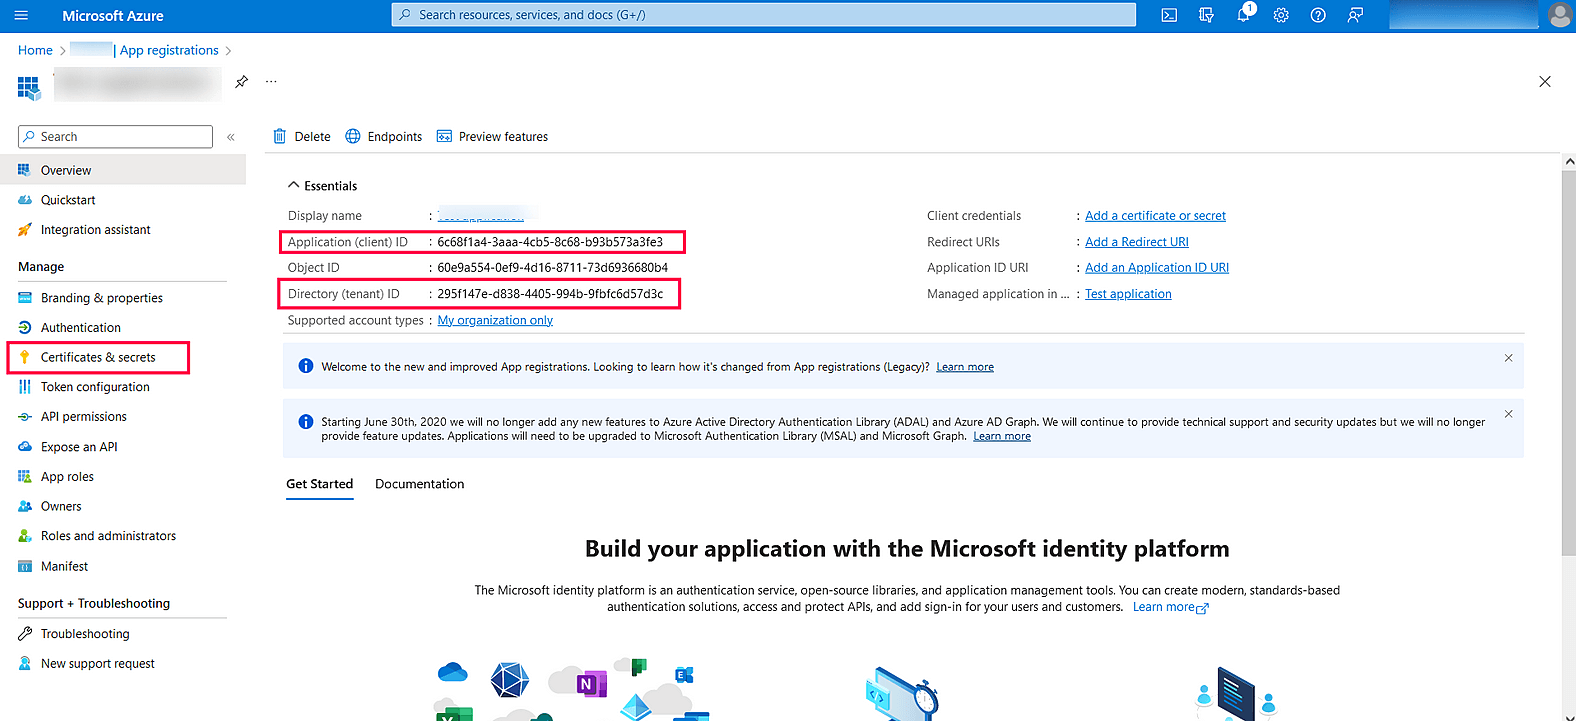
- On the next page, you will find the application details. Copy the Client ID and Tenant ID.
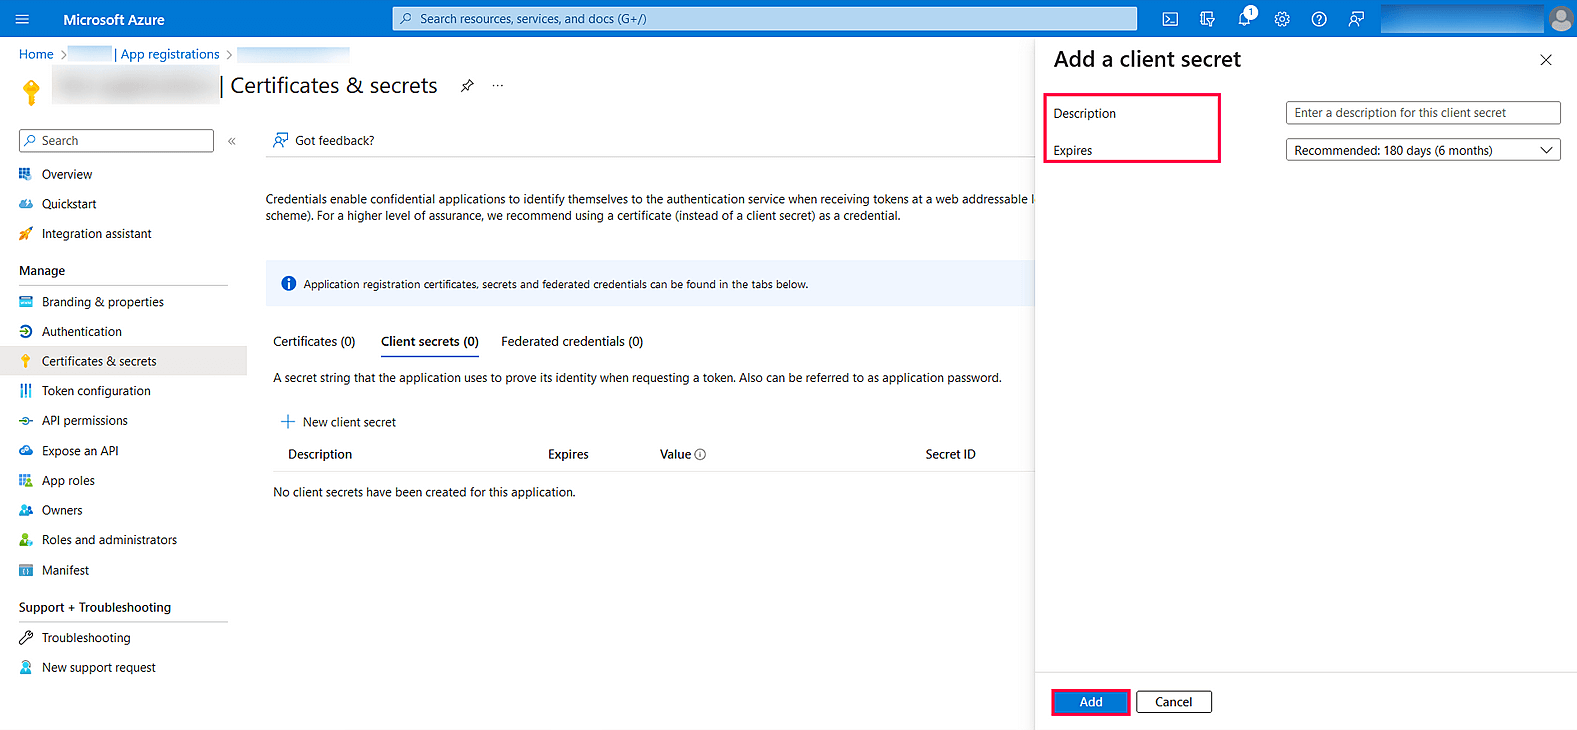
- From the left pane, click Certificates & secrets → New client secret.
- Provide a Description for the client secret, and in the Expires field, choose the validity of the client secret and click Add.
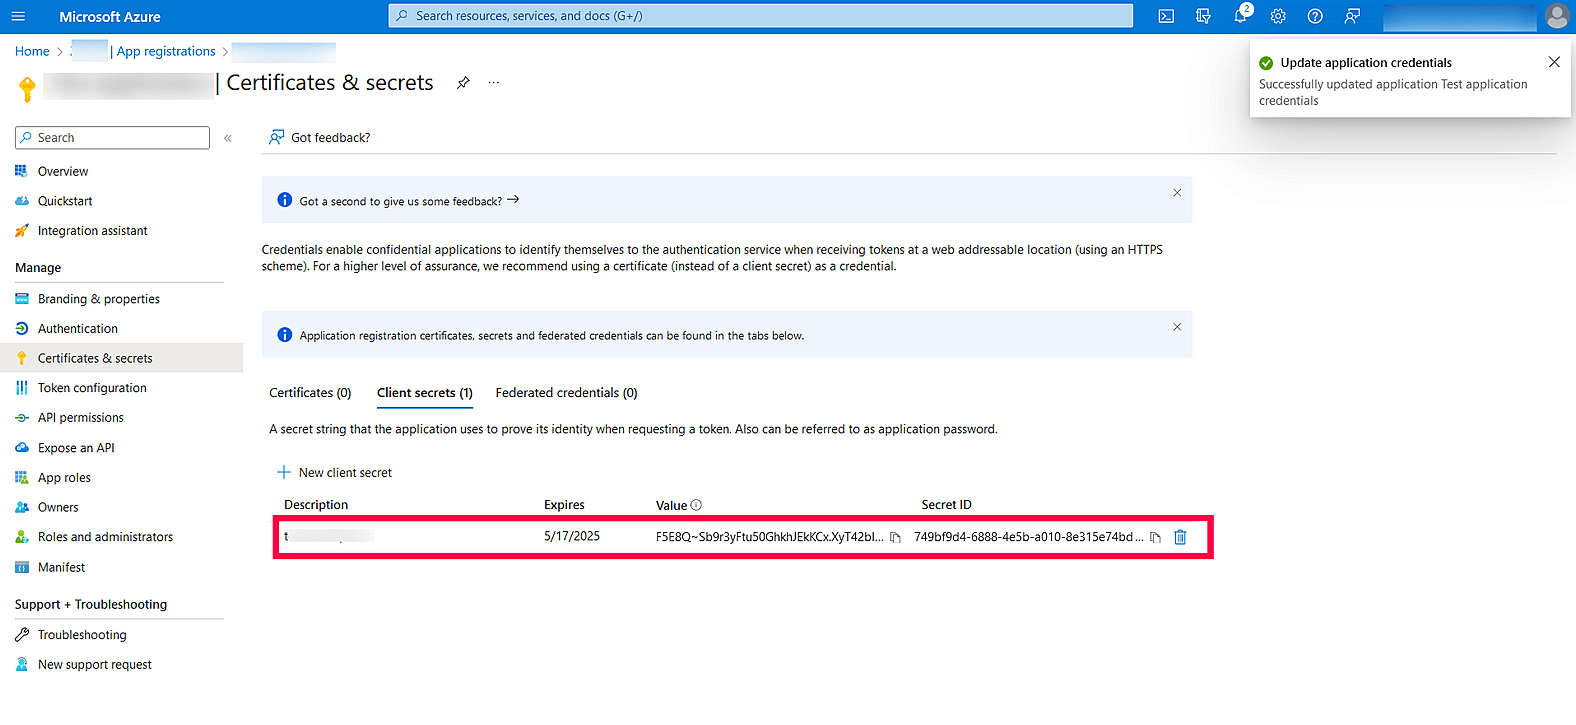
- The client secret will be generated. Copy the string displayed under Value.
- If you already have an application configured, add the redirect URI for the same and then copy the client secret from the application page.
- Click Save Settings in M365 Manager Plus and complete the authorization prompt.
Steps to find your Google Workspace client ID and client secret for SMTP mail server configuration
- Log in to console.developers.google.com.
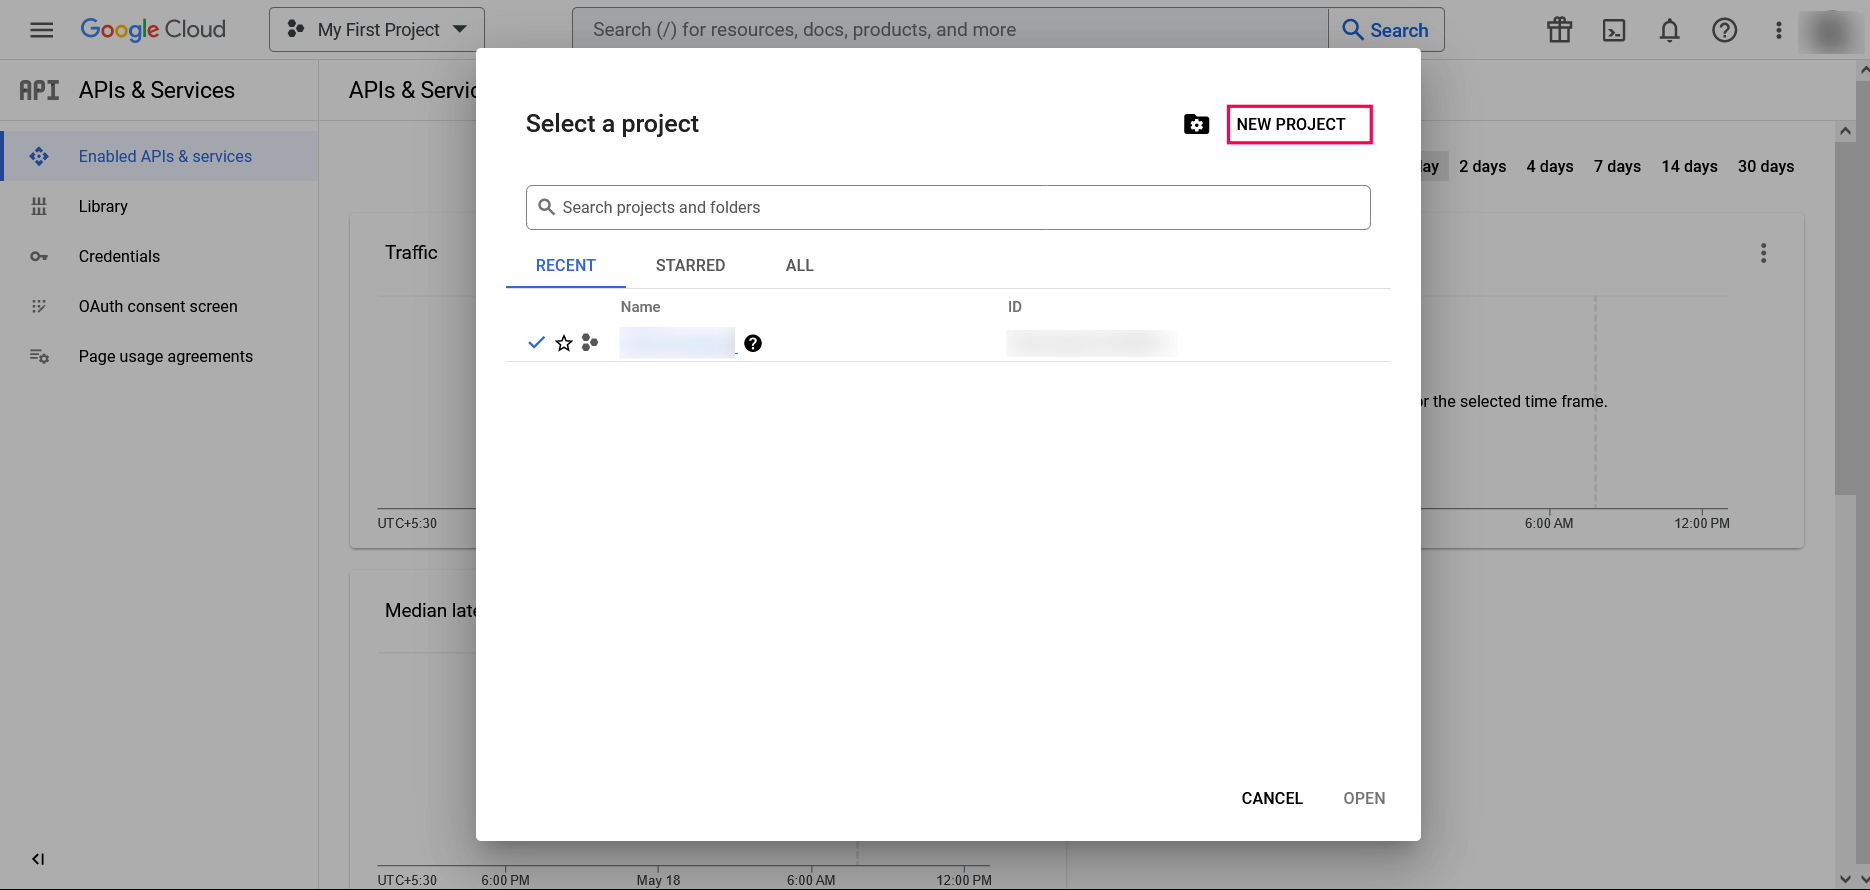
- In the dashboard, select any existing project or click New Project from the project dropdown list.
Note: If you are selecting an existing project, skip to step 10.
- Enter the Project Name. In the Location field, click BROWSE and select the parent organization. Click CREATE.
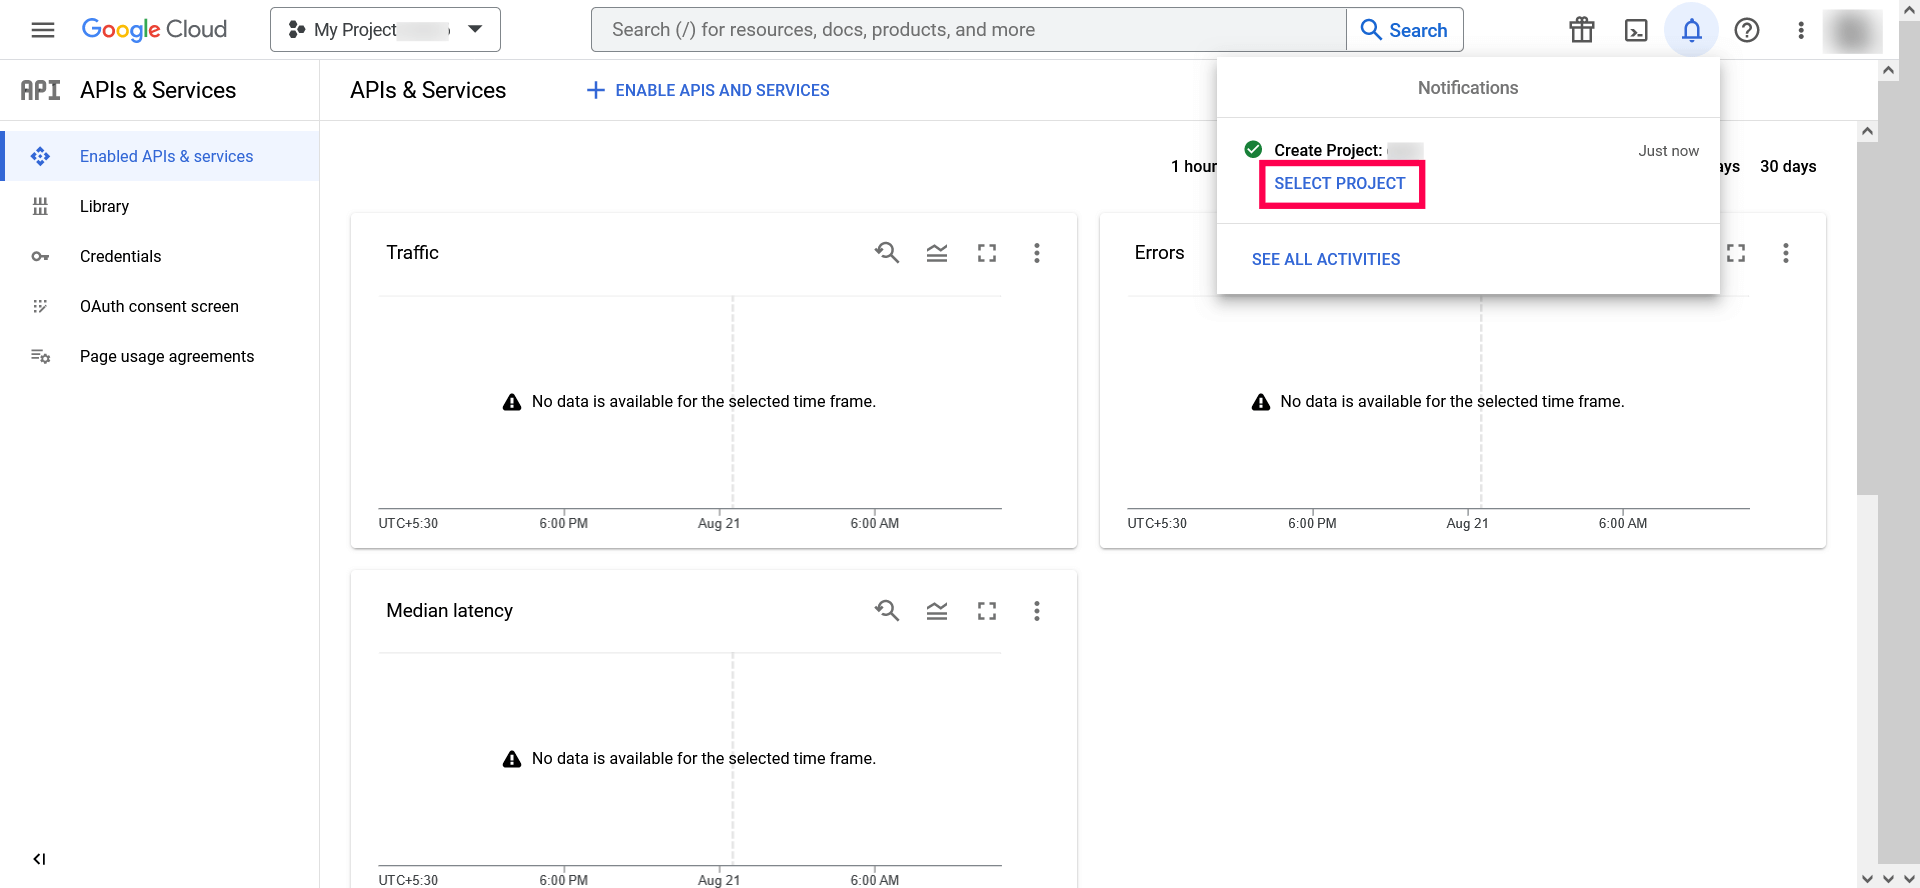
- Once the project has been created, click SELECT PROJECT from the notification prompt.
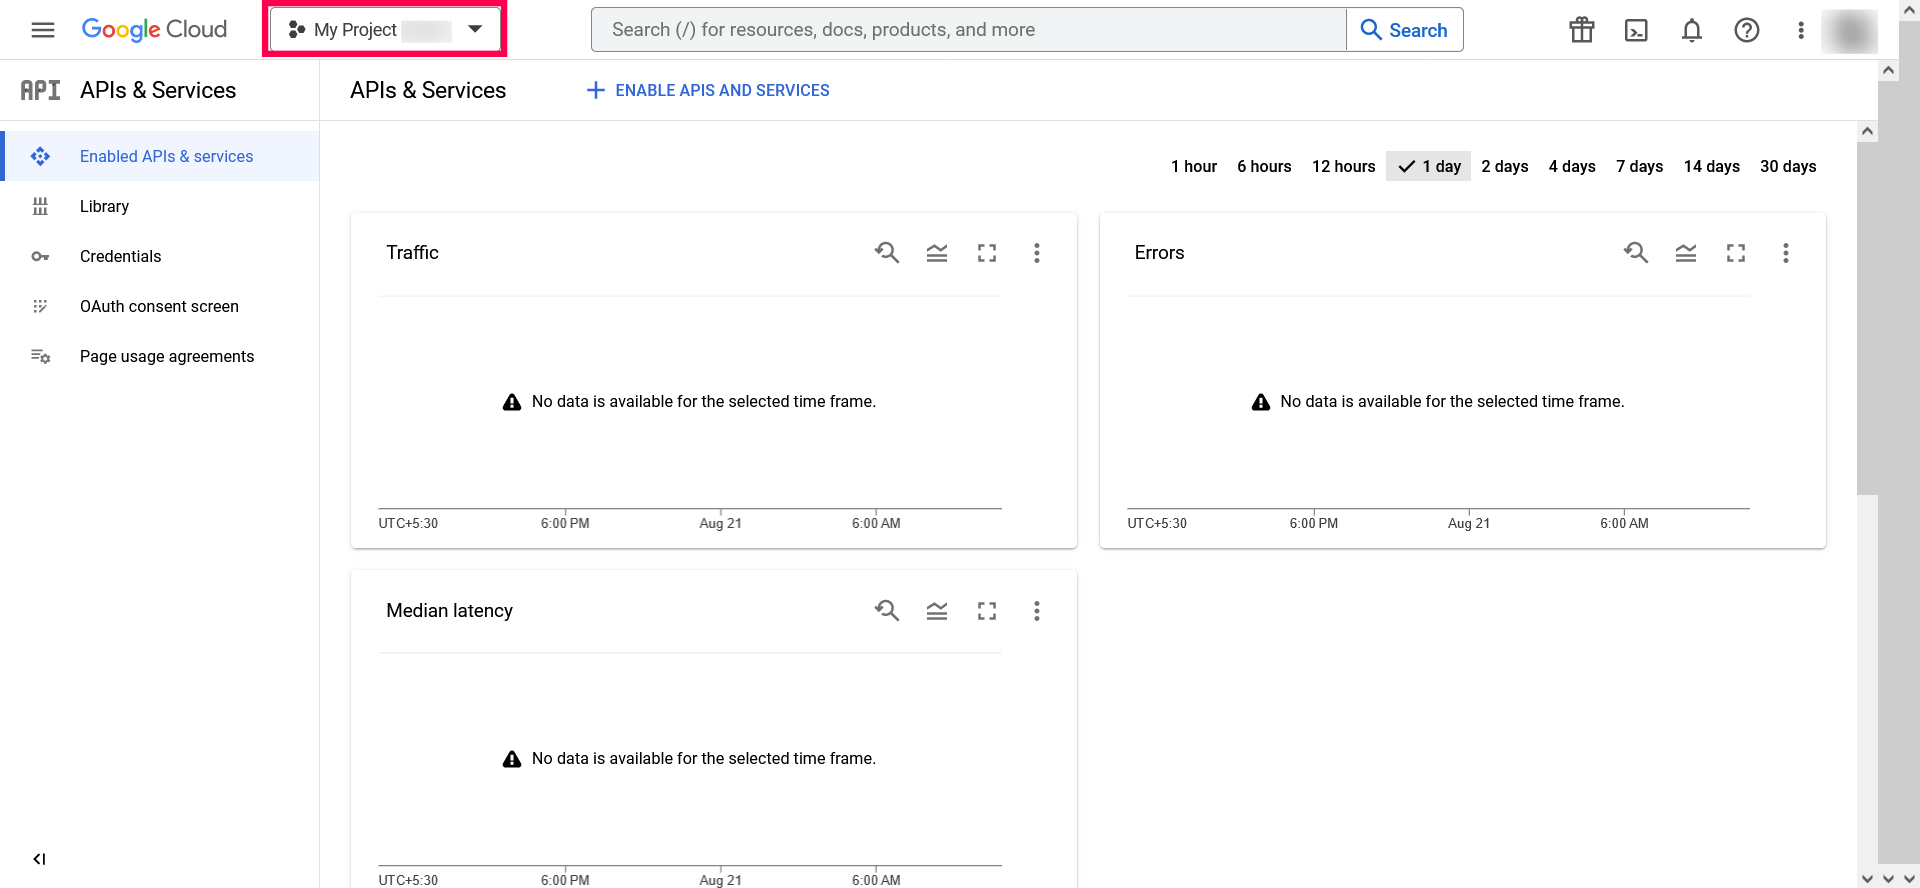
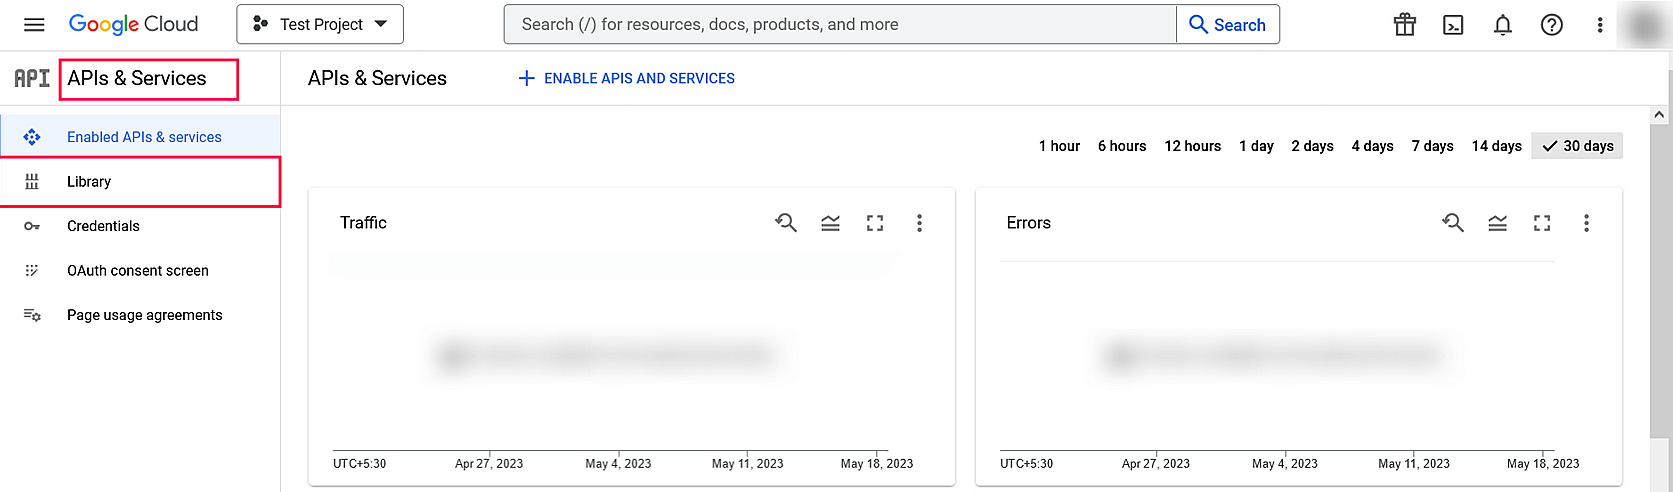
- In the left pane of the displayed project details page, go to APIs & services → Library.
- From the available list of APIs, select Gmail API and click Enable. You can use the search option to find the API quickly.
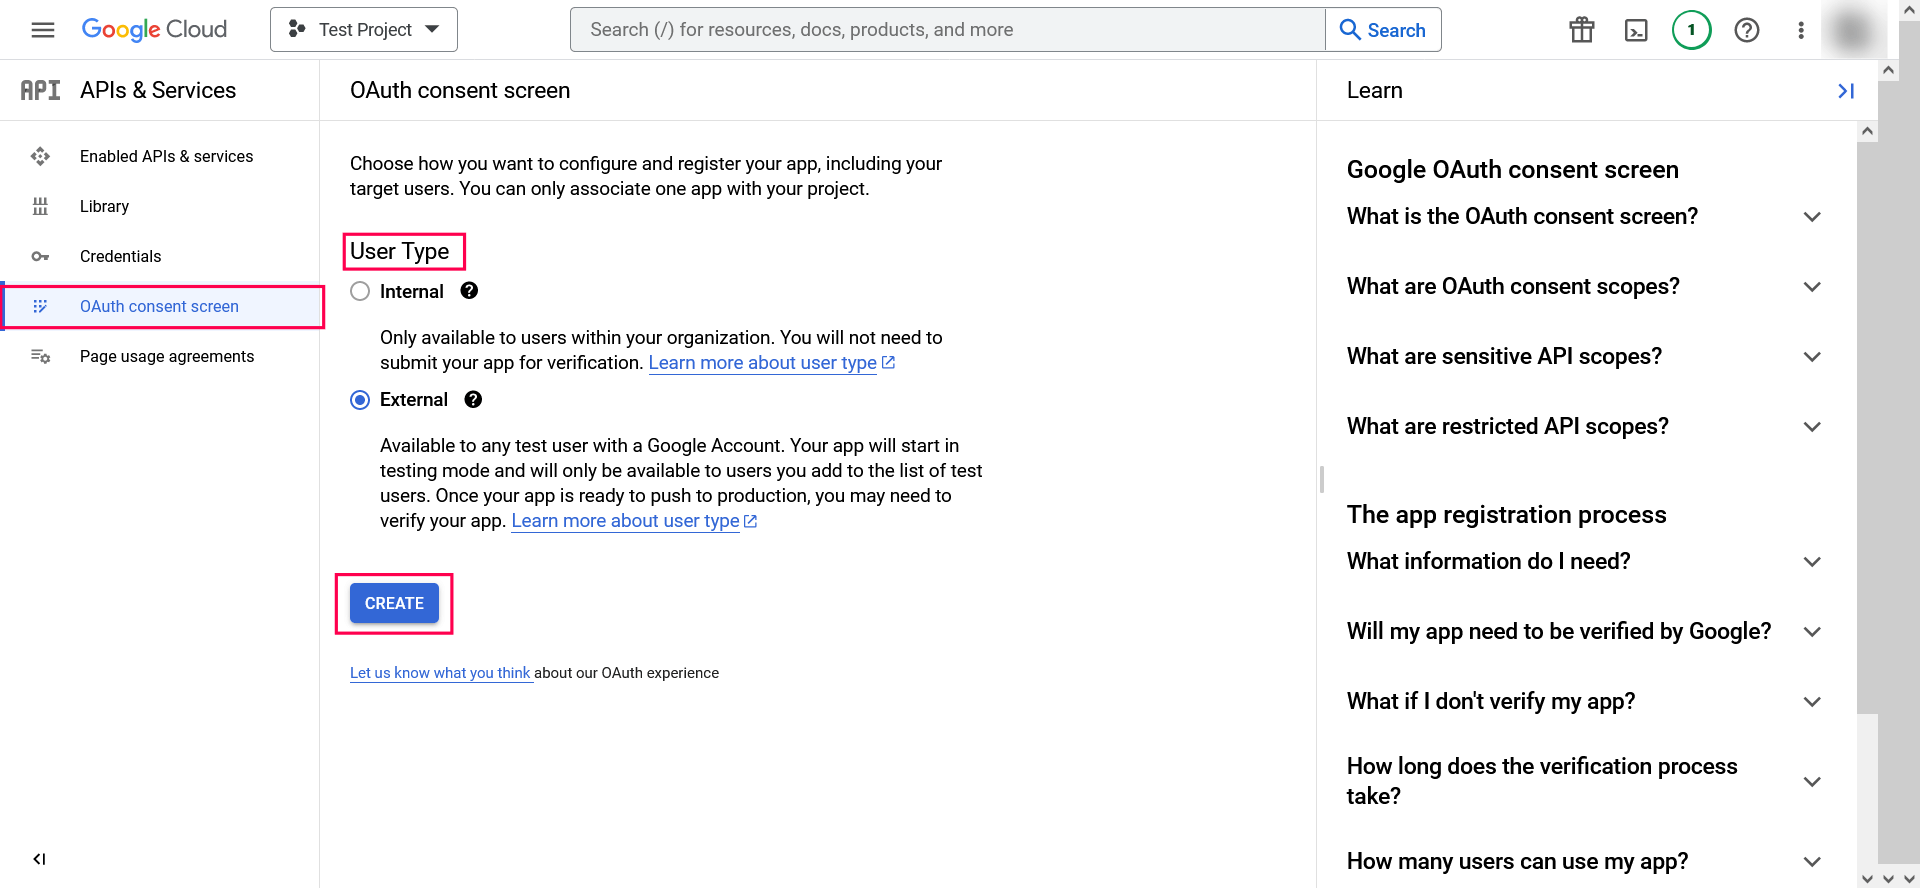
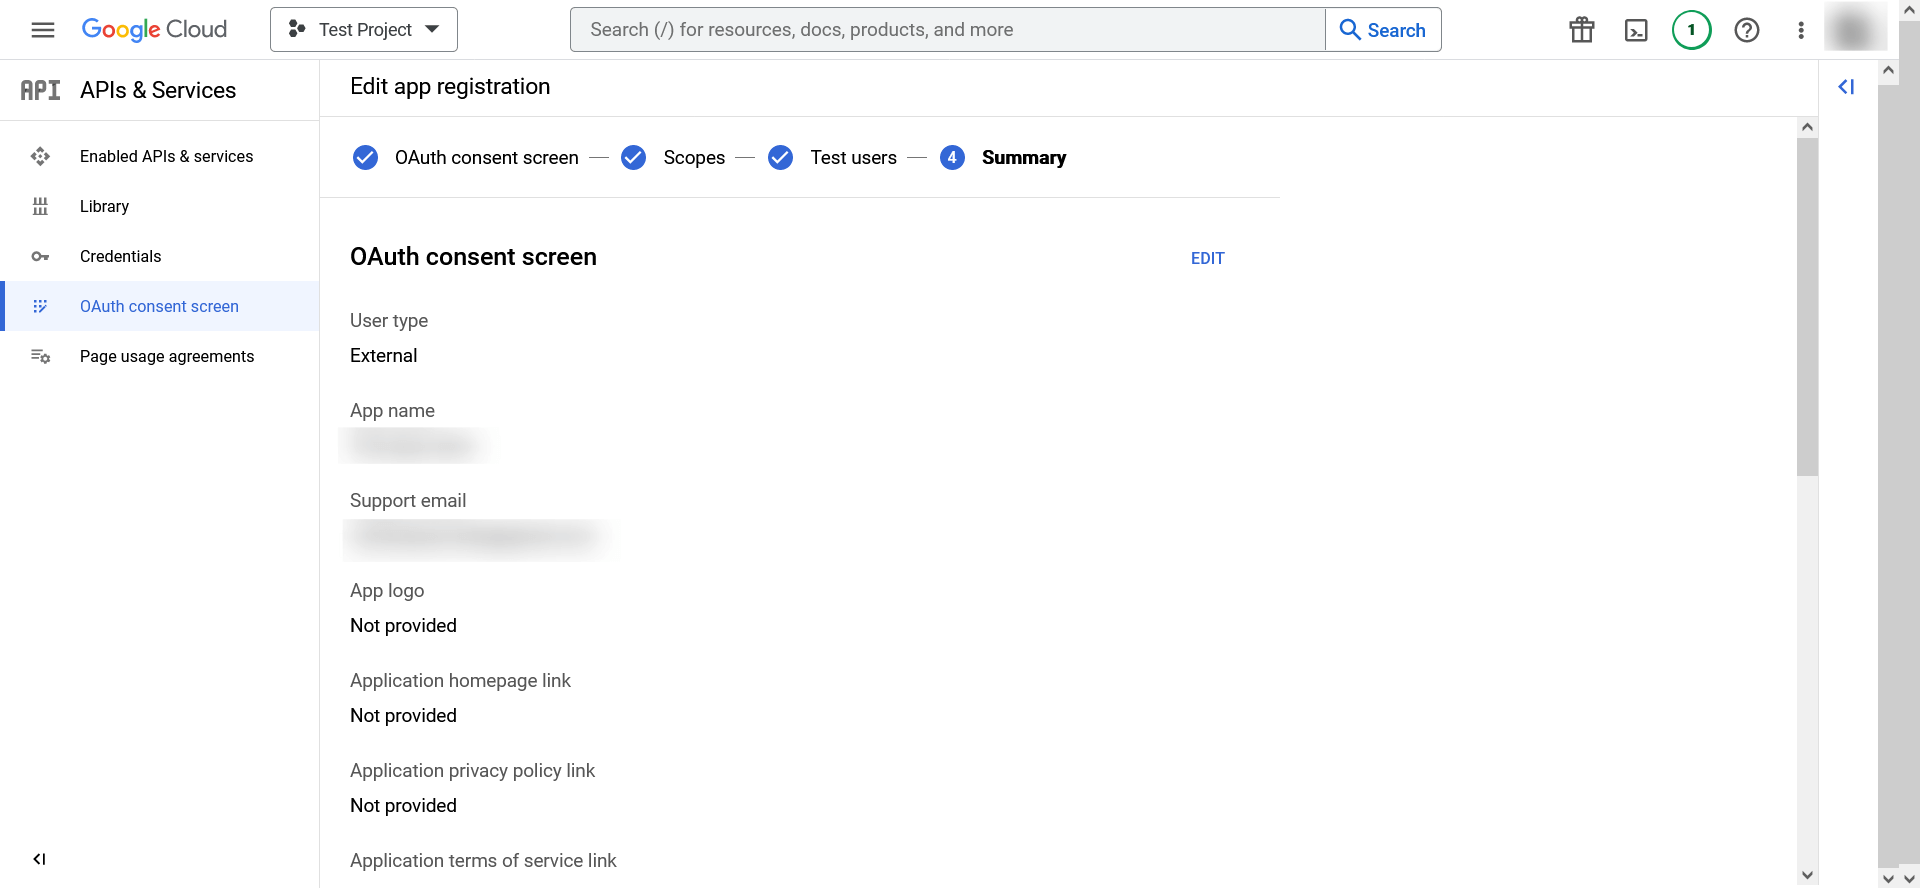
- In the left pane, click the OAuth consent screen and choose the User Type. If you don't have a Google Workspace account, choose External.
- Click CREATE.
- In the Edit App Registration screen, provide the Application Name, Application Logo, and the email address of your help desk, developer information, and click Save and Continue.
- In the Scopes screen, click Add or Remove Scopes, choose Gmail API (https://mail.google.com/), and click Update.
- Click Save and Continue.
- In the Test Users screen, add a test user and click Save and Continue.
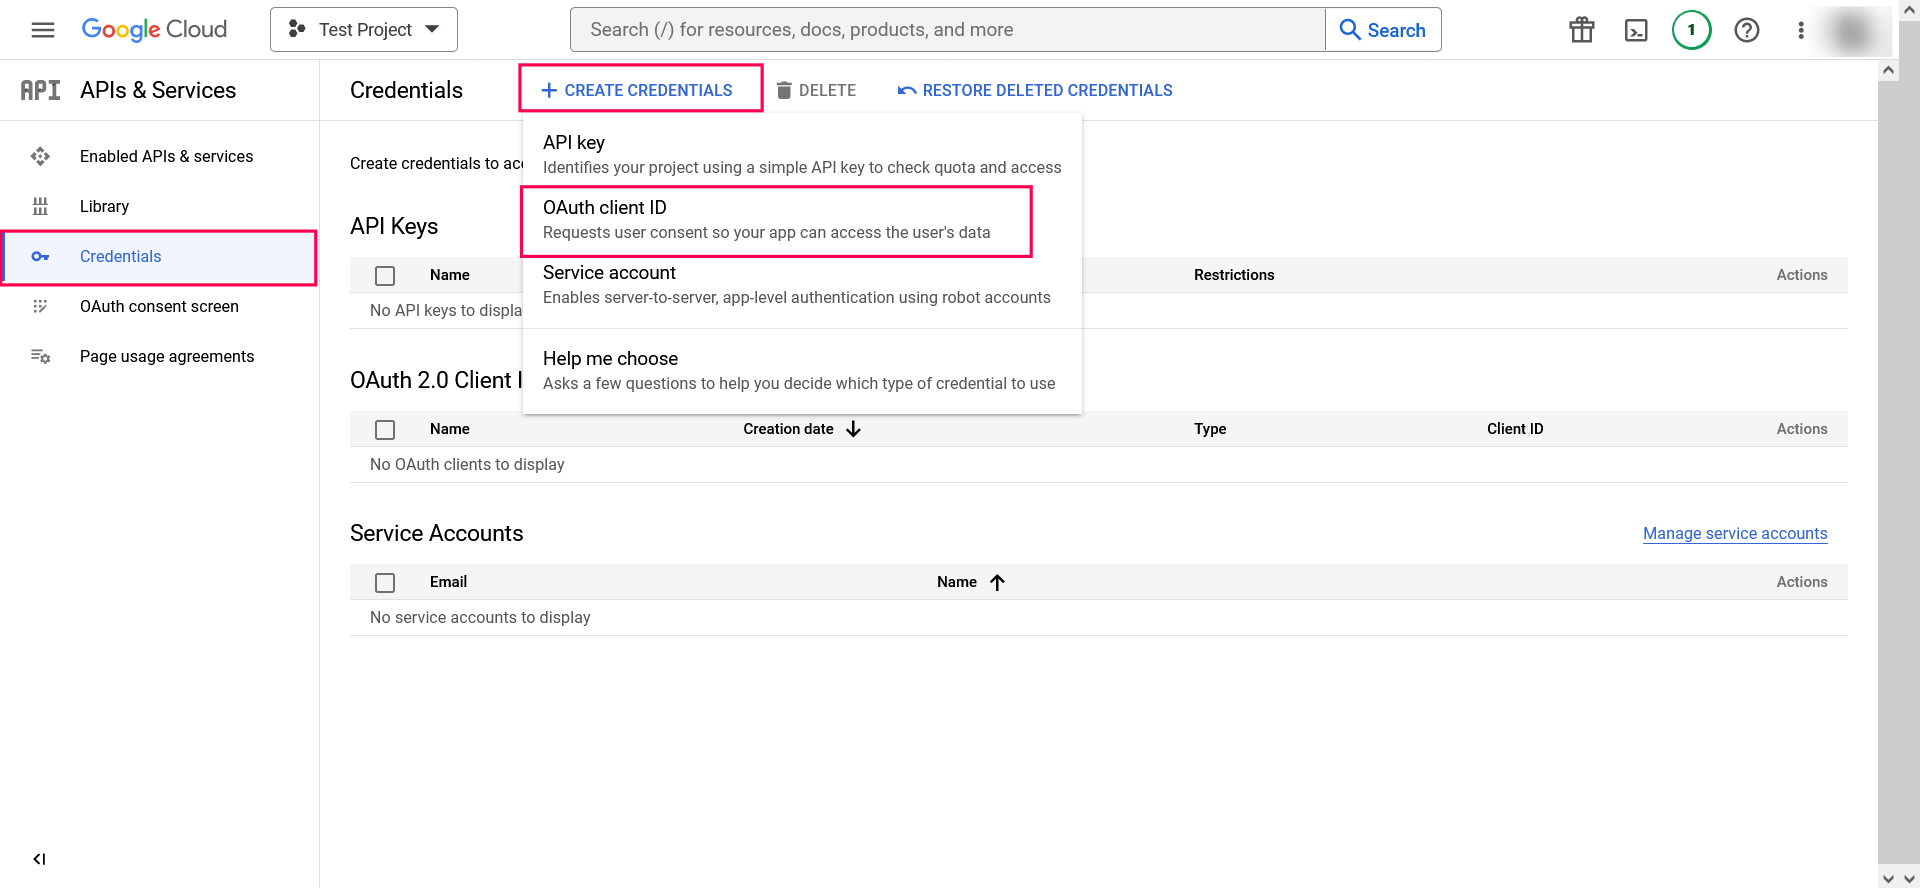
- In the left pane, click Credentials → CREATE CREDENTIALS → OAuth client ID.
- Select the application type as Web Application. Provide a name of your choice.
- In the Authorized Redirect URIs, paste the following OAuth link:
You can also add localhost redirect API in the following pattern:
protocol://localhost:port_number/context_if_any/RestAPI/WC/OAuthSetting
For example: http://localhost:8365/RestAPI/WC/OAuthSetting
Note: If you have only added localhost as the redirect URI, you must access the product using localhost to configure the mail server.
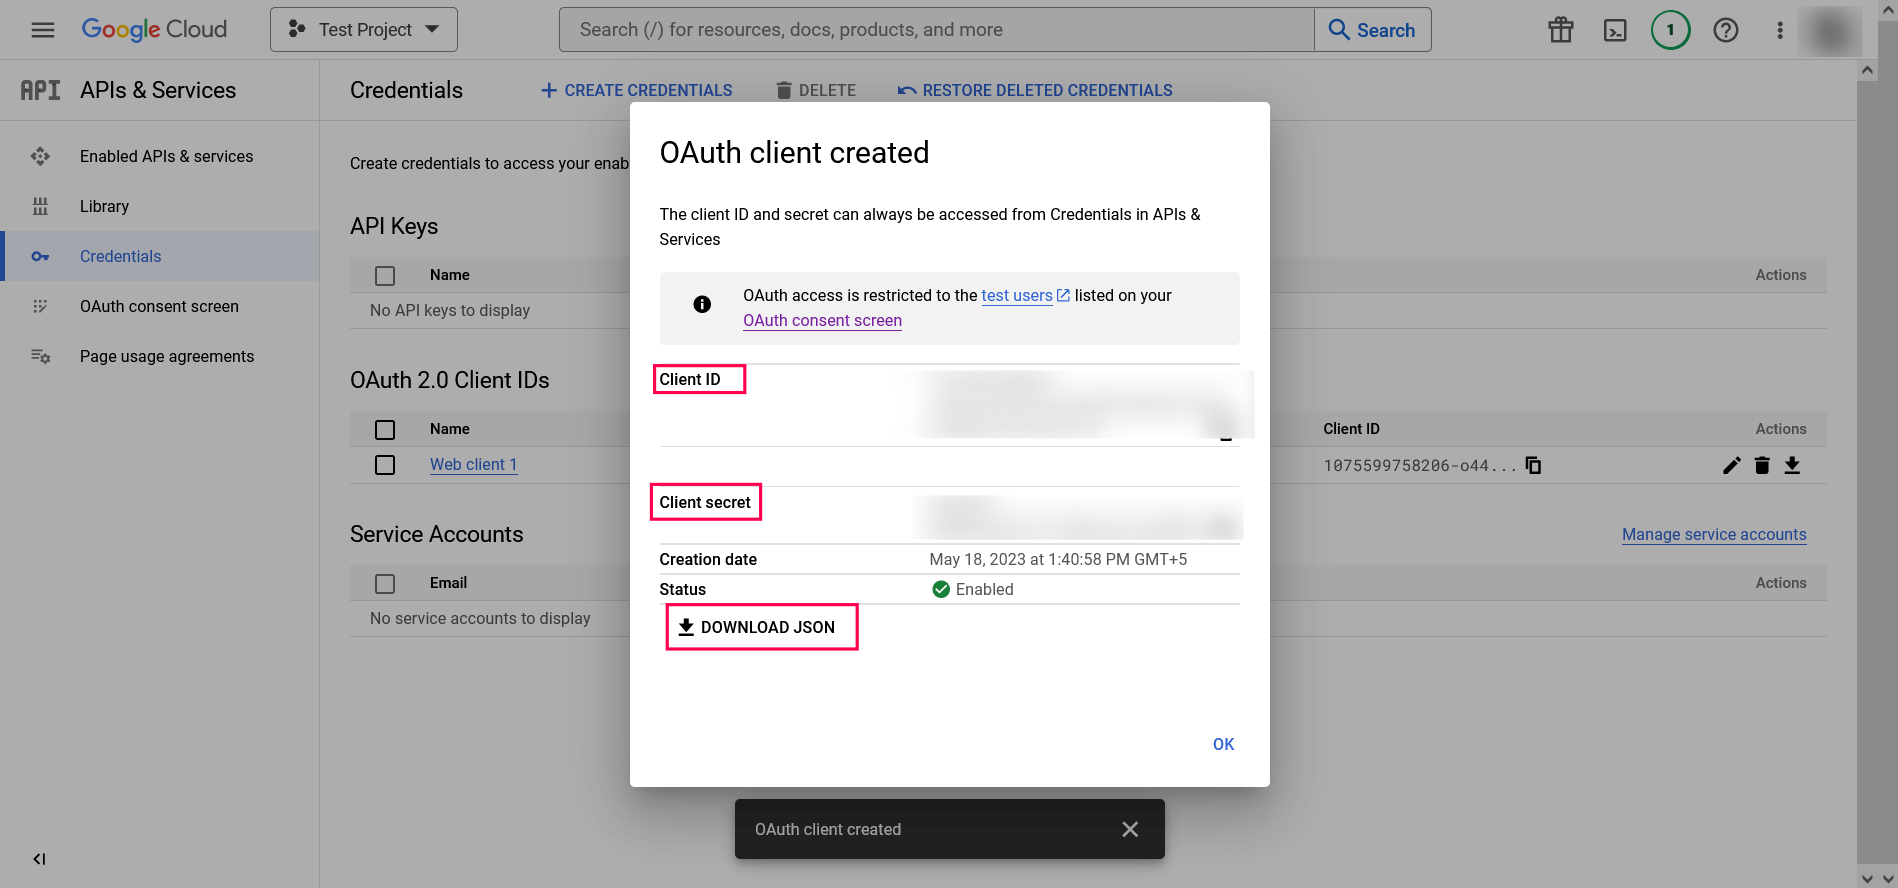
- Click CREATE.
- Click DOWNLOAD JSON to download the file containing the authorization server details. Copy the Client ID and Client secret displayed on the screen.
- You can now paste the copied client ID and client secret in their respective fields while configuring OAuth authentication for your mail server.

 ADManager Plus
 ADAudit Plus
 ADSelfService Plus
 M365 Manager Plus