In EventLog Analyzer, an agent might be required in one of the following two scenarios:
If you want to monitor the files in Windows file servers.
If there are any RPC connectivity issues between the log source and the EventLog Analyzer server.
Installation of Windows agent application is mandatory to collect Windows eventlogs for EventLog Analyzer deployed on Linux operating systems.
Supported operating systems:
EventLog Analyzer agent can be installed and run on the following operating systems
Windows Client OS: Windows XP and Above
Windows Server OS: Windows Server 2003 and Above
Linux:
NOTE: The following Linux distributions are listed as supported operating systems exclusively for File Integrity Monitoring (FIM) in Linux. This does not apply to general Linux log collection.
Linux RedHat RHEL
Linux SuSE
Linux Fedora
Linux CentOS
Linux Ubuntu
Linux Debian
Installing the EventLog Analyzer agent
Note: For additional information on what is needed in order for Windows agent to operate properly, click here.
The following are the different ways in which you can deploy the EventLog Analyzer agent in devices:
To install the EventLog Analyzer agent using the product console,
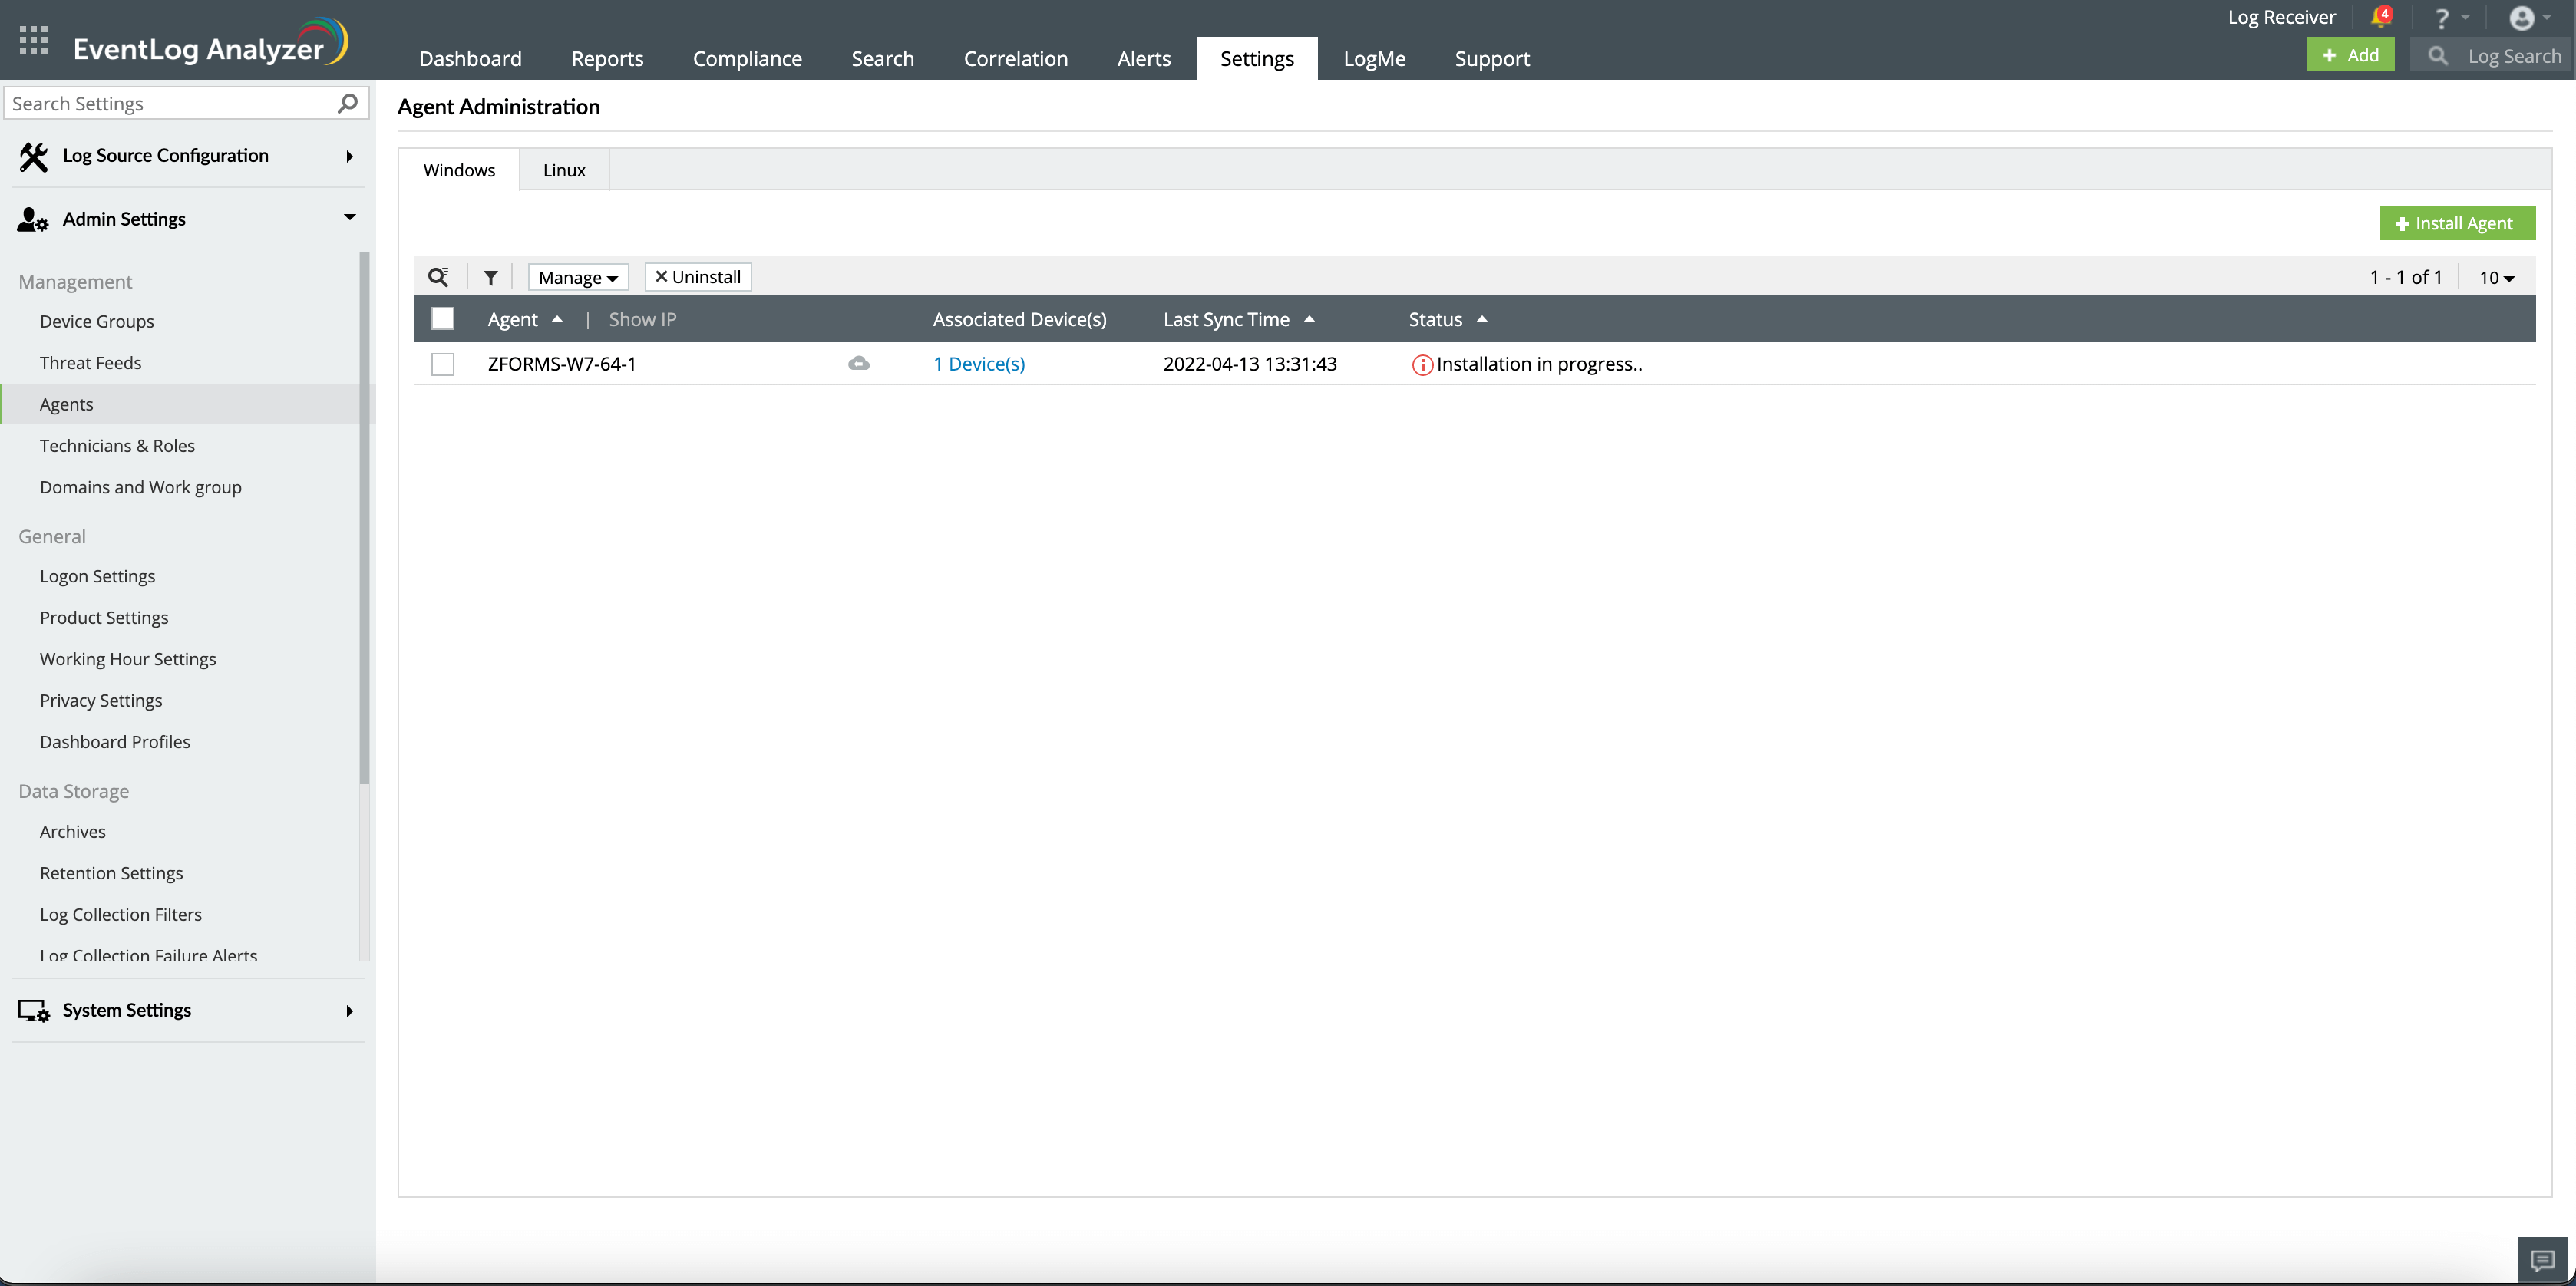
In the Settings tab, navigate to Admin Settings → Manage Agents.
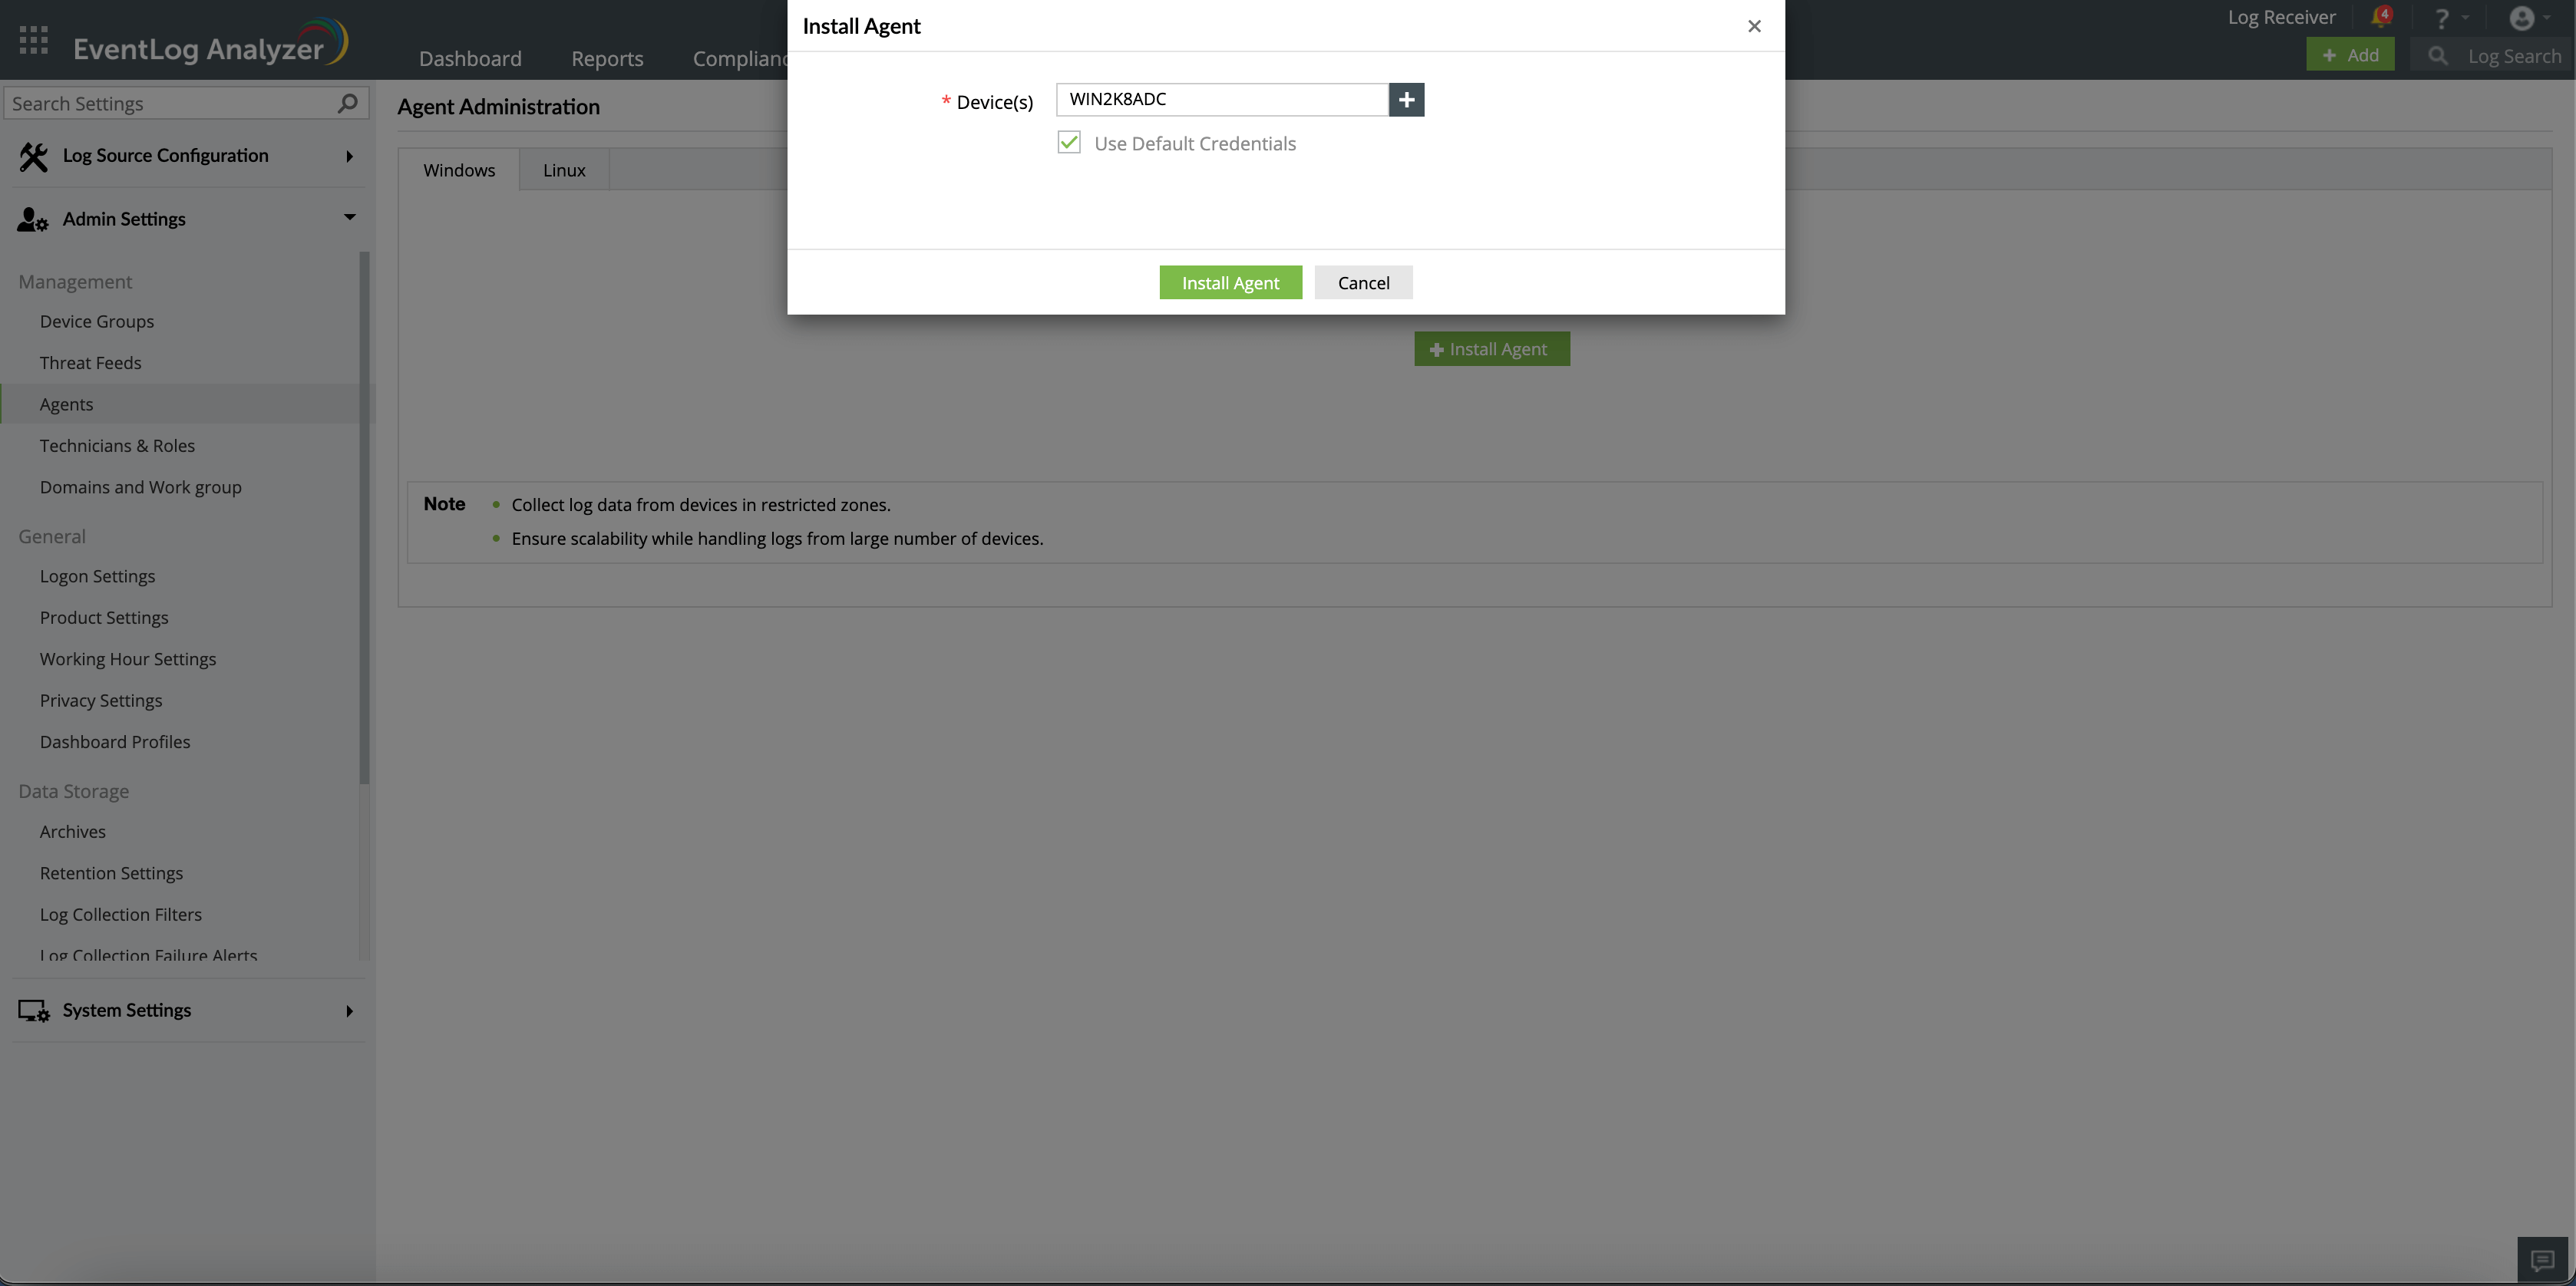
Click + Install Agent and then the + icon corresponding to Device(s).
Select the devices on which you want to install the agent.
Enter the login name and password to access the device(s). This account should have admin privileges to install the agent successfully. Or you can also choose the Use Default Credentials option.
Note: If multiple devices are selected, ensure that the credentials are valid for all the devices.
Use the Verify Credential link to validate the credentials entered.
Finally, click Install Agent to initiate agent installation.
Using GPOs:
Before beginning to install the EventLog Analyzer agent using GPOs, place the following files in a network-shared folder of the server:
Create a new GPO as follows (based on the Windows Server version):
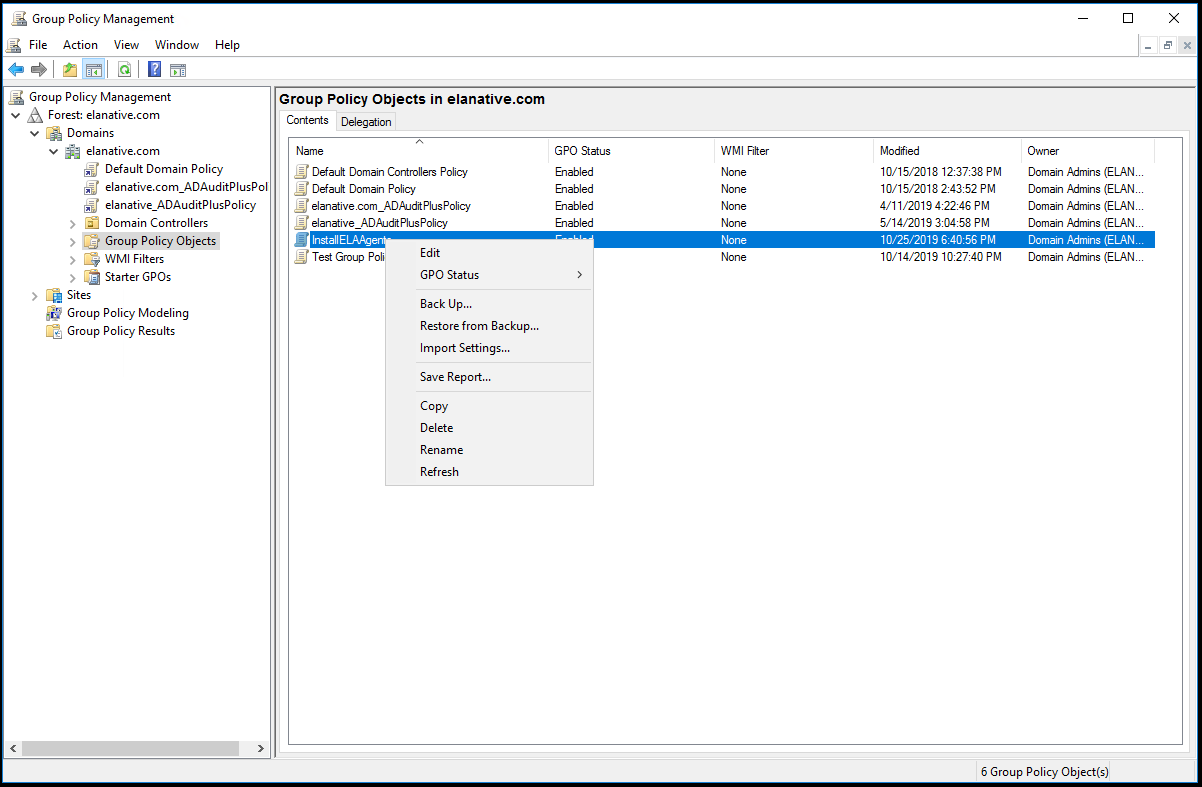
Open Group Policy Management.
In the left pane, right-click the Group Policy Objects container and select New.
Give the GPO a suitable name and click OK.
Step 2: Configuring script settings
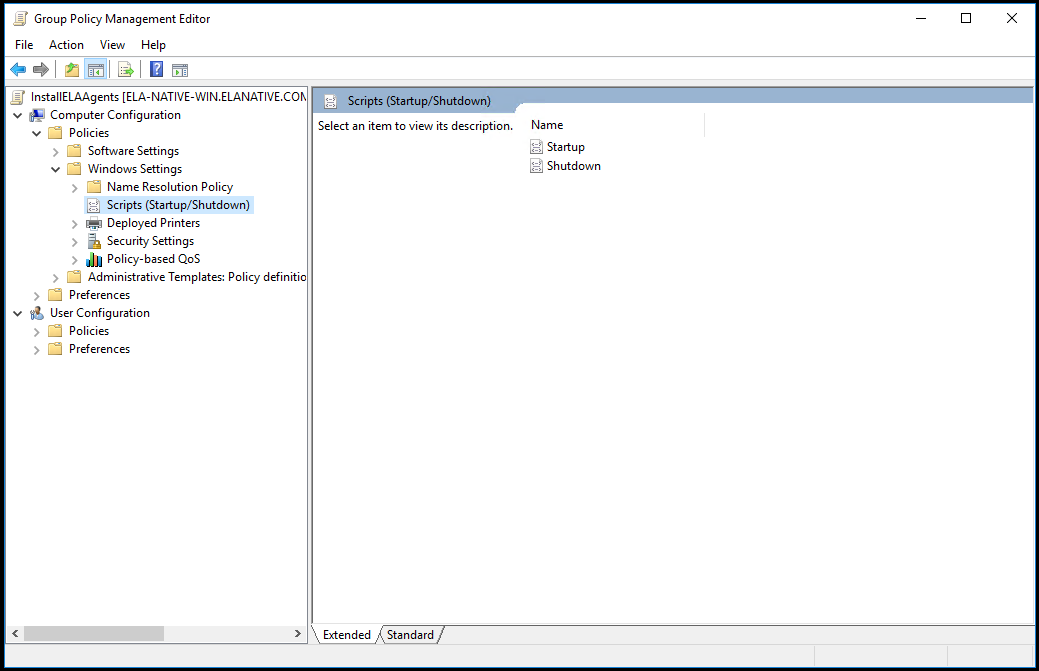
Right-click the newly created GPO and click Edit.
For Windows Server 2003, in the right pane of the GPO editor, double click Computer Configuration and navigate to Windows Settings → Scripts (Startup/Shutdown) → Startup.
For Windows Server 2008 and later, navigate to Computer Configuration → Policies → Windows Settings → Scripts (Startup/Shutdown) → Startup.
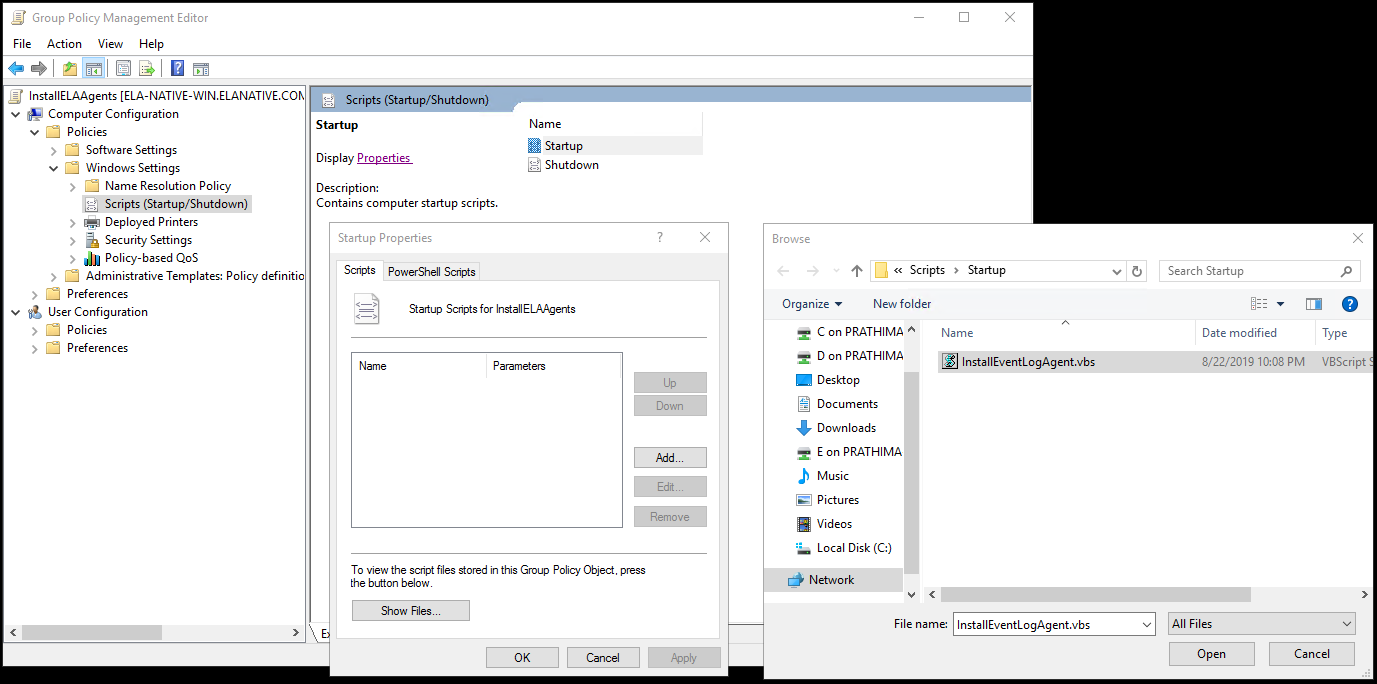
Right-click Startup and in the dialog box that appears, click Add.
In the Add Script dialog box, click Browse and select InstallEventLogAgent.vbs from the shared location.
In the Script Parameters field, enter the following parameters:
Copy to Clipboard
/MSIPATH:"< share path of msi file>" /SERVERNAME:" <ELA server name>" /SERVERIPADDRESS:" <IP address of server>" /SERVERPORT: "<port occupied by server>" /SERVERPROTOCOL:" <protocol (http/https)>"
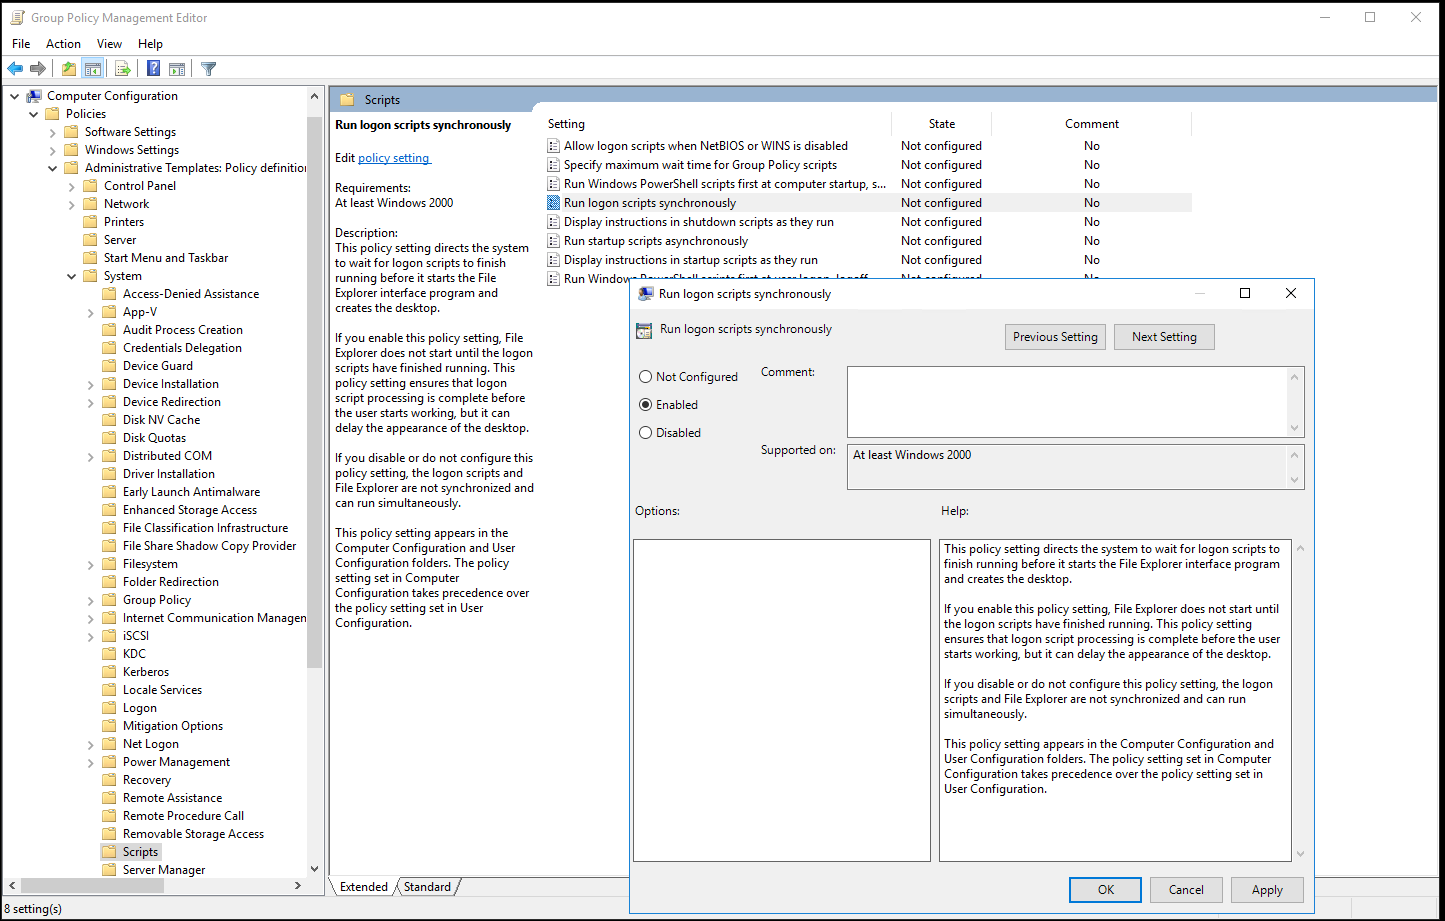
In the left pane of the Group Policy Management Editor, navigate to Computer Configuration → Administrator Templates → System.
Under System, select Scripts.
In the right pane of the GPO Editor, double-click Run logon scripts synchronously and enable it.
Click Apply and then OK.
Similarly, enable Maximum wait time for Group Policy scripts.
Then, navigate to Logon under System.
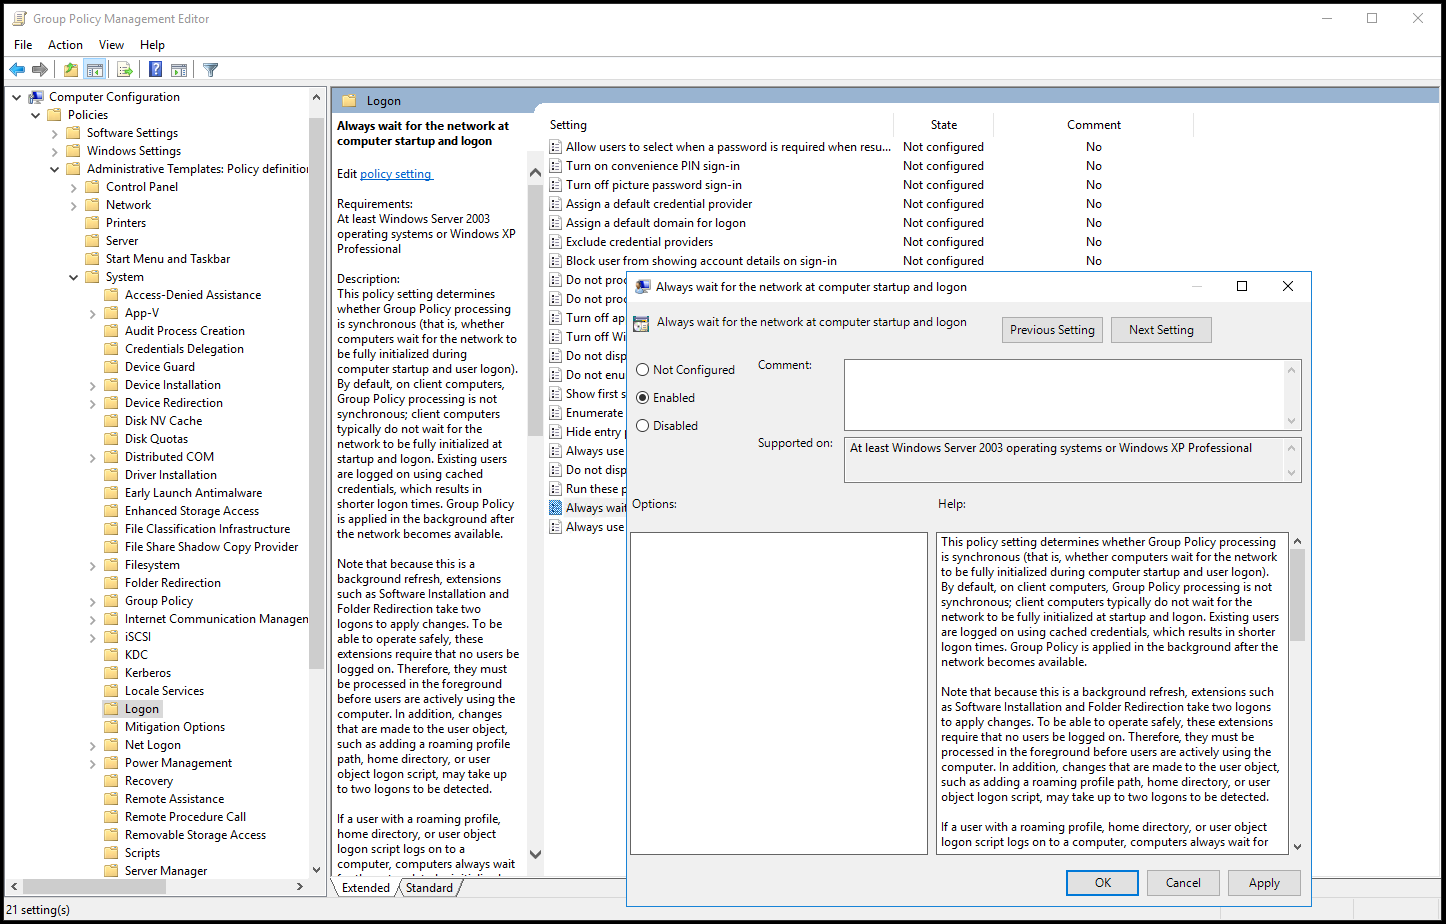
In the right pane, double-click Always wait for the network at startup and logon and enable it.
Click Apply and then OK.
Then, navigate to Group Policy under System.
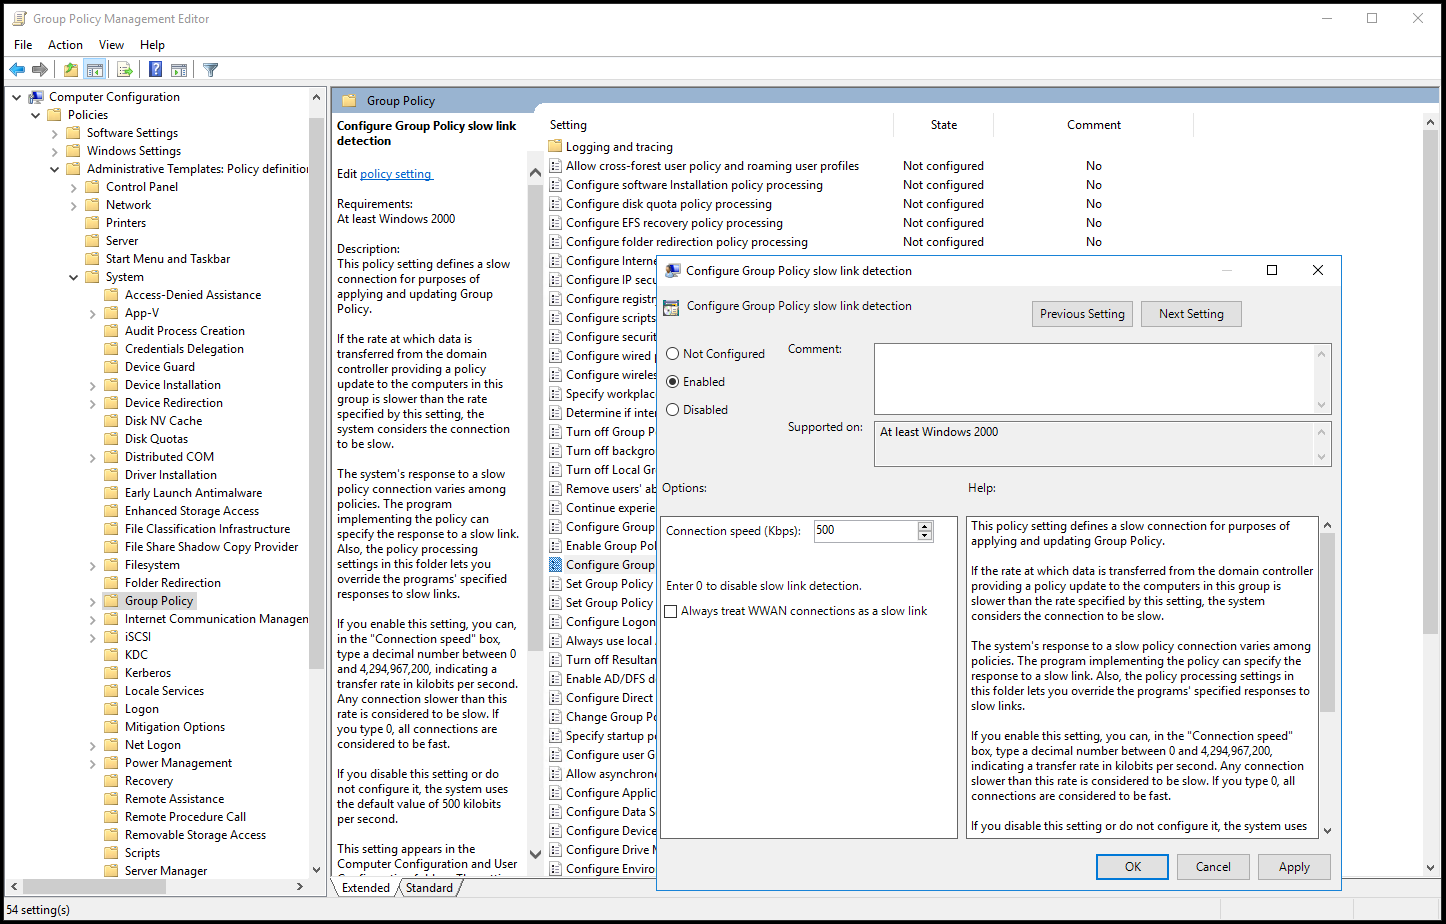
In the right pane, double-click Group Policy slow link detection and enable it.
Click Apply and then OK.
Step 4: Applying the GPO
Tip: For installing the agent on multiple computers at one go, create an AD group and add all the computers on which the agent needs to be installed to the group. Then, apply the GPO to that group.
On the left pane of the Group Policy Management Editor, right-click the GPO you are working on and select Properties.
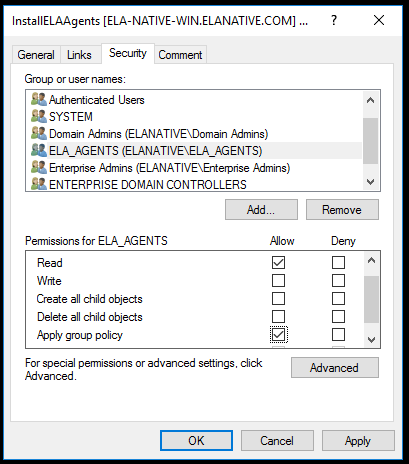
Navigate to the Security tab and unselect the Apply Group Policy permissions for Authenticated Users.
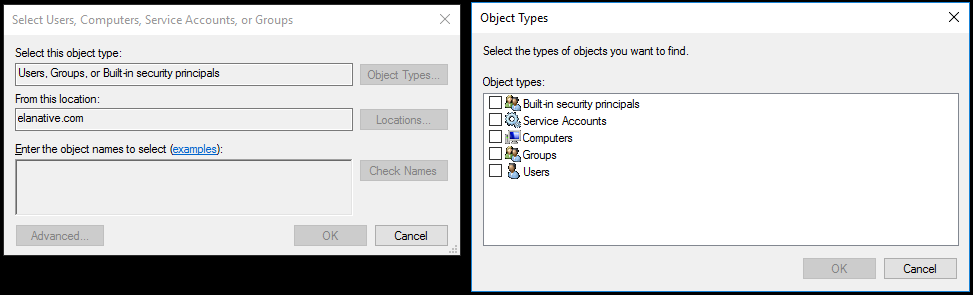
Click Add and in the dialog box that appears, click Object Types.
If you want to apply the GPO to computers directly, ensure Computers is selected and then click OK. For applying it to a group, ensure Groups is selected and then click OK.
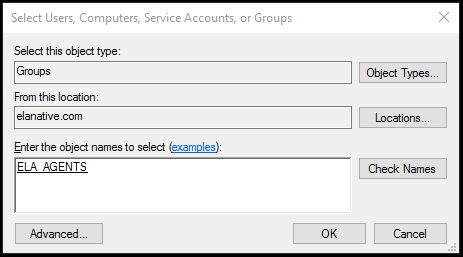
Enter the name of the desired computer(s) and/or group(s) and click Check Names.
Select the desired computer(s) and/or group(s) and click OK to return to the properties dialog box.
In the Security tab, apply the following permissions to the selected group(s) and/or computer(s):
(i) Read > Allow
(ii) Apply Group Policy > Allow
Click Apply and then OK.
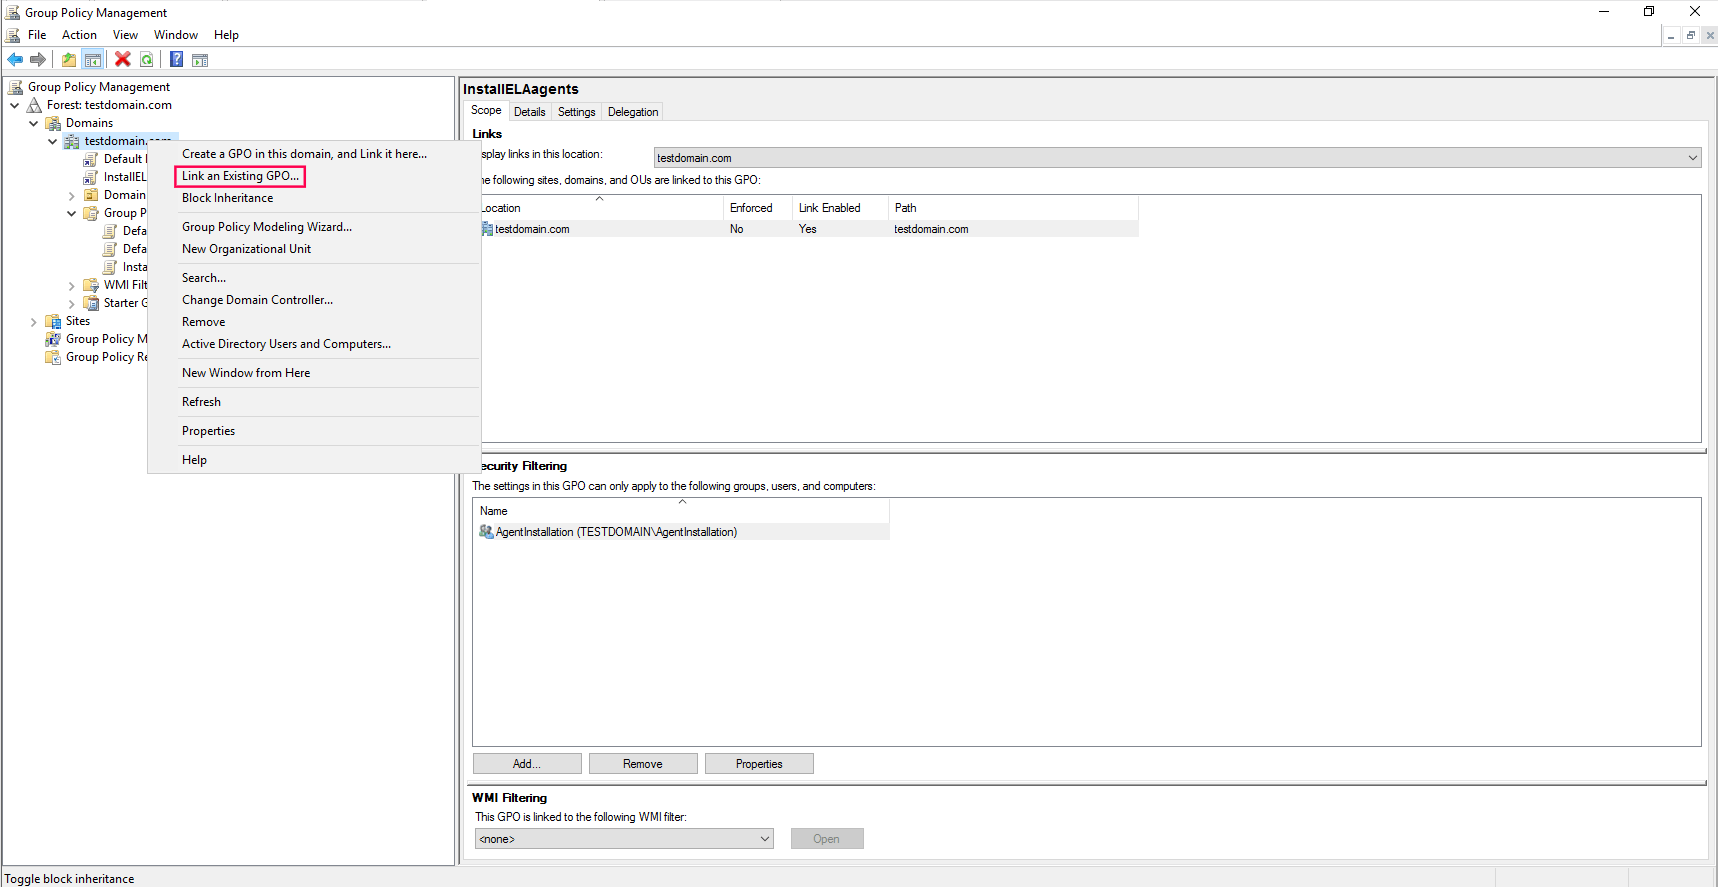
Right-click on the Domain and click on "Link an Existing GPO..." option
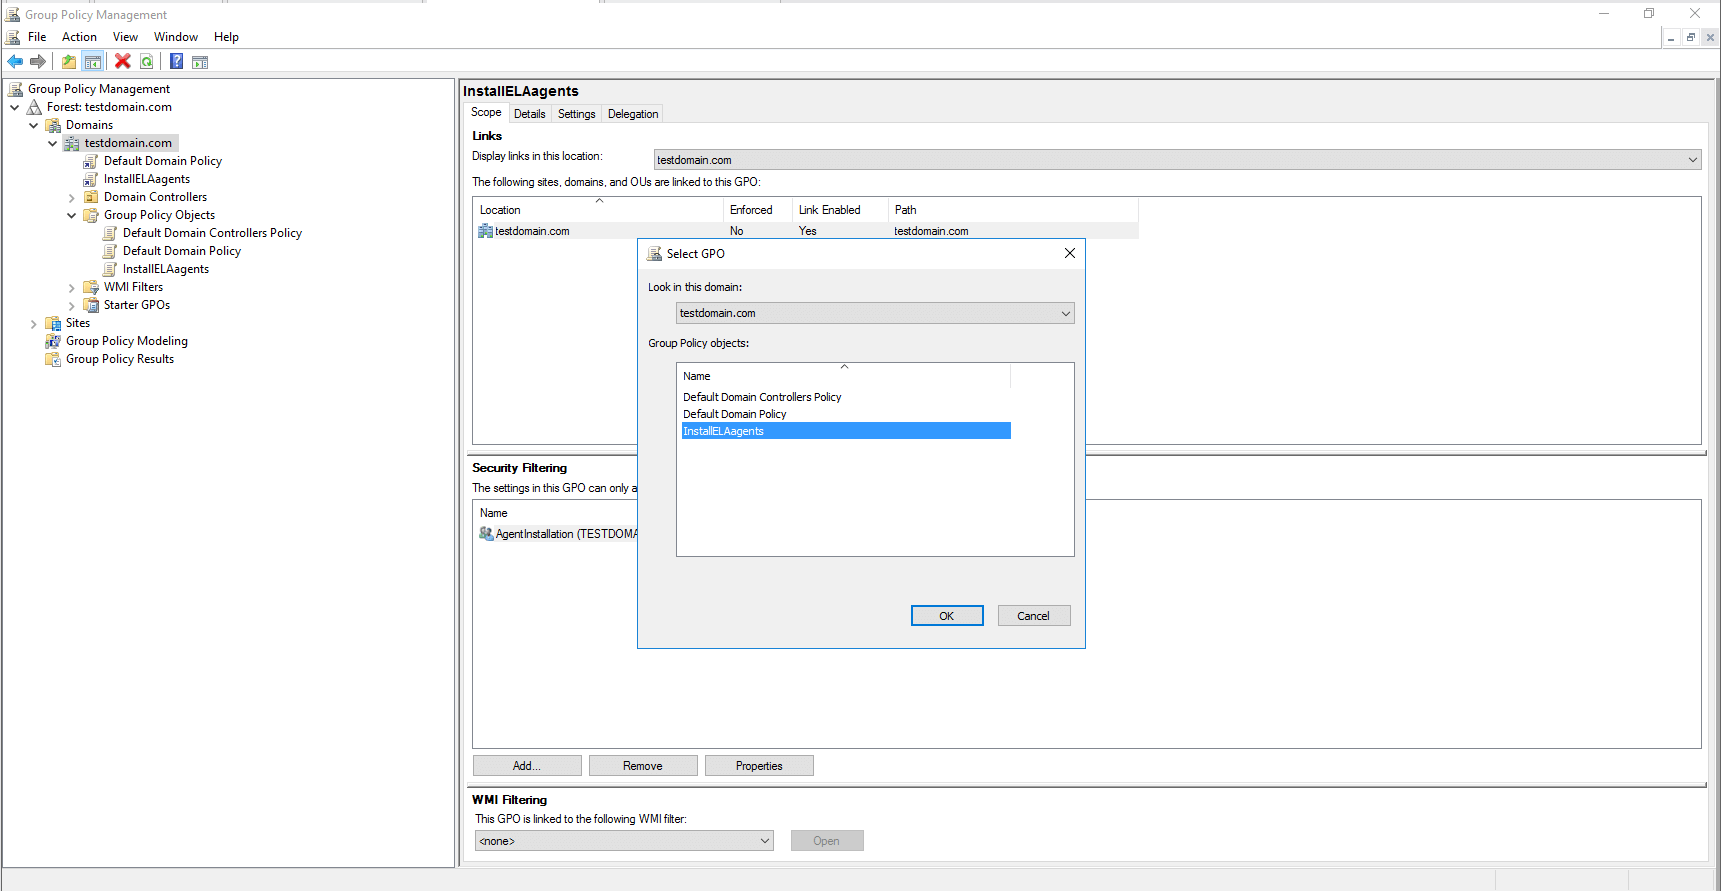
Now select the GPO you are working on and Click OK.
Restart the computers to complete applying the GPO and wait for the reset password / unlock account link to appear on the Windows logon screen.
Note: After installing the EventLog Analyzer agent using GPO, make sure to disable or delete the GPO, or the scripts will continue to run at every startup.
Using Microsoft System Center Configuration Manager (SCCM) or some similar software deployment tool:
Place the appropriate installer file (EventLogAgent_<Arch>.bin for Linux or Eventlogagent.msi for Windows) in a network-shared folder. Then, on the devices where the agent needs to be installed, execute the following command:
<eventlog_server> = Name of the server on which EventLog Analyzer is installed
<eventlog_server_port> = Web server port used by EventLog Analyzer (By default Eventlog Analyzer uses web server port 8400 for HTTP)
For example: localhost:8400/event/downloadMsi.nms?platform=windows
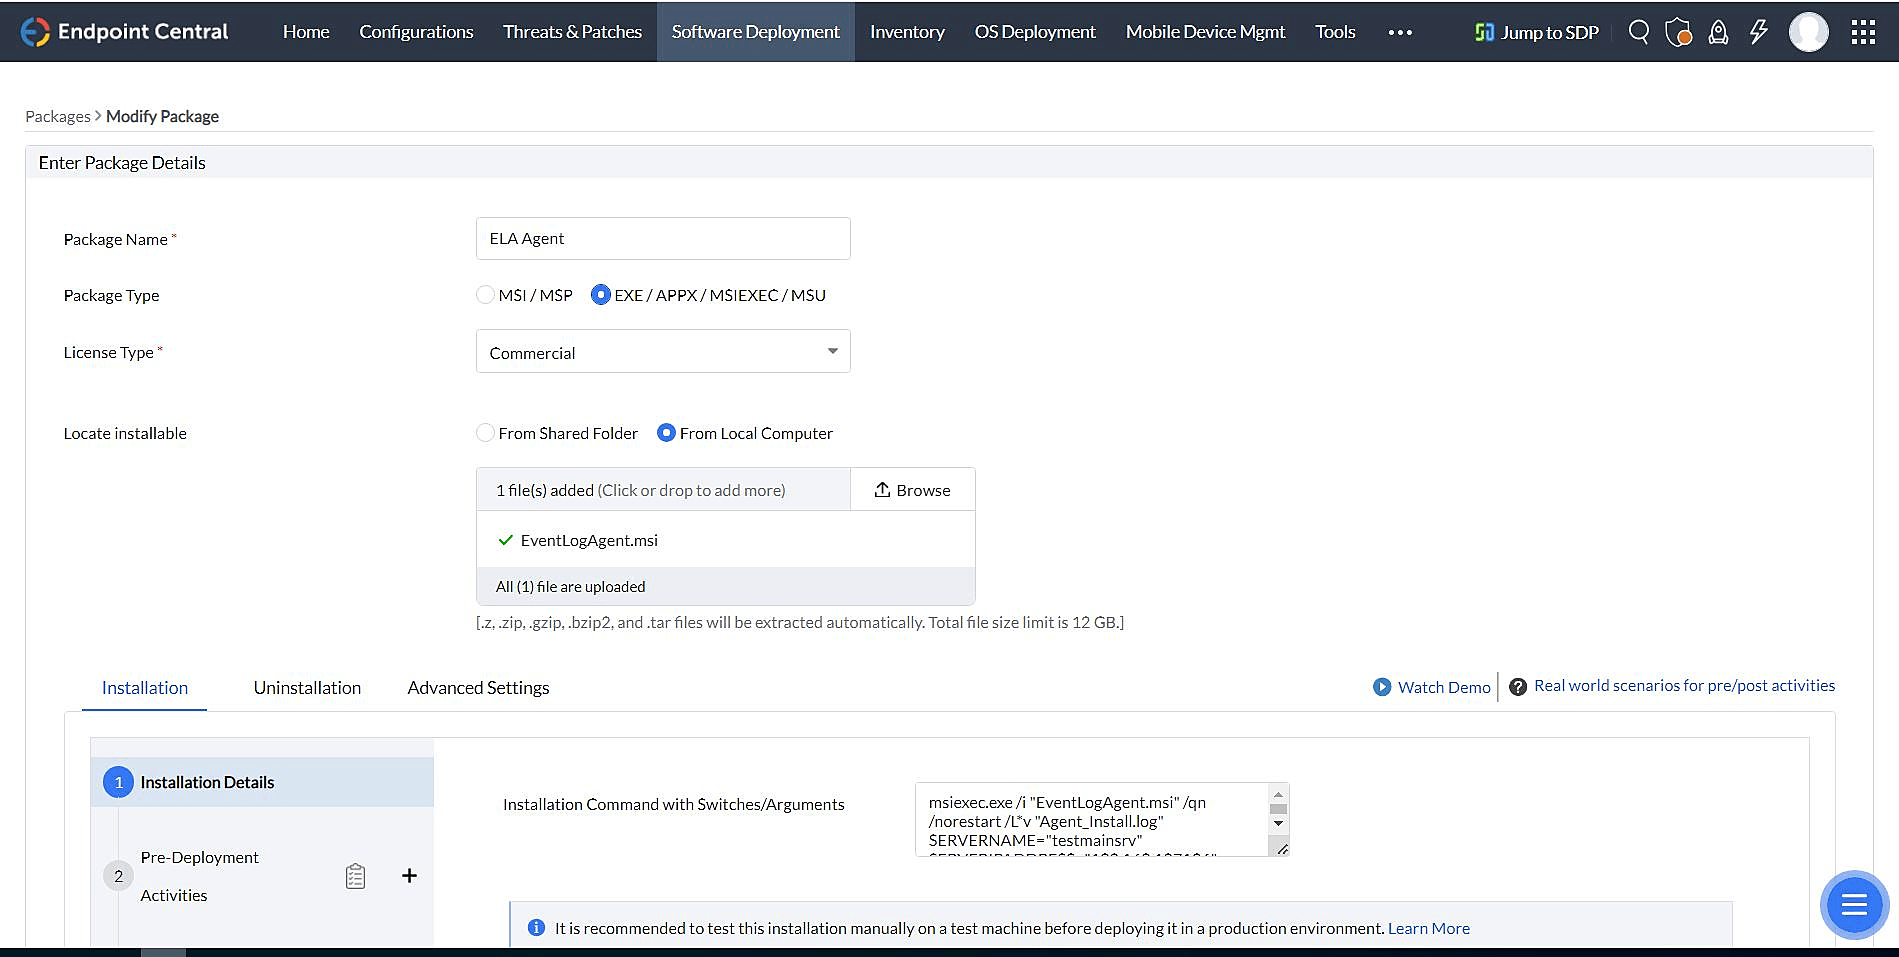
EventLogAgent.msi will be downloaded automatically. Double-click EventLogAgent.msi to start installation.
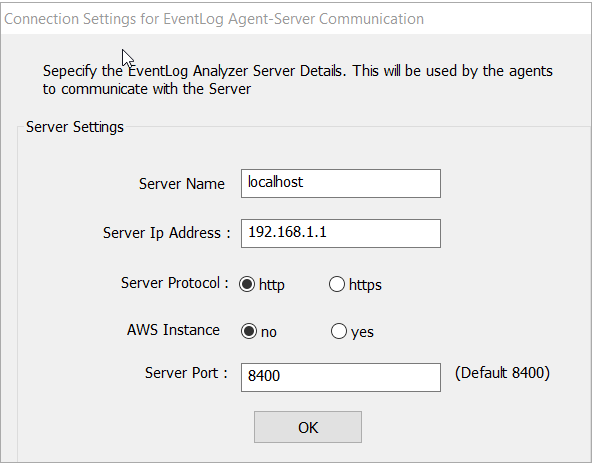
After clicking Next in the welcome screen and the Confirm Installation dialog box, the following dialog box will be displayed. Enter the details and click OK.
Installation will be completed.
For Linux devices,
The agent has to be configured in Manage File Integrity Monitoring page of EventLog Analyzer. Refer Configuring File Integrity Monitoring to configure the agent in Linux devices. If installation fails due to permission denial, you can manually install it by executing the following command.
Installation Command:
HTTP Command:
Copy to Clipboard
eval "wget http://<eventlog_server>:<eventlog_server_port>/downloadMsi.nms?platform=agentInstaller -O AgentInstaller && sh AgentInstaller http://<eventlog_server>:<eventlog_server_port> lesssecure"
eval "wget http://ubuntu:8400/downloadMsi.nms?platform=agentInstaller -O AgentInstaller && sh AgentInstaller http://ubuntu:8400 lesssecure"
For Sudo User:
Make sure to include the prefix "sudo -s" before running the installation command.
Note: For non-sudo user, ensure that you are logged in as the auditing user. This is important because the agent will automatically consider the current user as the auditing user. If you are not logged in as the auditing user, please refer to the troubleshooting tips for setting privileges for agent folder.
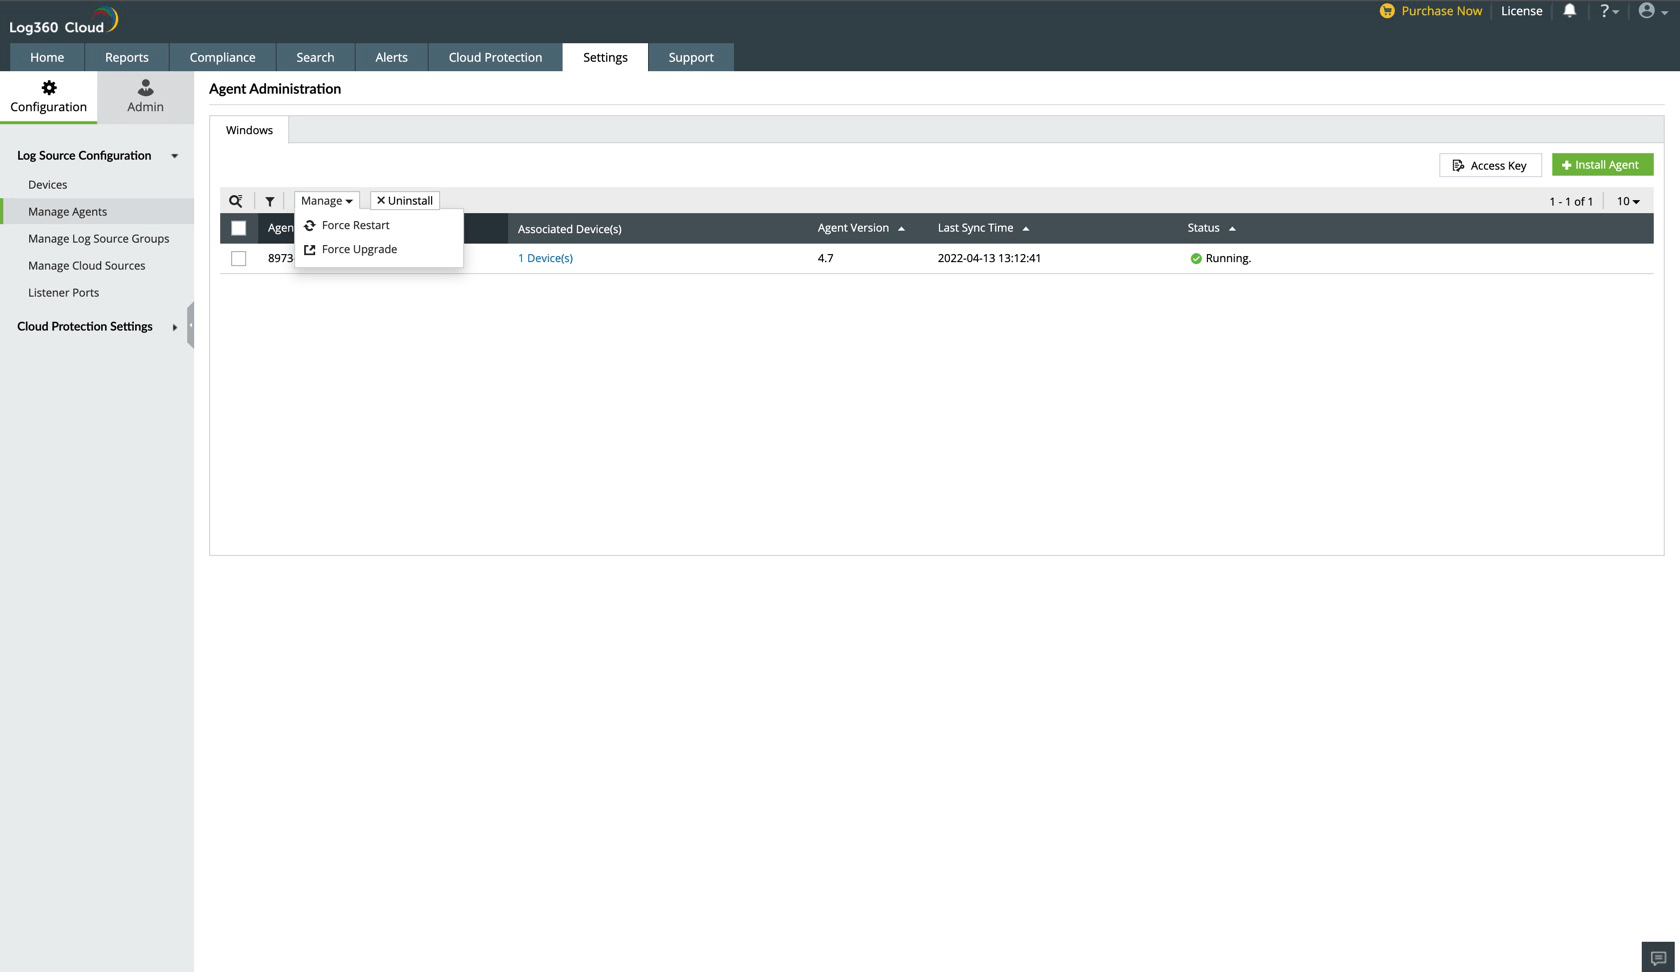
Managing EventLog Analyzer agents
Using EventLog Analyzer's console, you can uninstall, upgrade, and force the agent to restart.
Uninstalling the EventLog Analyzer agent
To uninstall the EventLog Analyzer from device(s),
In the Settings tab, navigate to Admin Settings > Manage Agents.
Select the device(s) from which you want to remove the agent.
Click Uninstall and select Yes in the pop-up box that appears.
Another method to uninstall the EventLog Analyzer from device(s) is by using add or remove programs,
Navigate to Windows start menu > Add or remove programs in your desktop.
Select the "ManageEngine EventLog Analyzer Agent".
Click Uninstall.
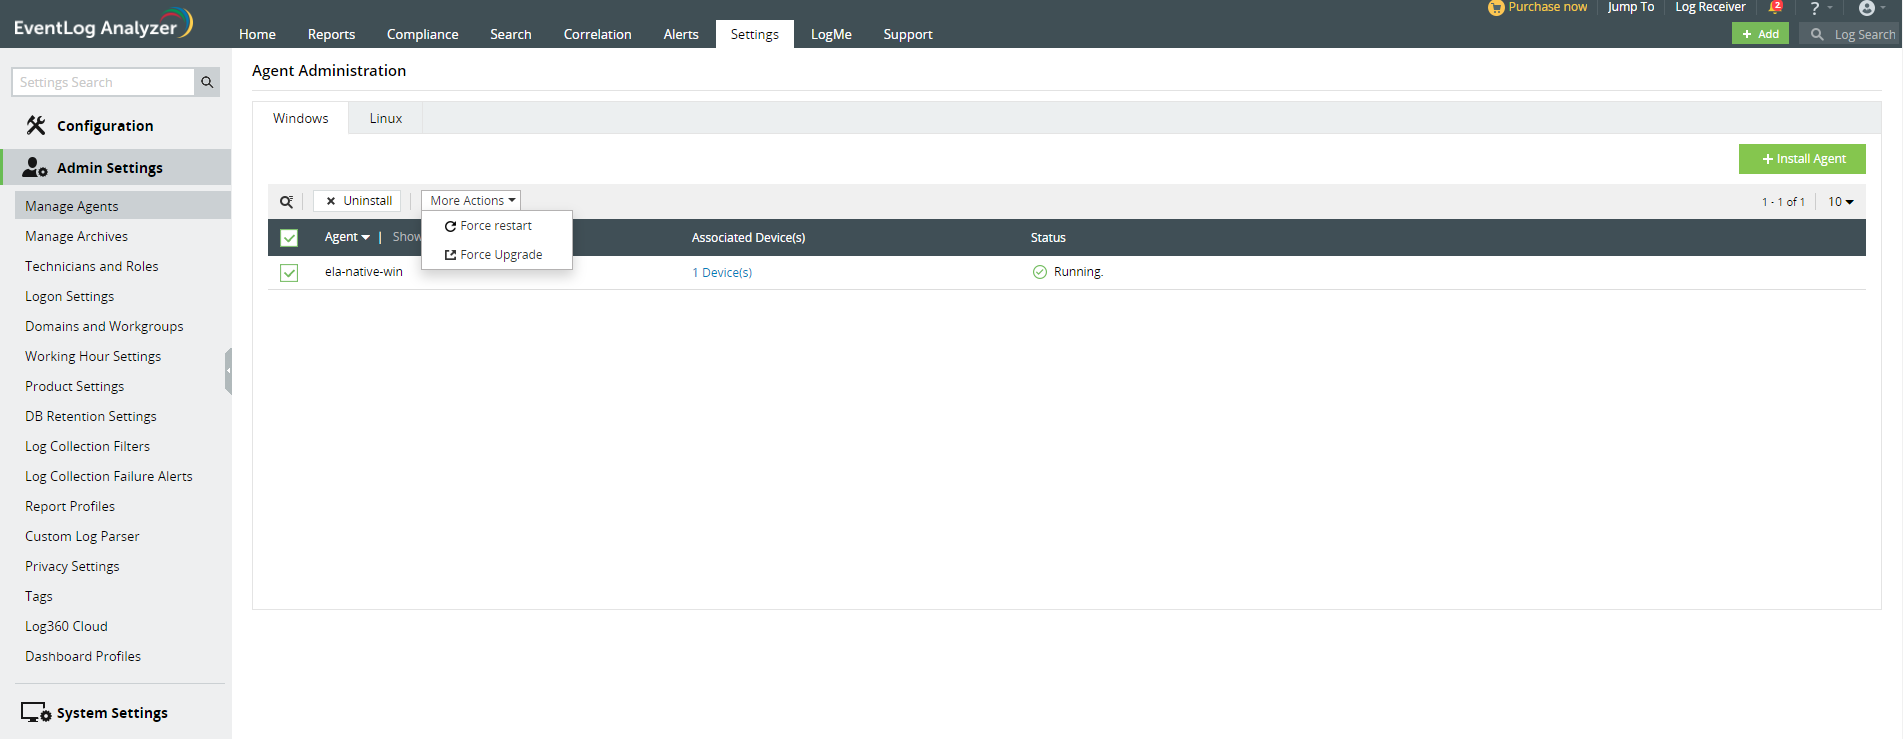
Forcing restart of the EventLog Analyzer agent
To force the EventLog Analyzer to restart,
In the Settings tab, navigate to Admin Settings > Manage Agents.
Select the device(s) on which you want to restart the agent.
Select More Actions and click Force restart in the drop-down box that appears.
In the pop-up box that appears, select Yes.
Forcing upgrade of the EventLog Analyzer agent
Upgrading the EventLog Analyzer agent through Force Upgrade,
In the Settings tab, navigate to Admin Settings > Manage Agents.
Select the device(s) on which you want to upgrade the agent.
Select More Actions and click Force upgrade in the drop-down box that appears.
 Click here to expand
.png)