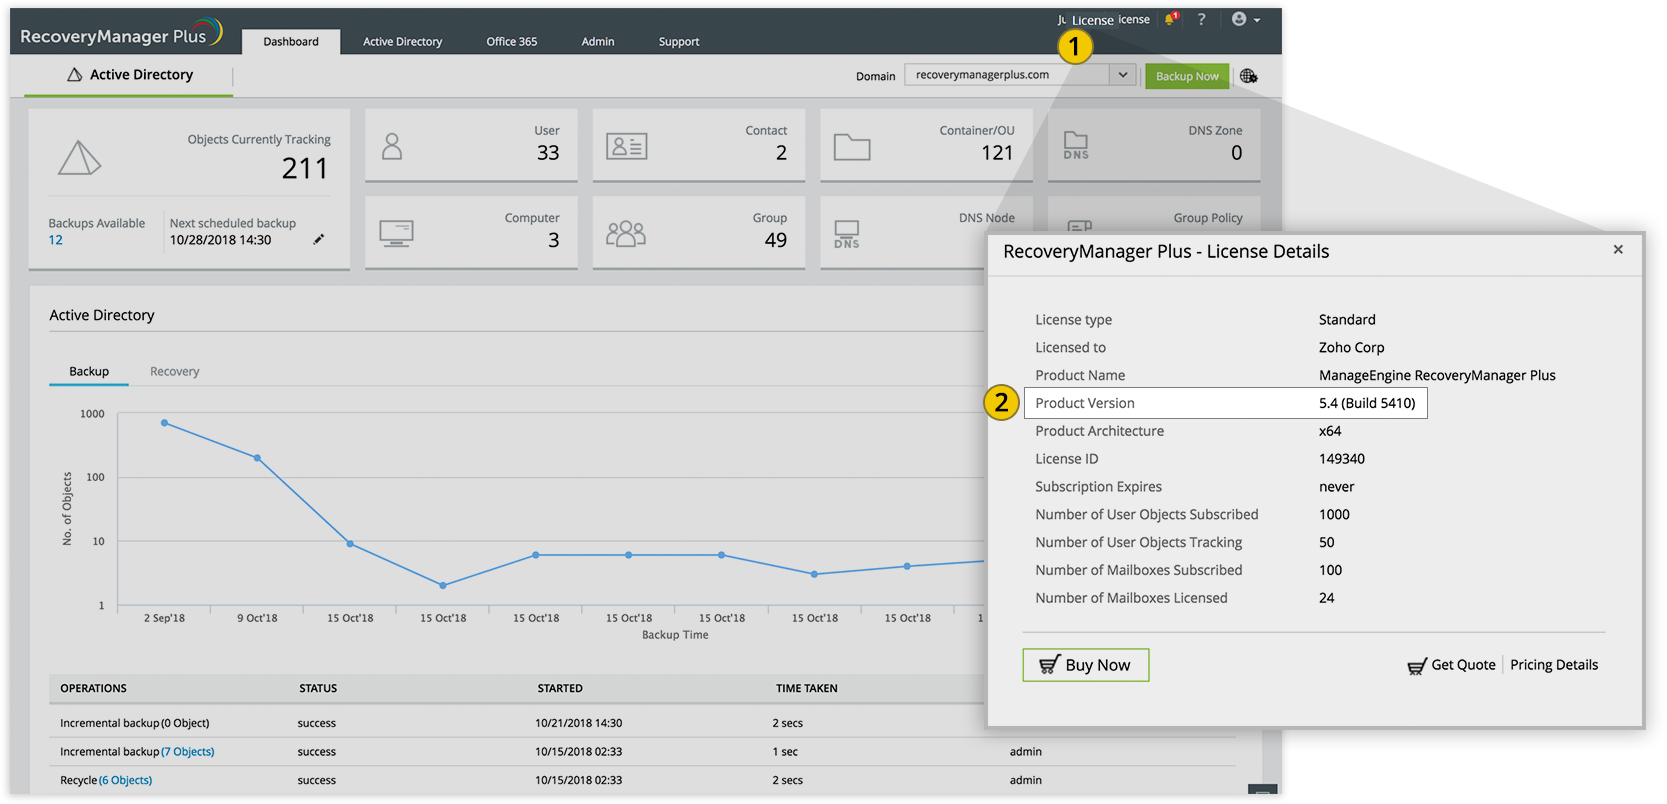
Important: We recommend users to move to the latest version, RecoveryManager Plus 6.3 Build 6321 (Jun 2026). We also strongly recommend you to take backups before migrating. This helps prevent accidental loss of data. Steps to apply the service pack
If the product runs as an application, click Start > All Programs > RecoveryManager Plus > Stop RecoveryManager Plus.
2
If the product runs as a Windows service, click Start > Run. Type services.msc, and in the window that opens, Stop ManageEngine RecoveryManager Plus.
Step 2: Back up RecoveryManager Plus
1
Back up RecoveryManager Plus by zipping the contents of the <RecoveryManagerPlus> directory.
2
If you have configured an external database server (MS SQL or PostgreSQL) in RecoveryManager Plus, back up the external database.
Step 3: Update RecoveryManager Plus
If you use an MS SQL database:
1
Take a backup of the database by following the steps listed here.
2
Execute the following command in Command Prompt: runas /user:<service_account_name> cmd
3
You will be prompted for a password. Provide the password of the account which was used to configure RecoveryManager Plus. A new Command Prompt will open.
4
In the new Command Prompt, navigate to <RecoveryManagerPlus>/bin and execute the UpdateManager.bat file. Proceed to step 3.
If you use a PostgreSQL database:
1
Open Command Prompt. Navigate to <RecoveryManagerPlus>/bin and execute the UpdateManager.bat file.
2
Click Browse and select the service pack file you have downloaded.
3
Click Install. Depending on the amount of data to be migrated, the installation procedure might take a few minutes. Please do not terminate the process prematurely. During this step, the certificate that verifies the service pack’s integrity is automatically imported by the Update Manager tool.
4
If the automatic certificate import fails, please import the certificate manually by following the steps listed here. Otherwise, click Close and then Exit to quit the Update Manager tool.
Step 4: Start RecoveryManager Plus
1
If the product runs as an application, click Start > All Programs > RecoveryManager Plus > Start RecoveryManager Plus.
2
If the product runs as a Windows service, click Start > Run. Type services.msc, and in the window that opens, Start ManageEngine RecoveryManager Plus.
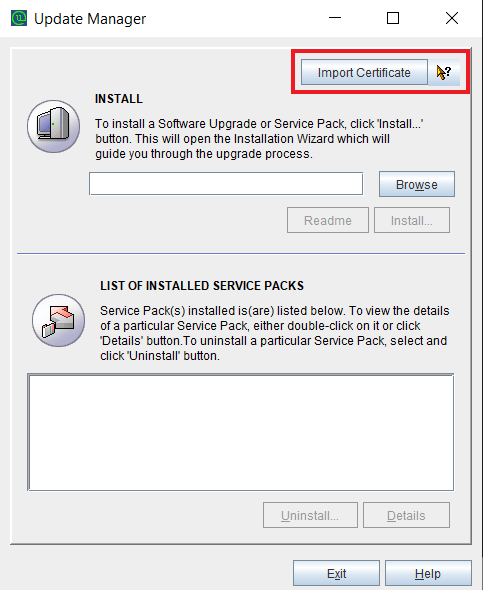
Once downloaded, click Import Certificate in the Update Manager tool to open the Import Certificate wizard.
3
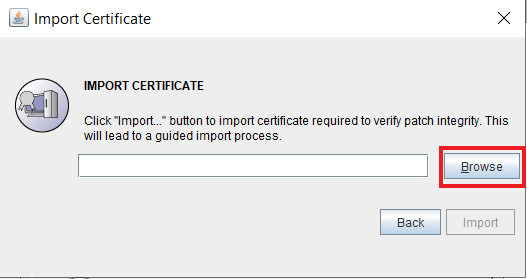
Click Browse and select the downloaded certificate file.
4
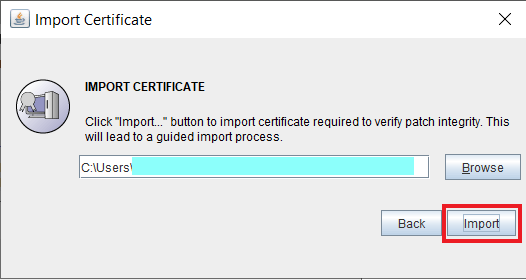
Click Import.
5
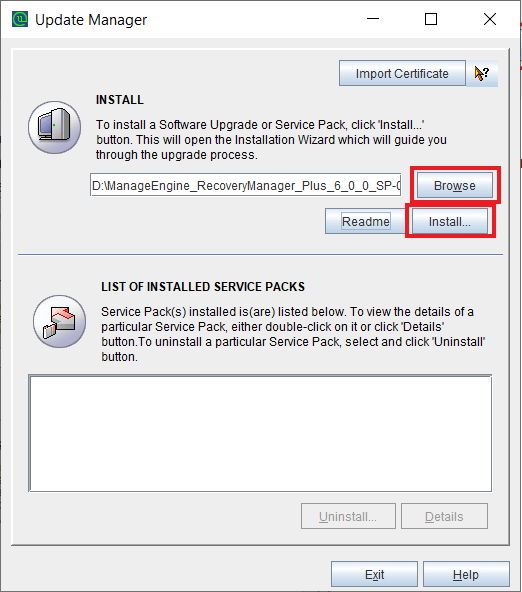
Once imported, click Browse and select the downloaded service pack file.
6
Click Install. Depending on the amount of data to be migrated, the installation procedure might take a few minutes. Please do not terminate the process prematurely.
7
Once the installation is complete, click Close and then Exit to quit the Update Manager tool.