Installing AppCreator on Azure
What Does This Page Cover?
Learn about deploying ManageEngine AppCreator on Azure and the steps required for its deployment.
Availability:
Installing ManageEngine AppCreator on Azure is accessible in both trial (30 days) and paid pricing plans.
Overview
As an organization, you might want to host your on-premise AppCreator on Cloud Service Providers (CSP) such as Azure or AWS. To do so, you can either create a VM (in case you don't have one) and install it or directly deploy a pre-configured VM from the marketplace. Here, the instance can be either a Windows base or a Linux base.
You can deploy ME AppCreator on Azure (VM) easily in the below two ways.
Regions that support marketplace deployment
Currently, we support ManageEngine AppCreator marketplace installation in the following regions.
| Central US |
| East US |
| East US 2 |
| North Central US |
| South Central US |
| West Central US |
| West US |
| West US 2 |
| North Europe |
| West Europe |
| West US |
| West US 2 |
| North Europe |
| West Europe |
| East Asia |
| Southeast Asia |
| Japan East |
| Japan West |
| Brazil South |
| Australia East |
| Australia Southeast |
| Central India |
| South India |
| West India |
| Canada Central |
| Canada East |
| UK South |
| UK West |
| Korea Central |
| Korea South |
| US Gov Arizona |
| US Gov Texas |
| US Gov Virginia |
| UAE Central |
| UAE North |
| Australia Central |
| Australia Central 2 |
| Brazil Southeast |
| Switzerland North |
| Switzerland West |
| Germany North |
| Germany West Central |
| France Central |
| France South |
| Norway East |
| Norway West |
| South Africa North |
| South Africa West |
Install AppCreator from Marketplace
A pre-configured virtual machine image that contains the operating system (OS) and AppCreator preinstalled, will be available in the Azure Marketplace. The below steps will guide you to deploy ManageEngine AppCreator on Azure.
Step 1: In the download page, click the Windows Azure Marketplace card beneath the Available on marketplace section.
Step 2: You'll be taken to theAzure Marketplace page. Sign in to your Azure account.

Step 3: Search for ManageEngine AppCreator in the search bar provided.

Step 4: Select the ManageEngine AppCreator (BYOL) card and click Get It Now.
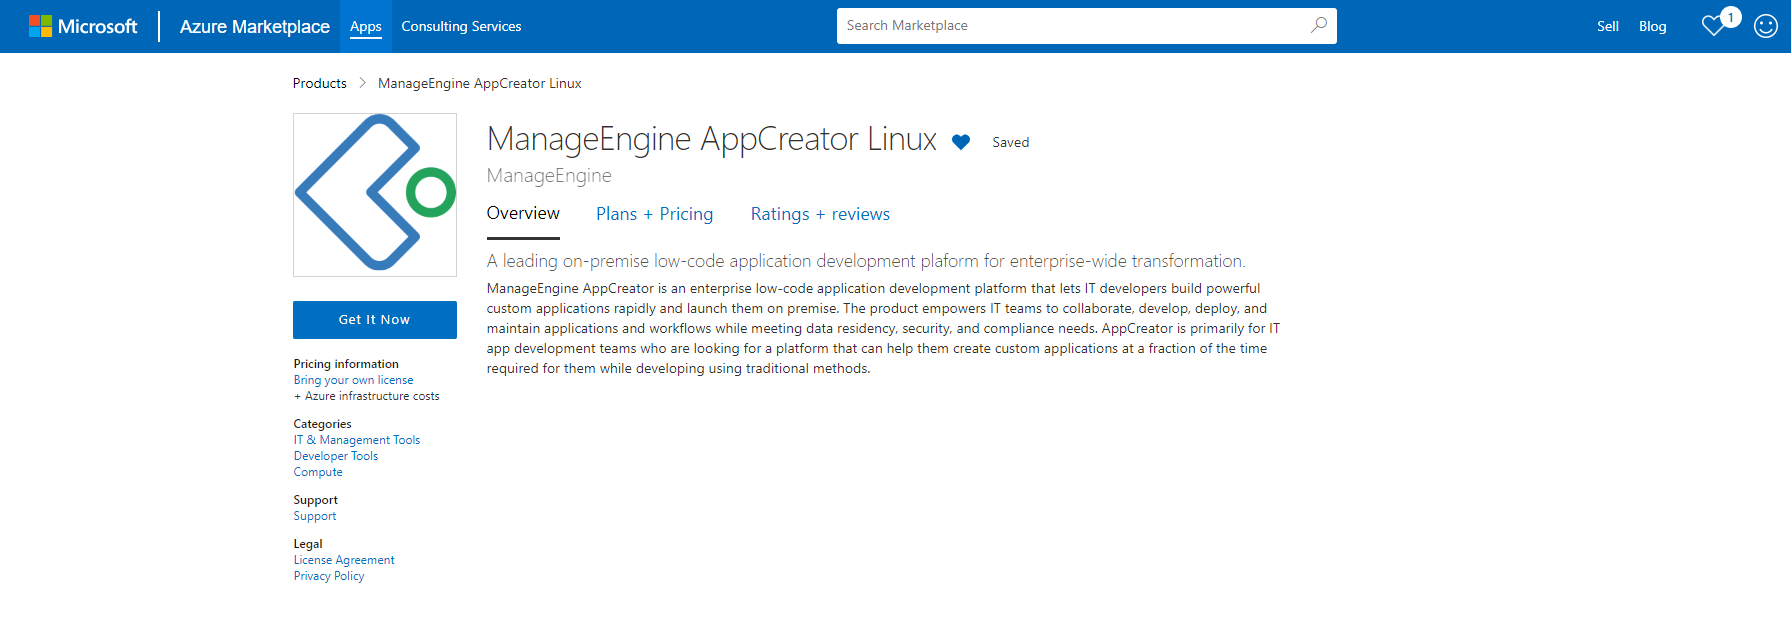
Step 5: In the Create this app screen, click Continue.

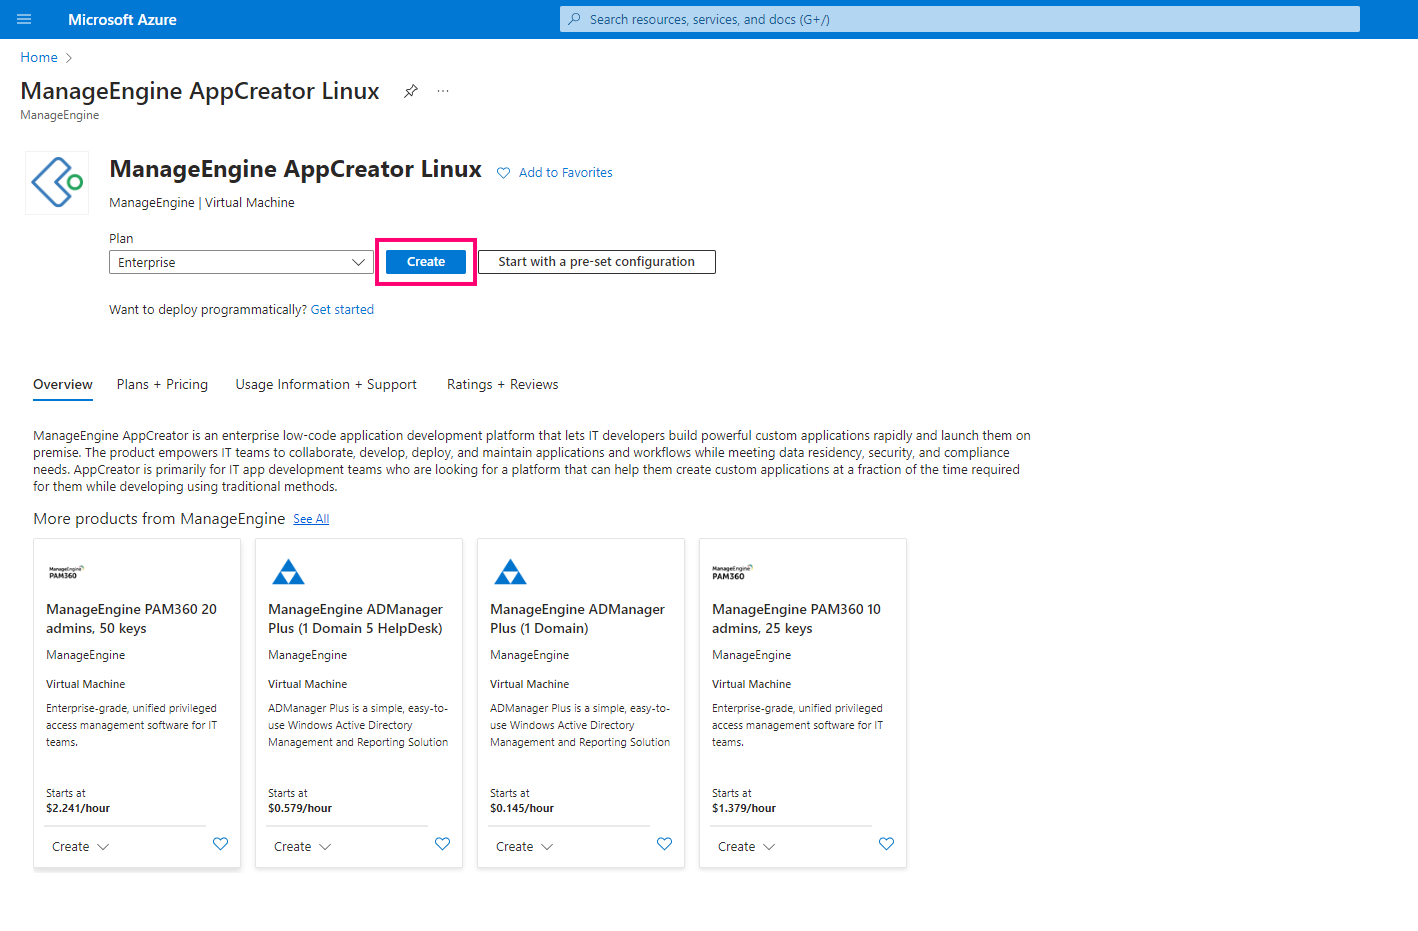
Step 6: Click Create.
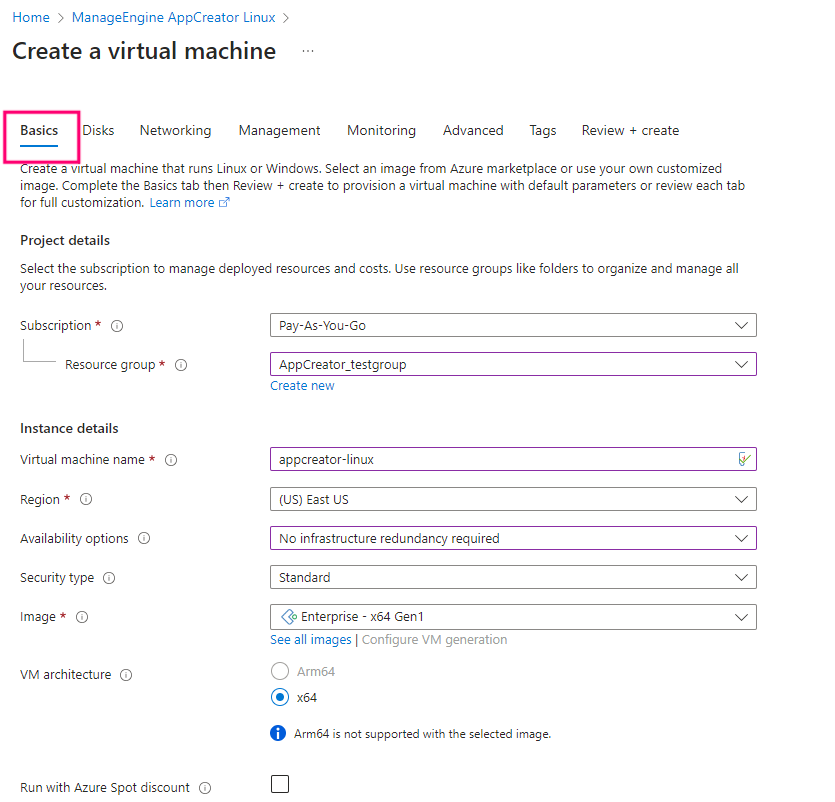
Step 7: The Create a virtual machine screen will appear. In the Basics tab, specify the required Resource group.
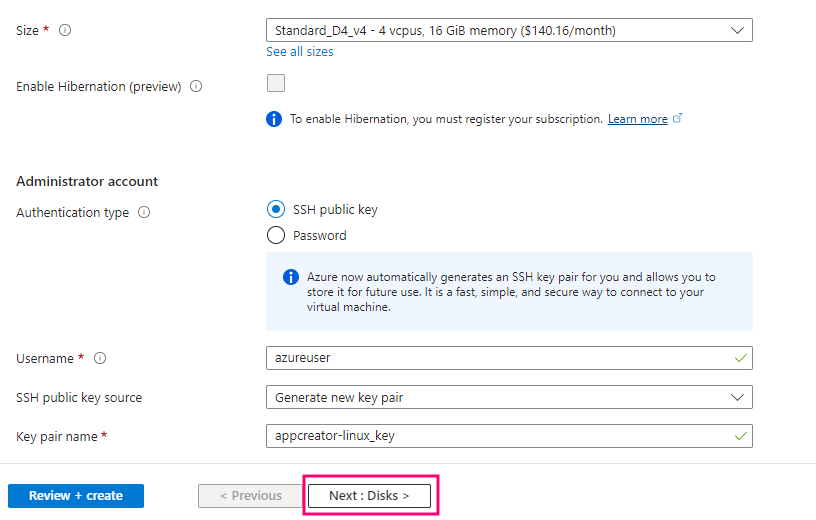
Step 8: Provide the required instance details, and ensure you select a VM size based on your requirements and AppCreator's recommended configuration. Specify an administrator account and proceed to the next step by clicking the Next: Disks > button.
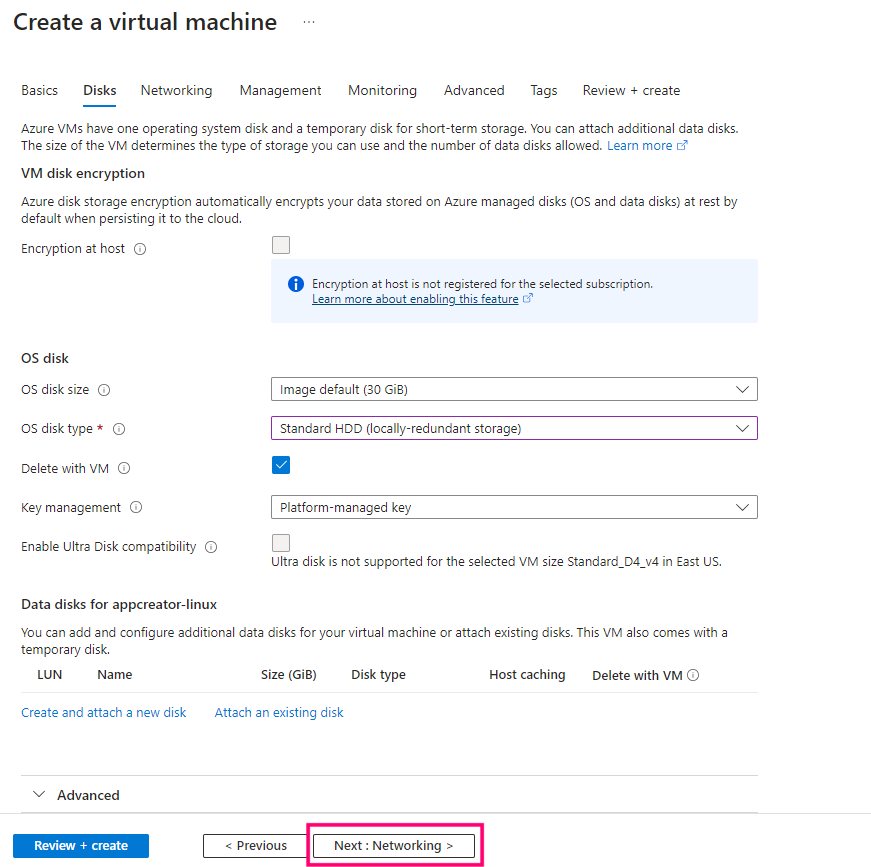
Step 9: Select the OS disk type as Standard HDD and click the Next: Networking > button.
Step 10: Select the virtual network and subnet for your VM and fill in the required details in the Networking tab.
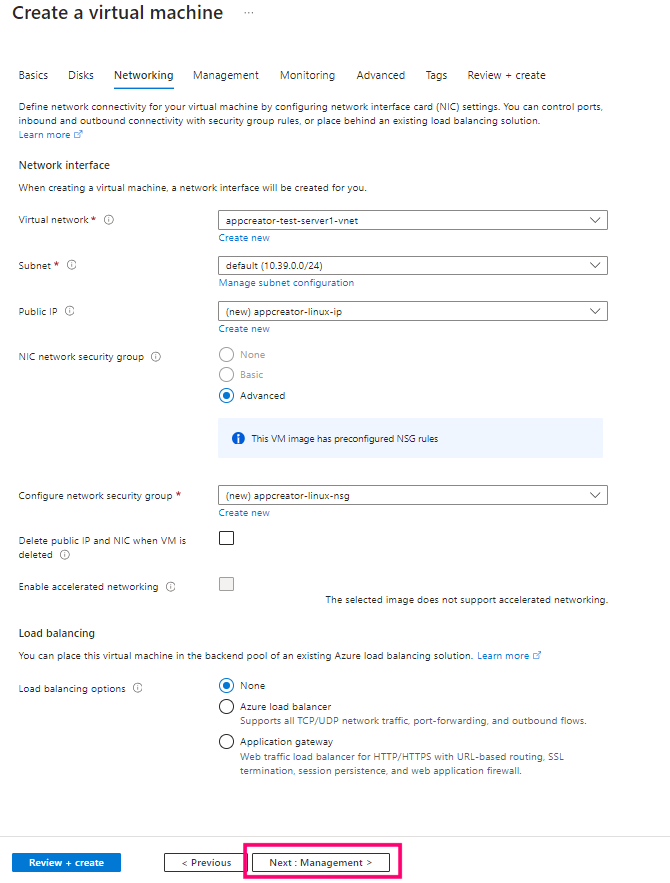
You can either choose a public IP (if you already have one) from a dropdown or click Create New. In the Create public IP address slider that appears, we recommend you choose the Standard option for SKU.
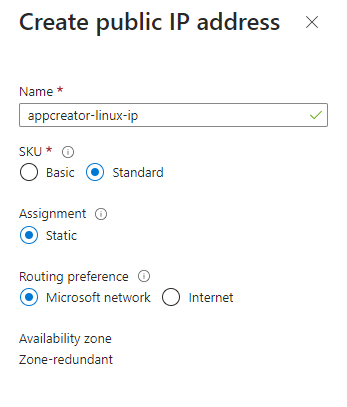
If you choose the 'Basic' option beneath SKU and 'Dynamic' under Assignment, you must run the changeHostName command each time the VM is restarted/every time an IP address change is expected.
Note:
- If you choose Basic beside NIC network security group, the default security rules (inbound/outbound) will be added automatically.
- If you choose Advanced, you need to manually add and configure the Security Rule (inbound/outbound).
- Ensure that inbound access to AppCreator port (default: 8443) is allowed in the Azure network security group and also in your machine's firewall (if enabled). The inbound port rule for the Azure network security group can be configured by navigating to your VM's Networking page"
- For Marketplace images, the firewall rules in the machine are pre-configured for ManageEngine AppCreator.
After entering all the details, click Next: Management> button.
Step 11: Modify the Management, Monitoring, Advanced settings, and Tags as needed from the respective sections. In the Tags section, you can provide a name and value in the corresponding fields, select the resources as needed, and click the Next: Review + Create > button to proceed.

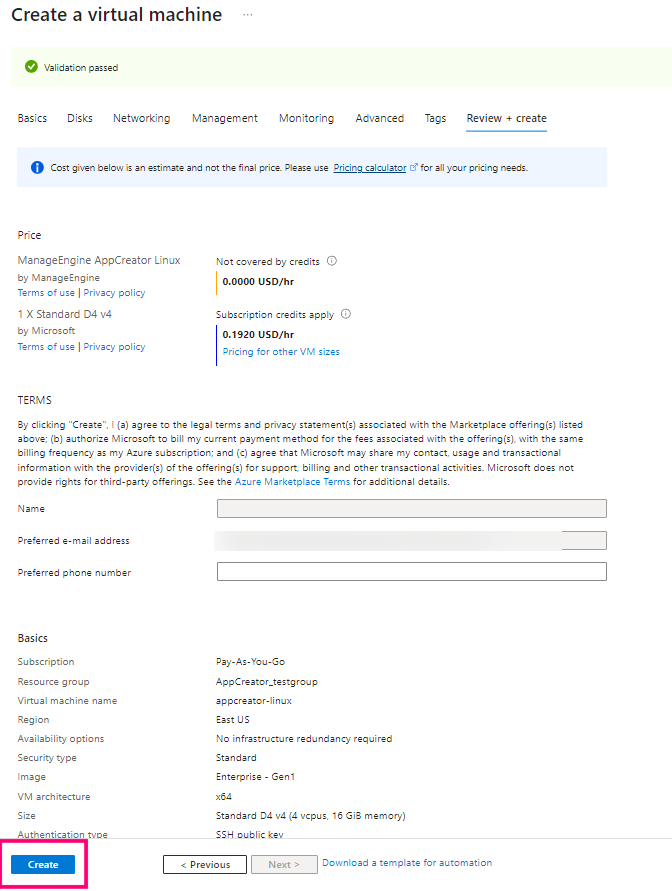
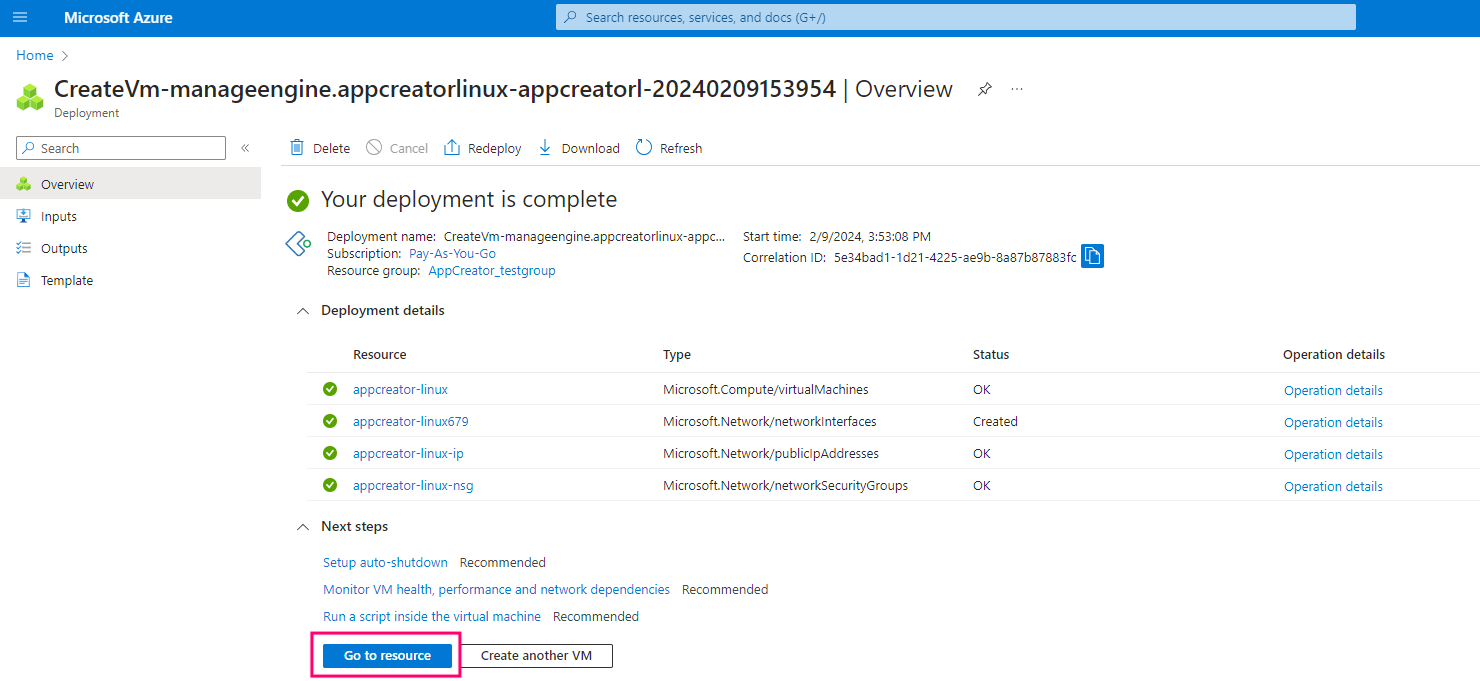
Step 12: Review your specifications and click Create.
Step 13: Click the Go to resource button to access your virtual machine details after the deployment is complete.
Step 14: Copy the Public IP address listed in your VM's Overview page, this can be used to access your application. You can log in to your VM and run the changeHostPort command to change the port on which AppCreator runs.
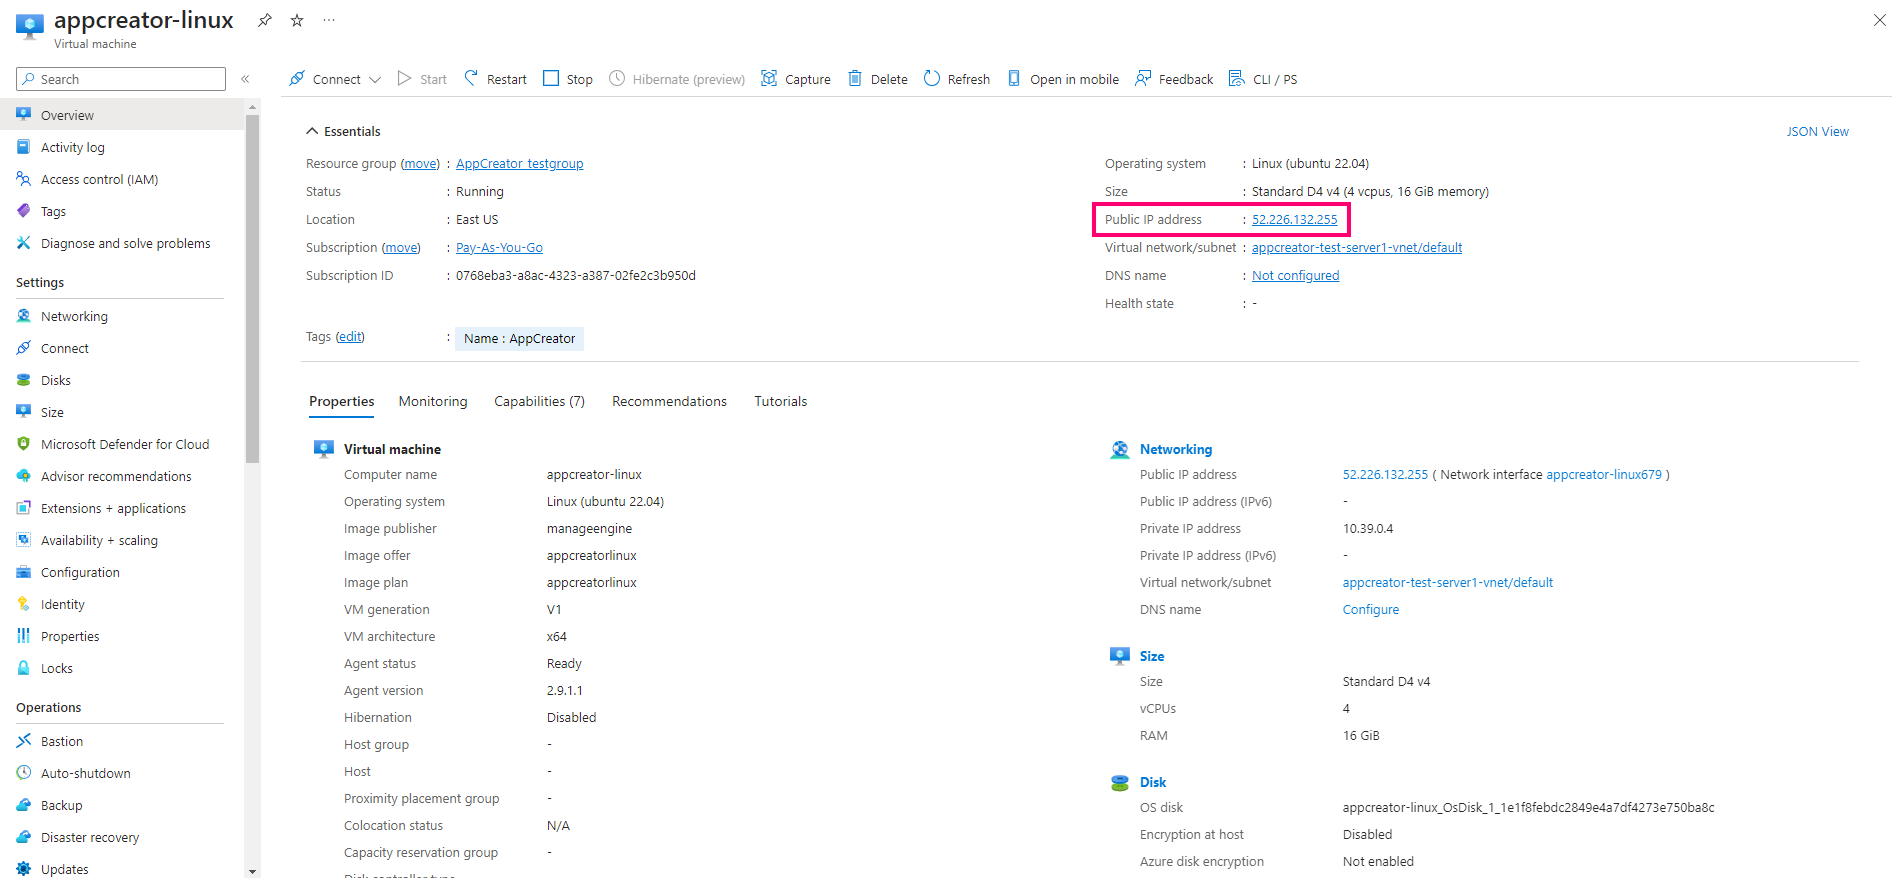
You can access the application from a web-browser using the following URL.
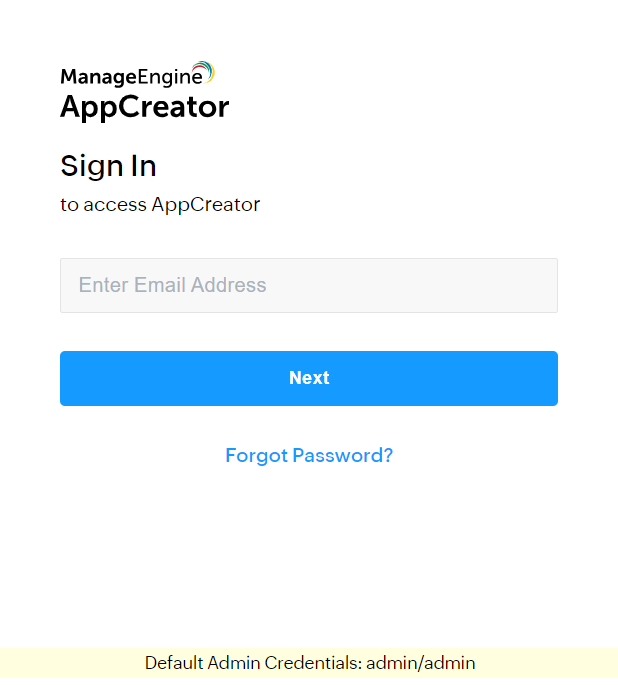
Use the following credentials in the screen that appears to login to ME AppCreator. Please change the default password upon login.
Username:
Password:
Create a VM and install AppCreator
You can also manually install AppCreator after creating a VM. The steps to create a VM are as follows.
- Login to your Azure portal.
- Hover over Virtual machines and click the dropdown arrow beneath Create.
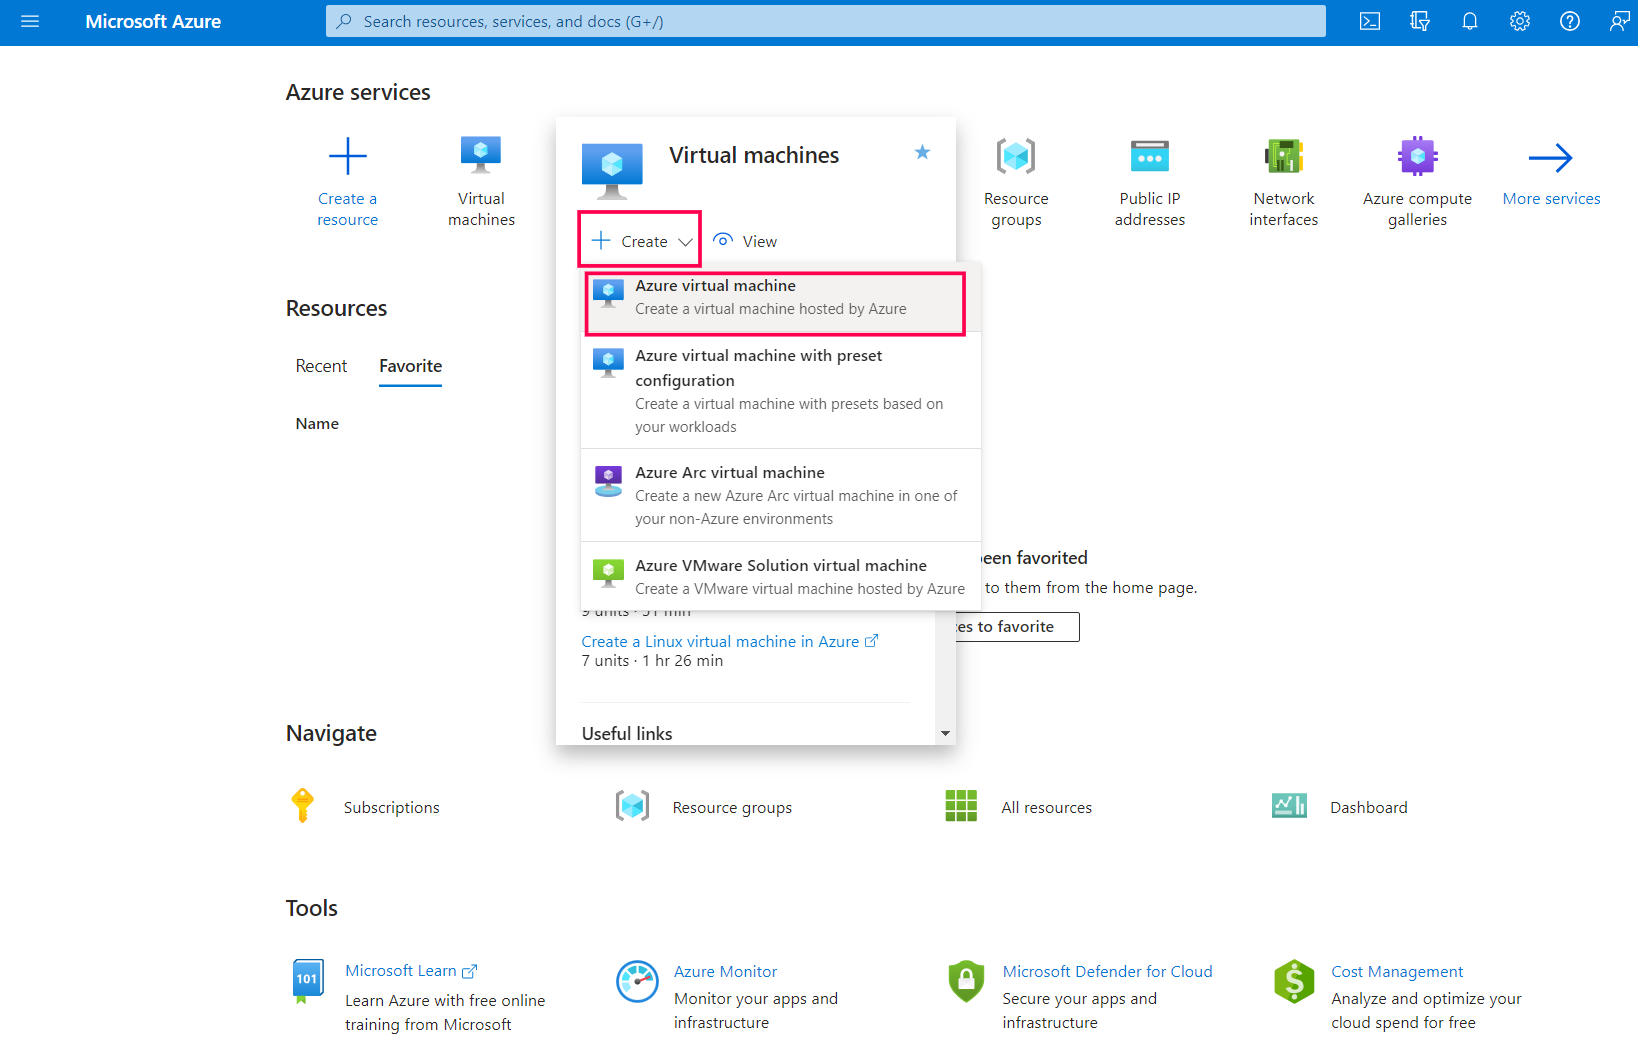
- Select Azure virtual machine. The Create a virtual machine page will appear. Follow the steps from 6-11 in the above section.
- Access your VM and install AppCreator by following the steps mentioned here.
Prerequisites
- Access to a Microsoft Azure account.
- Click here to learn more about recommended machine configurations.
Points to note
- When purchasing AppCreator from Marketplace, the snapshot images are created with a disk storage of 127 GiB for Windows and 30 GiB for Linux. The storage can be increased later if required.
- For marketplace installations, ManageEngine AppCreator is installed in the below directory
- Windows:C:\Program Files\ManageEngine\AppCreator
- Linux:/opt/ManageEngine/AppCreator
- Windows:
- For Linux marketplace installations, the firewall rules are pre-configured for SSH and ManageEngine AppCreator using Ubuntu's default firewall configuration tool UFW (Uncomplicated Firewall) However, you can configure the firewall as per your requirement.
- In the case of Linux marketplace installation,
- Ensure to use sudo when executing the server commands.
- Use the server commands to manage your AppCreator server.
- Alternatively there is also a AppCreator.service system service which starts AppCreator on system boot and can also be used to manually start and stop the appcreator service. Below are the respective commands:
- To start the service:sudo systemctl start AppCreator.service
- To stop the service:sudo systemctl stop AppCreator.service
- To enable the service:sudo systemctl enable AppCreator.service
- To disable the service:sudo systemctl disable AppCreator.service
- To start the service:
- In case of Windows marketplace installation, you can refer this page.