Installing Rules
Last updated on:
In this page
Overview
This page details how rules can be installed from the Rule Library. The rules can be installed automatically as ManageEngine develops and adds them to the cloud repository or can be browsed and installed manually. The below segment outlines the steps to install rules.
Steps to install Rules from the Rule Library
- In your account, navigate to the Security tab to access the Security Analytics dashboard.
- Click Manage Rule in the top-right corner.
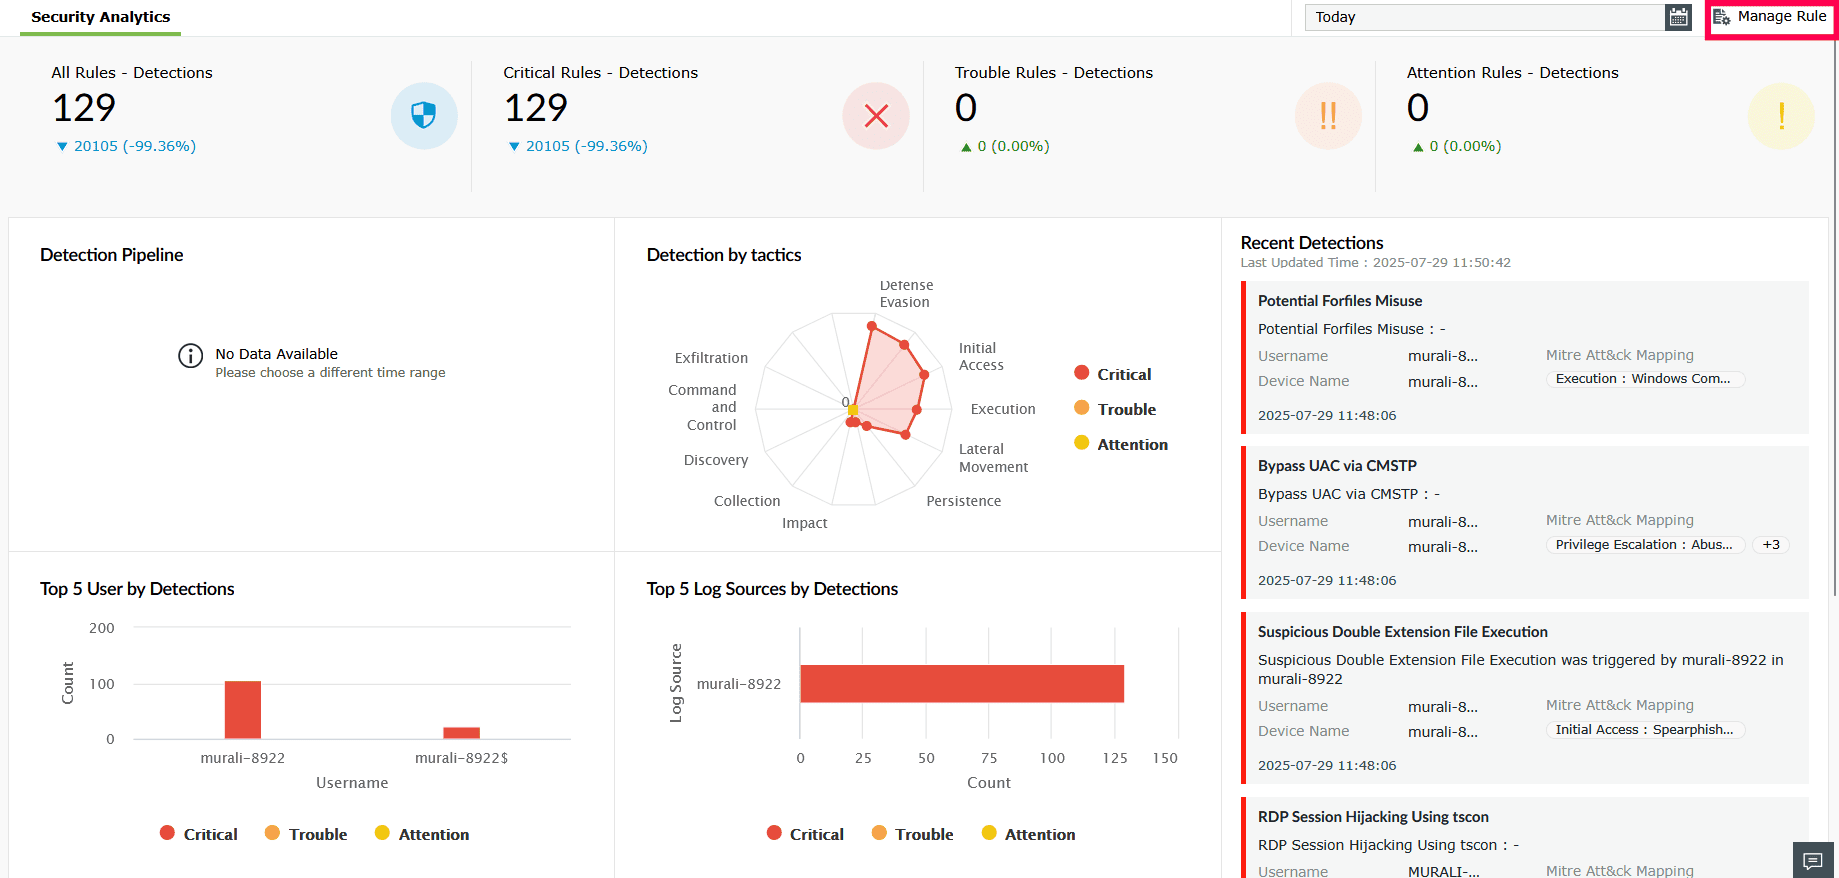
Figure 1: Navigating to the Rule Library - In the Manage Rules page, click Rule Library.
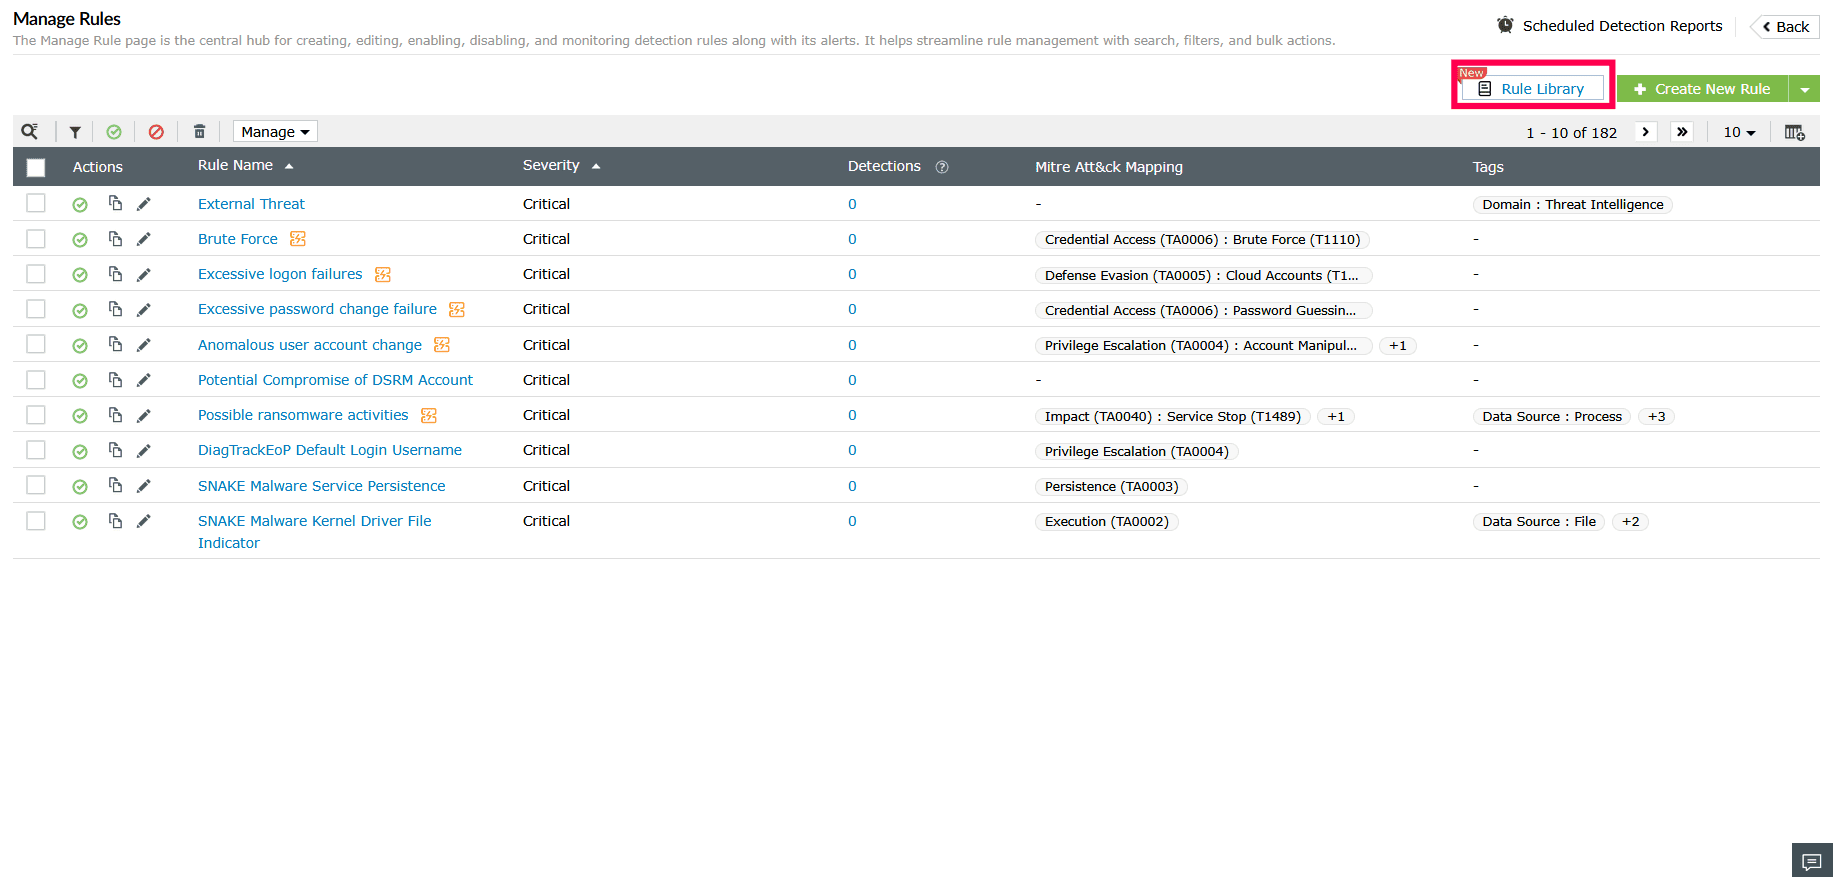
Figure 2: Navigating to the Rule Library - Select a category from the left panel to view its rules.
- Available Rules tab: Displays rules that are available in the central repository but not yet installed.
- Installed Rules tab: Displays already installed rules in your environment.
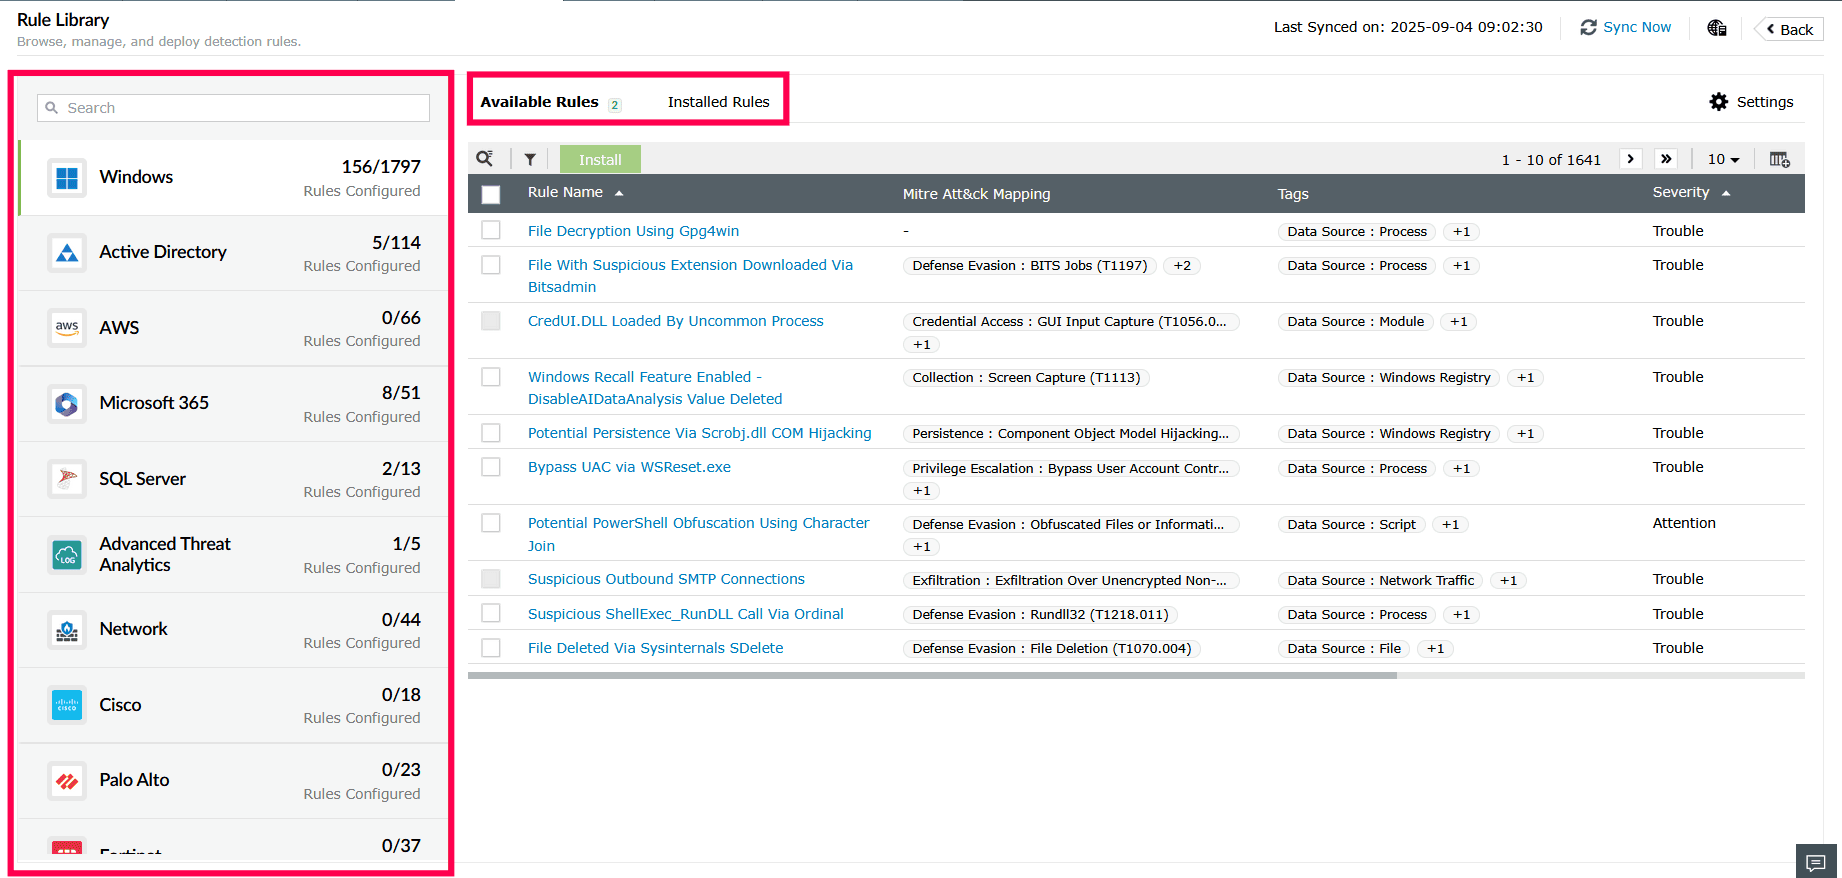
Figure 3: Selecting Rule Library categories - In the Available Rules tab, click the
 icon to apply filters for rules. The filter works based on different criteria as outlined:
- All Rules: Displays all rules.
- New Rules: Recently added rules.
- High Computational: Resource-intensive rules, such as:
- Threshold Logic: Triggers alerts only when an event crosses a defined limit.
- Anomaly Models: Detects deviations from normal behavior patterns.
- Multi-action Logic: Correlates two or more events
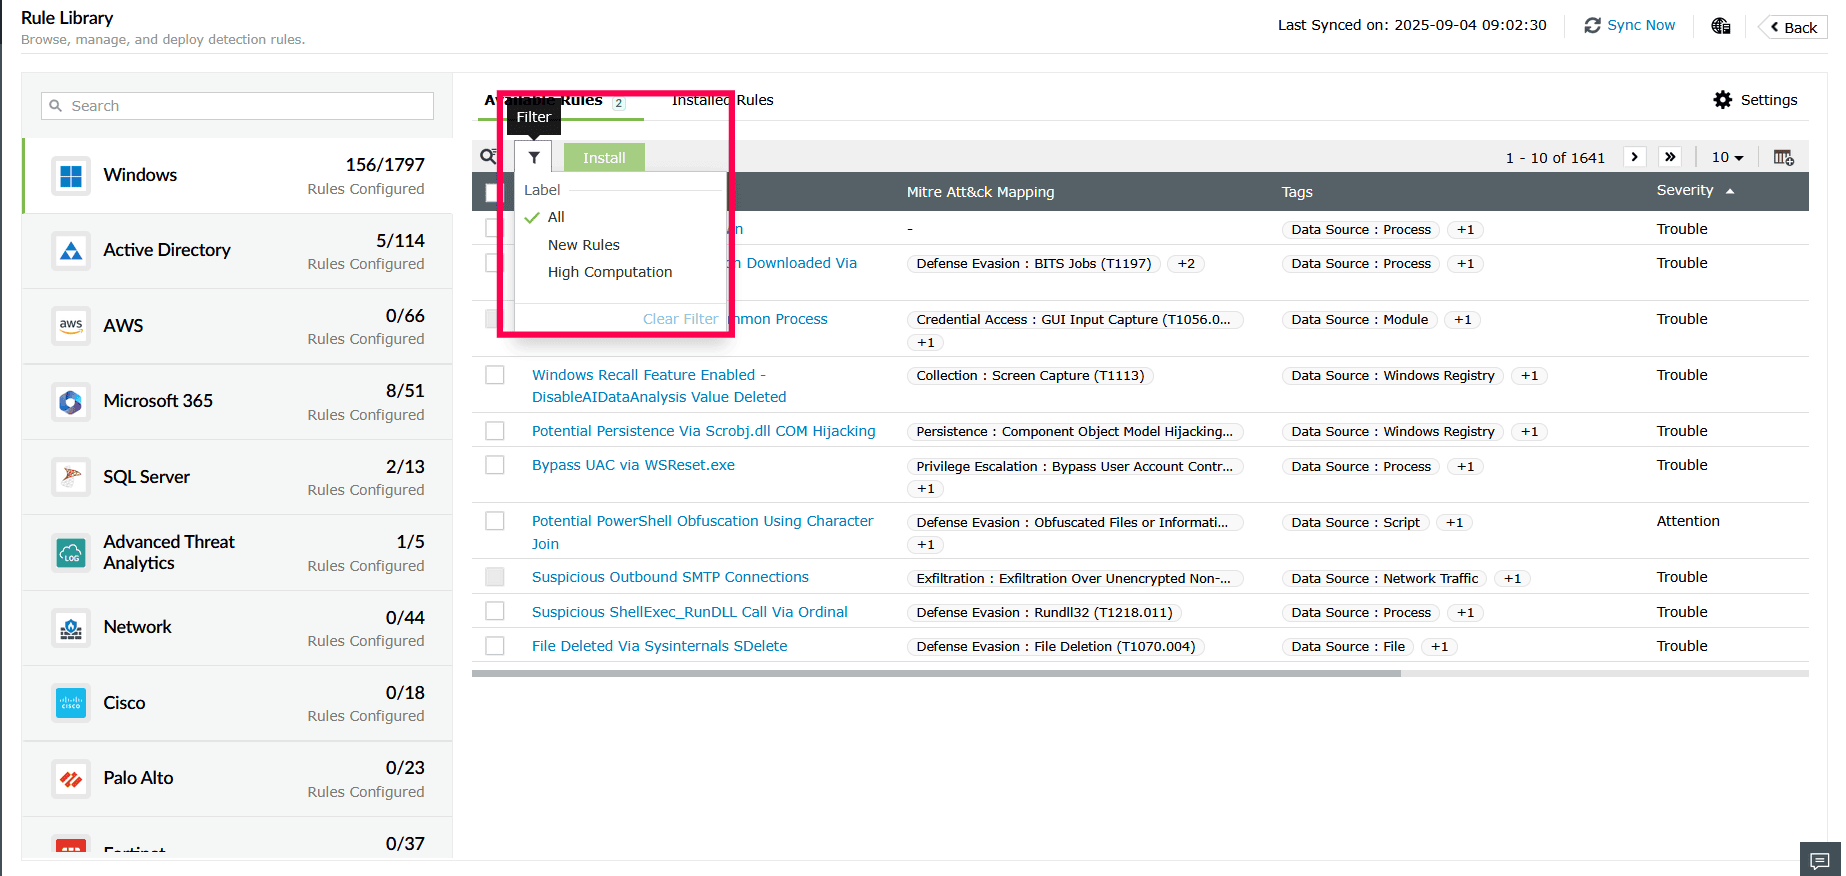
Figure 4: Applying filters in the Available Rules tab - Click Clear Filters to remove all applied filters.

Figure 5: Removing applied filters - Click the
 icon in the top-right corner to customize the rule table view. Select the checkbox next to the fields to add or remove them, and then click Apply.
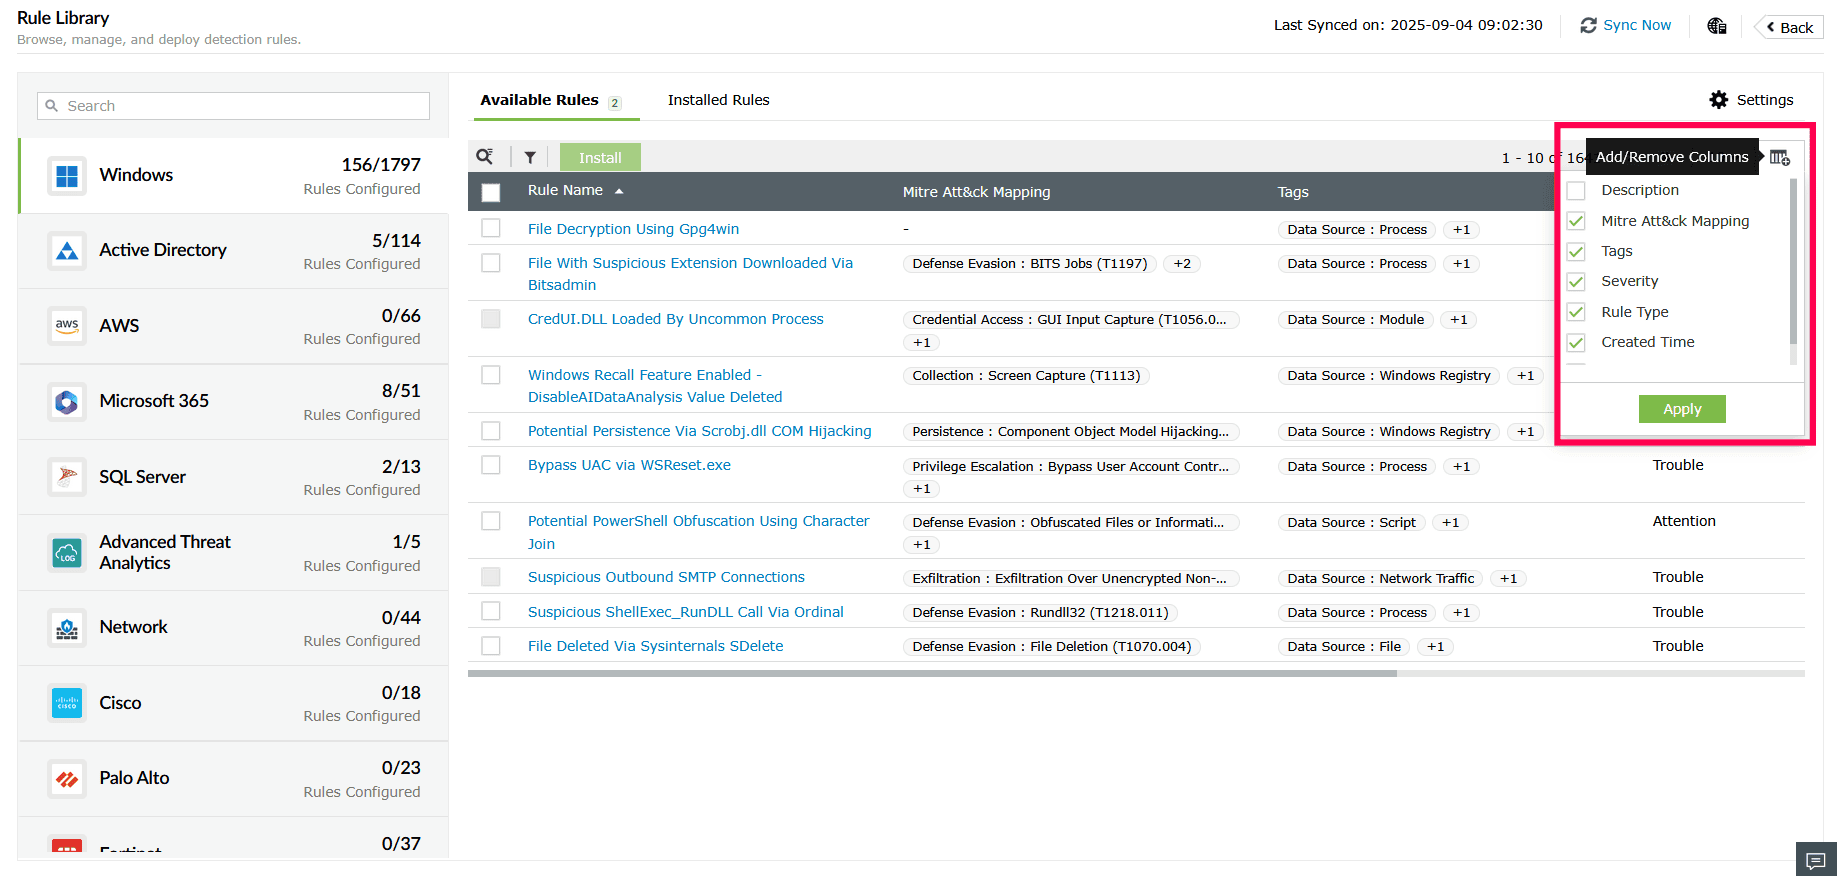
Figure 6: Customizing columns in the Available Rules tab - Click the
 icon to access Advanced Search and locate rules by severity, rule type, MITRE tags, tags, or rule name.
 - To close the search, click the
 icon again.
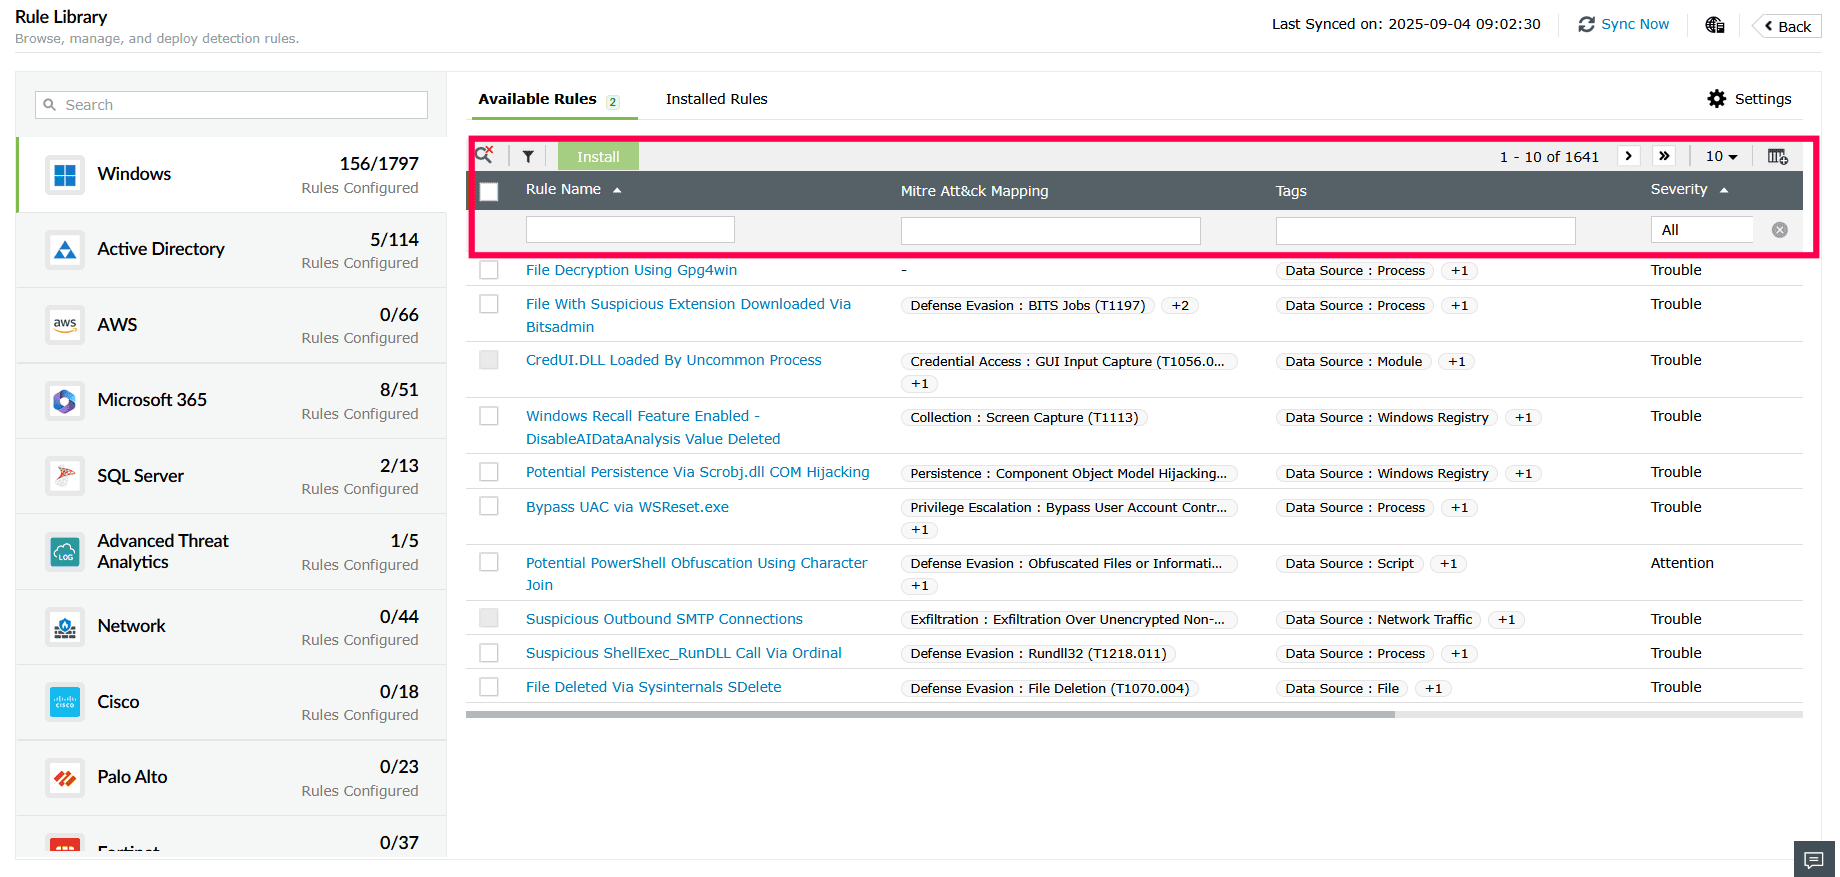
Figure 7: Using Advanced Search - Select the checkbox next to the rules you want to install from the Available Rules tab, then click Install.
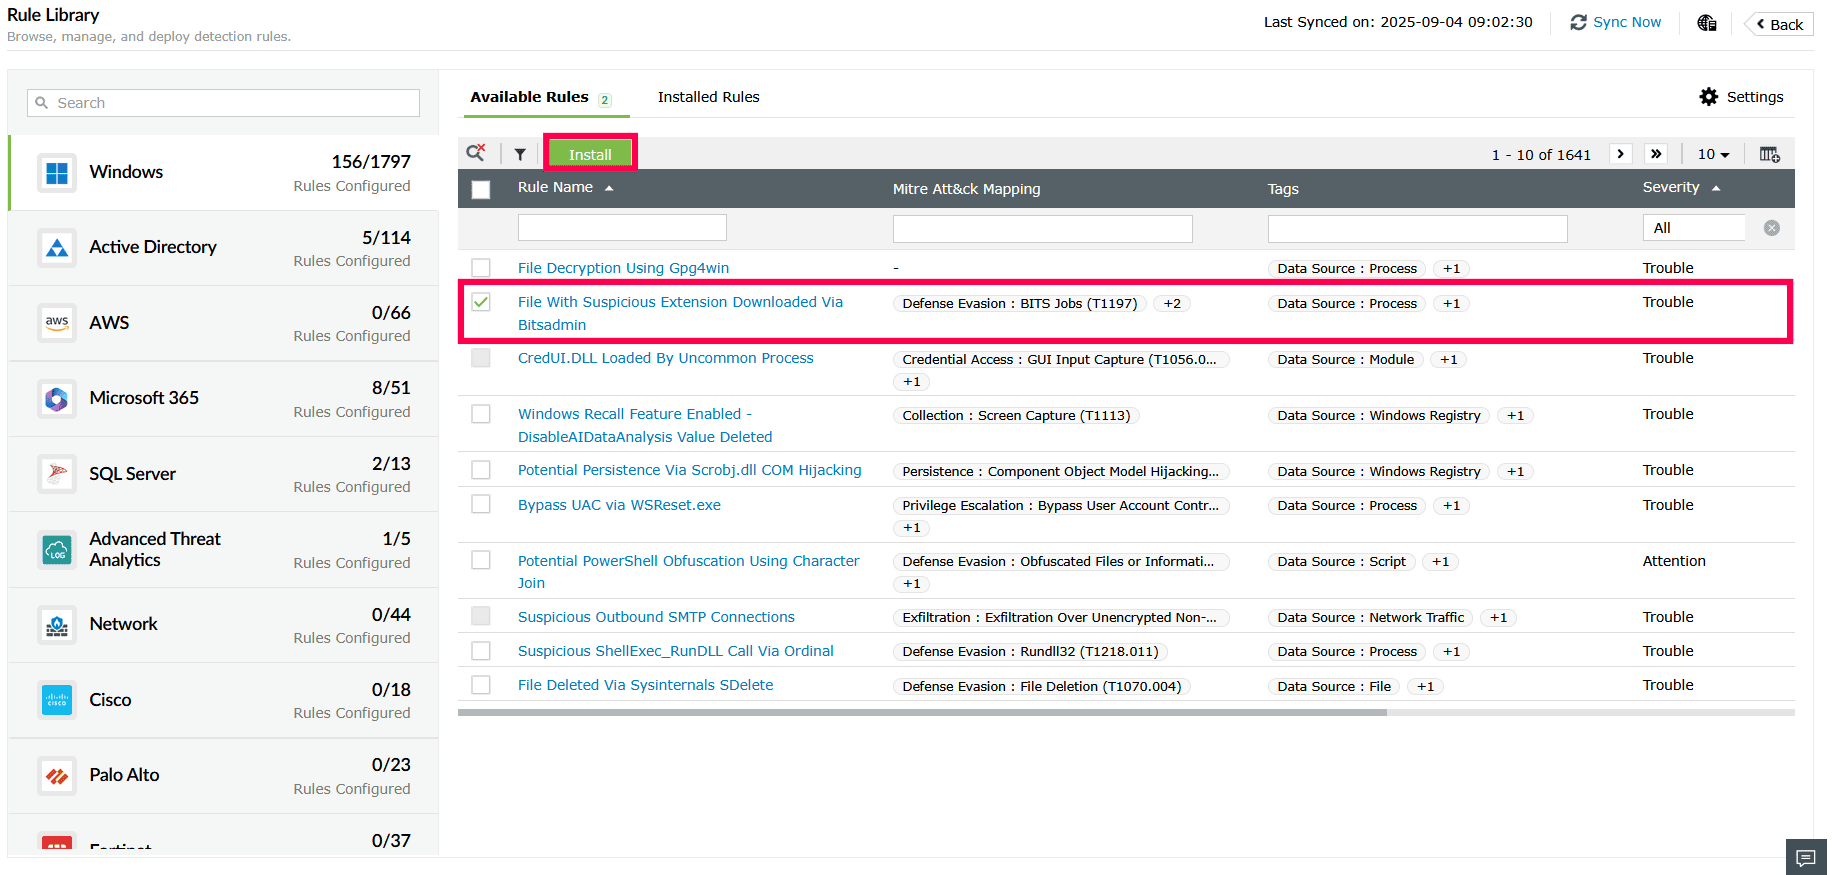
Figure 8: Installing rules from the Available Rules tab NOTE You can install multiple rules at once. Some rules require additional configuration during installation.- If you install such a rule individually, a popup will prompt you to either complete the additional configuration and install the rule, or skip it and have the rule installed in a disabled state.
- If the same rule is installed as part of a bulk installation, it will be assumed that you chose to skip the configuration, and the rule will be installed in a disabled state.
You can enable these rules later from the Manage Rule page after completing the necessary configurations.
- In the Installed Rules tab, select the icon to apply the filters for rules, such as New Rules, High Computational, and Deprecated rules.
NOTE Deprecated rules are rules that we no longer recommend for installation as they have been replaced, improved, or consolidated. If you have installed these rules, then they appear only in the Installed Rules tab.
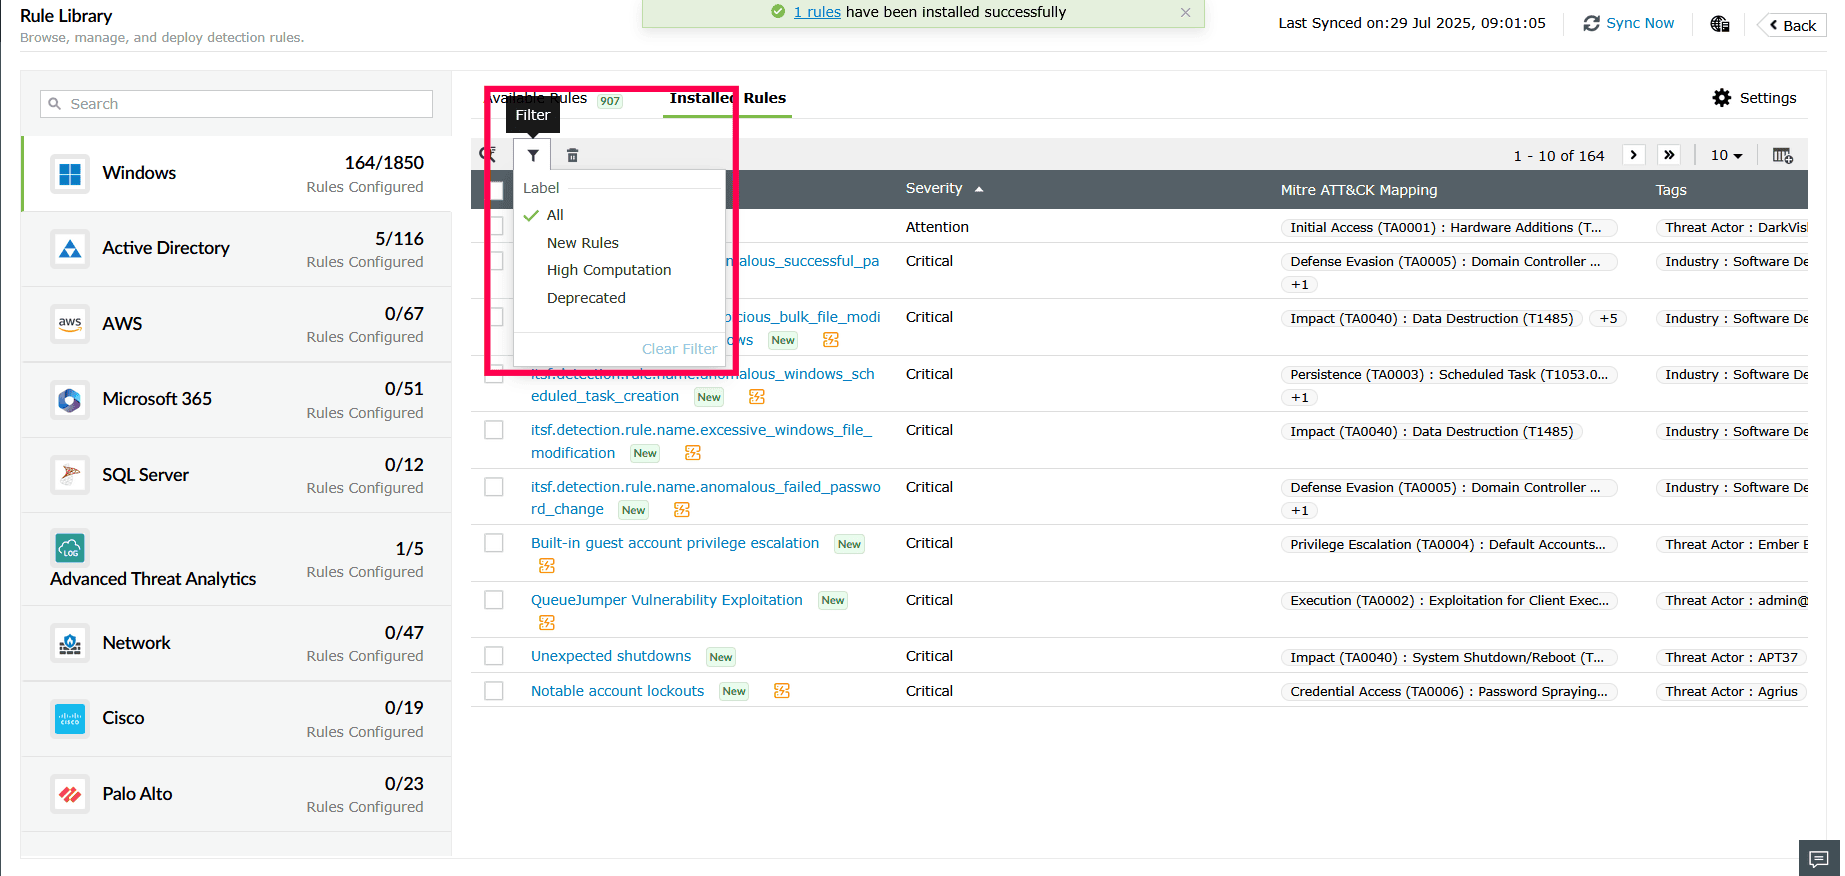
Figure 9: Applying filters in the Installed Rules tab - Click the icon to customize the table view. Select the checkboxes next to the fields you want to display, such as Created By, Installed Time, Last Updated Time, and then click Apply.
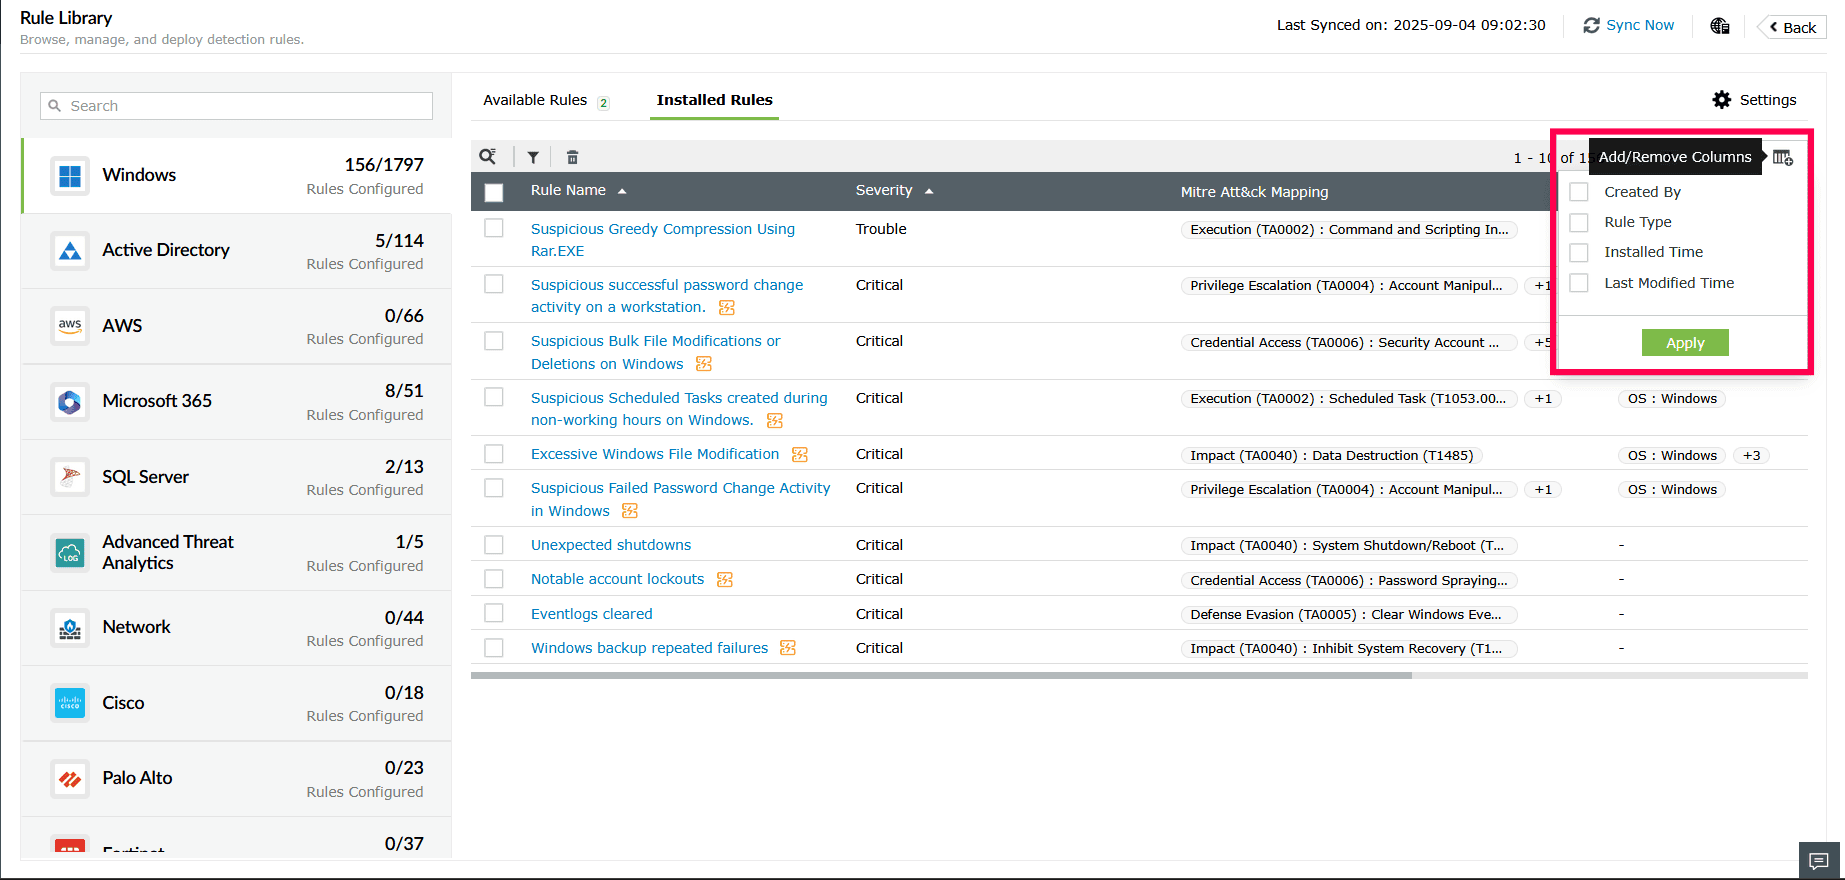
Figure 10: Customizing columns in the Installed Rules tab - Select the checkboxes next to the rules you want to delete and click the
 icon.
icon.
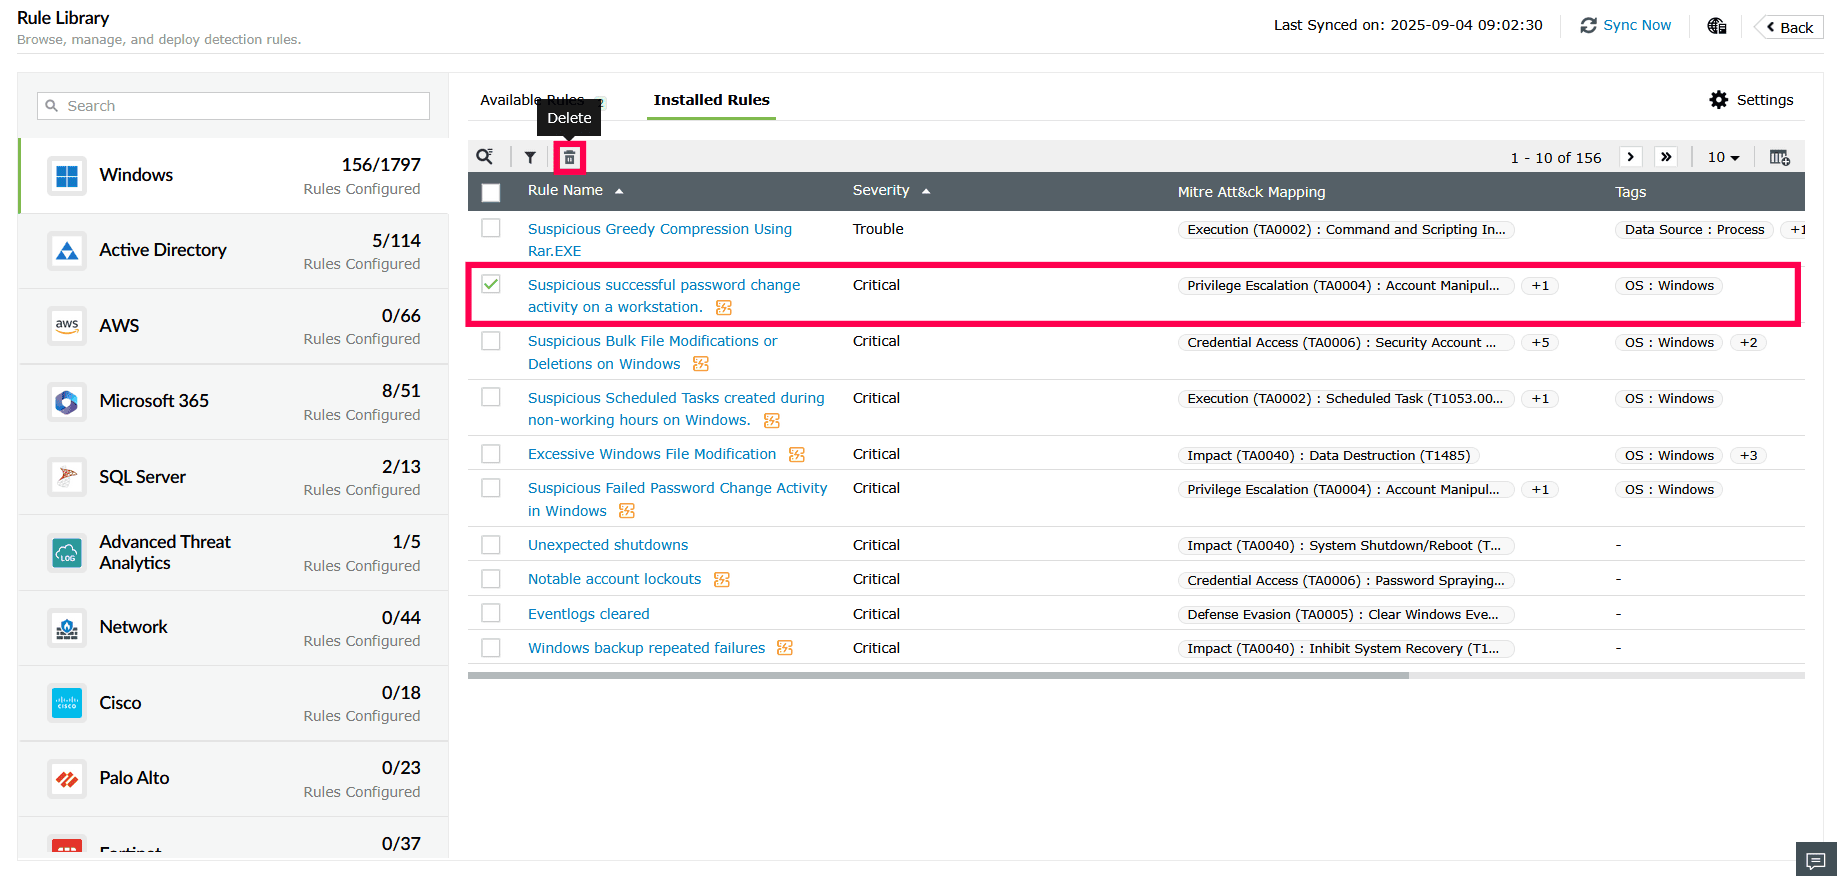
Figure 11: Deleting rules from the Installed Rules tab - In the pop-up that appears, click Yes to confirm the deletion.
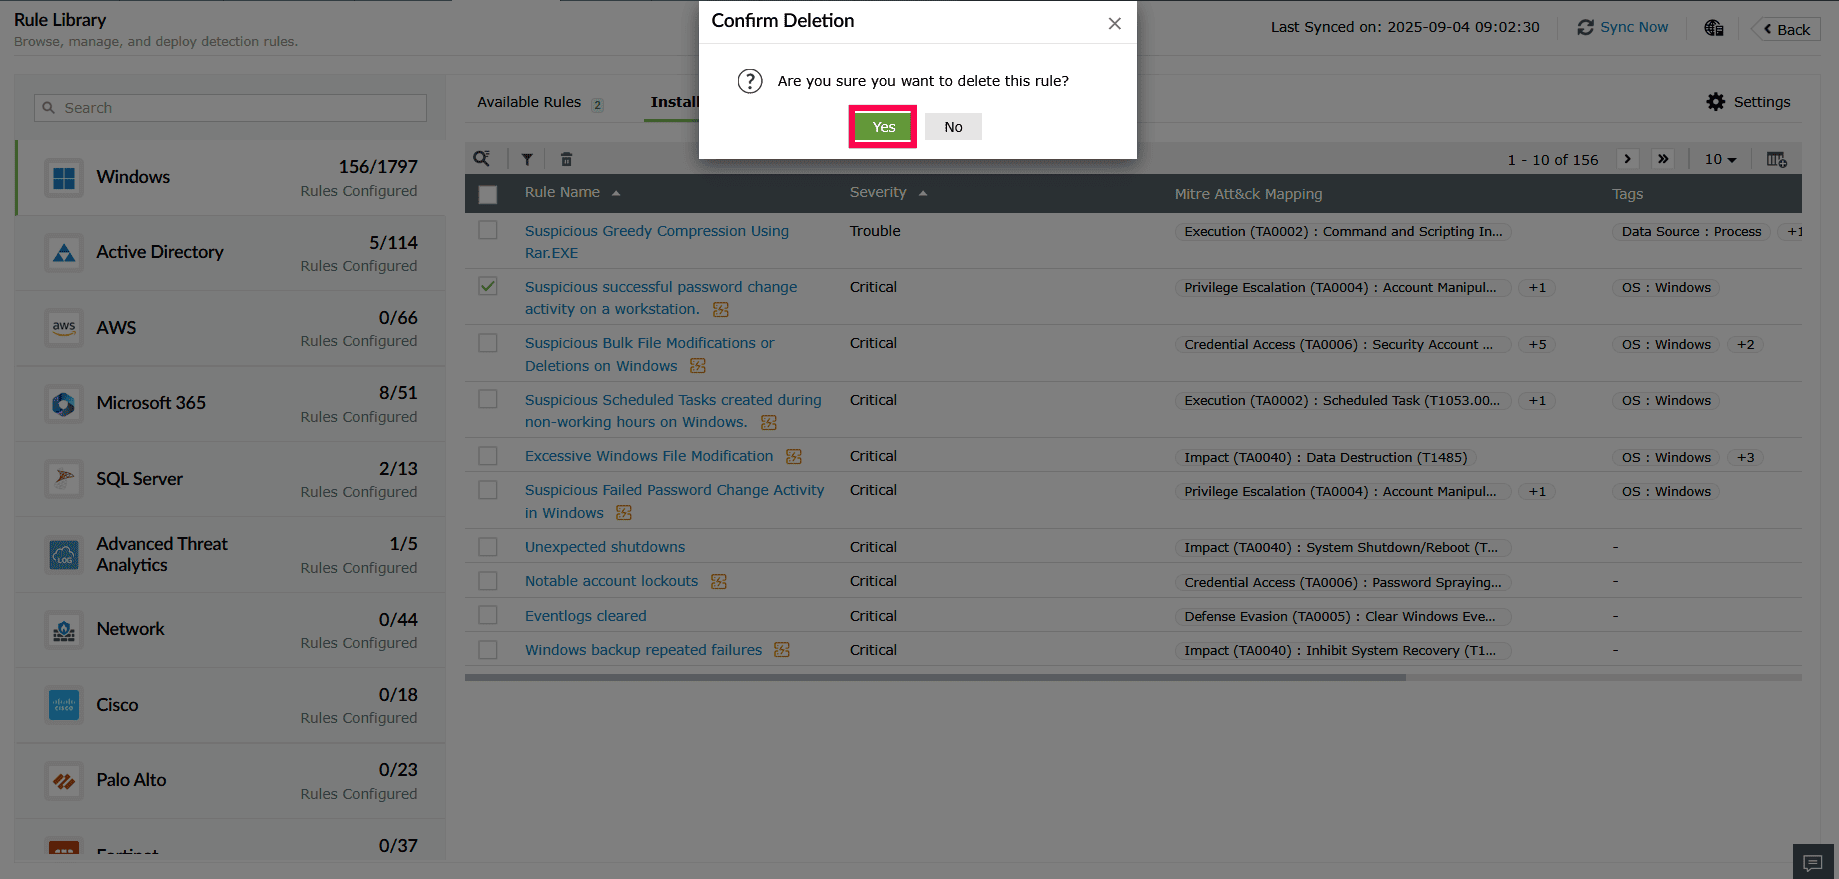
Figure 12: Deleting rules from the Installed Rules tab
Read also
This page detailed the steps to install rules from the Rule Library. To configure auto-install and rule update settings, refer to the following articles: