Tags
What is a Tag, and what is its purpose?
The purpose of Tags is to collectively create a group based on different needs. A user can create separate Tags for each location, sub-domain, or any other required criteria. For each Tag, the user can assign corresponding devices available in that location or sub-domain.
Tags can be associated with devices, device groups, schedules, Configlets, compliance policies, change notifications, credential profiles, credential rules, etc. When a user creates a new user profile, they can assign a particular Tag to that newly created user.
When the tagged user logs in, they will see only the associated device groups, schedules, Configlets, policies, change notifications, etc. for that particular Tag, and other Tag objects will not be visible to them. If the end user is an MSP, a single server can be used to handle multiple locations using Tags. Also, the user's data will not be visible to other users in different locations.
How to create a Tag
- Go to Settings > Tags.
- Click the Add button and create Tag.
- Click Save.
Custom columns in Tags
Tags provide three custom column fields to provide additional information about each Tag. For example, the three columns can be location, contact number, and address.
These custom column names can be configured by navigating to Settings > Tags. Then, click the Custom Columns tab on the Tags page. While creating a Tag, the user can provide the custom column values for that Tag. These custom column values can also be edited.
Different methods of assigning devices to Tags
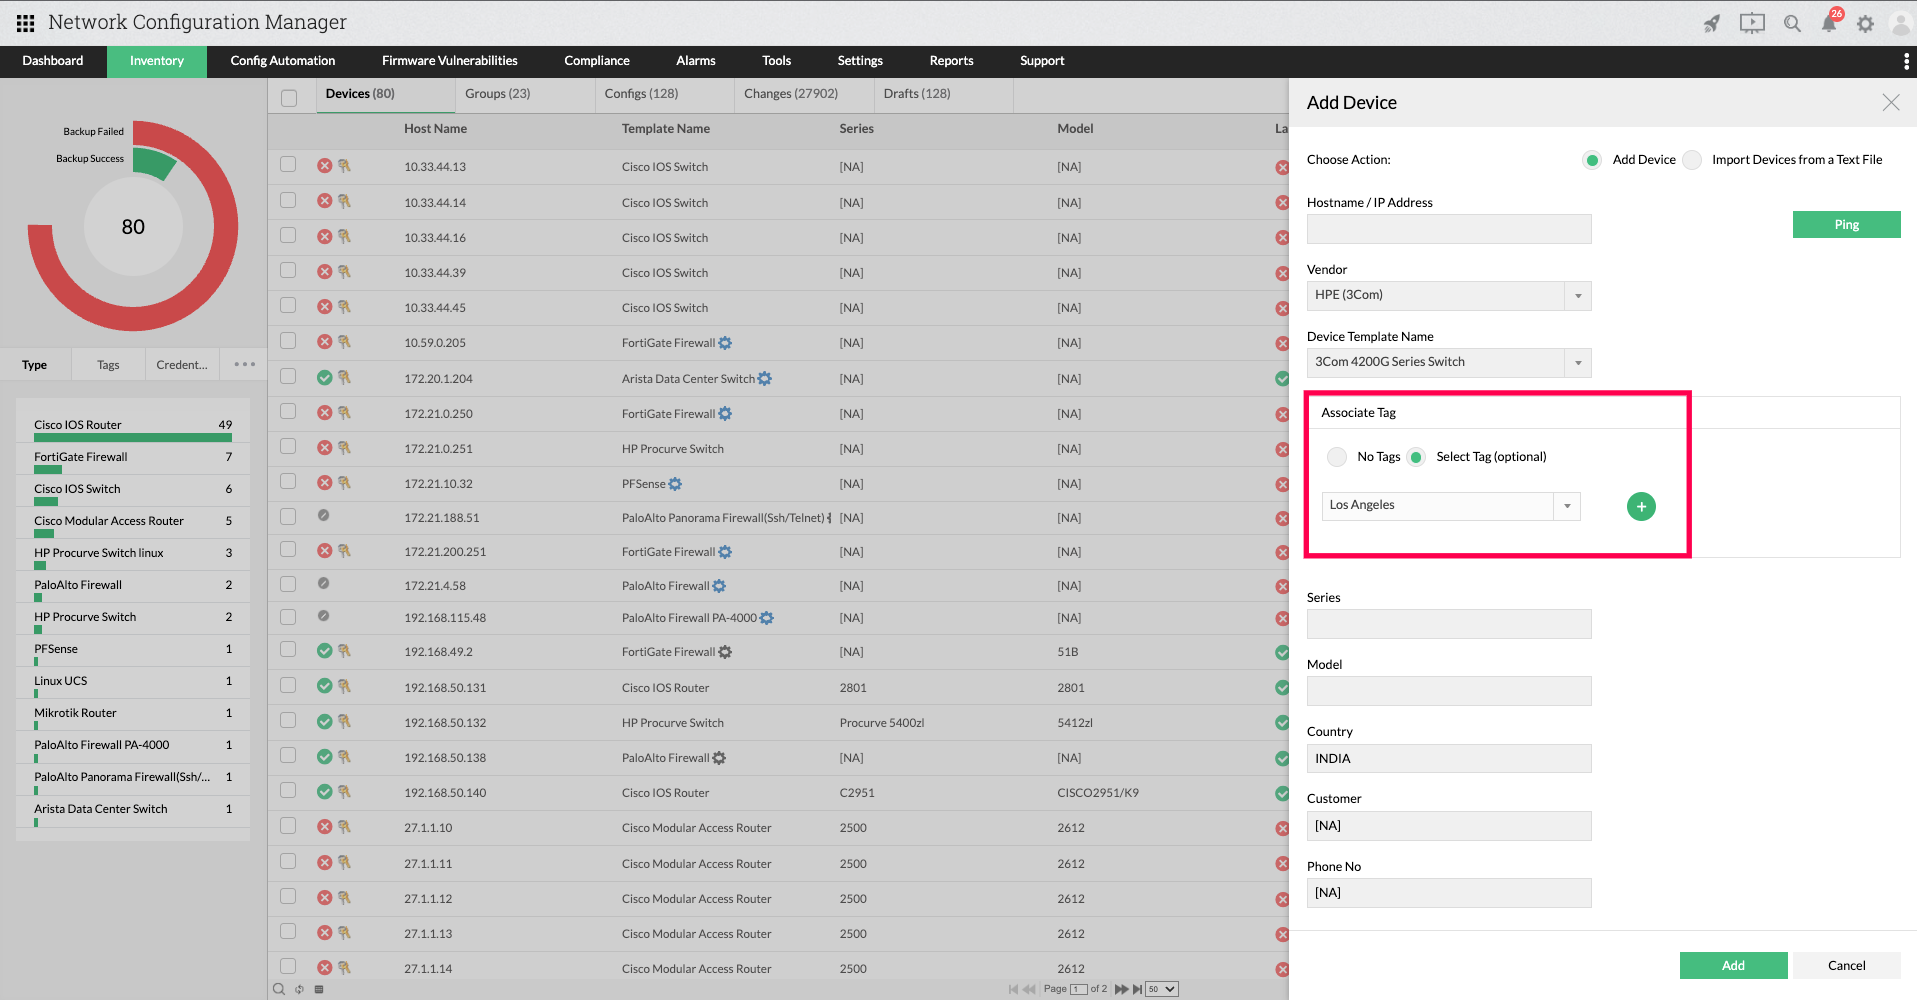
Method 1:
While adding devices manually to the Inventory, the user can select the respective tag from the Associate Tag field.
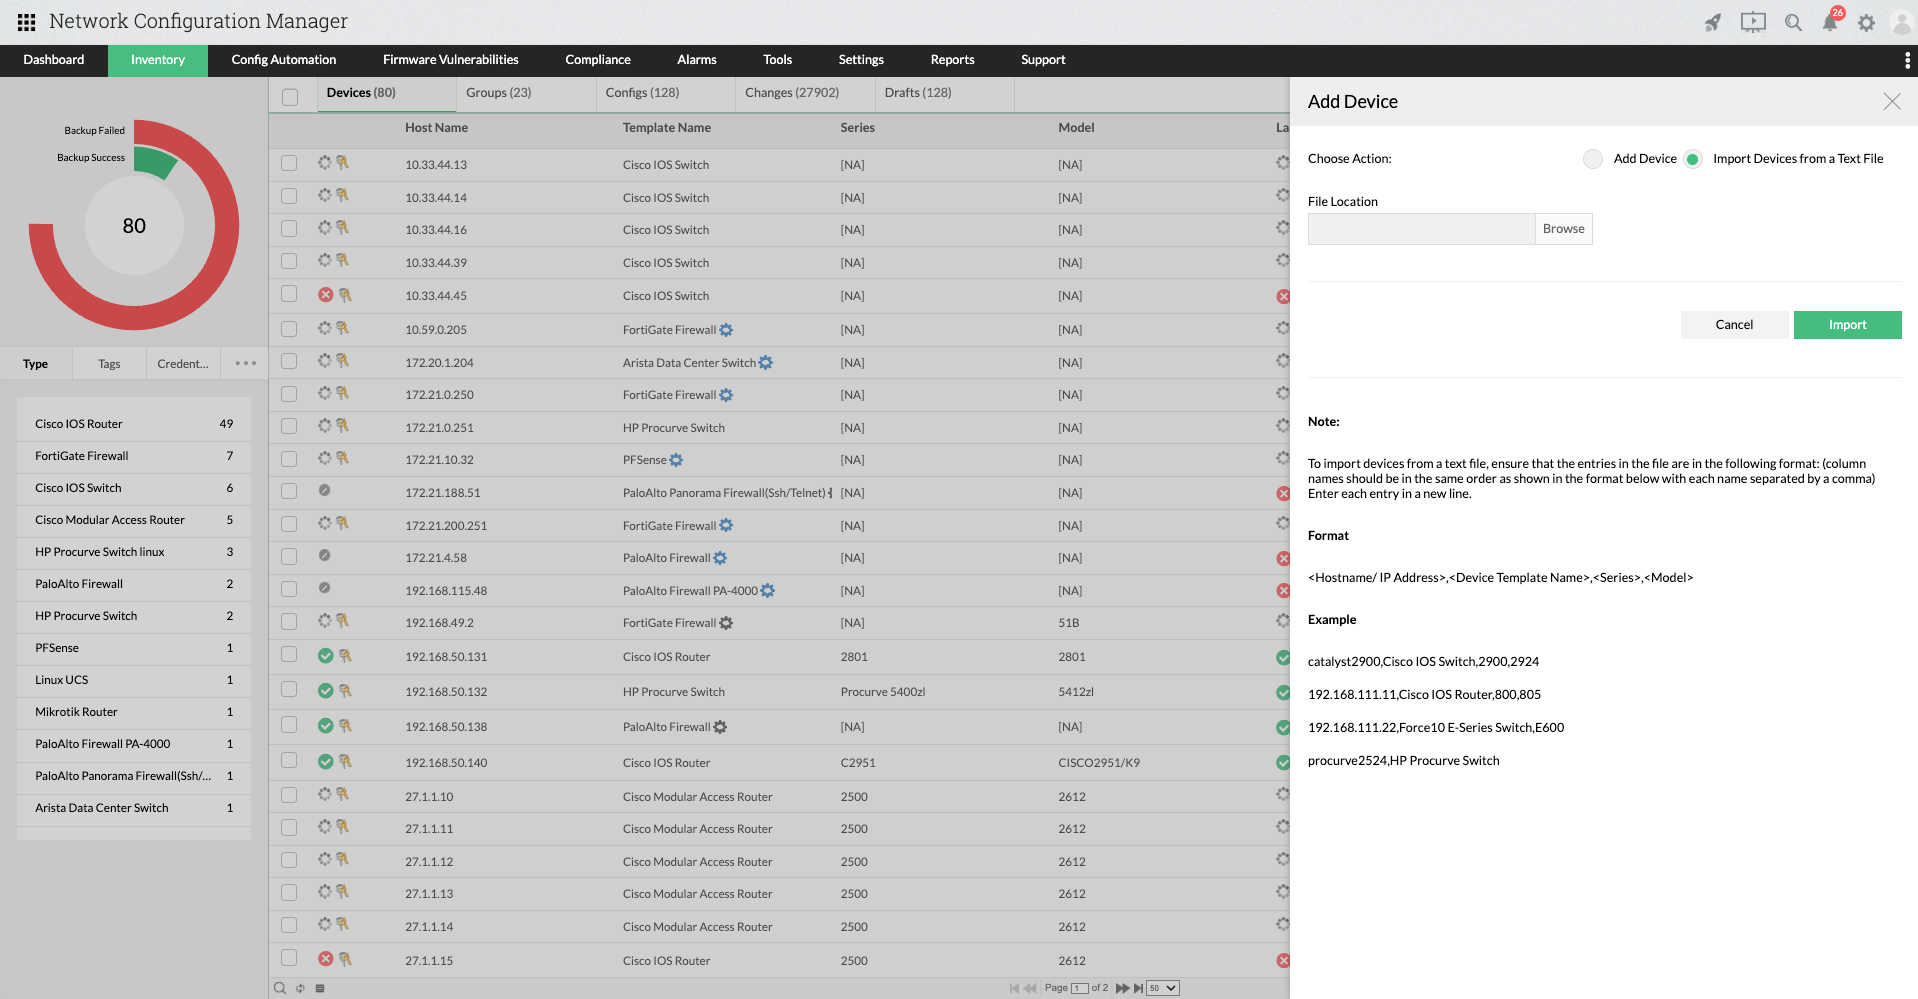
Method 2:
Devices can also be associated to Tags in bulk when you select the Import Devices from a Text File option for adding devices to the Inventory.
Format:
<Hostname / IP Address>, <Device Template Name>, <Series>, <Model>, <Tag Name>
Example:
catalyst2900,Cisco IOS Switch,2900,2924,US_Tag
192.168.111.11,Cisco IOS Router,800,805,UK_Tag
192.168.111.22,Force10 E-Series Switch,E600,Japan_Tag
procurve2524,HP Procurve Switch,UK_Tag
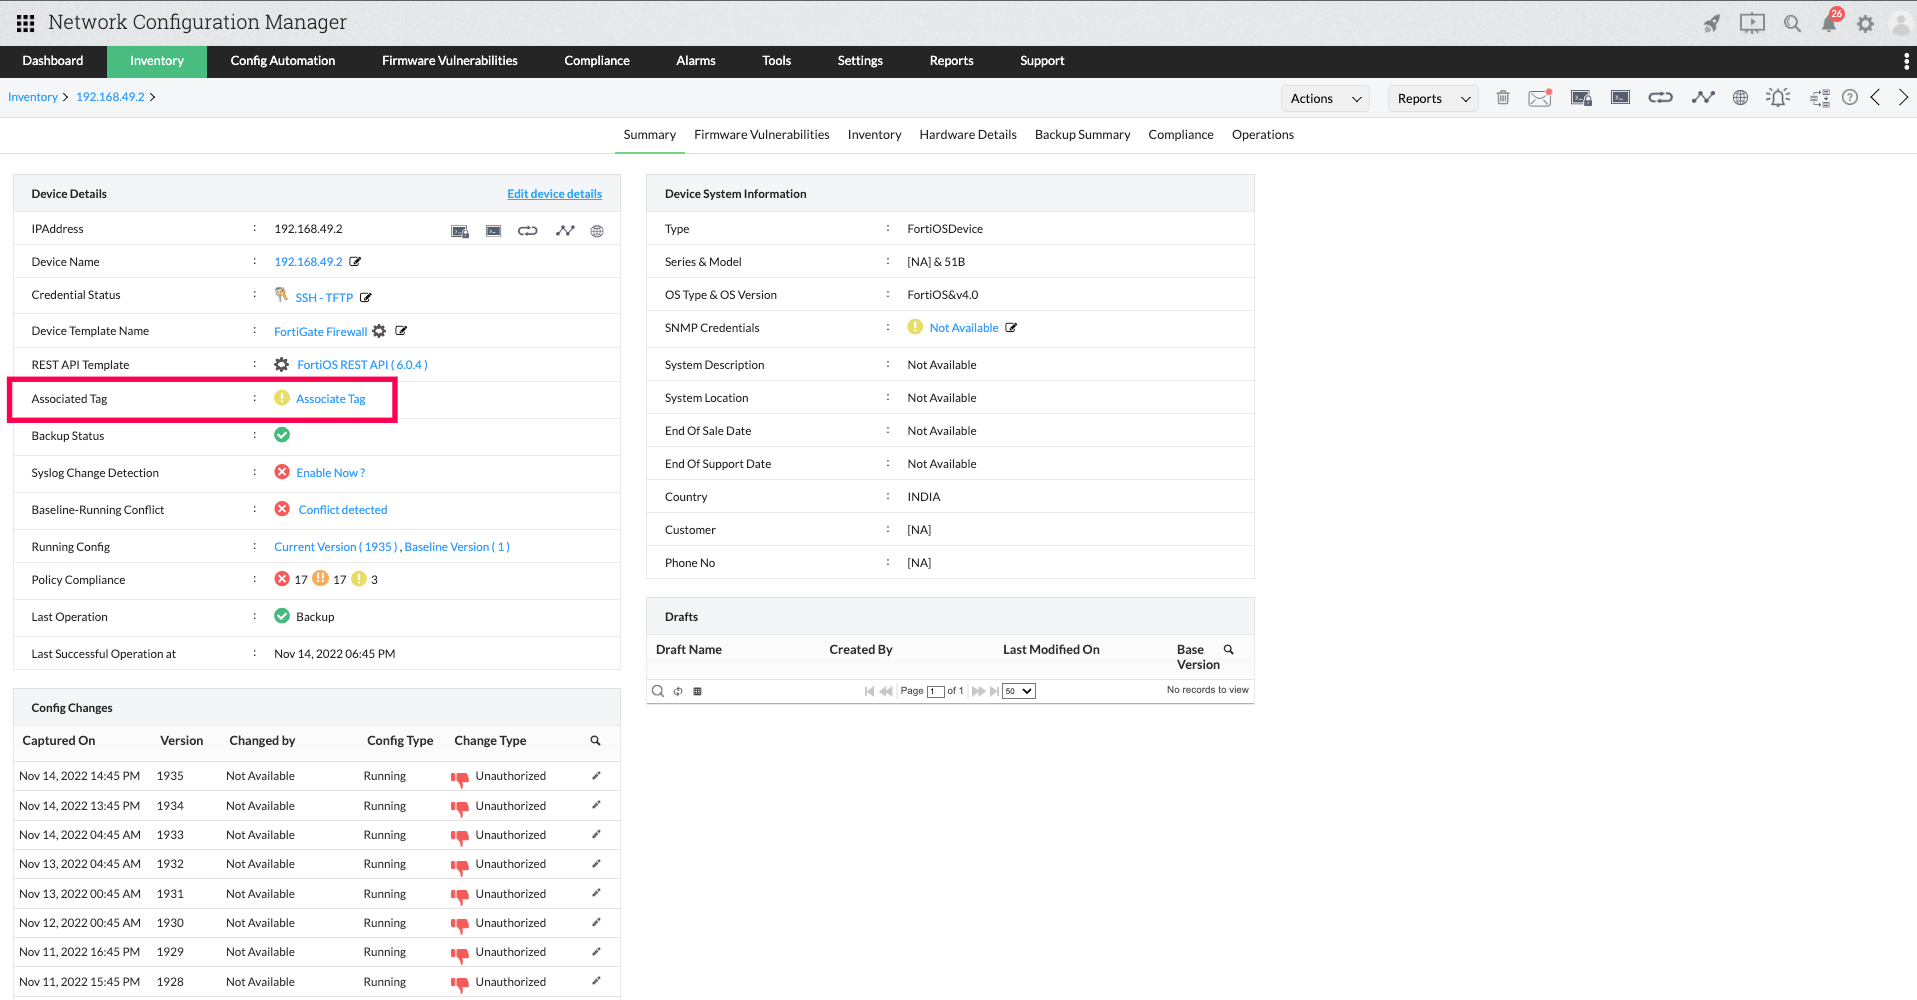
Method 3:
Once a device is added to the Inventory, you can go to its snapshot page by clicking the required device. Then, in the Device Details section, select Associate Tag and then select the respective Tag to be associated.
How to assign a Tag to a user
While creating a user, a specific Tag can be selected on the Scope page to associate the Tag with the user. When a tagged user logs in, only the devices associated with that Tag will be available to them. Multiple users can be associated with one Tag.
The function of tagged users
A tagged user can create Configlets, schedules, device groups, compliance policies, credential profiles, and change notifications that are automatically associated with the respective Tag. The objects created by the tagged user are available for other tagged users associated with the same Tag, but not available to tagged users of a different Tag.
Tags in Network Configuration Manager Enterprise Edition
In the Enterprise Edition of Network Configuration Manager, Tags can only be created and edited from Network Configuration Manager Central, and then they are distributed to either all probes or selected probes. In Probe, distributed Tags from Central can be utilized as mentioned above.
Deleting Tags
When a Tag is deleted, its association with all objects is also deleted. These objects are now available to be associated with other Tags. The users associated with the deleted Tag will be converted to Full Access Admin.
Thank you for your feedback!