The Essential Toolkit for Linked Mailbox Management
We know that Active Directory (AD) plays a very important role in organizations given the fact that so many applications use it for authentication. That being said, imagine your organization is planning to migrate the user accounts from your current AD forest to another one. You want your users to be able to log in to the new domain as soon as possible; more importantly, you don't want to interrupt their email access.
Unfortunately, a large-scale user and Exchange migration from one environment to another is often fraught with lots of issues post-migration. One of the most common migration issues is loss of access to applications that were being used before the migration, especially email.
Solution
To avoid post-migration access issues, it's better to migrate Exchange before migrating AD. After all, Exchange migration a ects senior management just as much as it a ects others, whereas any issues that a ect applications alone may not be immediately visible to management. From an IT service perspective, a smooth Exchange transition is essential. On another note, migrating Exchange first provides the flexibility to migrate AD users in smaller chunks by prioritizing groups and departments, thus resulting in a smoother migration.
When you're ready to migrate Exchange, linked mailboxes can help you make the transition as smooth as possible. A linked mailbox allows a user in one domain to own a mailbox in another domain, thereby providing single sign-on capability. By using a linked mailbox, users won't be prompted again by Outlook to log in to their mailbox on the day after the migration, thereby giving them a seamless migration experience.
Once you've set up linked mailboxes, the rest of the migration process is pretty straightforward. First migrate Exchange to a new forest while keeping users in the existing forest. After migrating the AD user accounts to the new forest, convert users' linked mailboxes to user mailboxes. End users, once again, will have a seamless experience while accessing their migrated mailbox since they'll simply log in using the account that holds their mailboxes.
Linked Mailbox Feature in ADManager Plus
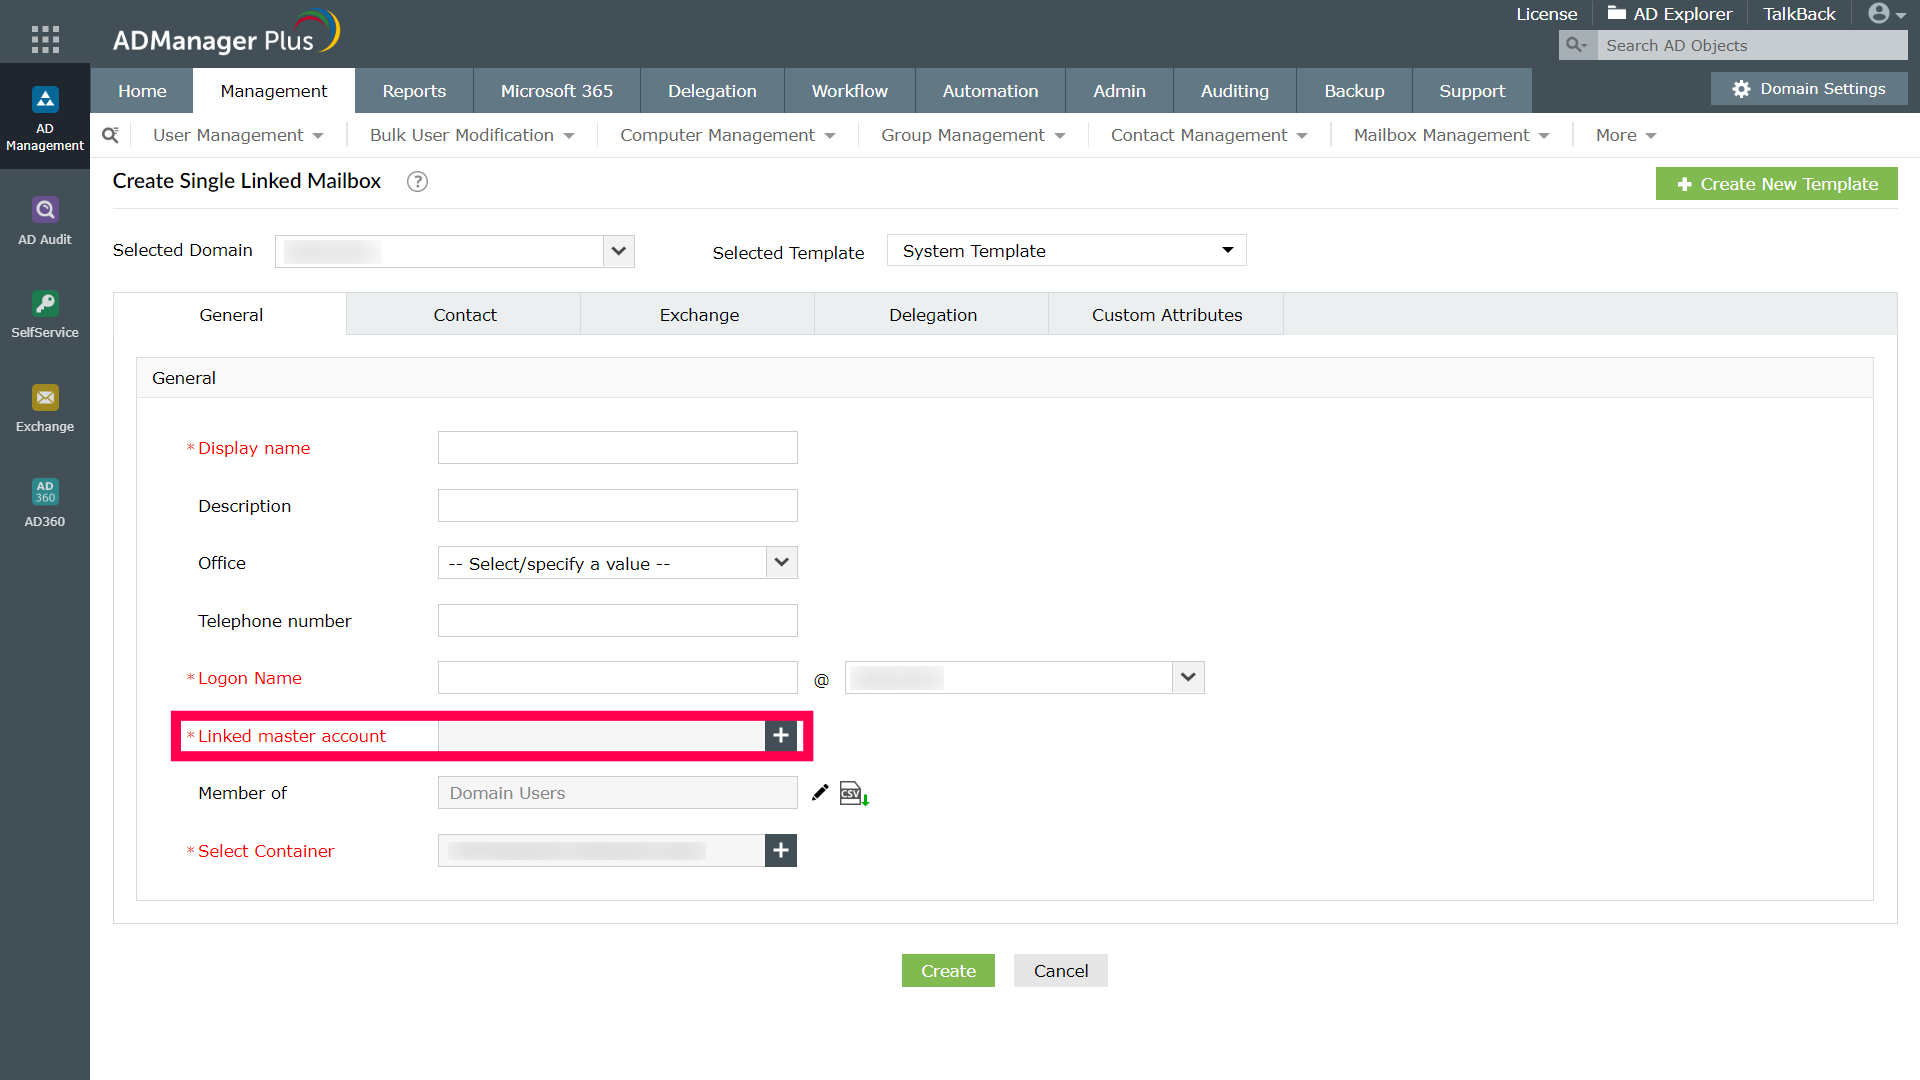
You can create a linked mailbox in ADManager Plus using the Mailbox management option under the AD Management tab.
Creating linked mailboxes is even simpler with the help of linked mailbox creation templates. Templates help you quickly customize linked mailboxes according to your organization's needs using simple drag-and-drop actions. Depending on which technician or user you're assigning the template to, you can tweak the template to make any attribute mandatory, read-only, or even hidden.
Steps to Create a Linked Mailbox Using ADManager Plus
To create a linked mailbox using ADManager Plus:
- Click the Management tab.
- Go to Mailbox Management and click the Create Single Linked Mailbox link located under Linked Mailbox Management.
- Select the domain in which you wish to create the linked mailbox.
- Pick the appropriate linked mailbox creation template by clicking the Change link located beside the Selected Template field.
Note: If you do not specify a template, the System Template will be applied by default.
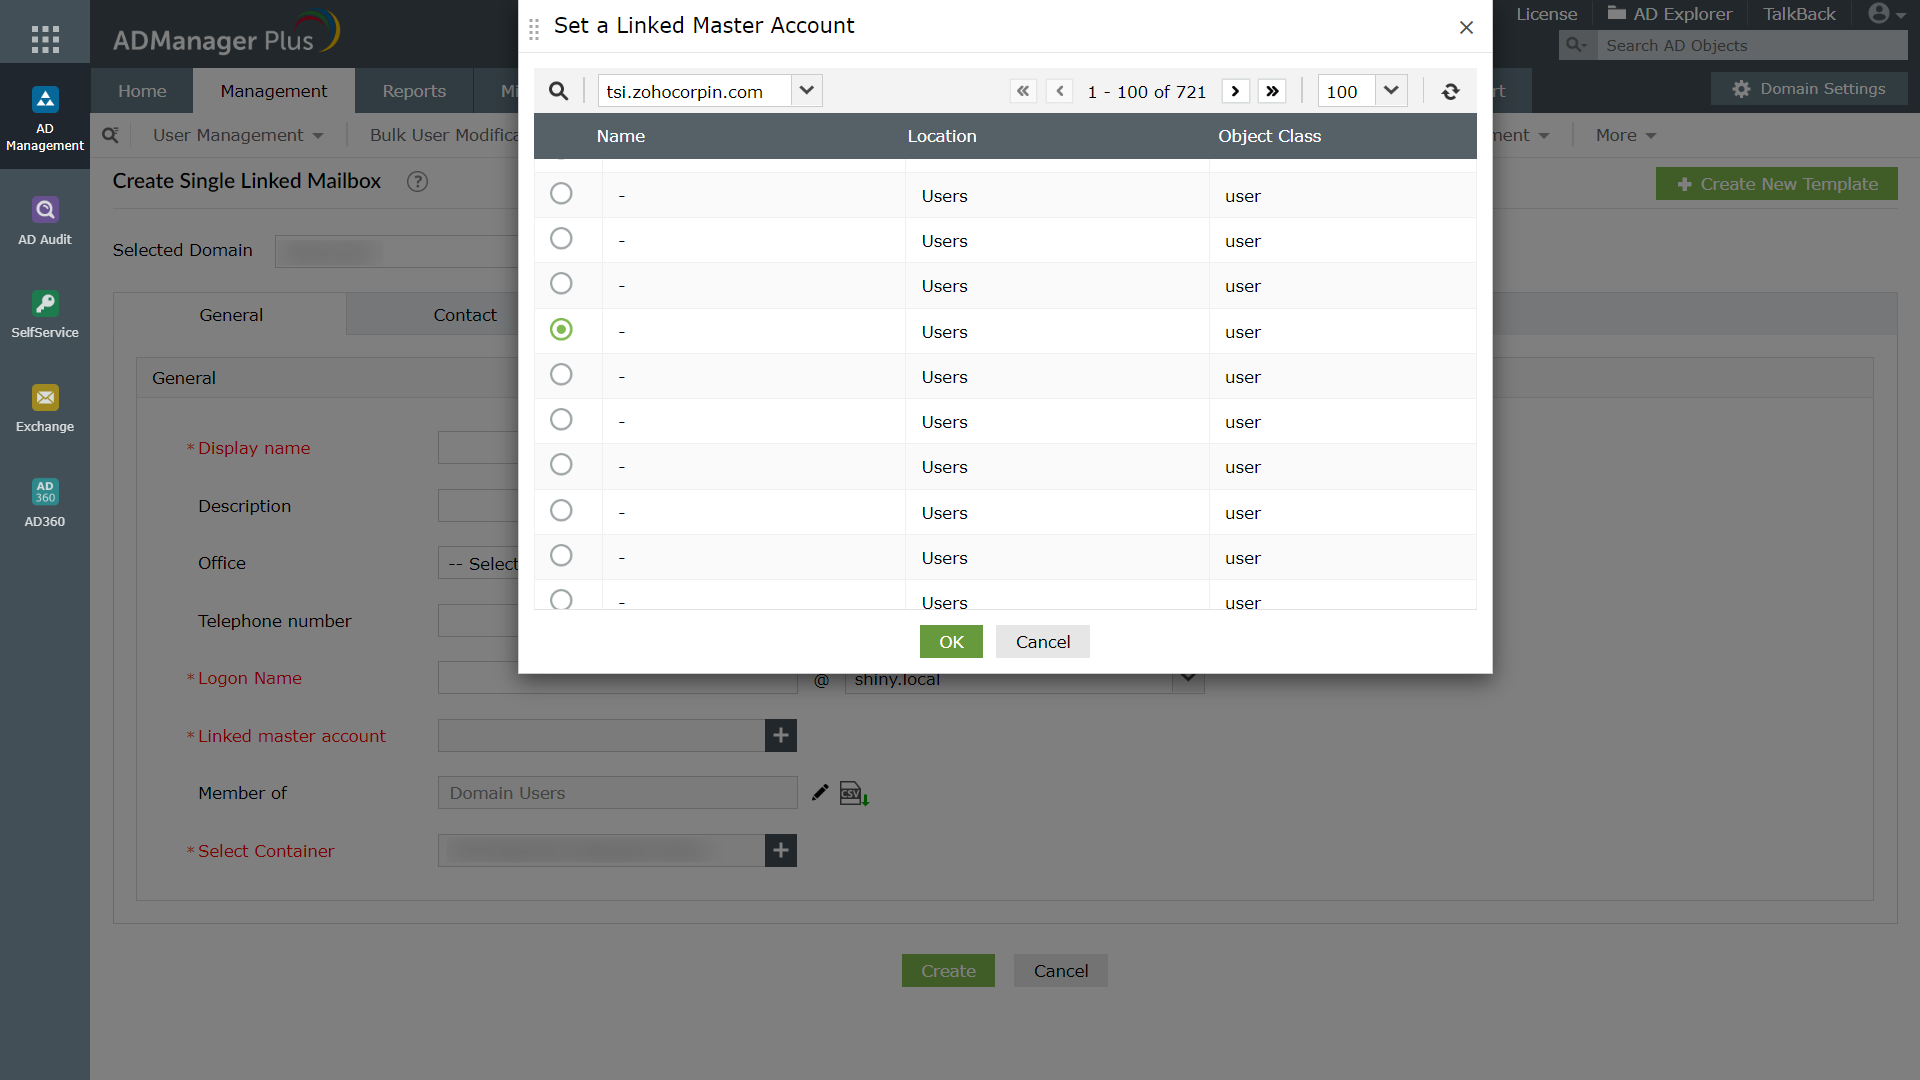
- In General tab, enter appropriate values for attributes such as display name, logon name, the linked master account, and container.
- Click the Contact tab, and enter the values for all the telephone, address and organization specific attributes.
- UIn Exchange tab, enter the values for Exchange specific attributes such as mail server, mailbox store, email alias, mailbox storage limits, proxy email addresses, delivery options and restrictions.
- In the Delegation tab, specify the users, to whom you wish to assign full access rights, send on behalf of and send as permissions.
- In the Custom attributes tab, select the Custom Script option, and enter the script if you wish to execute any specific action on successful linked mailbox creation.
- If you wish to add a custom attribute that you’ve configured in your AD, in ADManager Plus, use the Configure custom attribute option (if you wish to add an attribute only for this action) or Add additional attribute option (if you wish to add an attribute in ADManager Plus and make it available for all related actions).
- Click the Create button to create the new linked mailbox.
Steps to Create a New Linked Mailbox Creation Template
- Click the Management tab.
- Go to Mailbox Management. Under Linked Mailbox Templates, click Linked Mailbox Creation Templates.
- In the linked mailbox creation templates page, click the create new template link.
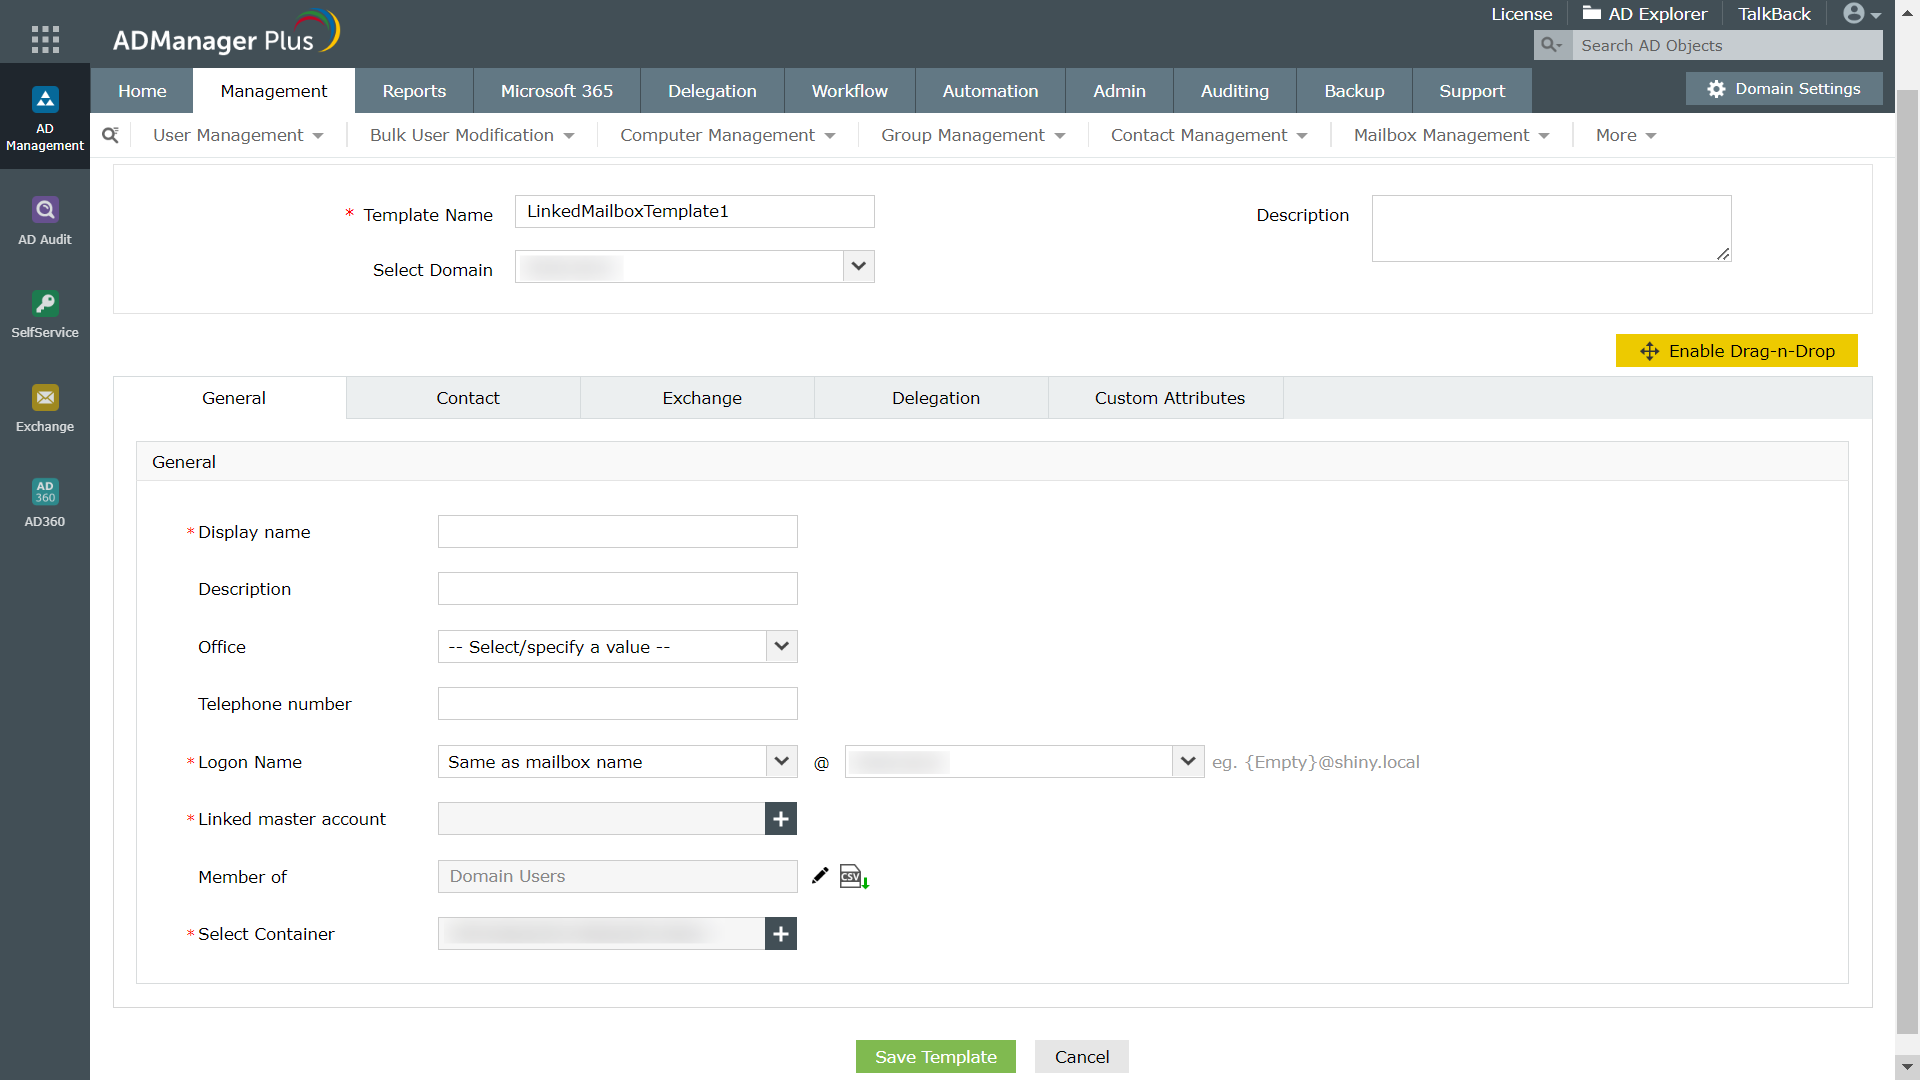
- Enter the desired name and description for the template.
- Select the domain in which this template will be used.
- Click Enable Drag-n-Drop to customize the template structure, by dragging and dropping the required fields from the field tray to the relevant tab.
- To customize the template (add or remove a tabs/field from the template, enter a value for a field, to make a tab/field silently active, etc.), follow these instructions:
- Click the General tab.
- If you wish to rename this tab, click the edit icon located beside the tab name or double click the name of the tab and enter a new name.
- To hide or delete the entire tab and all its fields from the help desk technician during shared mailbox creation, click the '-' or 'x' icon, located beside the tab name. Whenever a field or tab is deleted, it moves to the field tray and can be dragged and dropped back into the template, whenever needed.
Under each tab, the fields will be placed under fields groups. In General tab, all the fields are by default, place under one common group General.
- If you wish to rename a field group, click the Edit link located beside the field group name and enter the new name.
- To hide the entire field group or delete it, click Make Silently Active or the Delete link respectively.
- As per your need, you can make any field mandatory. To make any field mandatory, click the edit icon that appears when you point the mouse over the desired field.
- You can also make any field read-only or hide it (silently active), as needed.
- Once you complete customizing the tab, for all the desired fields, enter the values that you wish to save.
- To save a value for any field, point the mouse over the desired field, click the edit icon that appears, enter the appropriate value and click Done to save.
- Click the Contact tab. By default, the fields under this tab are grouped under two field groups telephone or organization and address.Make the desired customizations to the fields in this tab and if you wish to preset the value for any field, add appropriate value to the desired field.
- Click the Exchange tab. By default, the fields in this tab are placed under the following field groups: Exchange general, storage limits or proxy mail ids, delivery restrictions or delivery options, Exchange 2010, 2013, or 2016 policies and mobile services or protocols. Make the desired customizations to the fields in this tab and if you wish to preset the value for any field, add appropriate value to the desired field.
- Click the Custom Attributes tab. In this tab, you can add the custom attributes (configured in the AD schema) to ADManager Plus. To add a custom attribute permanently in ADManager Plus and use it for multiple management/reporting tasks, click the configure custom attribute link; use the add additional attribute link to add a custom attribute for only a specific operation. If you wish to preset the value for any field, add appropriate value to the desired field.
- Click the General tab.
- Once you have made the necessary customizations in all the tabs, click Save Template to create the new template.