The essential toolkit for effective Microsoft 365 management: User provisioning
Getting Microsoft 365 management done right
Microsoft 365 (formerly known as Office 365) is a powerful resource for enterprises who want to work from the cloud, but it does come with its downsides. We've compiled some guides to arm you with the tools you need to improve your Microsoft 365 management. This guide is about provisioning Microsoft 365 user accounts.
Provisioning Microsoft 365 users effectively
When organizations adopt Microsoft 365, one of the first things they need to do is provision users. Depending on whether they're taking a cloud or hybrid approach, IT administrators need to work with a combination of native Active Directory (AD) tools, the Microsoft 365 admin center, the Exchange admin center, PowerShell, and other tools just to provision and manage user identities. Toggling between all these tools is not only inconvenient, but also time-consuming. These hang-ups prevent users from utilizing the Microsoft 365 resources they need.
A better alternative is ADManager Plus, a web-based tool that helps you perform systematic, streamlined user provisioning. With ADManager Plus, you can:
- Create Microsoft 365 accounts for users already present in your AD.
- Create users simultaneously in AD, Microsoft 365, Exchange, Google Workspace, Skype for Business, and more.
Performing user provisioning with ADManager Plus
Provisioning users already in AD
Follow these steps to provision Microsoft 365 user accounts in ADManager Plus for the users already present in your AD:
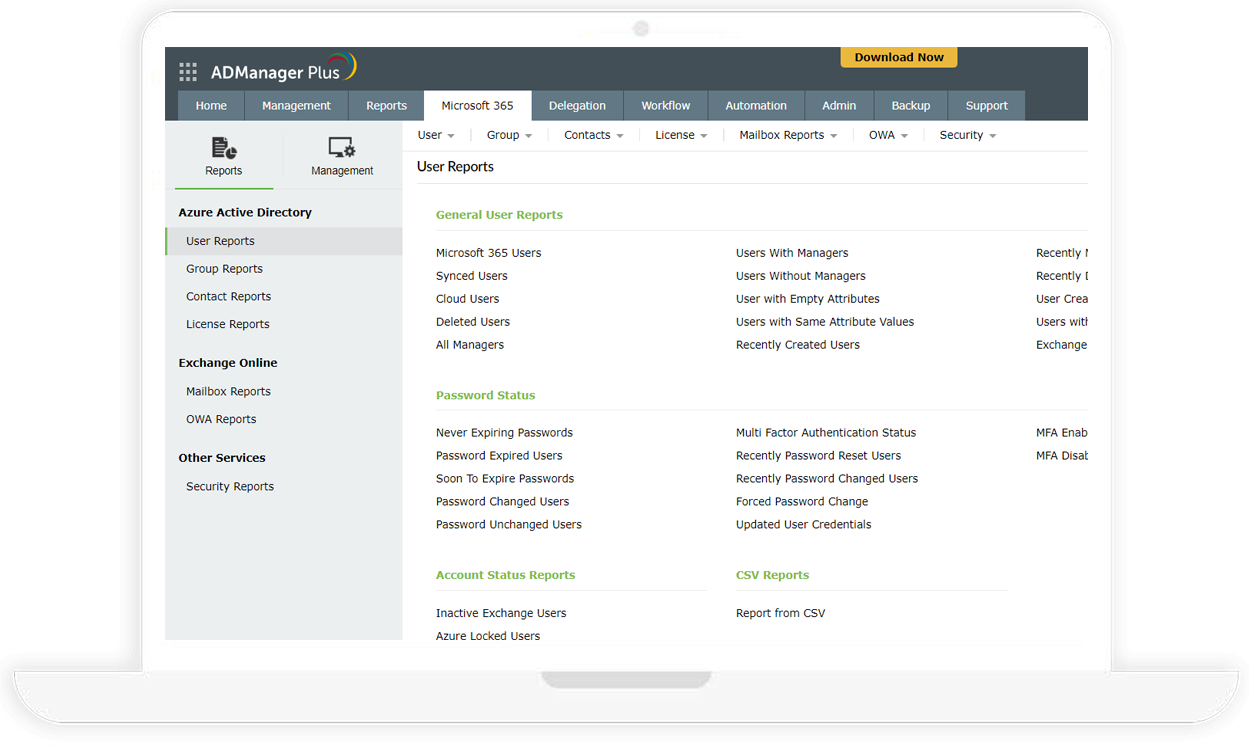
- Click the Microsoft 365 tab, then select Management from the menu on the left.
- Click Create Microsoft 365 accounts for AD users listed under User Management.
- Select the domains that contain users you'll be creating Microsoft 365 accounts for. If you know which OUs contain your desired users, then click Add OUs above the users list and select those OUs.
- Select the AD users that need a Microsoft 365 account.
- Click Import CSV at the top of the users list to import a CSV file containing the specific AD users you'd like to create accounts for.
- Click Select Microsoft 365 Properties.
- In the Select Microsoft 365 Properties window, fill out the following information: domain, password, group membership, license information, and Exchange Online details.
- Click Create.
Simultaneously provisioning users in multiple services
To simultaneously provision accounts in ADManager Plus for users in Microsoft 365, Exchange, and AD, follow these steps:
- Click the Management tab, then select User Management from the menu on the left.
- Click Create Single User under User Creation.
- To create an account in AD and Microsoft 365 for this user, select the AD and Microsoft 365 options located just above the tabs.
- Fill in the User Profile attributes.
- If you wish to populate the attributes with the values from an existing user account, click Copy User Attributes.
- Click the edit icon beside the Select Container field to select a valid container.
- You can also create a new container by selecting the Create New OU tab in the Select Container window.
- Click the Account tab and fill in the account properties.
- Click the Contact tab and enter the user's contact information.
- Select the Exchange tab and specify whether this user needs mail enabled, mailbox enabled, or no mail.
- Under Remote Mailbox, you can create a remote mailbox for the user.
- Select the Terminal tab and specify the terminal services attributes.
- Click OCS/Lync/Skype and specify the values for the required OCS, Lync, or Skype for Business attributes.
- Click the Custom Attributes tab and enter values for the custom attributes.
- To execute a custom script upon successful creation of this user account, enable the custom script option and enter the script in the script command window.
Note: Follow the steps in this help document to configure custom attributes in the Admin tab.
- To execute a custom script upon successful creation of this user account, enable the custom script option and enter the script in the script command window.
- Click the Microsoft 365 tab and select a method for creating the user account.
- Click the plus sign next to Assign Licenses to reveal various license types. Select the desired license and the services that you'd like to assign to this user.
- In the group membership field, select which groups you'd like to add this user to.
- If the user has been assigned an Exchange Online mailbox, you can enter the desired email alias as well as enable a litigation hold or in-place archive for their mailbox. Note: The Microsoft 365 tab will only be available once you've configured the Microsoft 365 settings in ADManager Plus. Also, ensure that the Windows Azure module is installed on the same machine where ADManager Plus is installed.
- If applying an Microsoft 365 license, you'll need to list a country attribute. Note: If the UPN suffix matches any of the Microsoft 365 domains, then that domain will be used for account creation. Otherwise, the Microsoft 365 default domain will be used.
- After specifying all the required details, click Create to add this new user account to AD and Microsoft 365. Note: Mailbox generation takes some time, so certain tasks may be delayed. You can find all pending operations listed under Delayed Management Tasks. Learn how to view and manage delayed tasks.