Installing SSL Certificate for Key Manager Plus Server
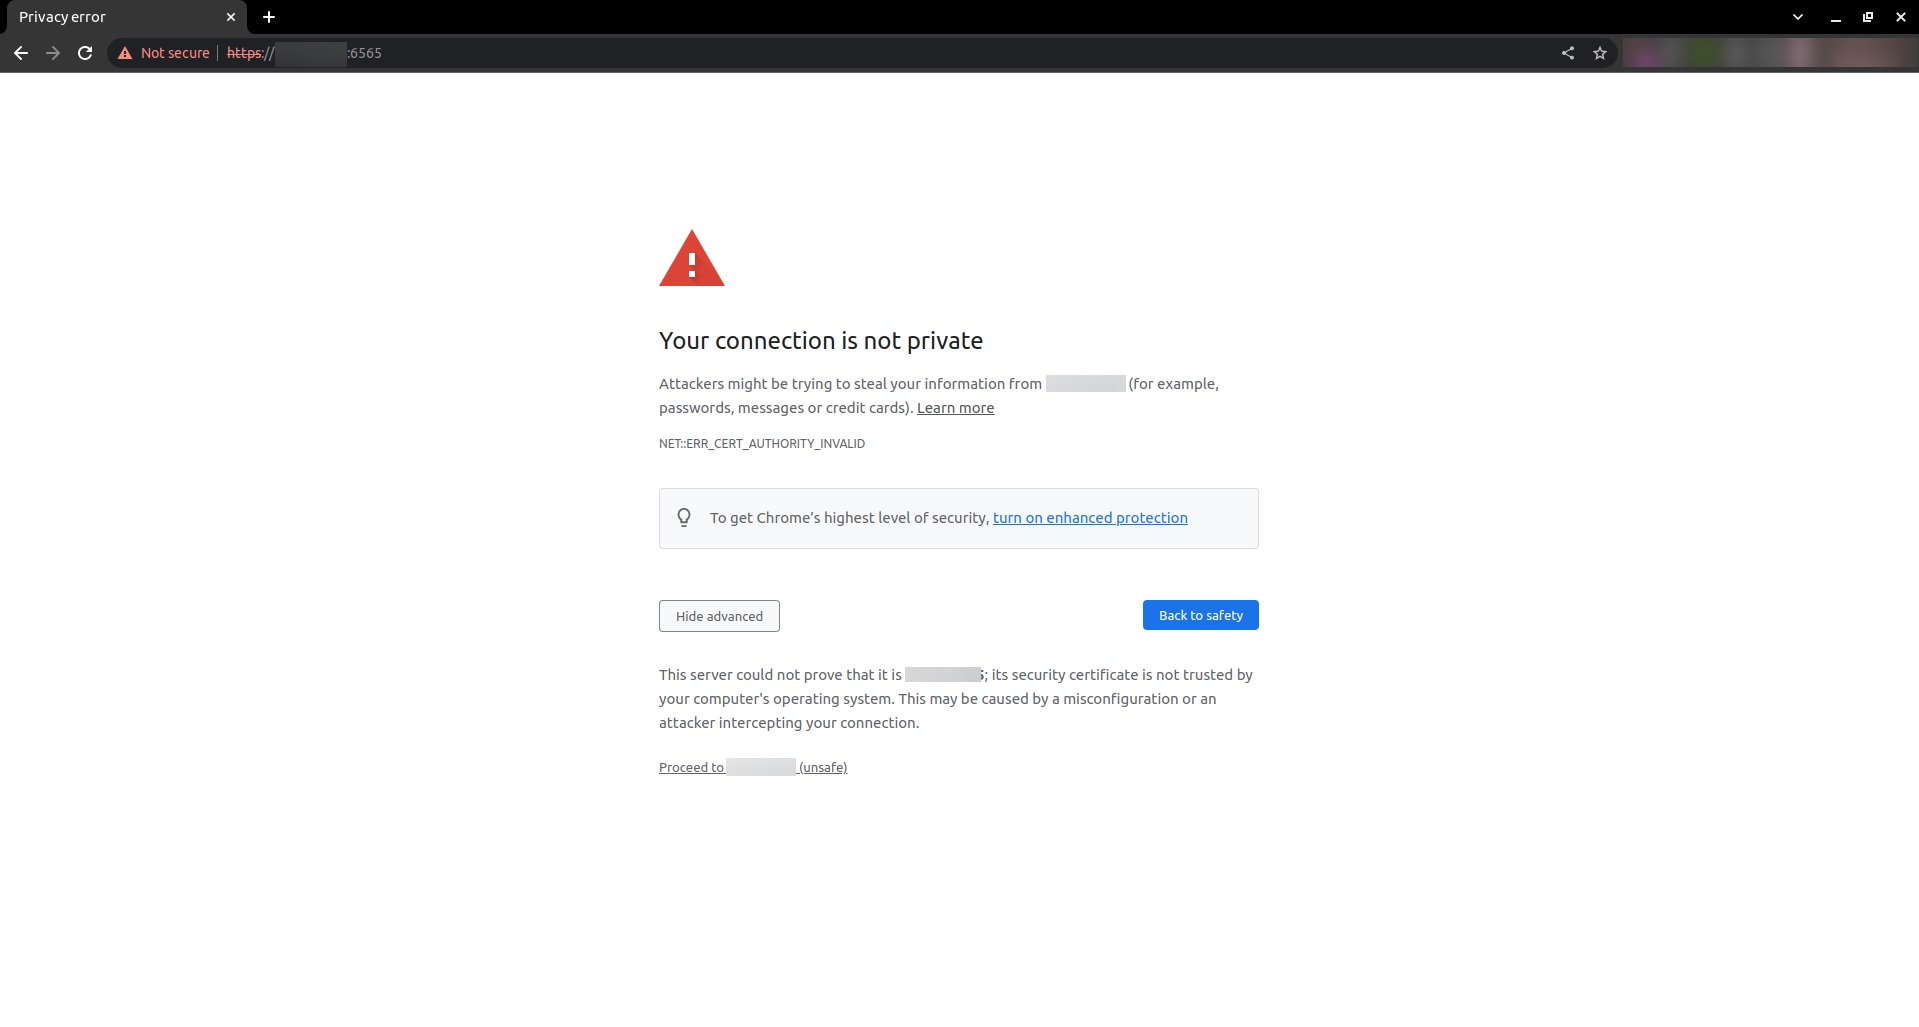
Key Manager Plus runs as a HTTPS service. It requires a valid SSL certificate issued by trusted Certificate Authority (CA), with the common name as the name of the host on which it runs. By default, during the first time start-up, Key Manager Plus utilizes the certificate issued for the domain 'demo.keymanagerplus.com' that comes bundled with the product. This certificate will not be trusted by browsers and a security error will be thrown when users try to access the Key Manager Plus server. Thus, users have to manually verify the hostname and force the browsers to accept the certificate.

To make browsers automatically verify and authenticate users, you need to upload trusted third party CA certificates to Key Manager Plus server. Since Key Manager Plus itself serves as a repository for securing SSL certificates, you can upload certificates directly from it (provided you have already consolidated the certificates in Key Manager Plus). You can also browse and add certificates from your system, or you can request for new certificates from a trusted third party CA, and then upload it in Key Manager Plus server.
- Uploading certificates from Key Manager Plus repository
- Uploading certificates from your system
- Uploading Microsoft CA signed certificate
- Requesting and uploading new trusted CA certificates
Note: Using the Enable option, you can manage the server certificates in the centralized repository of Key Manager Plus without affecting the number of keys available in the product license.
1. Uploading Certificates from Key Manager Plus Repository
To upload a certificate already existing in its repository to the Key Manager Plus server,
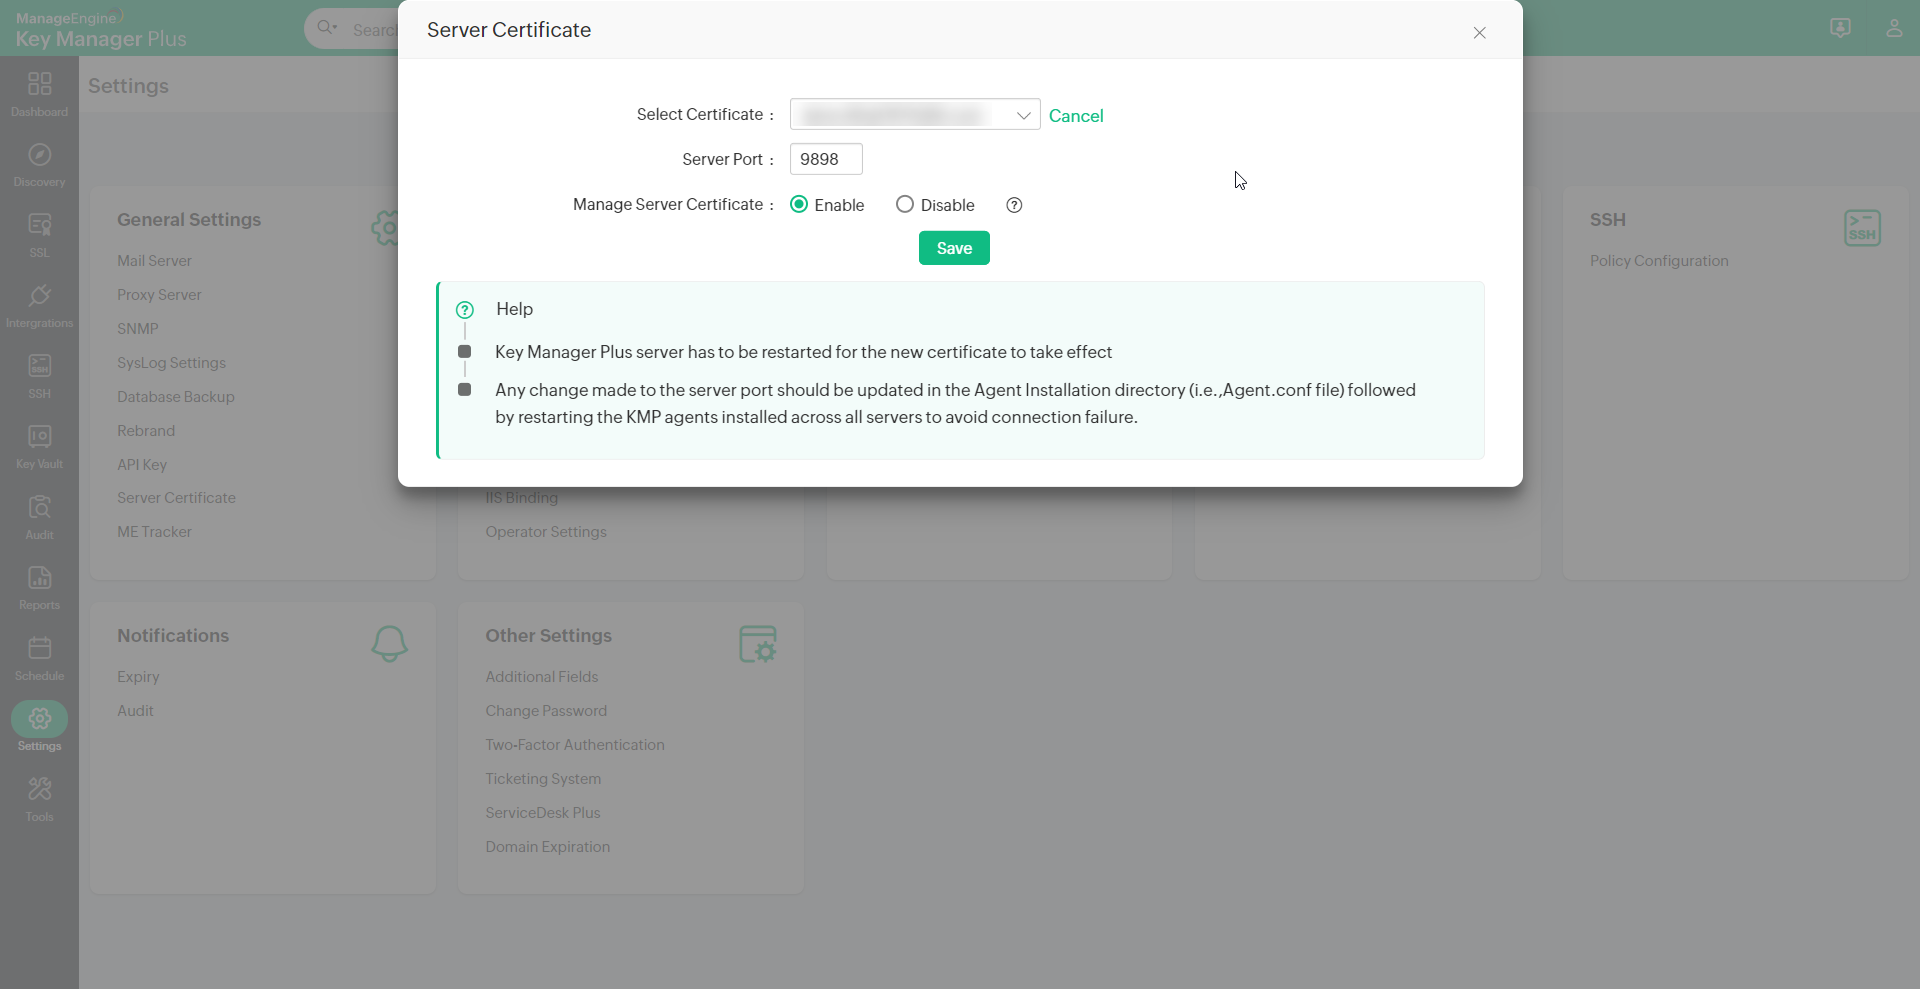
- Navigate to Settings >> General Settings >> Server Certificate.
- Click Existing Certificate beside the Select Certificate box.
- Select the required certificate from the dropdown and then click Save.
- Then, restart your Key Manager Plus server for the certificate to take effect.

- On clicking Existing Certificate, Key Manager Plus will list down only those certificates for which the private key is stored in Key Manager Plus server
- If the certificate you upload is a self-signed certificate (certificate not obtained from a trusted CA), browsers might not recognize your certificate and throw security errors.
2. Uploading Certificates from your System
Follow the steps mentioned below to upload a certificate obtained from trusted CA to Key Manager Plus server.
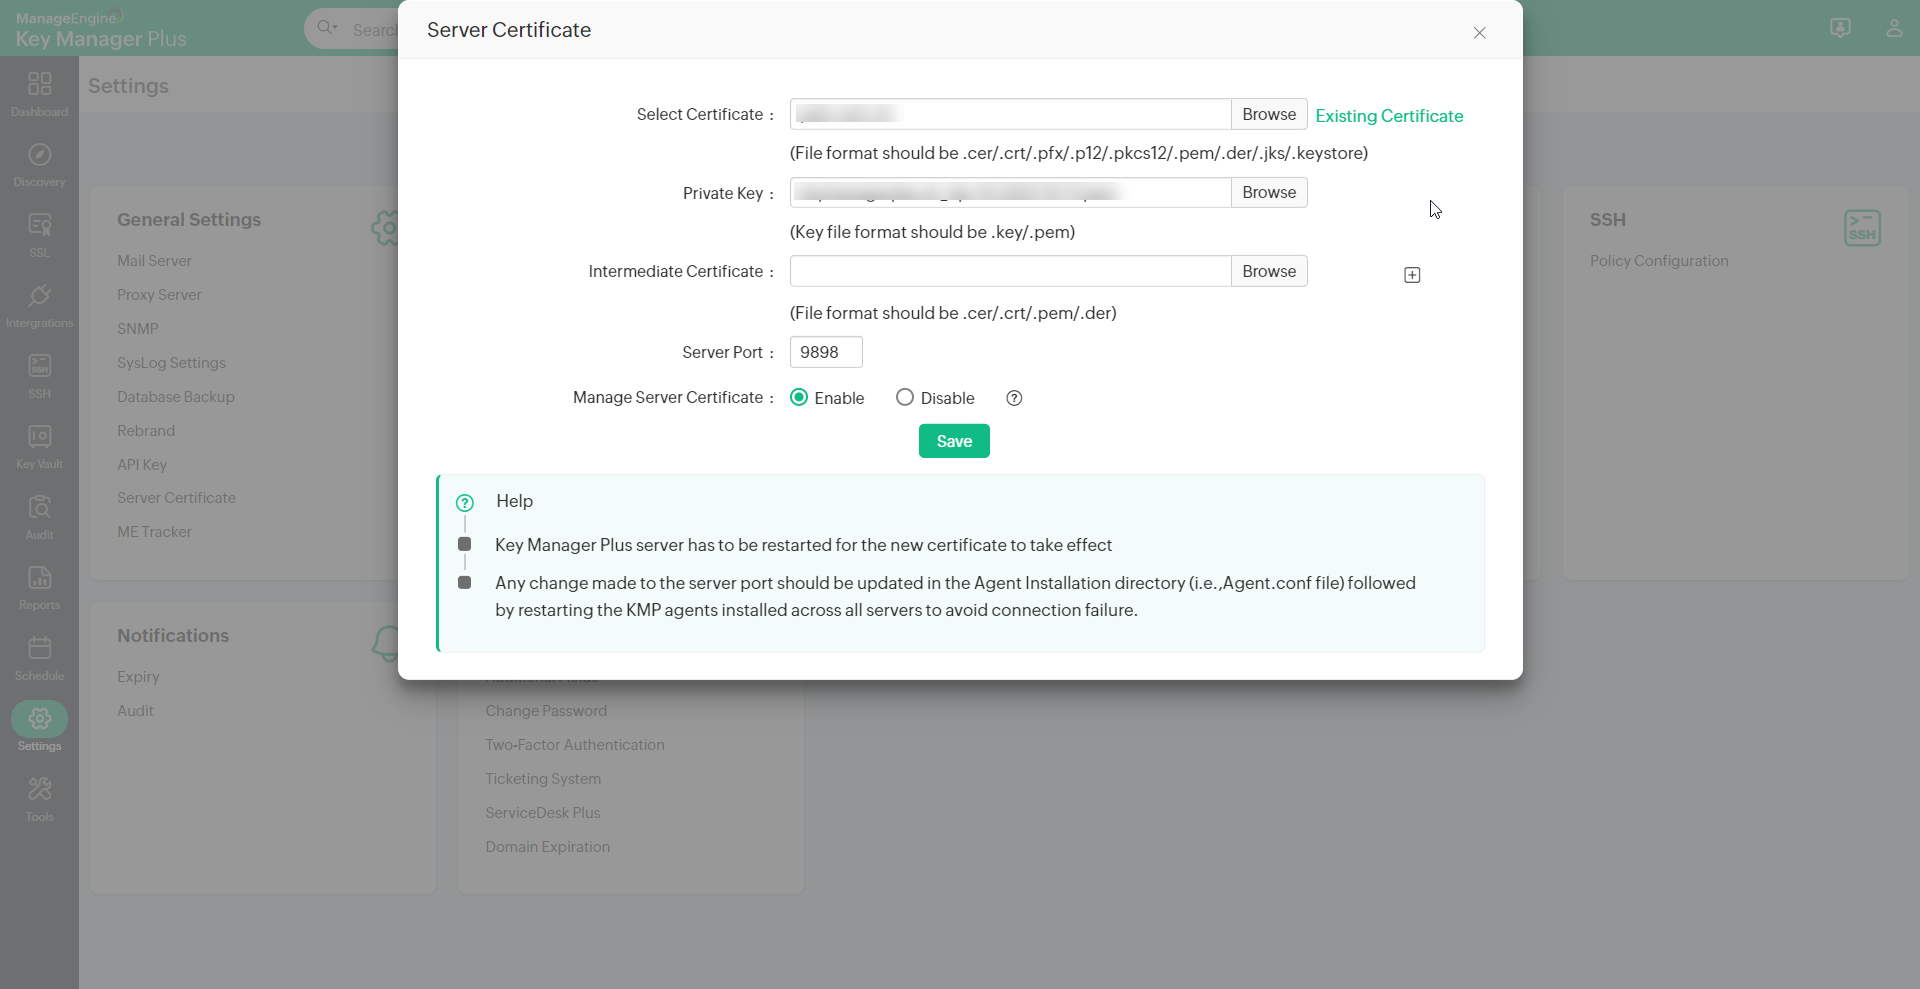
- Navigate to Settings >> General Settings >> Server Certificate
- Click Browseand choose the certificate that you want to upload from your computer
- If the certificate that you upload is of .keystore, .p12, .pkcs12 or .jks format, you will be prompted to enter your keystore password.
- For other formats, you will be prompted to enter the private key file (server.key). After that, you will be prompted to upload the Intermediate certificate. You can upload multiple intermediate certificates by clicking the +button. If you don't upload the intermediate certificate, Key Manager Plus will try detecting the intermediate certificates automatically.
- Click Save to import the certificate to Key Manager Plus server
- Then, restart your Key Manager Plus server for the certificate to take effect

If you don't provide the intermediate certificate and Key Manager Plus is unable to trace it, there's a chance that browsers might not recognize your certificate and security errors will be thrown.
3. Uploading Microsoft CA Signed Certificate
You can request and sign certificates from the Microsoft Certificate Authority within your network, and then install it on your Key Manager Plus server. To request and acquire certificates from your Microsoft Certificate Authority,
- Navigate to SSL >> CSR tab. Click Create.
- In the Create CSR window that opens, fill in the domain details, organization details, choose the key algorithm, key size, signature algorithm, keystore type and specify the validity (days) and keystore password. Click Create. If you want to generate a CSR from an already existing key, choose 'Create CSR from keystore' option and specify the key location, password and click Create.
- The CSR is generated and you can view it from SSL >> CSR tab.
After creating the CSR, you have to forward it to the Microsoft Certificate Authority, which signs it and issues the SSL certificate for the requested domain.
- Navigate to SSL >> CSR tab, select the required CSR and click Sign from the top menu.
- In the pop-up that opens, provide the name of the server that runs the internal certificate authority, CA name and choose the certificate template based on your requirement. Click Sign Certificate.
- The CSR is signed and the issued certificate can be viewed from SSL >> Certificates tab.
You have to then install the acquired certificate on Key Manager Plus server.
- Navigate to Settings >> General Settings >> Server Certificate.
- Click Existing Certificate beside the Select Certificate box.
- Select the required certificate from the drop-down and then click Save.
- Then, restart your Key Manager Plus server for the certificate to take effect.
4. Requesting and Uploading New Trusted CA Certificates
You can also request for new certificates from trusted third party CAs, and upload the same in your Key Manager Plus server.
Click here to learn more about requesting and acquiring third party SSL certificates from Key Manager Plus
Click here to learn more about directly acquiring Let's Encrypt CA certificates by leveraging Key Manager Plus' integration with Let's Encrypt
After procuring and consolidating the third party SSL certificates in Key Manager Plus repository, repeat the same steps under the first case to upload the certificate to Key Manager Plus server.
Note:
The certificate you upload will be checked for the following criteria by Key Manager Plus server: certificate - private key match, expiration date, revocation status, certificate chain and Certificate Authority (Java trust store). If there's any unfulfillment or mismatch, a pop-up window will open prompting for your confirmation to upload the certificate. You can still go ahead and upload the certificate but reputed browsers might not recognize the certificate and throw security errors.