Configuring auto allocation policies
Last updated on:
In this page
Overview
Auto Allocation Policies define how discovered devices are assigned to collectors in the product, based on criteria like domains, workgroups, and Organizational Units (OUs). This section explains how to manage these policies—enabling or disabling them, editing policy rules, and instantly triggering allocation—so that devices are automatically and efficiently onboarded into the monitoring system.
Configuring auto allocation policies
- Navigate to the Settings tab and click on Devices.
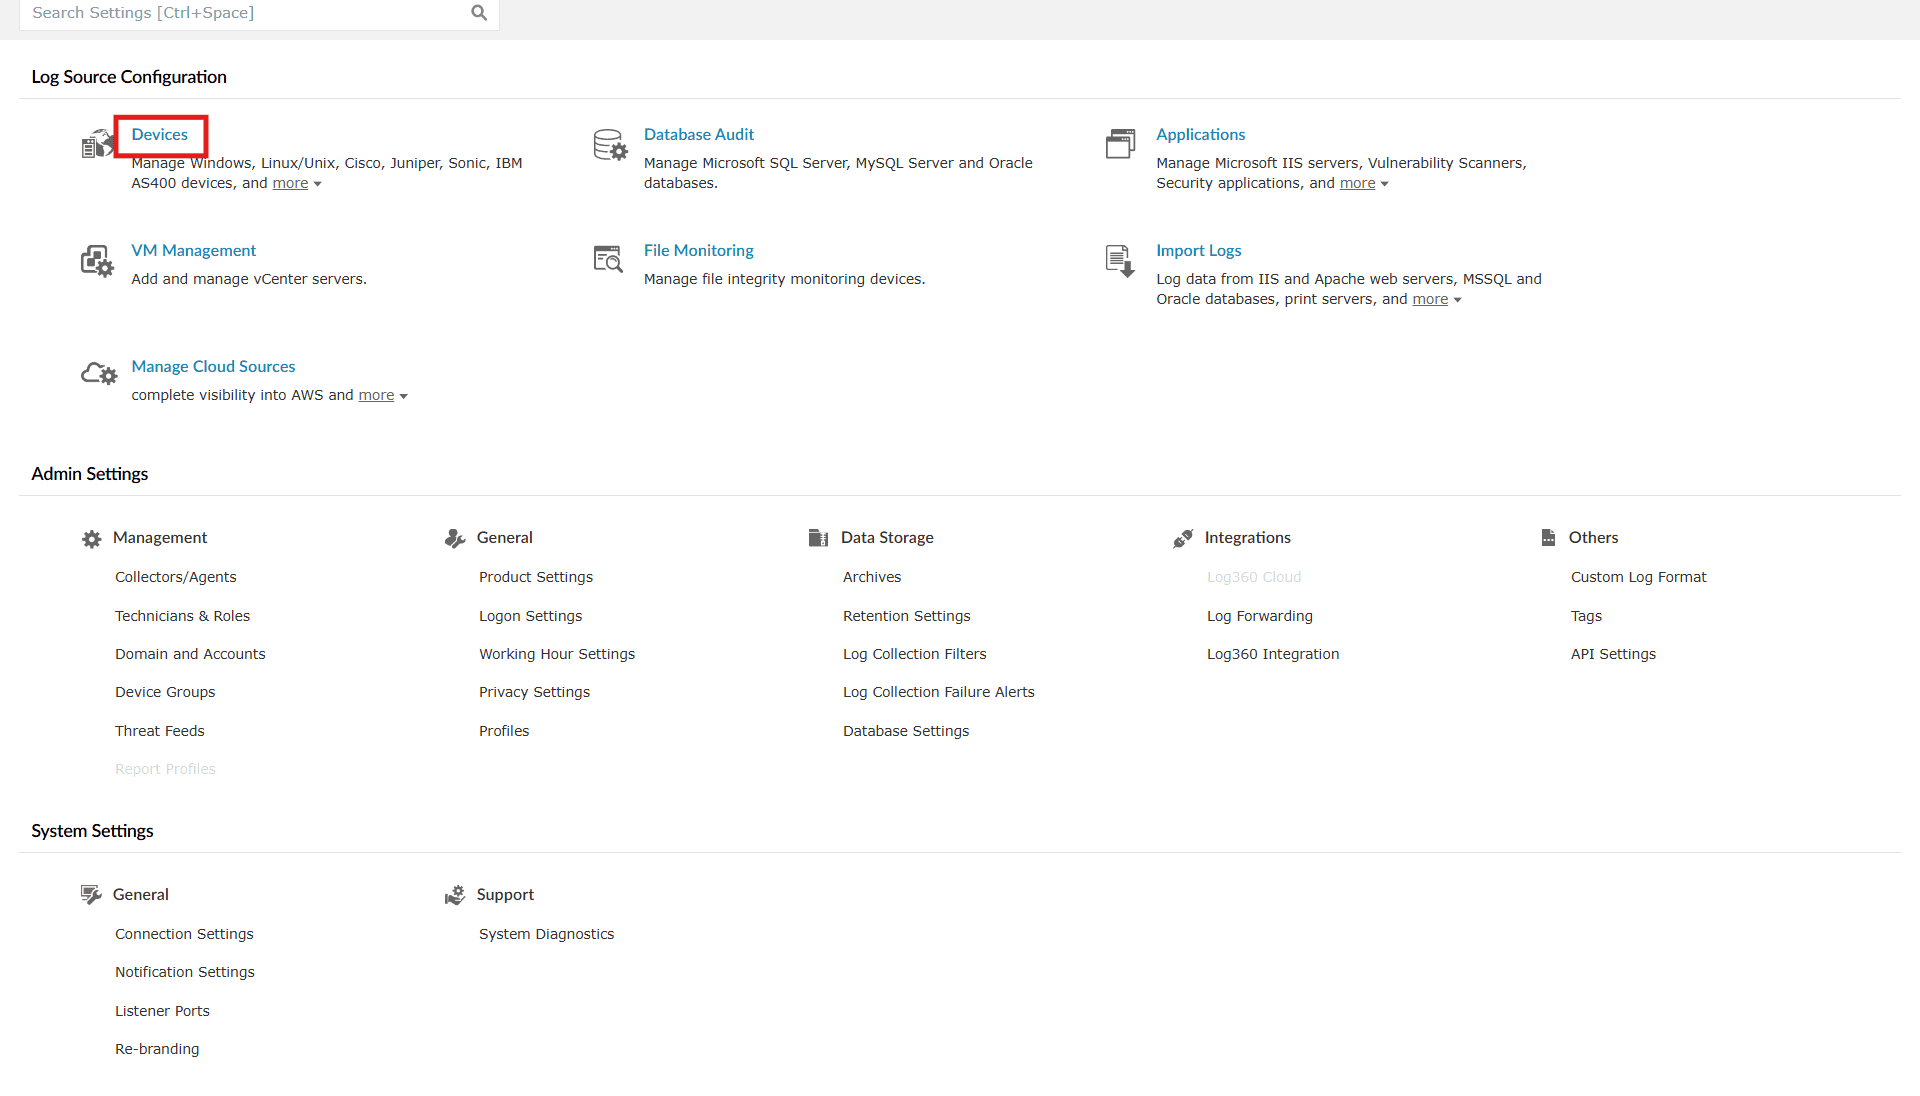
Image 1: Device settings in the product console - You will be taken to the Device Management module. On the right-hand side, you will find Auto Allocation Policy as shown below. Click on it.
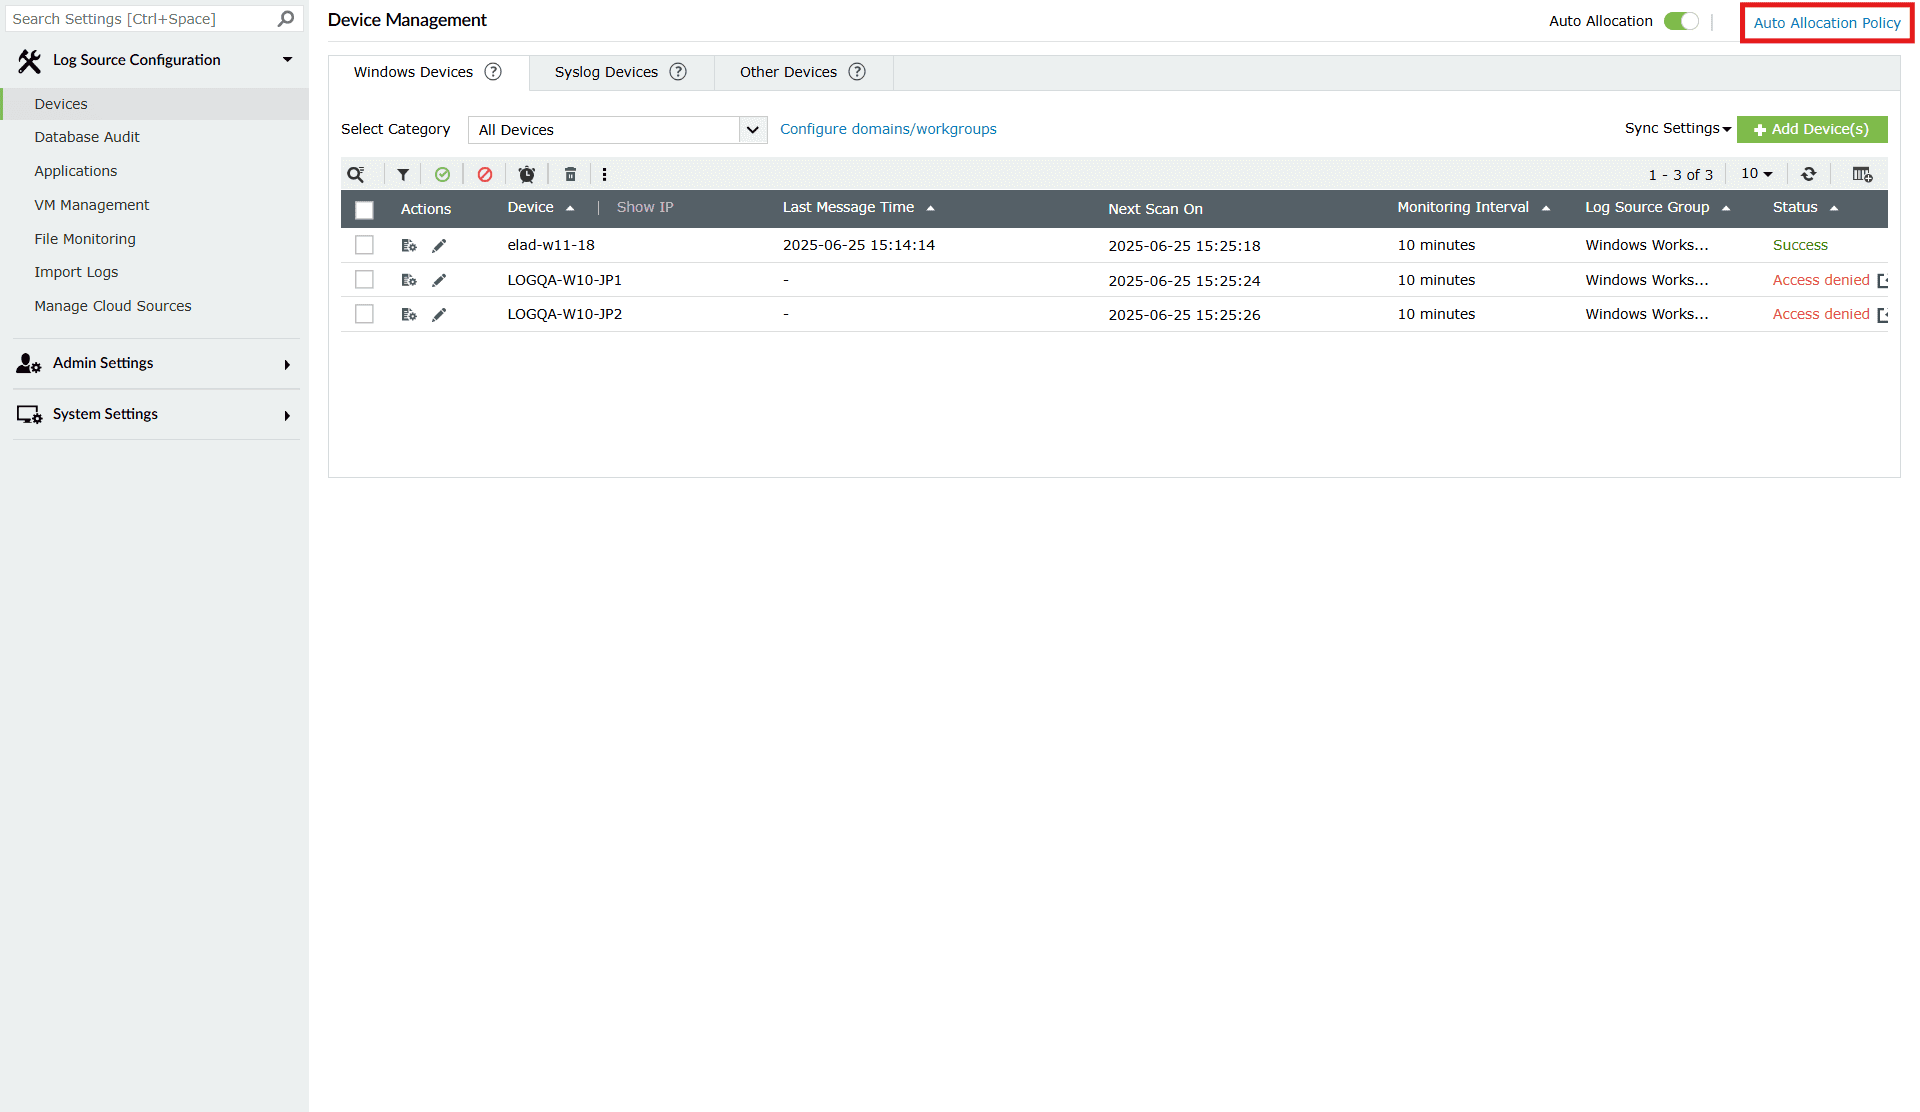
Image 2: Auto allocation policy in the product console - You will be taken to the list of all policies. Here, you can:
- Check the status of the policies and/or enable/disable the policies.
- Edit a policy.
- You can trigger auto allocation for all policies at any time. (Only when the auto allocation feature is in an enabled state.)
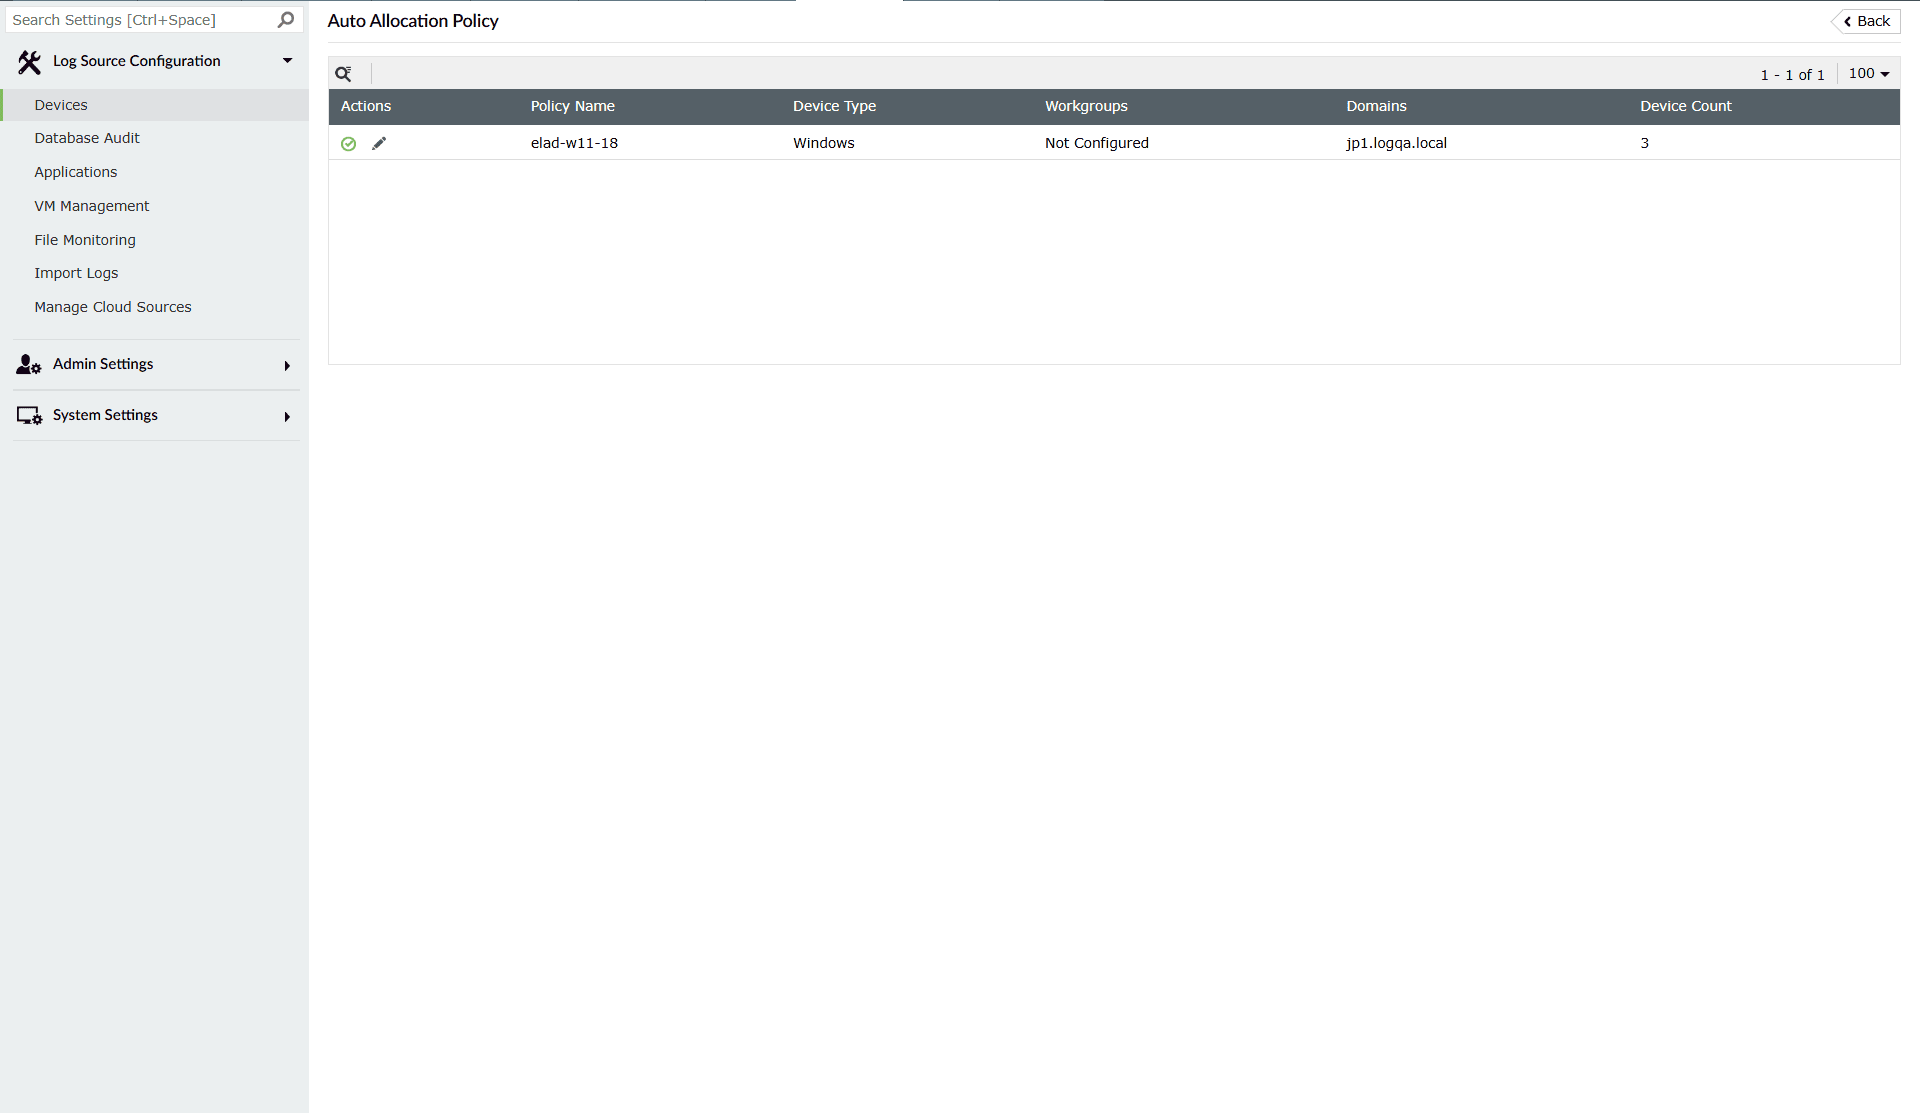
Image 3: Device auto allocation policy in the product console
Enabling/disabling a policy
Enabling a policy
- Click on the disabled icon
 under the Actions column to enable the policy.
 - As soon as you perform this action, the icon indicates that the policy is now enabled
 and the below pop-up message appears briefly.

Disabling a policy
- Click on the enabled icon under the Actions column to disable the policy.
- As soon as you perform this action, the icon indicates that the policy is now disabled and the below pop-up message appears briefly.

Enable/Disable multiple policies at once
- Click on the empty checkbox(es) in the first column in order to select the respective policies.
- Click on the Enable/Disable icons in the ribbon above the rules list.
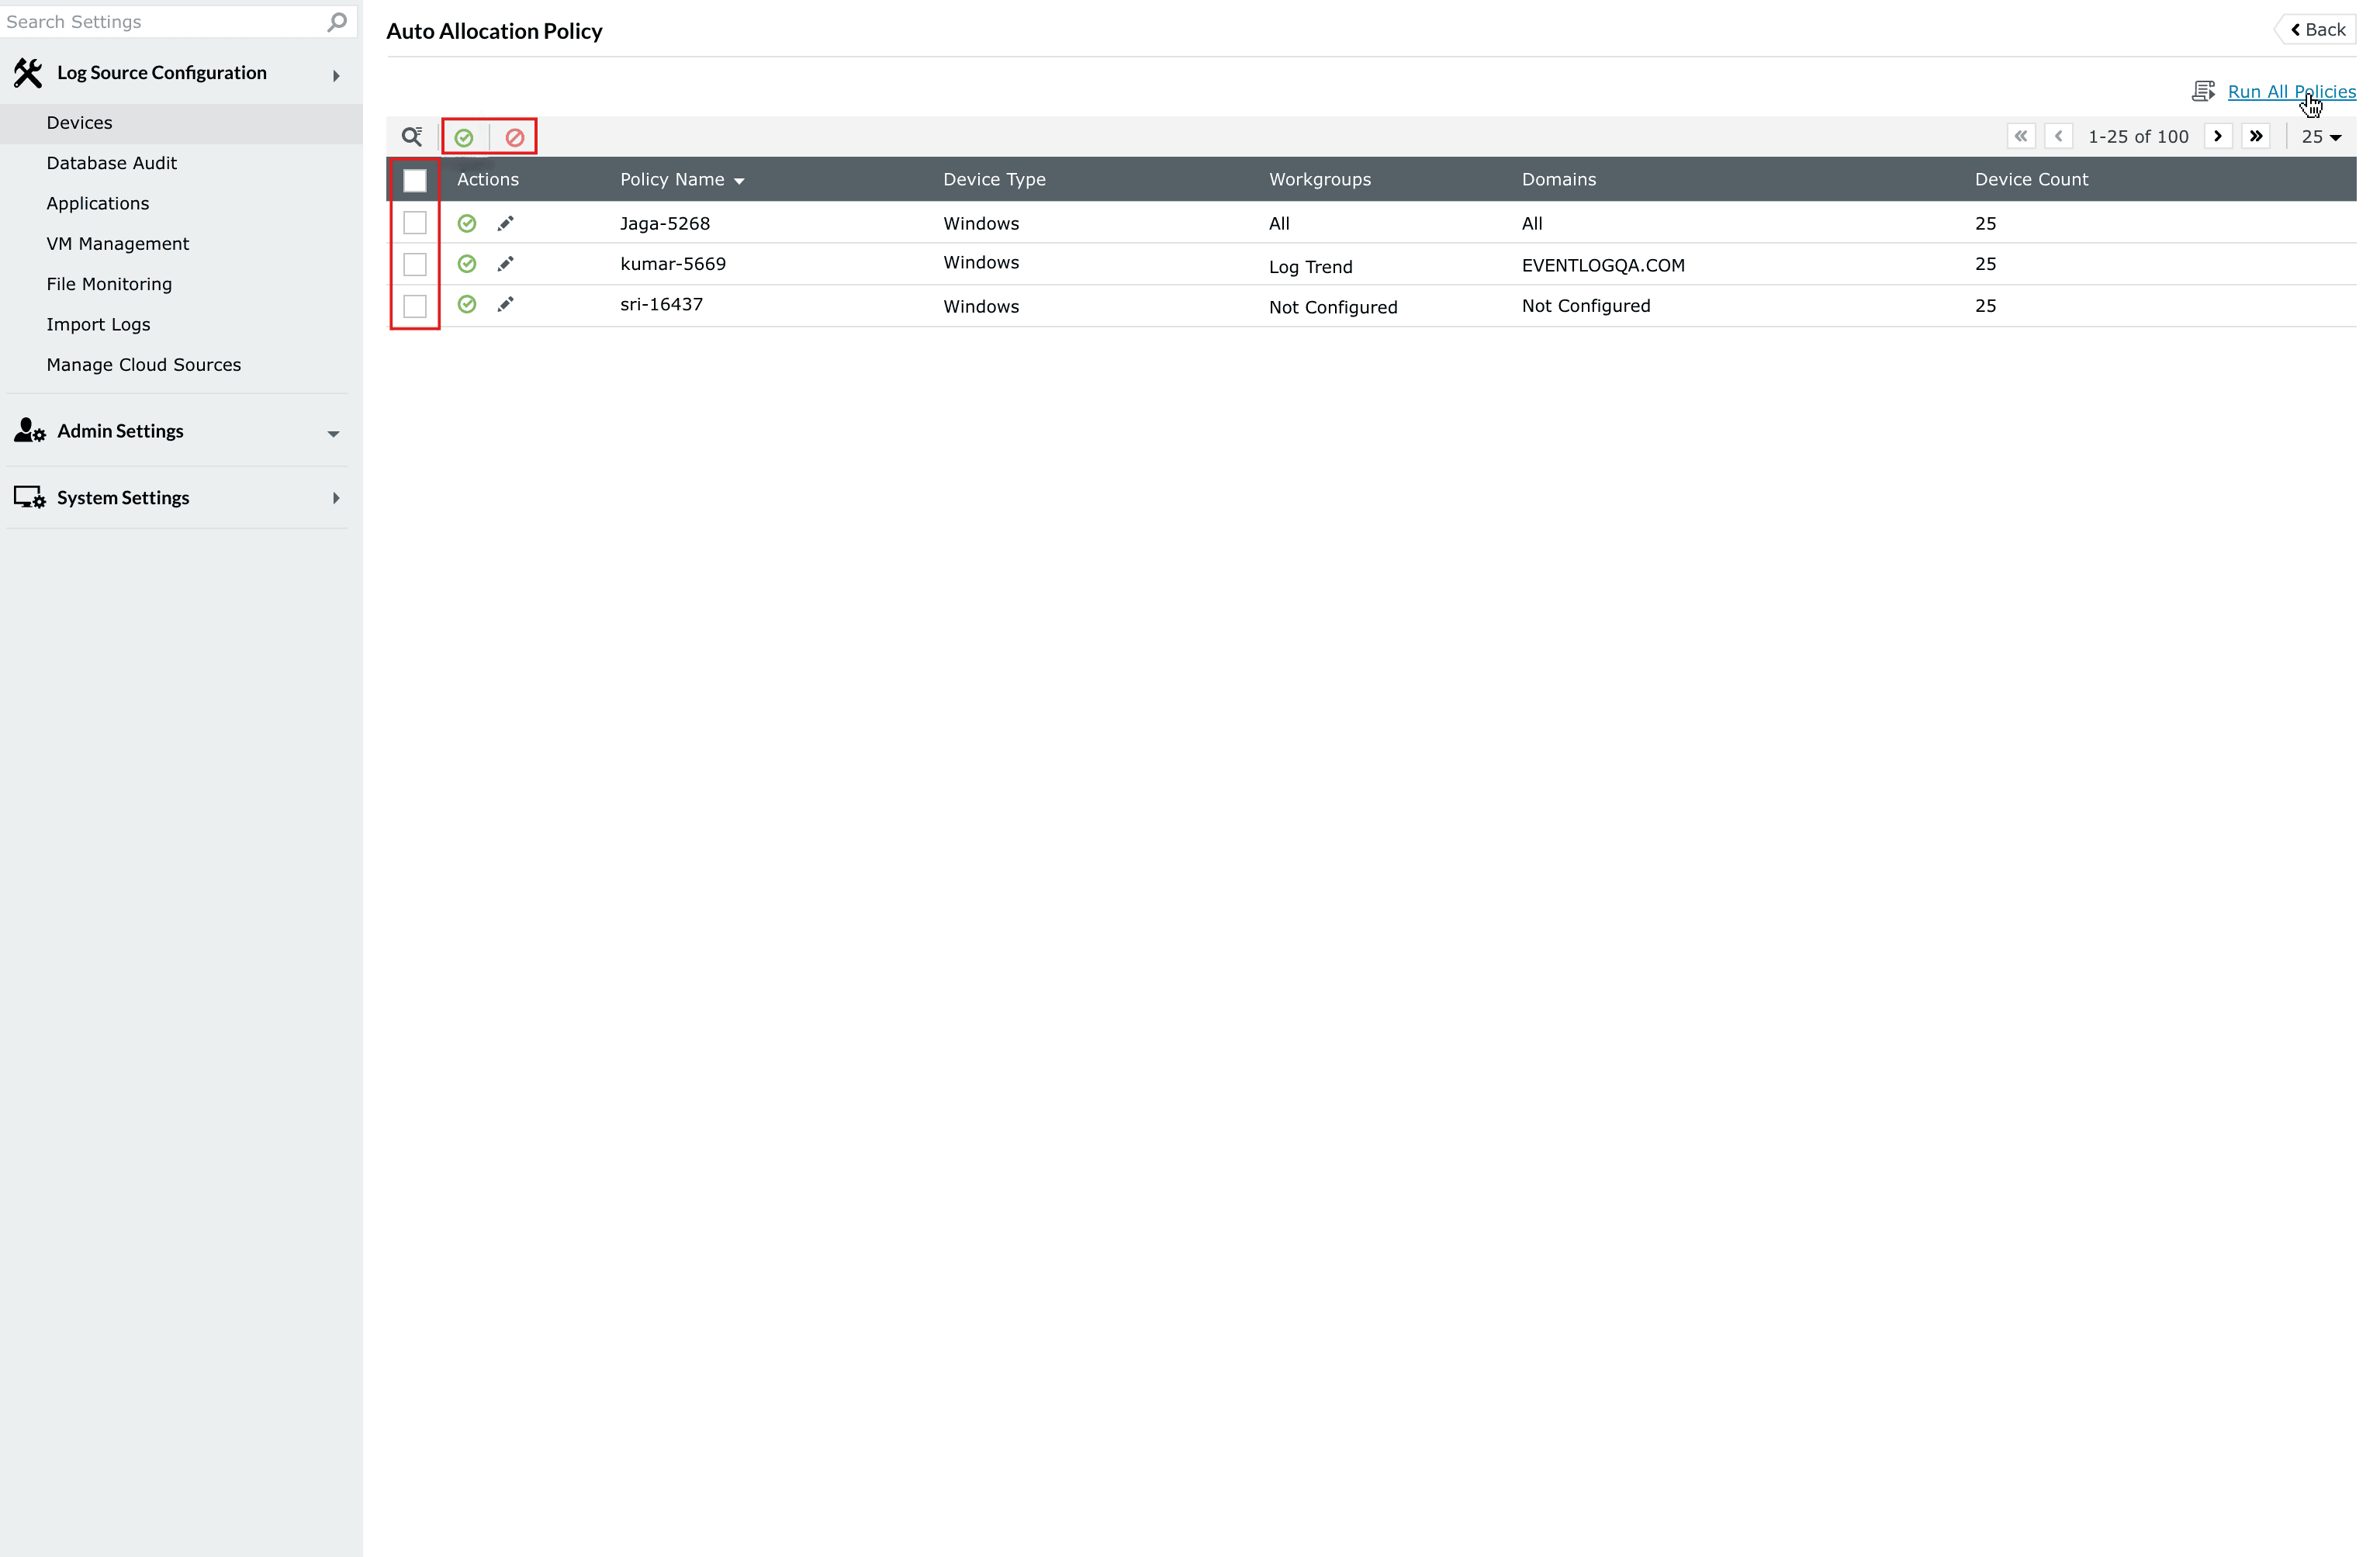
Image 4: Enable/Disable multiple policies at once - Upon successful completion of the action, the below pop-up appears.
When enabled successfully:

When disabled successfully:

Edit a policy
- To edit a policy, click on the Edit icon
 under the Actions column. A slider appears that includes the fields for editing the policy.
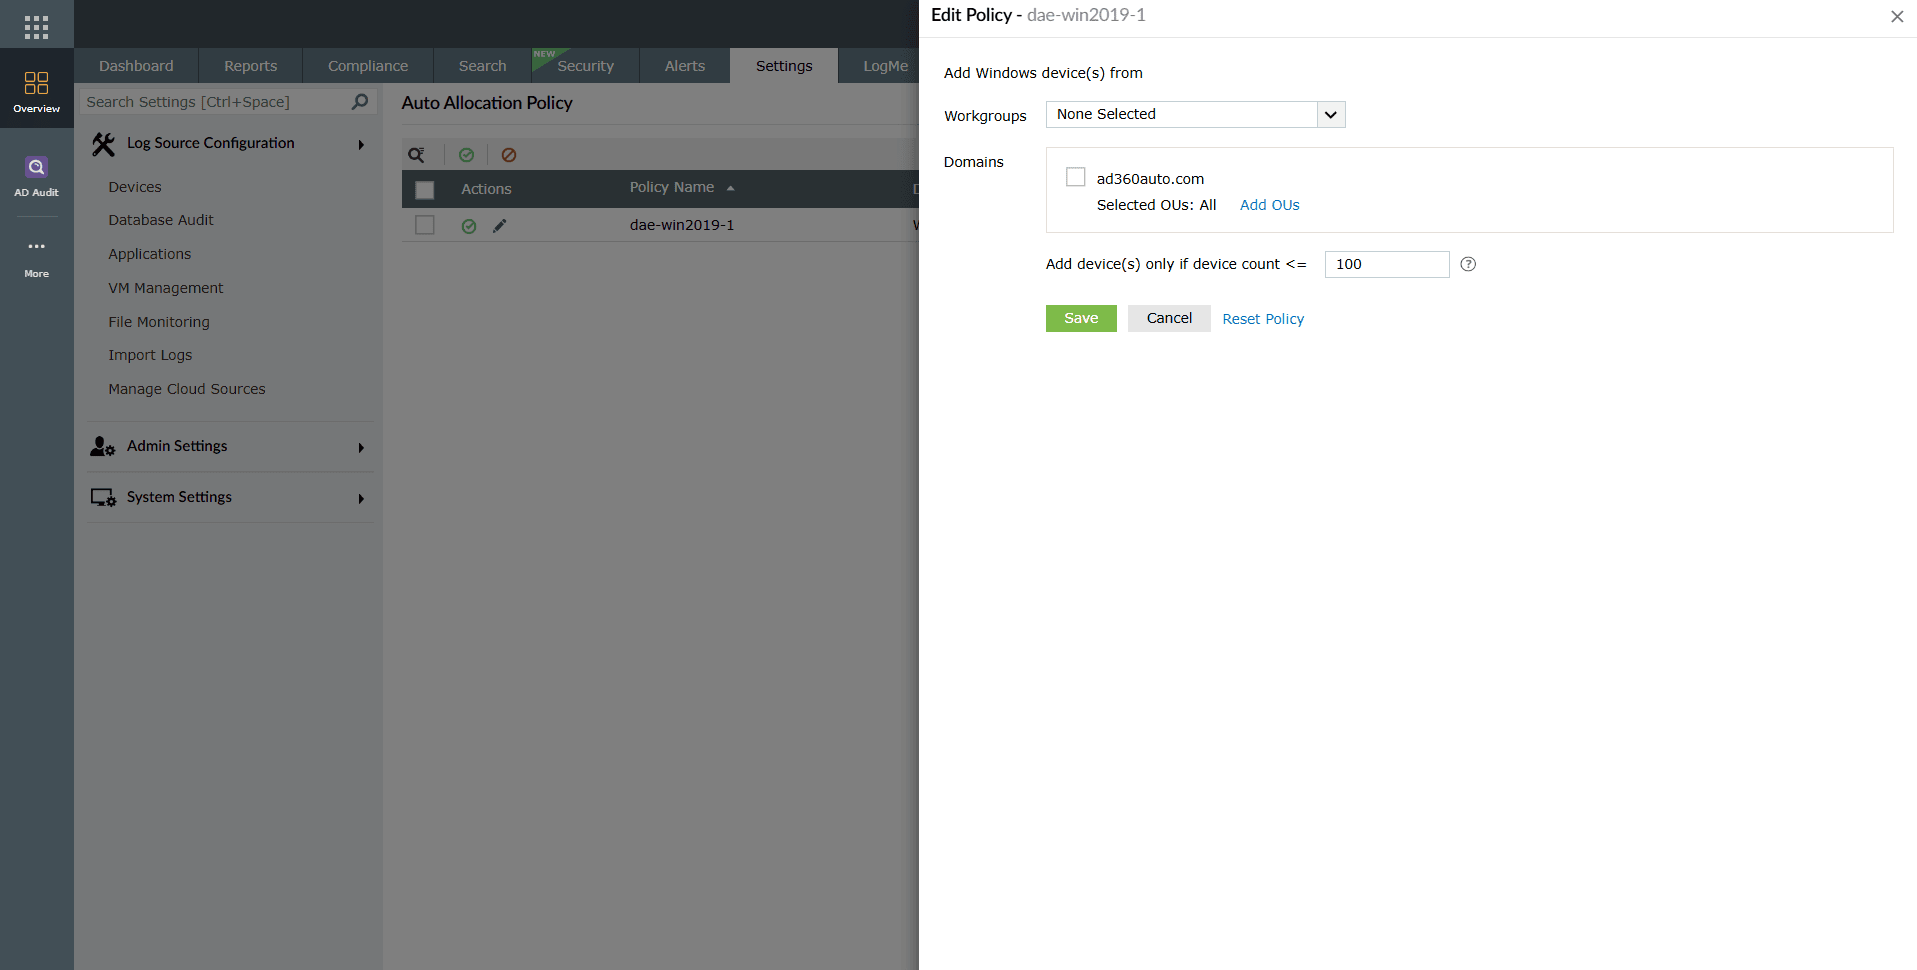
Image 5: Editing an auto allocation policy - Fill out the fields according to your requirements.
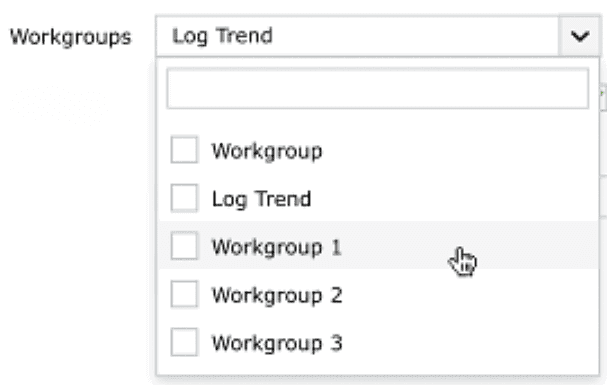
- Workgroups: You can select the workgroup to add devices from those workgroups only.
- Domains: Add devices only from selected OUs (Organizational Units) in the selected domains. Use the checkbox to select or deselect the domains to add devices.

- Click Add OUs to add devices by filter the selected OUs.
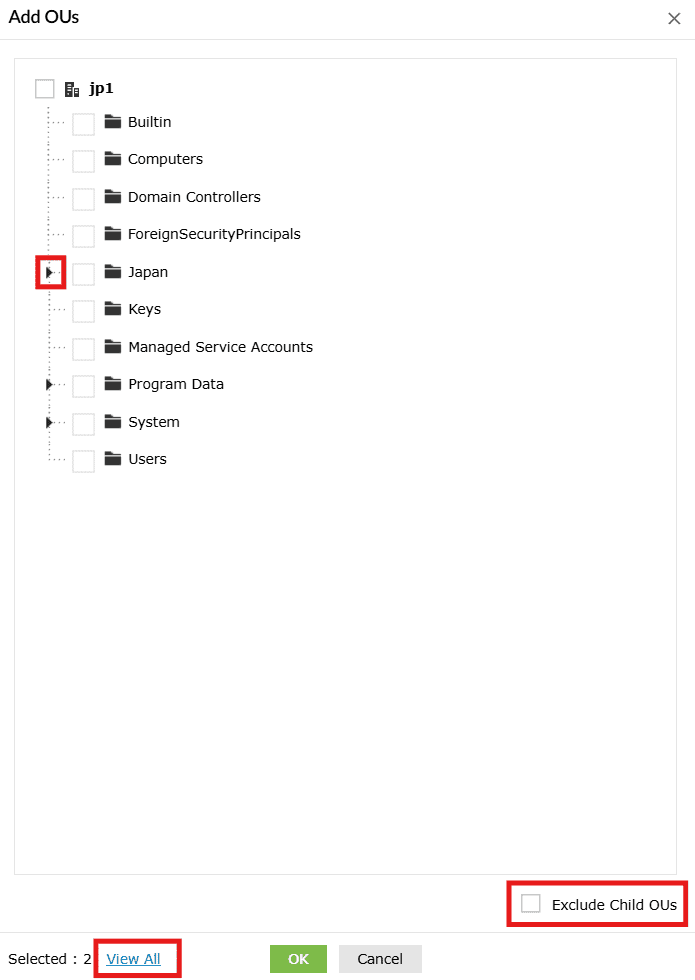
- Click on the ⏵button to expand the OUs that include sub-folder(s).
- Use Exclude Child OUs option to select parent OUs only.
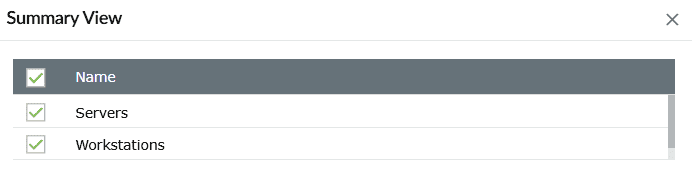
- Use View All button to see the selected OUs in Summary View
- Click OK button to finalize the selected OUs.
- Add Device(s) only if device count <= :
- Device count must be between 1 & 100
- Device count also includes Non-Windows Devices
NOTE The specified device count limit applies to only the associated devices with a speciifc collector. - Click Add OUs to add devices by filter the selected OUs.
- Workgroups: You can select the workgroup to add devices from those workgroups only.
- Click on the Save button after you have made all the necessary changes.
- Upon successful completion of the action, the below pop-up appears.

Trigger auto allocation manually
This function allows you to run the device allocation process instantly. This is useful when any changes have been made to the allocation policies and you don't want to wait for the next scheduled run. This, in turn, ensures that the policy updates take immediate effect.
Steps to trigger auto allocation manually
- In the Auto Allocation Policy module itself, click on the Run All Policies button to allocate devices as per all policies immediately.
NOTE This option will not be available unless auto allocation is enabled.
- As soon as you click on it, the below pop-up appears, indicating the instant start of a new auto allocation run with the updated policy.

Read also
This document covered how to configure and manage auto allocation policies in the product. For more related functionalities, refer to the following articles: