Understanding rules
Last updated on:
In this page
Overview
This page explains the three types of rules used in security analytics: standard rules for basic event filtering, anomaly rules for detecting unusual single-event behavior, and advanced rules for identifying complex attack sequences. Each rule type comes with configuration fields, filters, thresholds, and anomaly models to provide flexible monitoring and precise threat detection.
- Device-level and user-level delegations are not supported for detection rules.
- Detection rule data is retained for 90 days by default.
Standard Rules
Standard rules are basic rules that will merely identify and filter specific events from the collected logs depending on the selected action. In this simple configuration, the desired action is chosen with the optional filters or thresholds. Standard rules do not involve anomaly models or behavioral baselining. They are simply just to view and monitor log data that matched the exact conditions, so that you can focus on other events of interest.
Understanding the rule configuration fields
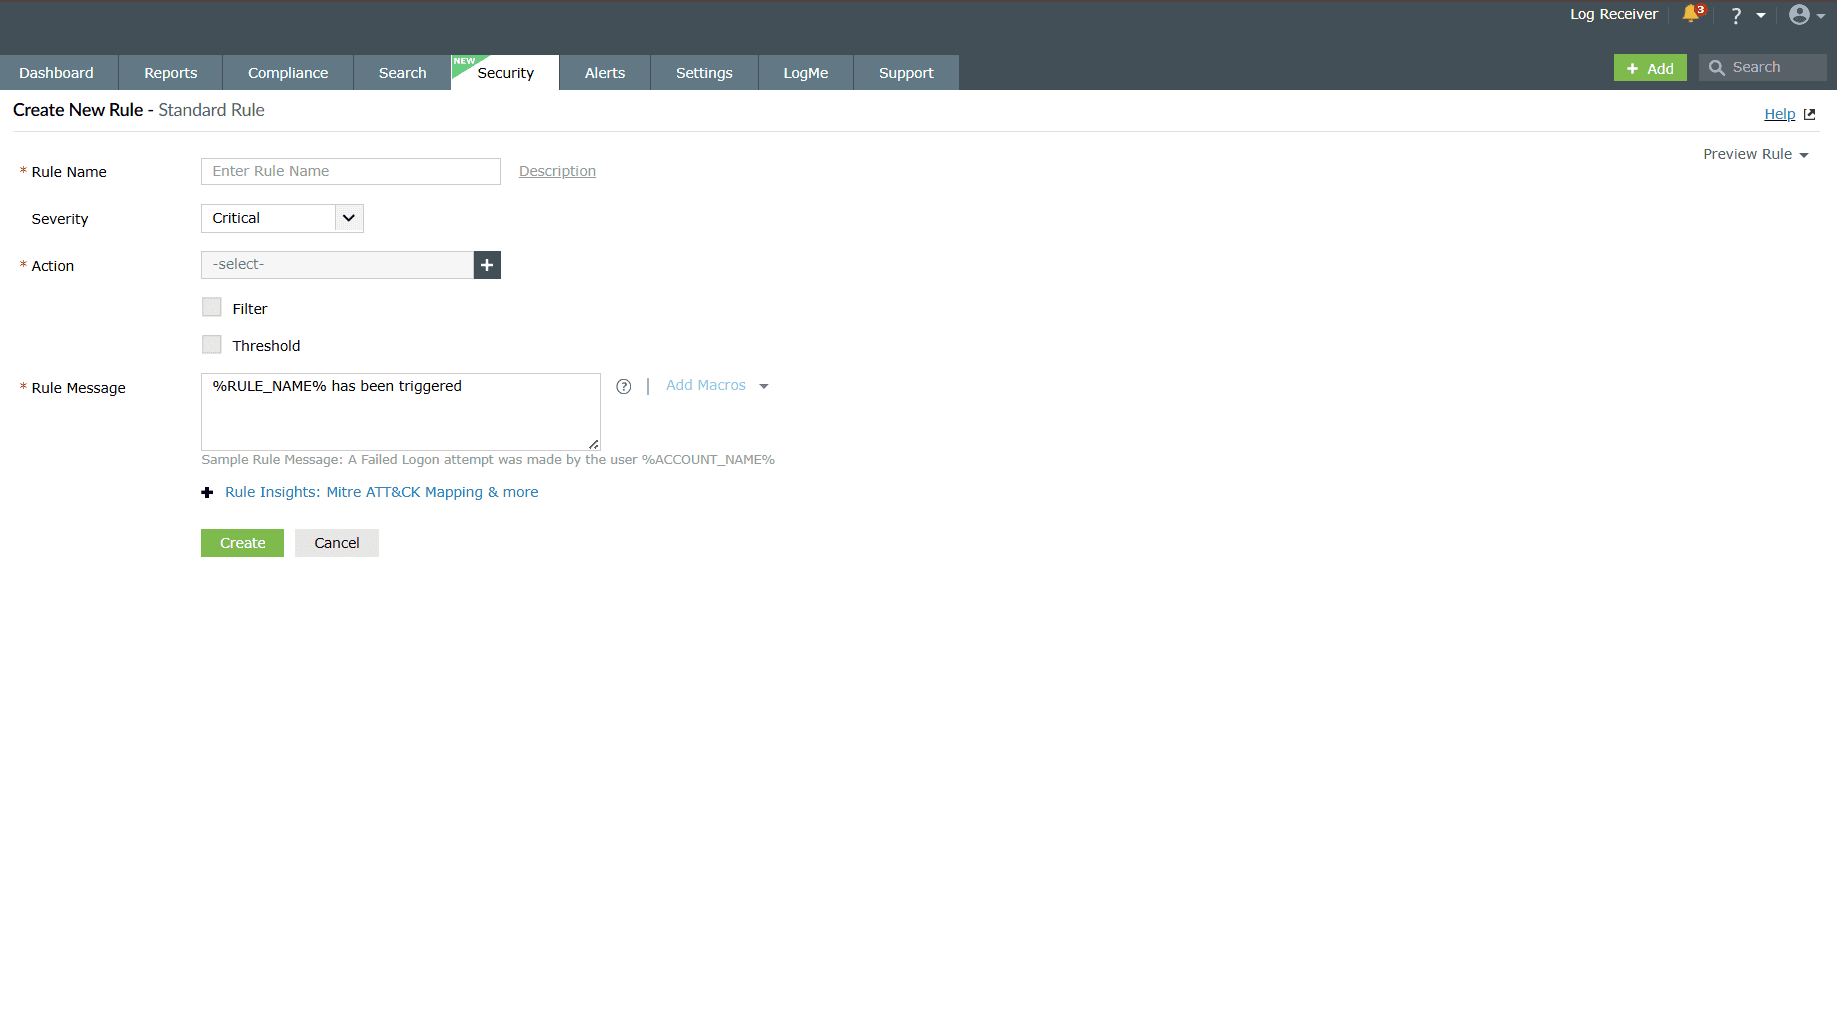
- Rule Name: Give a unique name for the rule for identification.
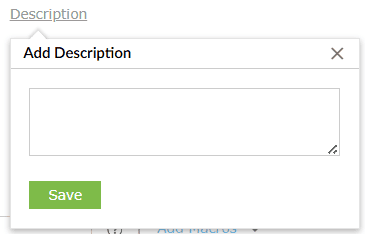
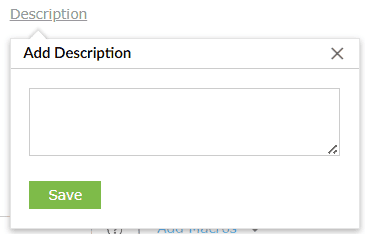
- Description (optional): A brief explanation about the rule and
its
purpose.
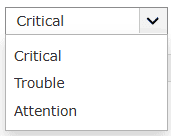
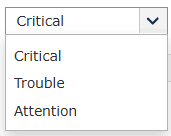
- Severity: Choose a severity level you wish to associate this rule with.
For instance, trouble level criteria indicate a moderate level of severity. The three
levels of severity are:
- Critical
- Trouble
- Attention
- Action: Select the log event type you want the rule to monitor. Read
further for a detailed list of Log Types supported by all the three
rule types
associated with 600+ actions available.
If you wish to Create Custom Action, refer to the Creating Custom rules help document.
- Filter (optional): Add one or more criteria for the log events
to be
filtered based upon. This will narrow down log events for rule application.
NOTE:
A maximum of only 5 filters can be set for any rule in Log360.
A maximum of only 15 filters can be set for any rule in Log360 Cloud.
- Threshold (optional):
- Define a distinct or count based event occurrence limit for repetition over a period of time. Upon exceeding the limit, the rule is triggered.
- You can also configure Sum and Average (Avg) thresholds in addition to count-based thresholds.
- Threshold conditions can be applied based on a group-by of specific fields, allowing more granular detection and control.
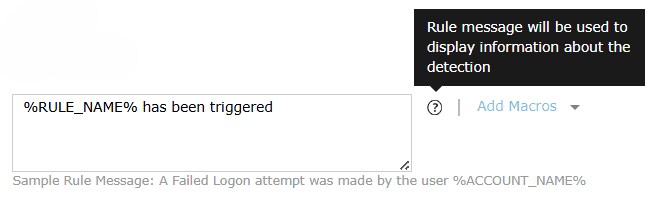
- Rule Message: Include the text you wish for the alert message to
display when the rule is triggered.
Anomaly Rules
Anomaly rules in the rules category of security analytics are configurations specific to anomaly detection relevant to only a single action from the rule criteria. Each anomaly rule applies to one selected event type- the action. For example, "Failed File Accesses", "Account Deleted", "Group Deleted".
Understanding the rule configuration fields
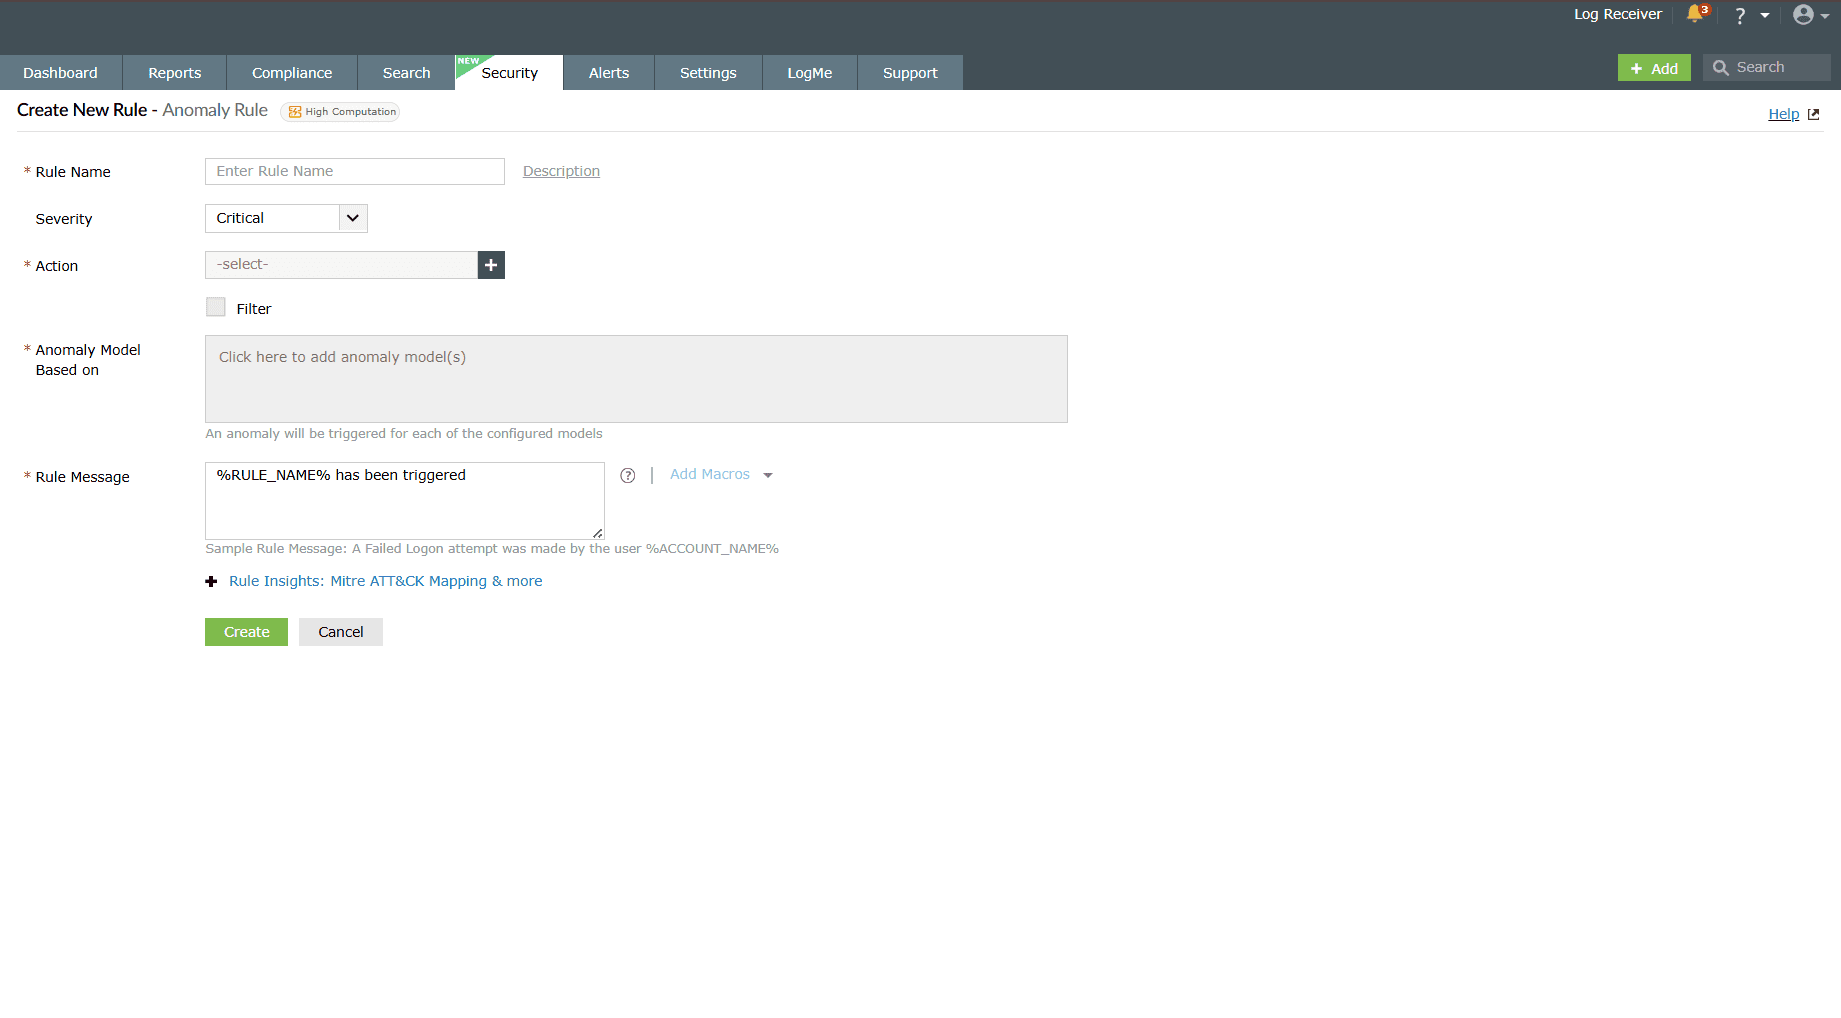
- Rule Name: Give a unique name for the rule for identification.
- Description (optional): A brief explanation about the rule and
its
purpose.
- Severity: Choose a severity level you wish to associate this rule with.
For instance, trouble level criteria indicate a moderate level of severity. The three
levels of severity are:
- Critical
- Trouble
- Attention
- Action: Select the log event type you want the rule to monitor. Read
further for a detailed list of Log Types supported by all the three
rule types
associated with 600+ actions available in Log360.
If you wish to Create Custom Action refer to the Creating custom rules help document.
NOTE: Only 1 action may be selected per anomaly rule. - Filter (optional): Add one or more criteria for the log events to be filtered based upon. This will narrow down log events for rule application.
- Anomaly Model Based on: Choose the anomaly model(s) to define how
deviations from normal behavior will be detected. An anomaly will be triggered for each
of the configured models and two behavioral constructors - On Host, By
User. There are
five primary anomaly models:
- User at an unusual time: To detect user activity that occurs outside of the user's typical login/access hours.
- User with an abnormal count: To detect users that perform an action more or less frequently than their usual behavior.
- Log source at an unusual time: To detect log sources that generate events outside of their usual operating hours or expected activity windows.
- Log source with abnormal count: To detect the log sources that generate an unusually high or low volume of events.
- Log source with unusual username: To detect the log sources
associated by a
certain username, which is not the one the log source is typically associated
with.
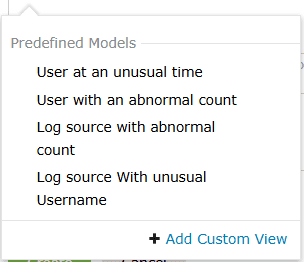
- Click on Add Custom Model if you wish to create a custom anomaly model.
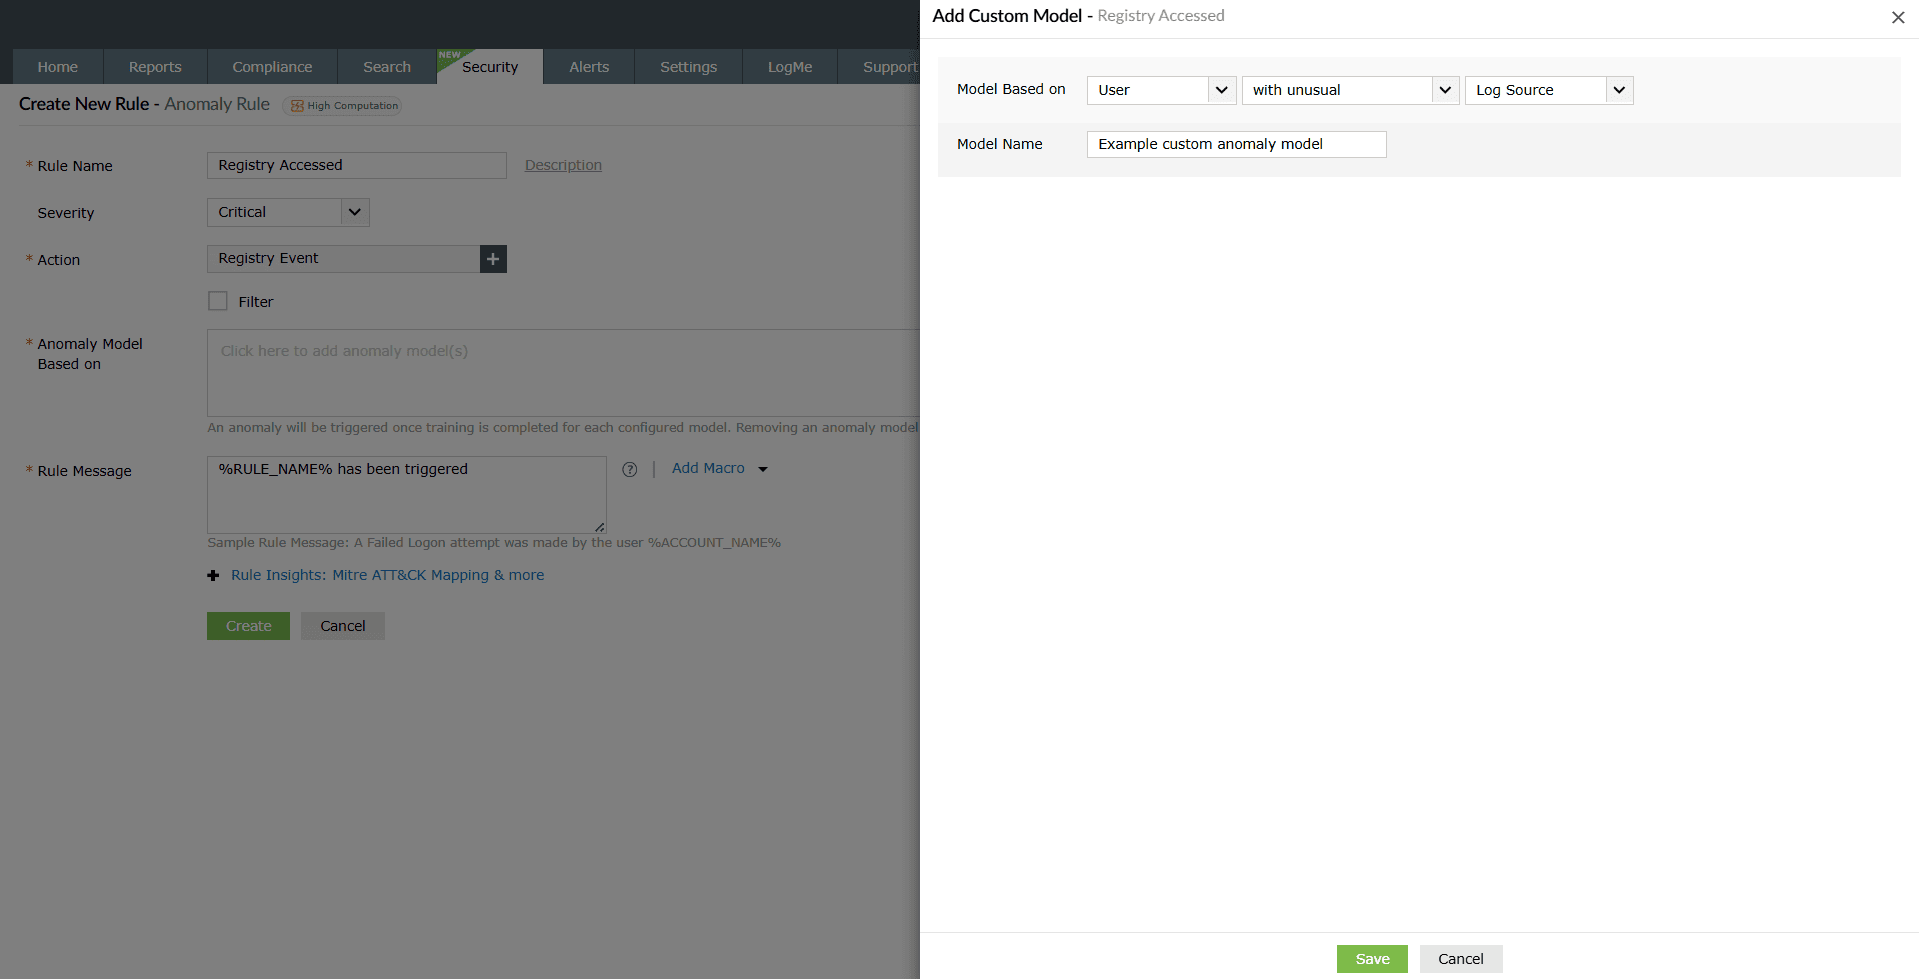
Image : Creating custom anomaly model for detection rule configuration - Configure the fields Model Based on and Model Name and then click on Save to save this custom anomaly model. You will also be able to use this saved anomaly model in the future rule creations.
NOTE: A maximum of only 5 anomaly models can be set for a rule.
- Rule Message: Include the text you wish for the alert message to
display when the rule is triggered.

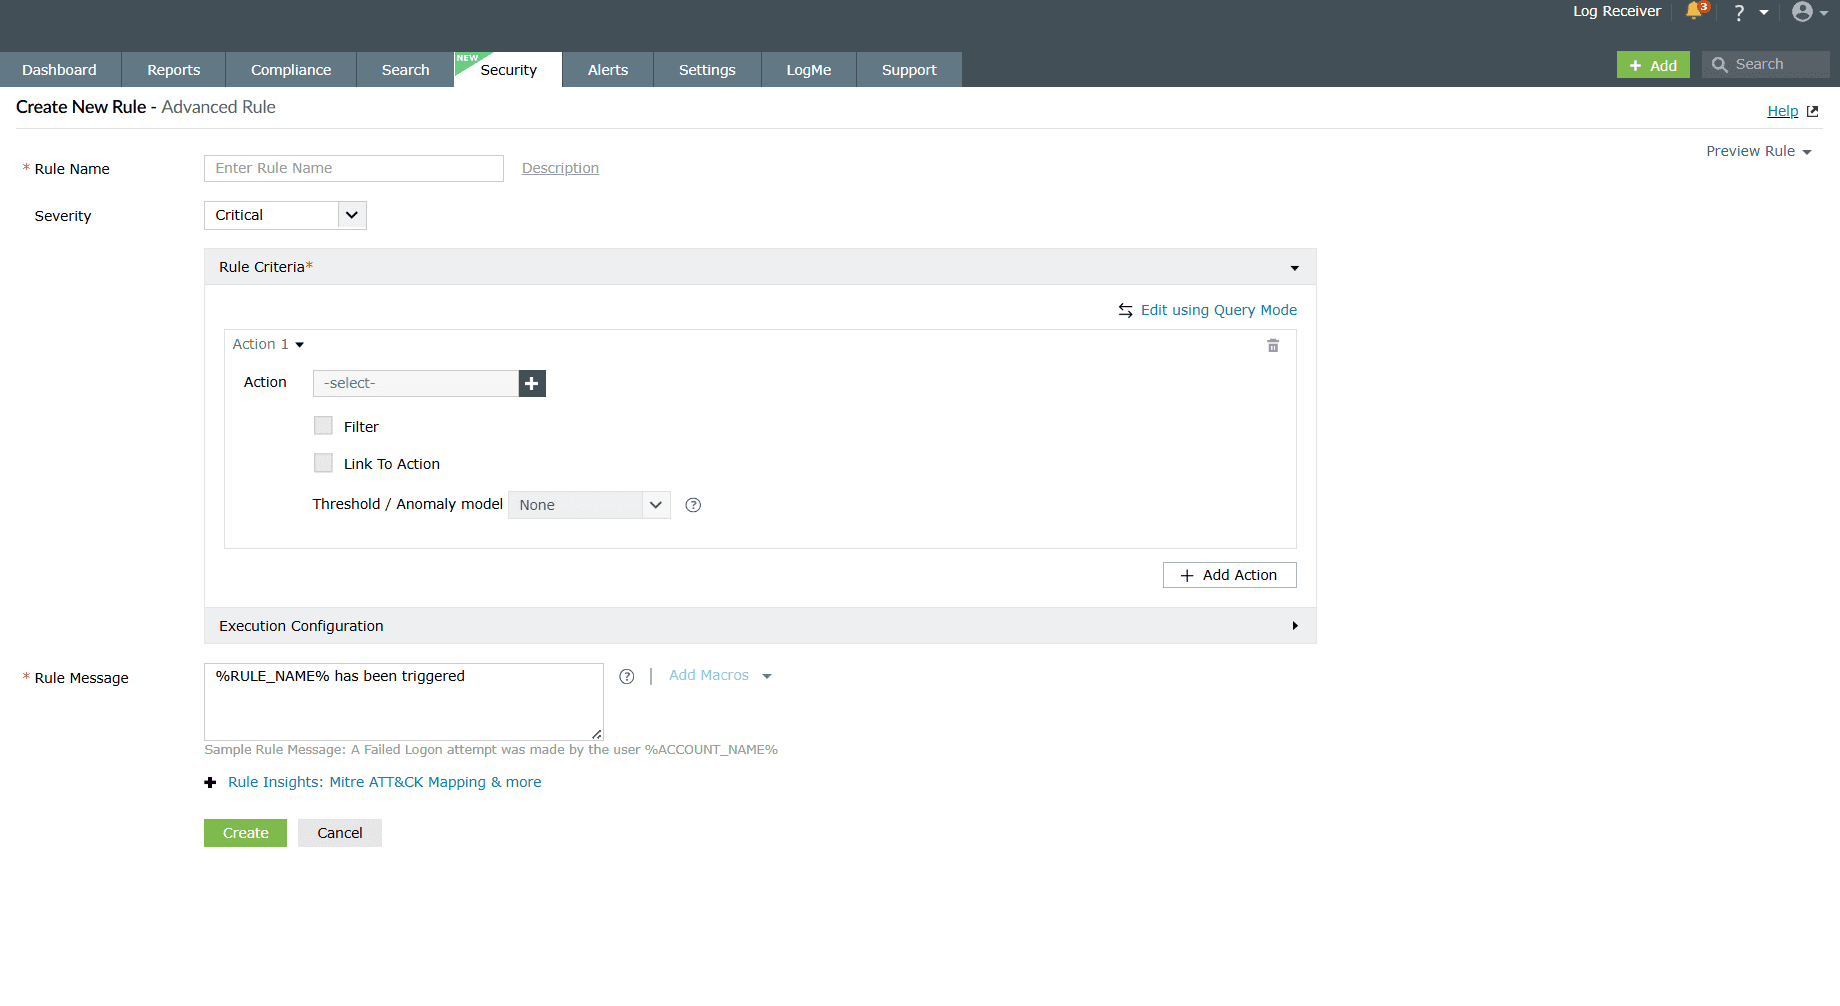
Advanced Rules
Unlike Anomaly rules that primarily focus only on a single action for anomaly detection, Advanced rules help in detection of complex, multi-step incidents by correlating sequences of events corresponding to multiple actions. Additionally, by linking actions in sequence, you can spot attack patterns that span over several event types, for instance, several logon failures followed by a successful login.
The action sequences are defined in order, and the rule will be triggered when the full pattern of actions occurs. Each action can further be fine-tuned by configuring field-based filters to narrow down the events to those meeting all specified conditions.
Understanding the rule configuration fields
- Rule Name: Give a unique name for the rule for identification.
- Description (optional): A brief explanation about the rule and
its
purpose.

- Severity: Choose a severity level you wish to associate this rule with.
For instance, trouble level criteria indicates a moderate level of severity. The three
levels of severity are:
- Critical
- Trouble
- Attention

- Rule Criteria
- Action: Select the log event type you want the rule to monitor. For
Advanced rules, multiple actions can be selected. Read further for a detailed list of
Log Types supported by all the three rule types associated with 600+
actions available
in Log360.
If you wish to Create Custom Action refer to the Creating custom rules help document
- Filter (optional): Add one or more criteria for the log events to be filtered based upon. This will narrow down log events for rule application.
- Link To Action: In the case where you have chosen multiple actions, you can link those actions to one another so that events involving those actions can be correlated and monitored for suspicious activity.
- Threshold/Anomaly model:
- Threshold (optional): Define a distinct or count based event occurrence limit for repetition over a period of time. Upon exceeding the limit, the rule is triggered.
- Anomaly Model: Choose the anomaly model(s) to define how deviations from normal behavior will be detected. An anomaly will be triggered for each of the configured models. SImilar to Anomaly rule configuration, you can create a custom anomaly model during advanced rule configuration too.
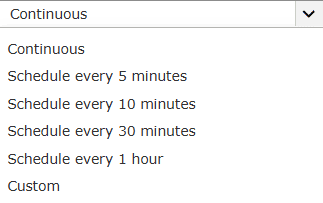
NOTE: Either Threshold or Anomaly Model configuration can only be selected, but not both, as they cannot function together. This limitation applies to the entire rule, with only one option allowed across all actions. - Execution configuration: The Execution configuration option can be used in order to schedule a rule as per the requirement. This option is available only for the advanced rules.
- Rule Message: Include the text you wish for the alert message to
display when the rule is triggered.


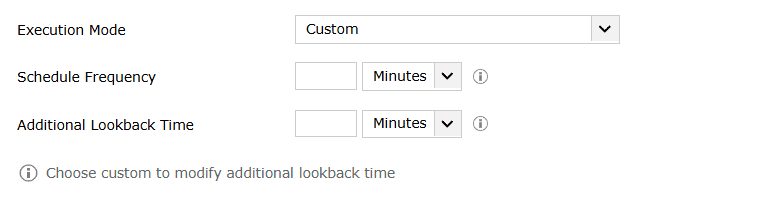
This setting includes Continuous and predefined scheduled time ranges like 5 minutes, 10 minutes, 30 minutes, 1 hour along with an additional custom option, where Schedule Frequency and Additional Lookback Time will have to be configured.
Actions - Log Types supported
Below is the list of all Log Types supported by all three rule types associated with 600+ actions available in Log360.
| Stormshield Device | HP Device |
| Topsec Device | FirePower Device |
| Sangfor Device | ForcePoint Device |
| Dell Device | H3C Device |
| CEF Format | pfSense Device |
| Malwarebytes | SNMP Trap |
| McAfee | IBM AS/400 |
| Apache Access Logs | Cisco Device |
| DHCP linux logs | F5 Device |
| DHCP windows logs | Unix |
| MySQL Logs | FIM |
| MSSQL Server Logs | Threat Analytics |
| Terminal | Darkweb |
| Printer | vCenter |
| SAP ERP audit Logs | Hypervisor/ESXi |
| Oracle | FireEye |
| Syslog Archive File | Symantec Endpoint Protection |
| Syslog | Symantec DLP |
| Windows Archive File | Nessus |
| DB2 Logs | Qualys |
| PostgreSQL Logs | OpenVAS |
| Password Manager Pro | Nmap |
| ITOM Solution | Nexpose |
| ADAudit Plus | Trend Micro |
| ADManager Plus | IIS W3C FTP Logs |
| ADSelf Service Plus | IIS W3C Web Server Logs |
| Endpoint Central | IBM Maximo Logs |
| Service Desk Plus | Syslog Application |
| Windows | SQL Server |
| SonicWall Device | Sysmon |
| Juniper Device | AWS CloudTrail |
| PaloAlto Device | AWS S3 |
| Fortinet Device | AWS ELB |
| CheckPoint Device | AWS ALB |
| Arista Device | AWS NLB |
| Barracuda Device | Salesforce Event Log |
| WatchGuard Device | Salesforce Setup Audit Trail |
| Sophos Device | Microsoft Entra ID |
| Huawei Device | Exchange Online |
| Meraki Device | M365 General |
| NetScreen Device | Sharepoint Online |
If you wish to choose all the Log Types at once, click on the Select All checkbox.
Other fields
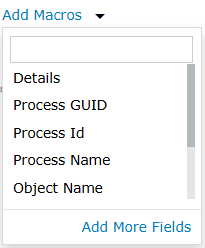
1. Add Macros
The Macros field in all the three rule types contains the list of field names. Upon selecting one for a rule, that particular field name is used for generating the rule message when that rule is triggered. The complete field options in Macro varies from action to action that has been selected in the rule creation.
2. Rule Insights: MITRE ATT&CK Mapping & more
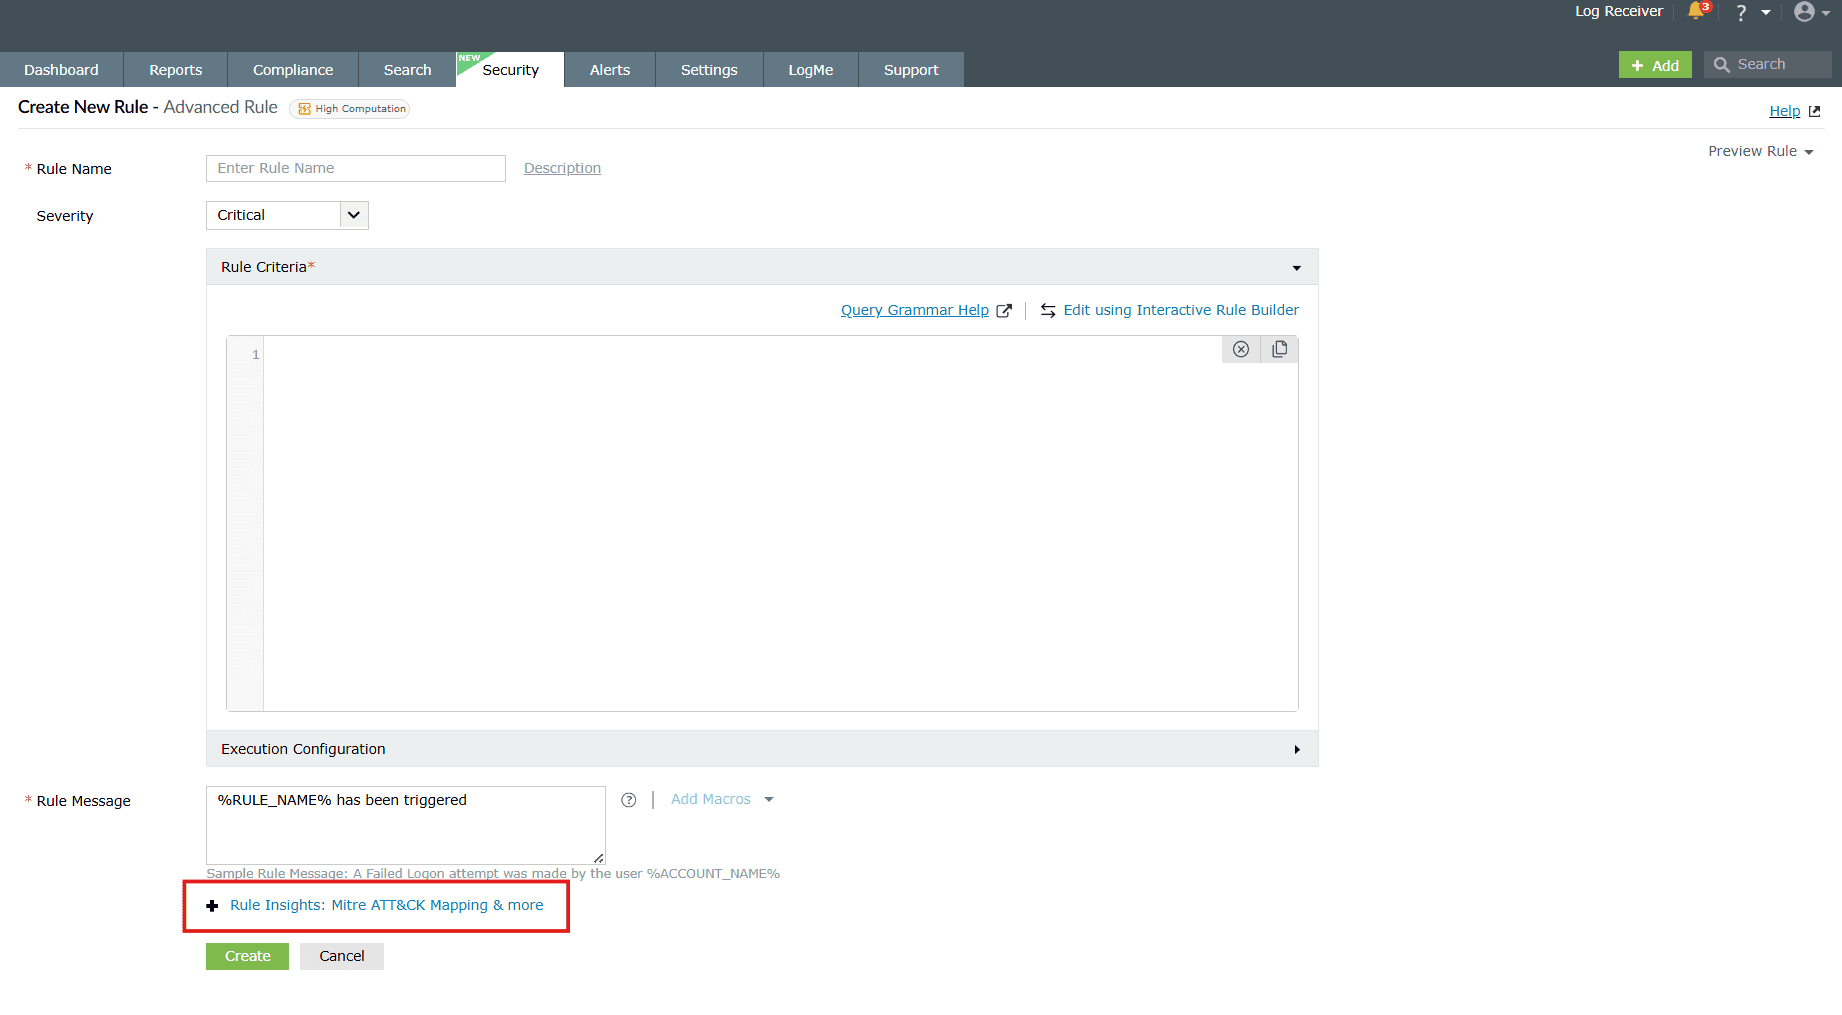
This option will help you by providing context for the selected rule by mapping it to any relevant MITRE ATT&CK techniques and tactics. You can then understand the threat behavior this rule is aligning with, in turn, aiding in threat investigation and response effectively. By providing tagging, MITRE mappings, and enriched contextual details for all rule types, the system ensures that you can create robust, organized, and actionable rules tailored to your security needs.
Clicking on it will slide open the fields box for Rule Insights.
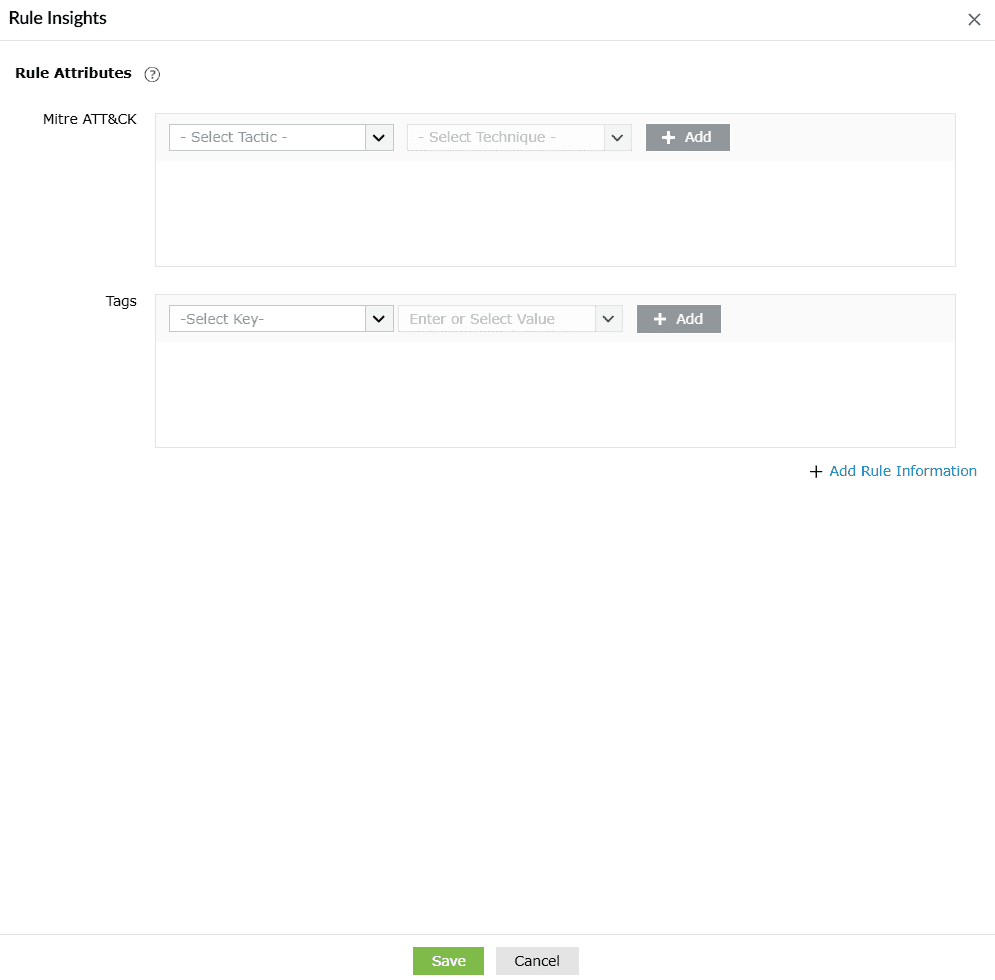
Rule Attributes
Rule Attributes enable mapping and tagging rules with specific attributes for better organization and actionable insights. They are used to help efficiently manage rules and help with data enrichment.
MITRE ATT&CK
- List of tactics will be given as a dropdown with a search option as well.
- When a tactic is selected, its associated technique will be listed in the technique dropdown.
- If a technique has a sub-technique, it will be listed under that technique.
- If both tactic and technique are selected, an Add option will be given and it will add to the list.
- Cancel icon will delete a row from the added list.
For more information, refer MITRE ATT&CK TTP(S) Framework Integration.
When you click on Add Rule Information, the below appears on the screen.
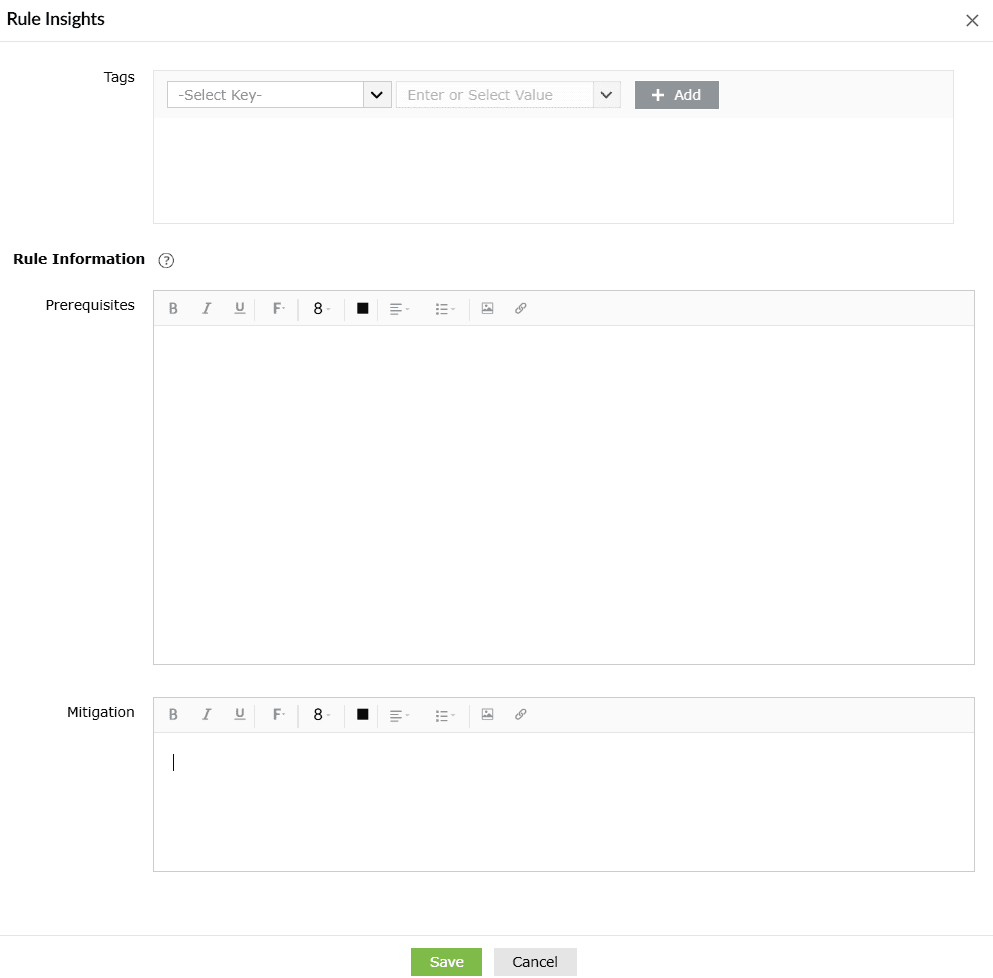
Rule information
Rule information provides additional contextual information about rule execution and mitigation strategies. It helps technicians make configuration changes and take preventive actions to enhance detections and keep the environment secure.
- Prerequisites
- Prerequisites define the conditions or requirements that must be in place for a security rule to work effectively. They ensure that the rule can function as intended and produce accurate detections.
- This will be shown in the Security Rule's reports page when there is no data found for this particular report, and also in the Rule summary drilldown.
- Mitigation
- Mitigation outlines the steps to respond to or neutralize threats detected by the security rule. It provides actionable guidance to minimize the impact of a security event.
3. Preview Rule
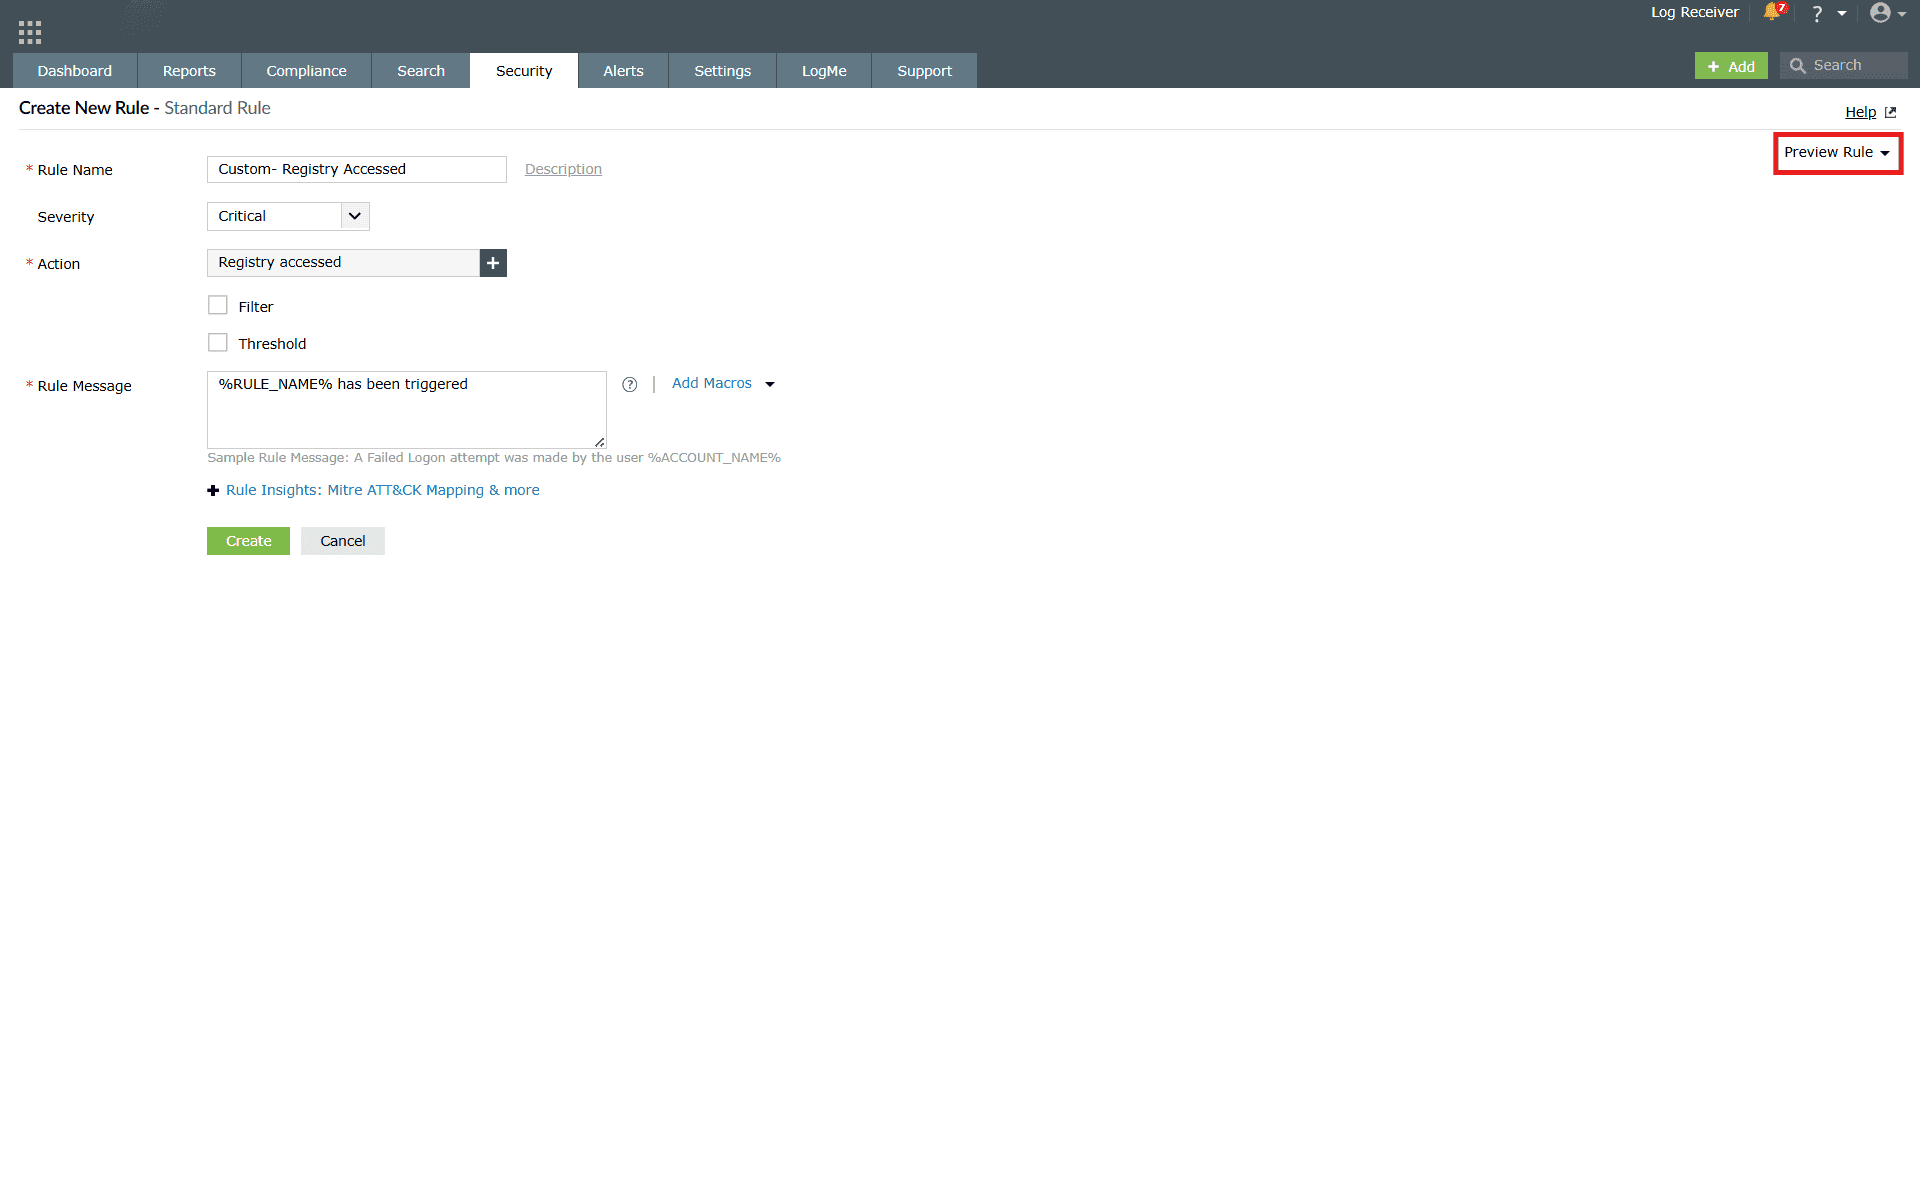
- The Preview Rule option is visible only after an action is selected in the rule configurations.
- You can also have an option to select a date range via the calendar.
- If additional criteria is added or removed, the preview can be reloaded using the reload preview option.
- Detection reports will only be applicable for the data triggered after the rule is created, but the preview rule will be based on the already collected logs as well.
- In Advanced Rule creation, the overall rule preview will be displayed first, and you can then switch to corresponding action previews, if needed.
Execution mode: Differences in operator modes (Continuous vs. Scheduled)
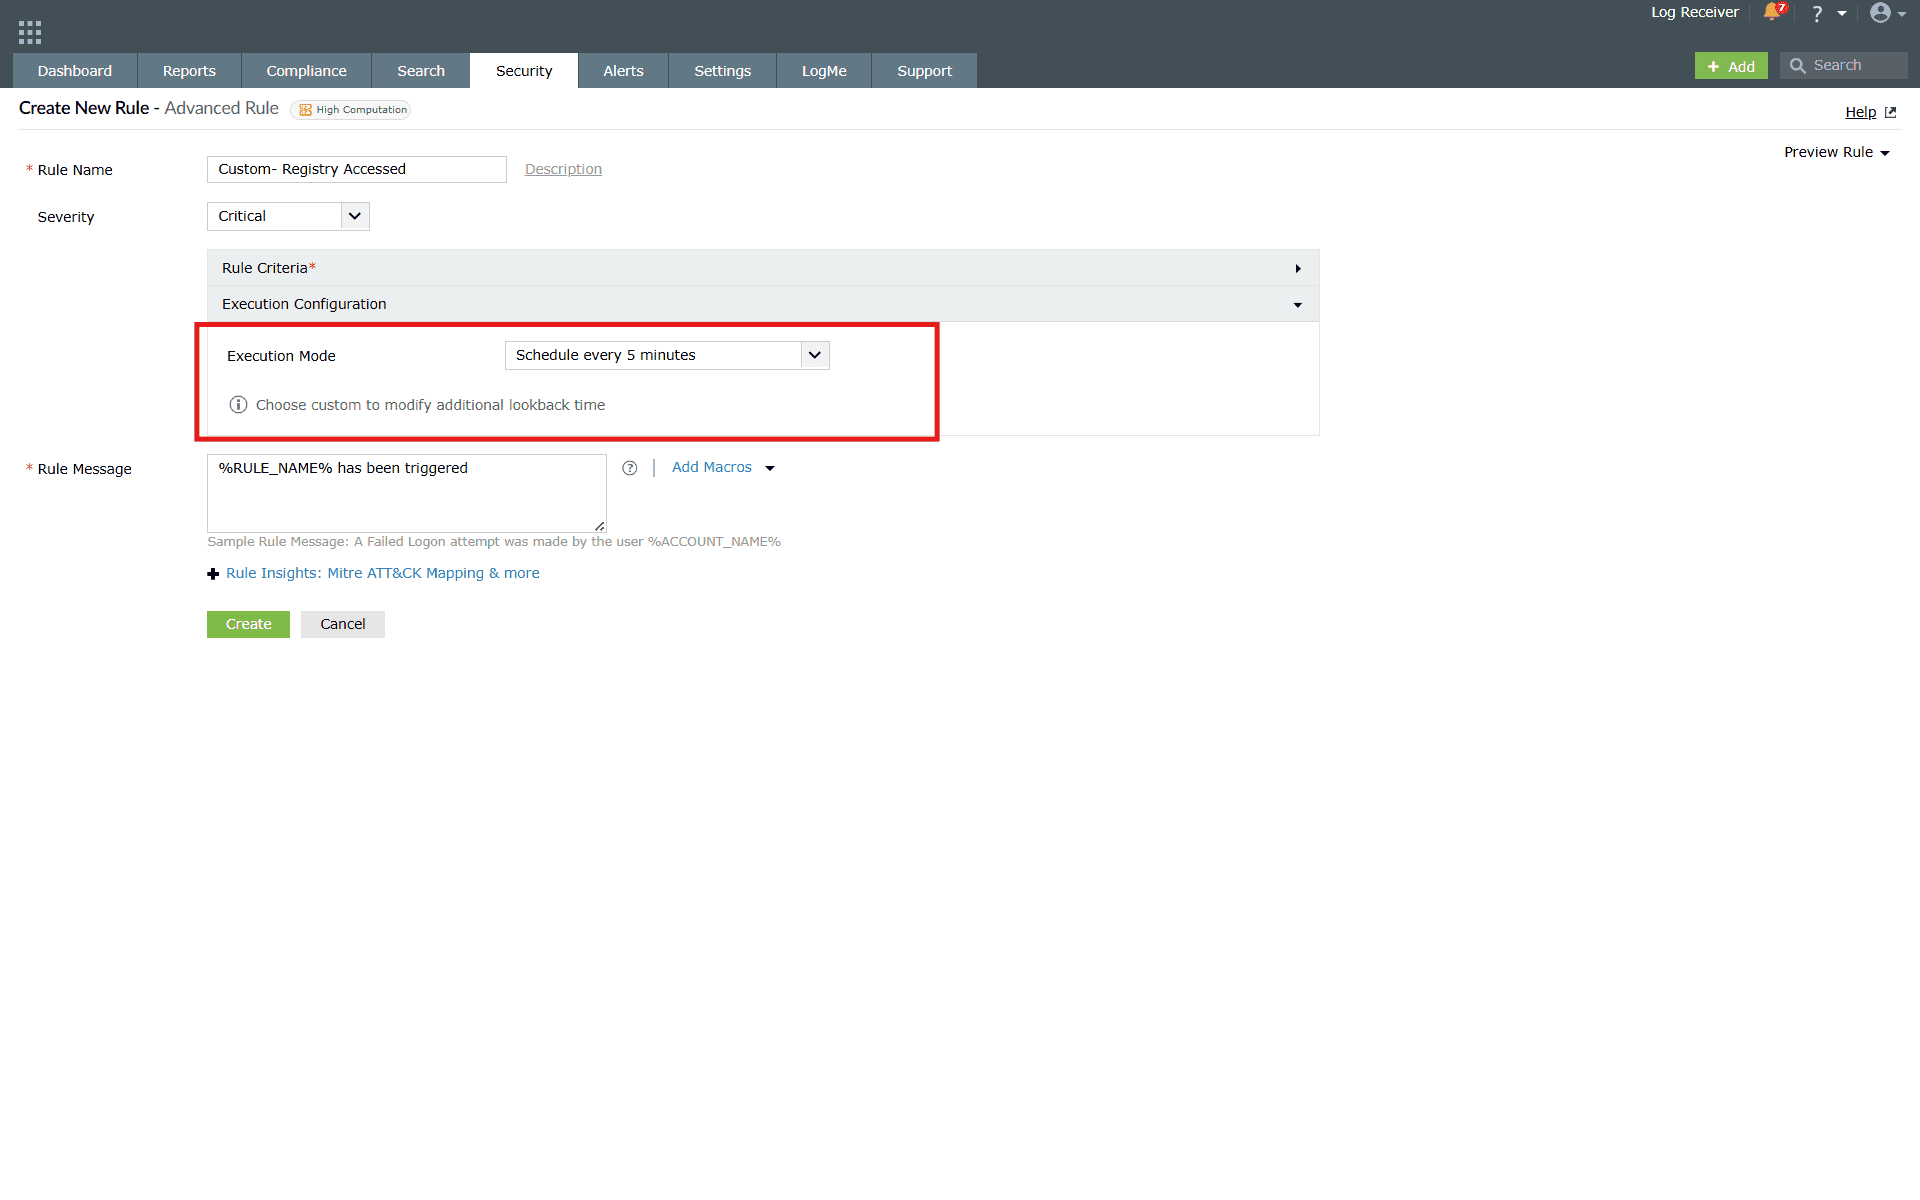
Lookback time
Definition:
Lookback time is an additional period configured to extend the log search window for scheduled rules. For example, if the schedule interval is set to 5 minutes and the Lookback time is also configured as 5 minutes, the system analyzes a total of 10 minutes of logs (the current 5 minutes plus the previous 5 minutes).
Purpose:
This ensures that events occurring just before the scheduled interval are also considered during rule evaluation, minimizing the risk of missing detections that span across schedule boundaries.
Disadvantage:
Enabling Lookback can lead to data overlap across consecutive schedules. Since the same set of logs may be re-evaluated in multiple intervals, this may result in duplicate detections.
Standard rule (Single action rule)
| Condition | Continuous Mode | Scheduled Mode |
|---|---|---|
| Threshold:
10 events within 10 min (Schedule 5 min, Lookback 0) |
|
|
| Threshold:
10 events within 10 min (Schedule 5 min, Lookback 5 min) |
No change in the above flow. |
|
| Threshold:
10 events within 10 min (Schedule 30 min, Lookback 0 min) |
No change in the above flow. |
|
| Threshold:
10 events within 10 min (Schedule 25 min, Lookback 0 min) |
No change in the above flow. | Same as the above case but queries are split as:
|
| Threshold:
10 events within 10 min (Schedule 30 min, Lookback 20 min) |
No change in the above flow. | Same as the above case but queries are split as:
|
Advanced rule (More-than one action rule)
| Condition | Continuous Mode | Scheduled Mode |
|---|---|---|
| Action 1: 10 events within 10 min, Followed By 5
minAction 2: 9 events within 10 min, Followed By 12
minAction 3:
5 events within 5 min (Schedule 10 min, Lookback 0 min) |
|
|
| Action 1: 10 events within 10 min, Followed By 25
minAction 2: 9 events within 10 min, Followed By 12
minAction 3:
5 events within 5 min (Schedule 30 min, Lookback 20 min) |
No change in the above flow. |
|
Rule specific use cases
Anomaly rules
1. Brute-Force login attempt
Use case
A service account logs 20 failed login events in a very short window of time. This is a strong indicator of an ongoing attempt for a Brute-Force or credential-stuffing attack.
With Anomaly rules
An active Anomaly rule of "Logon Failure" action paired with a count-based anomaly model aids in a rapid threat detection of account compromise attempts. As a threat response, the window for attacker(s) to pivot into the network may be blocked.
2. Suspicious third-party account activity
Use case
A managed-service vendor account starts configuring changes after the usual business hours.
With Anomaly rules
"Configuration change" action could be paired with a time-based anomaly model for a focused monitoring of activities taking place during non-business hours. For instance, 9 AM to 6 PM are the usual working hours for this user, who is now performing actions at 3 AM. Additionally, location-based anomaly model can help flag changes made from unexpected geo locations.
These deviations from the established baselines trigger an anomaly, helping the security team to investigate promptly and prevent possible credential compromise or session hijacking.
Advanced rules
1. Data Exfiltration via bulk modifications
Use case
An unauthorized user deleted or renamed large batches of files on a critical file server.
With Advanced rules
An advanced rule correlating "file deletion" actions with "bulk file rename" events along
with a threshold on total file access count within a 10-minute window and filters will
narrow down the scope to the unauthorized critical server access.
2. Unauthorized application deployment in QA environment
Use case
A non-DevOps user deploys/runs an unauthorized executable in a staging environment.
With Advanced rules
An advanced rule correlating "executable creation" with "scheduled task creation" on
QA-tagged machines and filters on user roles with a threshold on event sequence within 10
minutes flags such unauthorized deployment activity early on.
Read also
This document explained how standard, anomaly, and advanced rules work, their configuration options, and practical use cases such as brute-force attempts, suspicious account activity, and data exfiltration.