This guide explains how to set up and manage Android Zero-Touch Enrollment in ManageEngine Mobile Device Manager Plus. It covers the prerequisites, portal setup, Android for Work integration, JSON configuration, device association, device activation, user assignment, troubleshooting, and related resources.
Android Zero Touch Enrollment or Android Zero Touch Provisioning (ZTP) is a device enrollment method provided by Google that streamlines the enrollment and deployment of organization-owned Android devices in bulk. This method is also known as Google Zero Touch provisioning and lets devices enroll with MDM by downloading the ME MDM app during activation.
Advantages of Android Zero Touch Enrollment
- One-time setup
- Aids large scale enterprise device roll out
- Mandatory MDM management
- Allows resellers to add devices to portal, easing enrollment process
- Admins can set up the device with necessary apps and profiles and it gets applied automatically on device activation.
Prerequisites for Zero Touch Enrollment
- Android Zero Touch Enrollment is supported for devices running Android 9.0 or later, purchased from specified reseller partners.
- You need a Zero-touch portal account which can be obtained by contacting your reseller.
Getting Your Zero Touch Portal
Associating a Google Account
If you already have a Google account associated with your corporate email, you can skip this section.
You require a Google account (associated with your corporate e-mail), to setup the Android Zero Touch Portal. To associate, follow the steps below:
- Go to this link and provide the requisite details.
- Ensure you provide your corporate e-mail address for Your e-mail address. Do not click on I would like a new Gmail address.
- Follow the on-screen instructions to complete the account creation.
Zero-touch Portal Account
After creating a Google account for your enterprise, contact your resellers to get your Zero-touch portal.Only the devices purchased from authorized resellers are eligible for getting the Zero-touch portal. Get your Zero-touch portal with your Enterprise Google account. Read more about Zero-touch portal setup
Steps for configuring Zero Touch Enrollment
- Configure Android for Work
- Integrate Android for Work with Zero-touch
- About Zero-touch portal
- Setting up Zero-touch portal using JSON configurations
- Associate JSON configurations
NOTE:
Since Google has updated the setup for Zero-Touch enrollment, the Zero-Touch portal needs to be linked with Android For Work. This will simplify the enrollment process. If you are prompted to configure Android for Work while setting up Zero-Touch, this indicates that you are using the updated version. Users who have not updated the product and still retaining the old version can directly go to Setting up Zero-touch portal using JSON configurations.
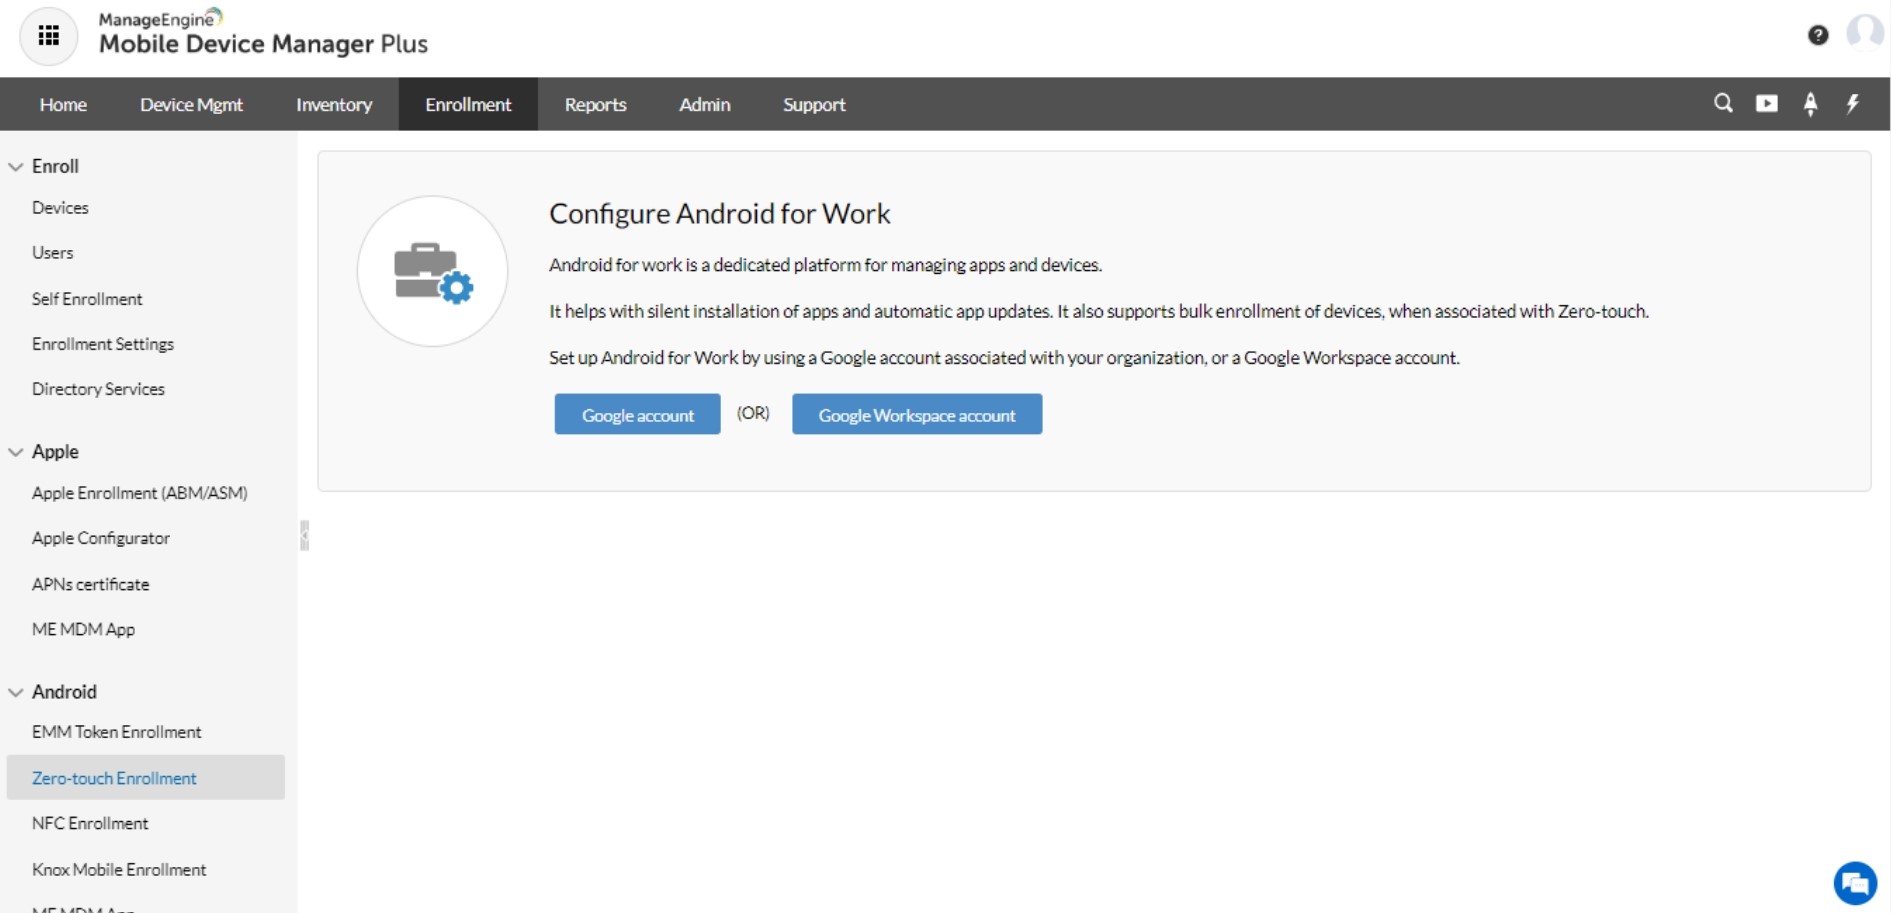
Configure Android for Work
Configuring Android for Work is the first process in setting up Zero-touch.
We recommend you temporarily enable third-party cookies while integrating Android for Work with Zero-touch. When disabled, the link for integration becomes unauthorized.
Case 1: When Android For Work is not configured.
On the MDM console, navigate to Enrollment → Zero-Touch Enrollment. Follow the on-screen instructions to set up Android For Work. To set up Android for Work, refer to the Android for Work setup guide.
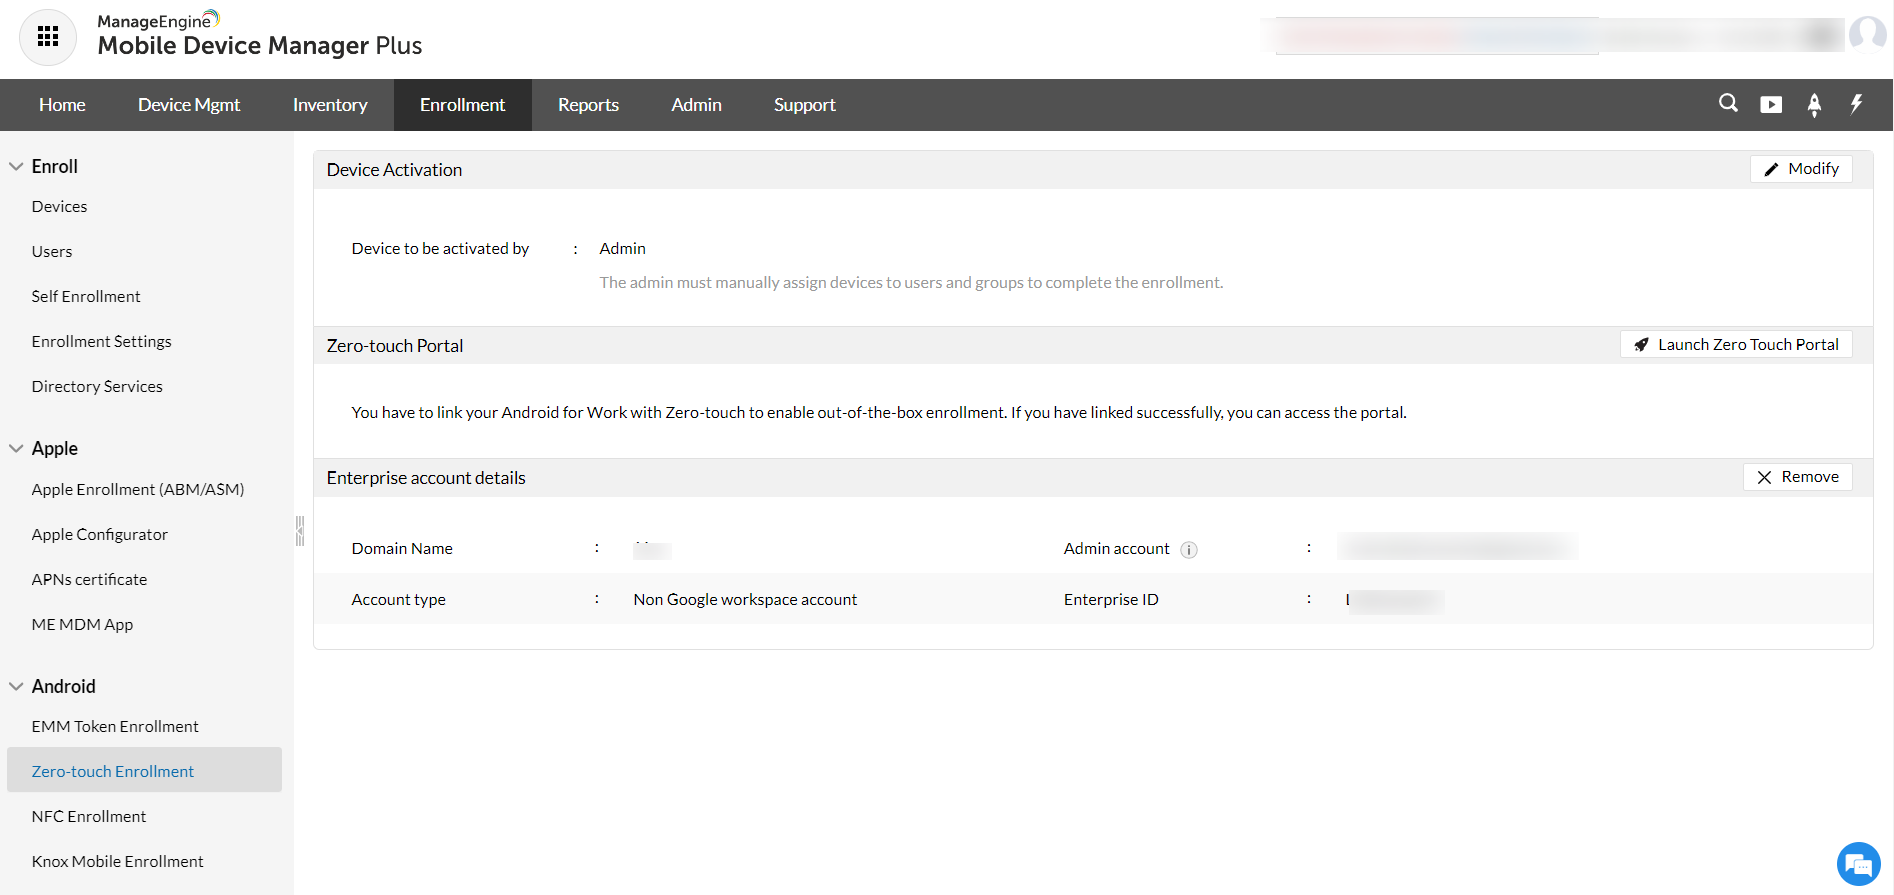
Case 2: When Android for Work is already configured.
If you have already configured Android for Work while setting up app management for Android devices, you need to link Android for Work with Zero-touch. Navigate to Enrollment → Zero-touch Enrollment → Launch Zero-touch Portal. To link, follow the steps below.
Management Type: Select the Management Type of the device:
- Full Device Management: Admin has full control over the device.
- Workspace Management: Admin can manage only the corporate apps and data by creating a separate work container on the device.
Integrate Android for Work with Zero-touch
Integrate your Android for Work with Zero-touch to continue the set up, follow the steps below
Steps to Integrate Android for Work with Zero-touch
- After setting up Android for Work using the steps mentioned above, you will be automatically re-directed to integrate Zero-touch with Android for Work.
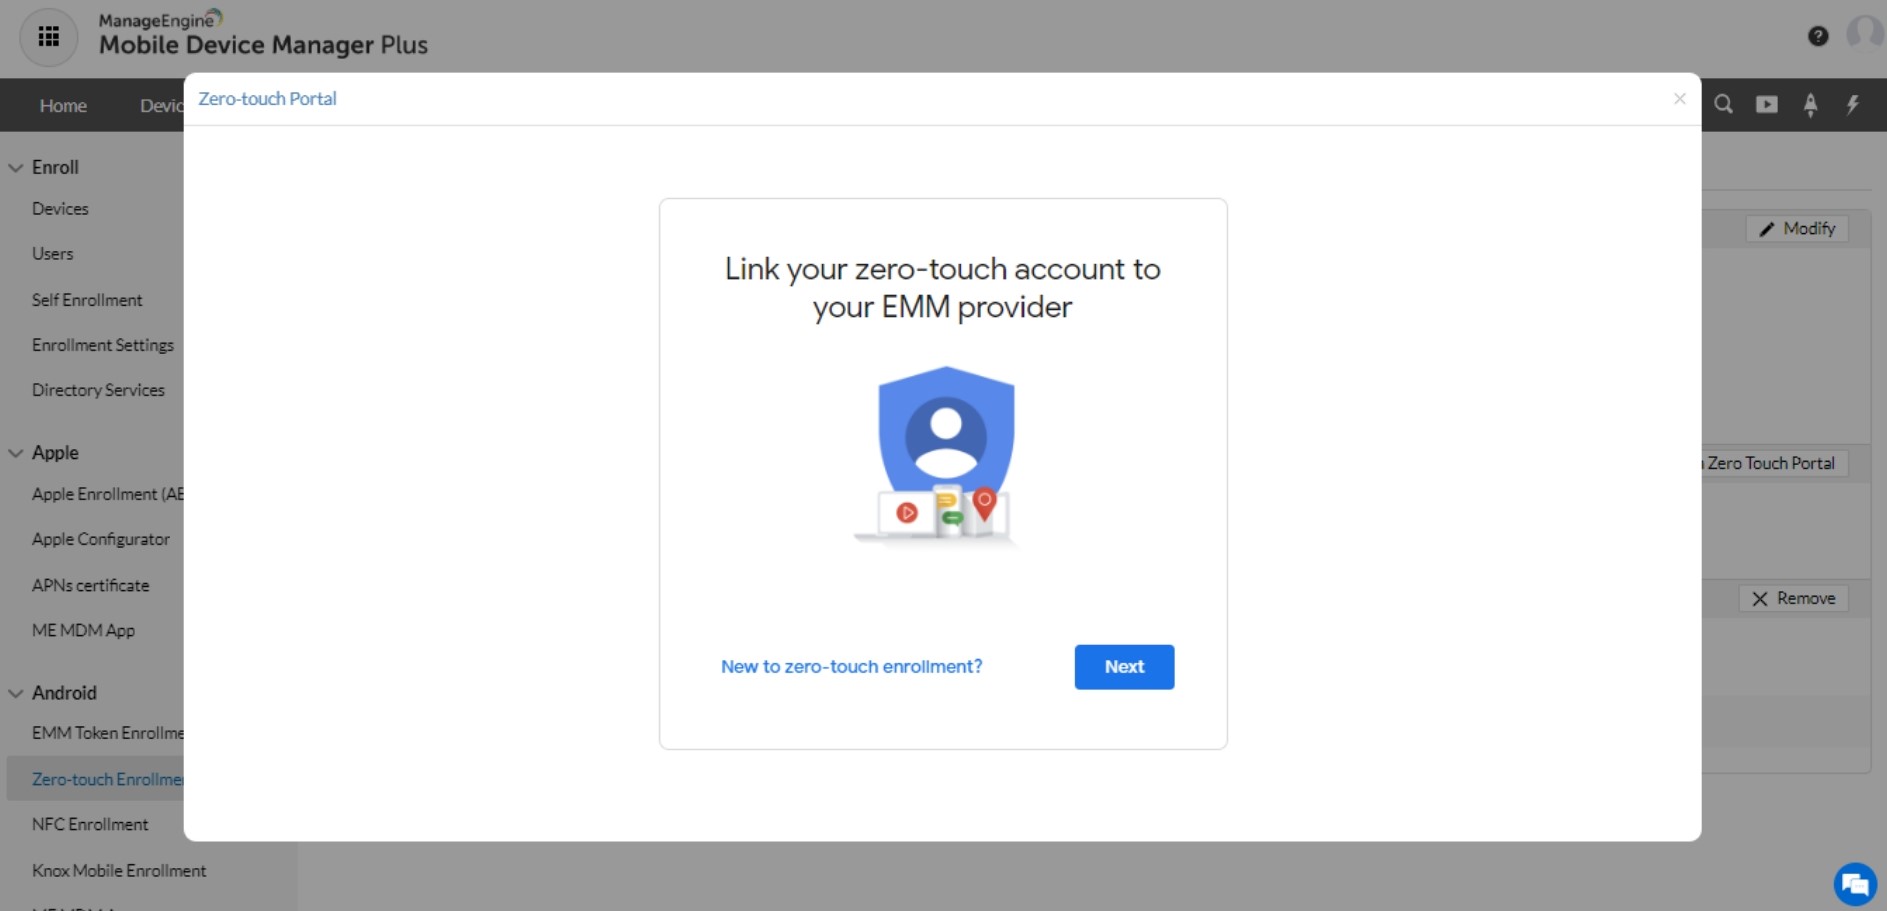
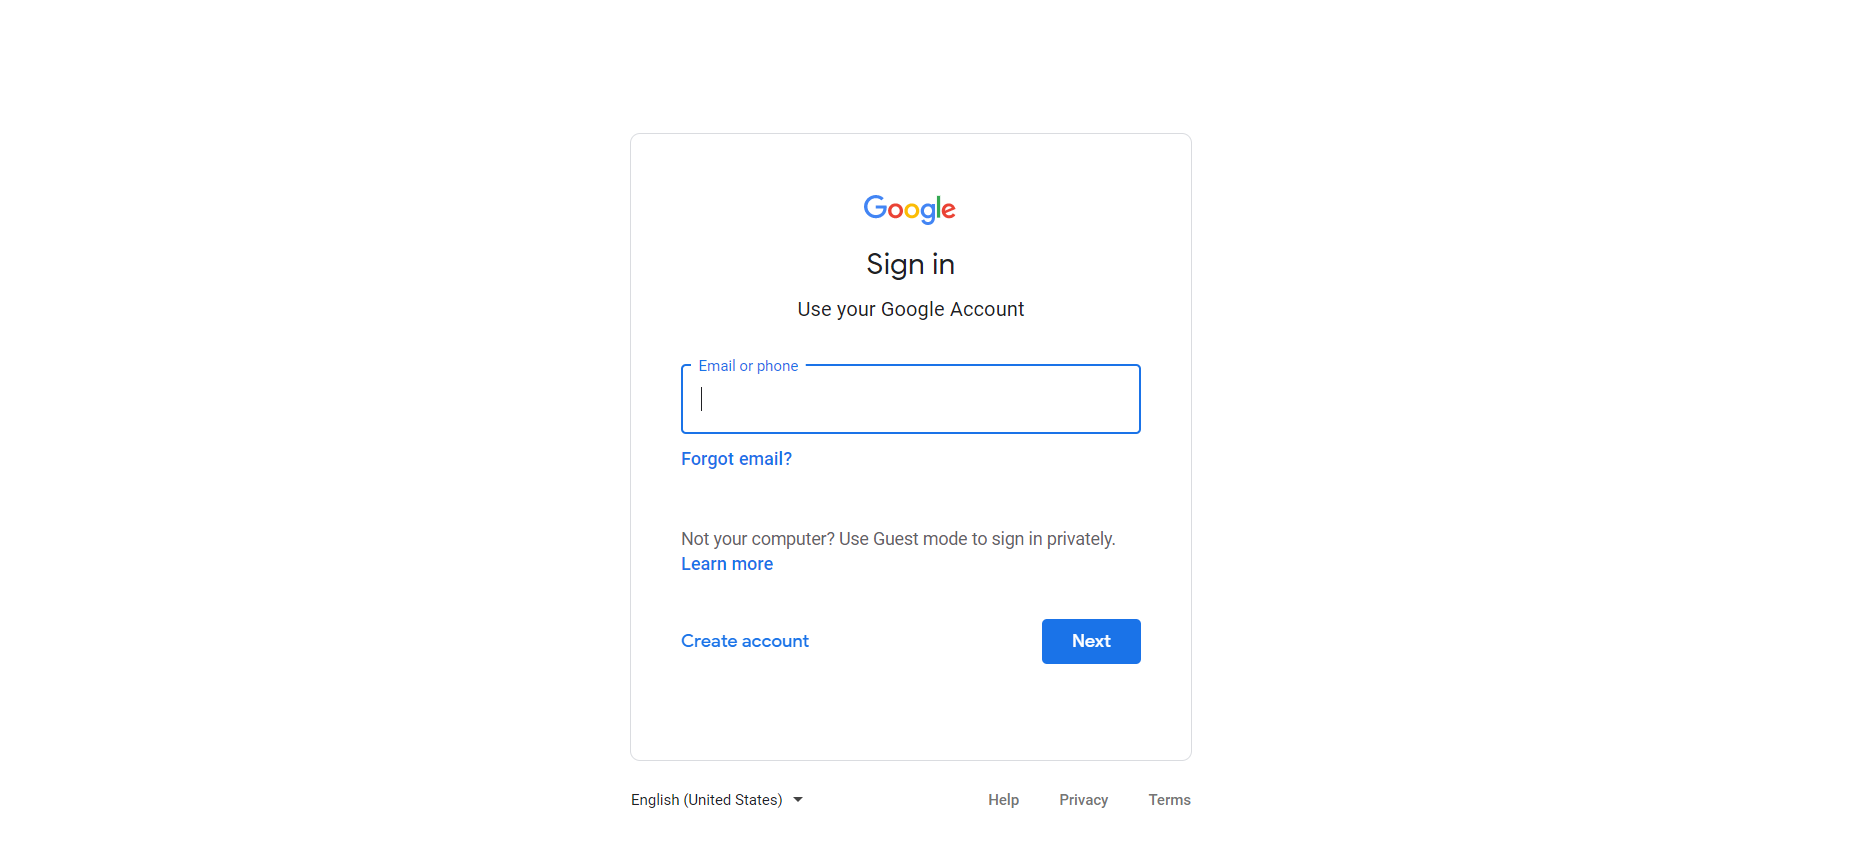
- Click on the Next button. The page to sign-in appears, wherein you will need to provide your Zero-touch account credentials.
- You can choose the accounts which contain the devices to be managed.
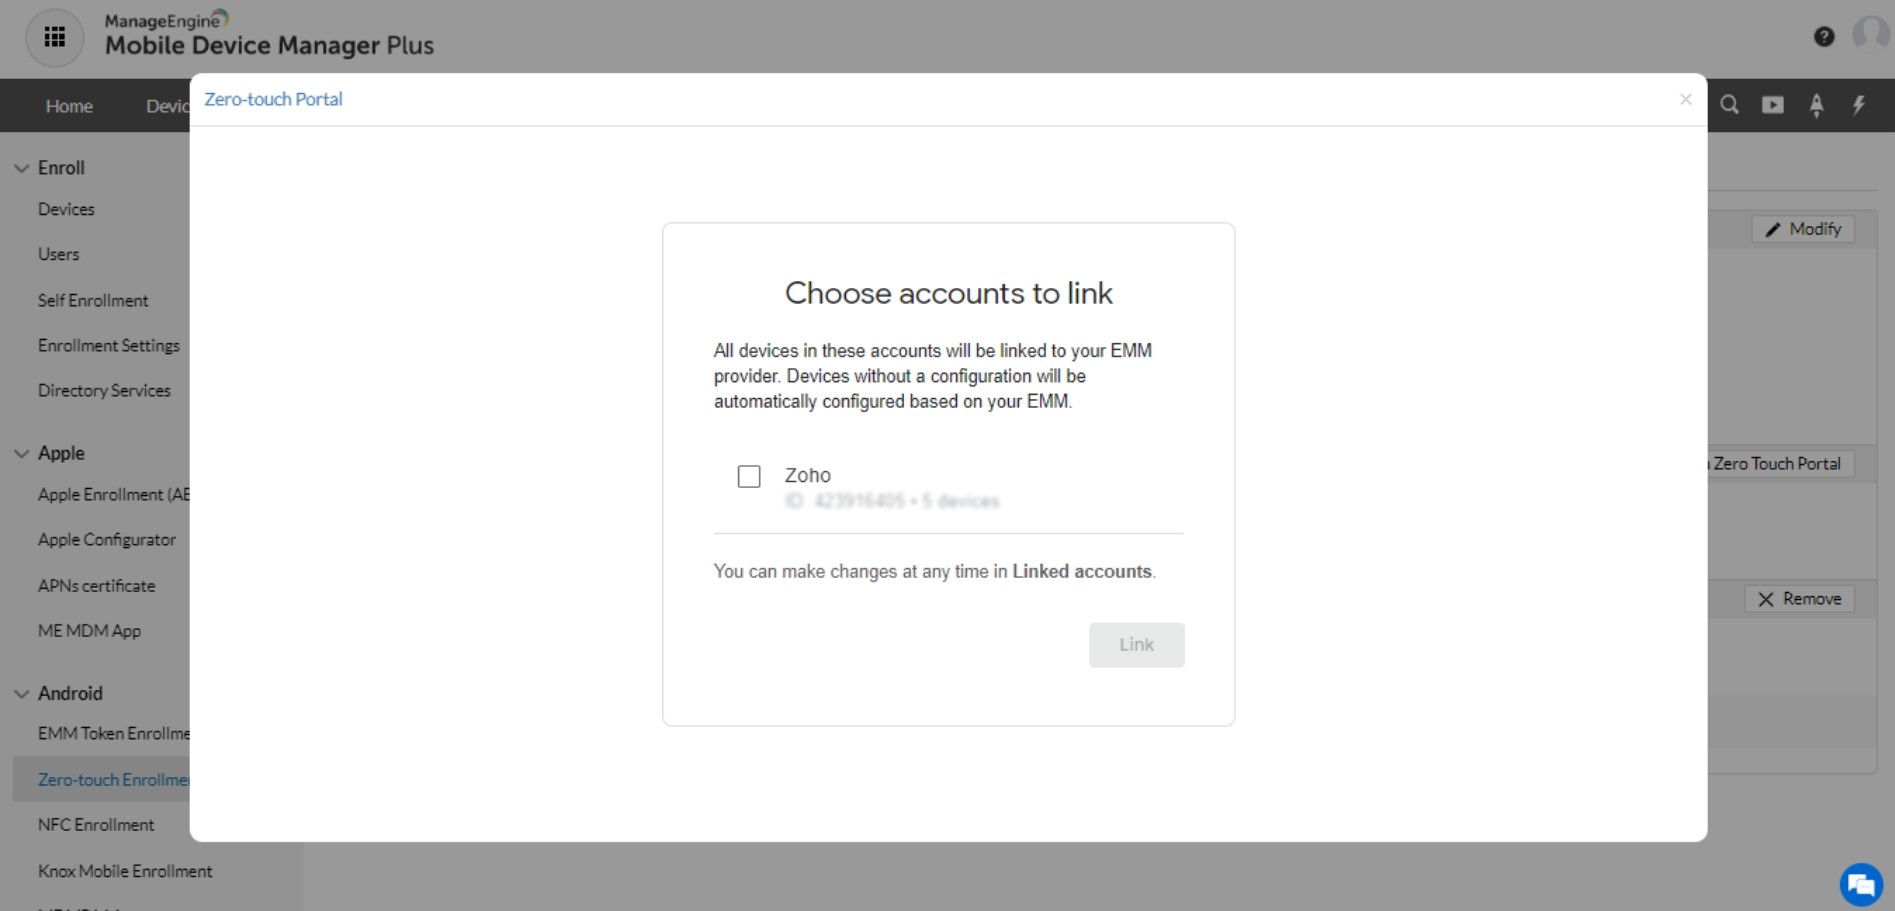
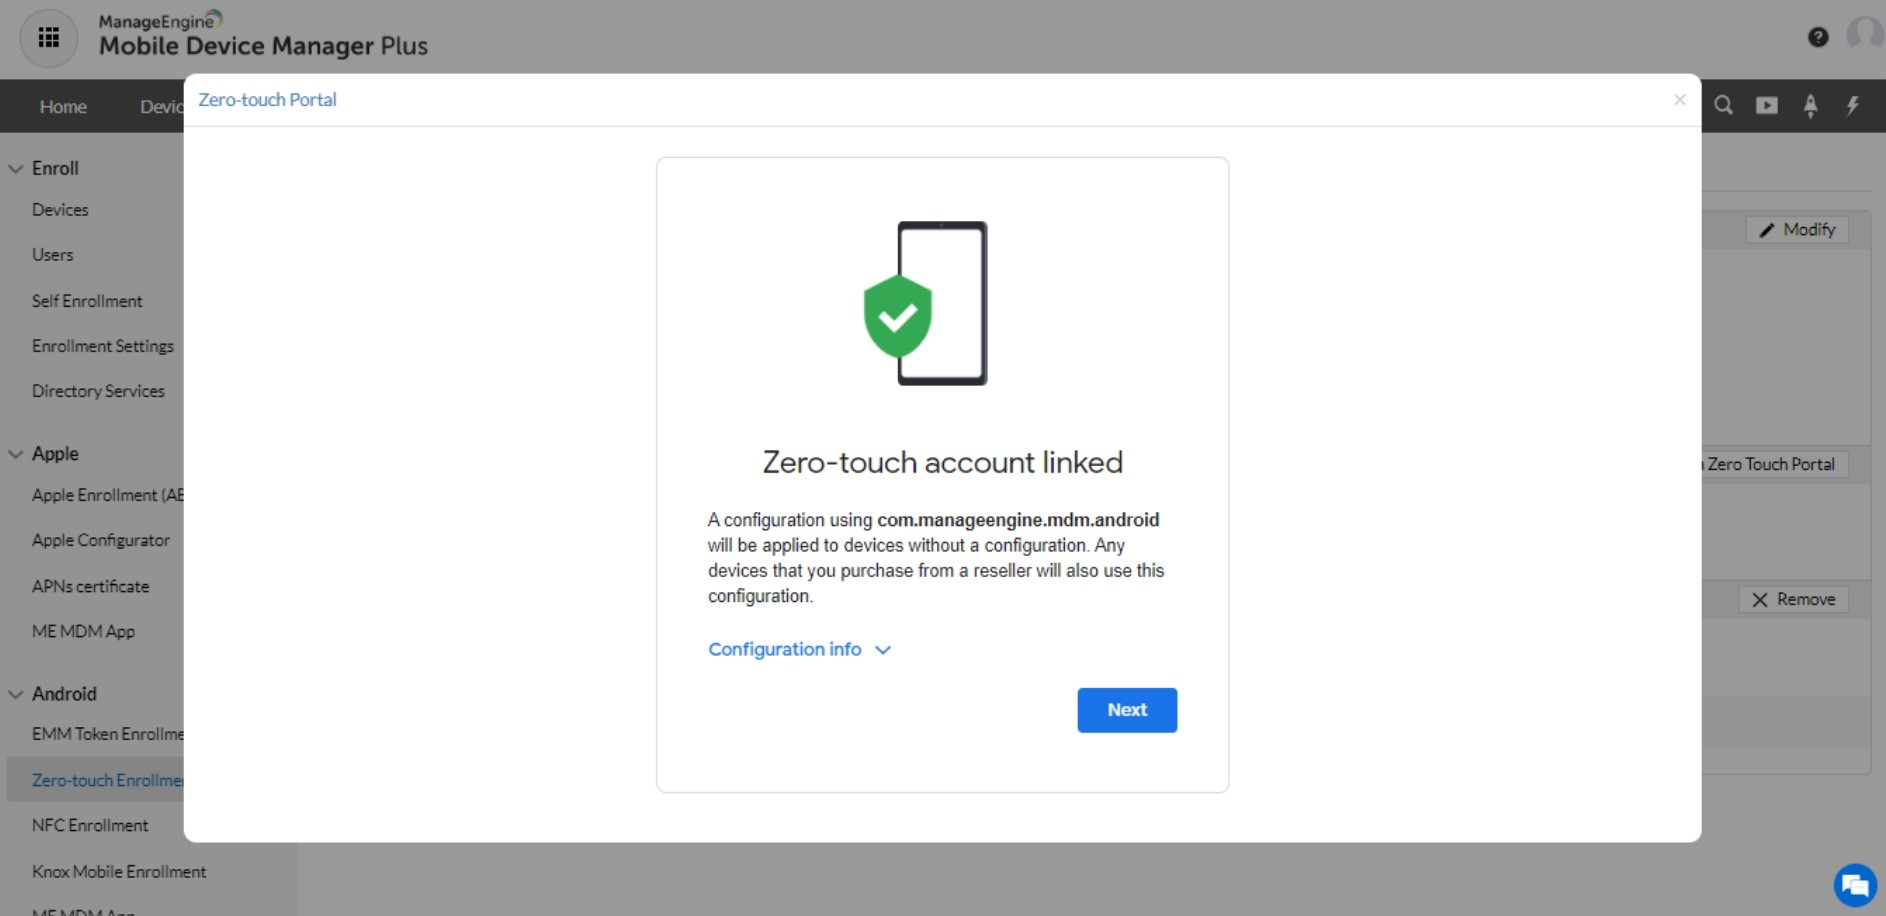
- On clicking the Link button, the account details will be displayed.
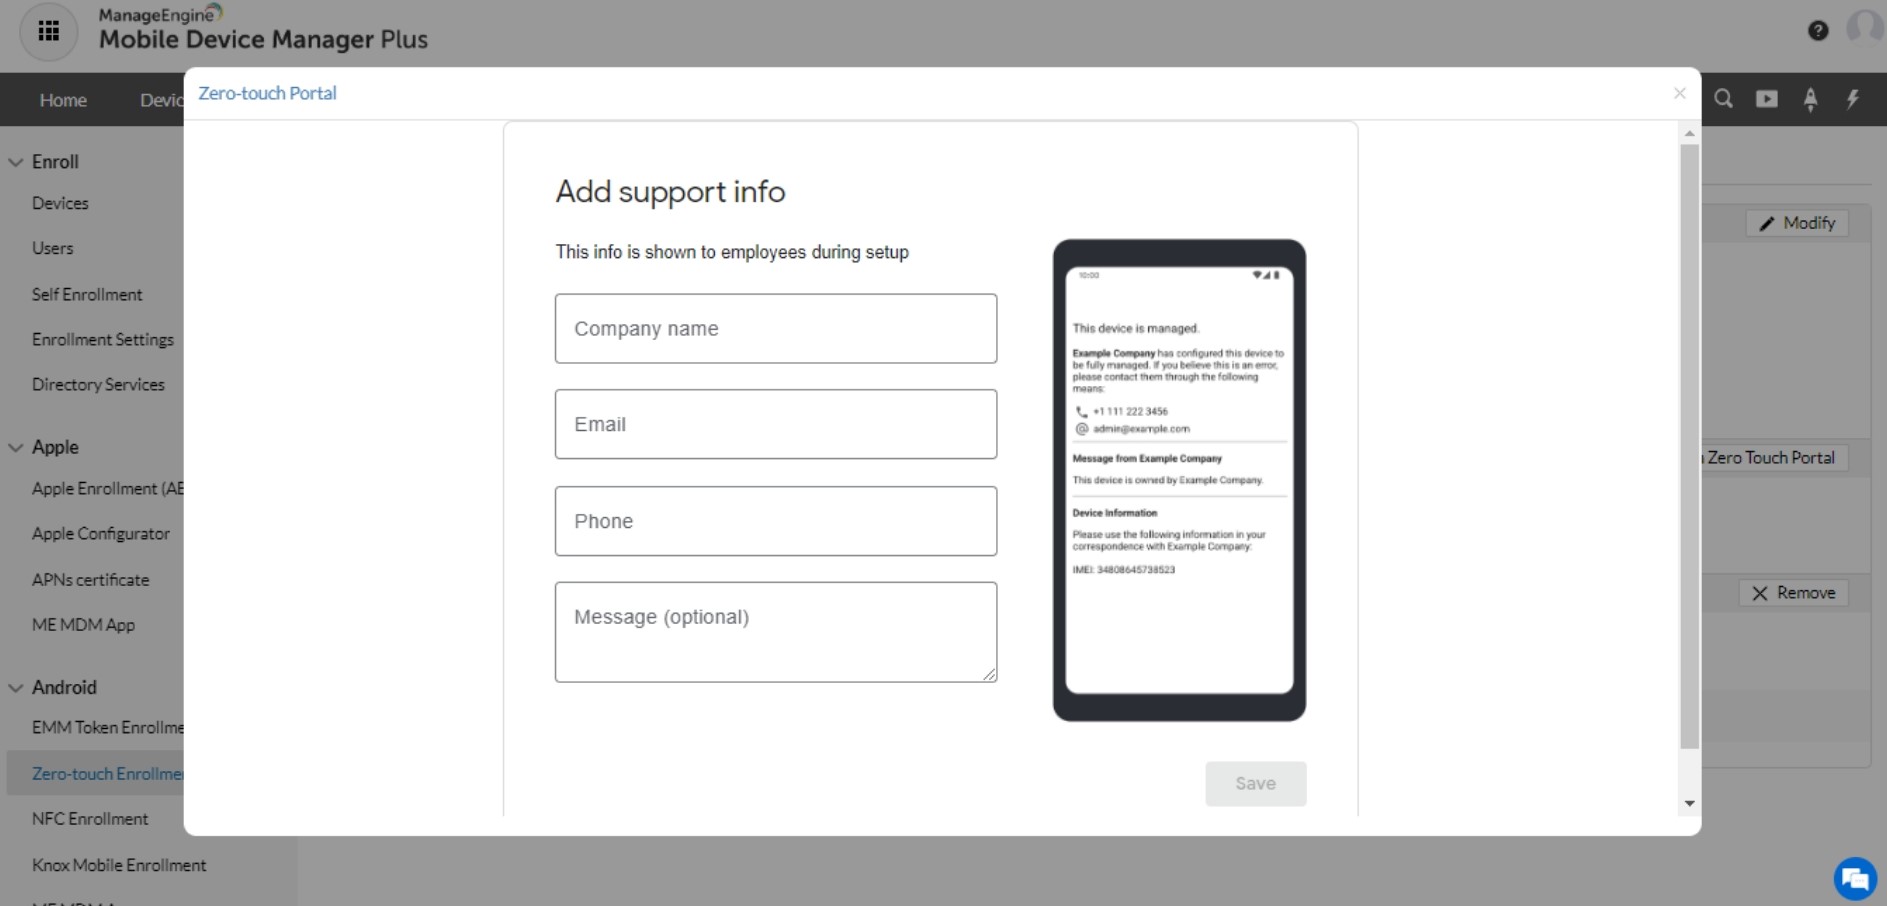
- Provide your company's support details on the next page for employees to reach you incase of any issues during set up.
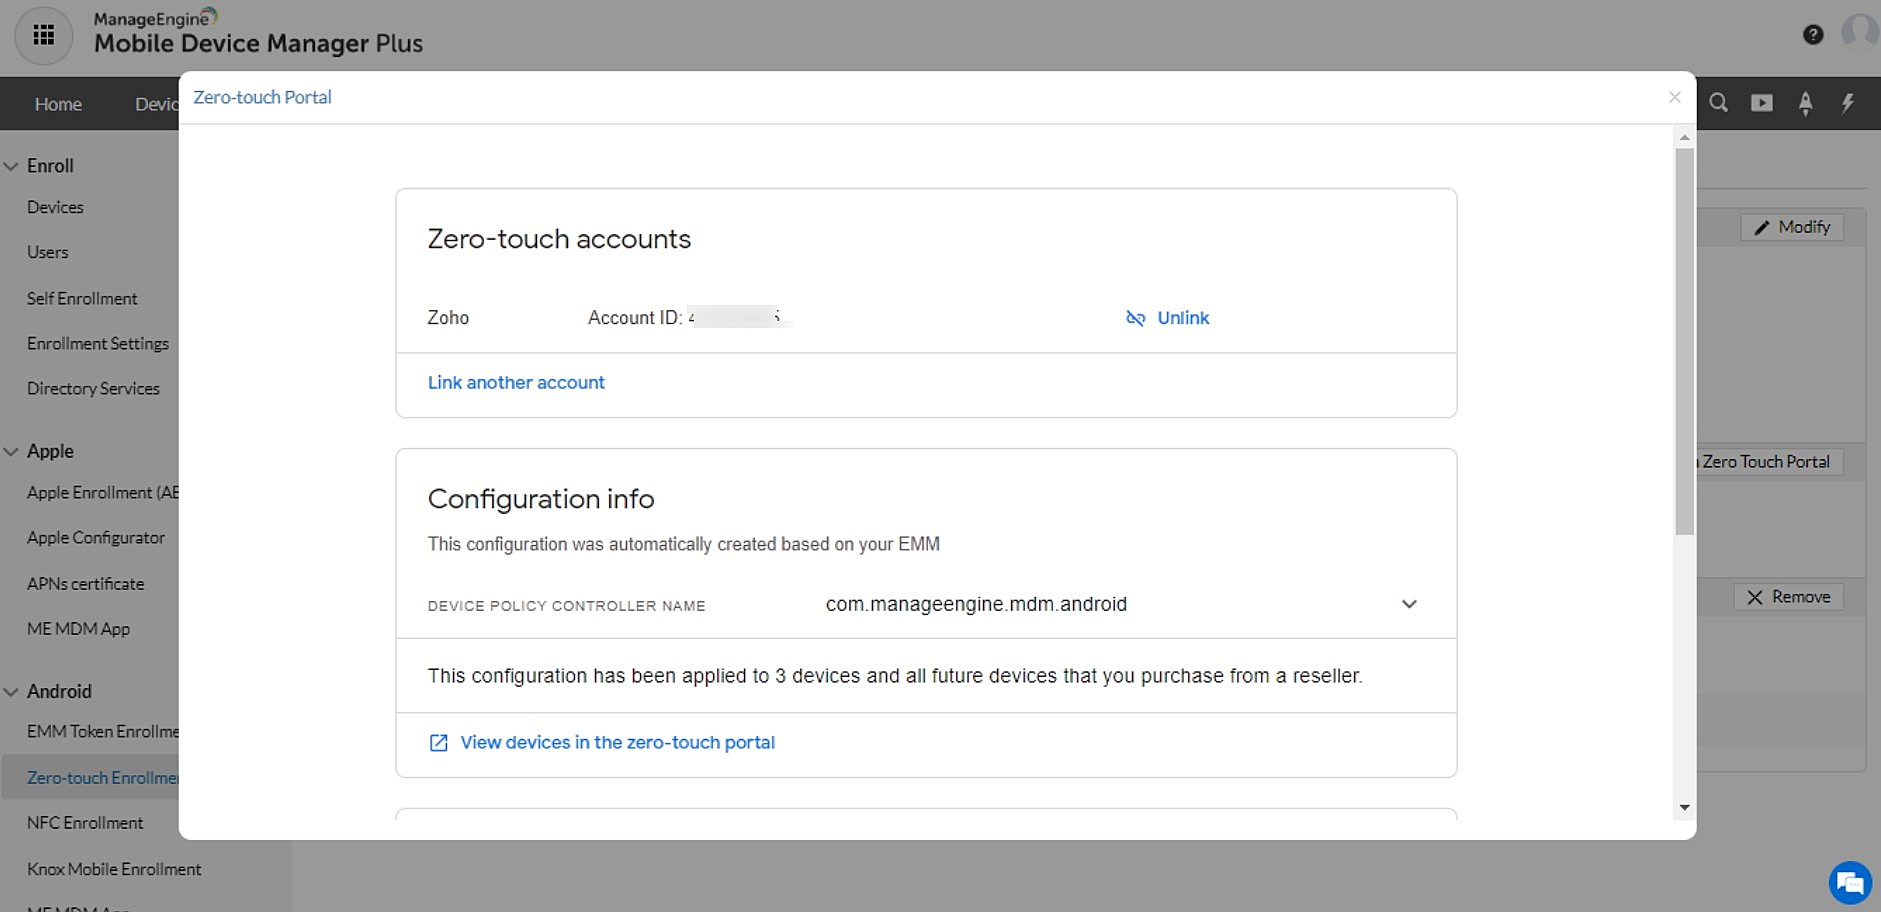
- If the integration is successful, you can access the Zero-touch portal directly from the console. Enrollment -> Zero-touch Enrollment -> Settings -> Launch Zero-touch Portal.
The Zero-touch set up is completed now, you can now go to enroll devices.
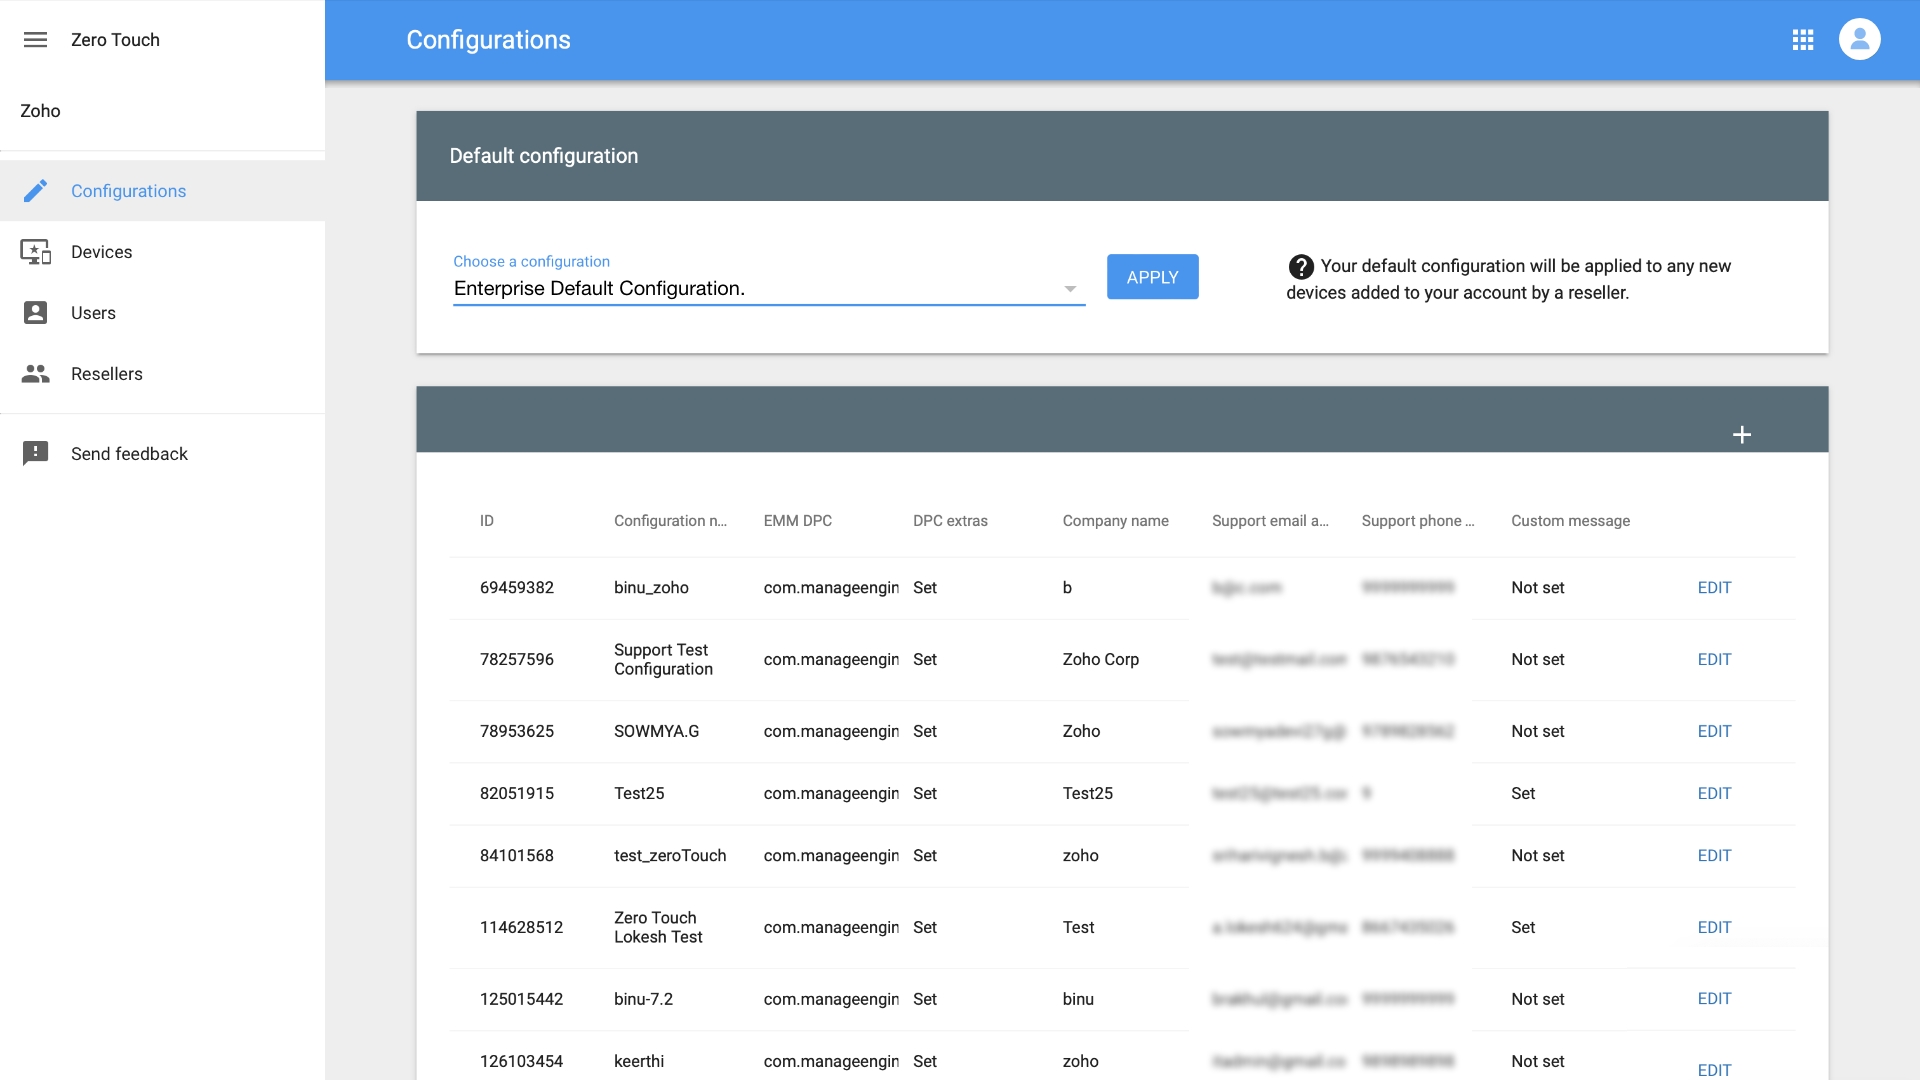
About Zero-touch portal
Zero-touch portal contains the details of the devices, resellers, MDM configurations and so on. You can follow the table given below to know more.
| Parameter | Description |
|---|---|
| Configurations | If you have an updated setup, you are provided with Enterprise Default Configurations which cannot be modified. Else,you add, modify and delete the MDM configurations here. You can also choose to assign MDM configurations by default, to the devices being added to the account. |
| Devices | You can view the list of devices added to the account, here. You can select devices and assign the created configurations to these devices. Additionally, you can also choose to delete the added devices here. |
| Manage People | You can add, modify and delete the users, who can manage and access the portal, here. |
| Resellers | You can choose to add additional reseller details here |
Set Up Zero-touch Portal Using JSON Configurations
If you are setting up Zero Touch portal using JSON configuration, follow the steps given below:
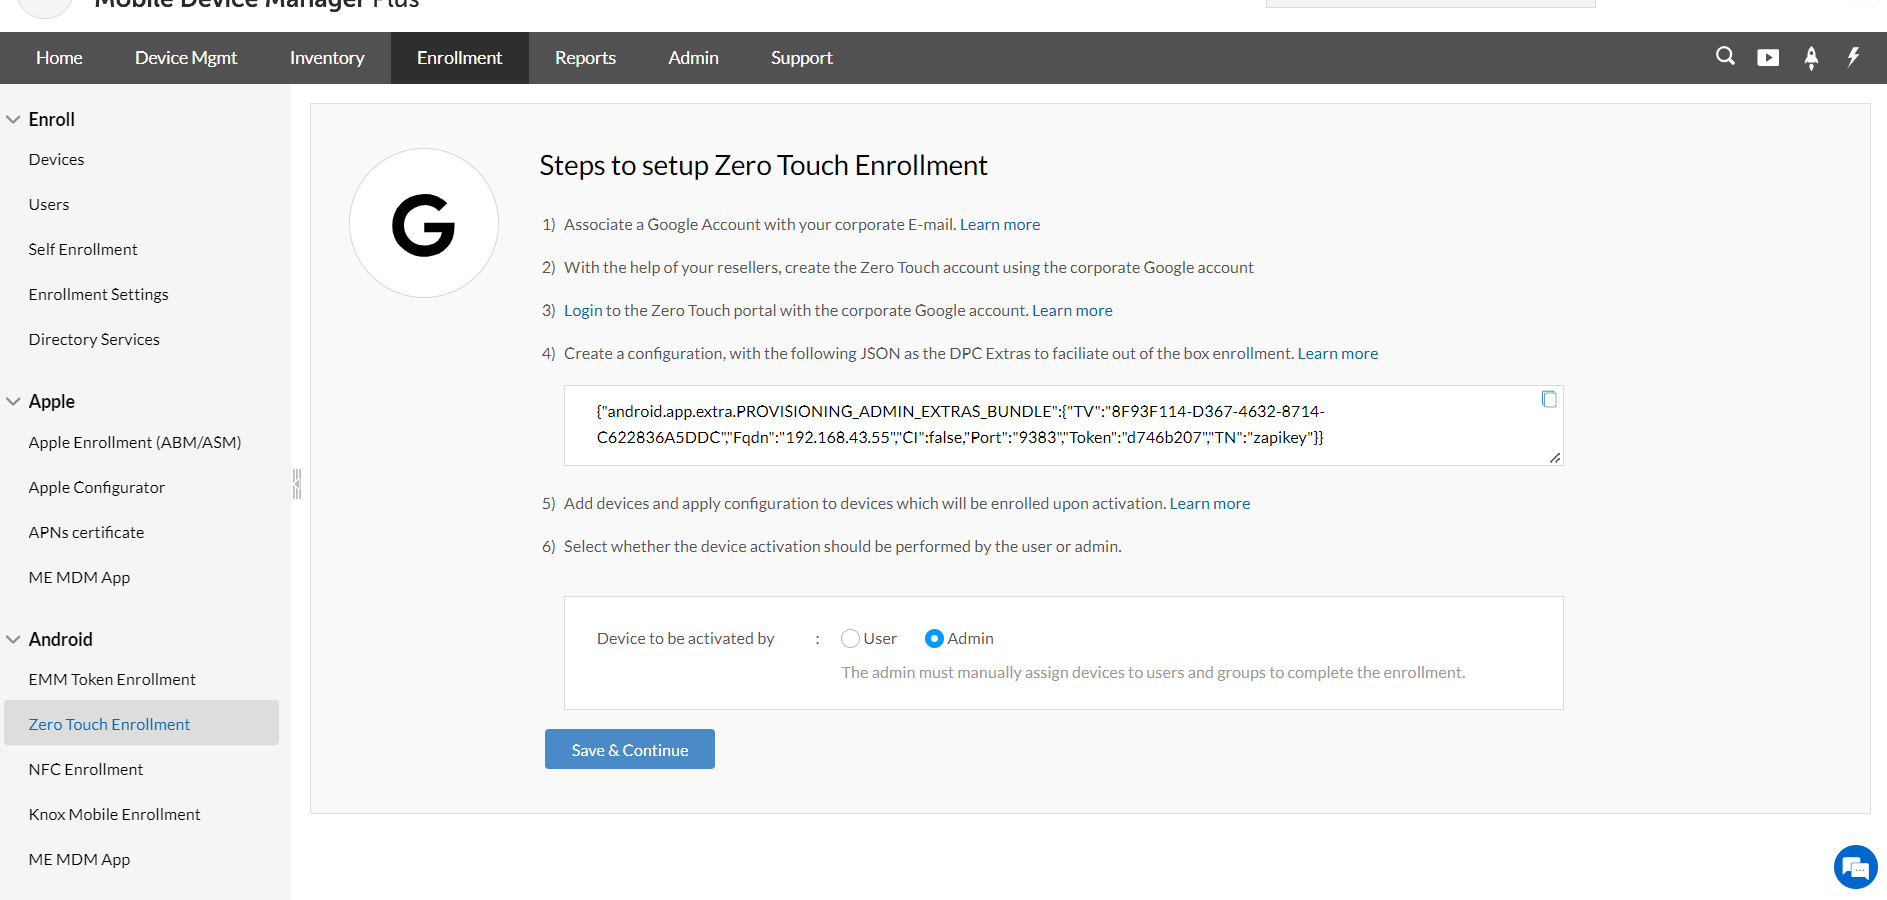
- Log in to the Zero-touch portal with the Google account associated with your corporate e-mail, if needed.
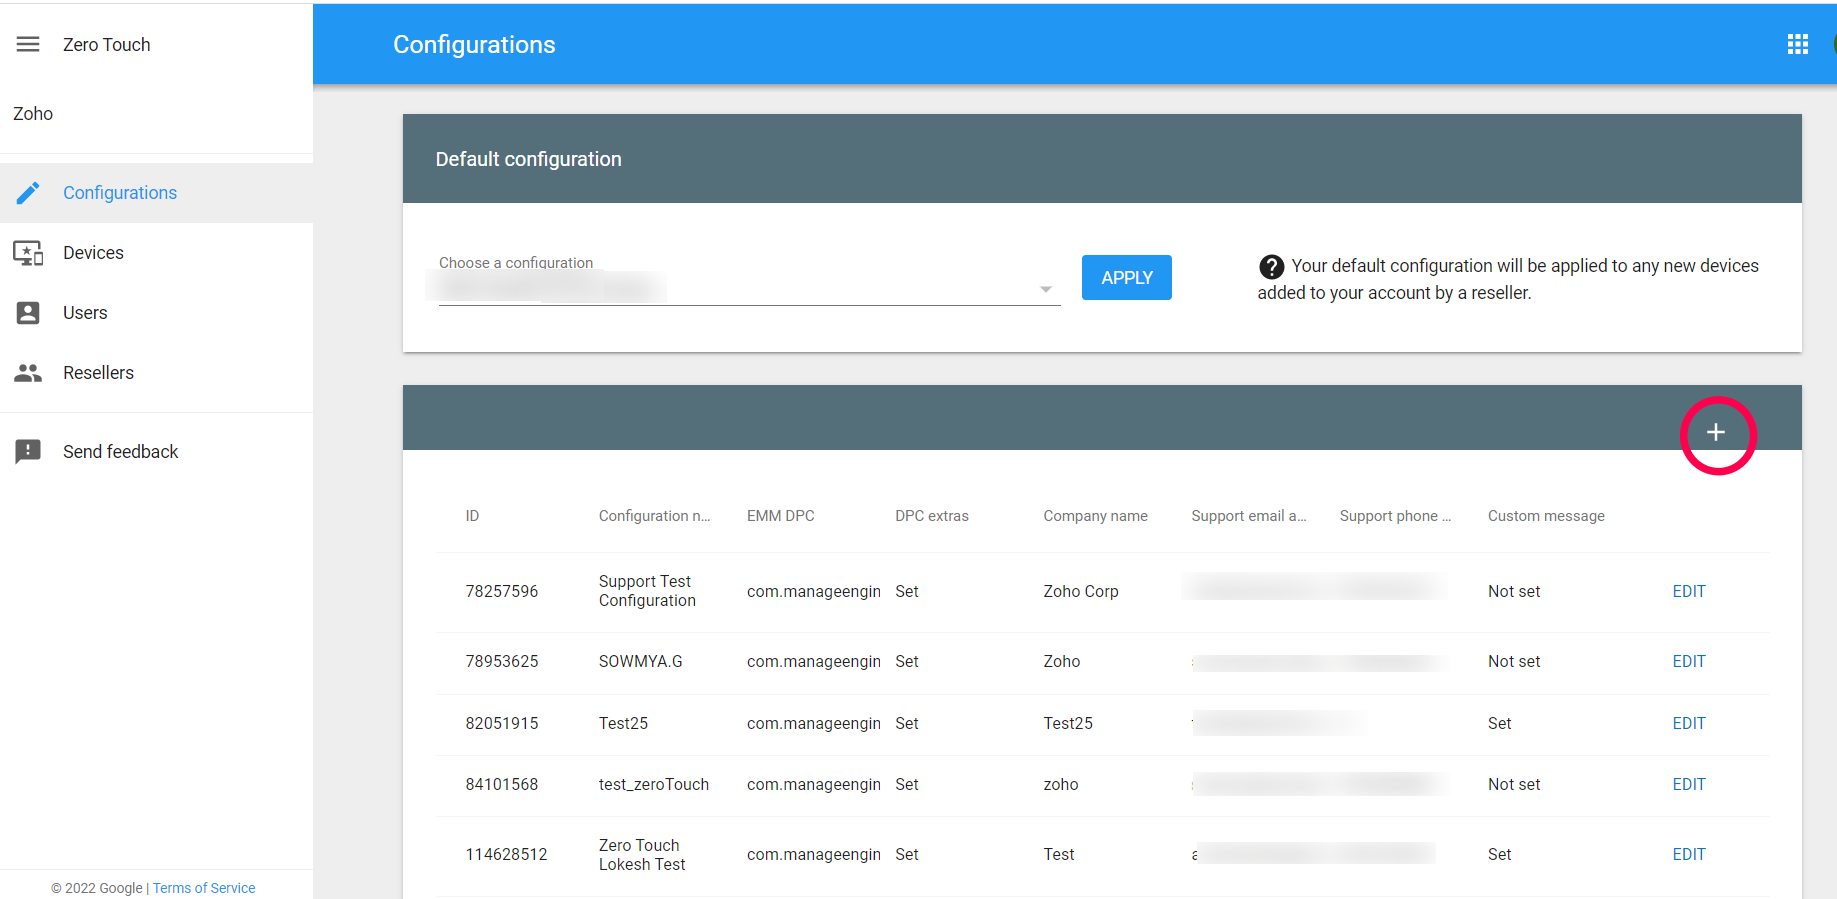
- Click on Configurations in the navigation panel and click on the + button to add a new configuration.
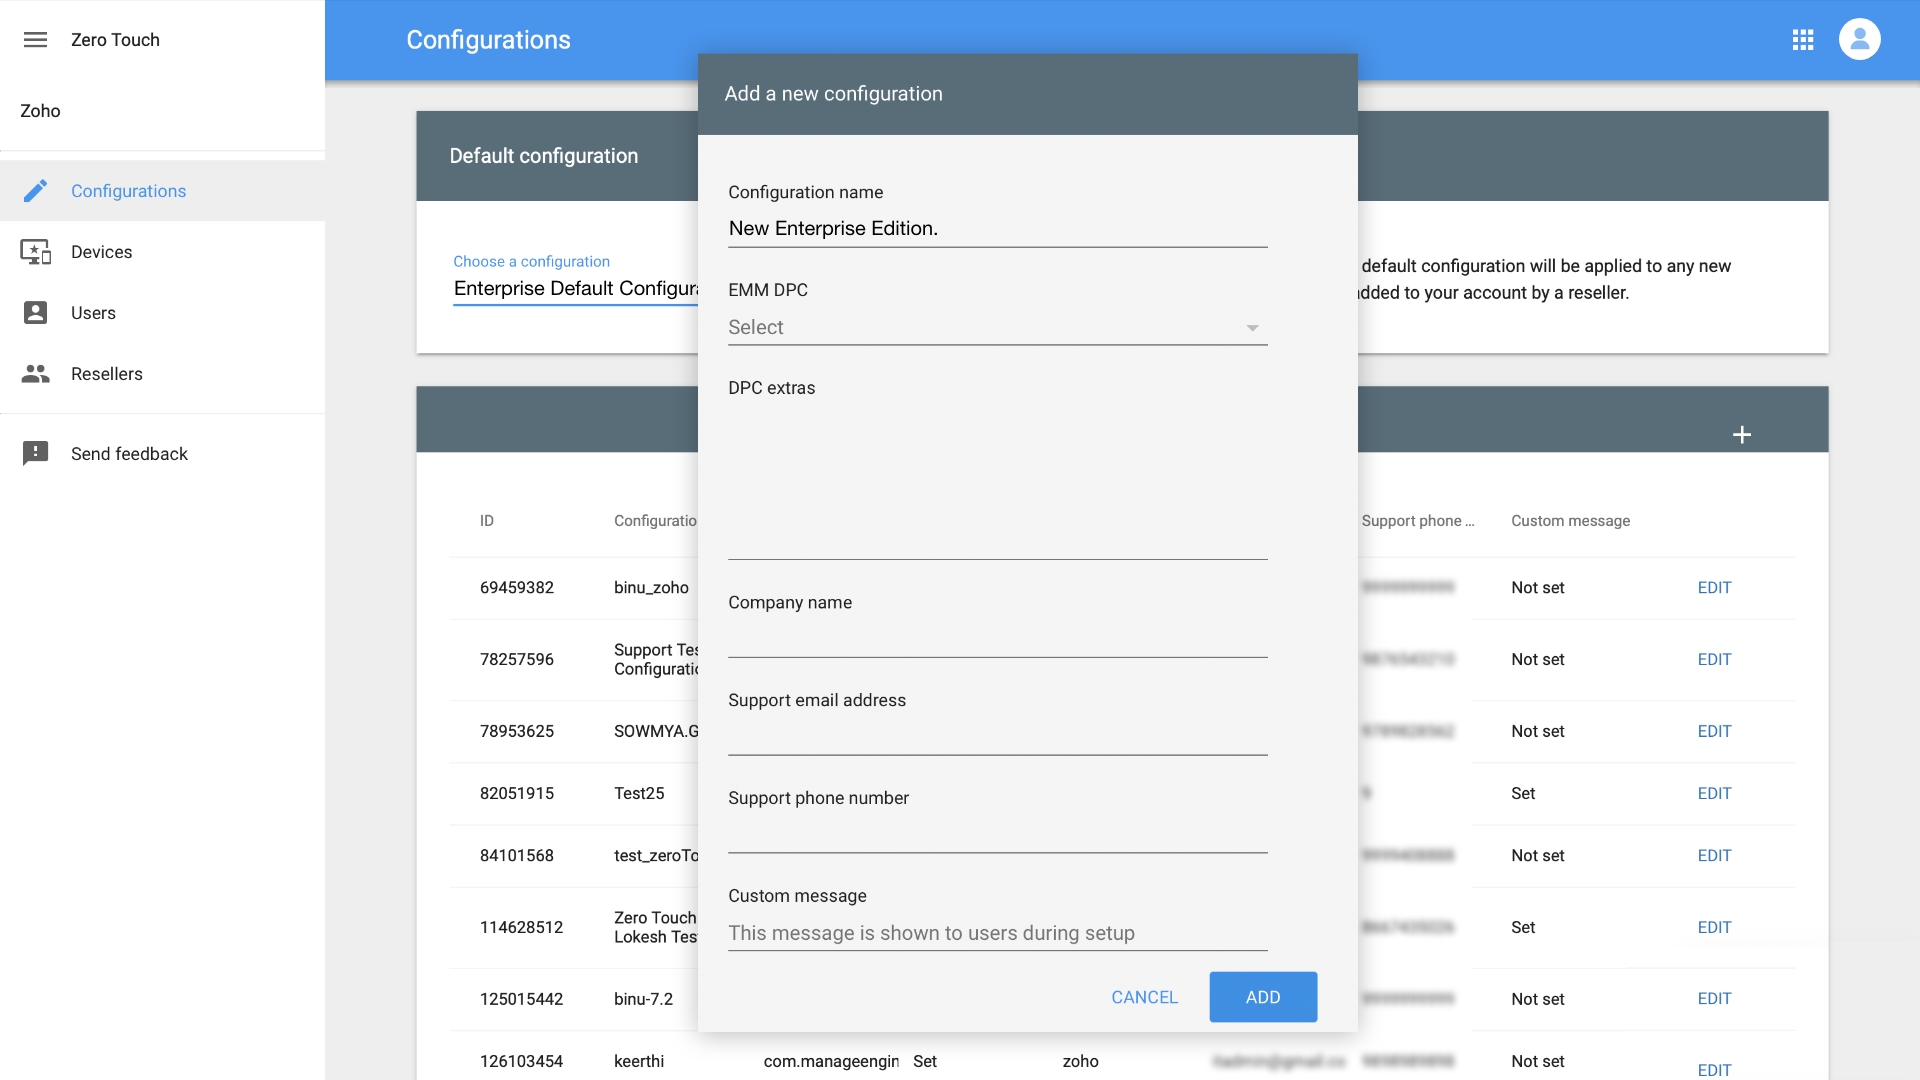
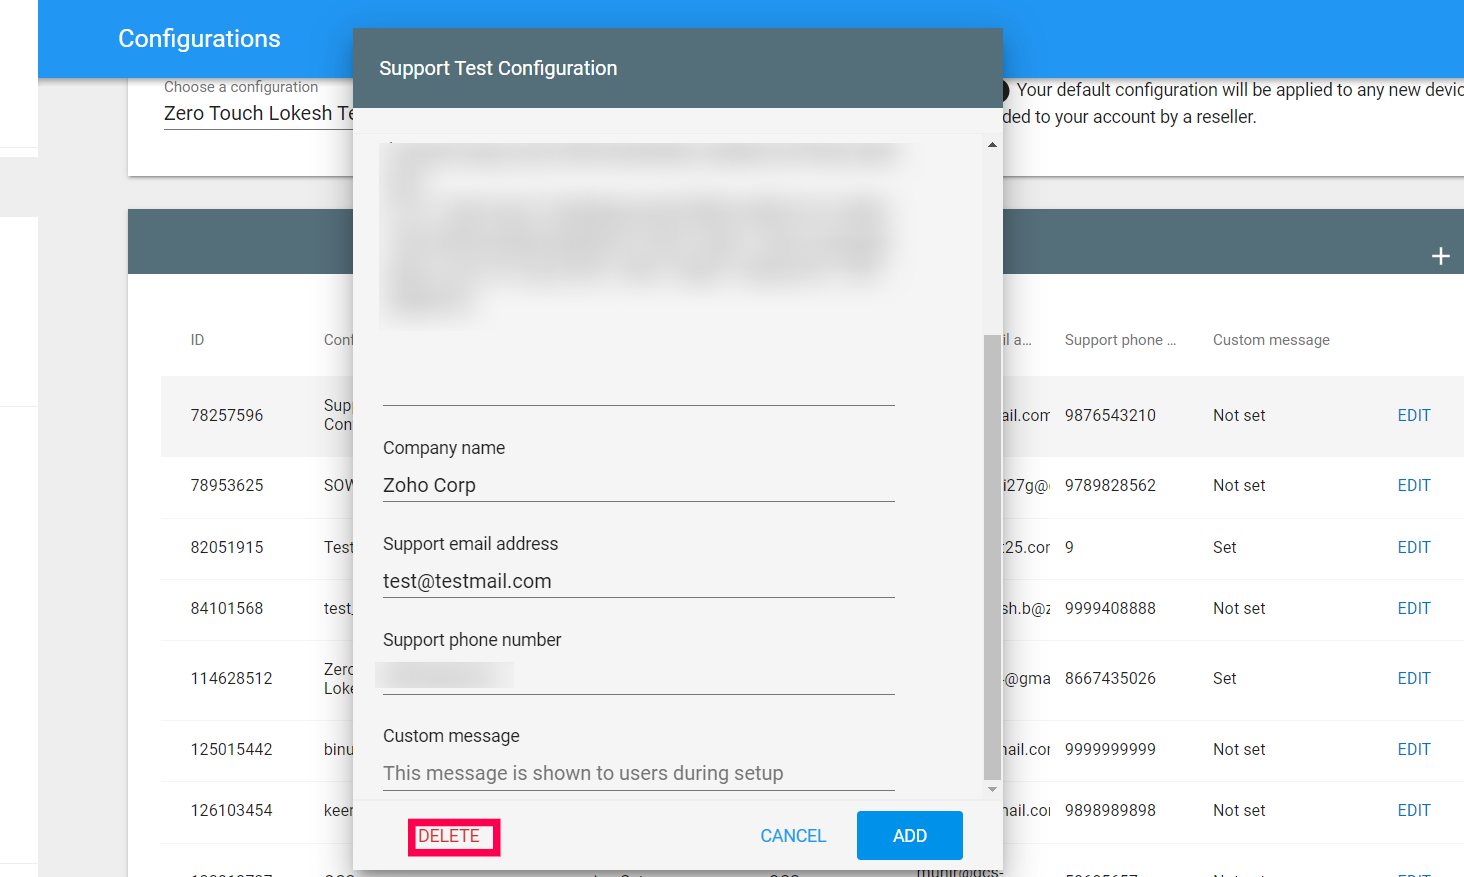
- To create a new configuration, you need to specify the data for the requisite parameters. To know more about the parameters, refer the table below:
| Parameter | Description |
|---|---|
| Name | Provide the name used to refer the created MDM configuration. |
| EMM DPC | Select ManageEngine MDM app, from the given list of EMM apps. |
| DPC Extras | Copy the DPC extras from step 4 in the MDM console. |
| Company Name | Provide the name of your organization. This will be displayed on the device screen, during the enrollment. |
| Contact E-mail | Provide your e-mail address or the e-mail address of the IT admin, in your organization. This will be displayed on the device screen, during the enrollment and can be utilized by the devices users to contact the IT admin, in case of any issues with the enrollment. |
| Contact Phone | Provide the contact number of the internal IT team, in your organization. This will be displayed on the device screen, during the enrollment and can be utilized by the devices users to contact the internal IT team, in case of any issues with the enrollment. |
| Custom Message | Provide an optional message specifying details regarding the enrollment, to the users. This will also be displayed on the device screen |
Associate JSON Configuration to Devices (Legacy Setup)
The last step in the portal is to associate the created JSON configuration to the devices. To do that, follow the steps given below:
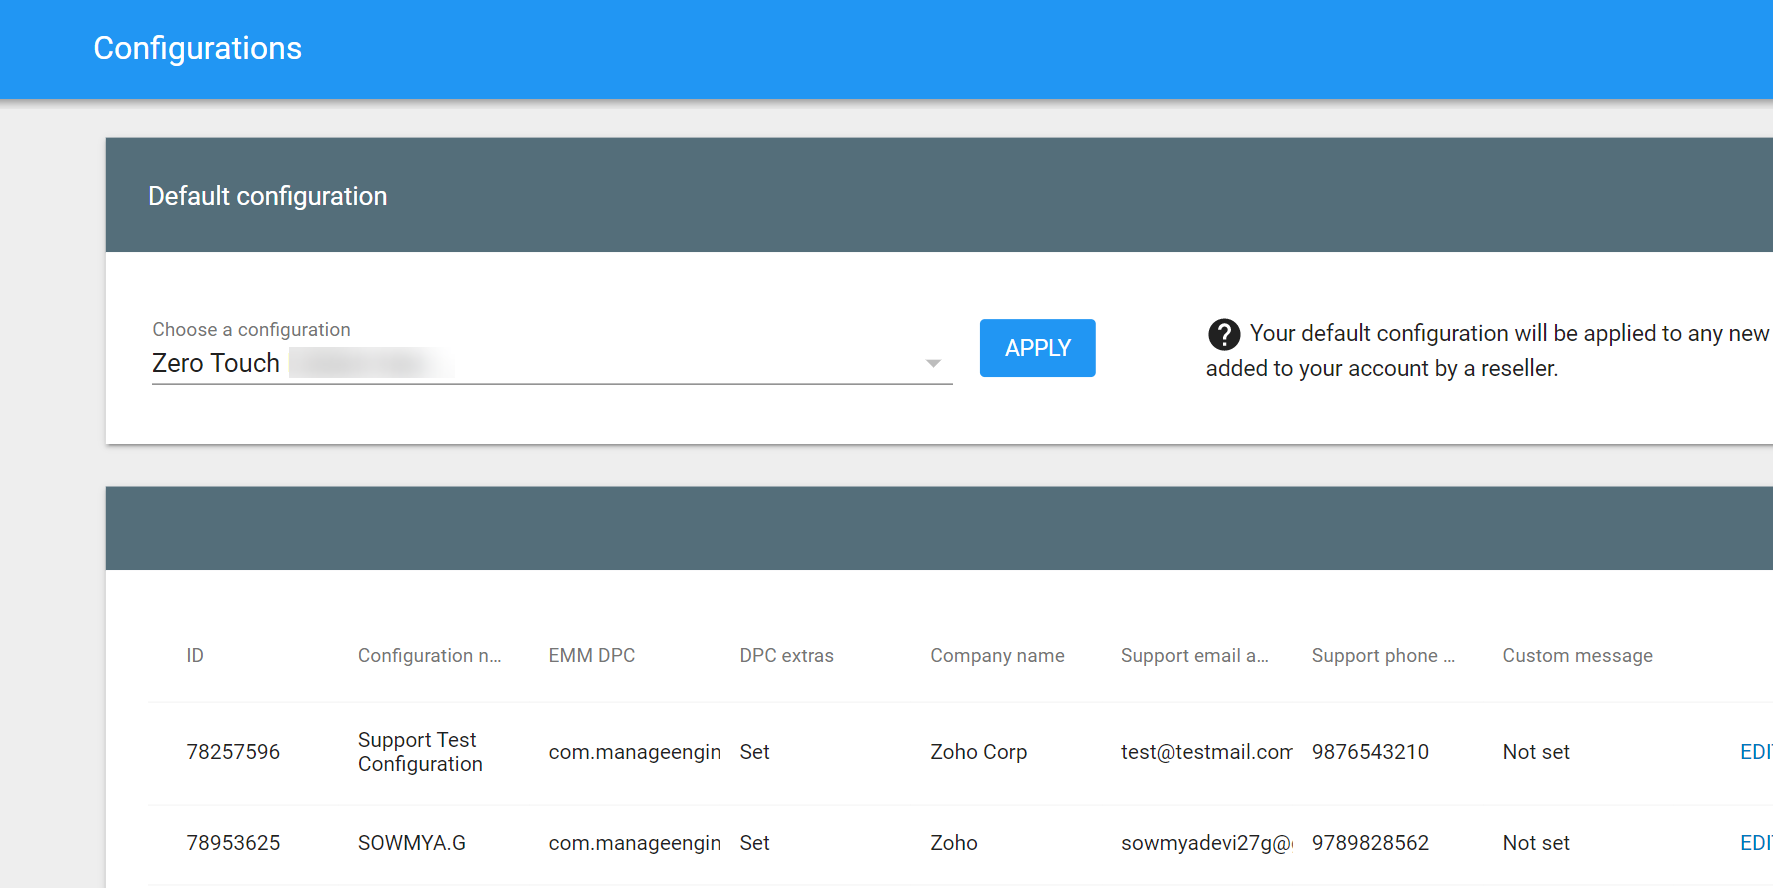
- Log in to your Zero-touch portal with the Google account associated with your corporate e-mail.
- You can set the configuration you have created as the default.
- Click on Configurations in the left pane and, under Default Configuration, select the configuration to be automatically applied to the added devices.
Assigning Zero-touch Configurations to Devices Individually
If you want to maintain different configurations for devices, you need not set a default configuration. Instead you can manually assign configuration to devices. You can do that by assigning configuration to devices in the Zero-touch console or you can do so by assigning a CSV.
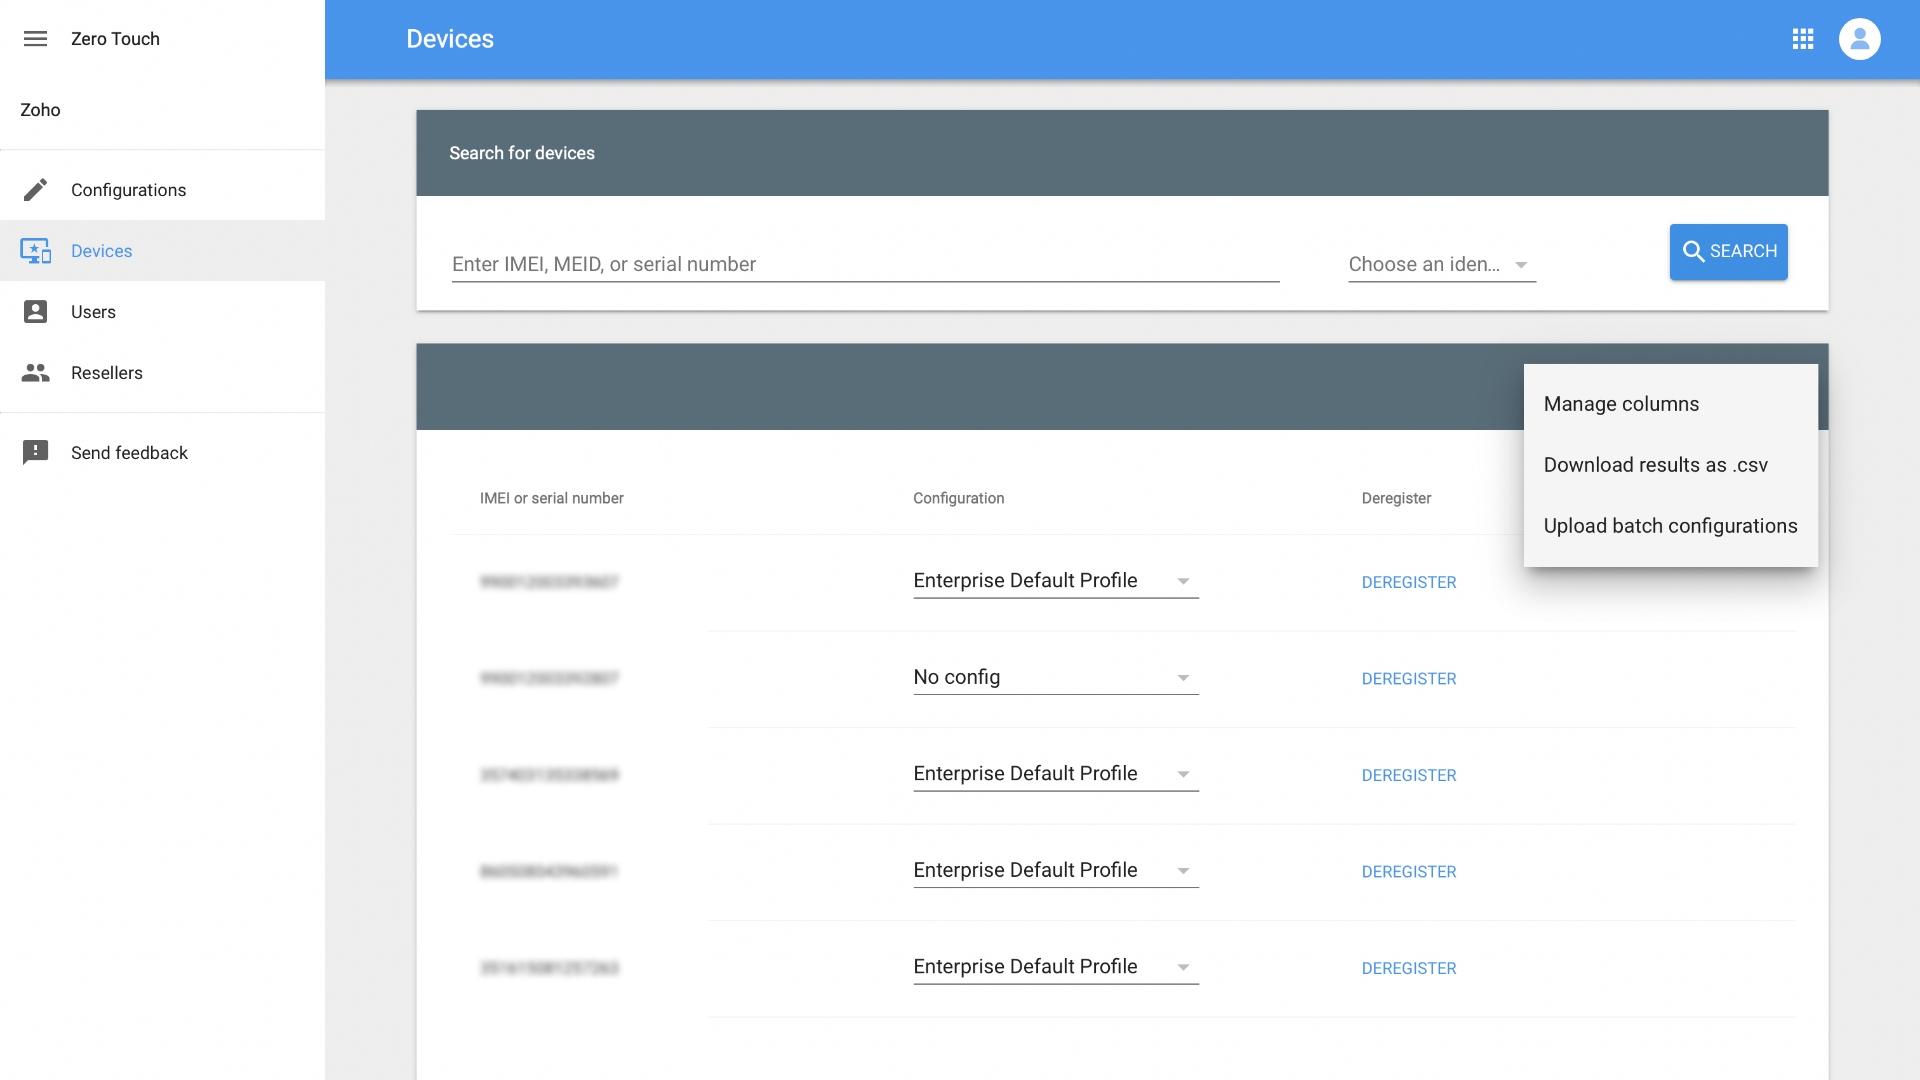
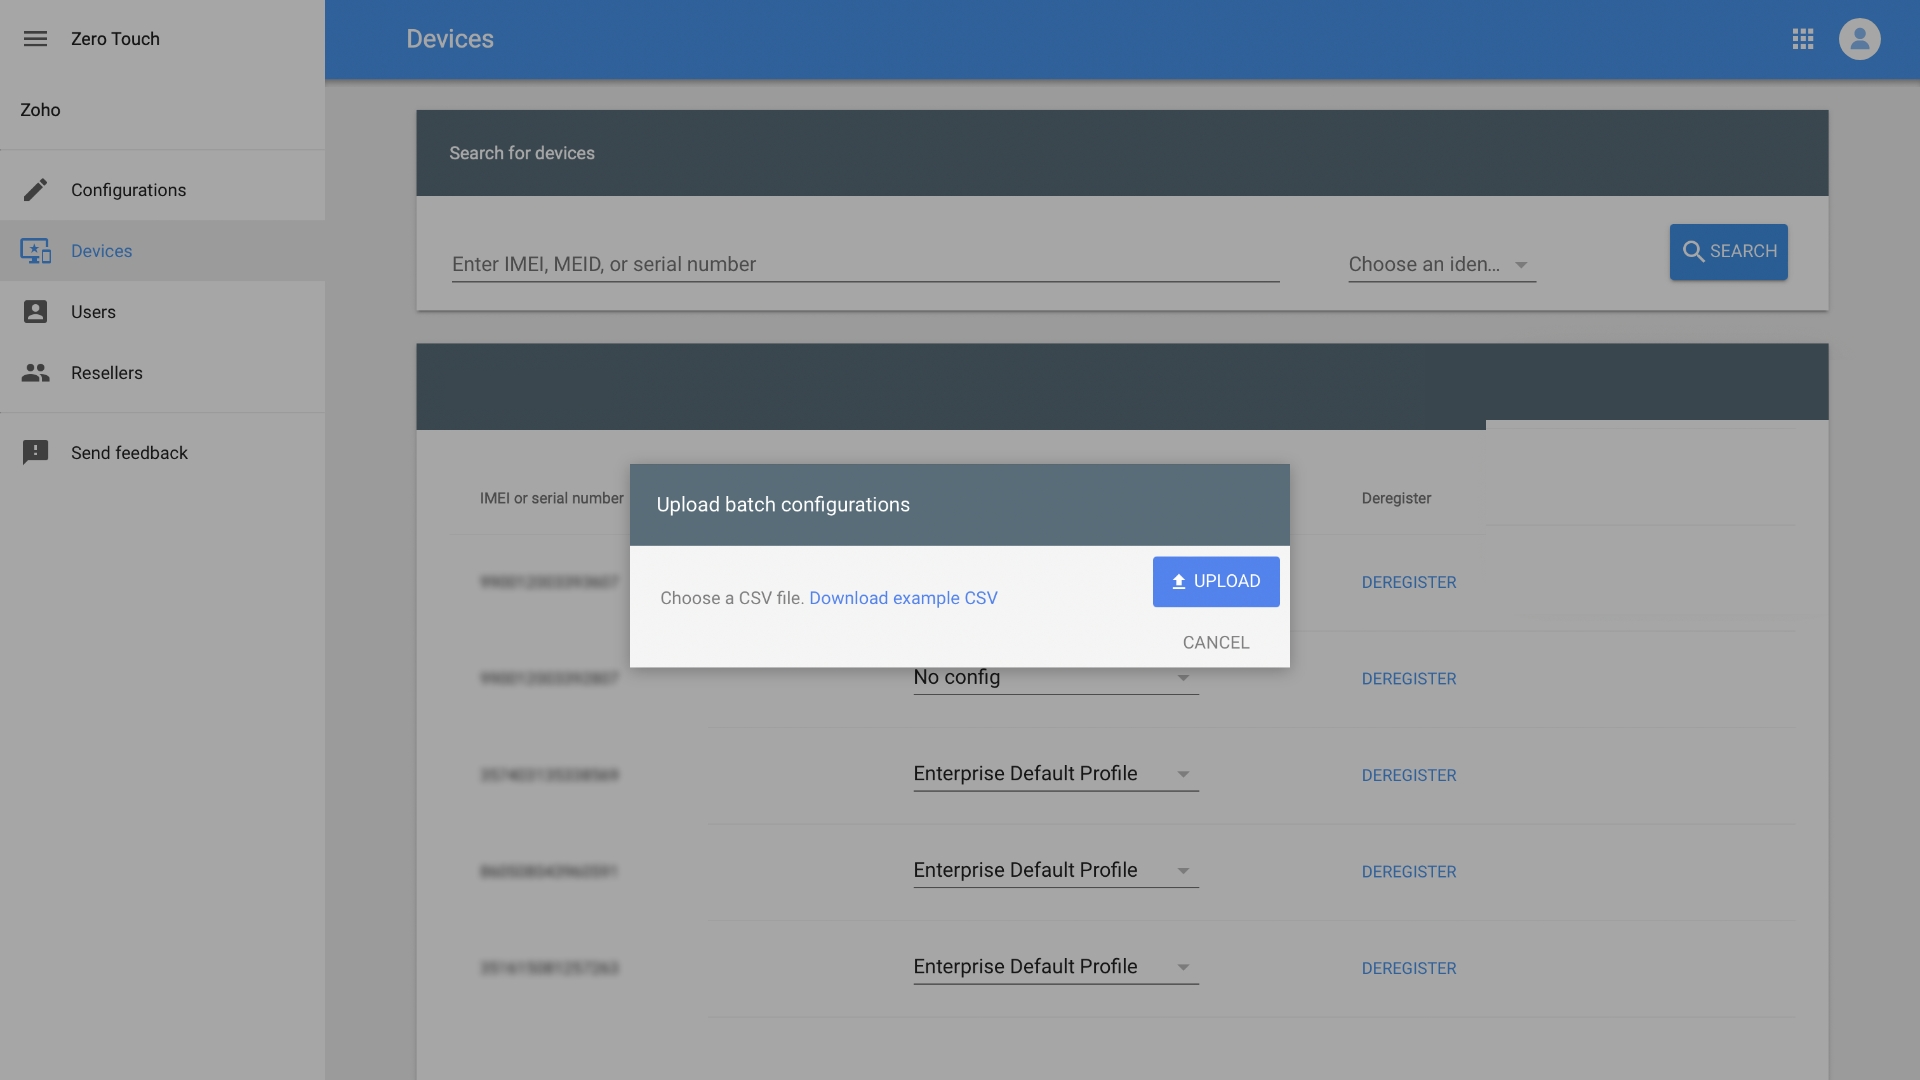
- To associate the MDM configuration to multiple devices, click on Devices in the left navigation panel, click the ellipsis (three dots) icon on the right, and select Upload batch configuration.
- Create a CSV based on the specifications in the Device configuration CSV file format section and add it by clicking Upload. All the devices listed in the CSV are assigned the specified MDM configuration.
Device configuration CSV file format
You can apply individual MDM configurations in a CSV. To know more about the fields in CSV follow the table below:
| Column Header | Description | Example |
|---|---|---|
| modemtype | The parameter to be used for identification. The parameter is always IMEI and it should always be in uppercase. | IMEI |
| modemid | The value corresponding to the specified modemtype parameter, which is always the IMEI number. | 150520043826120 |
| manufacturer | The name of the device maker/manufacturer(Original Equipment Manufacturer: OEM). | |
| profiletype | The objective of assigning the profile to the device, which in this case is always zero touch enrollment. The parameter is always ZERO_TOUCH and it should always be in uppercase | ZERO_TOUCH |
| profileid | The ID corresponding to the MDM configuration, to be assigned to the devices. To view the configuration ID, select Configurations from the left pane in the zero touch portal. The number sequence present under ID is the configuration ID for the particular configuration. | 036180 |
Link Zero-touch with Android for Work (Updated Setup)
If you have already set up a Zero-touch portal using JSON steps, you can link it with Android for Work in later versions of Mobile Device Manager Plus. Configure Android for Work and link it as mentioned above. If Android for Work is configured, you can link it with Zero-touch. Go to Enrollment -> Zero-touch enrollment -> Settings -> Launch Zero-touch portal.

Enrolling devices
Device Activation
Device activation can be performed either by user or admin based on user assignment.
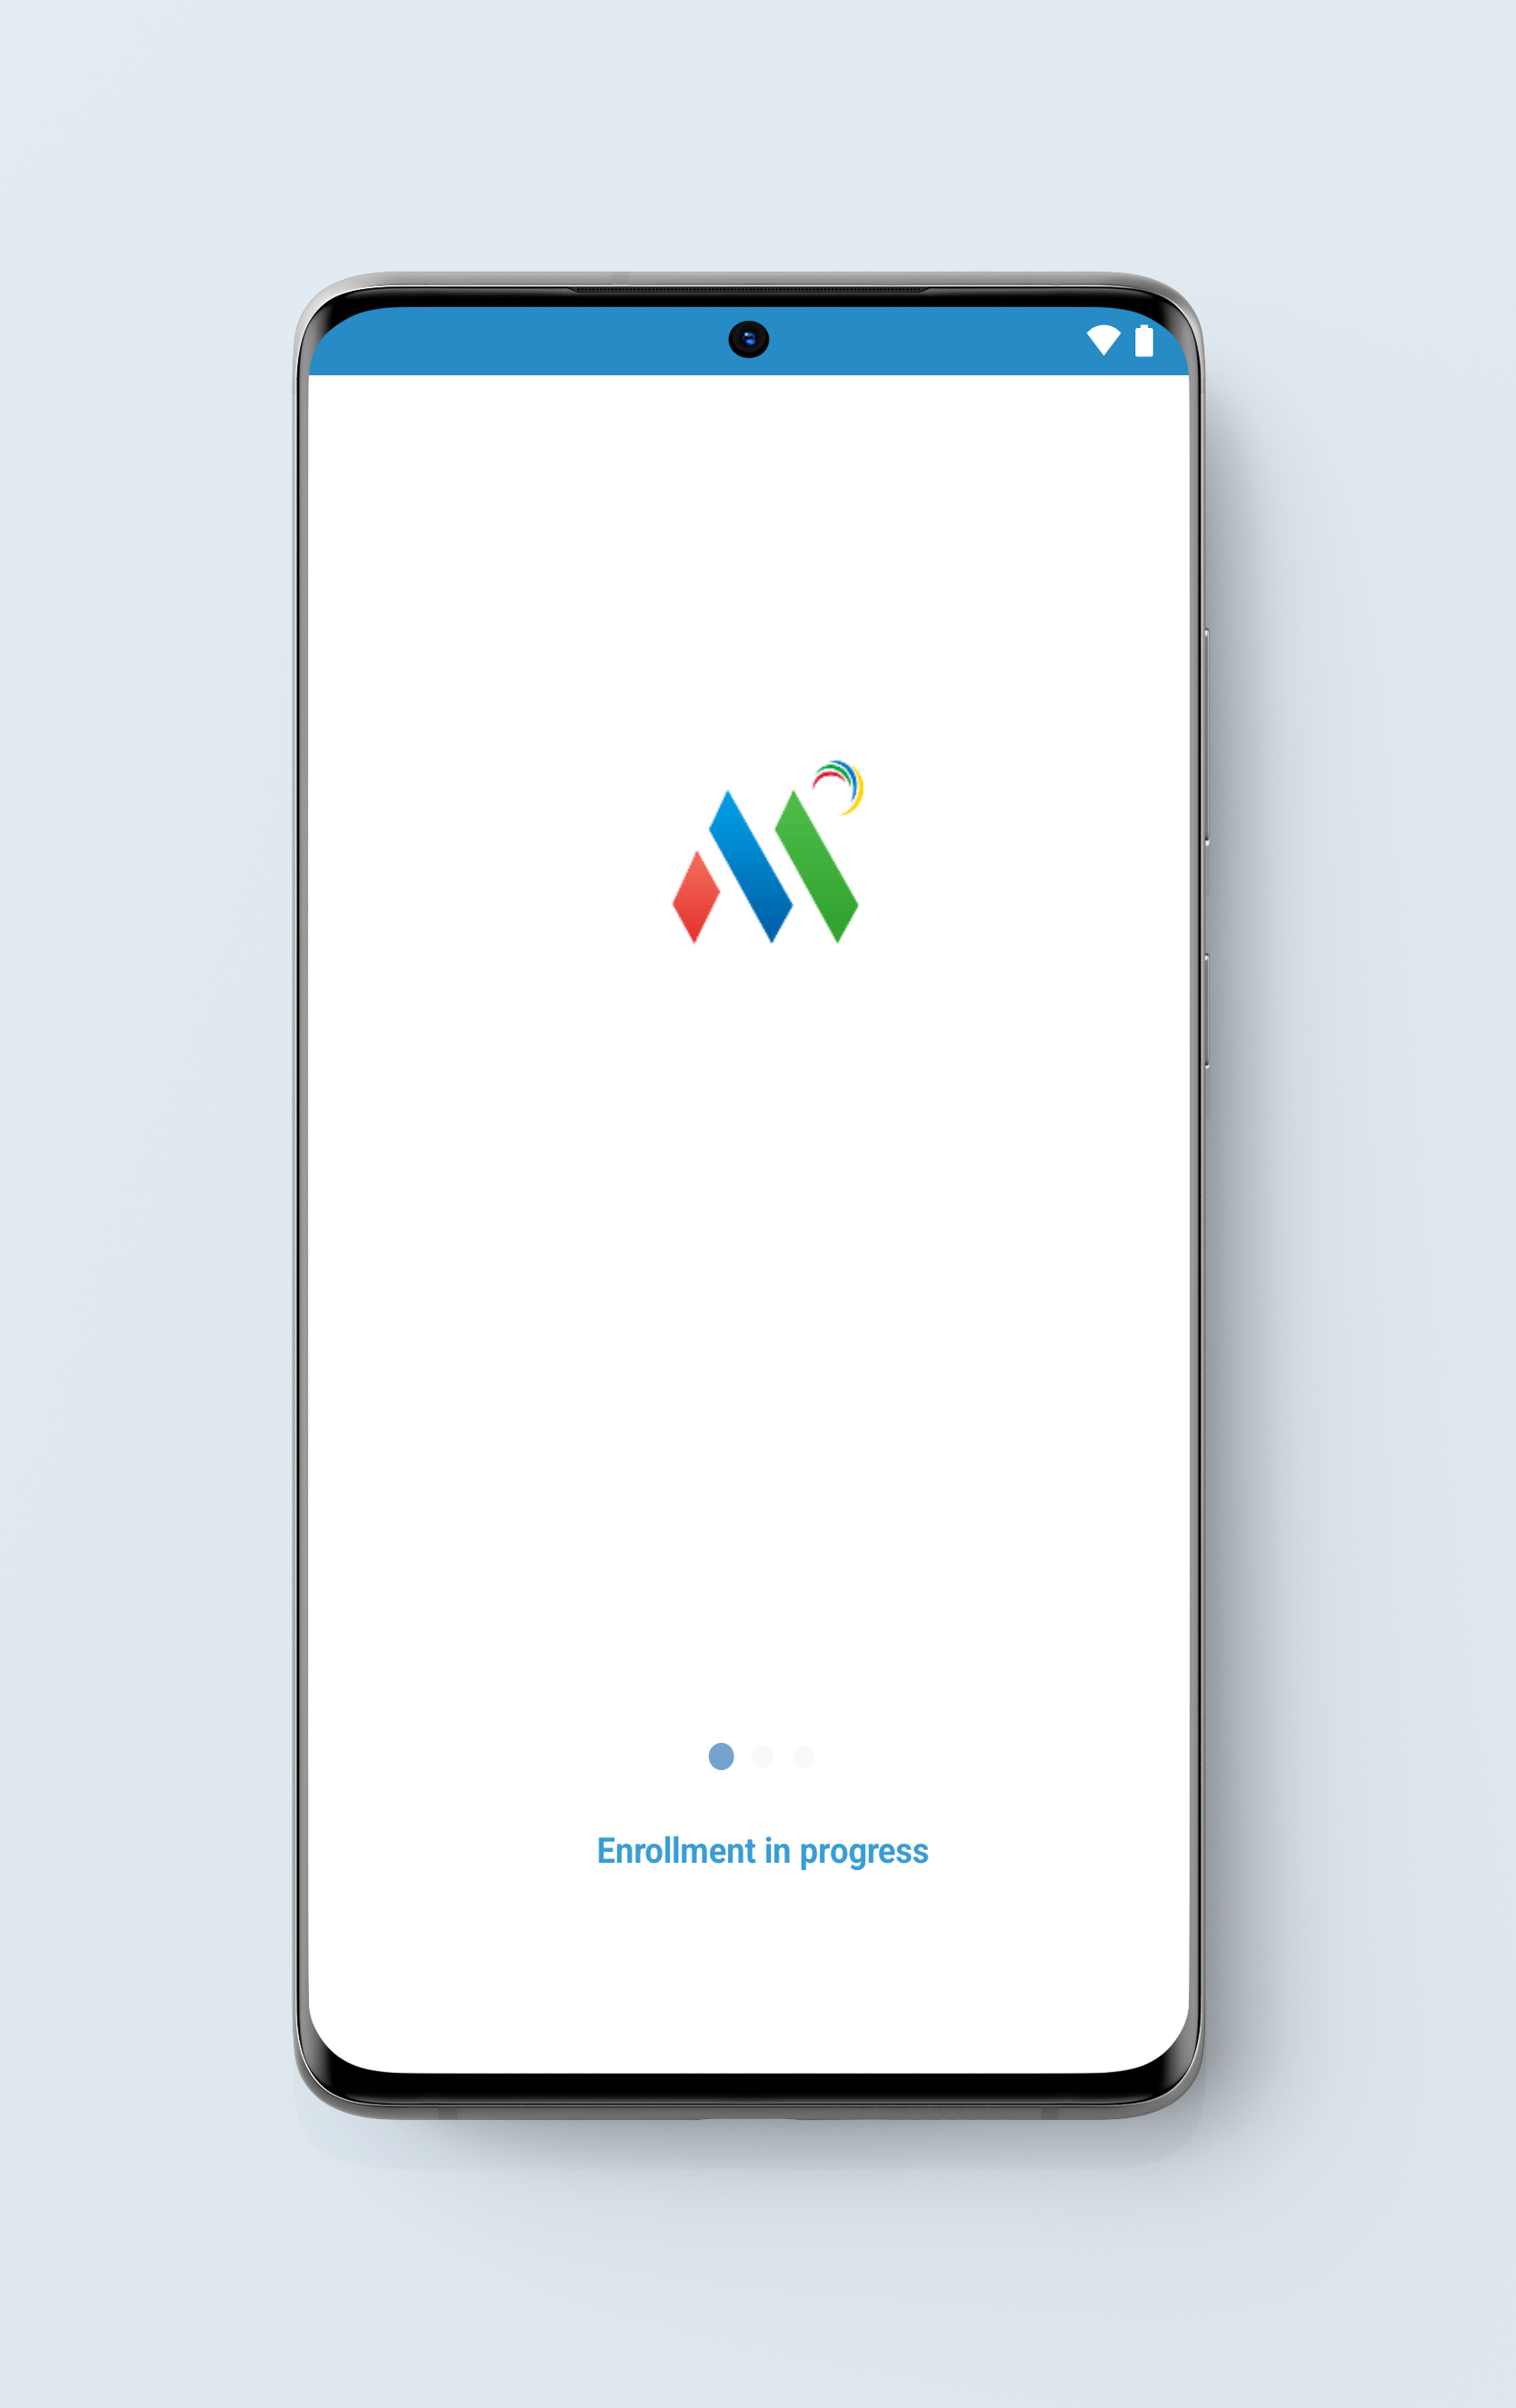
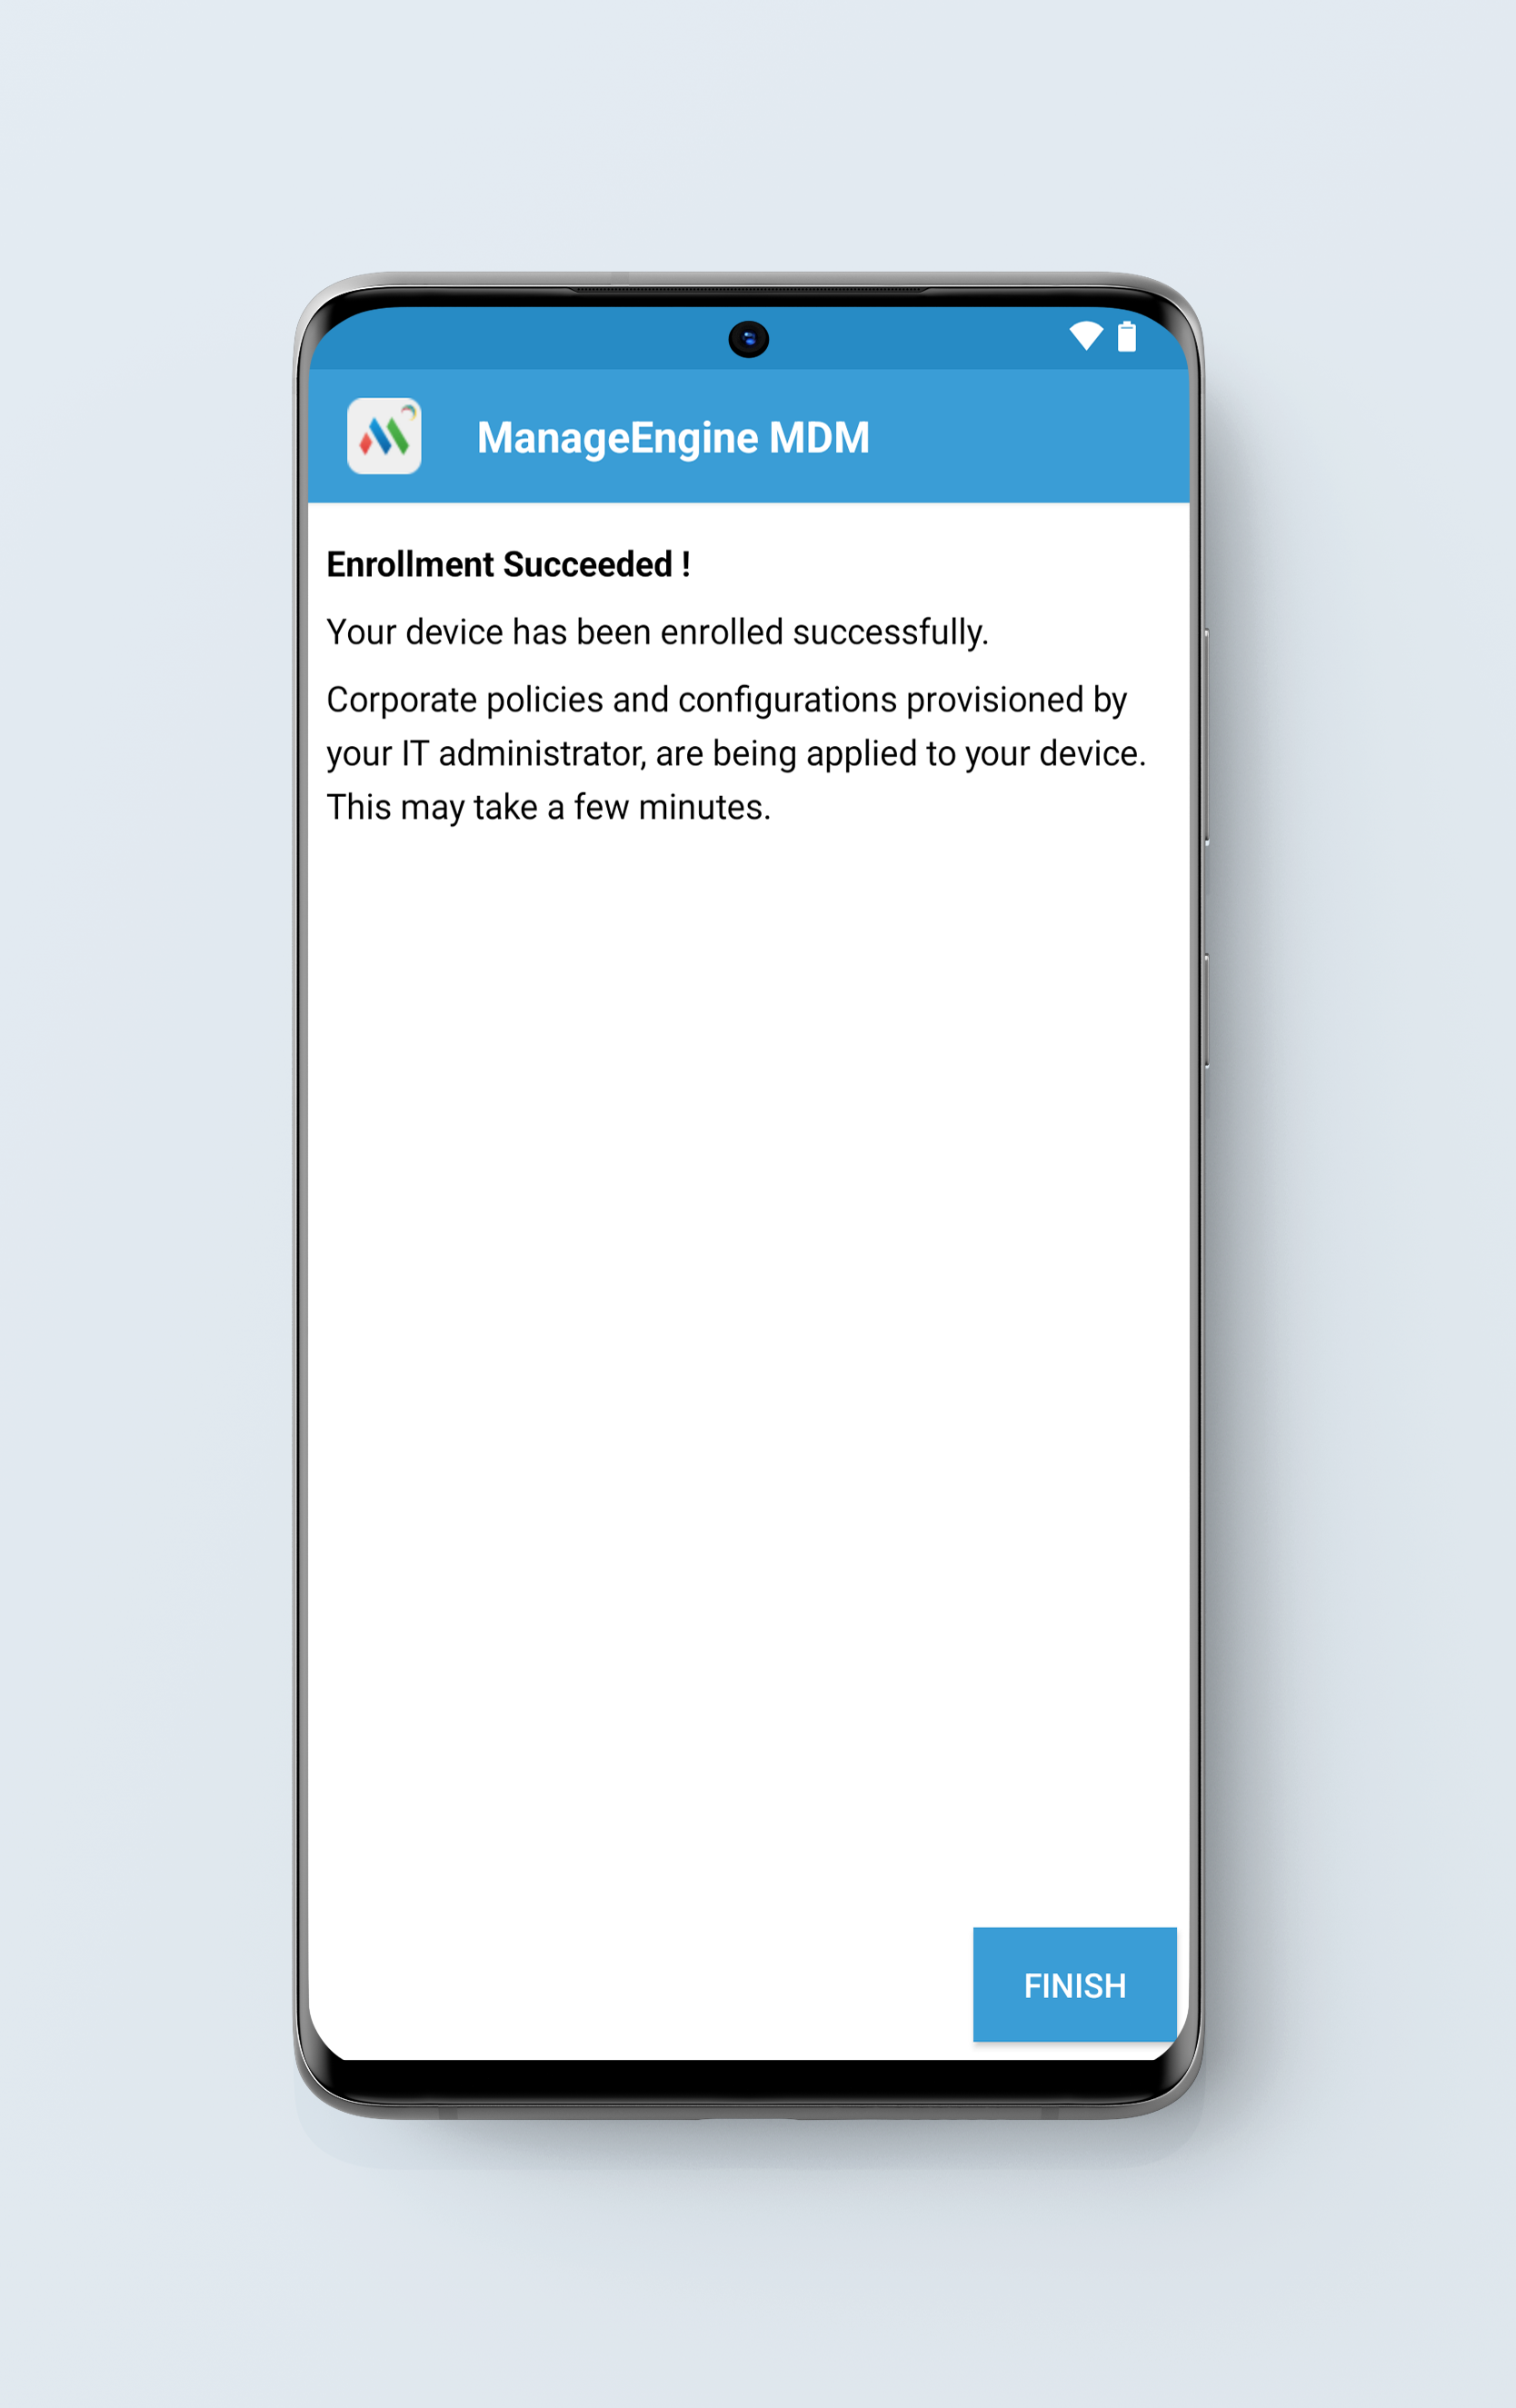
When Zero-touch devices are activated for the first time, they will be automatically enrolled into MDM. The MDM app will be installed during activation. Here is how the process looks on the device:
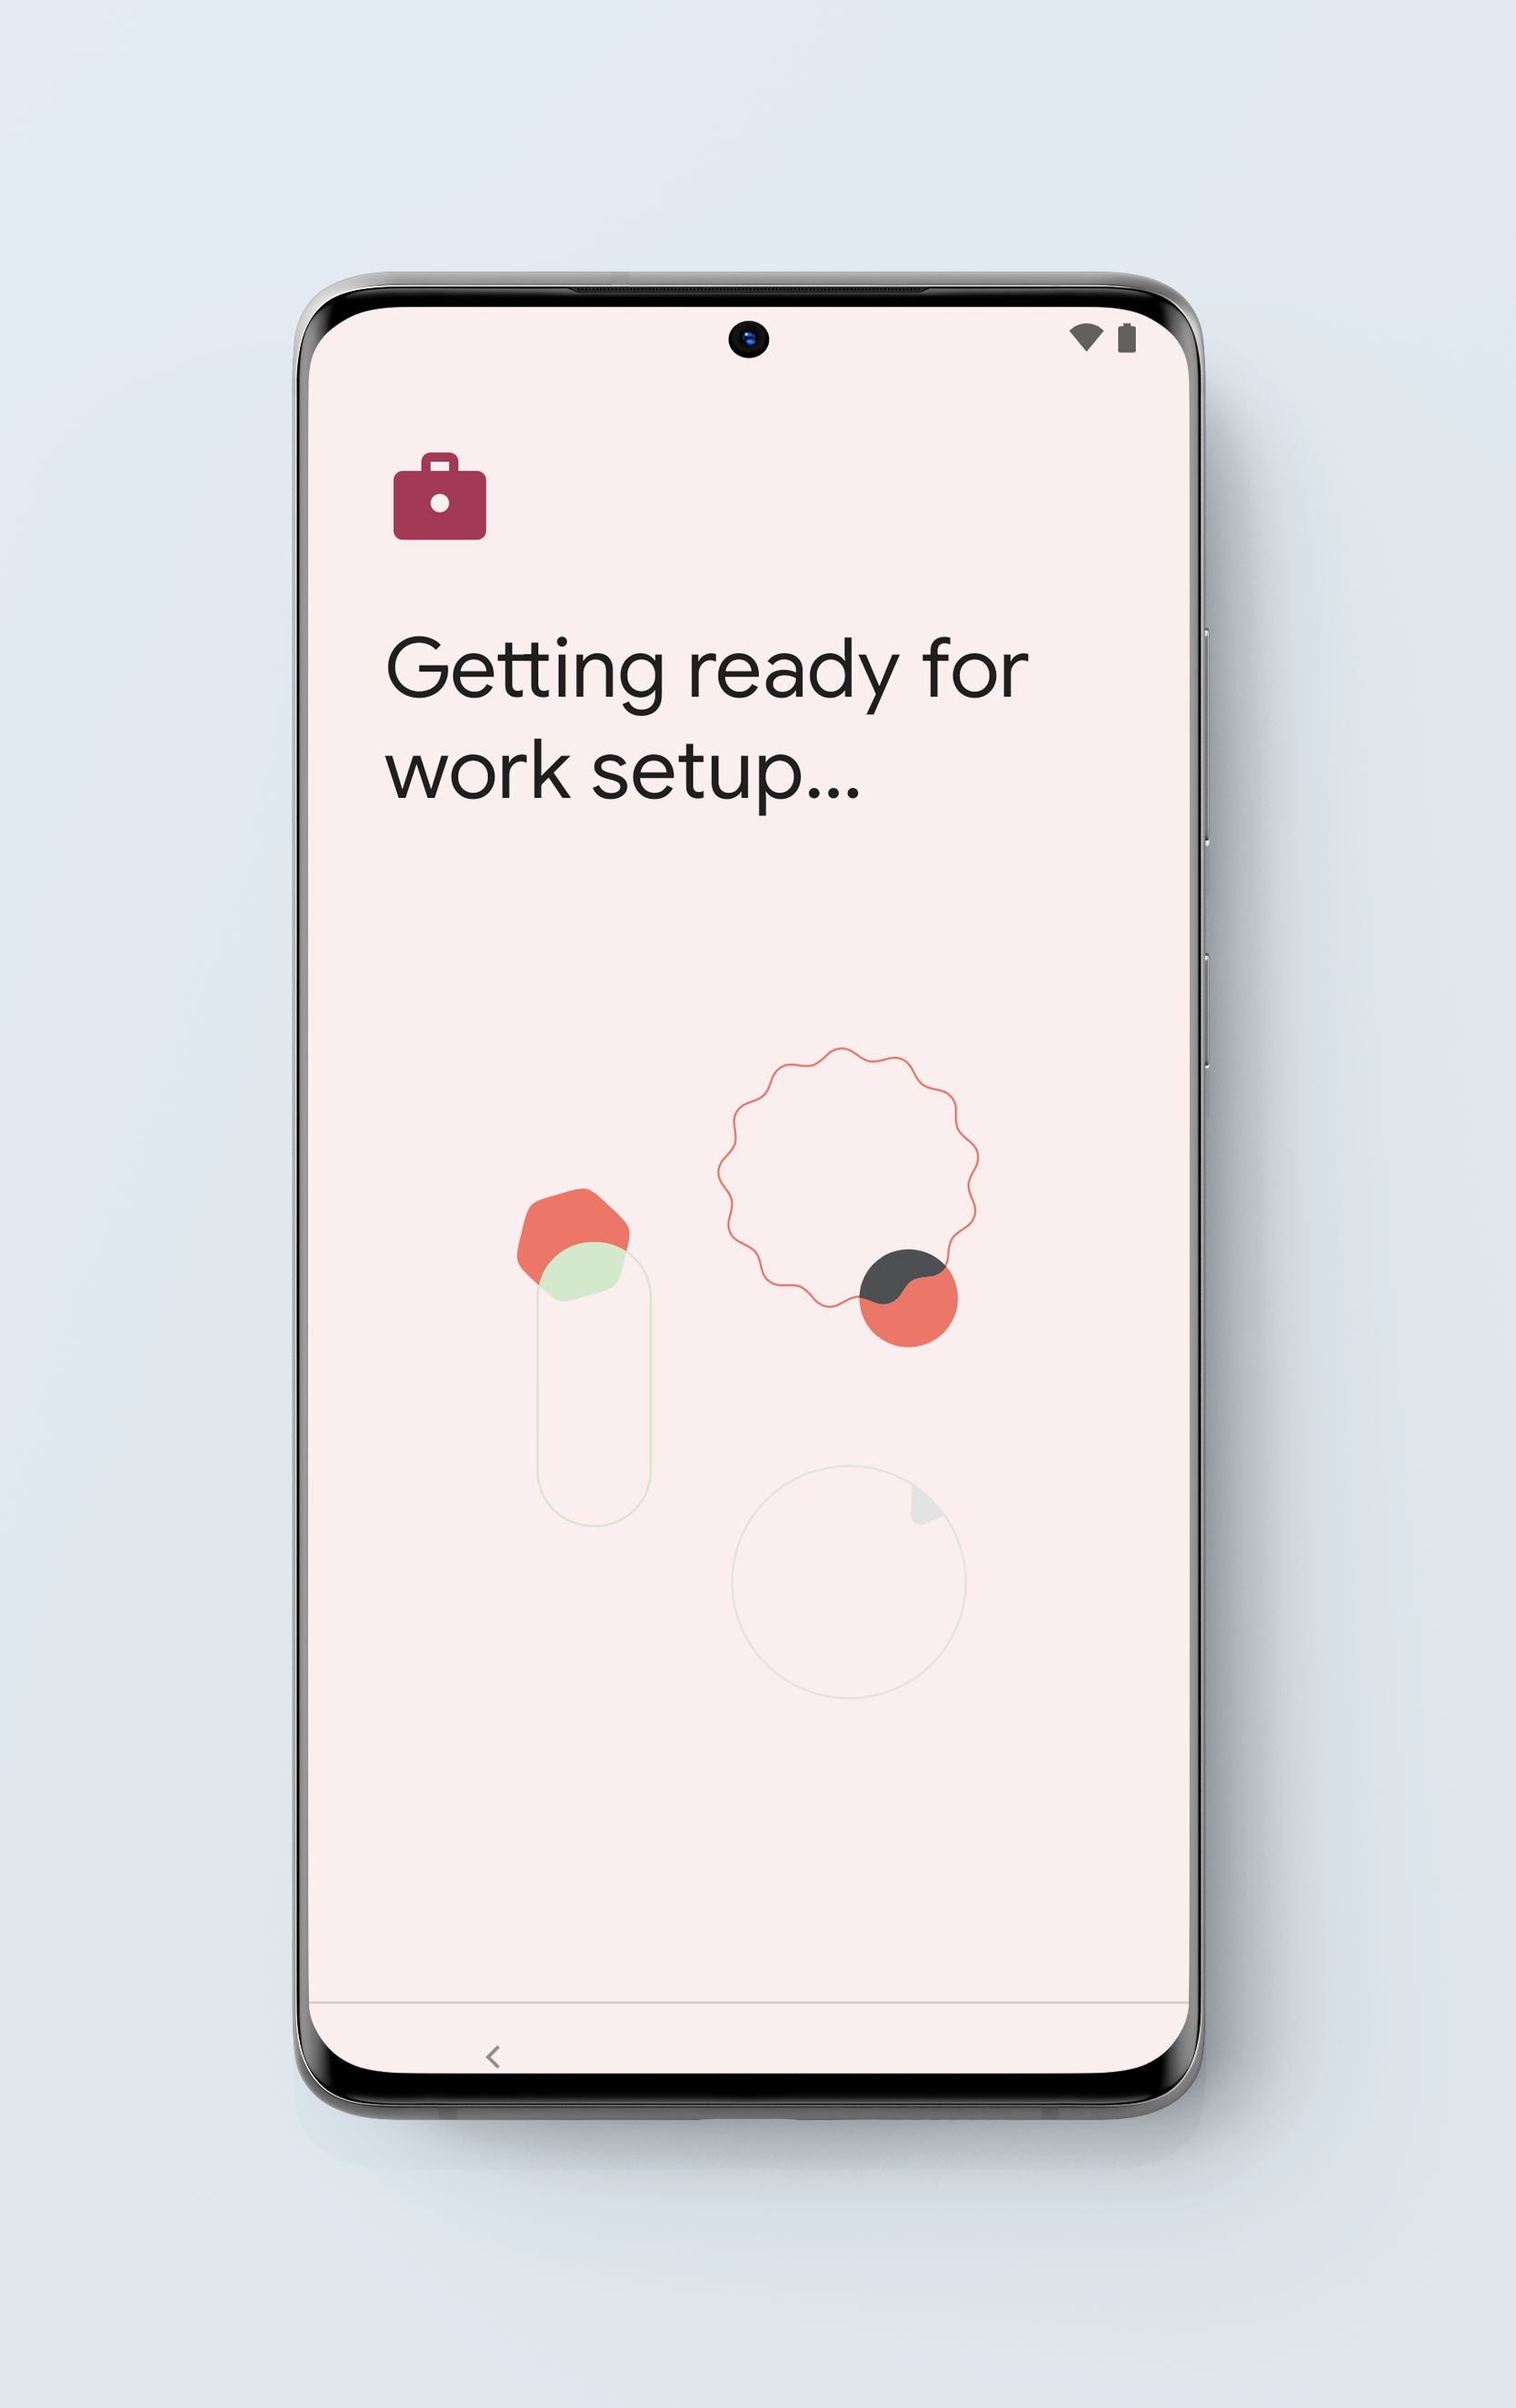
- On activation, the welcome screen appears.
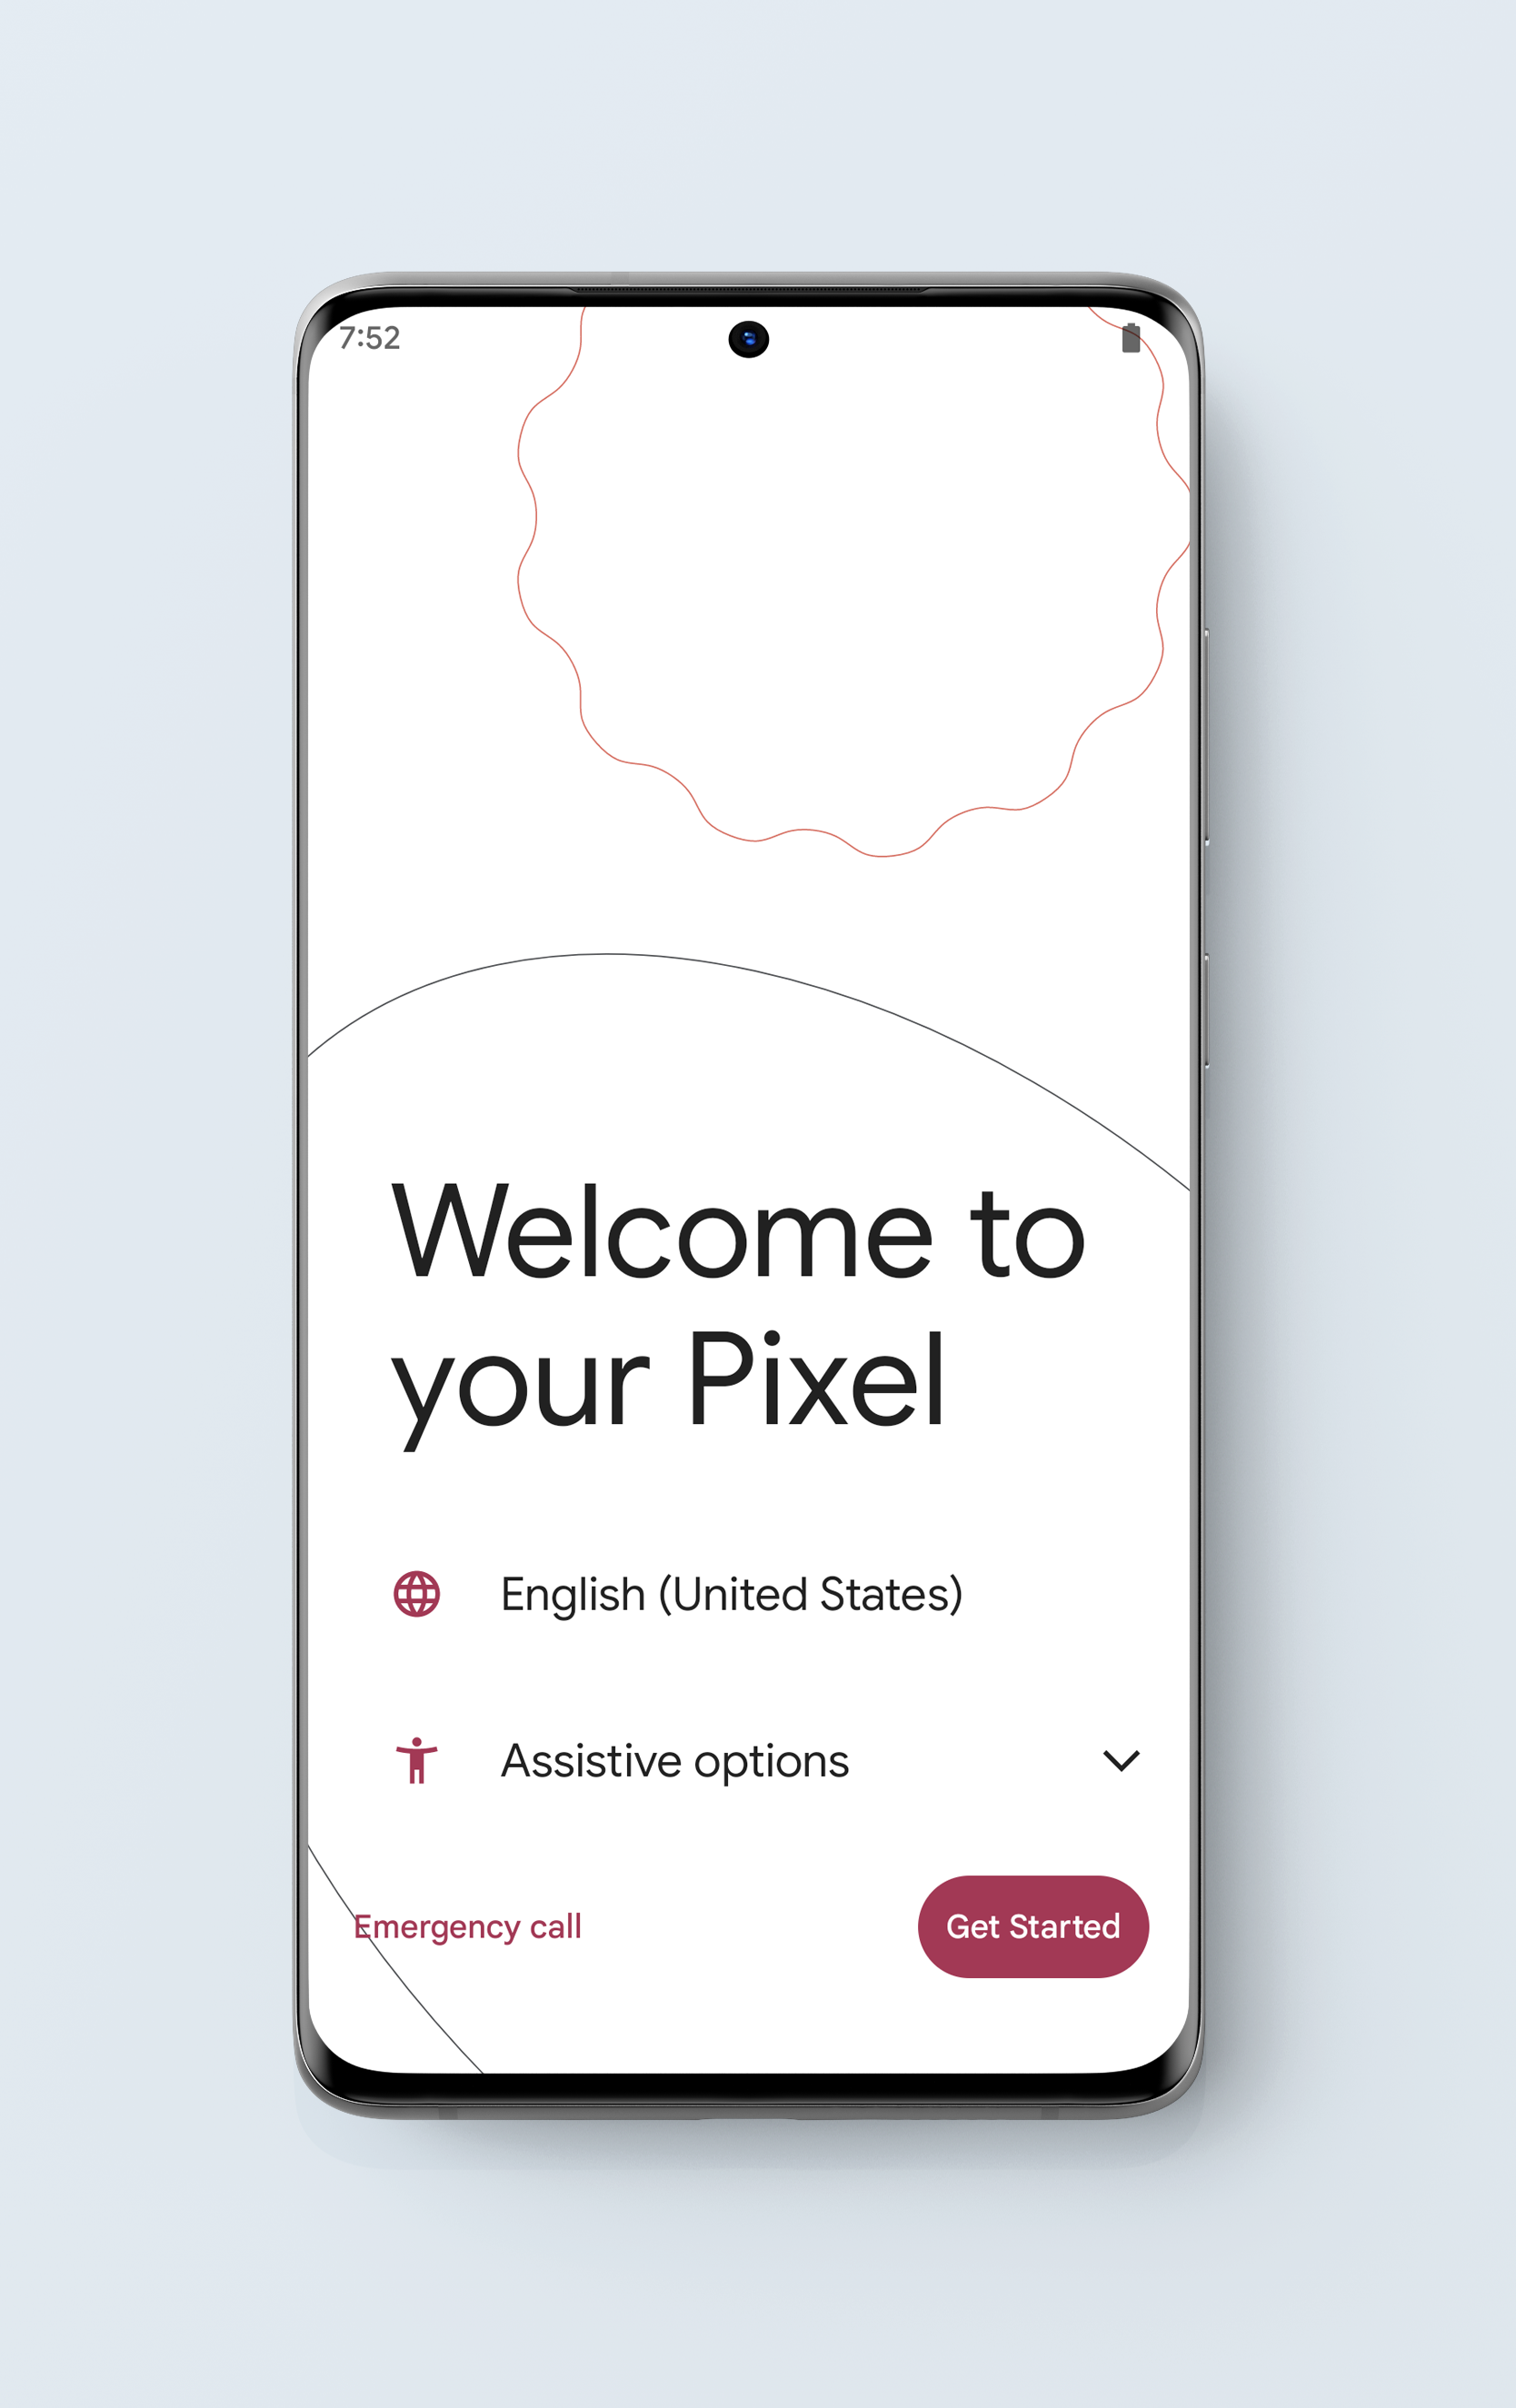
- Connect to a Wi-Fi network to continue setting up Zero-touch.
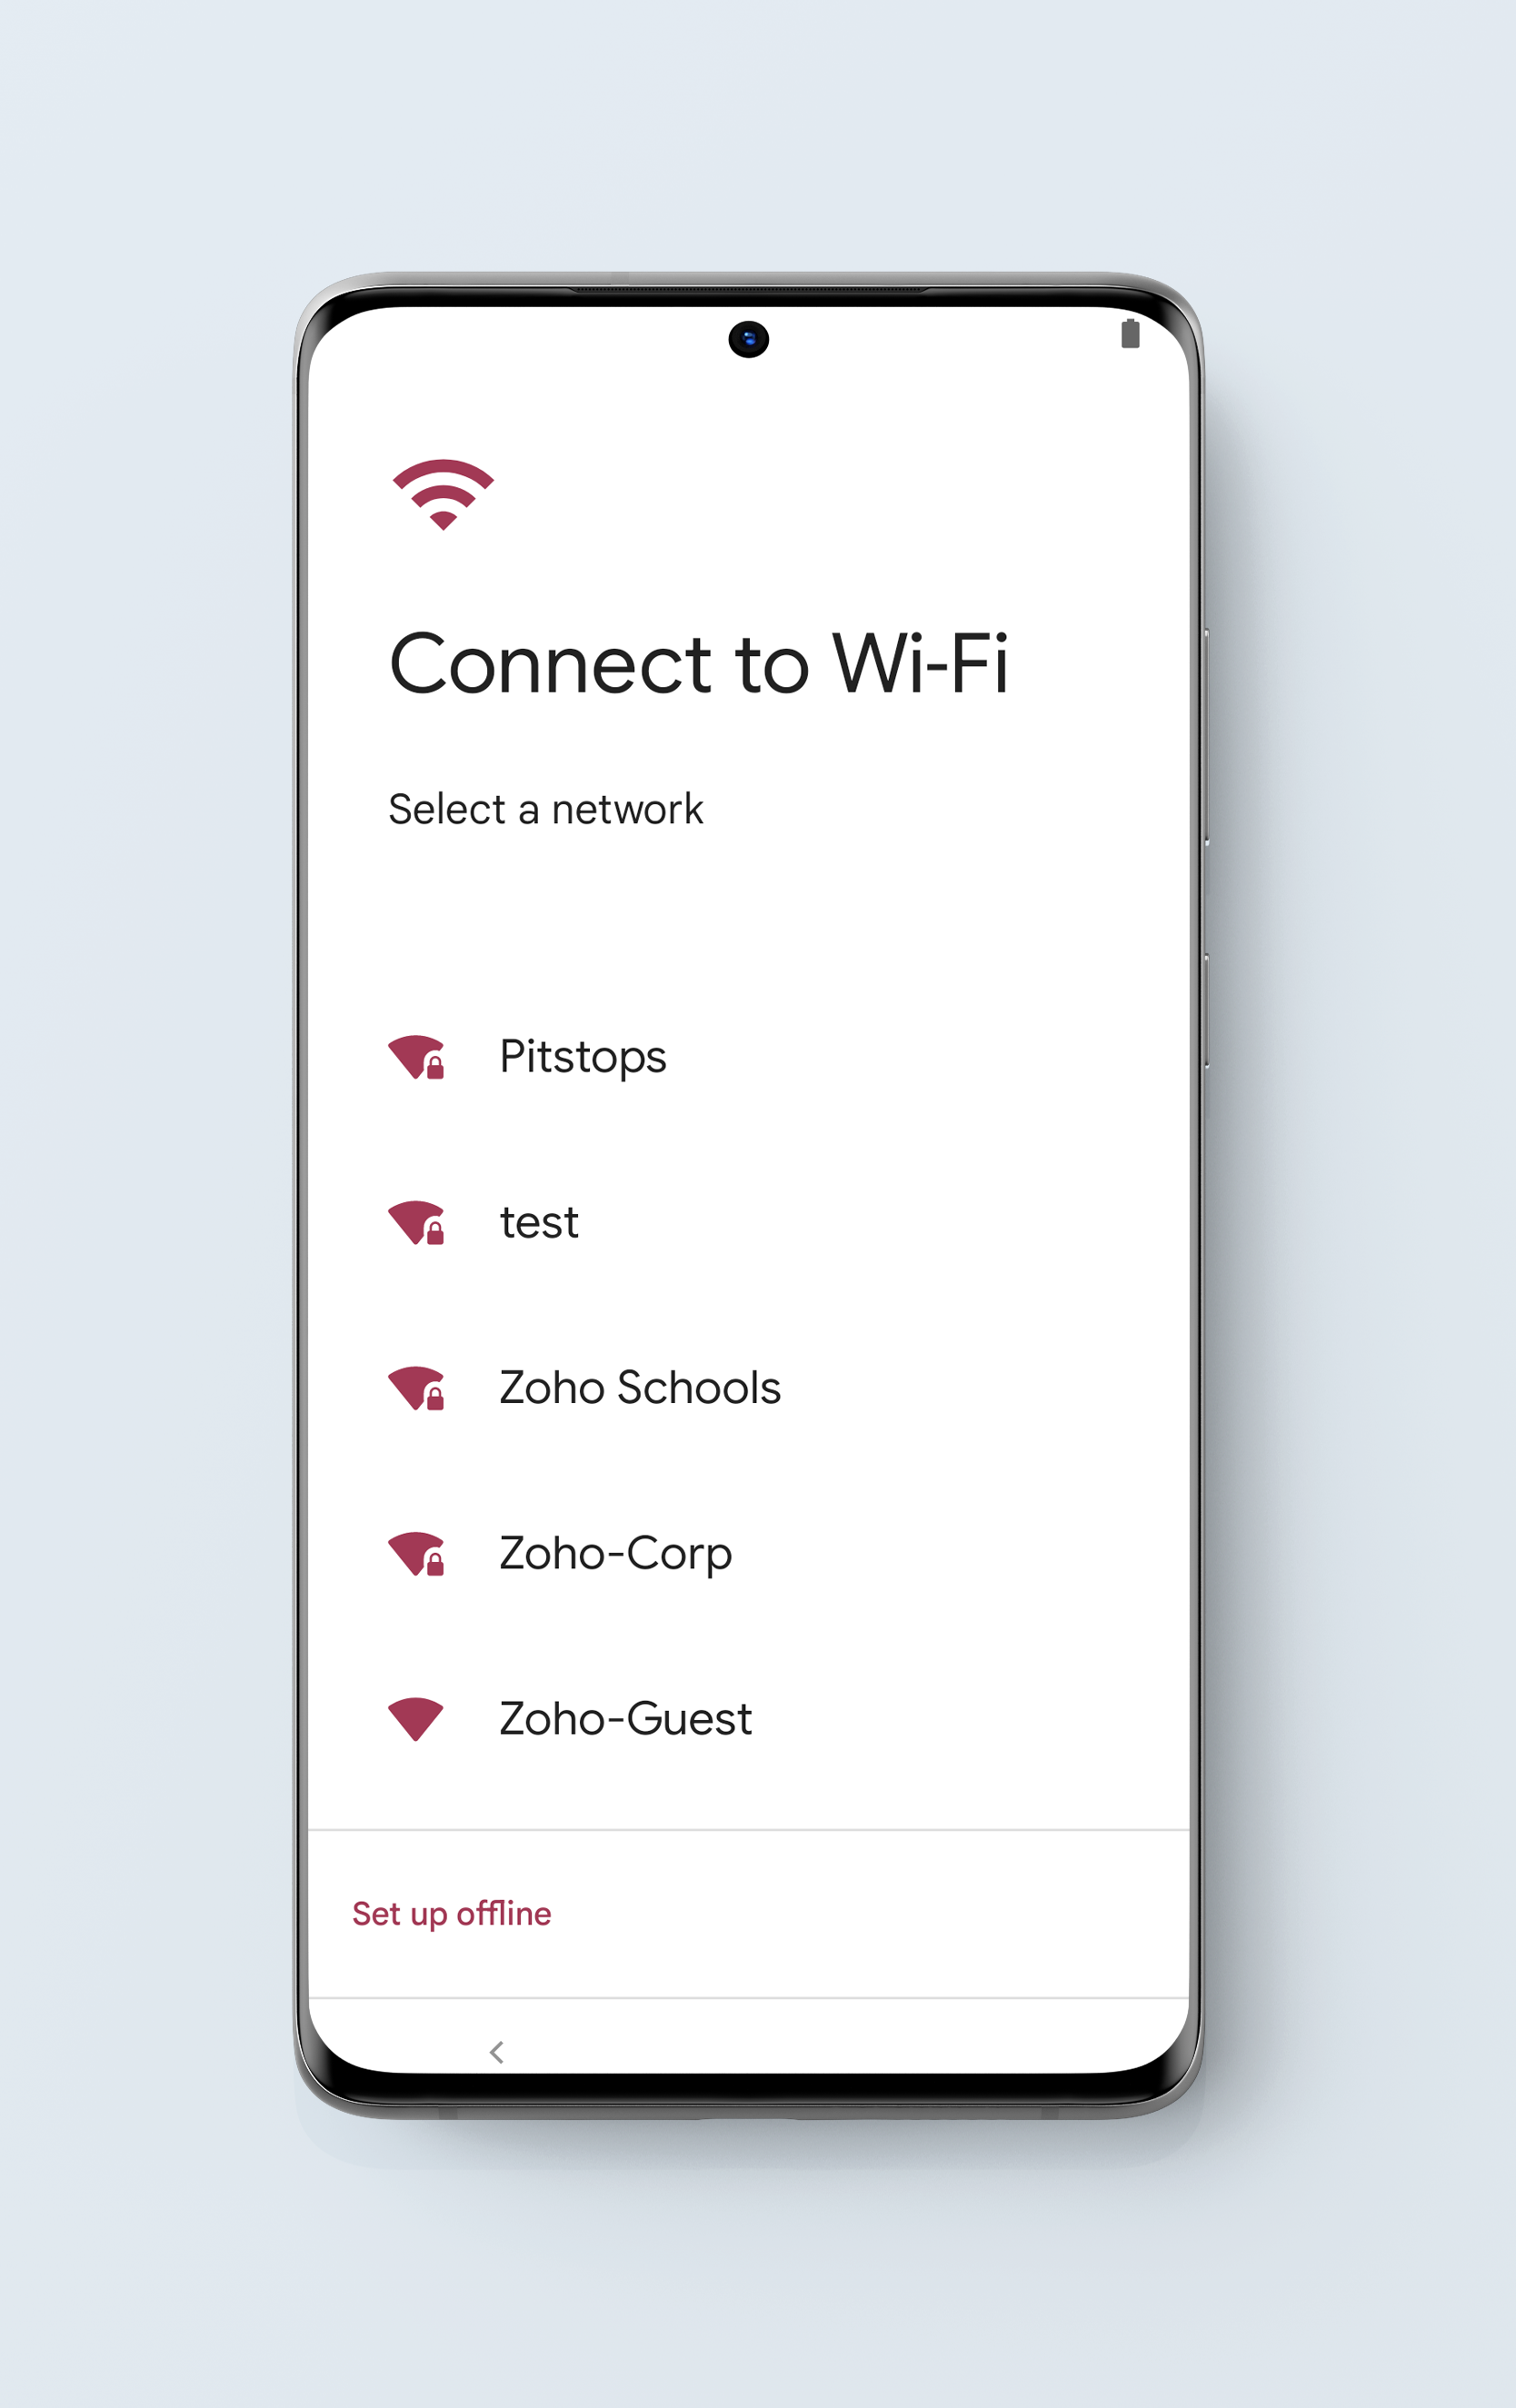
- The images below show the stages of device activation.
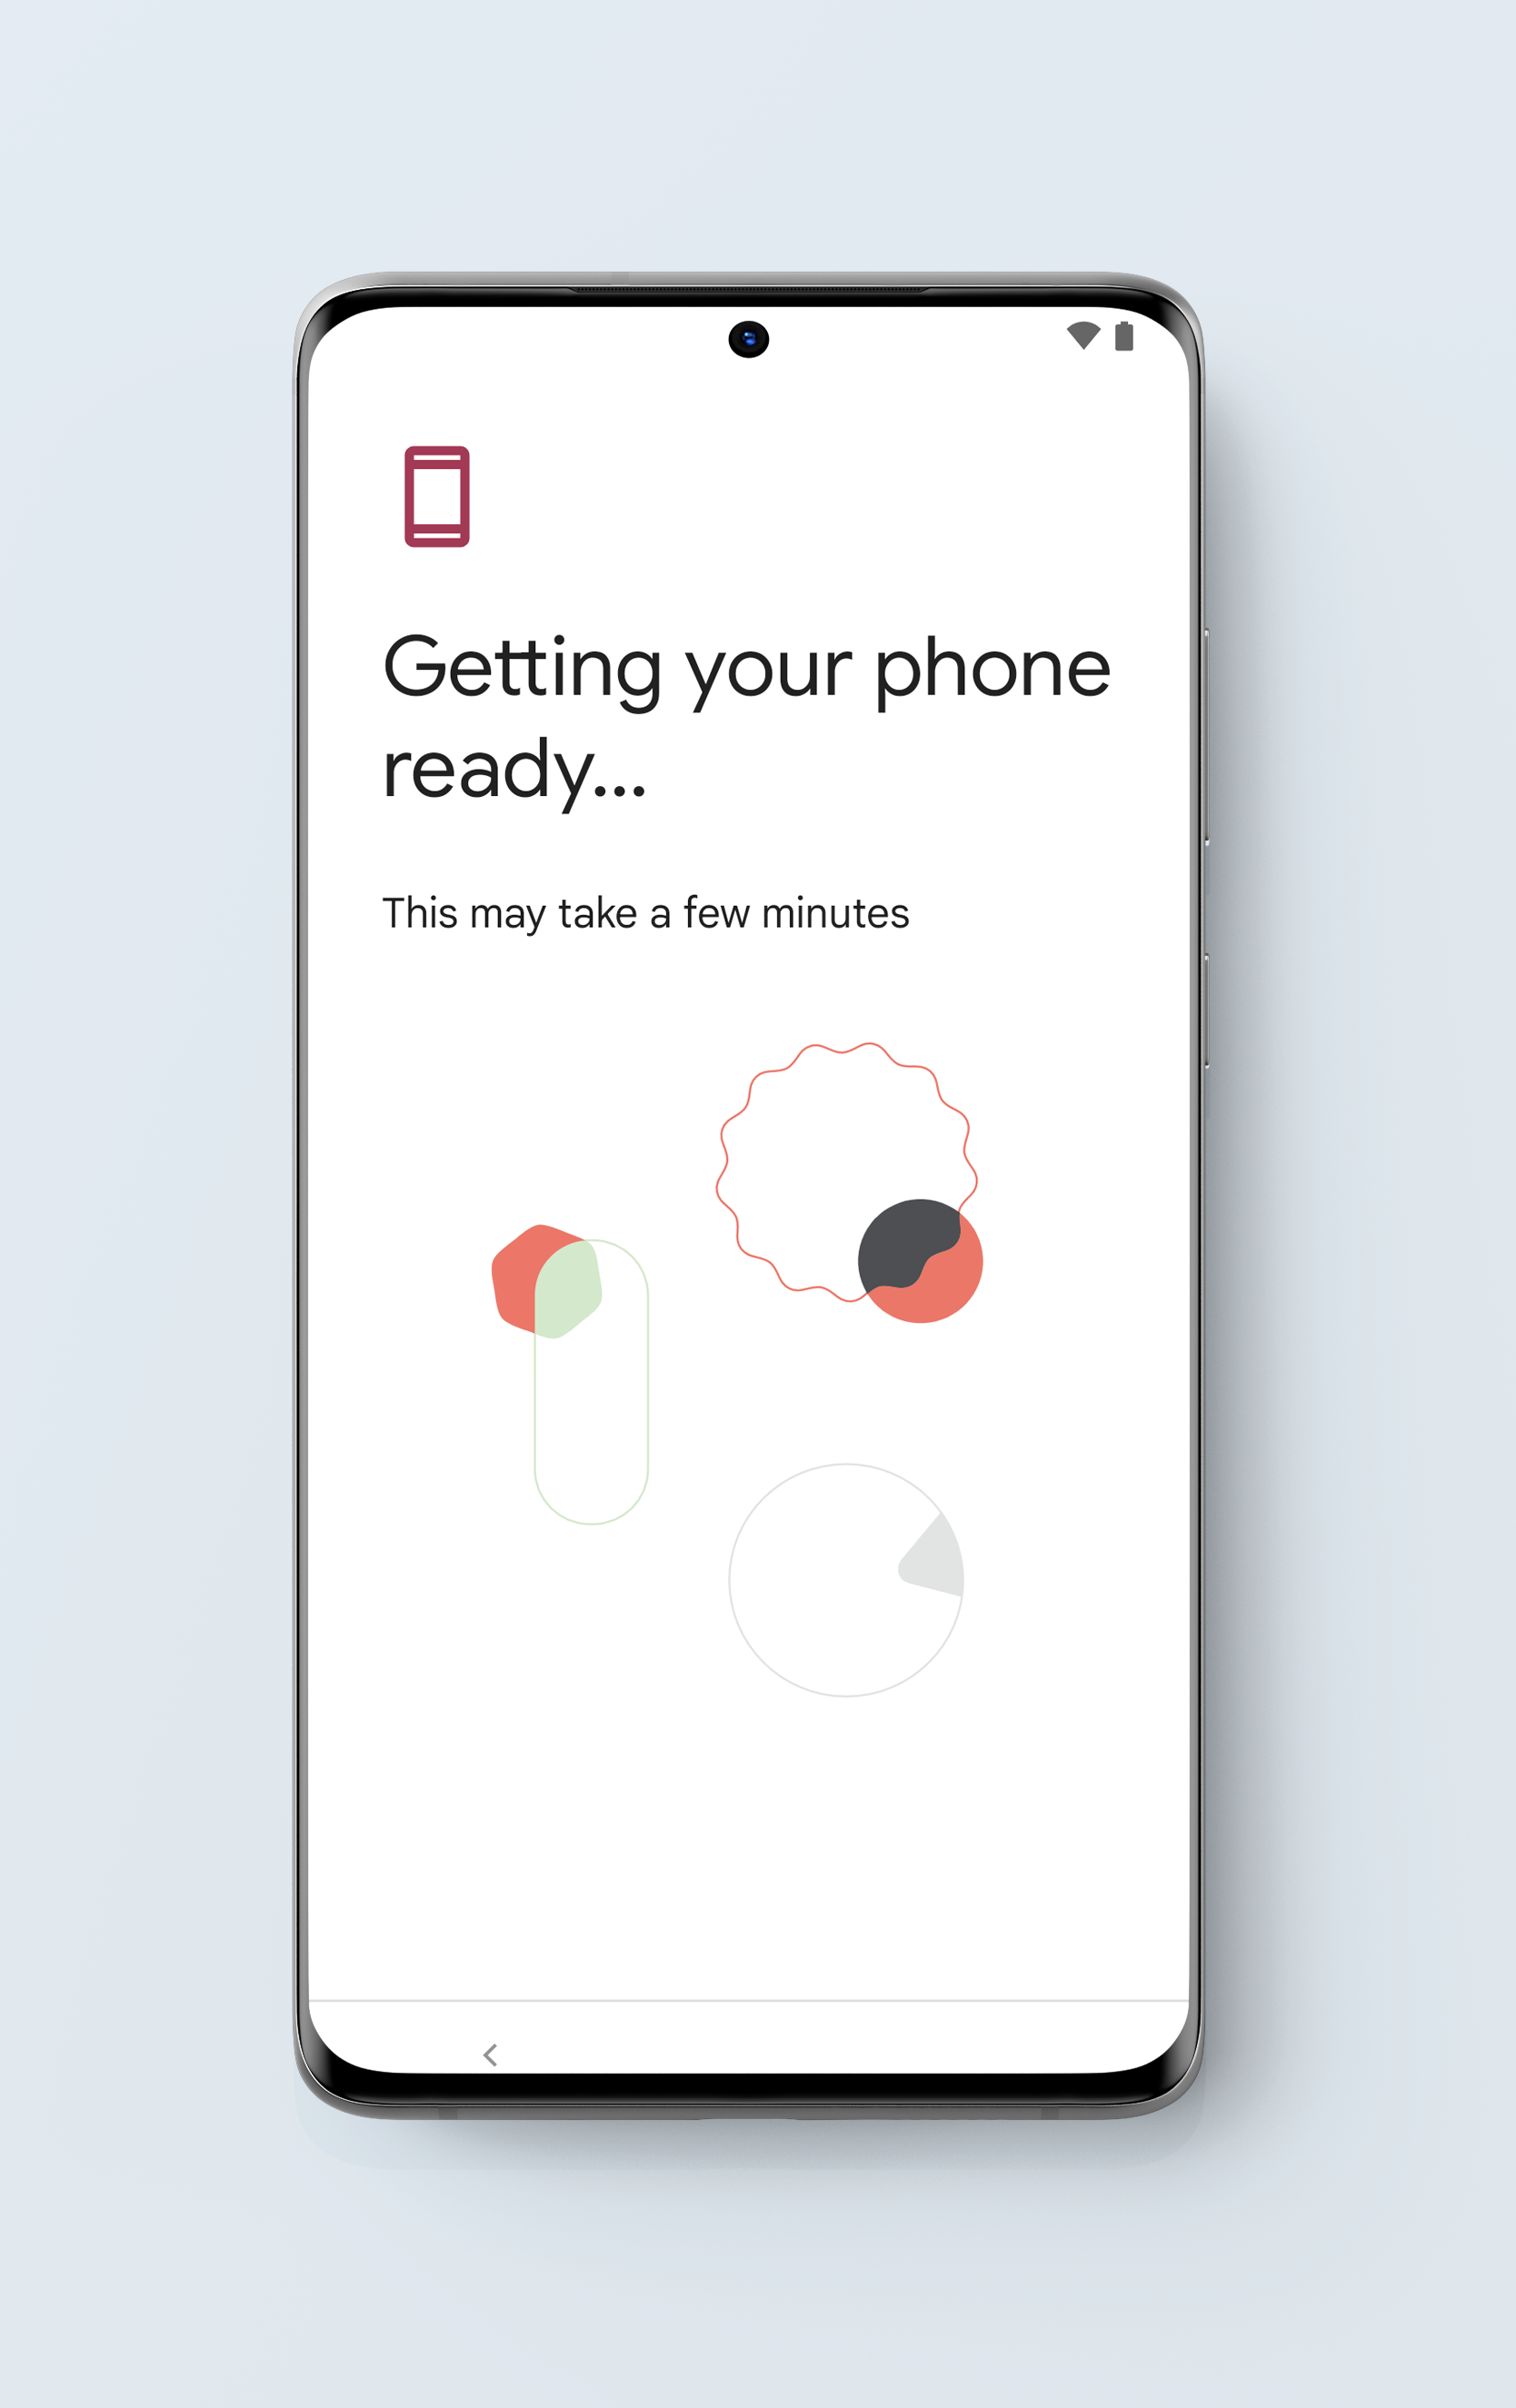
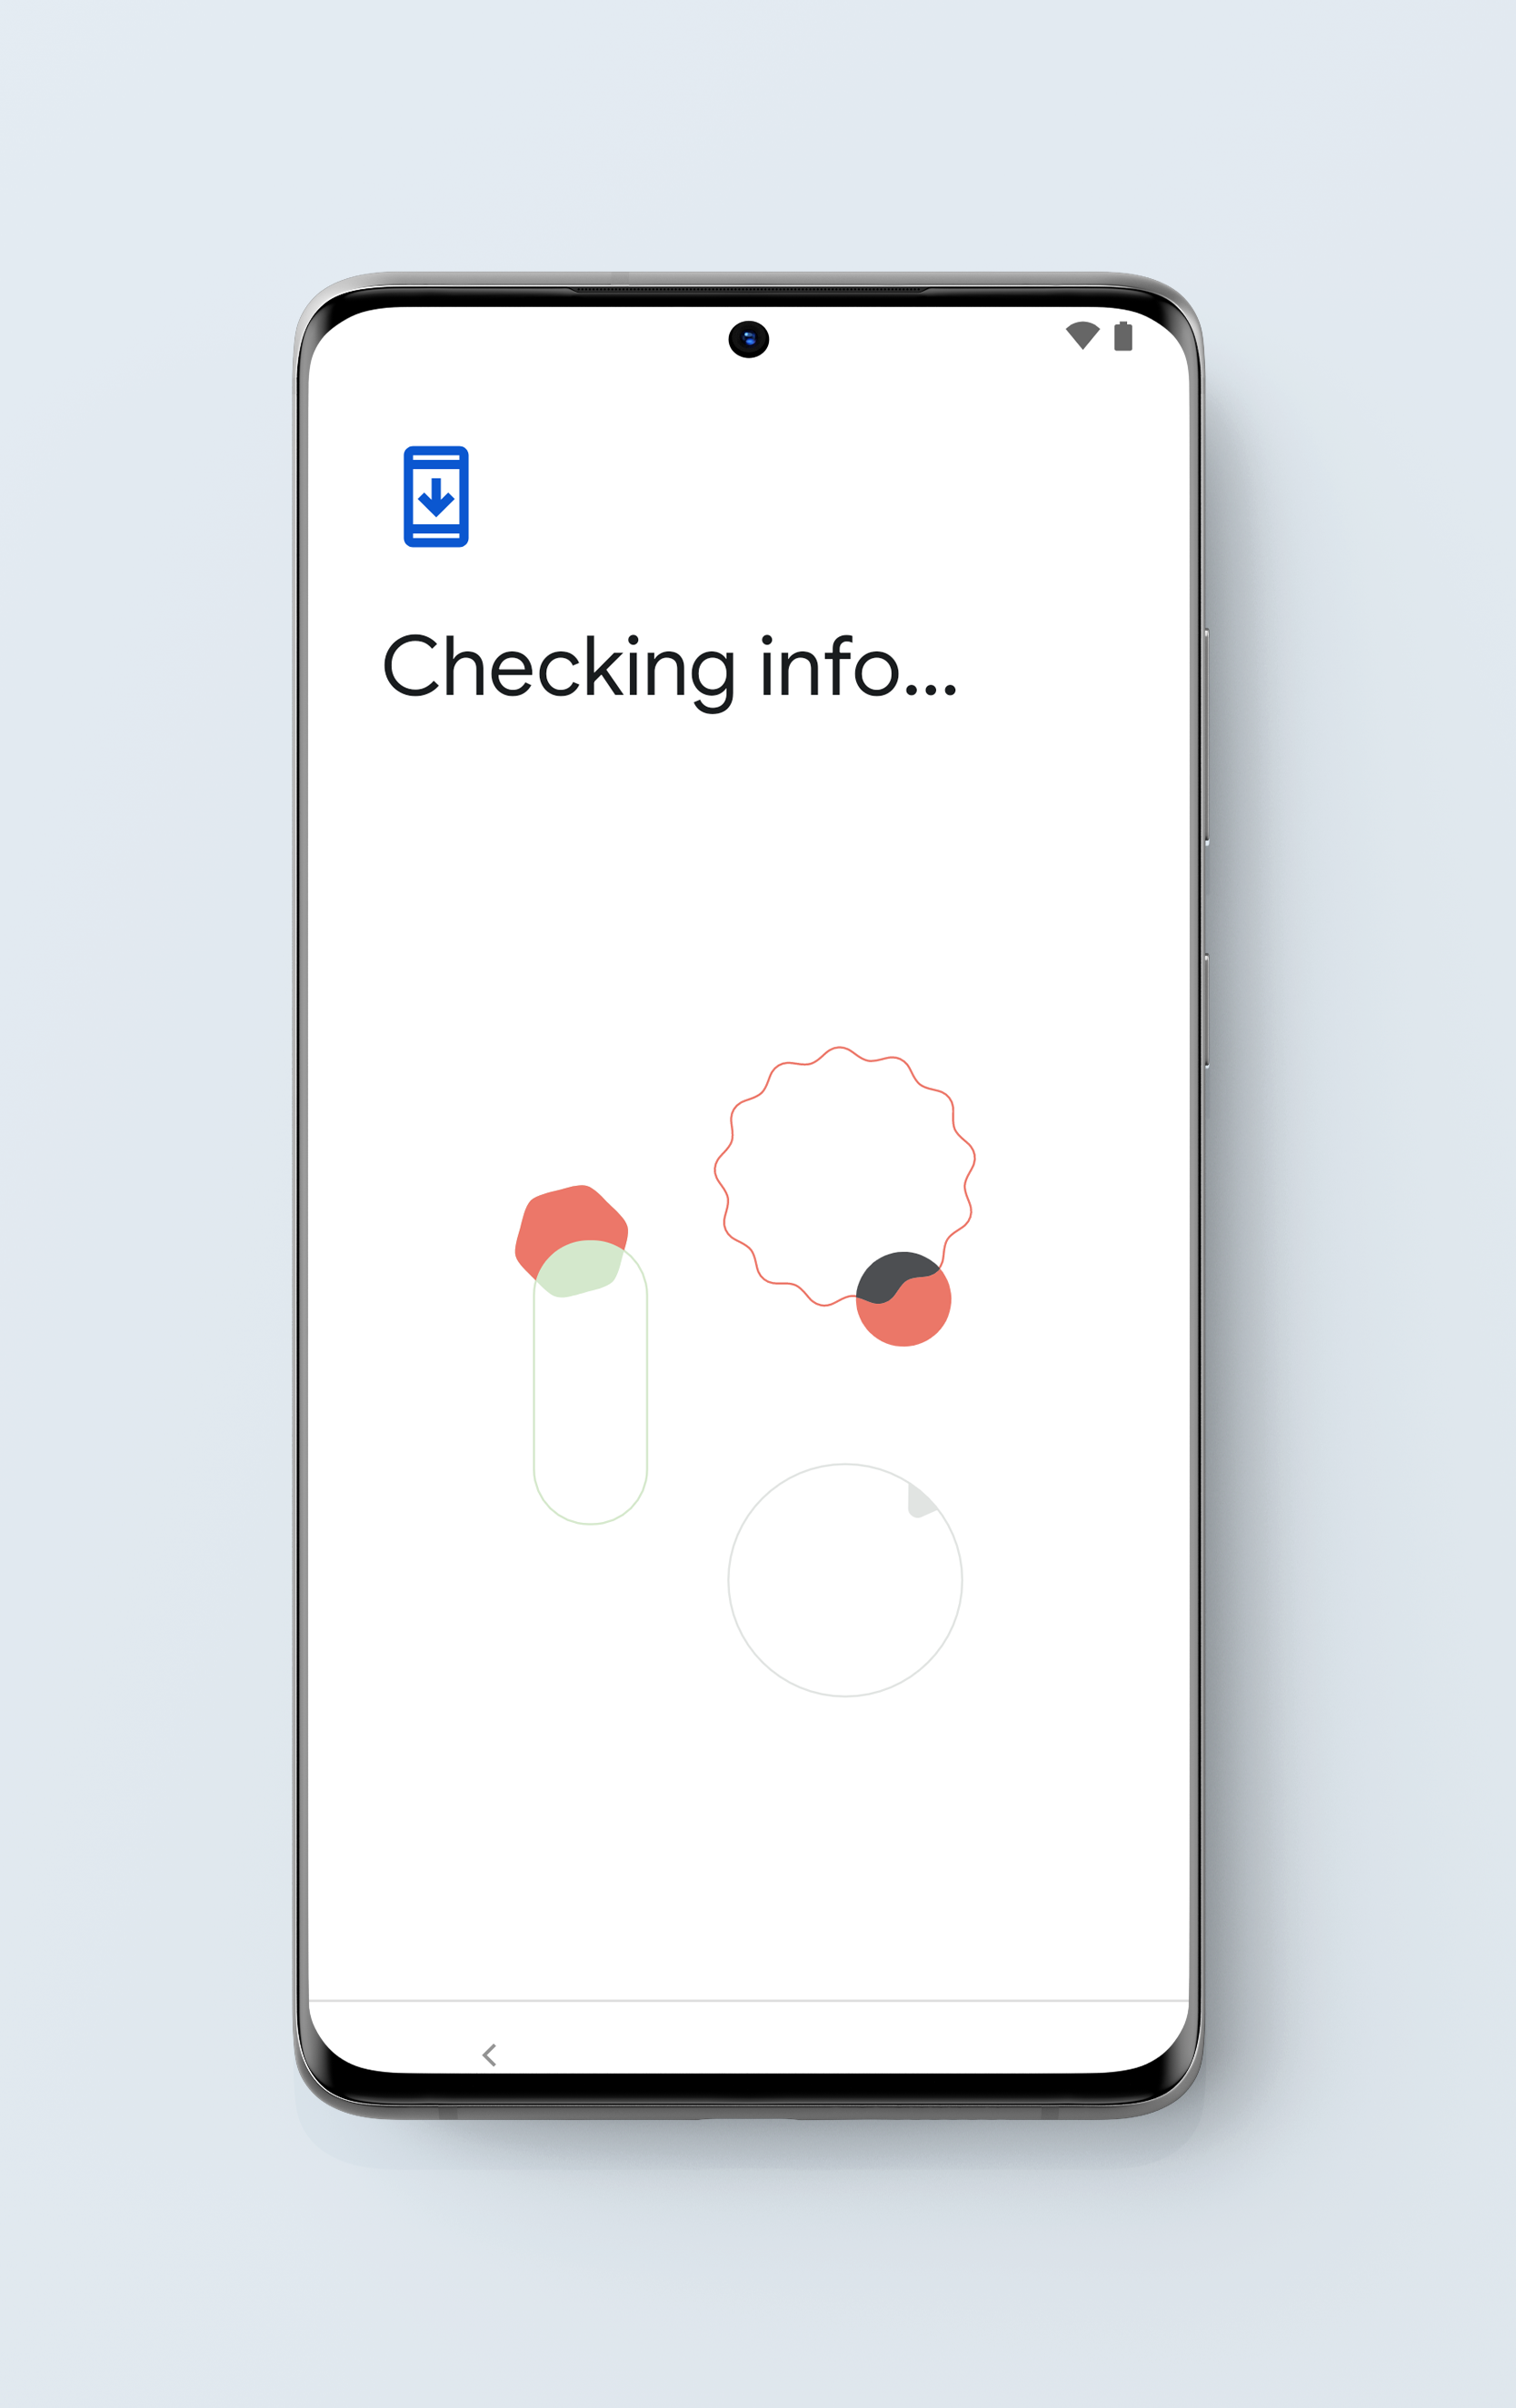
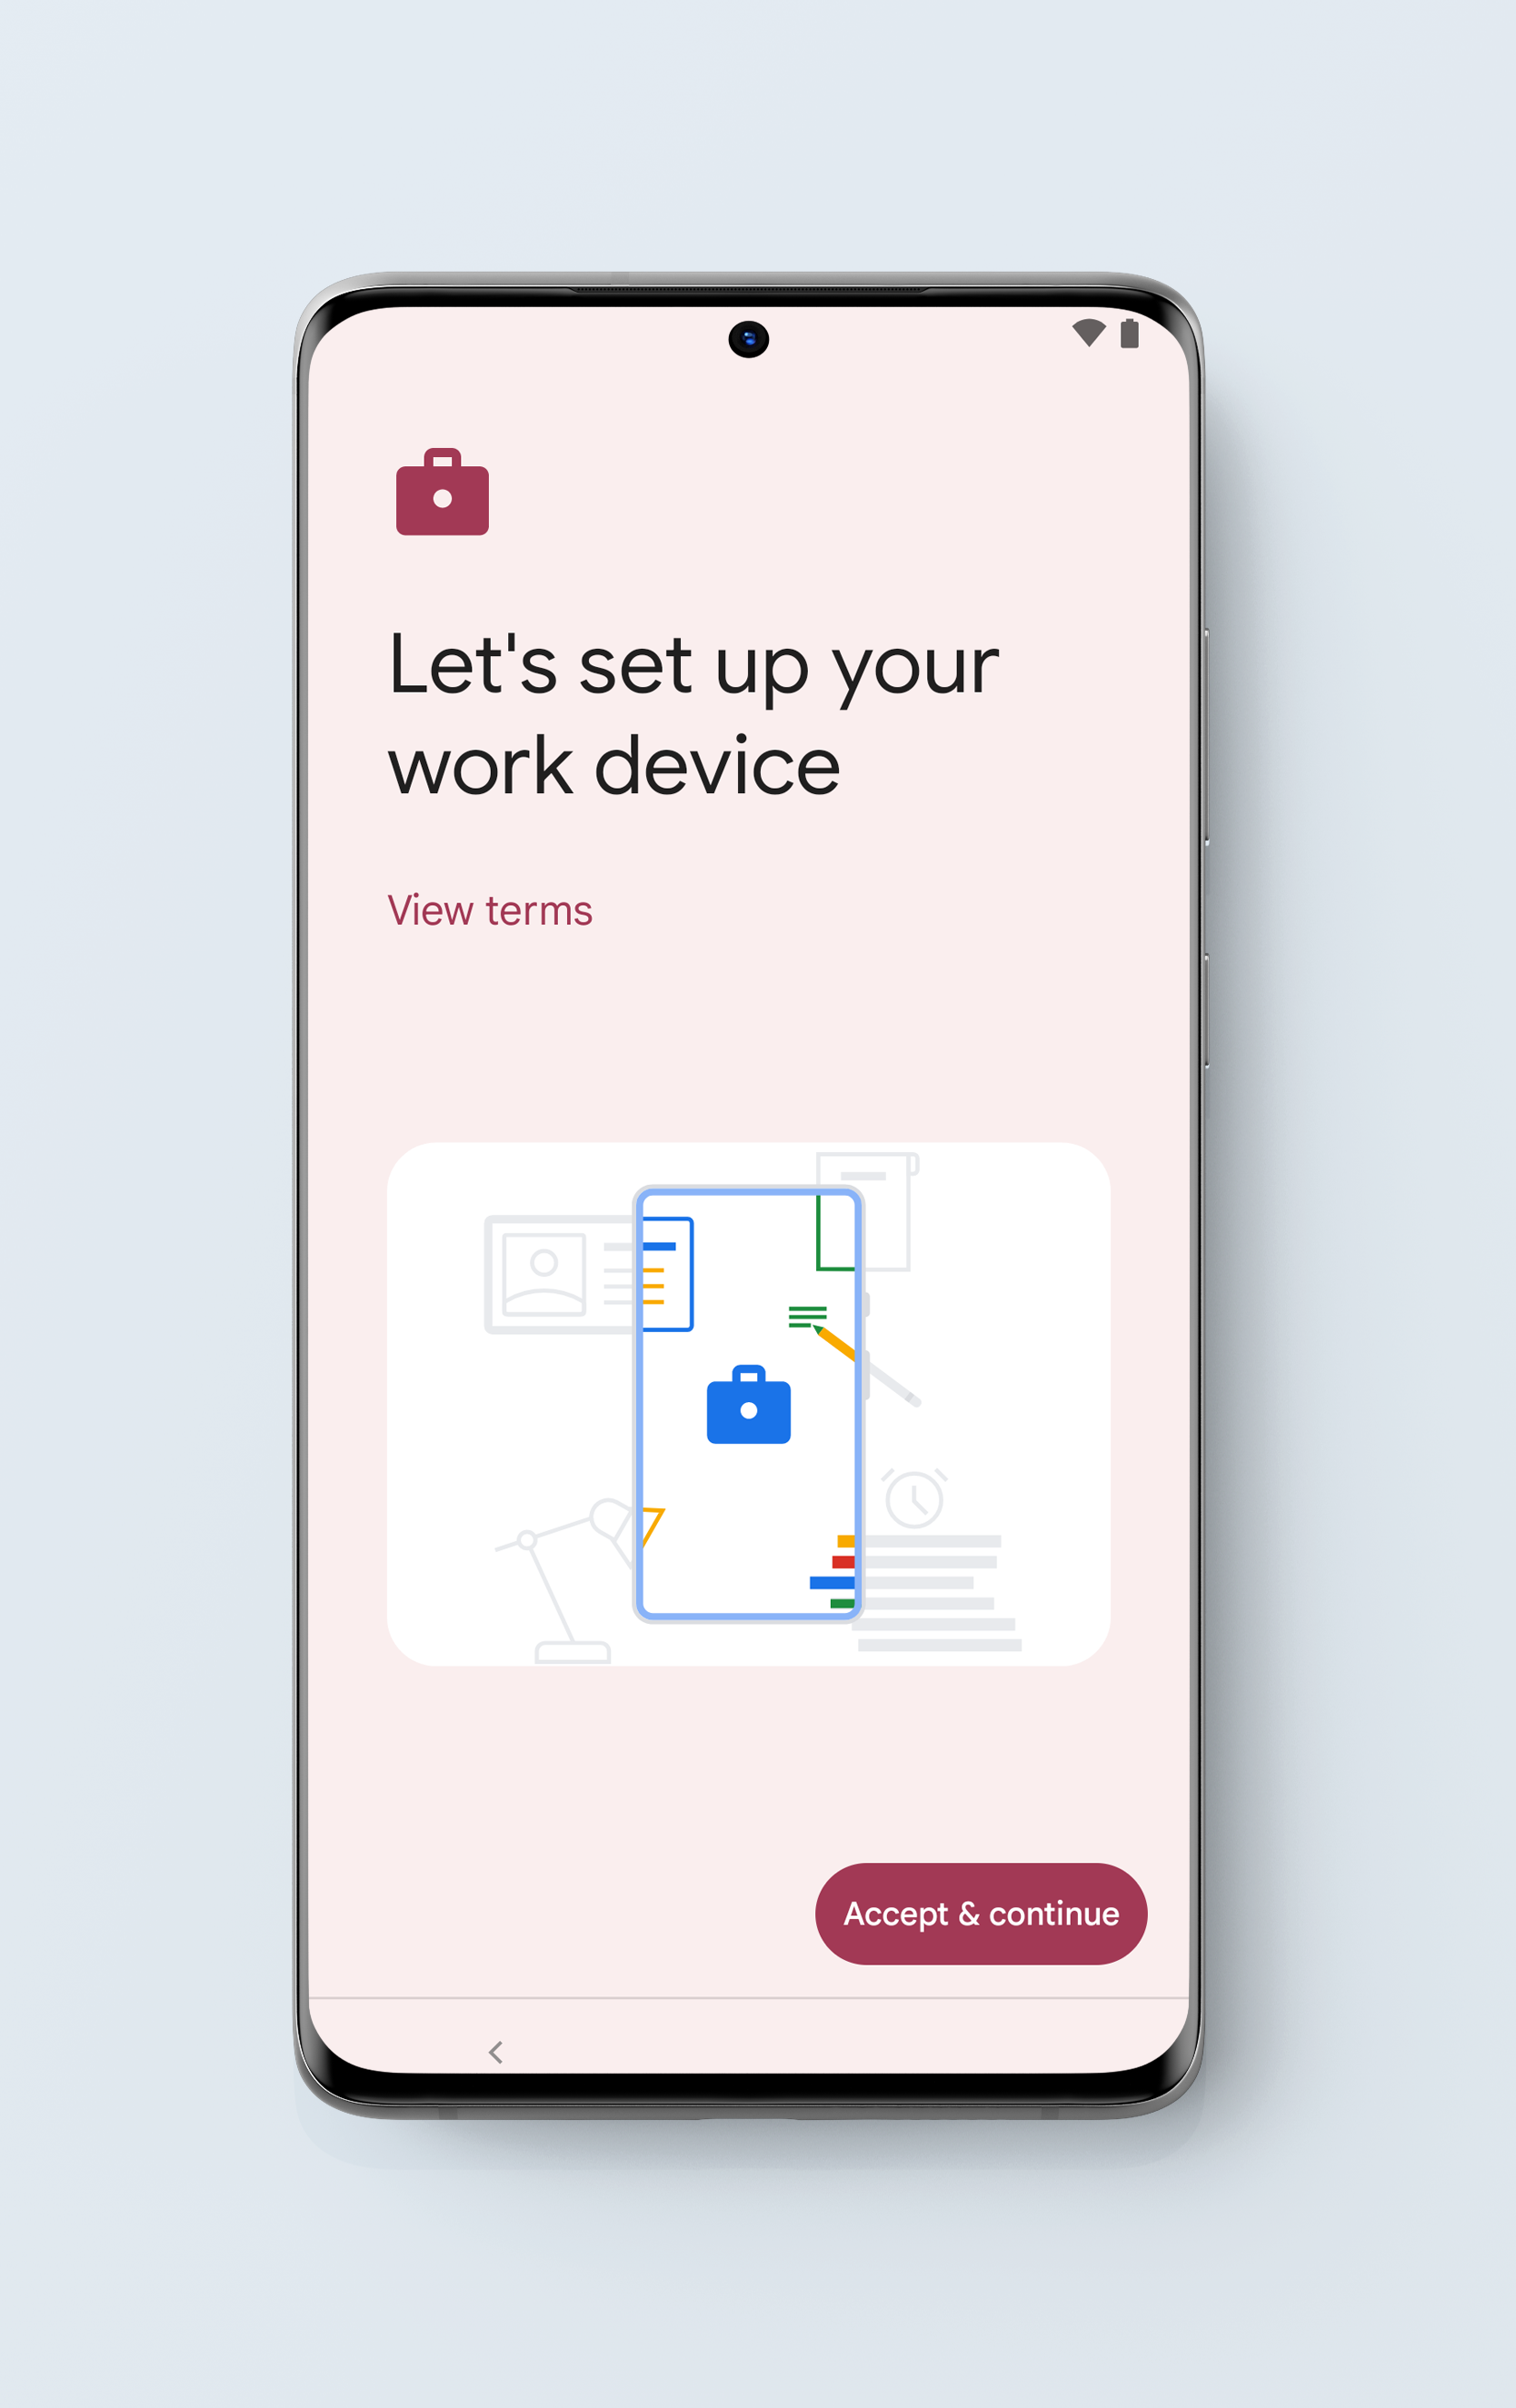
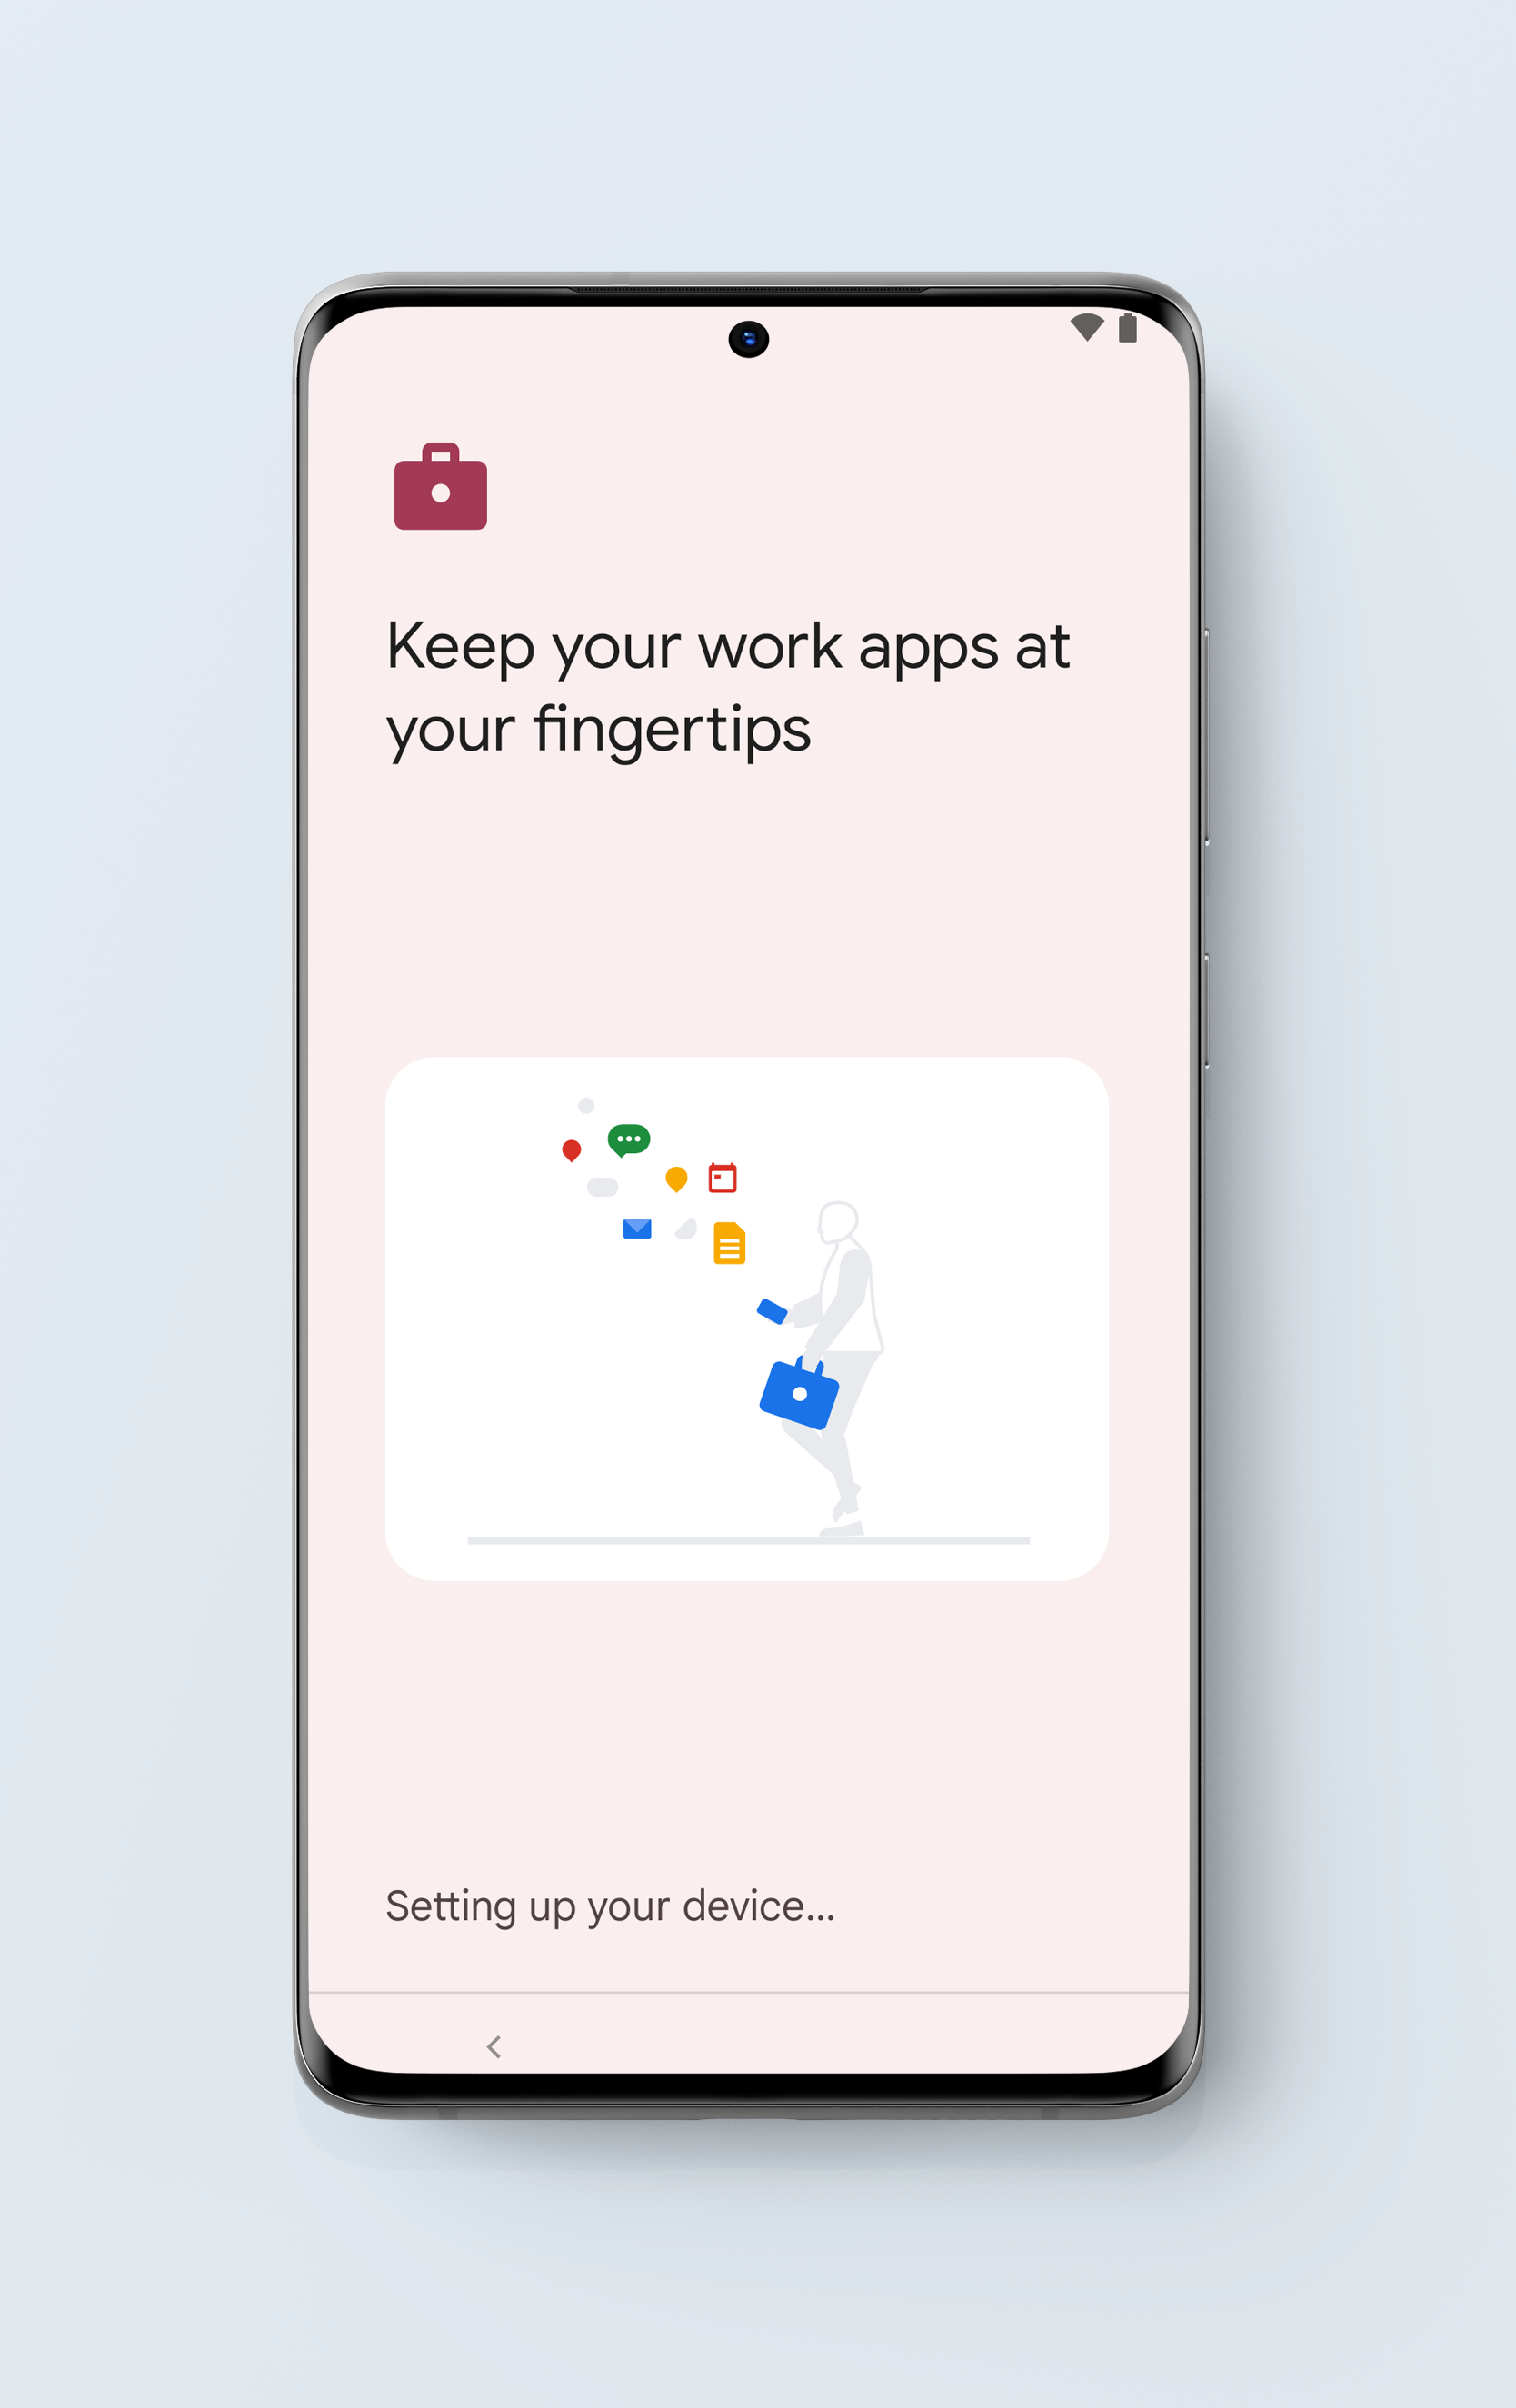
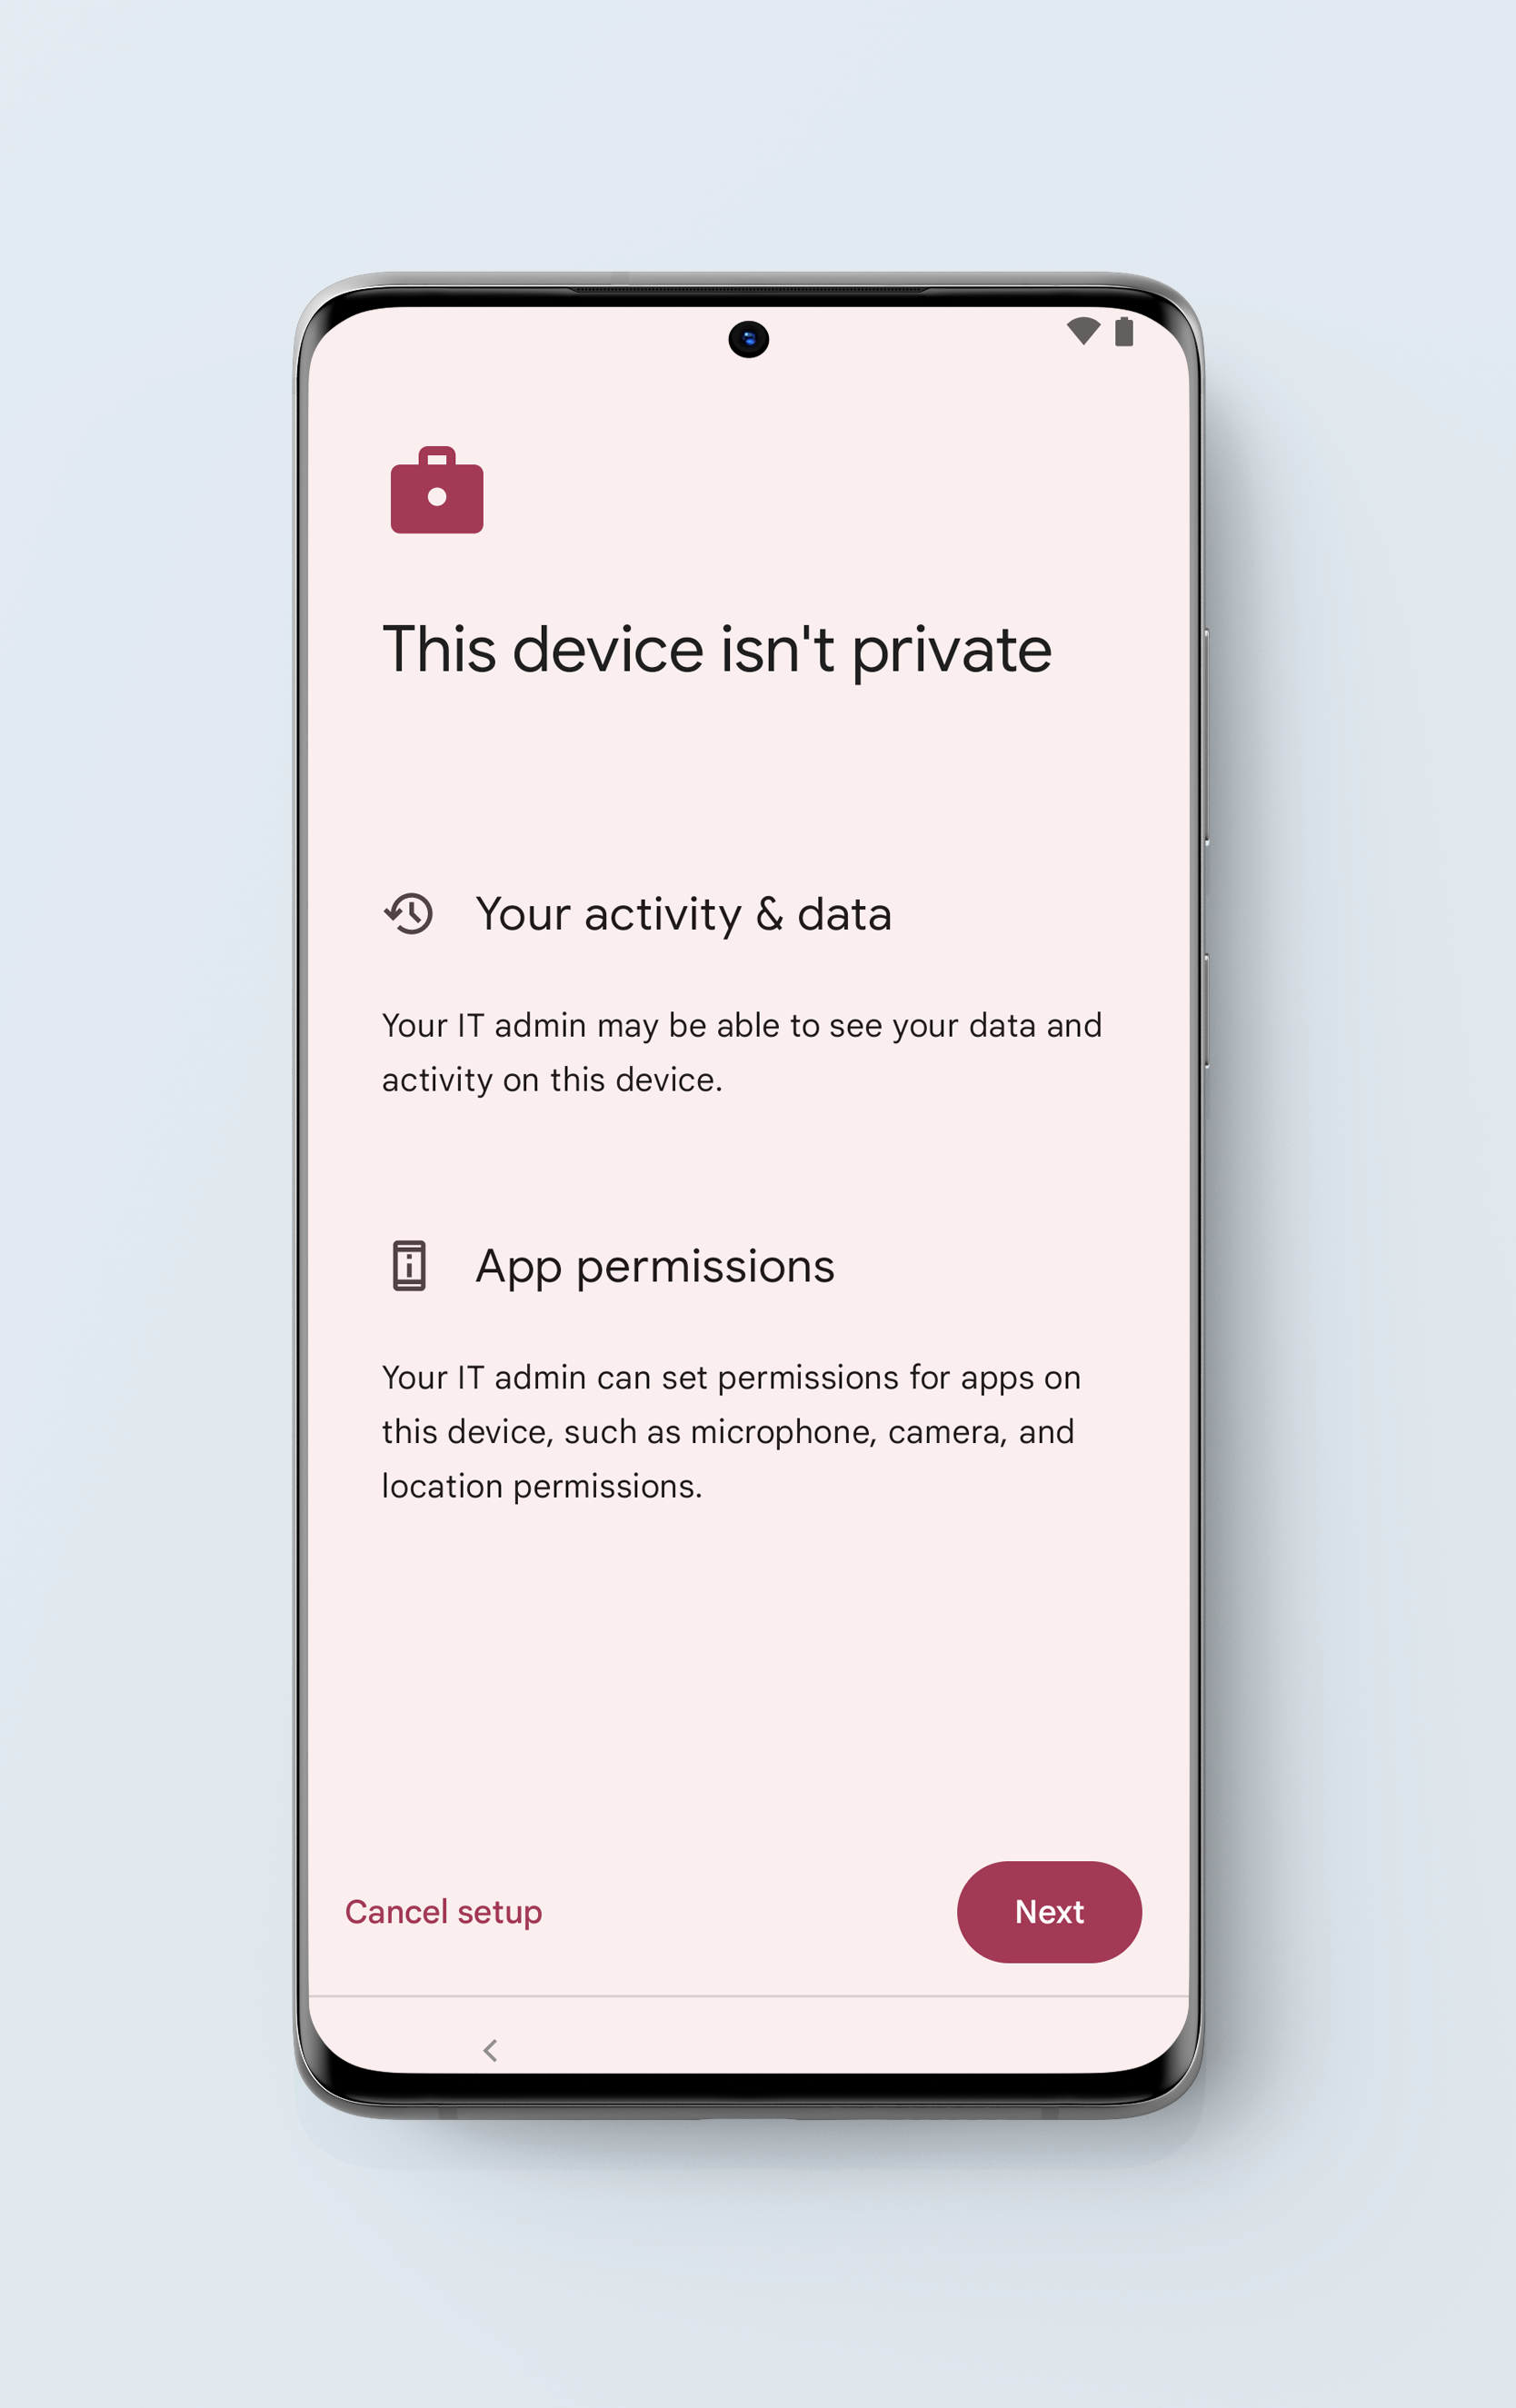
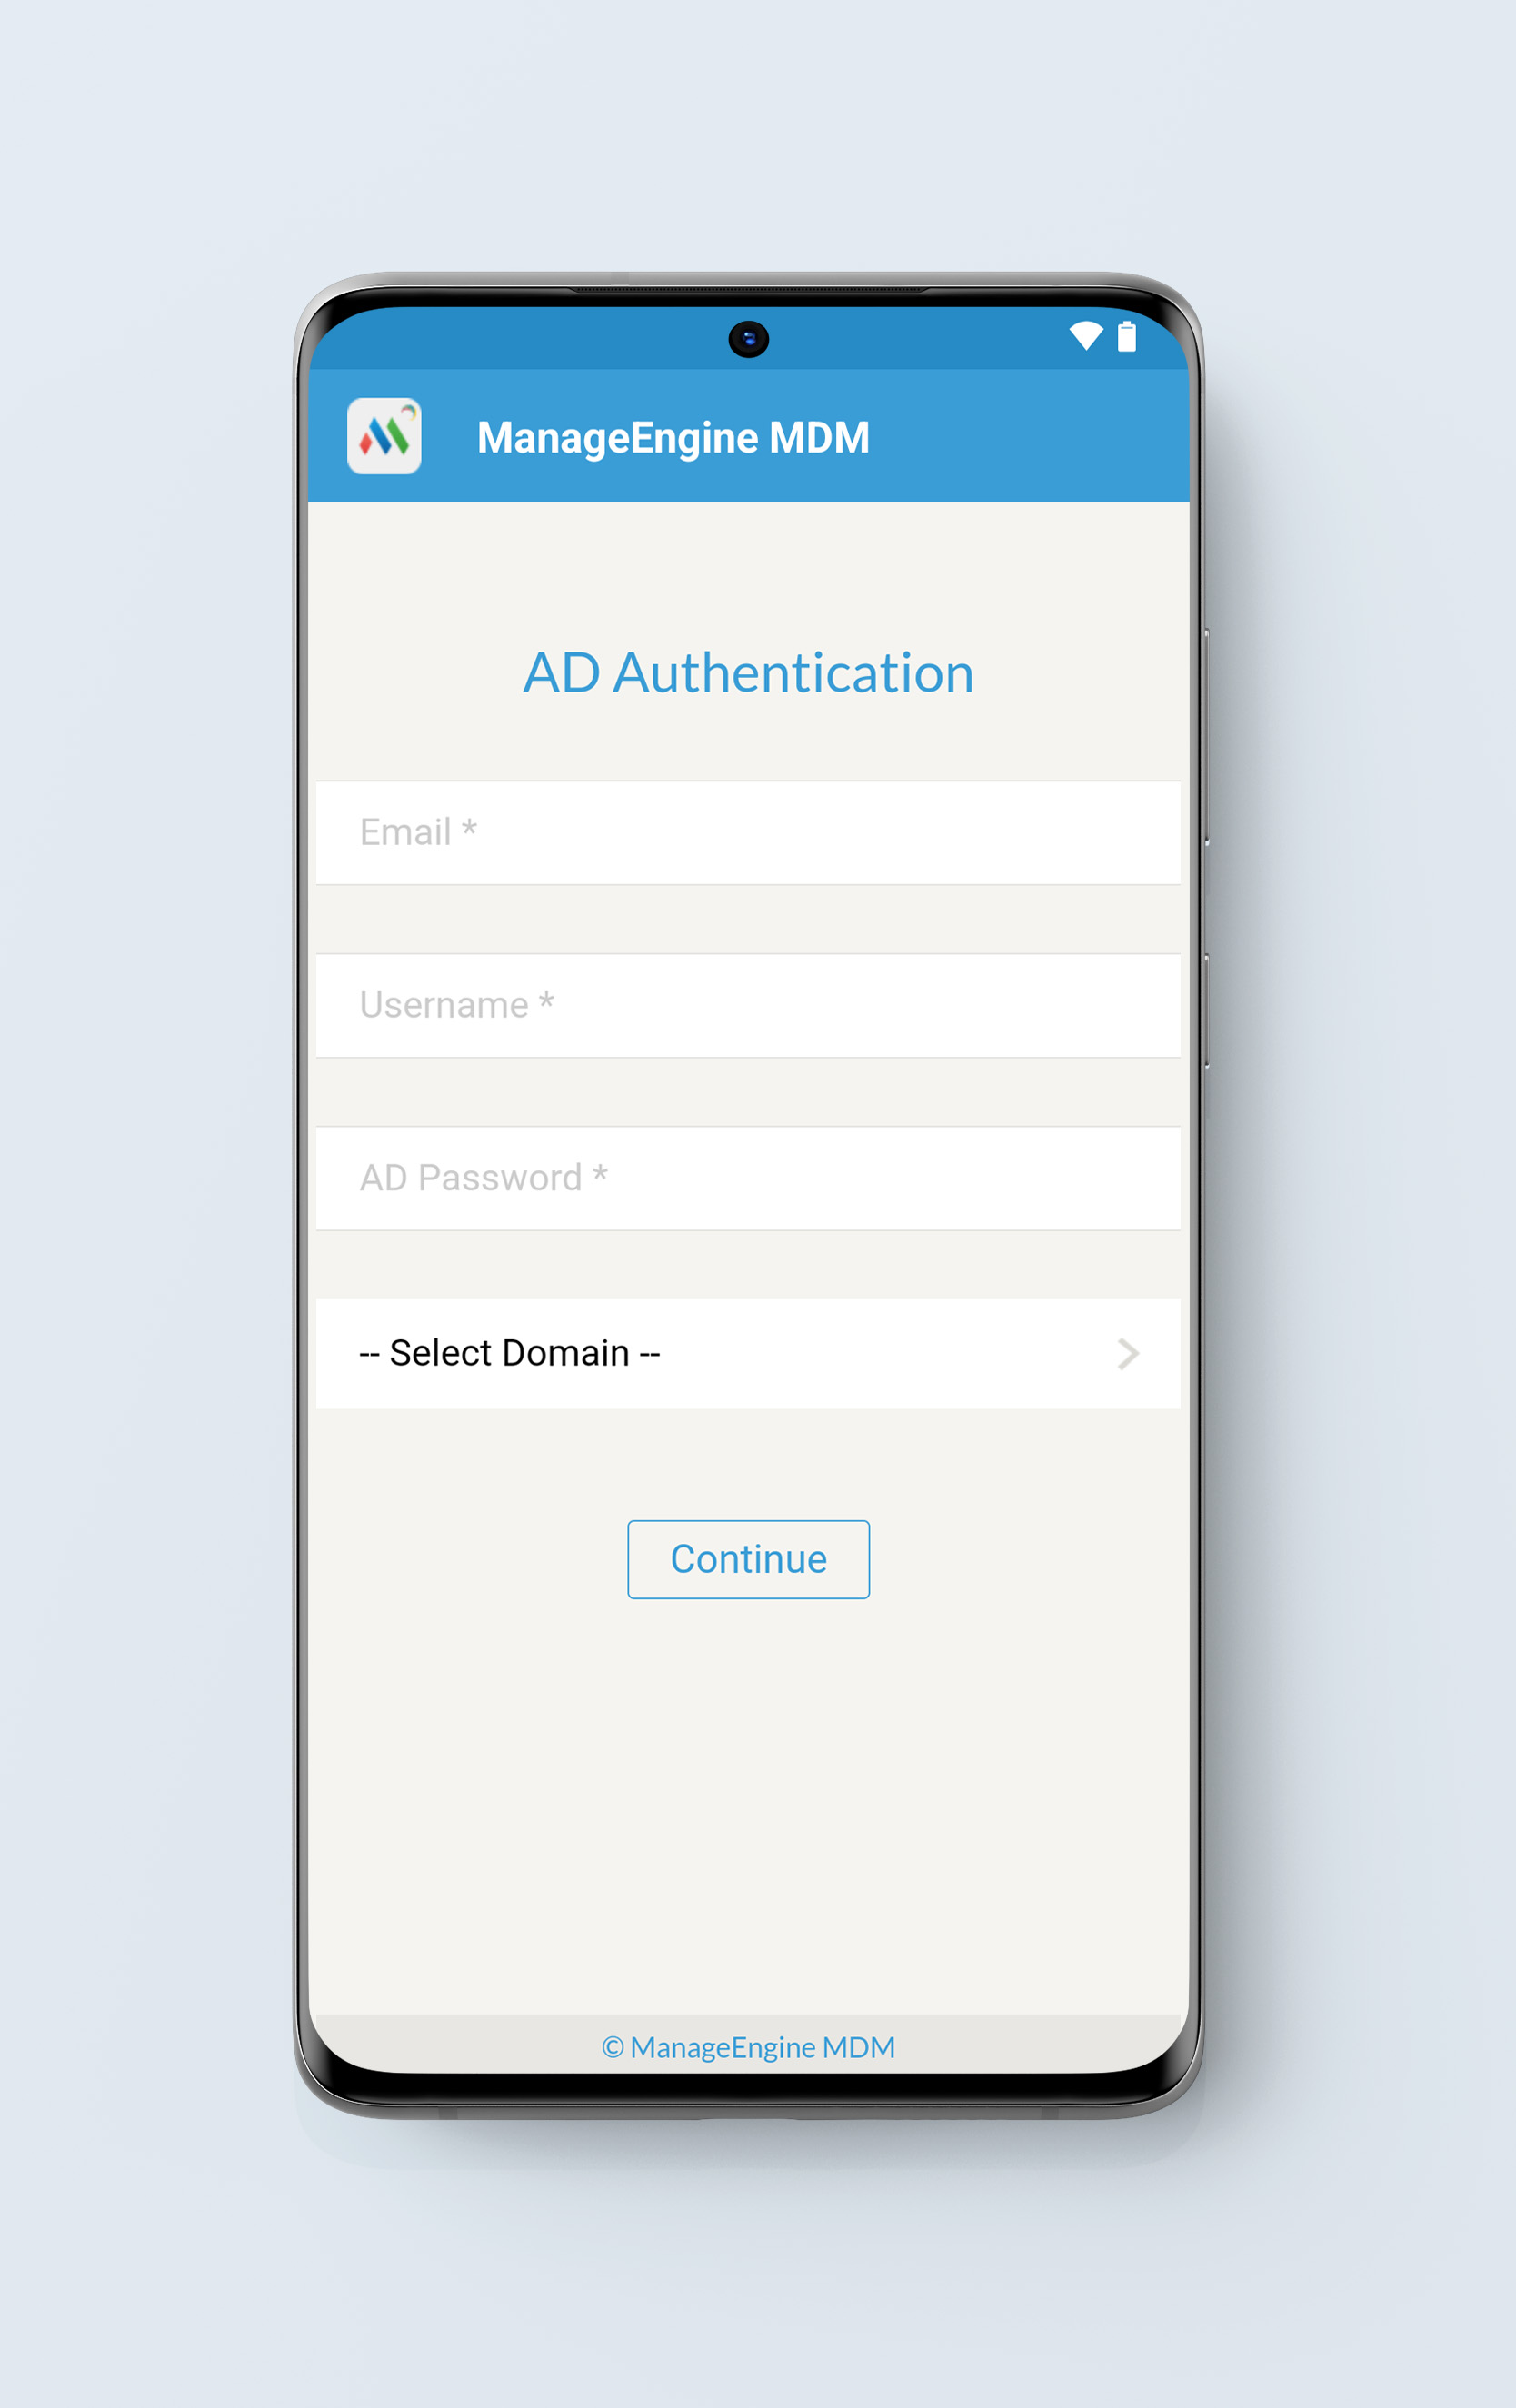
- The ME MDM app will be installed automatically after initialization. If the admin has assigned users, the device is assigned to the respective user; otherwise, the user can assign themselves using Active Directory credentials.
By admins:
By users:
NOTE:
It is mandatory to connect to the Internet during the activation process, to enroll the device with MDM. So, the ME MDM app gets installed and enrollment is performed. When there is no internet, the device enrollment does not happen. Even if we activate without the Internet, the device gets enrolled after connecting to the Internet.
User assignment
The devices get enrolled with MDM through Android Enterprise Zero Touch enrollment, either during device activation (in case of new devices) or factory reset (in case of devices in use). Now the device must be assigned to a user.After the devices are activated, the final step in completing enrollment is user assignment. You can choose to assign users to devices manually or automate it by allowing users to complete the assignment by entering their directory service credentials.We will guide you more about it in detail below.
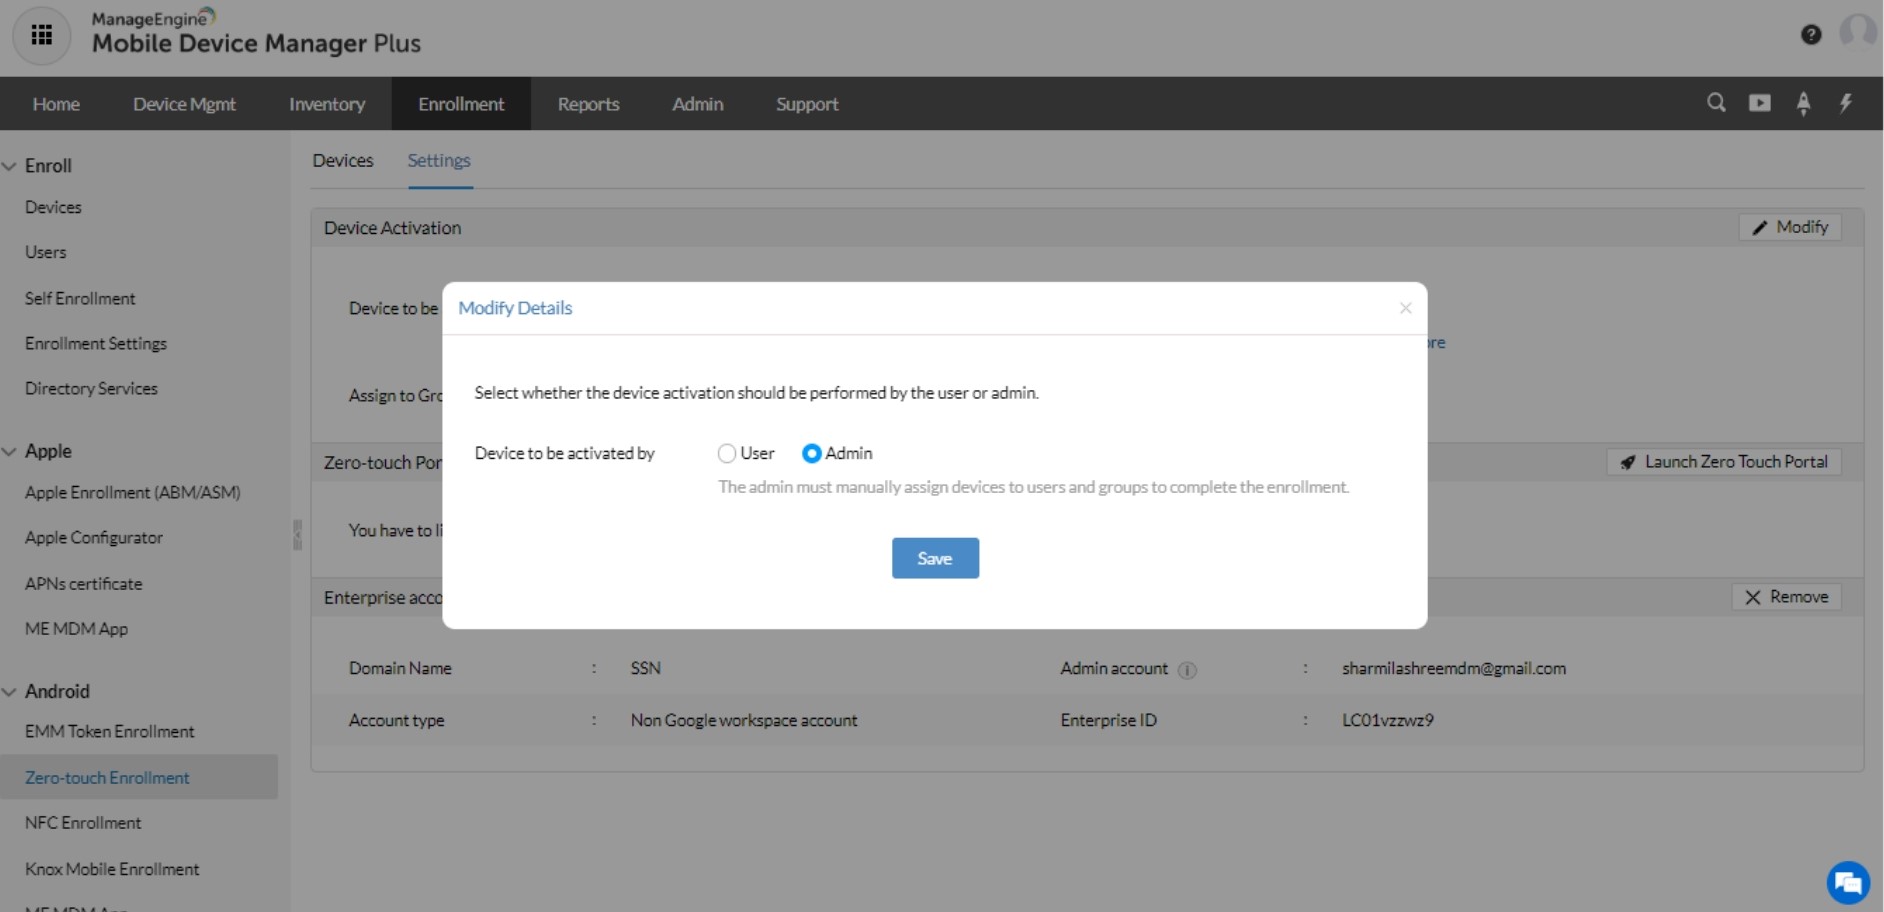
You can assign users two ways. You can choose to assign users manually after a device is activated; or you can let the users activate devices themselves and authenticate using their directory credentials. You can configure the settings from here: Enrollment -> Zero-touch Enrollment -> Settings -> Device Activation
Assign Users Manually
You can additionally add the devices to multiple groups to automate the distribution of profiles, apps and documents to devices. To do that, follow the steps given below:
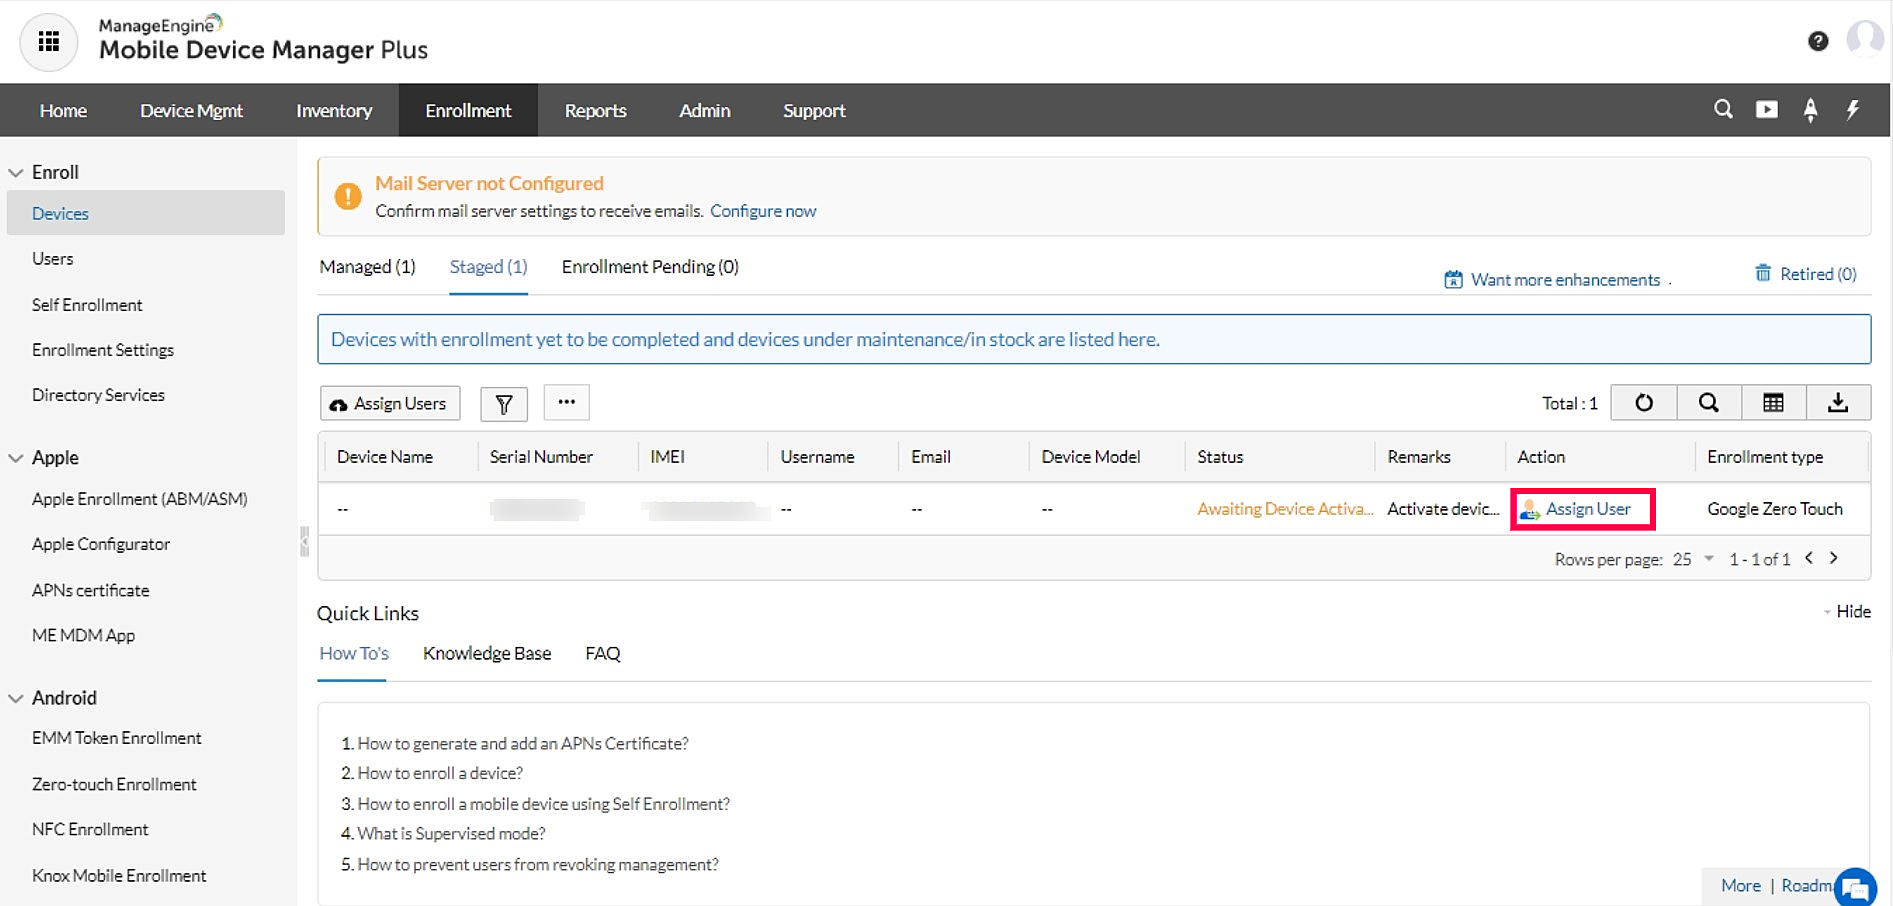
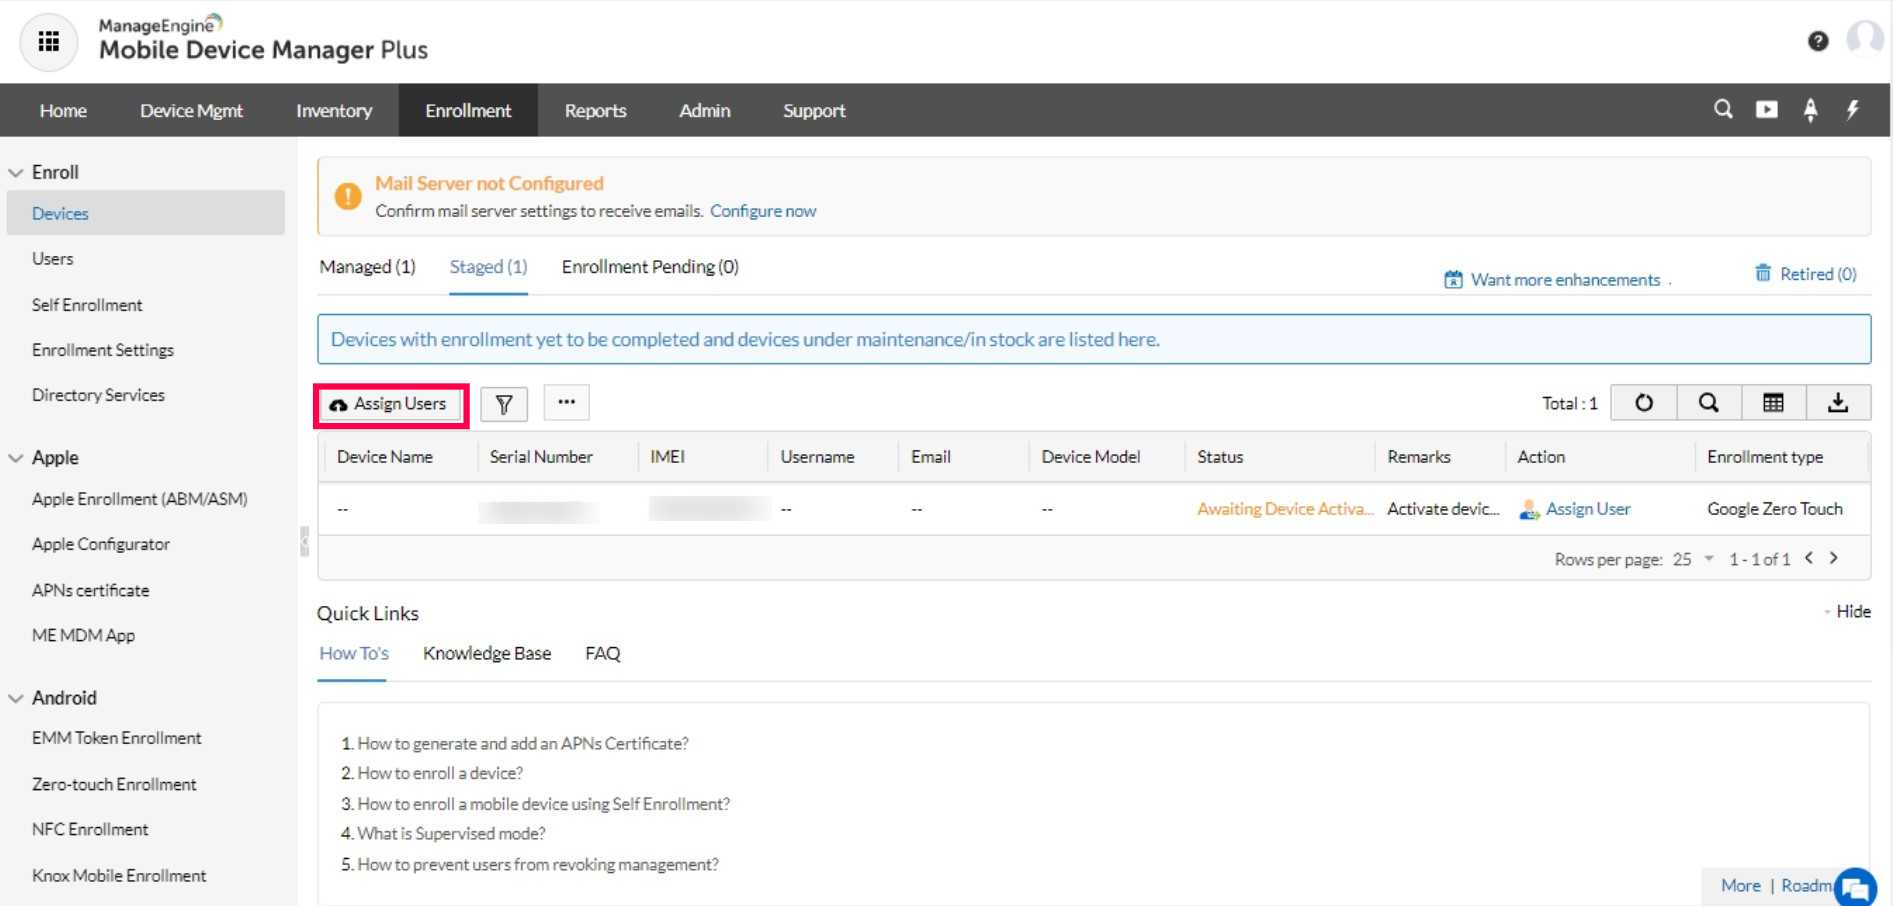
- On the MDM server, click on Enrollment from the top menu.
- Select Zero Touch Enrollment from the left pane.
- Here, all devices enrolled via Zero Touch Enrollment but not yet assigned to users are listed.
- You can assign users on a device-by-device basis by clicking the Assign User option under Action.
- You can also assign users in bulk by clicking the Assign Users button above the table and uploading a CSV file based on the specifications given here.
- When devices are purchased in bulk, the reseller will provide the serial numbers & IMEI numbers along with the invoice. You can pre-assign users using these identifiers with the help of a sample CSV. The serial numbers or IMEI numbers should be inserted in a sample CSV which can be uploaded to Assign Users. When the devices are activated, they will automatically get assigned to the users.
Sample CSV Format
SERIAL_NUMBER,USER_NAME,DOMAIN_NAME,EMAIL_ADDRESS,GROUP_NAME
C07Q853LG9RM,ANDREW,,andrew@zylker.com,zylker_drivers
,BEN,ZOHOCORP,ben@mobiledevicemanagerplus.com,Android,Corporate,Android_Group,
NOTE:
- The fields Serial Number, User Name, Email Address and Group Name are mandatory. All the other fields are optional. Ensure the specified group name is already created in the MDM server. If values are not provided, default values will be taken.
- The default values for various non-mandatory fields are:
Domain Name -- MDM
Owned By -- Corporate - If multiple groups are specified, the group names must be separated with a slash (/)
- The first line of the CSV is the column header and the columns can be in any order.
- Blank column values should be comma separated.
- If the column value contains comma, it should be specified within quotes.
Automate User Assignment
The user assignment can be automated by enabling the users to enter their directory service credentials upon device activation
- Select User for the option Device to be activated by.
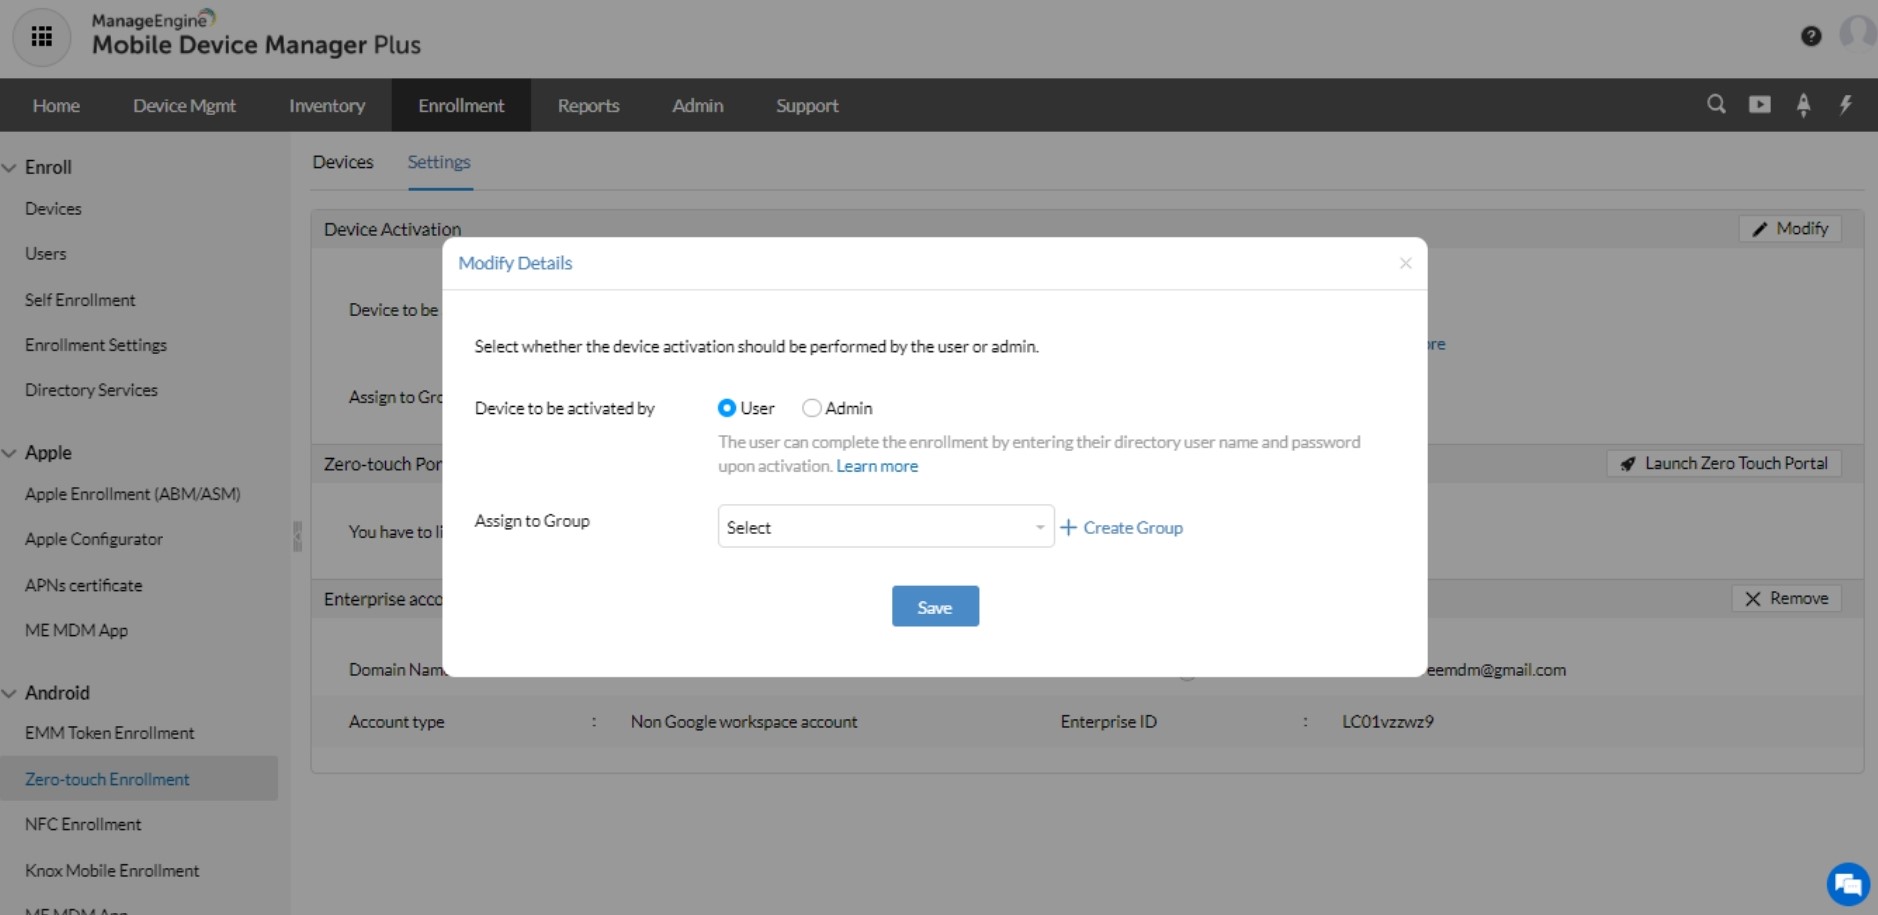
- If you haven't configured a directory service, you'll be prompted to configure one. Mobile Device Manager Plussupports multiple directory services:
- Active Directory
- Entra ID(formerly Azure AD)
- You can optionally also select a Group to which the devices will be added upon enrollment. This will help automate the distribution of apps, documents and profiles to devices.
Dissociating Zero-touch portal
When you no longer need Zero-touch enrollment for your enterprise, you can dissociate it either by
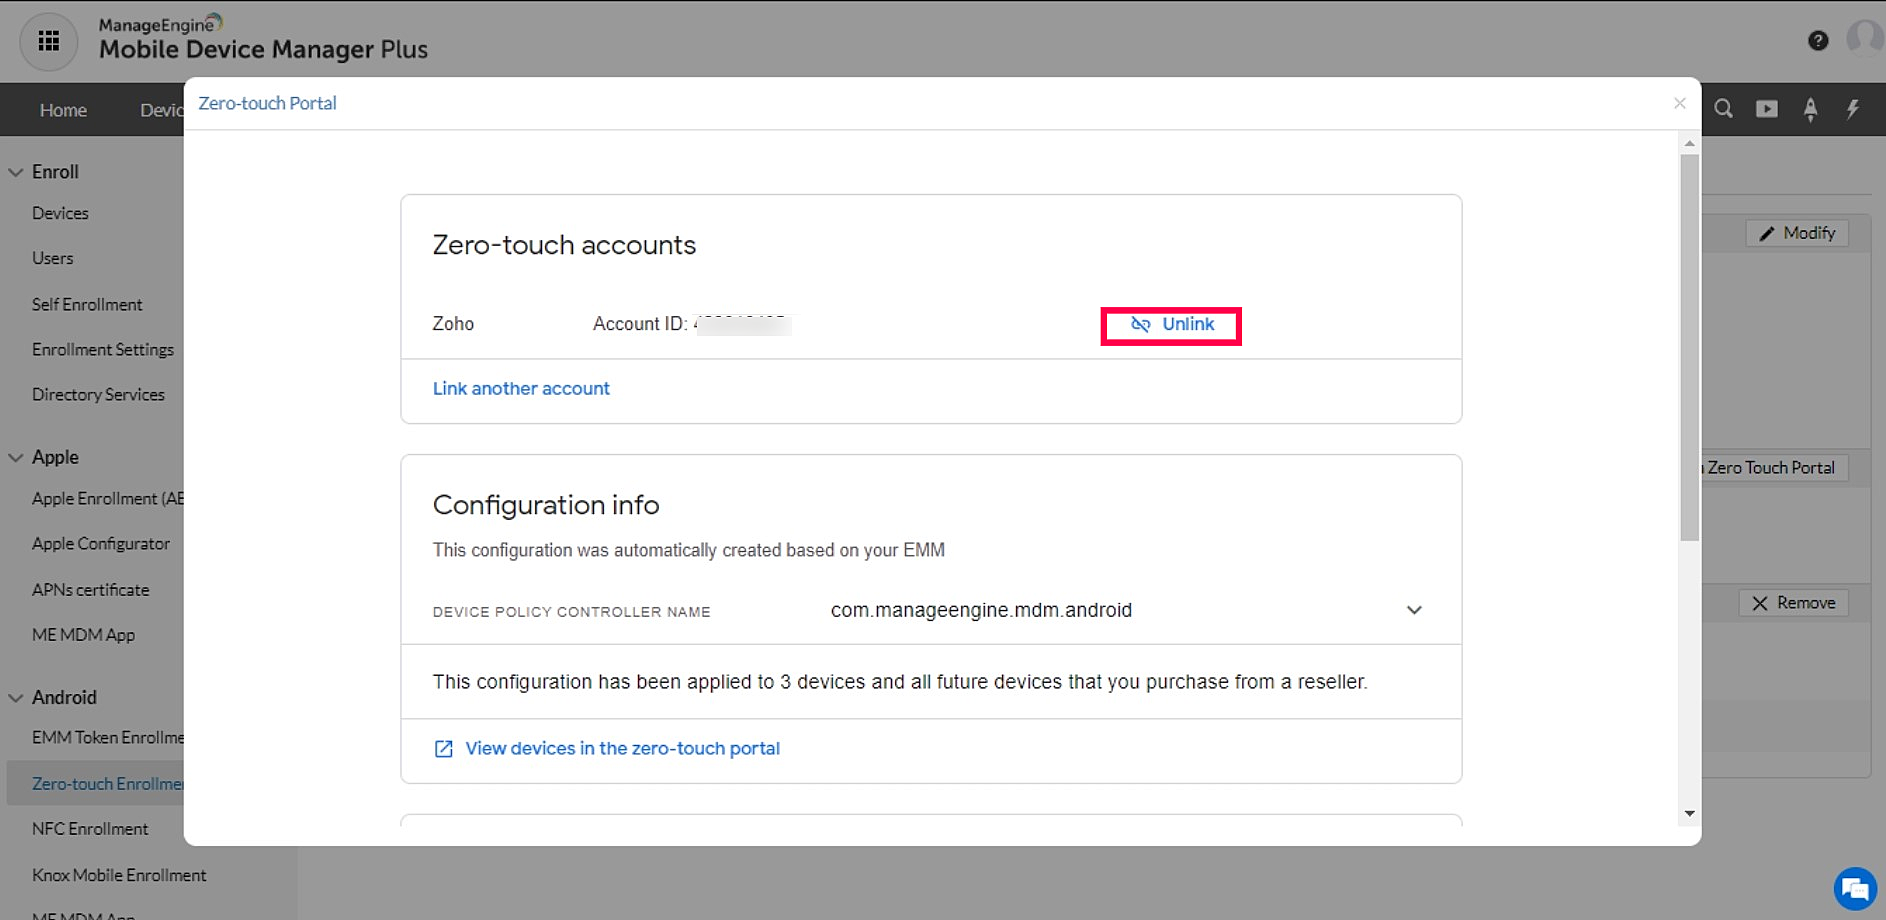
- Removing Android for Work — This will remove the Enterprise Default configurations and the device will be unmanaged upon activation. Unlink the enterprise account in the portal by navigating to Enrollment → Zero-touch Enrollment → Settings → Launch Zero-touch portal. Note: If you have not unlinked your ZTE account from Managed Google Play, you cannot integrate it with another enterprise.
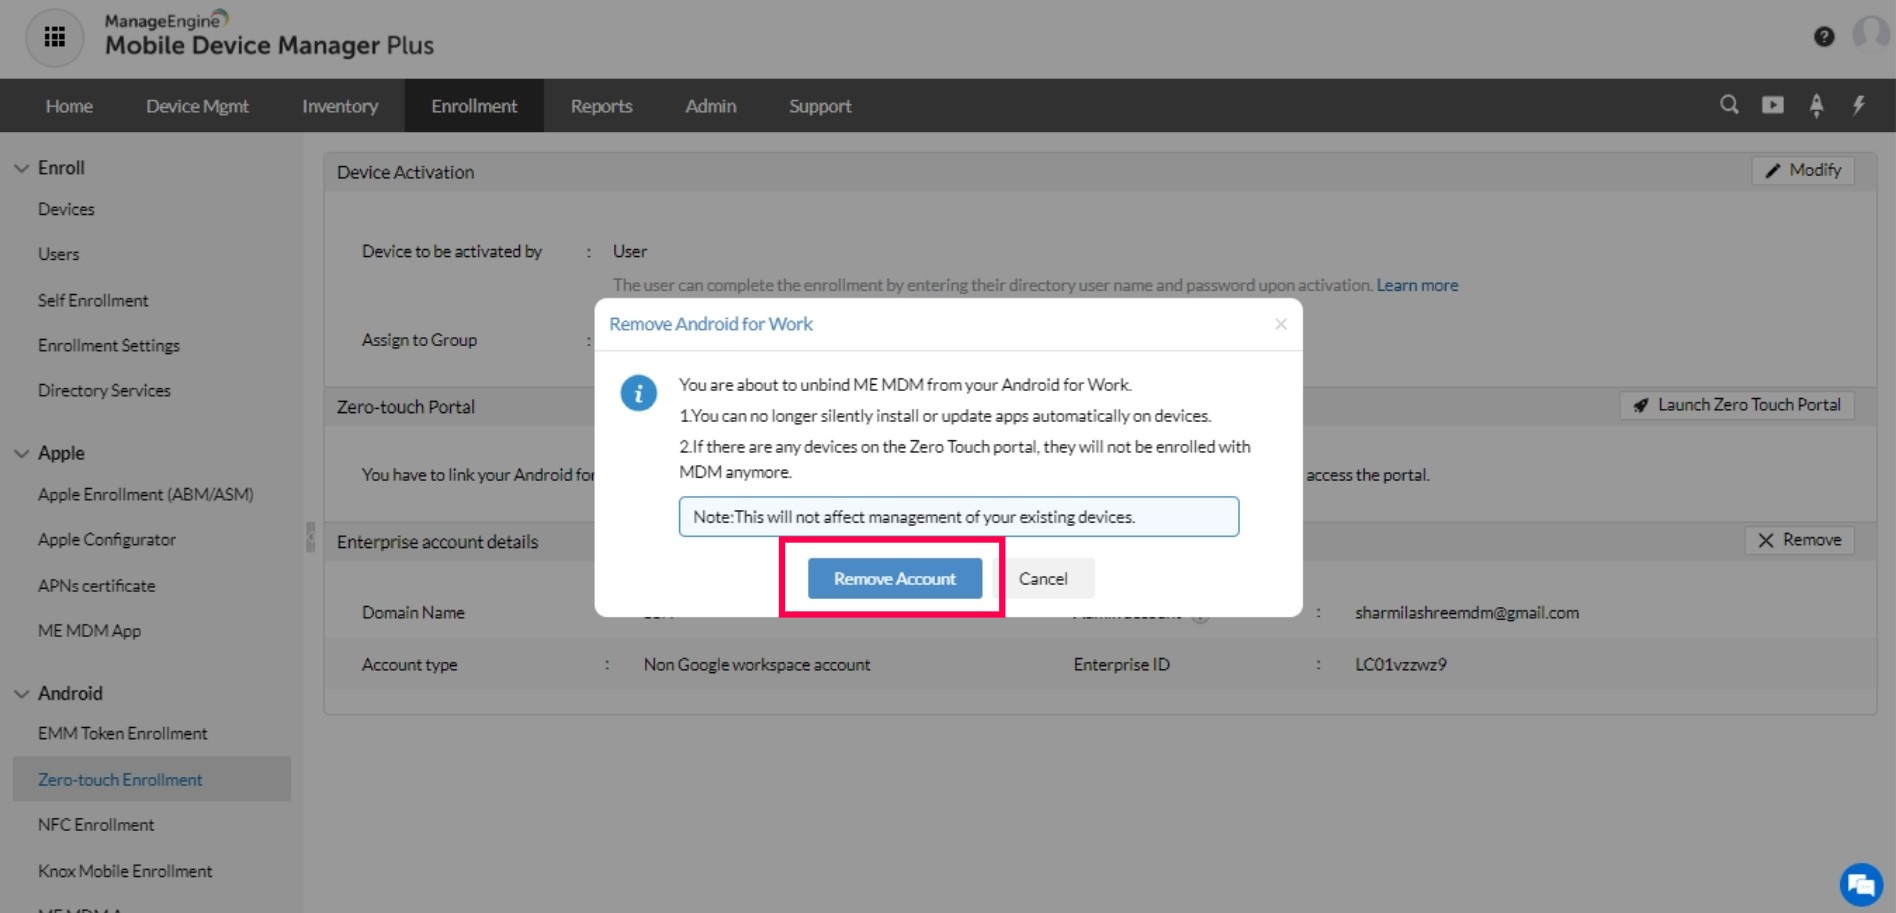
After unlinking the account, click Remove Android for Work in the portal. On removal, all configurations will be deleted.
- Deleting the MDM configurations (legacy users) —Choose the configuration which has to be deleted.This will remove the MDM configuration associated with the devices and on reset, it gets removed from MDM management. If you delete the default configuration, then it gets applied to all the devices.
NOTE:
When you remove Android for Work, you cannot perform silent installation of apps.
Click here to view the ports required for managing mobile devices.
Troubleshooting Tips for Zero Touch Enrollment
- It is recommended to check the Zero-touch Known Issues page to avoid compatibility-related issues.
- No accounts found message is shown in iframe.
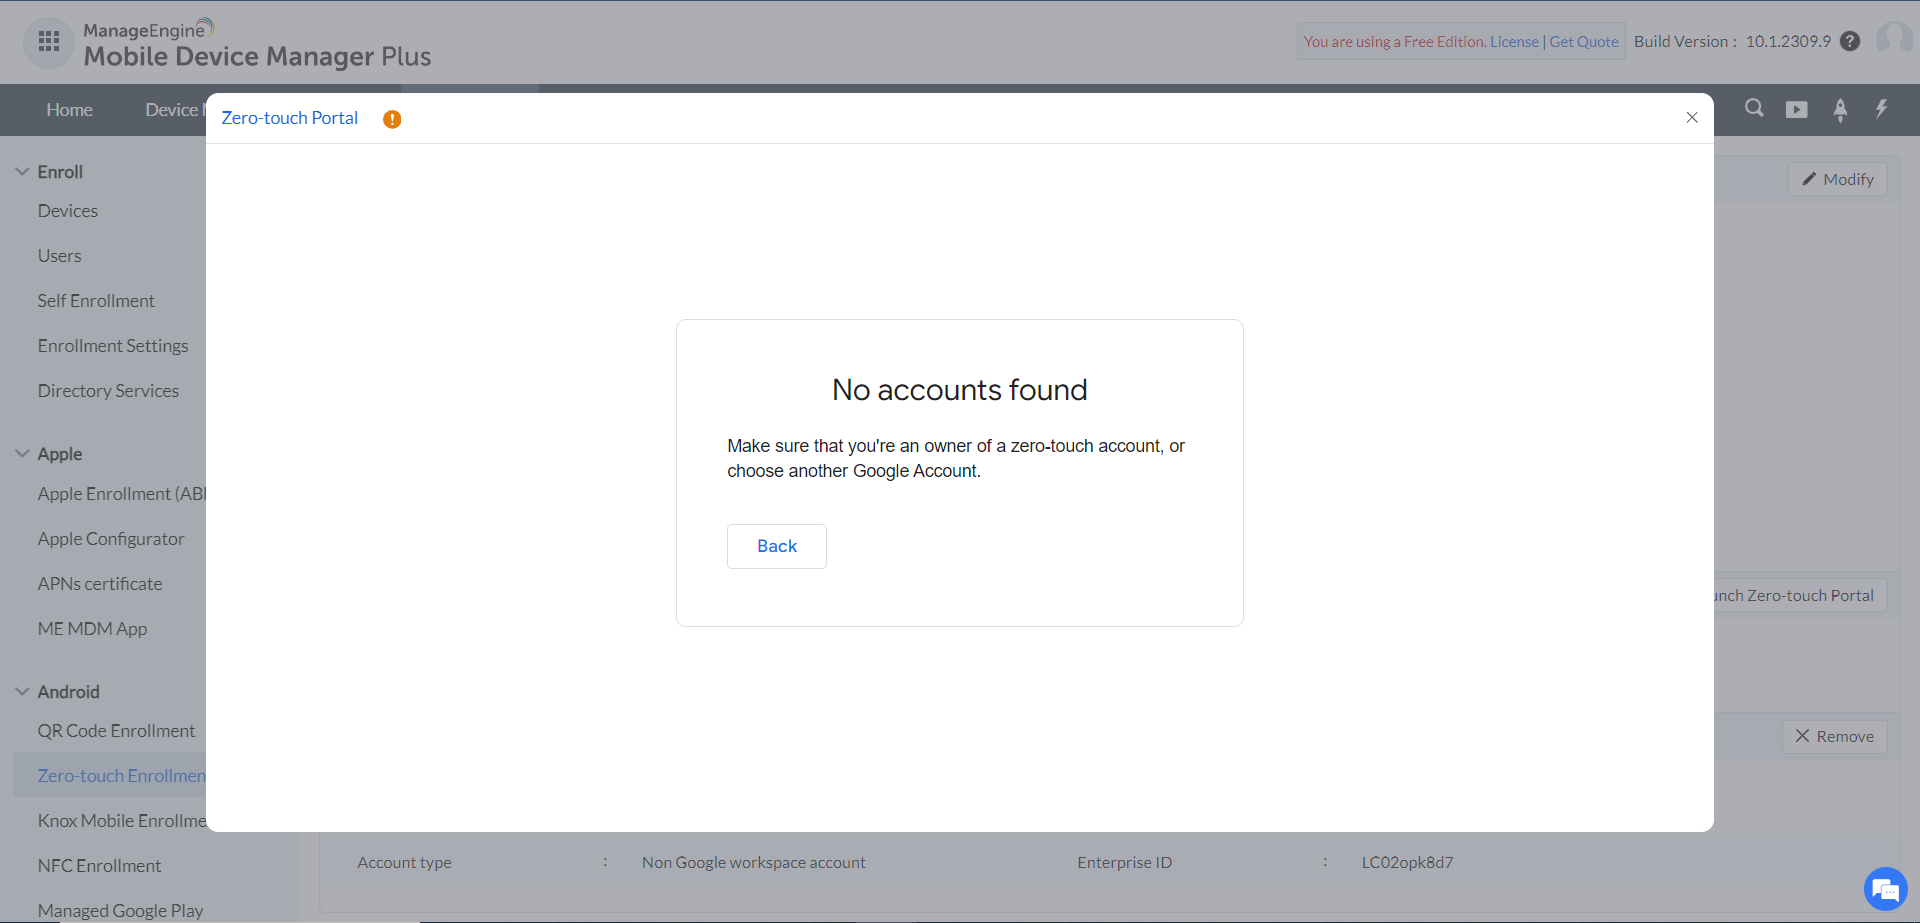
If the above message is shown in the iframe when trying to integrate MDM with the Zero Touch portal, ensure the account has access to the portal and that the prerequisites for Zero Touch Enrollment are met. - Already linked error

This error occurs if the account has already been used to integrate with another MDM solution. To resolve this, disassociate the account from the previous MDM provider and then retry the integration with the ZTE portal.
Frequently Asked Questions
- How do I create a new Android Zero-Touch portal and what are the prerequisites for integrating it with ManageEngine MDM?
- To set up the portal, you must contact the Authorized Reseller or partner from whom you purchased your devices; they will initiate the setup using your corporate Google account. Alternatively, you may refer to their official Zero-Touch documentation for specific creation steps. Our Zero-Touch portal prerequisite step is available here.