Windows Entra ID enrollment
To customize the login screen and/or to ease the process of device activation/initial device setup, you need to configure Windows AutoPilot. For the steps to configure Windows Autopilot, follow the steps given here.
Simplify and automate the enrollment of Windows 10 and later devices in your organization using Microsoft Entra ID (formerly Azure AD). This guide provides steps to set up automatic enrollment. Once configured, devices that join Microsoft Entra ID or add a Microsoft Entra ID-based workplace account will be automatically enrolled in ManageEngine MDM.
Prerequisites
- Third-party certificate (On-premises)
- Verified domain (On-premises)
- Azure administrator account
- Microsoft Entra ID P1/P2 license for all users
Configuring Windows Entra ID Enrollment
Step 1: Provision Third-Party Certificates
If you have already added a third-party certificate to MDM or are using MDM Cloud, skip to Step 2. To configure Windows Entra ID enrollment, a trusted third-party certificate must be added to MDM. Refer to this guide for detailed instructions on provisioning third-party certificates.
Step 2: Set Up ManageEngine MDM as MDM Provider in Entra
Step 2.1: MDM On-premises
- Go to the Entra Portal and log in if needed.
- Navigate to Microsoft Entra ID > Manage > Mobility (MDM and WIP) > Add Application.
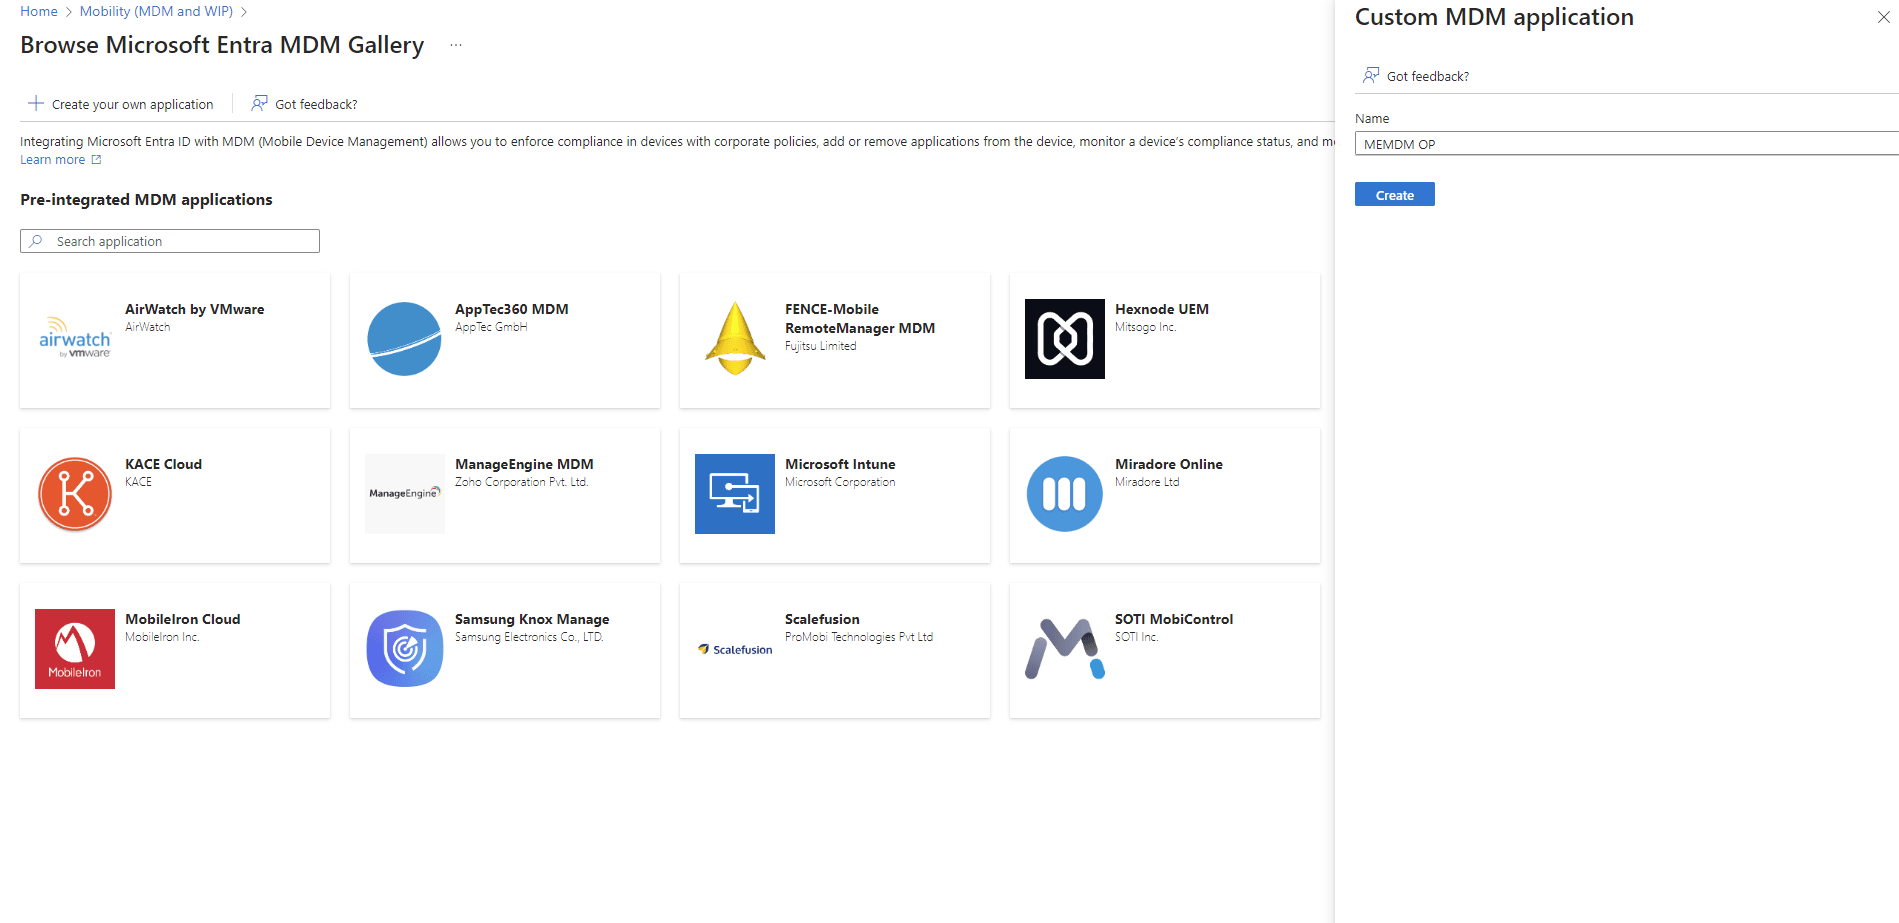
- Click Create your own application, enter the application name, and save.
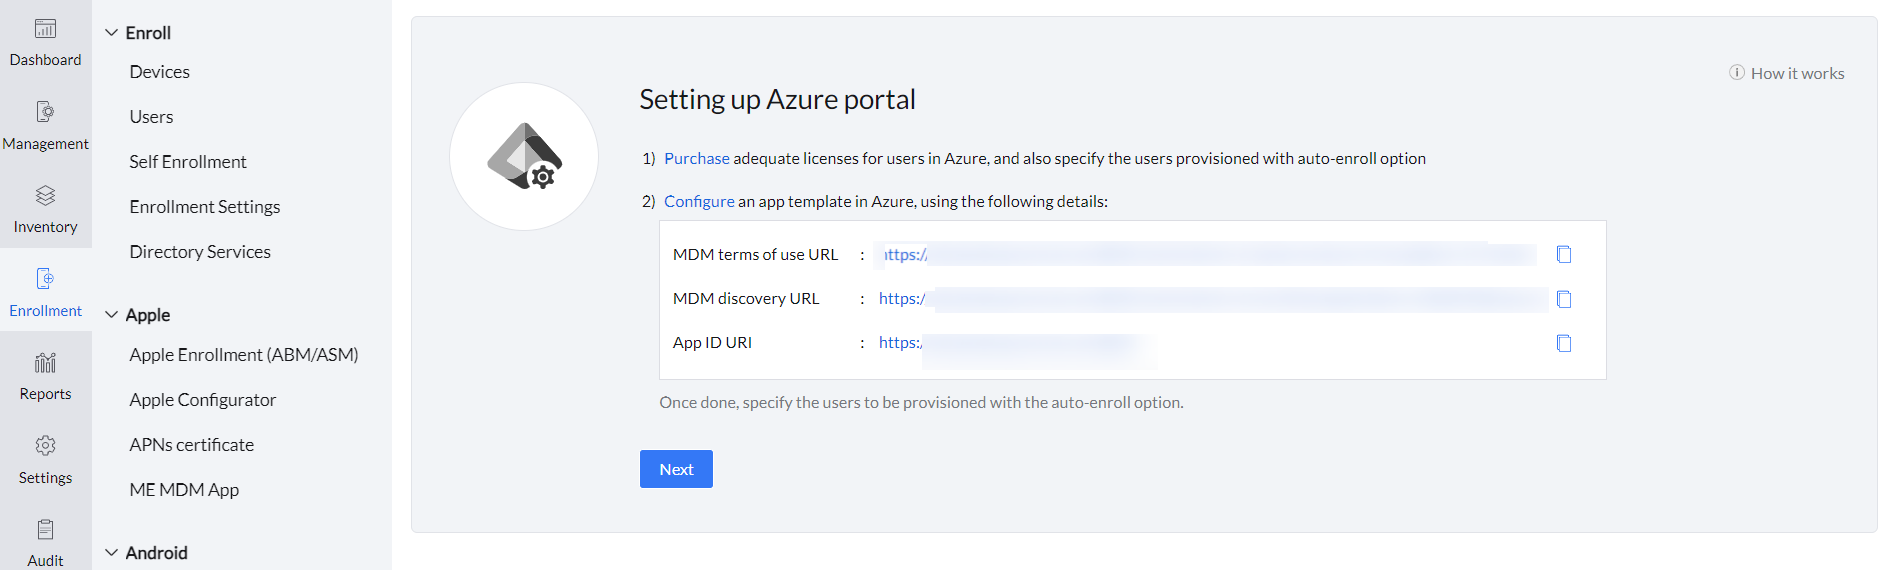
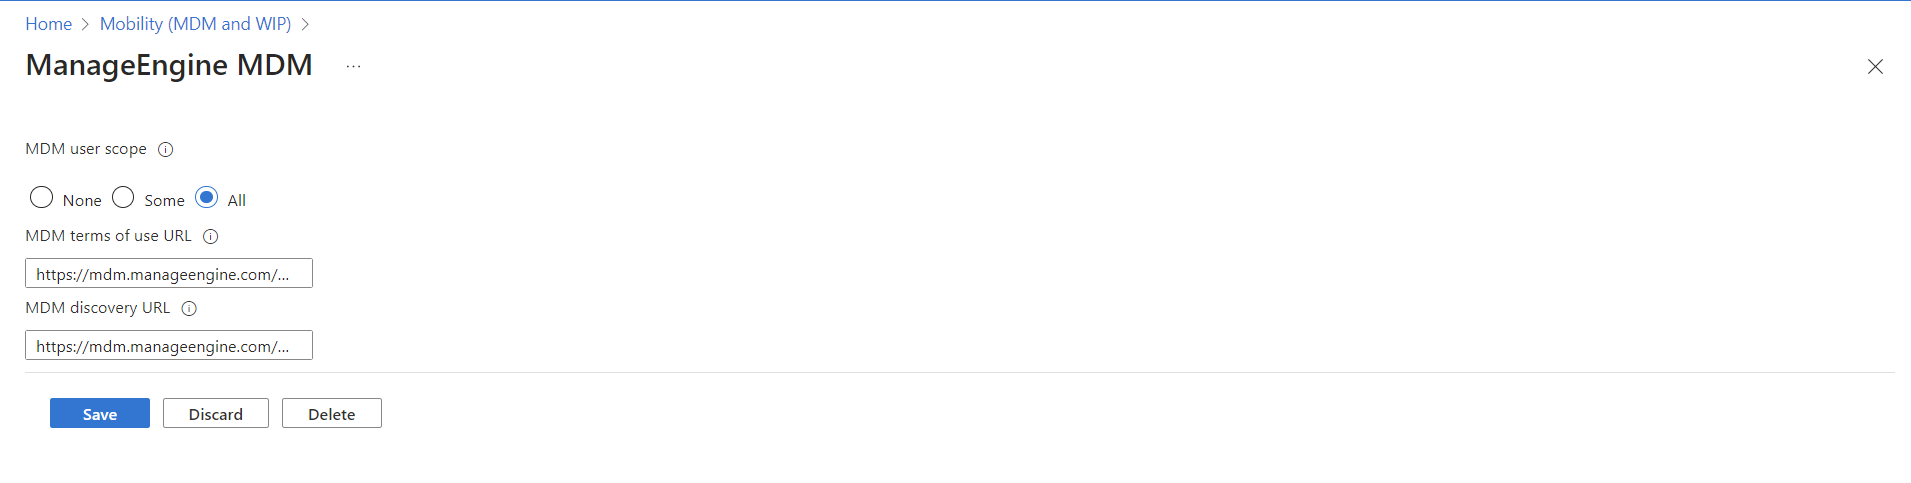
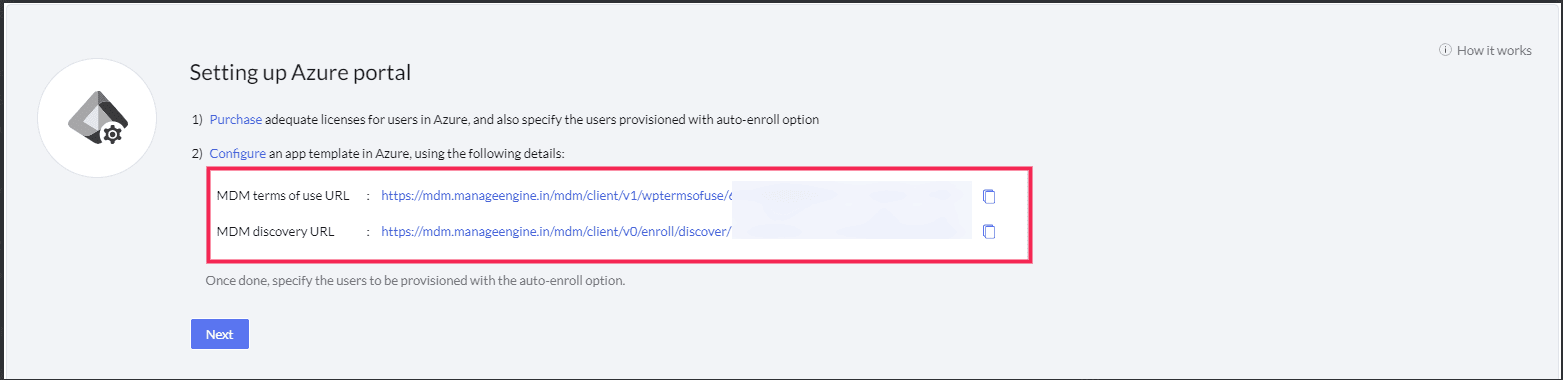
- Under the Mobility (MDM and WIP) section, select the newly added application, enter the terms of use and discovery URL, which can be found in the MDM console. Also configure the MDM user scope. Click Save.
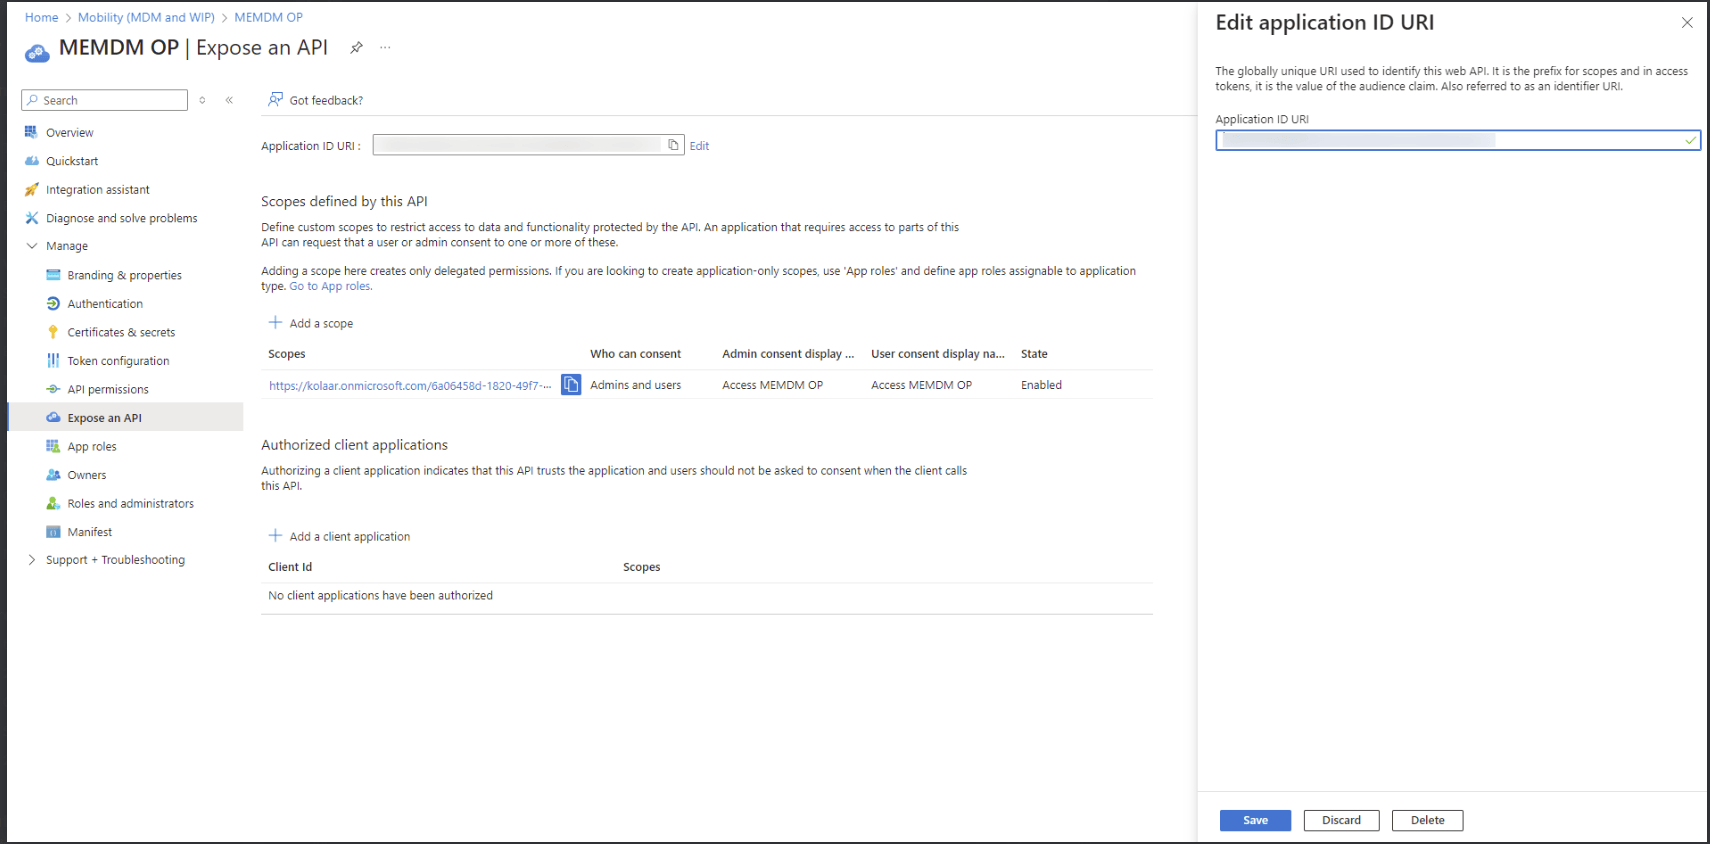
- Click on Manage permissions for this custom MDM application in App Registrations, navigate to Expose an API, and update the Application ID URI with the value from the MDM console. Click Save.

Step 2.2: MDM Cloud
- Log in to the Entra Portal.
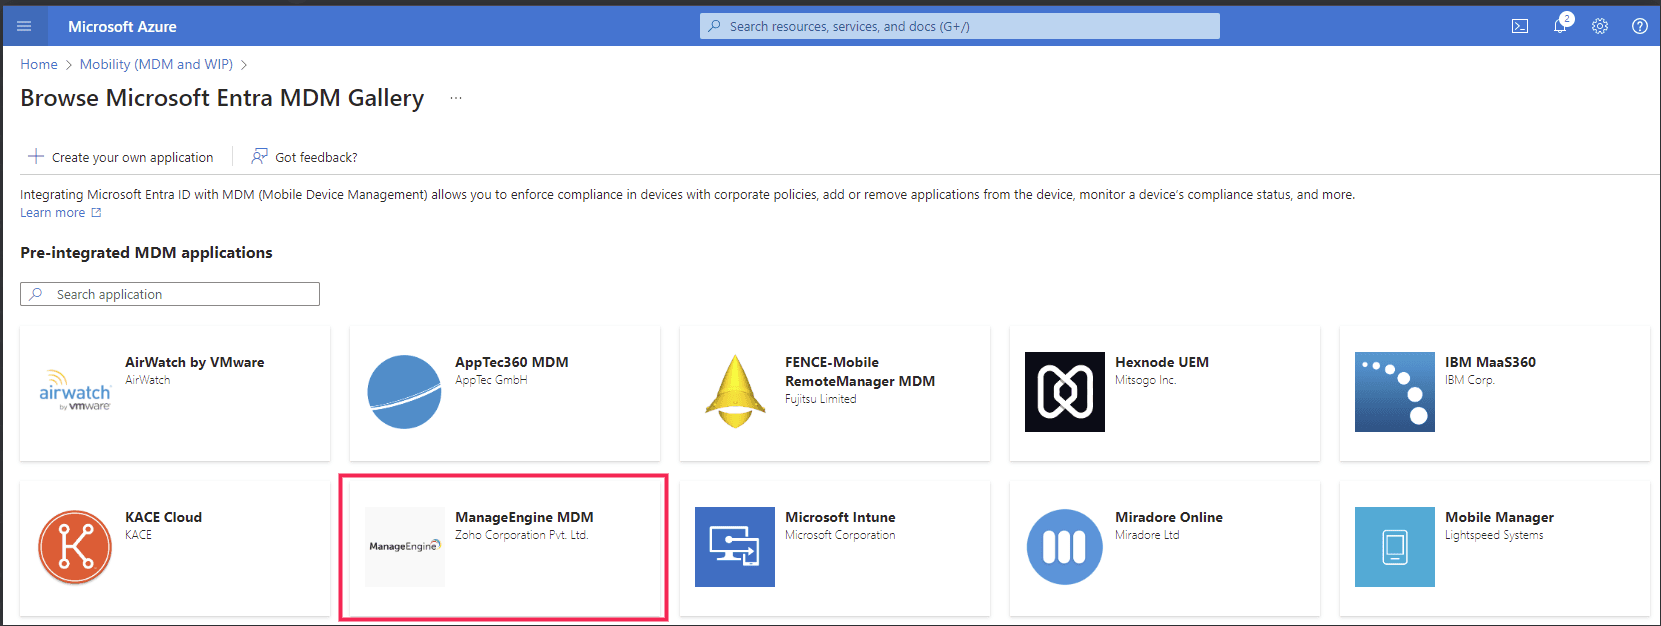
- Navigate to Microsoft Entra ID > Manage > Mobility (MDM and WIP) > Add Application > Select the ManageEngine MDM app.
- Under the Mobility (MDM and WIP) section, select the MDM app, enter the terms of use and discovery URL, which can be found in the MDM console. Also configure the MDM user scope. Click Save.
By following these steps, your organization's devices will be automatically enrolled in ManageEngine MDM when they join Microsoft Entra ID or add a Microsoft Entra ID-based workplace account.
Click here to know about the ports to be opened for managing mobile devices.