YubiKey Authentication
YubiKey is a physical key made by Yubico that supports one-time passwords, public key encryption and authentication. You can set up two-factor authentication with YubiKey in Access Manager Plus by following the steps detailed in this document.
Summary of Steps
- YubiKeys Compatible with Access Manager Plus
- Legacy YubiKeys Compatible with Access Manager Plus
- Configuring Two-Factor Authentication using YubiKey
- Enforcing YubiKey Two-Factor Authentication
- Connecting to Access Manager Plus Web Interface when TFA through Yubikey is Enabled
1. YubiKeys Compatible with Access Manager Plus
2. Legacy YubiKeys Compatible with Access Manager Plus
3. Configuring Two-Factor Authentication using YubiKey
- Navigate to Admin >> Authentication >> Two-Factor Authentication.
- Select YubiKey and click Save.
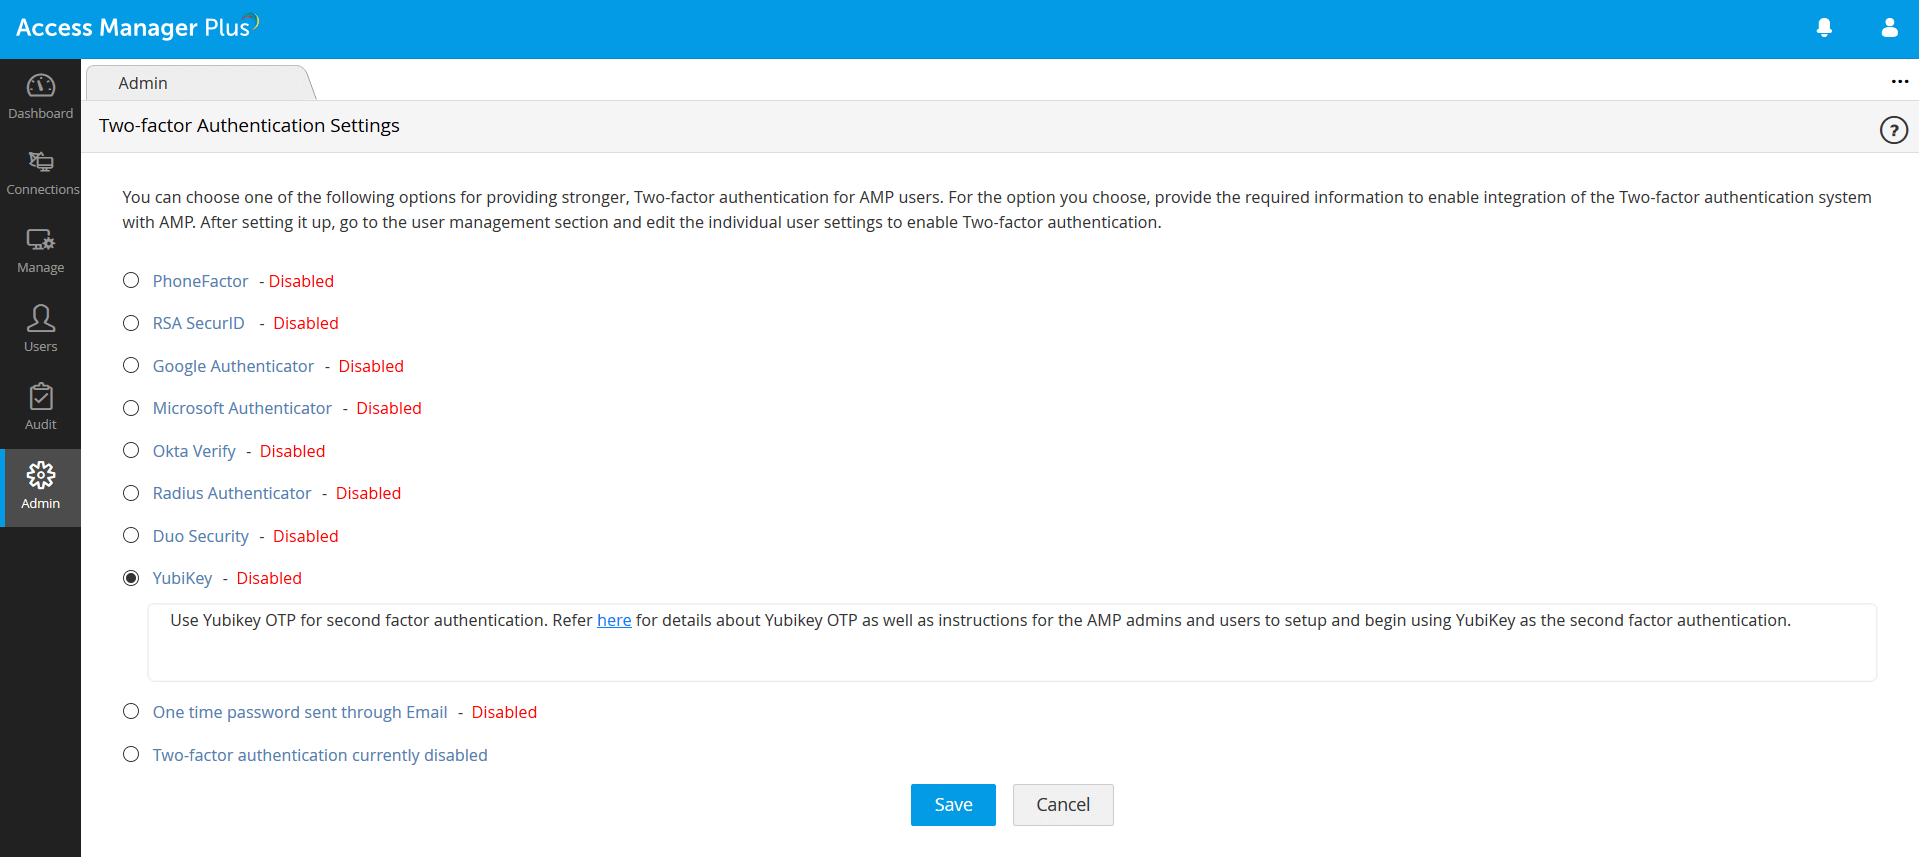
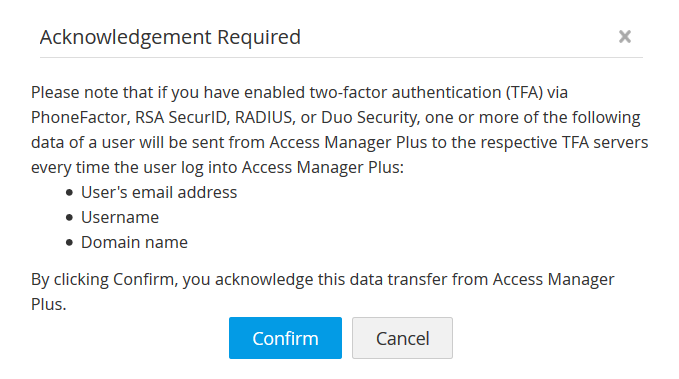
- Click Confirm to enable YubiKey Two-Factor Authentication.
4. Enforcing YubiKey Two-Factor Authentication
- Once you confirm YubiKey Two-Factor Authentication in the previous step, a new window will prompt you to select the users for whom Two-Factor Authentication should be enforced.
- Select the required users from TFA Disabled tab, move them to TFA Enabled tab and save changes.
- You can also select the users later by navigating to Users >> More Actions >> Two-Factor Authentication.
- In the pop-up window, select the users for whom you want to enforce YubiKey Two-Factor Authentication and click Save.
5. Connecting to Access Manager Plus Web Interface when TFA through YubiKey Enabled
While logging into Access Manager Plus, the users for whom Two-Factor Authentication is enabled will have to authenticate twice successively. The first level of authentication will be through the usual authentication method i.e., through Access Manager Plus's local authentication or AD/LDAP authentication, whichever is enabled for the user.
- Launch Access Manager Plus's web interface, enter the Username and Password (local authentication or AD/LDAP), and click Login.
- Once the first level of authentication succeeds, Access Manager Plus will prompt you to enter your YubiKey one-time password.
- Insert the YubiKey into the USB port of your laptop or computer.
- Before generating a one-time password, you need to decide which slot of the YubiKey (slot 1 or slot 2) you're going to use for authentication throughout.
- Slot 1: If you tap theYubiKey once, it generates a 44-character security key whose first 12 characters are unique to this slot. For every subsequent login through this slot, the first 12 characters remain the same and the rest of the 32 characters are randomized.
- Slot 2: If you tap and hold the YubiKey for 2-5 seconds, it generates a 44-character security key whose first 12 characters are unique to this slot. For every subsequent login through this slot, the first 12 characters will remain the same and the rest of the 32 characters will be randomized.
- Here's a sample output from a YubiKey where the button has been pressed three times.
cccjgjgkhcbbirdrfdnlnghhfgrtnnlgedjlftrbdeut
cccjgjgkhcbbgefdkbbditfjrlniggevfhenublfnrev
cccjgjgkhcbbcvchfkfhiiuunbtnvgihdfiktncvlhck
Note: By default, YubiKey generates slot 1 passcode for NFC configured mobile devices. You can set slot 2 passcode as default by changing the setting from slot 1 to slot 2 using the Yubikey Personalization tool.
- Access Manager Plus matches the 12-character key against your account in its database and verifies the same for the second level of authentication during future login attempts.
- After submitting the YubiKey one-time password, click Register and Login.