Support
 
Phone Live Chat
 
Support
 
US: +1 888 720 9500
US: +1 800 443 6694
Intl: +1 925 924 9500
Aus: +1 800 631 268
UK: 0800 028 6590
CN: +86 400 660 8680

Direct Inward Dialing: +1 408 916 9393


Knowledge Base

How to update ADManager Plus' built-in PostgreSQL database

The steps to update the PostgreSQL database varies based on the build number as given below,

  • For ADManager Plus build 7230 or above, please follow these steps.
  • For ADManager Plus builds below 7230, please follow these steps.
  • For ADManager Plus builds below 7140, please follow these steps.

Steps to update your ADManager Plus instance's PostgreSQL database (Build 7230 or above)

  1. Stop ADManager Plus by navigating to Start > ADManager Plus > Stop ADManager Plus.
    Note:
    • If you have installed ADManager Plus as a Microsoft Windows service, stop the service by navigating to Start > Run > services.msc > ManageEngine ADManager Plus > Stop.
    • If you have high availability enabled, stop the ADManager Plus PostgreSQL service by navigating to Start > Run > services.msc > ManageEngineADManagerPlusPostgres > Stop.
  2. Navigate to <Installation Directory>\ADManager Plus\bin and execute the backupDB.bat file to backup the database of your current installation. This will create a folder called Backup inside ADManager Plus' installation folder (<Installation Directory>\ADManager Plus\Backup\). The Backup folder will contain your database backup file (e.g., OfflineBackup_20161129235853.ezip).
    Note:
    • You can also backup the database by running Command Prompt as an administrator, navigating to <Installation Directory>\ADManager Plus\bin, and executing the backupDB.bat file.
    • ADManager Plus uses a CryptTag value as its default database backup file password for enhanced protection, and this can be found in the customer-config.xml file.
  3. Download PostgreSQL v15.4 from this link.
  4. Navigate to <Installation Directory>\ADManager Plus\ and create a new folder named NewPgsql.
  5. Move the downloaded PostgreSQL ZIP file (from Step 3) to the NewPgsql folder.
  6. Navigate to <Installation Directory>\ADManager Plus\bin and execute the upgradePG.bat.
  7. Start the product by navigating to ADManager Plus > Start ADManager Plus.

Steps to update your ADManager Plus instance's PostgreSQL database(Builds below 7230)

  1. Stop ADManager Plus by navigating to Start > ADManager Plus > Stop ADManager Plus.
    Note: If you have installed ADManager Plus as a Microsoft Windows service, stop the service by navigating to Start > Run > services.msc > ManageEngine ADManager Plus > Stop.
  2. Navigate to <Installation Directory>\ADManager Plus\bin and execute the backupDB.bat file to back up the database of your current installation. This will create a folder called Backup inside ADManager Plus' installation folder (<Installation Directory>\ADManager Plus\Backup). The Backup folder will contain your database backup file (e.g., OfflineBackup_20161129235853.ezip).
    Note:
    • You can also do this by running Command Prompt as an administrator, navigating to <Installation Directory>\ADManager Plus\bin, and executing the backupDB.bat file.
    • ADManager Plus uses a CryptTag value as its default database backup file password for enhanced protection, and this can be found in the customer-config.xml file.
  3. Make a copy of the following folders and files:
    • The Archive, ES, and esdata folders from the installation folder of your existing ADManager Plus instance (<Installation Directory>\ADManager Plus)
    • The customer-config.xml file of your existing ADManager Plus instance from the <Installation Directory>\ADManager Plus\conf folder
  4. If you are going to install your new ADManager Plus instance on the same server,
    • Navigate to the InstallShield Installation Information folder (C:\Program Files (x86)\InstallShield Installation Information) and rename the CC00BC3F-40AE-49A7-BA63-FE2F93D20585 folder to CC00BC3F-40AE-49A7-BA63-FE2F93D20585_bak.
      Note: The InstallShield Installation Information folder is a hidden folder and can be viewed by clicking the View tab in File Explorer and checking Hidden items.
    • Locate and rename the existing installation folder.
      e.g., If you've installed ADManager Plus in the default location, navigate to (C:\Program Files\ManageEngine) and rename the ADManager Plus folder to ADManager Plus_old.
  5. Now, download and install the same build of your ADManager Plus from here.
       
    • Steps to download the build
    • Enter your current build number, click Download, and follow the provided steps.
    •  
    • Please contact our support team or fill this form for our support team's assistance in upgrading to the latest build number 7184
    Do not start the product after installation. This can be done by unchecking the Start ADManager Plus in console mode option in the setup window.

    How to update ADManager Plus' built-in PostgreSQL database

  6. Paste the copied Archive, ES, and esdata folders in the installation folder of your new ADManager Plus instance (<Installation Directory>\ADManager Plus).
  7. Locate and replace the new customer-config.xml file with the copied customer-config.xml file from step 3.
  8. Obtain the database backup file of your old instance and paste it in the bin folder (<Installation Directory>\ADManager Plus\bin) of your new ADManager Plus instance.
  9. Restore the database backup by running Command Prompt as an administrator, navigating to <Installation Directory>\ADManager Plus\bin and executing the batch file, restoreDB.bat, in the following format:

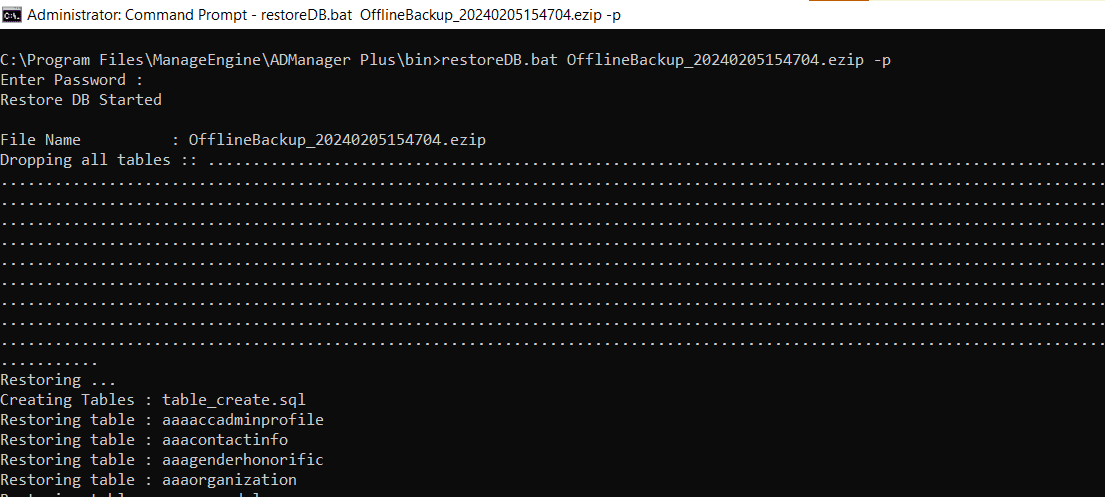
    restoreDB.bat backupFileName -p
    (e.g., restoreDB.bat OfflineBackup_20230215191814.ezip -p)

    Note:

    • When you are prompted for a password, copy and paste the CryptTag value from the customer-config.xml file of your old instance. The CryptTag value is the default database password and is used only when a password is not specified in the Security and Privacy settings of ADManager Plus.

    How to update ADManager Plus' built-in PostgreSQL database

  10. Now start the product.
  11. Apply the original license file sent to your email from licensing@manageengine.com. You can also obtain the license file, AdventNetLicense.xml from the License folder present in <Installation Directory>\ADManager Plus\lib of your old instance.

Steps to check your PostgreSQL database's version

  • For ADManager Plus build 7150 and above:
    1. Log in to ADManager Plus and navigate to Support.
    2. Under Upload Logs, click More.
    3. Under Product Information, find the Database type.
  • For ADManager Plus builds below 7150:
    1. Navigate to <Installation Directory>\ADManager Plus\pgsql\bin.
    2. Execute the following command:
      psql.exe -V

How to upgrade the database in older builds of ADManager Plus

If you are using builds older than 7140 of the product, then follow these steps to upgrade the database on the same server.

  1. Stop ADManager Plus and the database by:

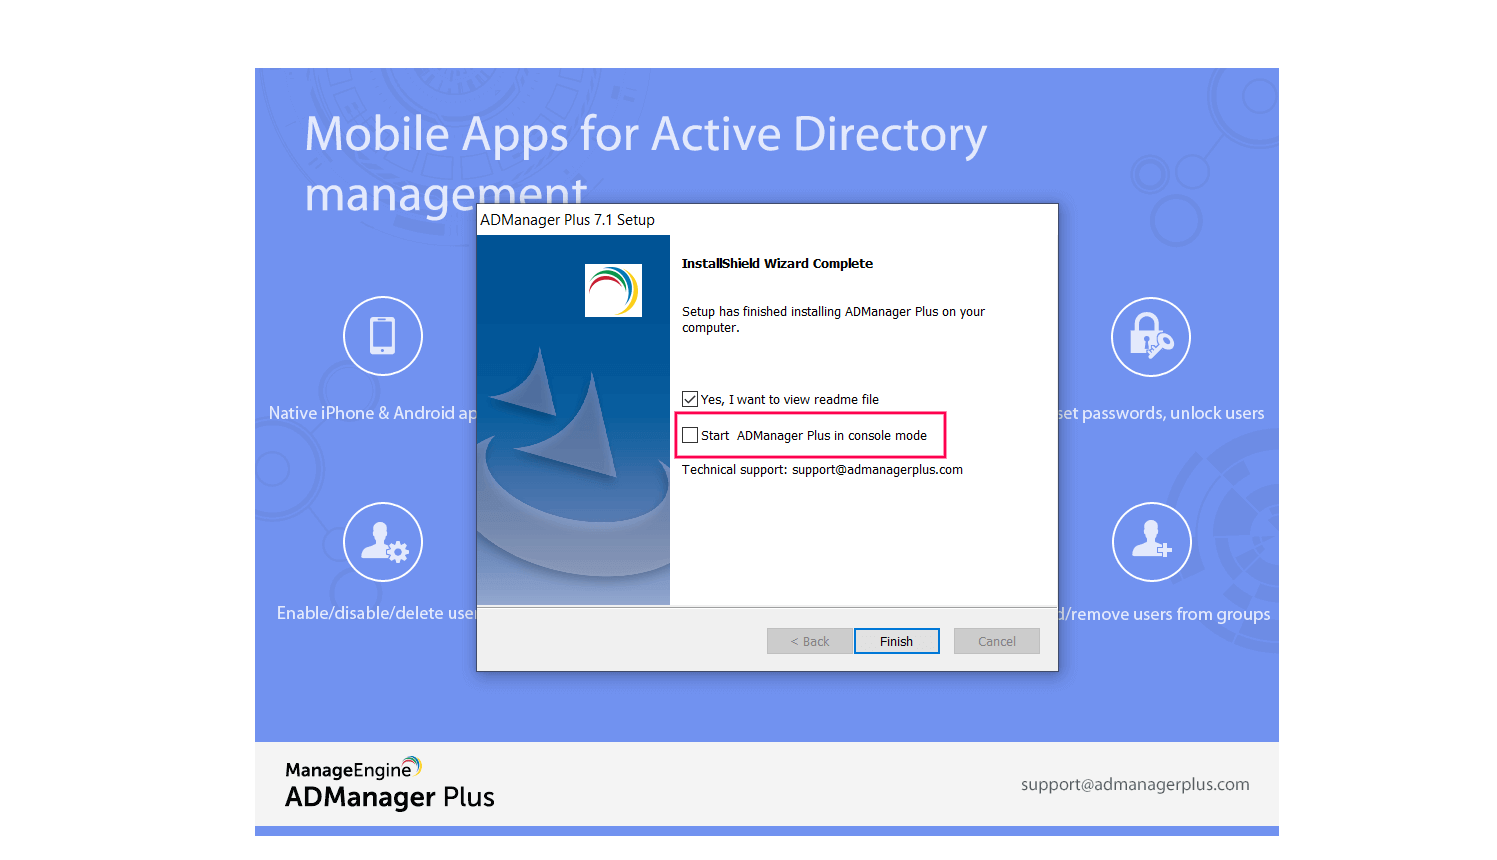
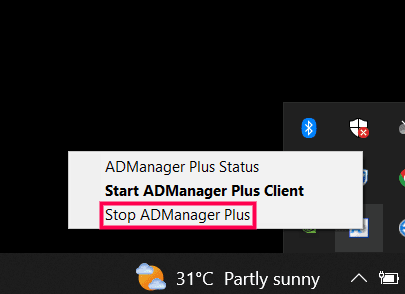
    Navigating to Start >All Programs > ADManager Plus > Stop ADManager Plus or if you have installed ADManager Plus as an NT Service, then Start > Run > services.msc > ManageEngine ADManager Plus > Stop the service. To stop the database, go to <Installation Directory>\ManageEngine\ADManager Plus\bin and execute the StopDB.bat file.

  2. Once you have stopped the database, make a backup of the old instance's database. Go to <Installation dir>\ADManager Plus\bin > right-click the backupDB file > select the Run as administrator option to execute the backupDB.bat file using the Command Prompt.

    Note:

    • A folder named Backup will be created under the <installation dir> (e.g., C:\Program Files\Manage Engine\ADManager Plus), which will contain the database in a compressed file format (e.g., OfflineBackup_20230215191814.ezip).

  3. Now, open File Explorer. In the menu bar, click View > Show > select Hidden items. Go to C:\Program Files(x86)\InstallShield Installation Information. Rename the{CC00BC3F-40AE-49A7-BA63-FE2F93D20585}_bak following folder, {CC00BC3F-40AE-49A7-BA63-FE2F93D20585}, to . You also have to rename the existing ADManager Plus installation folder to ADManager Plus_old.
  4. Once you are done with renaming the folder, download and install the required version of the product on the same server.
  5. After installing the product, start it once in console mode and shut it down by navigating to the system tray icon > Stop ADManager Plus.

  6. Copy the DB backup in the backup folder of the old instance (<installation directory>\ADManager Plus\backup) along with Archive, ES, and esdata folders from the installation folder of the old instance.
  7. After installation, do the following:
    • Paste the DB backup folder in the bin folder of the new instance.
    • Paste the archive, ES, and esdata folders in the new instance's installation directory (<installation dir>\ADManager Plus).
  8. Restore the backup, which is located in the bin folder, by opening the Command Prompt with the ADManager Plus service account, navigating to <New Installation Directory>\ADManager Plus\bin using the cd <drive name>: command, and executing the command given below:

    restoreDB.bat <backup file name> -p
    For example: restoreDB.bat OfflineBackup_20210116225934.ezip -p

  9. The password to open the backup folder will be the reverse string of the filename. For example: 43952261101202_pukcaBenilffO

  10. Now, from the same Command Prompt window, run the command below to install the new instance as a service.

    wrapper.exe -i ..\conf\wrapper.conf

  11. Finally, start the product using Run > Services.msc > ManageEngine ADManager Plus > Start.


Select a language to translate the contents of this web page:

Need further assistance?

Fill this form, and we'll contact you rightaway.

Request Support

  •  
  • *
     
  • *
     
  • *
     
  • By submitting you agree to processing of personal data according to the Privacy Policy.

"Thank you for submitting your request.

Our technical support team will get in touch with you at the earliest."

ADManager Plus Trusted By

The one-stop solution to Active Directory Management and Reporting
Email Download Link email-download-top