How to create a threshold-based alert profile?
NetFlow Analyzer allows you to create different alert profiles based on the thresholds you set for your enterprise network, and reduce the impact of network incidents way before users experience it.
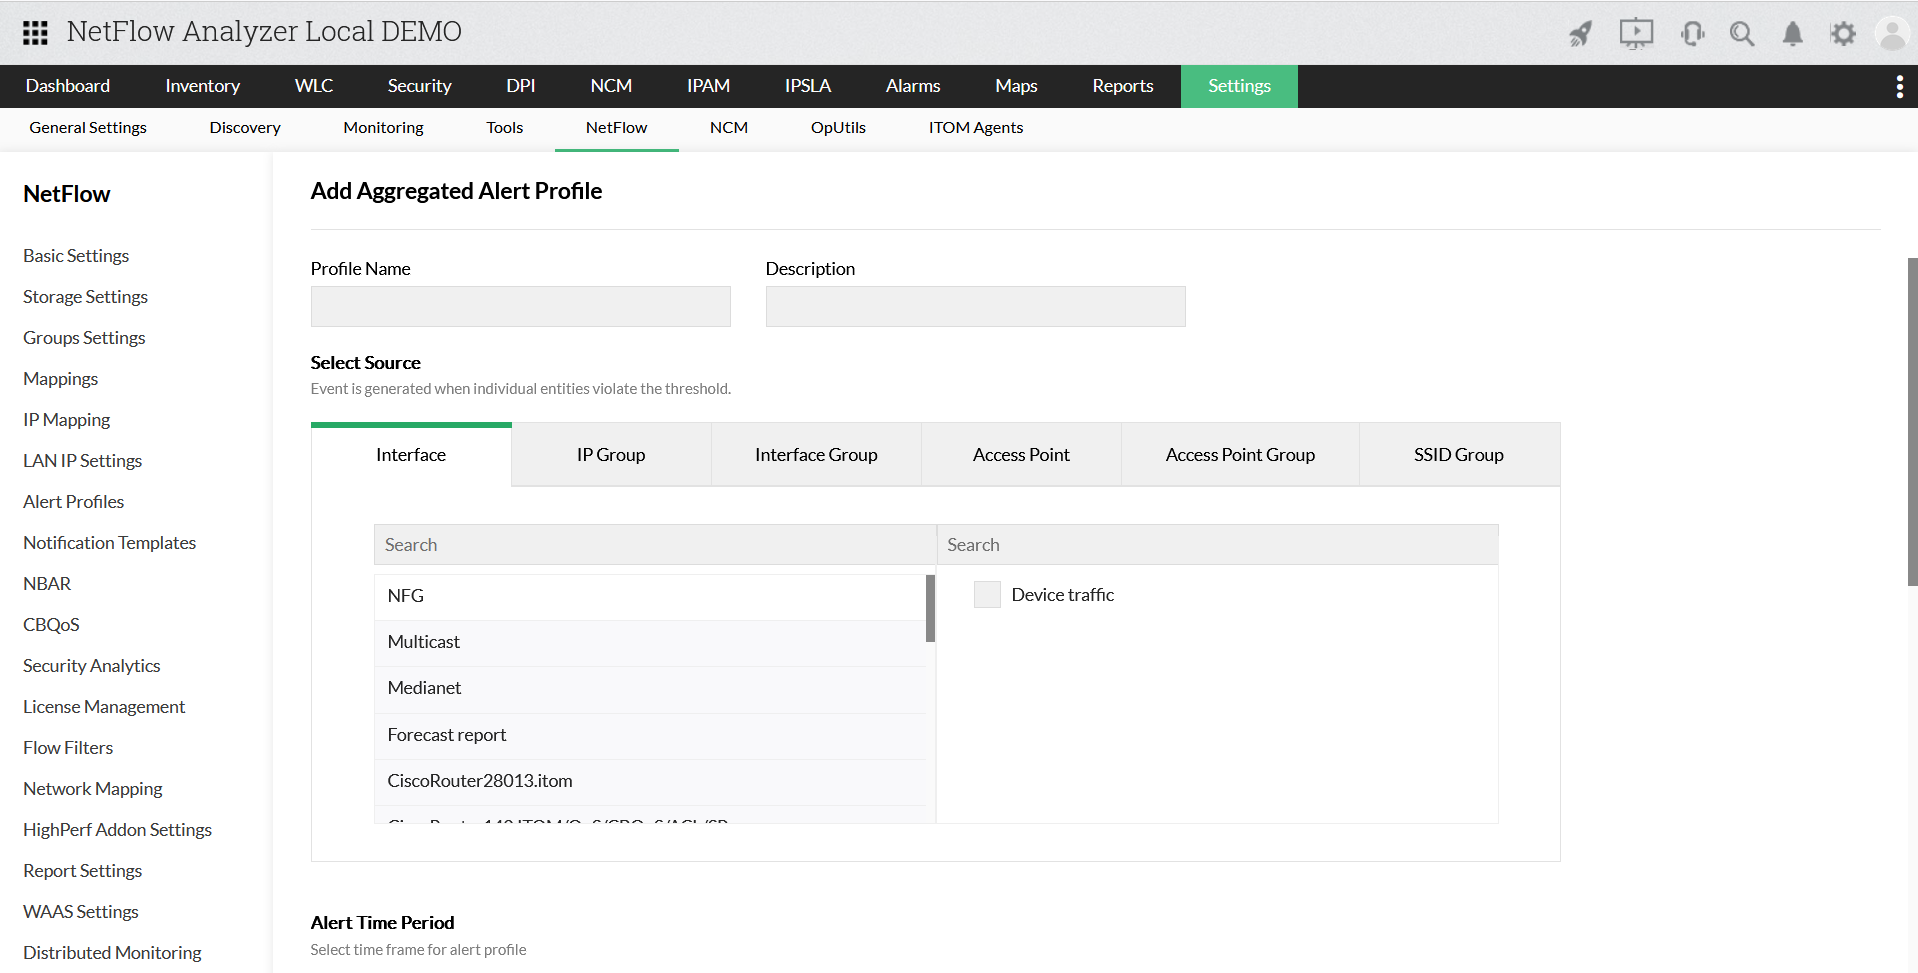
How to create a threshold-based Aggregated alert profile?
To create a new Aggregated alert profile, follow the steps below:
- Go to Settings > NetFlow > Alert Profiles > Aggregated
- Click on "Add"
- Enter profile name and description
- Select Source as Interface/IP group/Interface group/Access Point/SSID group and select all or any of the interfaces
- Next, provide time frame and other criteria such as:
- Select Custom time range, or Periodic to select a start time and the time interval.
- Select time zone
- Enable/Disable business hour filter
- Include/Exclude weekends
- Define threshold.
- Select Utilization / Volume / Speed / Packets
- To define threshold for Utilization, provide "<" or ">", utilization %, n times, minutes, severity and notification details
Note: i. You can select the severity level as Critical, Trouble or Attention.
ii. Notification can be either selected as Email / SNMP Trap / SMS / SDP Ticket - Save the profile
How to create a threshold-based Real-Time alert profile?
It involves 4 simple steps to create a new threshold based alert. Follow the steps below:
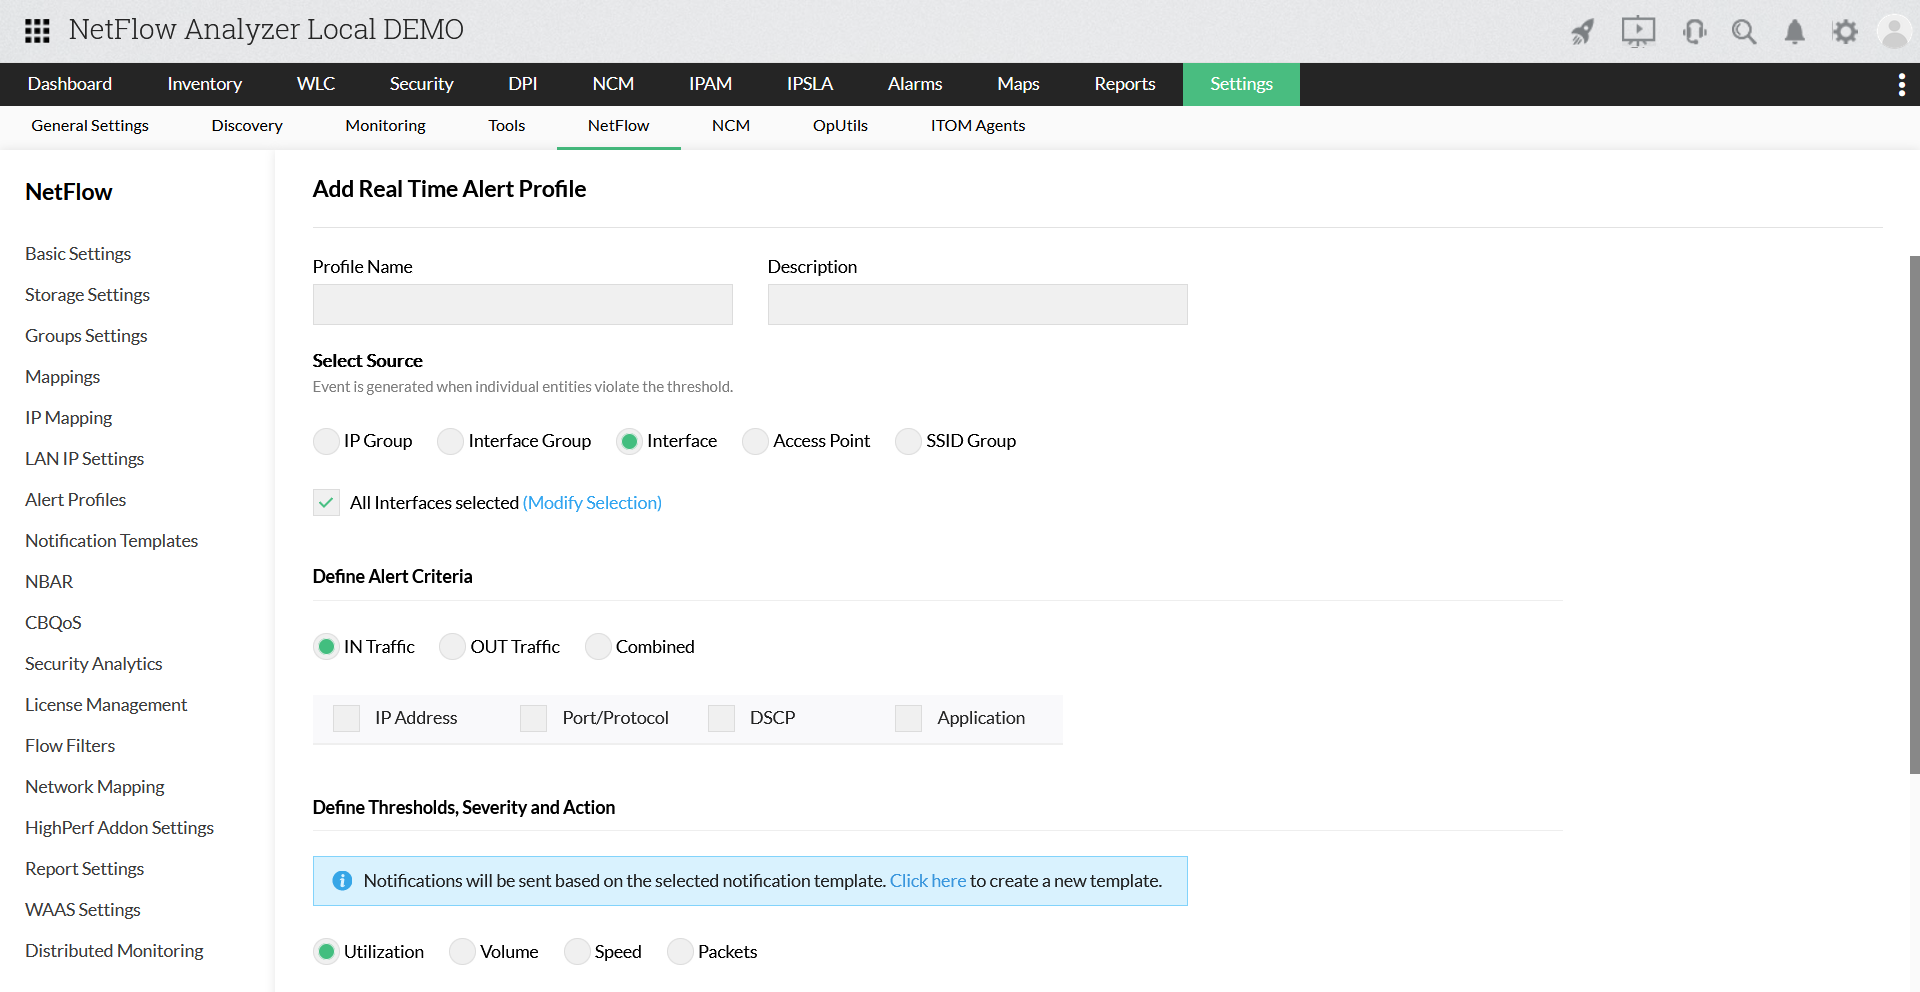
- Go to Settings > NetFlow > Alert Profiles > Real-Time
- Click on "Add" new profile
- Enter profile name and description
- Select Source as Interface/IP group/Interface group/Access Point/SSID group and select all or any of the interfaces
- Next,define criteria to generate alert for IN / OUT / combined traffic
- Define threshold,
- Select Utilization / Volume / Speed / Packets
- To define threshold for Utilization, provide "<" or ">", utilization %, n times, minutes, severity and notification details
Note: i. You can select the severity level as Critical, Trouble or Attention.
ii. Notification can be either selected as Email / SNMP Trap / SMS / SDP Ticket - Select time zone
- Enable/Disable business hour filter
- Include/Exclude weekends
- Save the profile
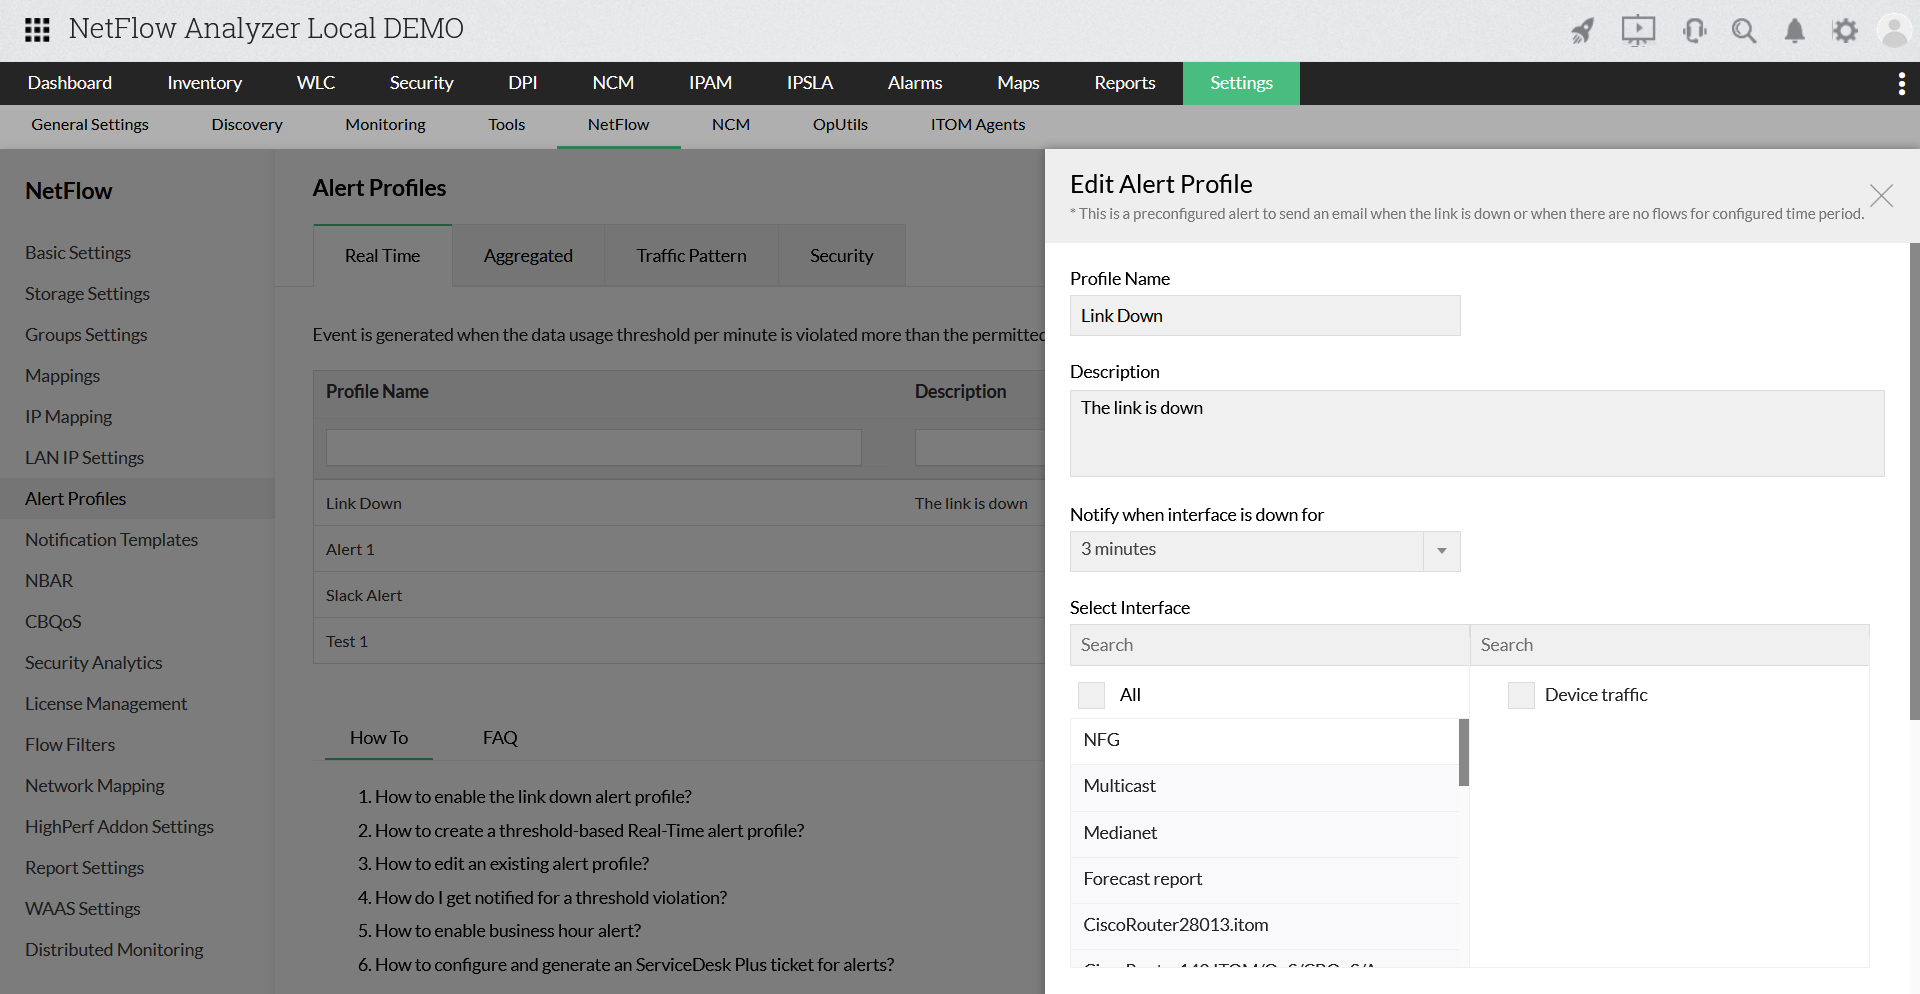
How to enable the link-down alert?
To enable "Link down" alert,
- Go to Settings > NetFlow > Alert Profiles.
- Click on "Link Down" Profile name.
- Edit Profile name if needed.
- Select interfaces.
- Provide email id or ticket details to send alerts.
- Optional: Get alert when no flow is received.
- Click Update.
How to enable no flow alert?
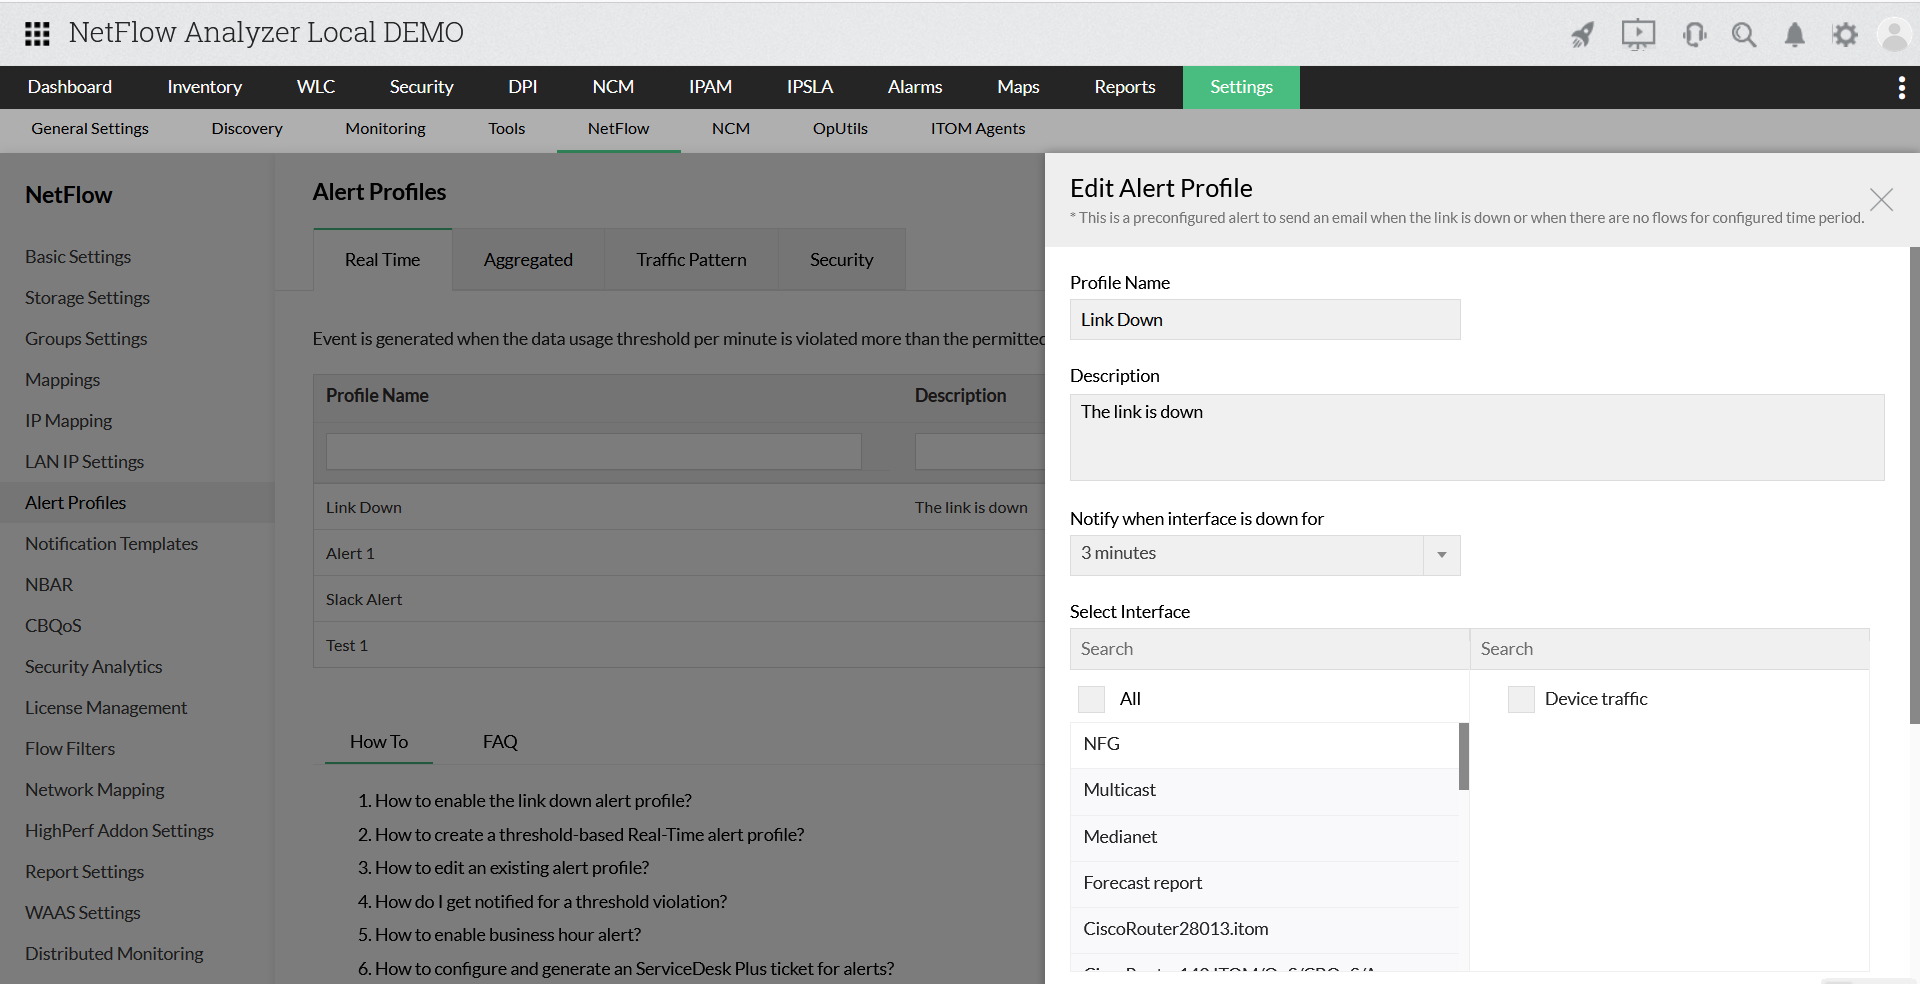
To enable "No flow" alert follow the same steps as link down alert,
- Go to Settings > NetFlow > Alert Profiles
- Click on "Link Down" Profile name
- Edit Profile name if needed
- Select interfaces
- Provide email id or ticket details to send alerts.
- Click on no flow alert (alert when no flows are received for 5 mins)
- Click Update
How to edit an existing alert profile?
Click on Alert Profile Name under Settings > NetFlow > Alert Profile. Modify threshold / interfaces selection / alert name and Save.
How do I get notified for a threshold violation?
You can choose to get notified through any one of the nine notification templates like Email, Email based SMS, SMS, Chat, SysLog Profile, etc. Learn how you can configure different notification templates.
How to enable business hour alert?
- Click Settings > NetFlow > Alert Profile
- Click "Add"
- Under Criteria, click "enable" for Business Hour Alerts
- Provide other information for creating an Alert Profile
- Save the Alert Profile
How to set an aggregated alert for custom time period?
- Go to Settings > NetFlow > Alert Profiles > Aggregated > Add
- Under Alert time period, select Custom
- Set the custom start and end date and time and time zone.
- You can also enable business hour alerts and exclude/include weekends.