Custom Triggers
Custom Triggers enable you to customize automatic workflows for requests, projects, changes, tasks, notes, notifications, approval level, and approval.
This feature helps automate several processes, such as setting up multiple approval stages, sending customized email notifications, creating a new request based on resources field information, and setting up integration with third-party applications.
Role Required: SDAdmin or HelpDesk Config
Custom Triggers are categorized and organized under trigger groups. You can configure a trigger group Trigger groups are incredibly useful because you can restrict or apply only specific rules for an incoming request/record.
To view the custom triggers configured in your organization, go to Admin > Automation > Custom Triggers.
On this page, you can configure custom triggers for the following:
Custom triggers are categorized and organized under trigger groups. You can configure a trigger group for all related triggers.
Triggers groups are incredibly useful because you can restrict or apply only specific rules for an incoming request/record.
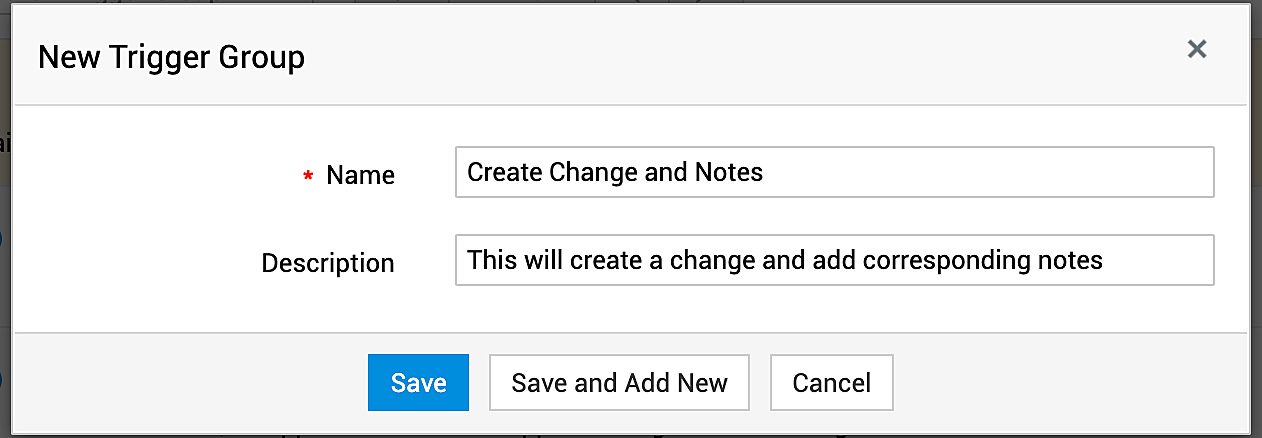
To create a new group, click Trigger Group. On the displayed page, provide a name and description and click Save.

List View Actions
On the Custom Triggers home page, all the configured custom triggers are available in the List View. On this page, you can perform various actions, including bulk actions.
On this page, you can organize and manage the triggers groups easily.
The various actions that you can perform on this page are as follows:
Trigger Group Actions
Expand/Collapse the display of triggers under trigger groups. Use the upward/downward arrow on the right on the list to expand/collapse the rules under a trigger group.
Organize trigger groups to configure the order in which the rule groups should be executed. Click Organize and use the drag-and-drop operation to define the order of the triggers.
Delete trigger groups by selecting the groups and clicking the bin button.
Deleting a trigger group will also delete all triggers configured in the group.
Trigger Actions
Enable/Disable triggers by selecting the triggers and clicking the Actions button. You can also use the toggle button over the rule to enable/disable it.
Execute the next trigger by selecting a specific trigger and clicking the Actions button. You can perform this action also by hovering over the rule and selecting from the drop down.
Skip the remaining rules in the group by selecting a specific rule and clicking the Actions button. You can perform this action also by hovering over the rule and selecting from the drop down.
Skip the remaining rules across all groups by selecting a specific rule and clicking the Actions button. You can perform this action also by hovering over the rule and selecting from the drop down.
Move rules across groups by selecting a specific rule and clicking the Move to Group button and selecting the required group.
Search for rule groups/rules by using the search button. Add at least 3 characters to yield meaningful search results. This action searches through rule names and rule group names. To search for rules, select a rule and then use the search button.
Bulk Actions
These are actions that can be performed on multiple rules or rule groups through a single click.
Delete rule groups by selecting the rule groups and clicking the Bin button.
Delete rules under a rule group by selecting the rules and clicking the Bin button.
Under a rule group, you can select multiple rules and click the Action button to perform the following bulk actions:
Enable/Disable
Execute the next rule
Skip the remaining rules in the group
Skip the remaining rules across all groups
Related documents:
Use cases of Custom Functions | Use cases of Custom Triggers | FAQs | Request Custom Menu | Change Custom Triggers | Field and Form Rules
Support:
If you have any questions about Custom Triggers, please post it in our community forum.

