Manage Settings
The Manage Settings page allows the Server Administrator to control all product settings. To access this page, click the Settings icon displayed on the top-right corner of your ManageEngine Analytics Plus page.
- Mail Server Configuration
- Proxy Configuration
- SSL Configuration
- Rebranding
- User Management
- License Management
- Advanced Settings
- High Availability
- Data Backup Settings
- Configure Add-ons
- Help and support
- Troubleshooting
- Miscellaneous
- Security Configuration
Mail Server Configuration
Mail server configuration allows you to trigger emails from Analytics Plus whenever a certain action is performed. You can send emails through Basic SMTP authentication, OAuth SMTP authentication, or Microsoft's Exchange Web Services. Click here to learn more about each configuration in detail.

Proxy Configuration
To monitor any URL that is available on the Internet, the requests have to be routed through an HTTP proxy server. This can be done by setting up the proxy configuration.
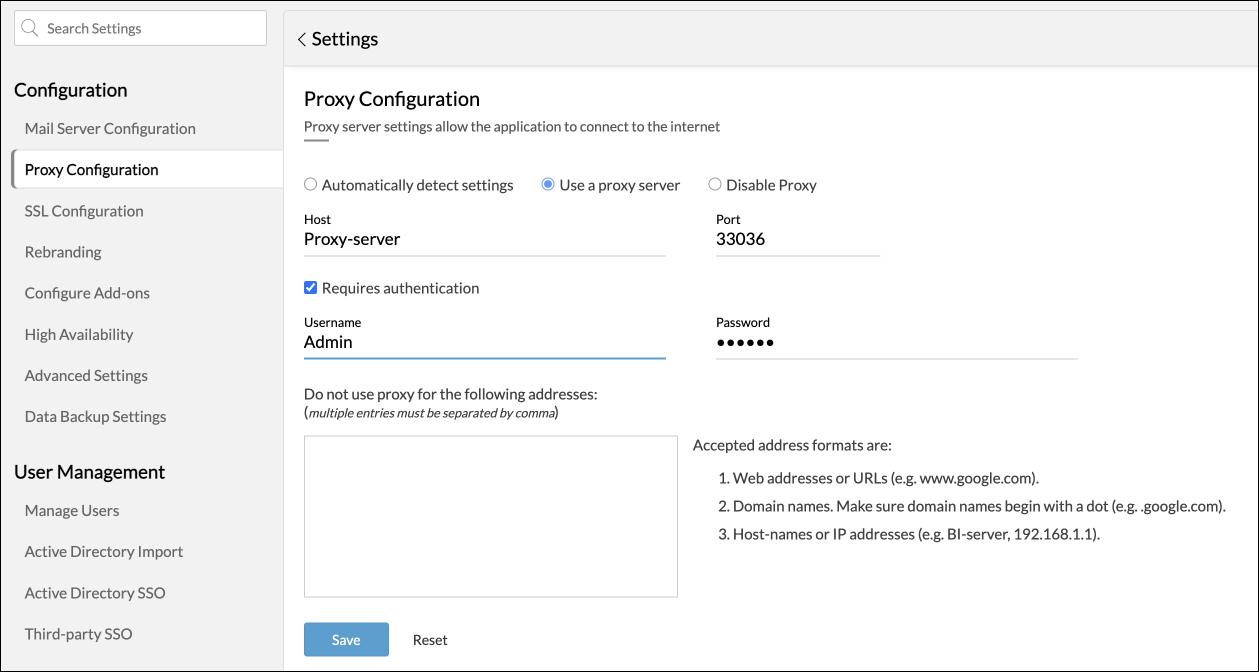
Follow the steps given below to configure a proxy server:
- Open Settings by clicking on the Settings icon present in the top right corner of the ManageEngine Analytics Plus product.
- Click on the Proxy Configuration tab under the Configuration section.
- Select the Automatically detect settings radio button present on the top, if the proxy is to be detected automatically and click on the Save button.
- To specify the proxy settings manually, select the Use a proxy server radio button present on the top, and specify the following details:
- Host and port number of the proxy server.
- Username and password of the user to access the Internet.
- Specify the Internet addresses you want to connect to without using a proxy server. Use comma (,) to specify multiple IP's.
- Click on the Save button.
- All requests to the Internet will then be routed through the proxy server.
- To disable the proxy, select the Disable Proxy radio button and click Save.
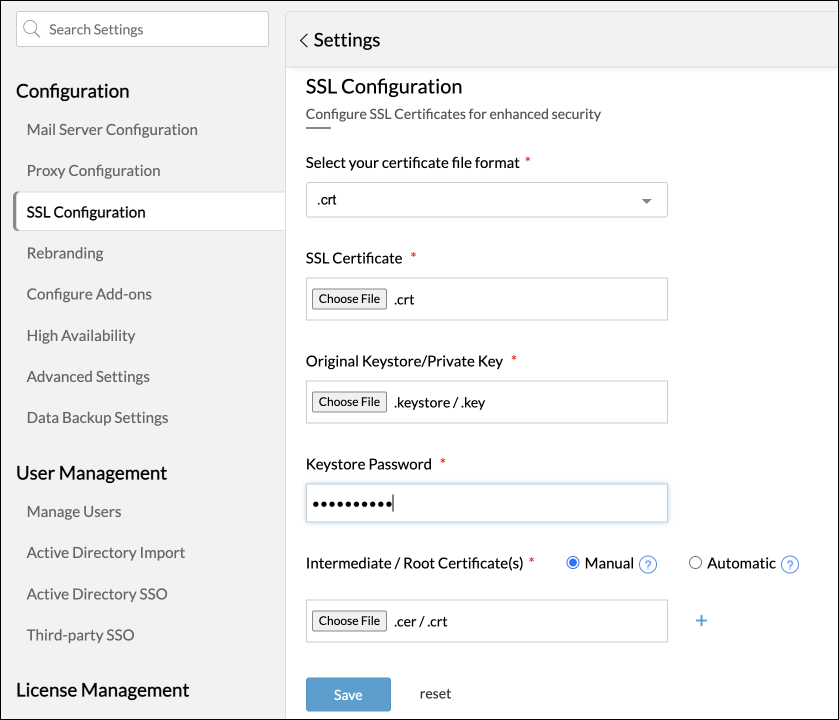
SSL Configuration
SSL configuration in Analytics Plus enables you to apply an SSL certificate for secure access to the Analytics Plus application. Please note that this configuration does not apply to self-signed certificates.
Follow the steps below to apply for an SSL Certificate.
- Head to the SSL Configuration tab under the Configuration section from the Settings page.
- Choose the format of your SSL certificate from the Select your certificate file format drop-down. The following are the supported file formats: .cer, .crt, .pfx, .p7b, .keystore, and .jks.
- Browse and upload the SSL certificate.
- Upload the private key generated together with the certificate to verify a secure connection to Analytics Plus. This option applies only to the .cer, .crt, and .p7b file formats.
- In the Keystore Password field, enter the password of the Keystore where the private key is saved. If your private key is in .key format, then Keystore Password is not required.
- You can either choose to upload the intermediate certificate manually or allow Analytics Plus to detect it automatically by selecting the Manual or Automatic radio button. You can upload a maximum of four intermediate certificates. It is recommended to choose Manual in case of any proxy is used. To use the Automatic option, please make sure your network connection is enabled.
- On uploading all the necessary certificates, click Save.
- Restart the Analytics Plus application to reflect the changes.
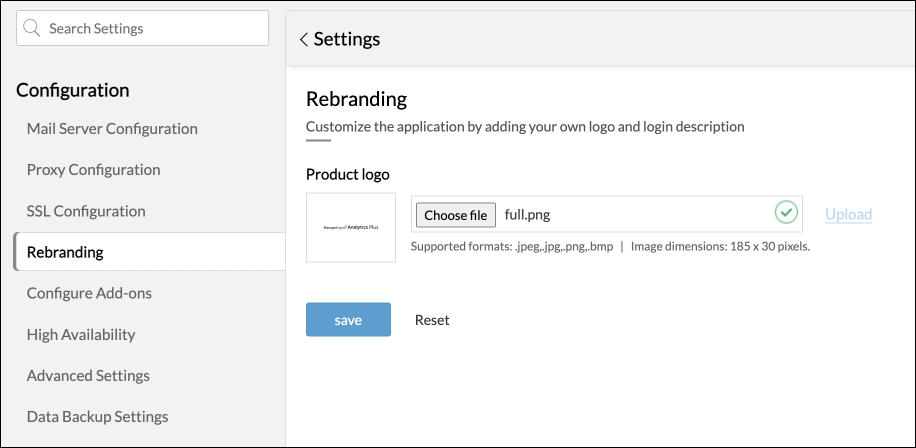
Rebranding
Logo rebranding allows you to customize the ManageEngine Analytics Plus product logo that is displayed within the Analytics Plus product. Follow the steps below to update the logo.
- Navigate to the Rebranding tab under the Configuration section from the Settings page.
- Click the Choose file button to browse and select the required logo. The following are the supported image formats: jpg, jpeg, bmp, and png. It is recommended to use the optimum image dimension: 185 x 30 pixels.
- Click Upload and then click Save for the new logo to take effect.
User Management
The Server Administrator can add, delete, activate, or deactivate users, from the User Management page. The SAML configuration tab can be used to configure single sign-on with third-party applications. The Active Directory Import and the Active Directory SSO tabs enable you to import your Active Directory users and configure single sign-on for Active Directory users. To learn more about User Management in Analytics Plus, click here.

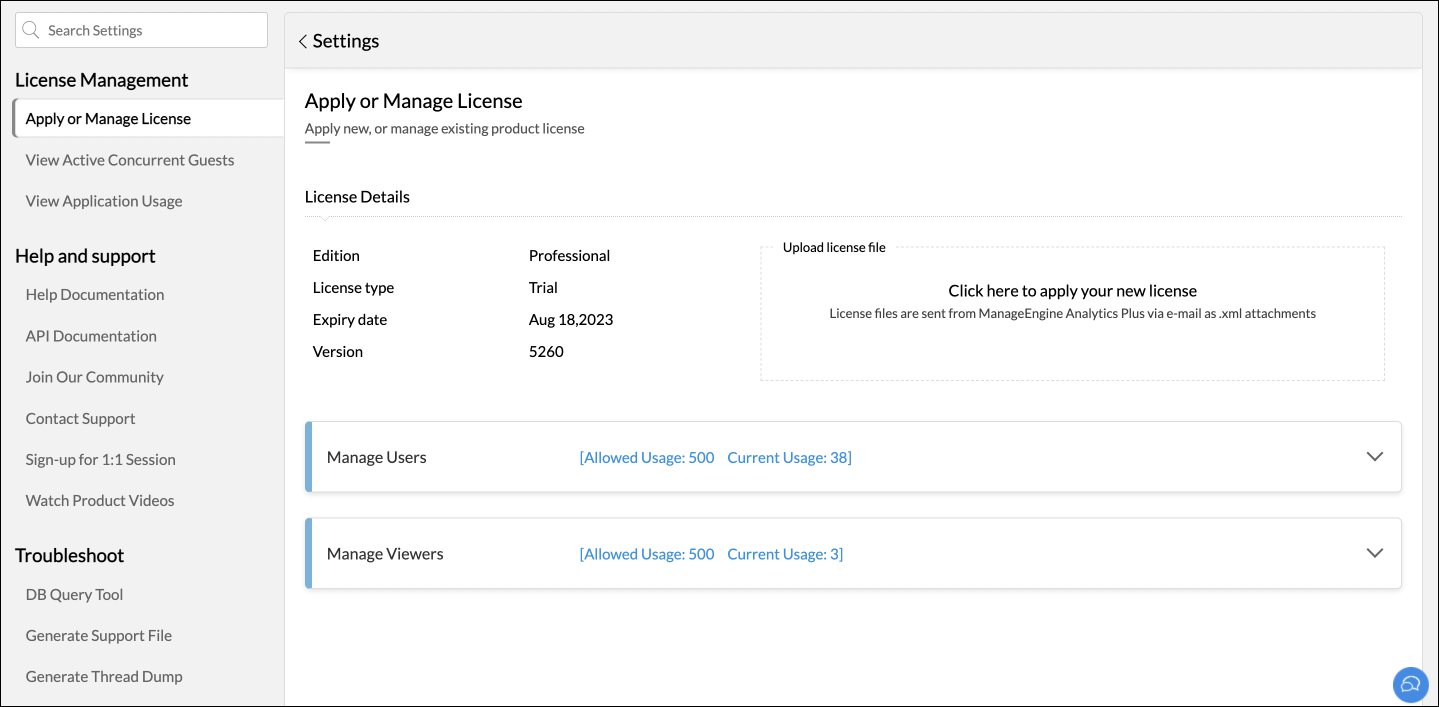
License Management
The License Management page allows you to manage the various licensing components or apply for a new license. You can also view details of the current license, along with the allowed usage and current usage of users and concurrent guests. To learn more about license management, click here.
Advanced Settings
The Advanced Settings section allows you to configure the following changes in your Analytics Plus application.
- Make multi-factor authentication mandatory for all your users: This option allows administrators to mandate multi-factor authentication for every Analytics Plus user. Click here to learn more about setting up multi-factor authentication in Analytics Plus.
- Send usage statistics: To enhance product quality, Analytics Plus collects statistical data pertaining to the quality, stability, and usability of the product from every installation. This collected data does not include any personally identifiable information, and will only be used for analysis. This feature is enabled by default, and can be disabled using the Send usage statistics toggle button.
- Send all mails from the user email address: This option lets you change the behavior of the product to send emails from a common email address taken from the email server settings page, instead of using the respective user's email address.
- Live chat support: This option allows you to enable a live chat box to contact Analytics Plus' support staff directly from the application.
- Display notifications regarding new features, announcements, and events: This option lets you receive notifications about comments, new features, announcements, and events from ManageEngine through the application.
Enable login page announcements: Administrators can enable this option to display various product-related announcements on upcoming webinars, e-books and more across every Analytics Plus users' login page. Individual users can also choose to hide these announcements by clicking the Hide announcements option. However, other Analytics Plus users will continue to view the login page announcements untill the administrator disables this option.
- Enable Access logs: This option allows administrators to capture detailed logs on application access activity. On enabling this option, a new Audit logs workspace will be created, with a table containing access logs and several out-of-the-box reports and dashboards built over this data. Click here to learn more about access logs.
- Enable Activity logs: This option allows administrators to capture detailed logs on user activity within the Analytics Plus application. On enabling this option, a new Audit logs workspace will be created, with a table containing activity logs and several out-of-the-box reports and dashboards built over this data. Click here to learn more about activity logs.
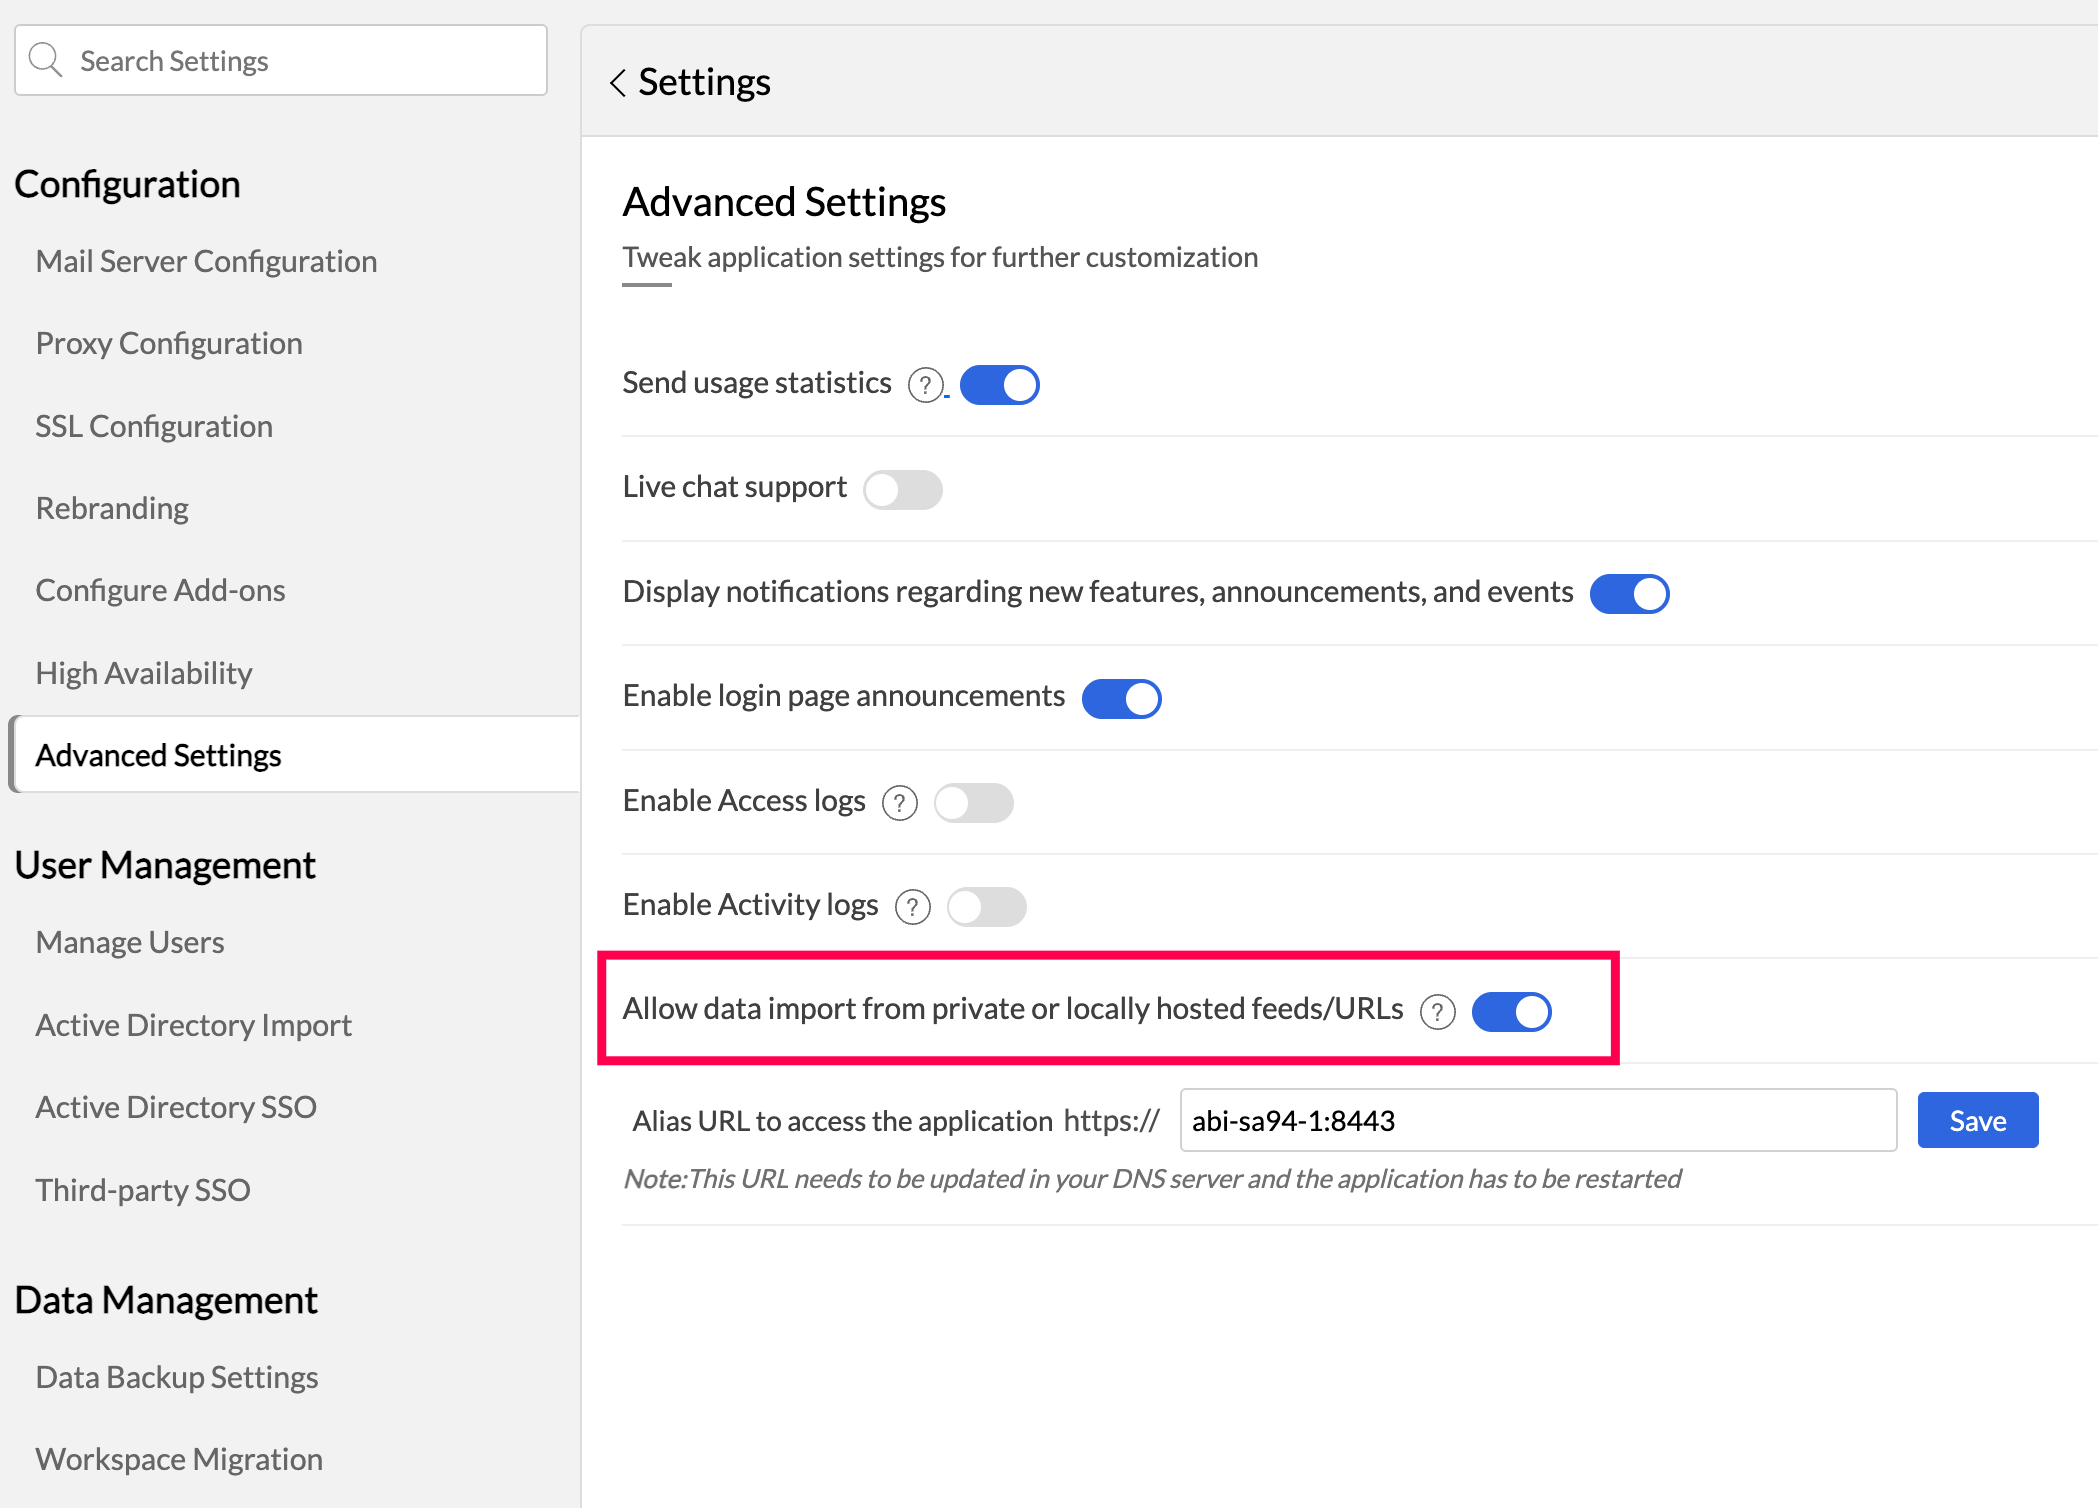
- Allow data import from private or locally hosted feeds/URLs - This option allows users to fetch data from a URL that is hosted within a private network/LAN. This feature is enabled by default and can be disabled using the toggle button. Turning off this option will allow admins to restrict data import from confidential data hosted in the private network.
Alias URL to access the application: This option lets you configure an alias URL through which you can access your Analytics Plus application. The URL needs to be updated in your DNS server when an alias is created and the application needs to be restarted for the changes to take effect. Once the alias URL is set up, all email notifications generated will display the newly set up alias URL as the host name of Analytics Plus.
Note: While configuring the alias URL, ensure the right port number is used, and in cases where a reverse proxy is configured, ensure the network configurations are up-to-date.
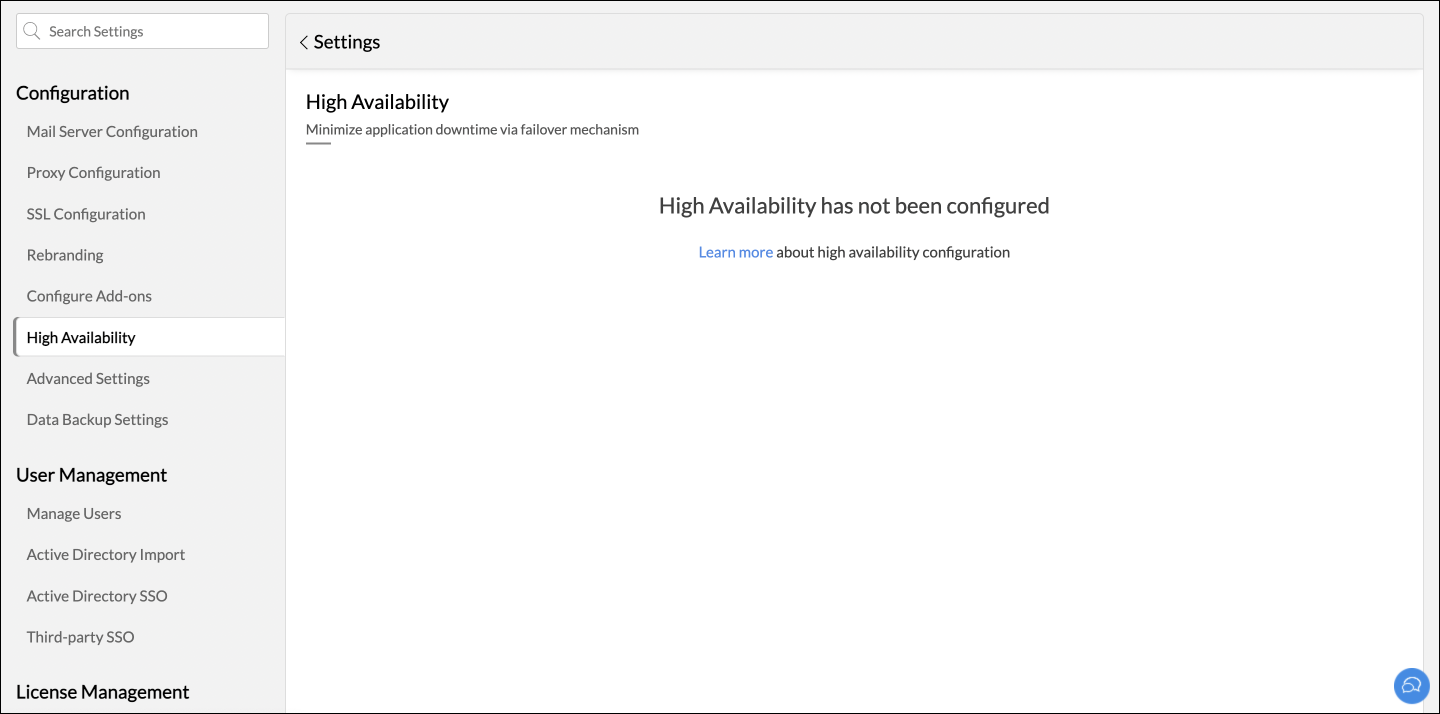
High availability
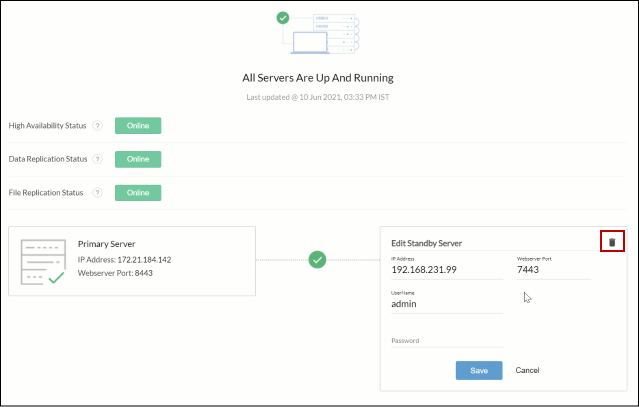
The High Availability section allows you to view details of your primary and standby servers, such as the overall status of high availability configuration, and the status of file and data replication. (To learn more about high availability configuration, click here.)
- High Availability Status: An online status signifies that the standby server is ready to takeover from the primary server, should it experience downtime. When the high availability status goes offline, verify if the standby server can access the primary server by launching the primary server's application URL from the standby server. Additionally, check the file sharing status.
- Data Replication Status: This section tells you if data replication is being carried out between the primary and standby servers. If this status is offline, check the file sharing configuration and ensure data replication goes online immediately. Failure to do so will cause your high availability cluster to stop functioning over a period of time.
- File Replication Status: This section tells you if the configuration files are in sync between the primary and the standby servers. When this status is offline, re-check your configuration and ensure any credential changes are updated across both servers accurately.
Apart from tracking the status of your high availability configuration, you can also edit the servers' details, and delete the high availability configuration from this page. To edit your primary and standby server's details, click the Edit icon that appears on mouse over the required server listing. Modify the username and password as required, and click Save.
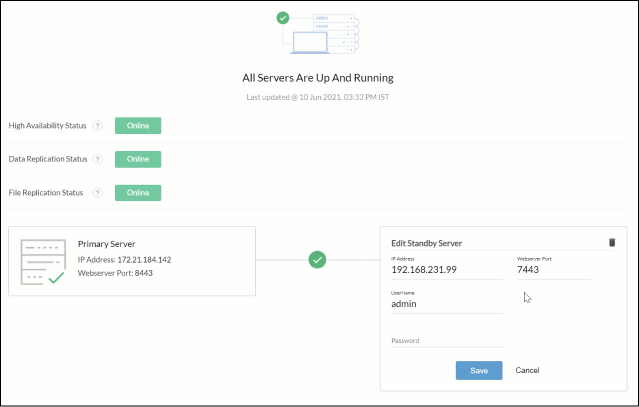
To change the port number of the primary server, refer this documentation.
Deleting the High Availability configuration
To delete the high availability configuration, click the Edit icon that appears on mouse over the standby server details. Click the Remove icon and confirm your action in the popups that appear. The Analytics Plus application on the standby server can be uninstalled once the delete operation is complete.
Data Backup Settings
The Data Backup Settings section allows you to schedule periodic backups of your Analytics Plus application with ease. Follow the steps below to schedule a data backup:
- Click the Schedule data backup toggle button.
- Specify the folder (on the Analytics Plus server) where the backup has to be saved using the Data backup location section.
- In the Backup every section, specify the frequency of backup generation. You can generate a backup once every 1, 3, 5, 7, 14, or 30 days, or provide a custom number of days as required.
- Choose the number of days to hold on to the backup in your server using the Retain backups for drop-down. Analytics Plus allows you to retain your backup for up to 3, 7, 10, 14, or 30 days or specify a custom number. You can also choose to keep the backup saved in your server forever by selecting the Forever option from the drop-down.
- Click Save to finish.
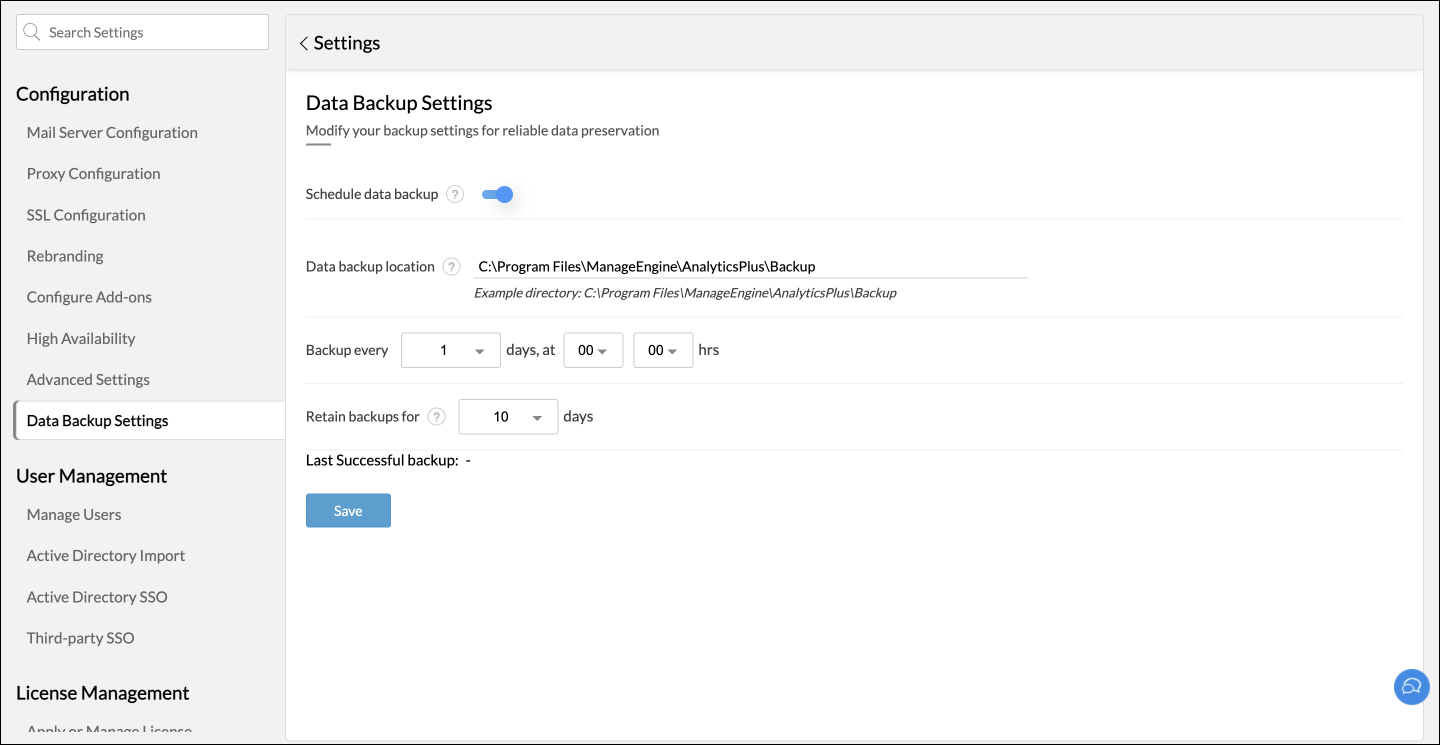
Note:
- A backup taken from a Linux server cannot be restored in a Windows server, and vice versa. The backup can only be restored on the server of the same OS.
- Backup files are password protected. The default password for the backup file is "Analytics".
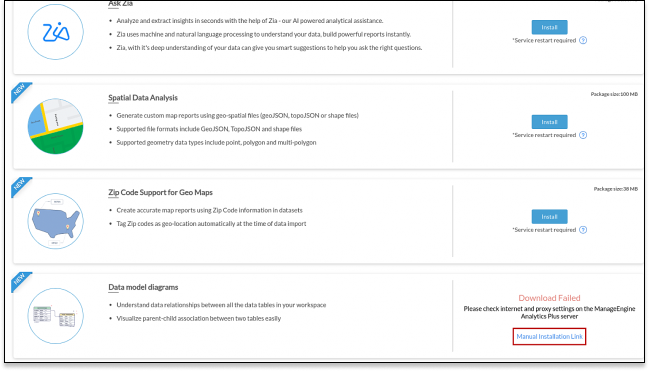
Configure Add-ons
Install add-ons to unlock the additional product functionality.
To enable the Data Model, follow the steps below:
- Open the Settings page and click Configure Add-ons under Configuration.
- In the screen that appears, head to the required add-ons listing and click Install.
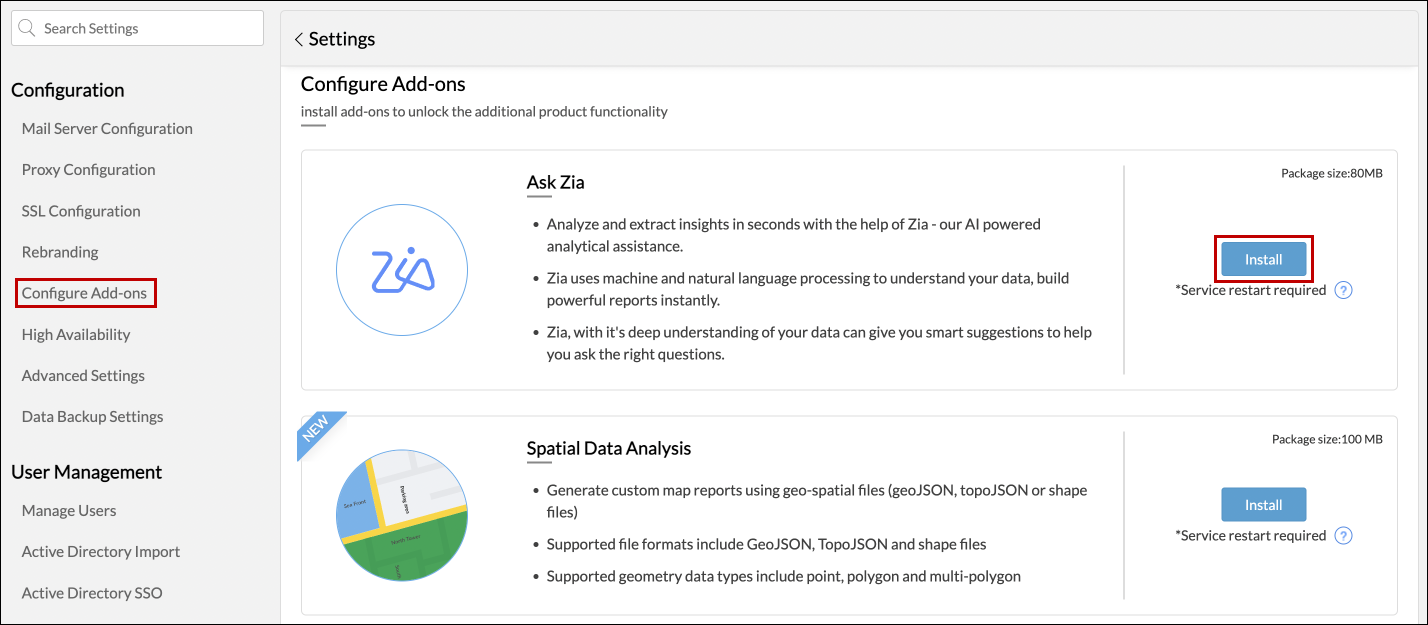
Once the installation is done, restart your Analytics Plus service.
Note: If the installation process fails, click the Manual Installation Link and follow the on-screen instructions to download manually and install an add-on module.
Help and support
Help Documentation: A reference guide for admins and other application users.
Note- It will be shown only when the internet connection is unavailable.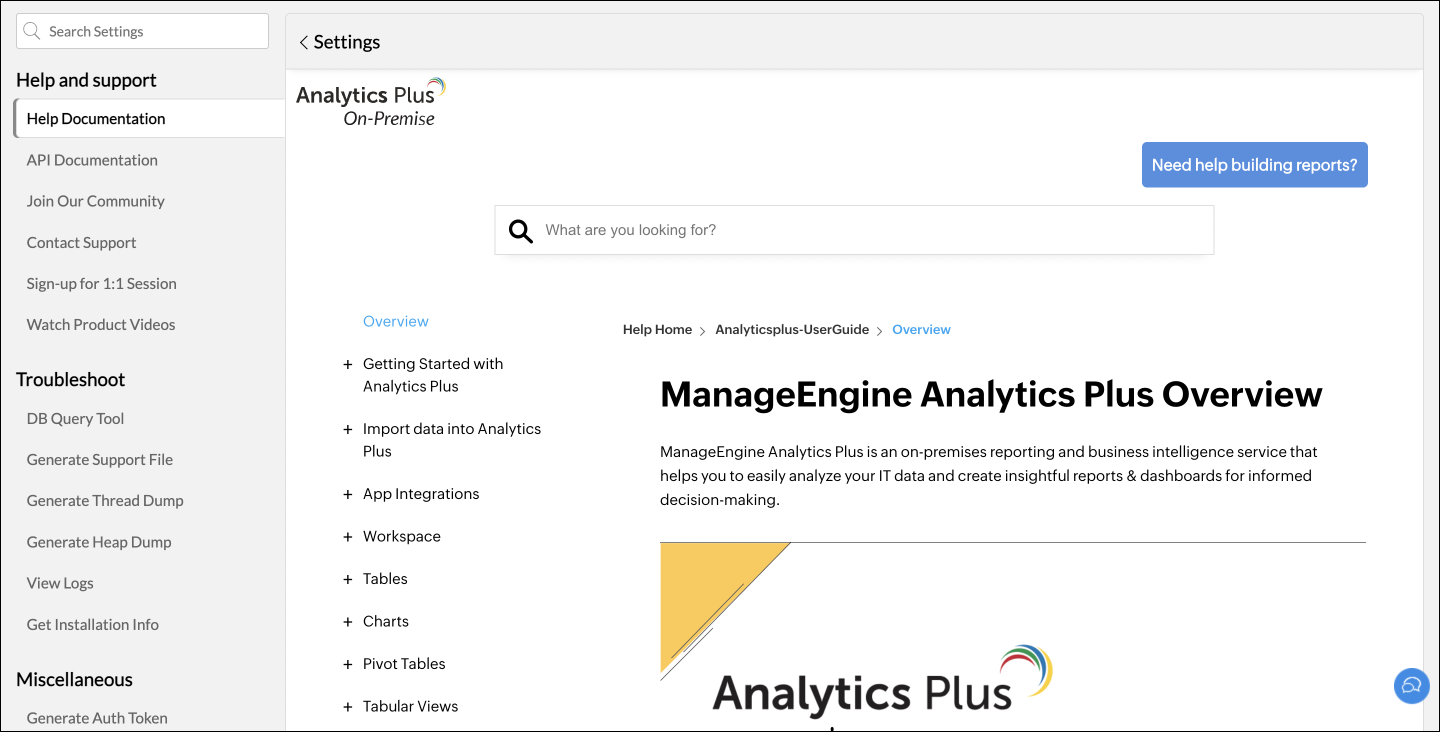
API Documentation: An API Reference guide for admins and other application users.
Note- It will be shown only when the internet connection is unavailable.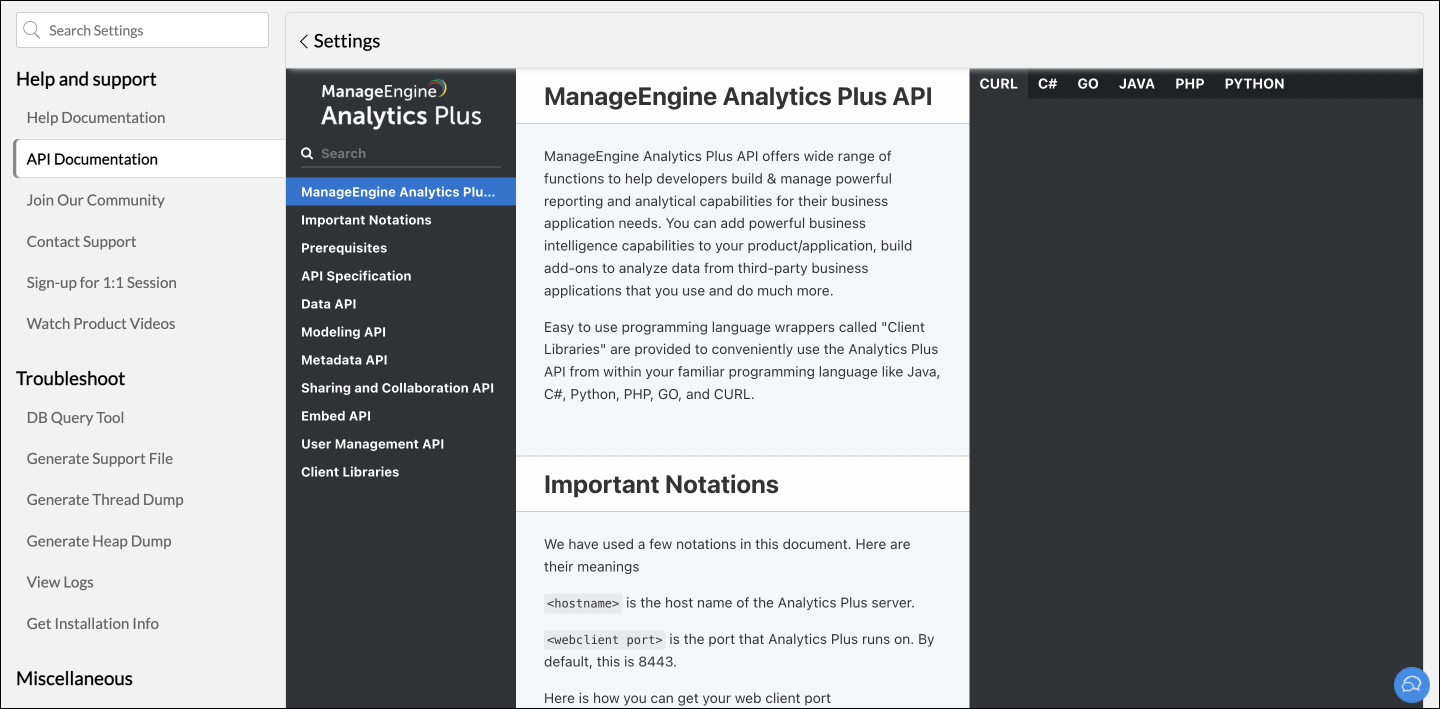
Join our community: Get your questions answered and discuss solutions with active Analytics Plus users.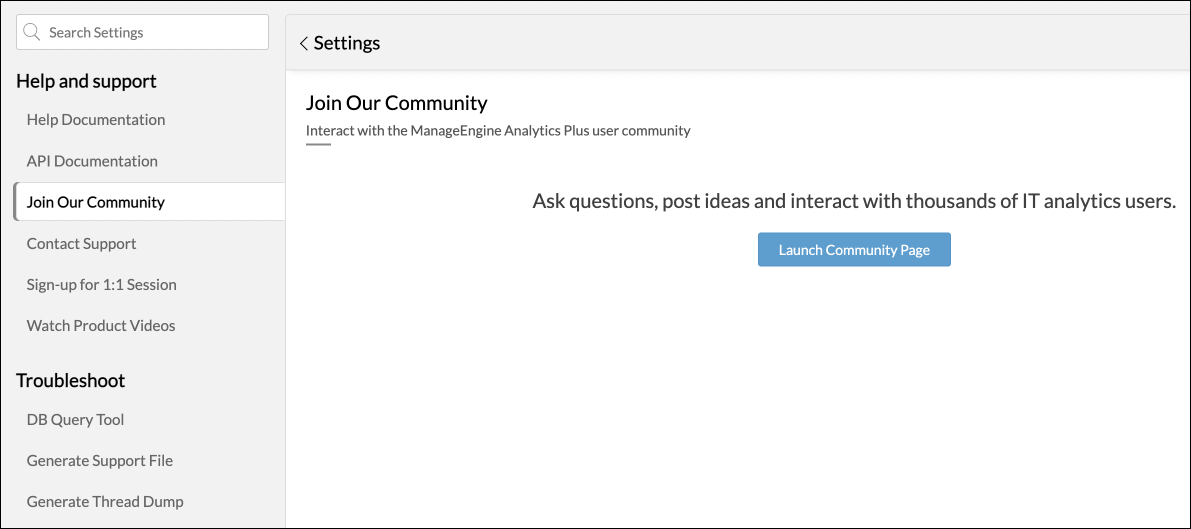
Contact Support: Get expert help from the technical support team by filling in your name, and contact number with your country code, selecting the category, entering your request, and clicking Send.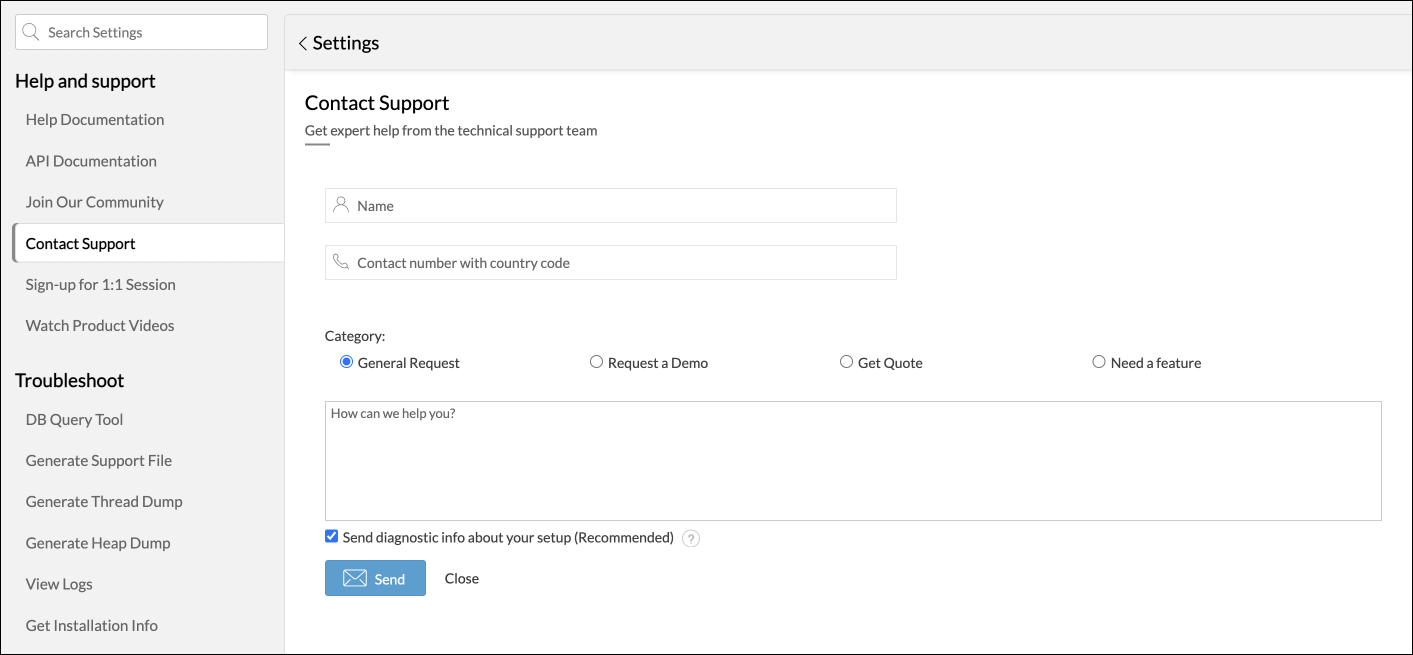
Sign-up for a 1:1 session: Click Register Now and become an analytics expert with a personalized session.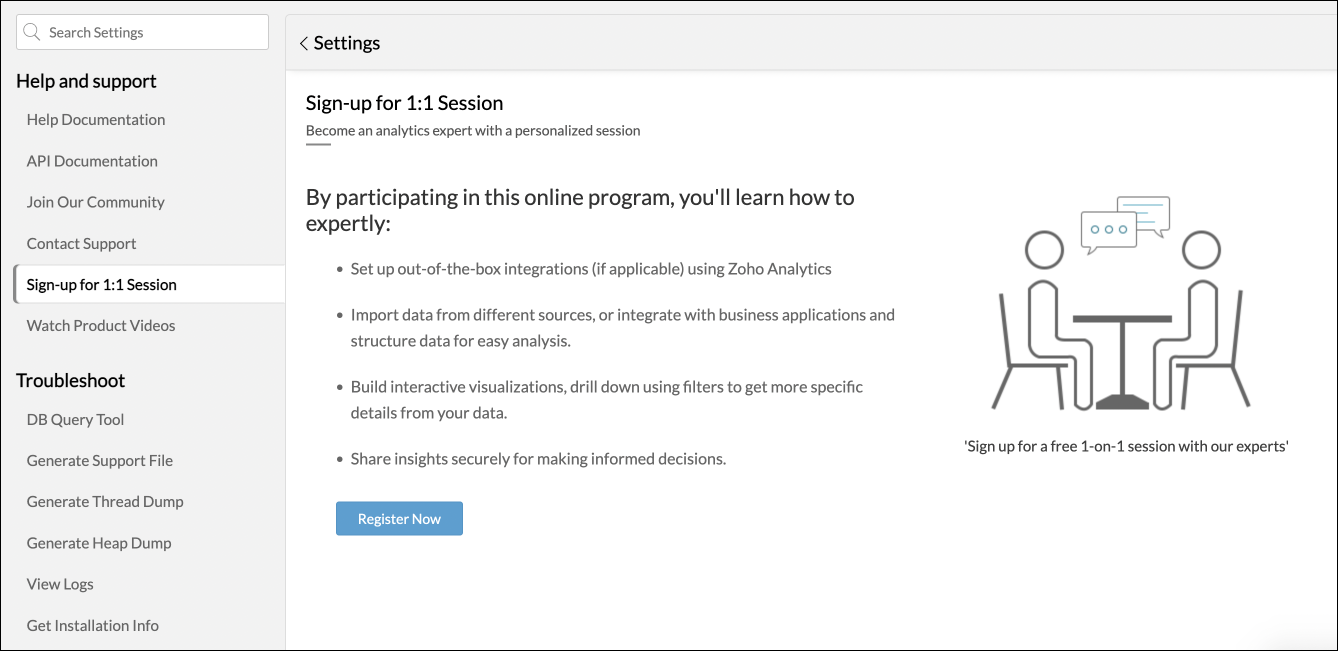
Watch product videos: How-to and best practice tutorials will be displayed in this section.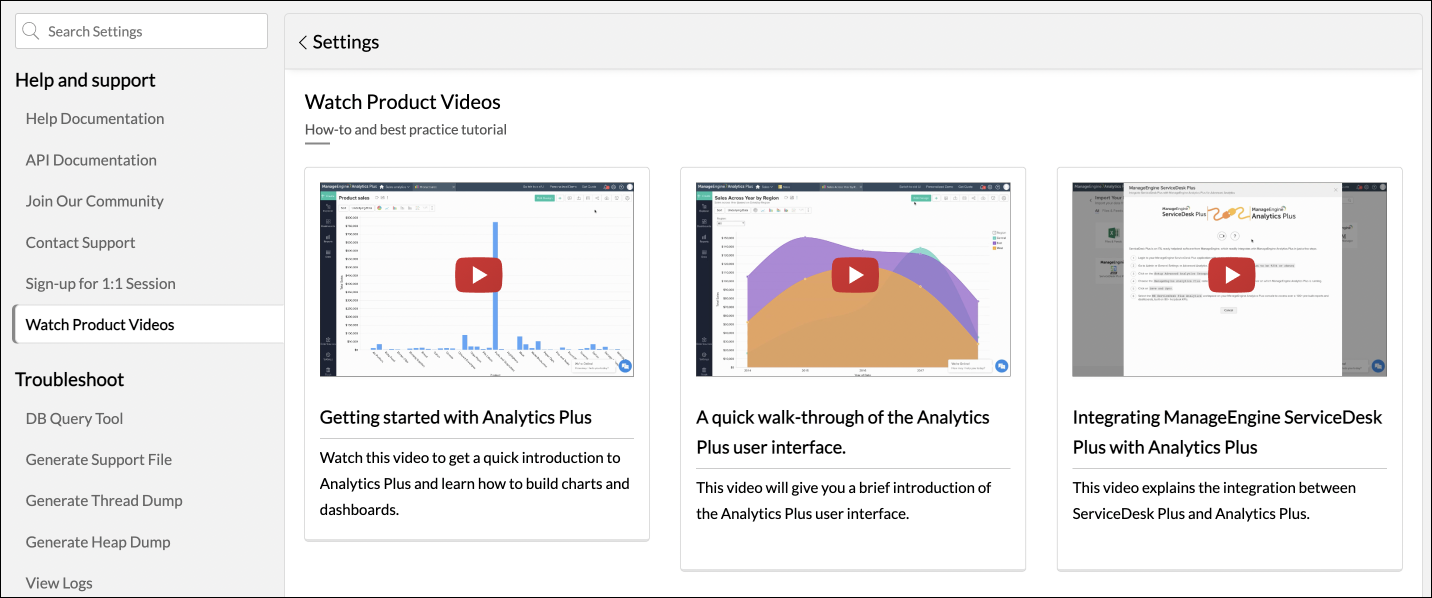
Troubleshooting
DB Query Tool: Run SQL SELECT queries on the application database. Enter the query and click Submit.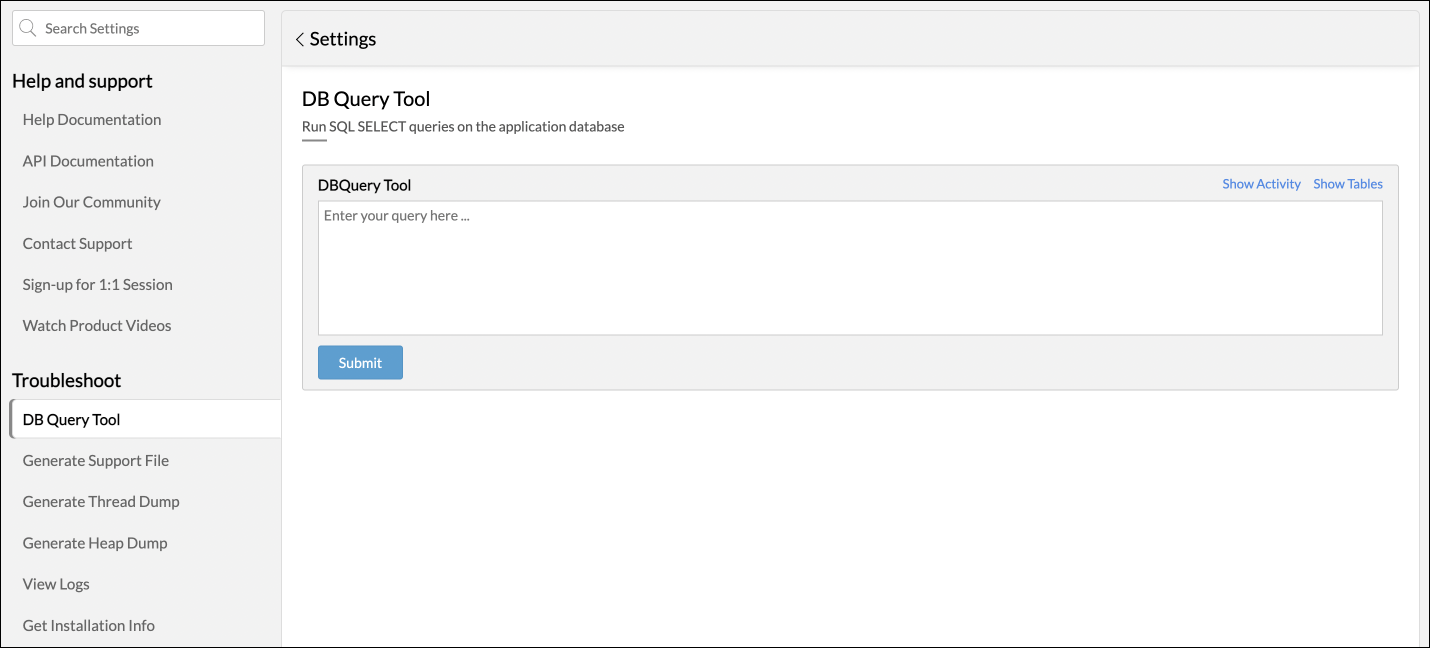
Generate Support File: Click Generate to generate a support file that allows advanced troubleshooting.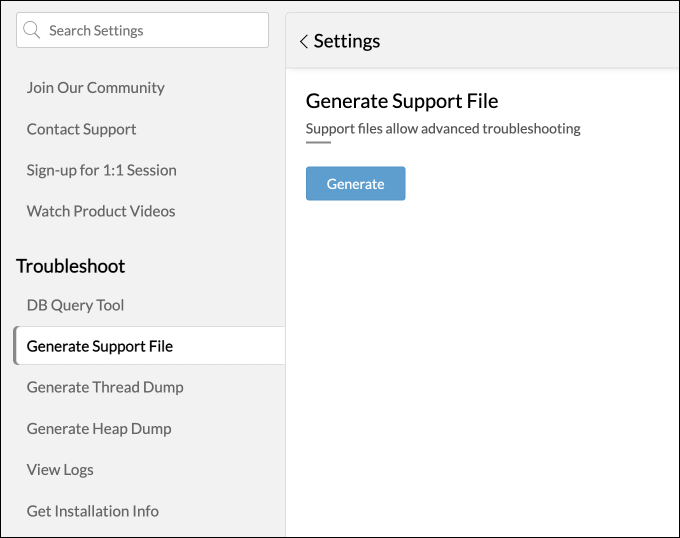
Generate Thread Dump: Thread dump allows advanced troubleshooting.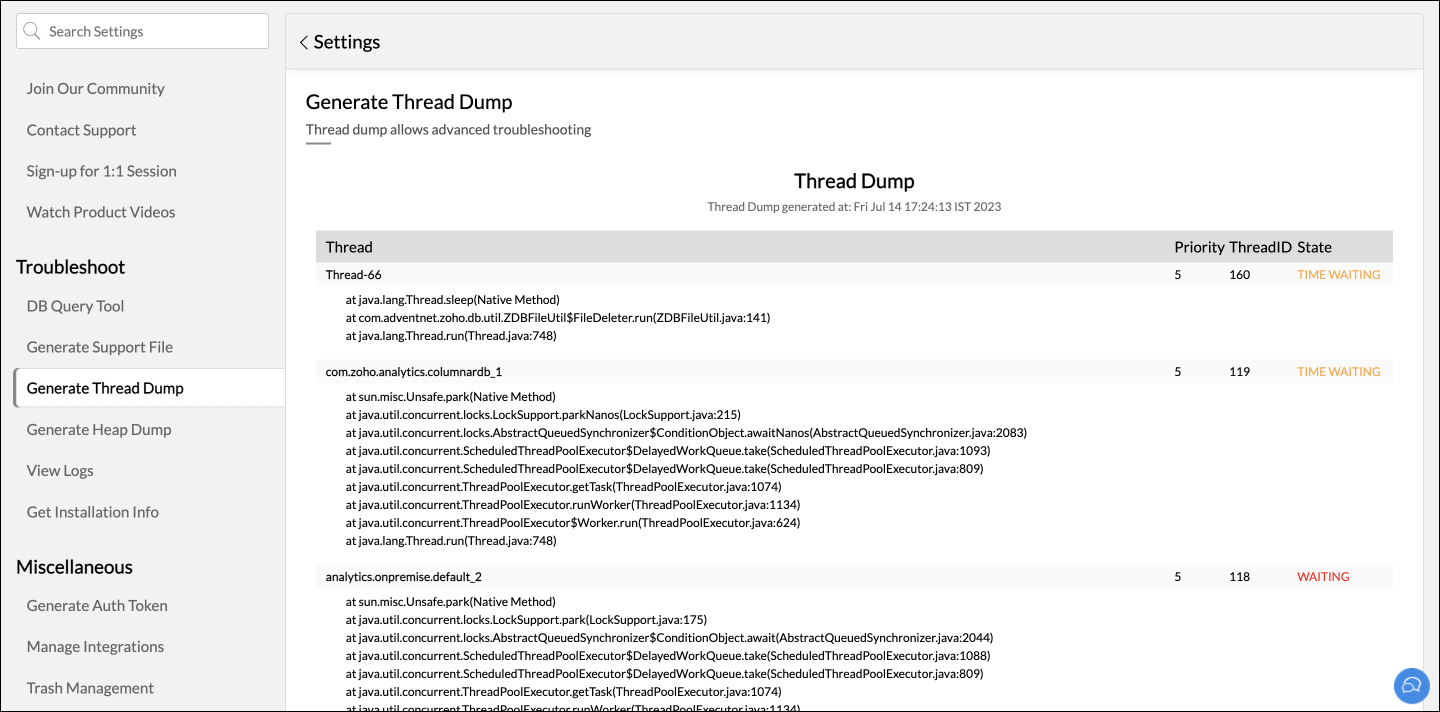
Generate Heap Dump: Click Generate to generate a Heap dump that allows advanced troubleshooting.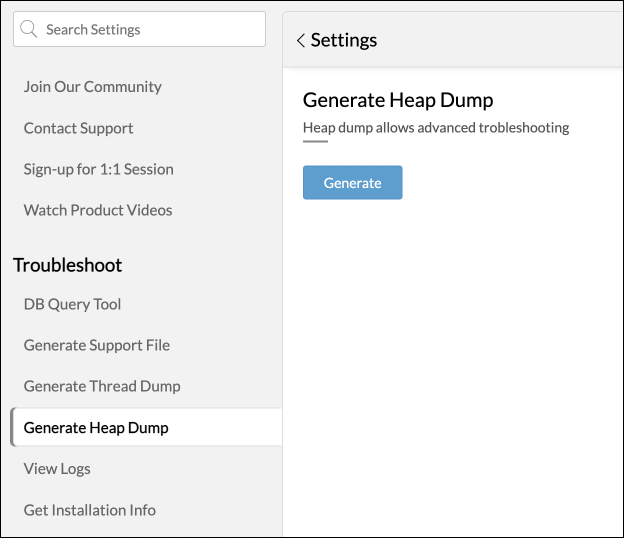
View Logs: This section allows you to view all Application logs that capture error traces.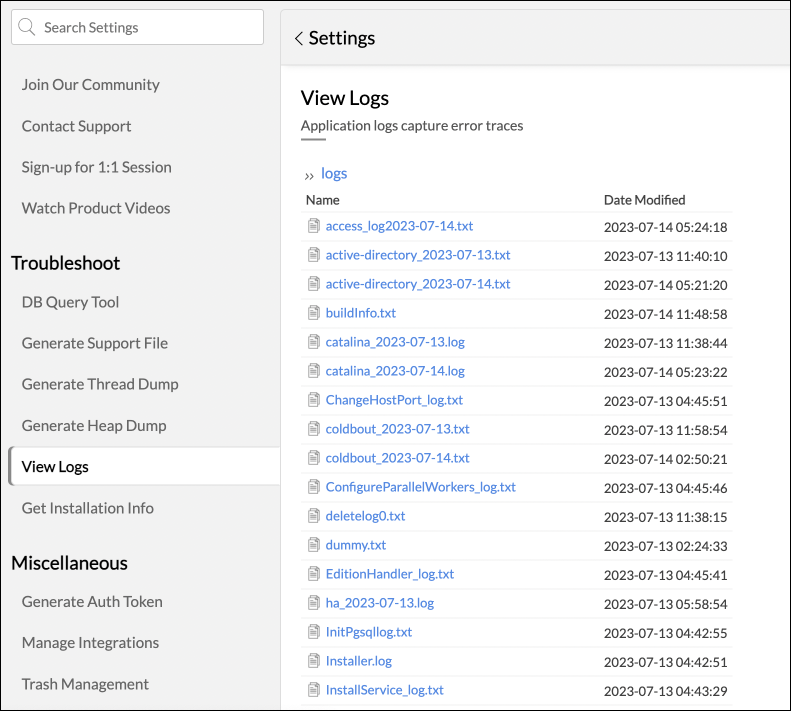
Get installation info: Gather details of product installation.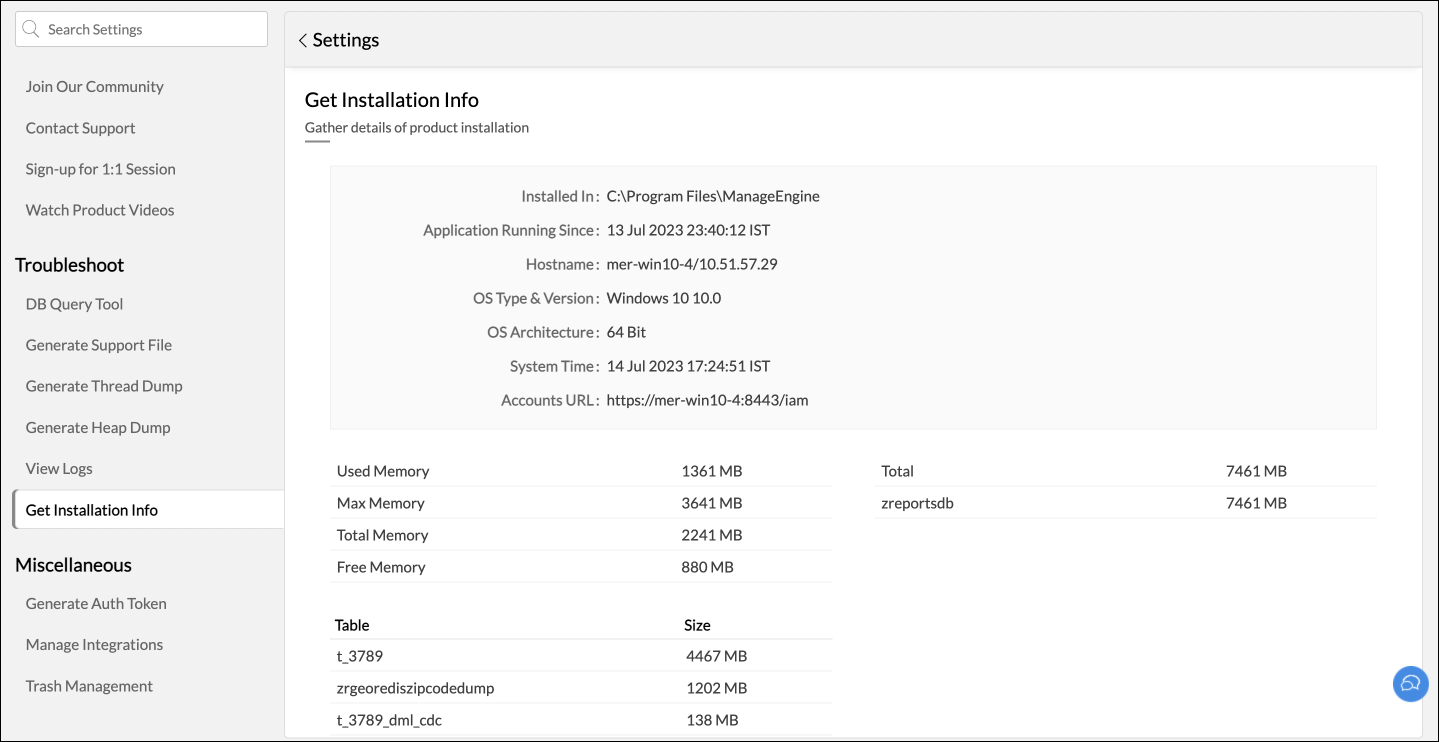
Miscellaneous
Generate auth token: Enter the login password and click Get AuthToken to generate the Auth Token.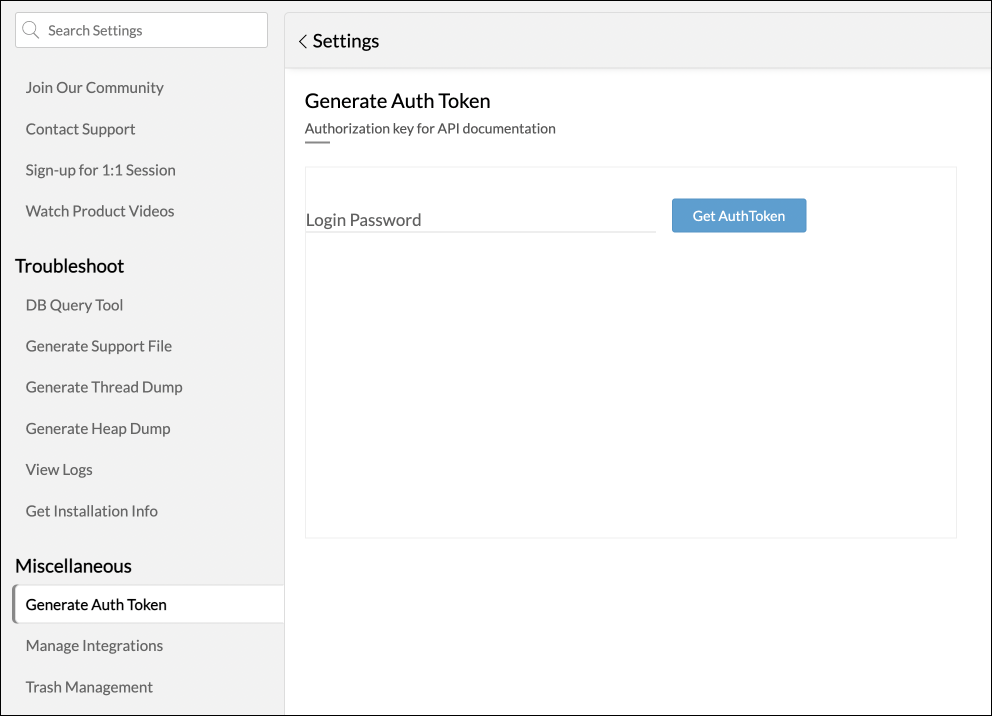
Manage Integrations: Control or edit OAuth integrations under the Manage Integrations section.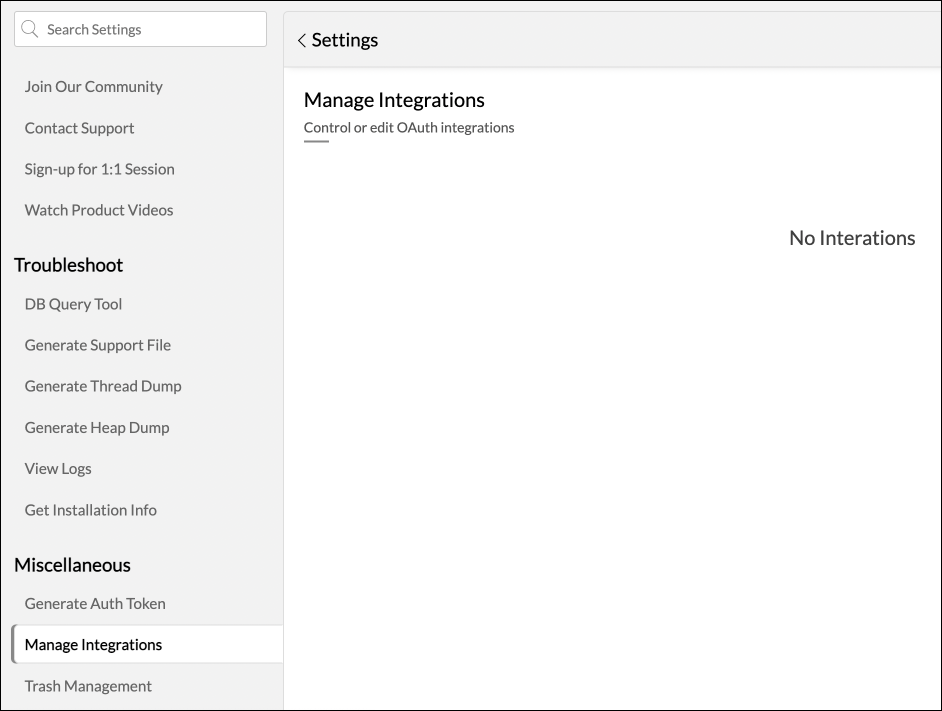
Trash Management: Workspaces deleted during downgrades can be restored from here.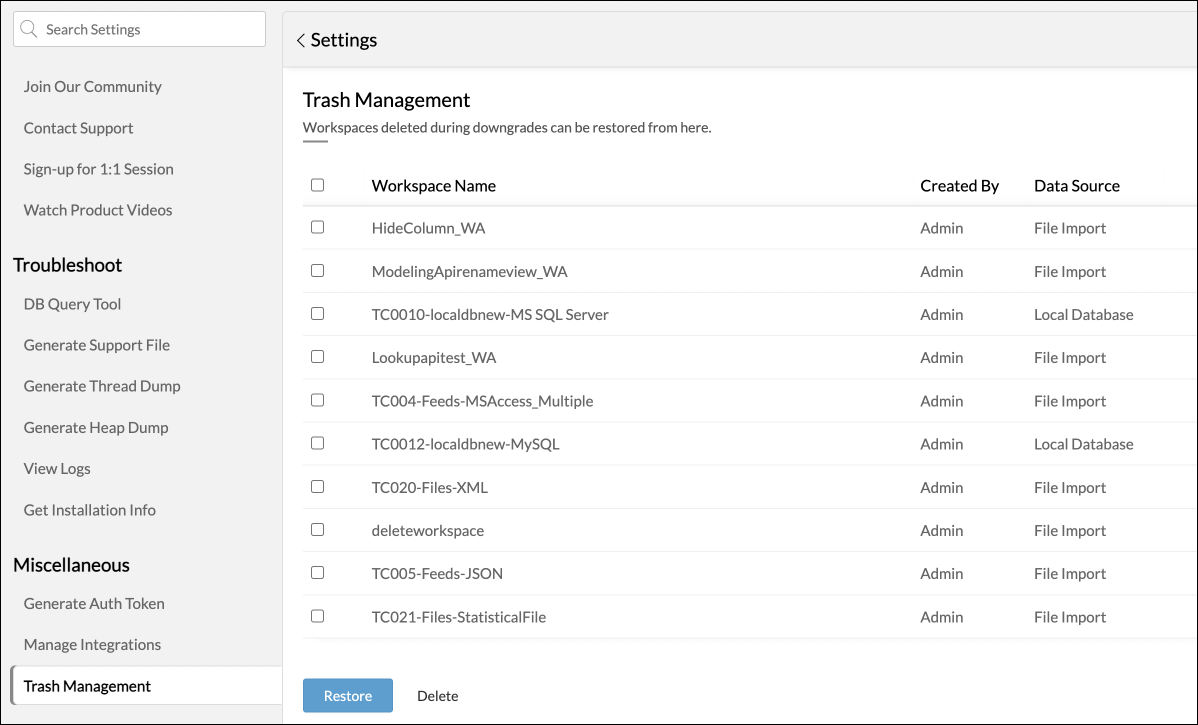
Security Configuration
To enhance the security of your Analytics Plus application and prevent unauthorized access through brute-force login attempts, you can configure the Account Lockout Policy. This policy is applicable only to users authenticated through local authentication.
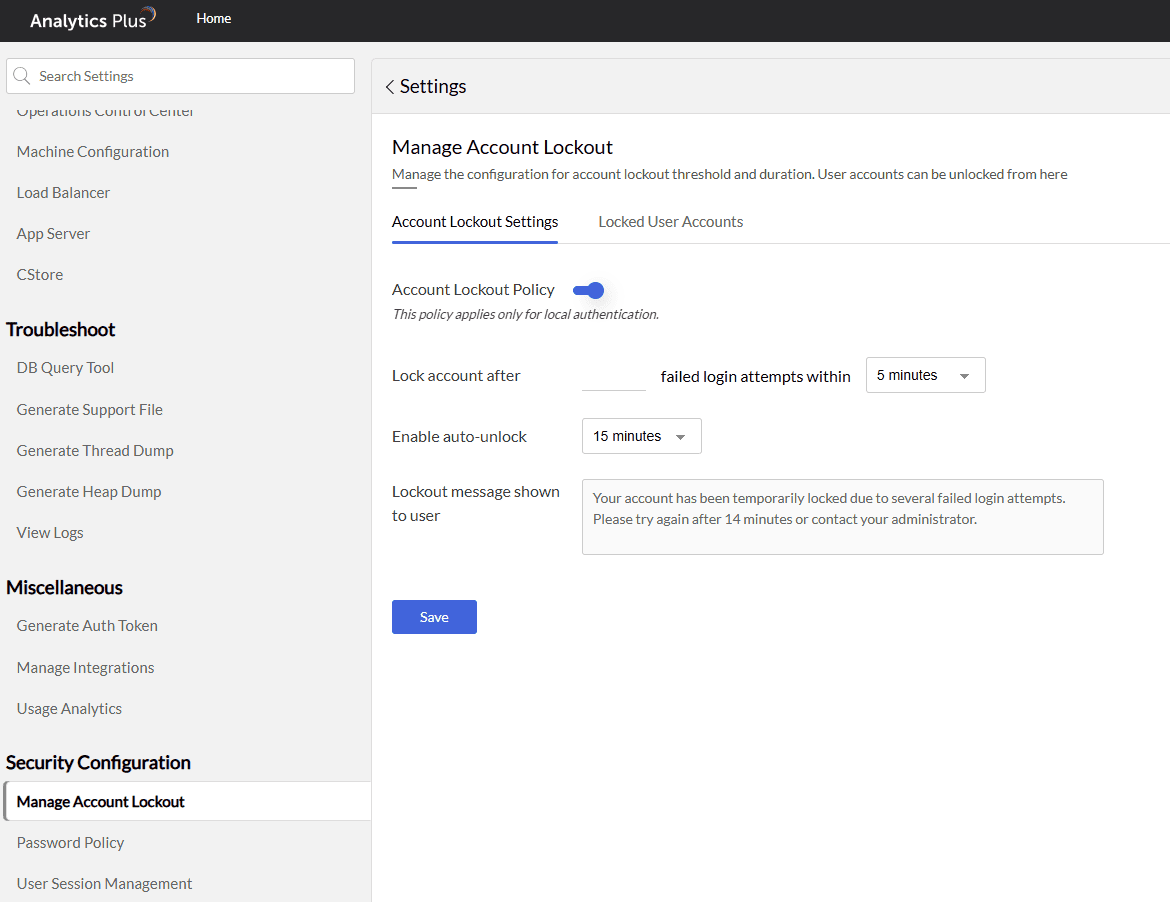
Account Lockout Settings:
Turn ON the Account Lockout Policy toggle and customize the duration as per your preference. Account Lockout Policy helps safeguard against unauthorized access by locking user accounts after a defined number of failed login attempts within a set time frame.
You can enable auto-unlock after a specified duration, and this policy is applicable only to users logging in with local authentication. This does not apply to users logging in via Active Directory or via Single Sign-on
Locked User Accounts:
In the Locked User Accounts section, you can view details of all user accounts that have been locked due to multiple failed login attempts. Specifically, you’ll be able to see:
Username (of the locked user)
User Role
Login Name
Email ID
Locked Until
Auth Type
This section helps administrators quickly identify and take action, such as unlocking users manually.
Password Policy
The password policy option is to enforce secure password practices for local users by configuring the Password Policy settings. To enforce the password rules:
Turn ON the Enable Password Policy toggle, then customize the settings according to your preferences.
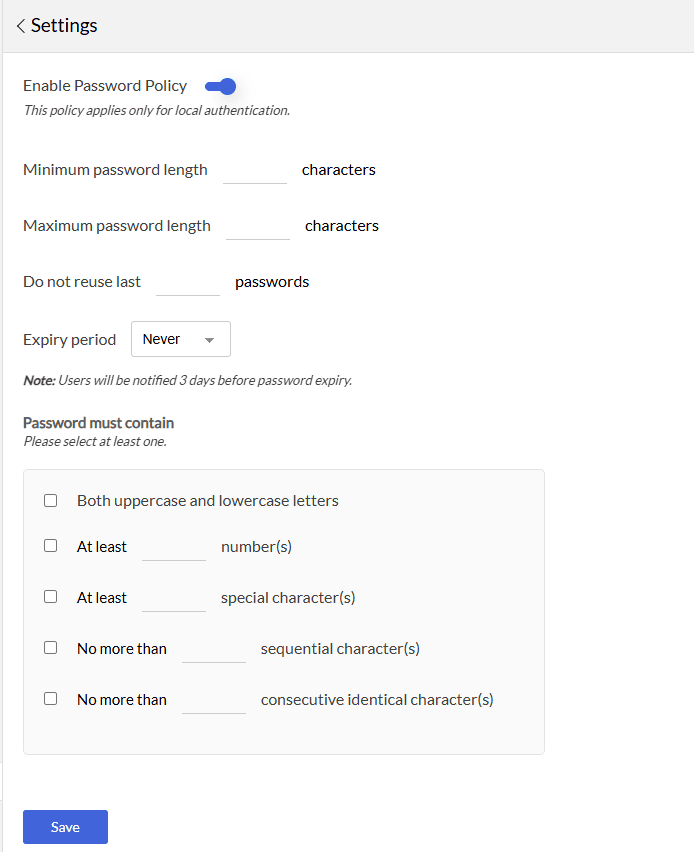
Note: This policy applies only for users authenticating locally.
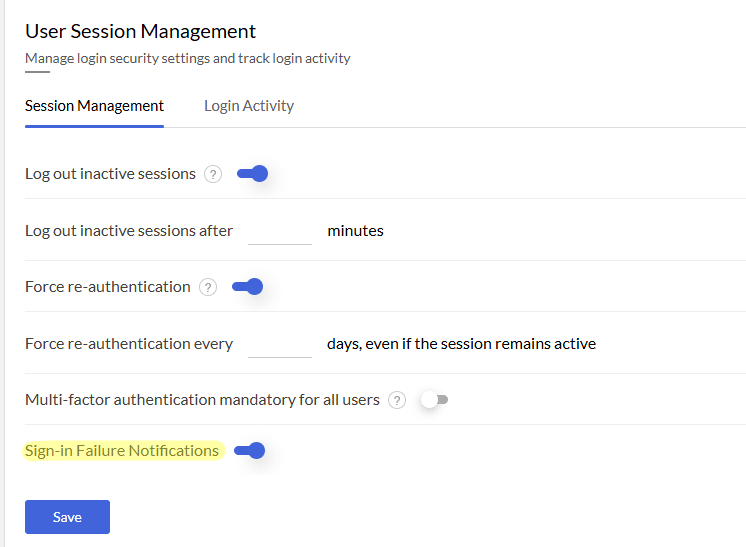
User Session Management
The User Session Management settings allow you to monitor and manage user sessions.
Navigate to Settings > User Session Management
Session Management
1. Log out inactive sessions
Enable this toggle to automatically log out users after a period of inactivity.
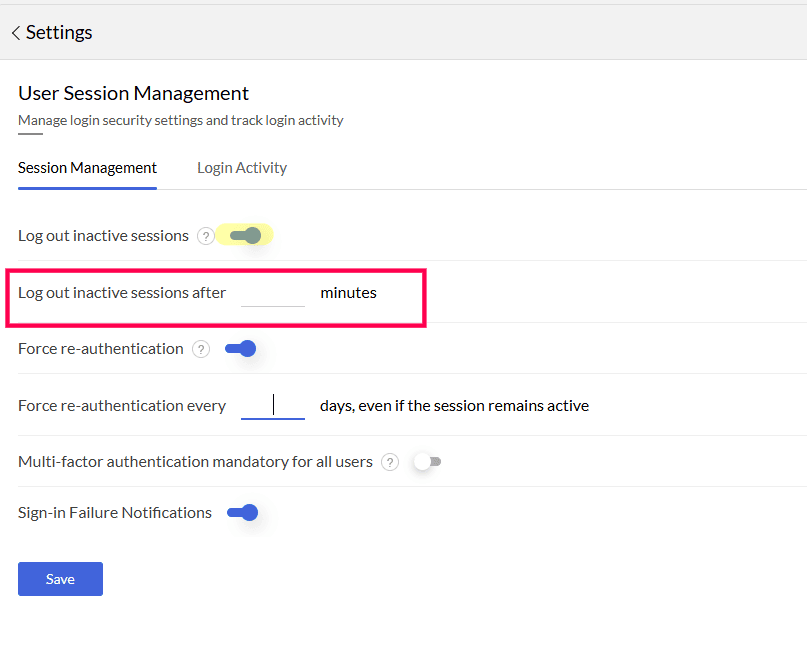
2. Force re-authentication
Enable this option to force users to re-authenticate periodically, regardless of recent session activity.
With this option, you can specify the intervals at which users must re-authenticate. This adds an extra layer of security even if the session stays active.

Sign-in Failure Notifications
The Sign-in Failure Notification, when enabled, triggers an email to the user and admin when a login fails due to an incorrect password
Advanced Security Settings
Configure advanced security options such as encryption, HSTS and antivirus scanning to enhance data protection and secure user access in Analytics Plus.
Encryption & Protocol
This section allows administrators to configure encryption protocols and cipher suites used for secure data transmission between the Analytics Plus server and client systems.
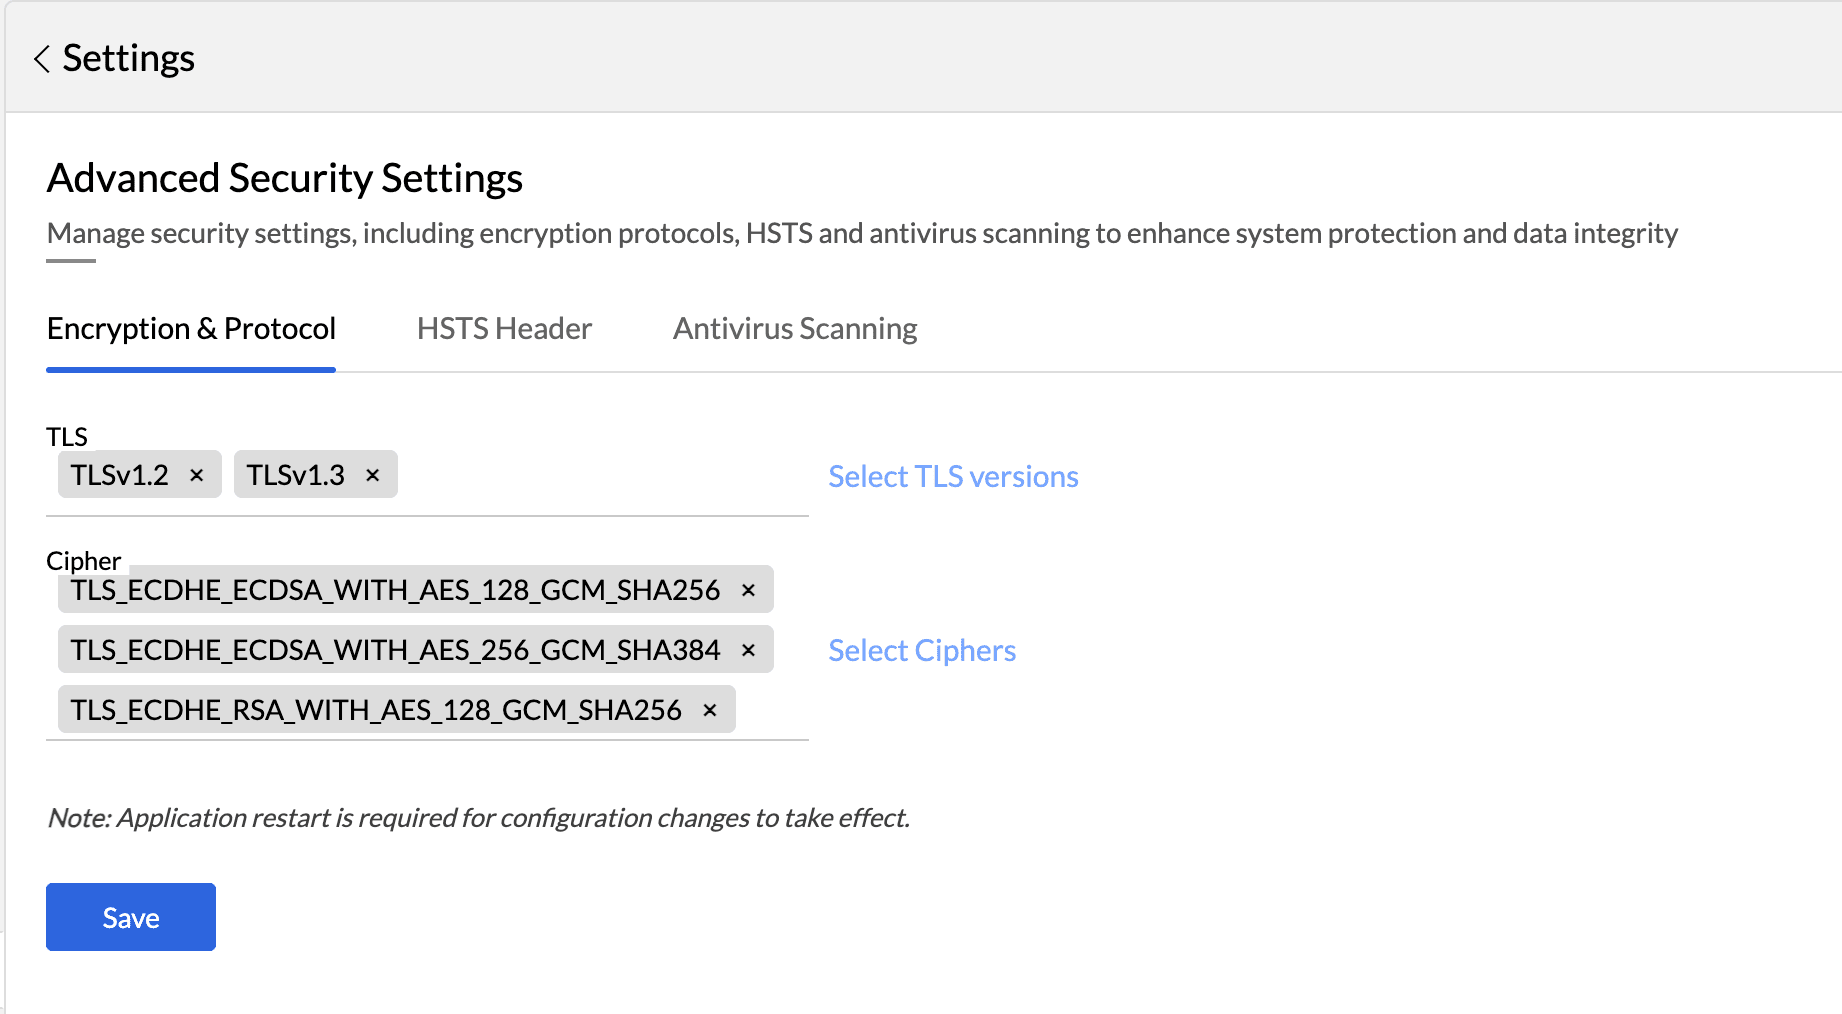
TLS : Select the supported TLS versions (e.g., TLSv1.2, TLSv1.3) to define the encryption level for data transmission.
Cipher : Choose the preferred cipher suites that specify the algorithms for encryption and key exchange.
HSTS Header
The HSTS Header tab allows you to enable HTTP Strict Transport Security (HSTS) to ensure that browsers connect to Analytics Plus only through secure HTTPS connections.
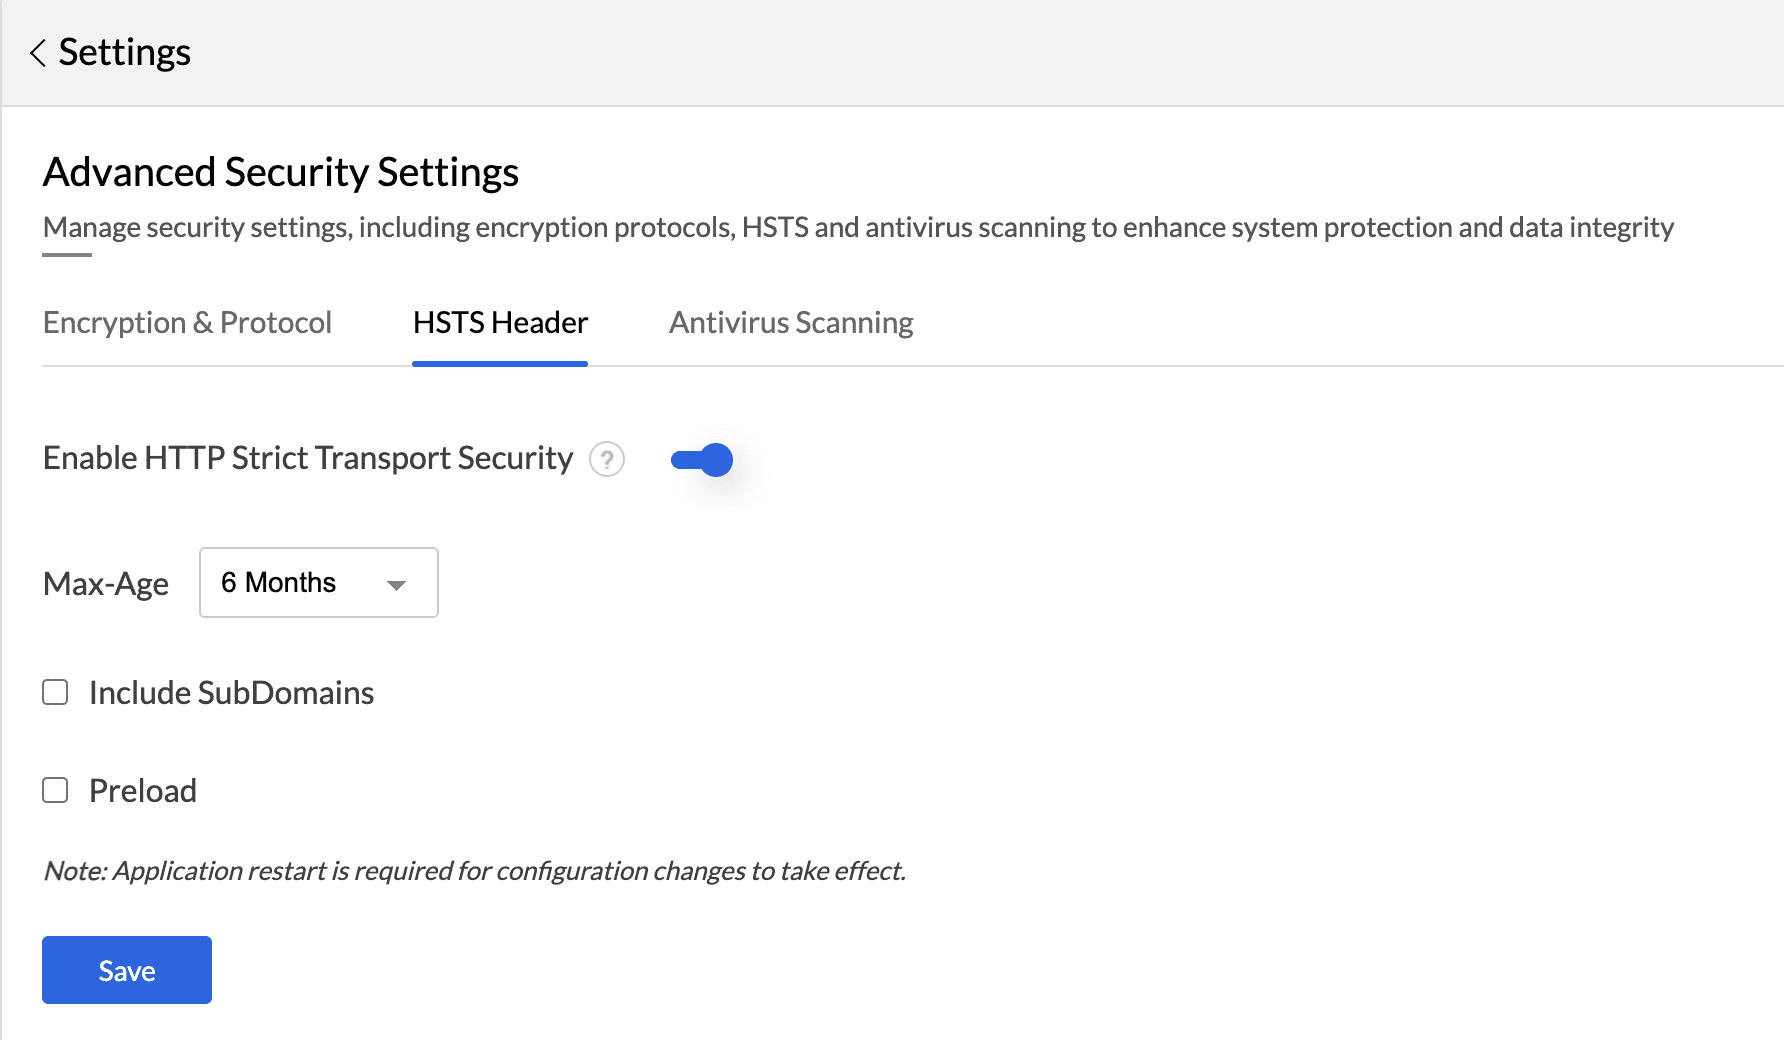
Enable HTTP Strict Transport Security: Toggle this option to activate HSTS and enforce HTTPS connections.
Max-Age: Define the duration (6 months, 1 year, or 2 years) for which browsers should enforce HTTPS communication.
Include SubDomains: Extend the HSTS policy to all subdomains under your main domain.
Preload: Enable this option to include the domain in browser preload lists for stricter HTTPS enforcement.
Antivirus Scanning
Enable antivirus scanning to prevent the upload of malicious files to Analytics Plus.
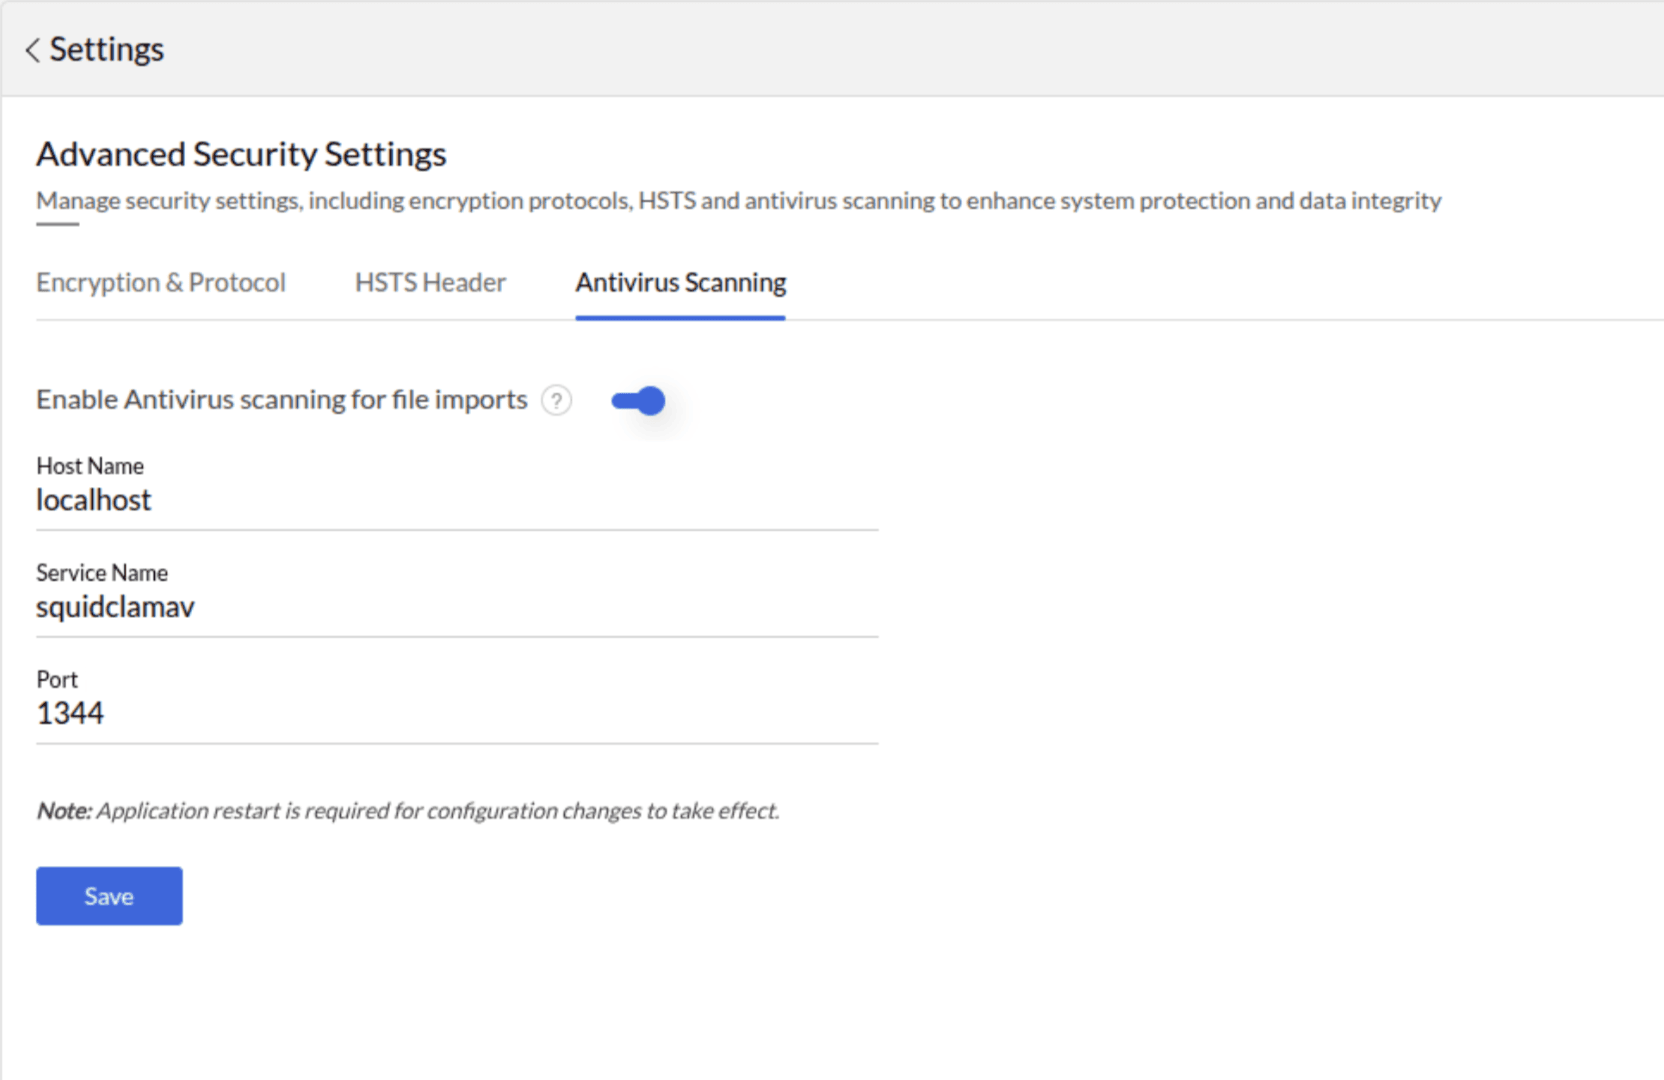
Enable Antivirus Scanning: Activates file scanning during uploads.
Hostname: Specify the server address where the antivirus engine is hosted.
Service Name: Enter the name of the antivirus service configured on the host.
Port Number: Define the port used to connect to the antivirus service.
IP Restriction
Configure allowed IP ranges to control access to your Analytics Plus account and ensure that only users from trusted networks can connect.
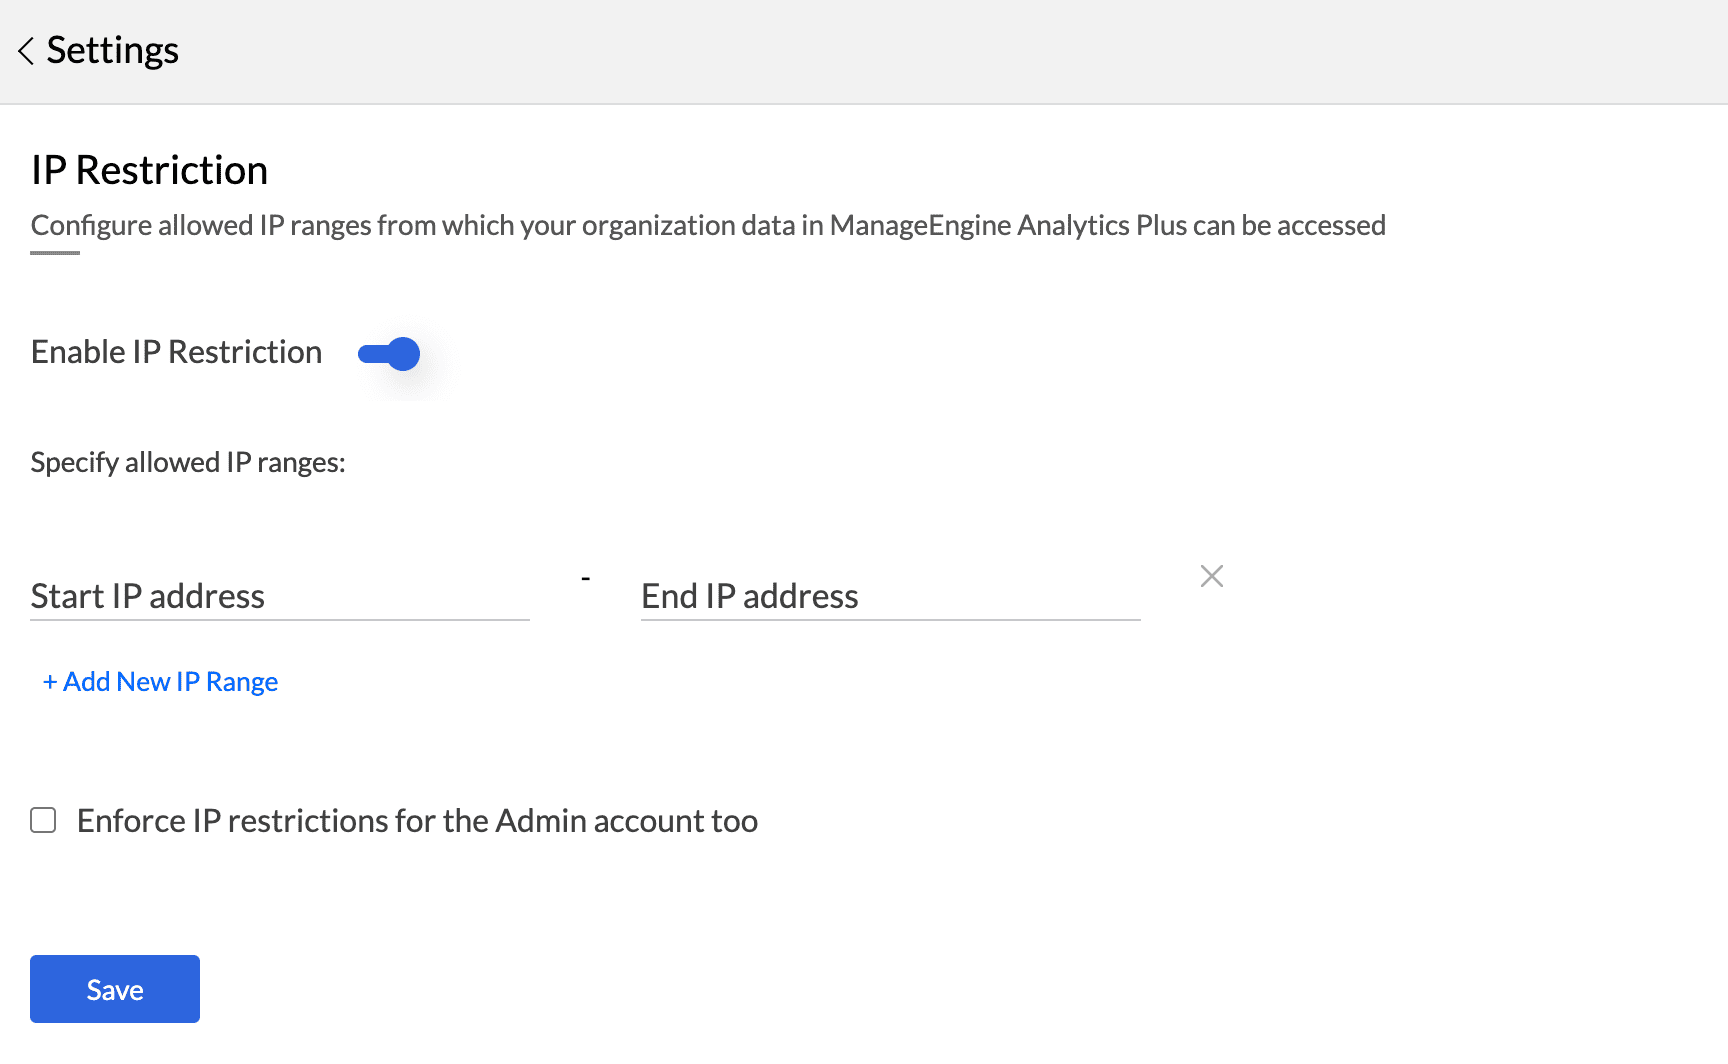
Enable IP Restriction: Activates IP-based access control.
Specify Allowed IP Ranges: Define the start and end IP addresses for permitted access. Click Add New IP Range to include multiple ranges.
Enforce IP Restrictions for the Admin Account: Apply IP restrictions to the Admin account as well for stricter control.
Note: Restart the application for the configuration changes to take effect.