How to move Endpoint Central MSP agent from Customer A to Customer B?
The below-given steps will help you migrate the agents from one customer to another in Endpoint Central MSP
- Windows
- Mac
- Linux
Windows Agent Migration
1. Download the new agent package
- Open the server web console.
- Navigate to the Agent -> Computers
- Select the required remote office
- Click the Download Agent button
- Rename the file to LocalOffice_Agent.exe and place it In a folder.
2. Download the zip
- Extract and copy the contents from this link to the previously created folder.
3. Generate AgentCleanupToolclient
- Follow the steps in this doc to create the agent cleanup tool and place the generated AgentCleanupToolClient.exe to the same folder.
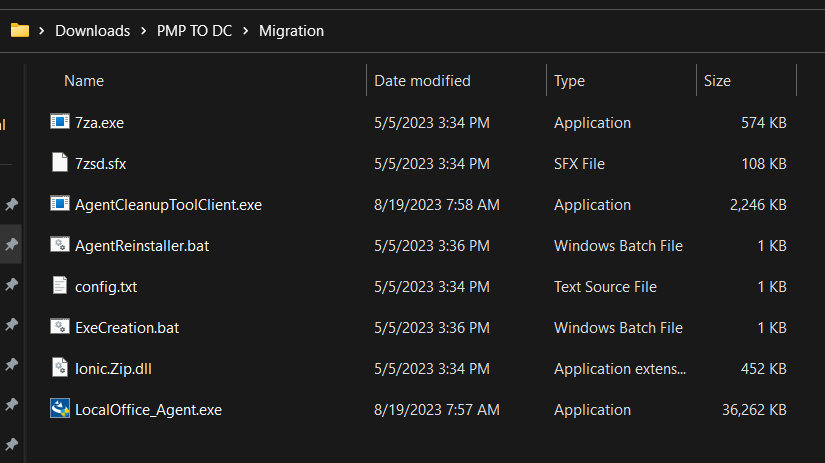
- The folder should contain the below files.
4. Open command prompt with Admin rights and run ExeCreation.bat and generate Agent.exe

5. Copy the file Agent.exe to the client machine and run it in CMD as administrator.
6. Ensure if the migration is working seamlessly.
7. In the product console, navigate to Configuration-> Windows-> Custom Script-> Computer
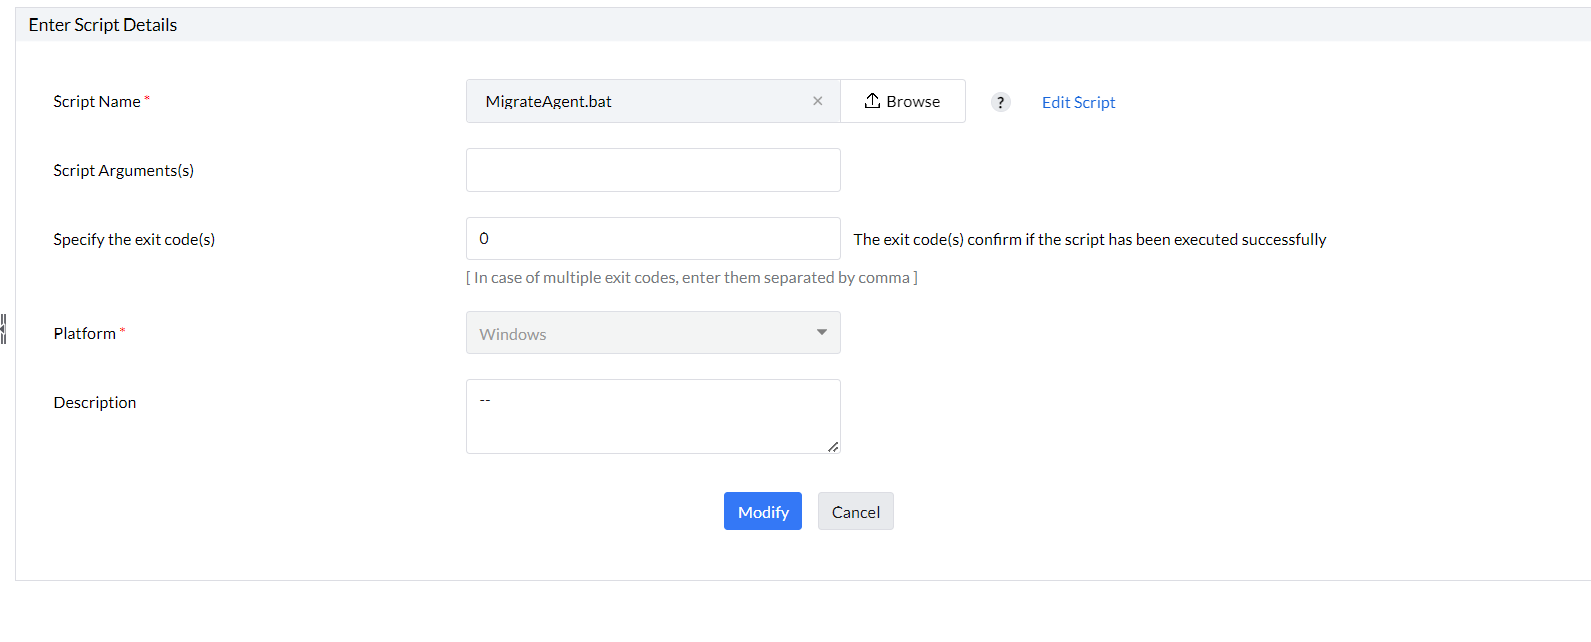
8. Enter the name of the configuration and click the Create\Modify script and add the script to repository. Click here to download the script.
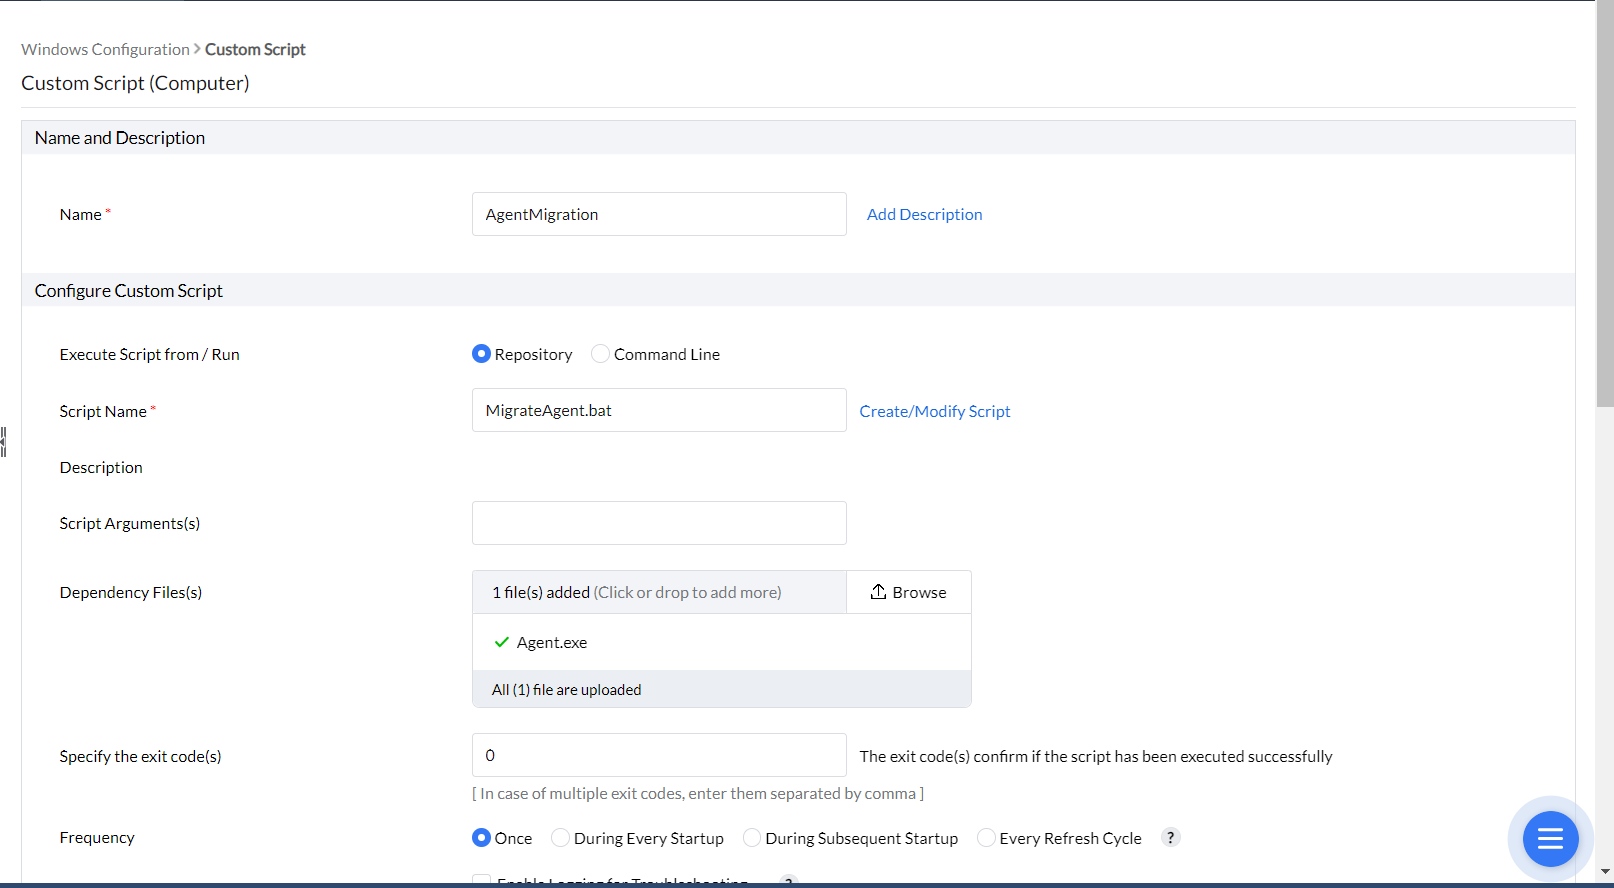
9. Once done, select the script in the custom script configuration.
10. In dependency files upload the previously generated Agent.exe file. Select the target and deploy the configuration
11. Once the changes applied the agent will be moved to the new server console.
Mac Agent Migration
- On the Endpoint Central MSP console, navigate to Agent tab -> Agent Settings -> Agent Protection Settings and disable Restrict users from uninstalling the Agent and Distribution server , if enabled.
- Download the Mac agent from Endpoint Central MSP console.
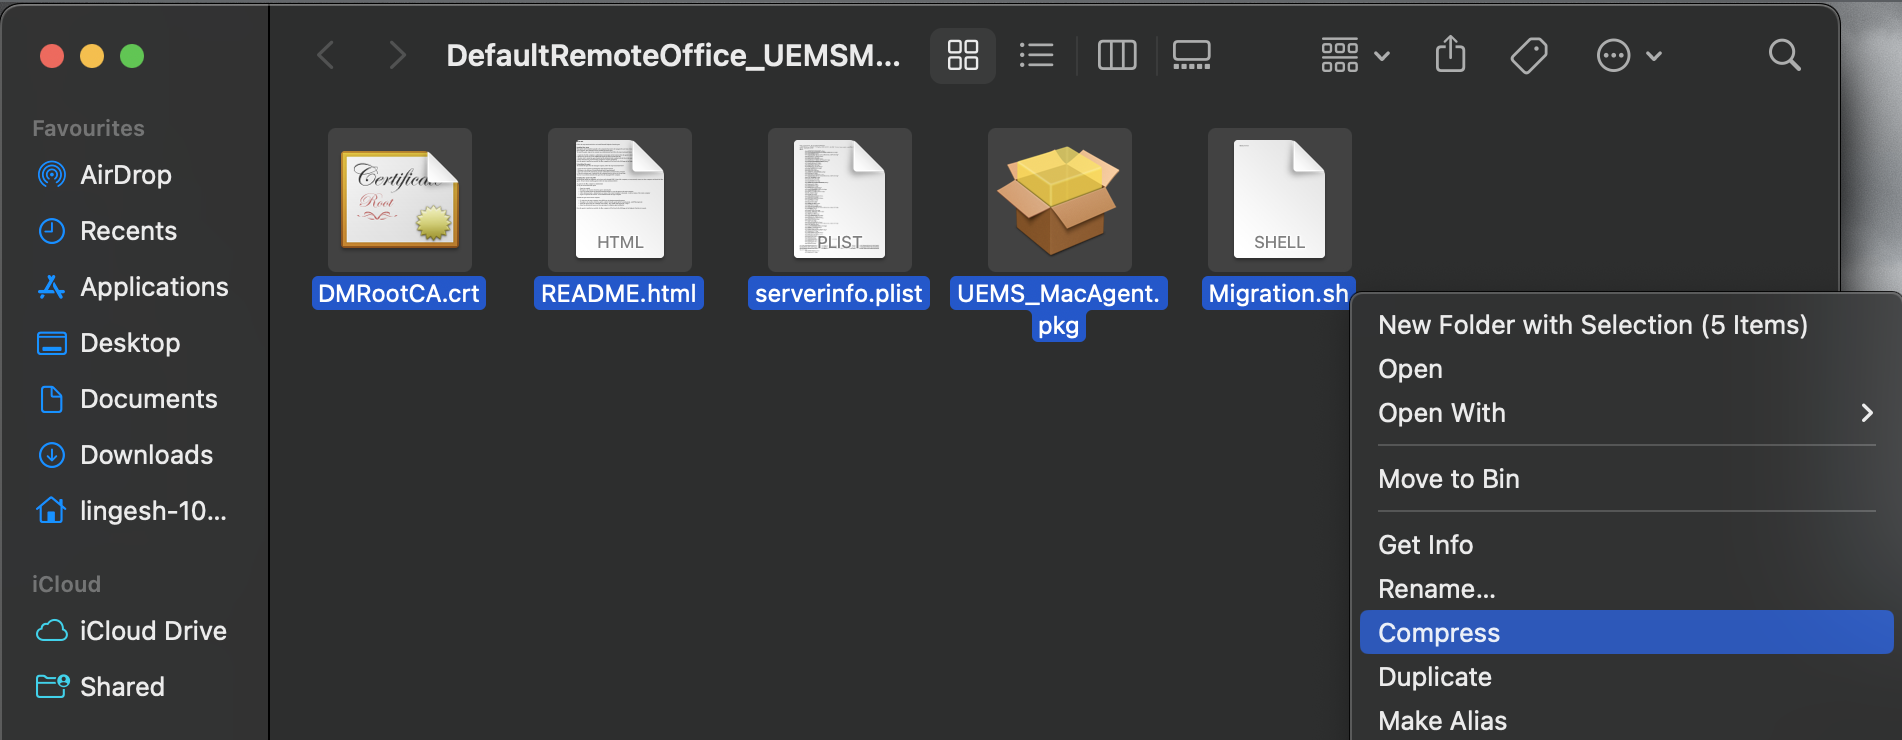
- Download Migration.sh to the same directory.
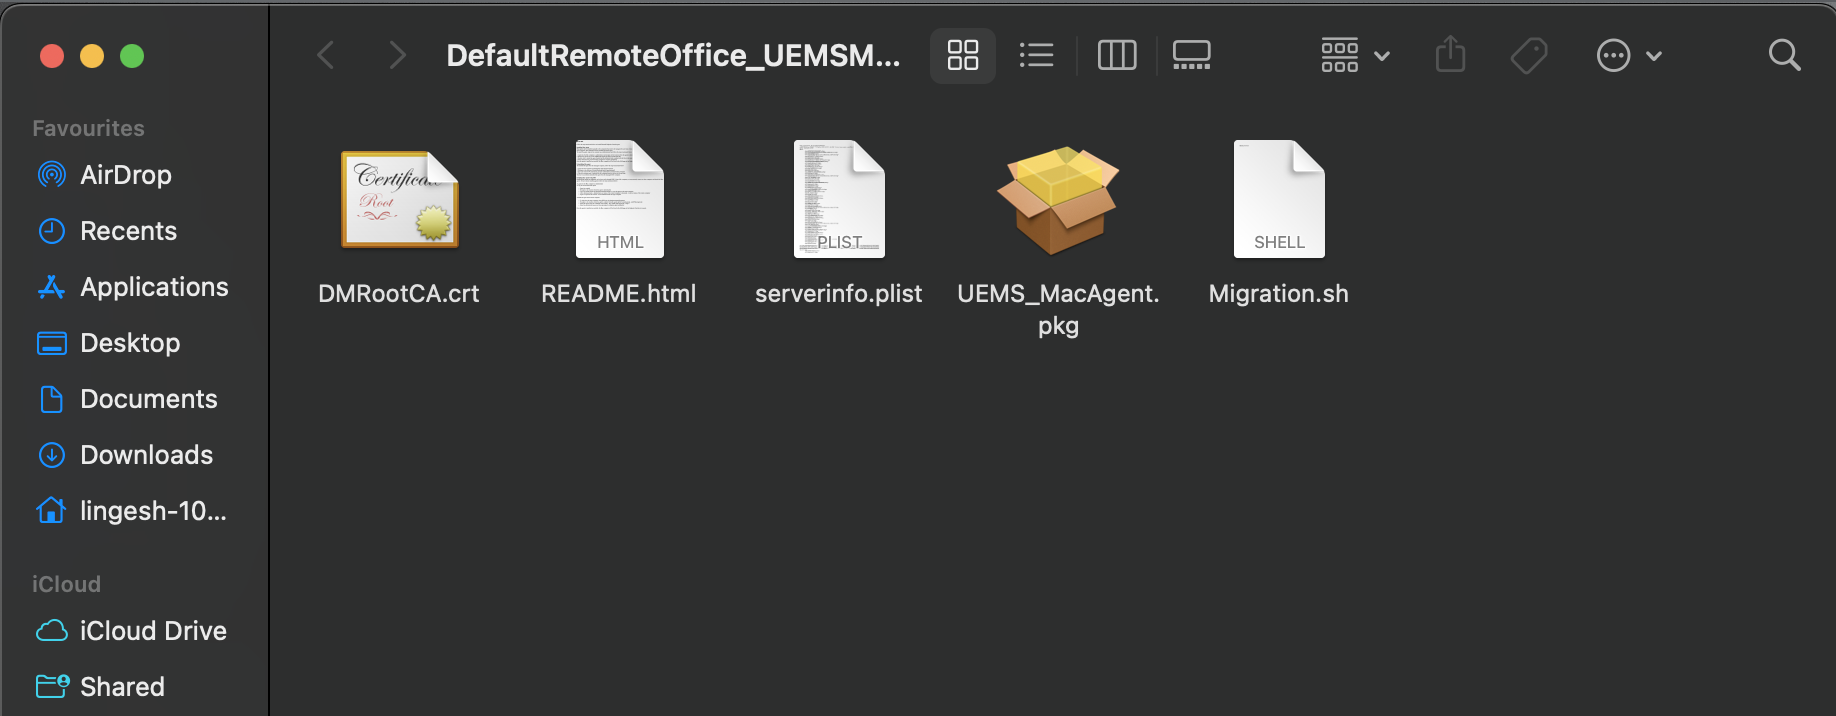
- Zip the package with serverinfo.plist and Migration.sh
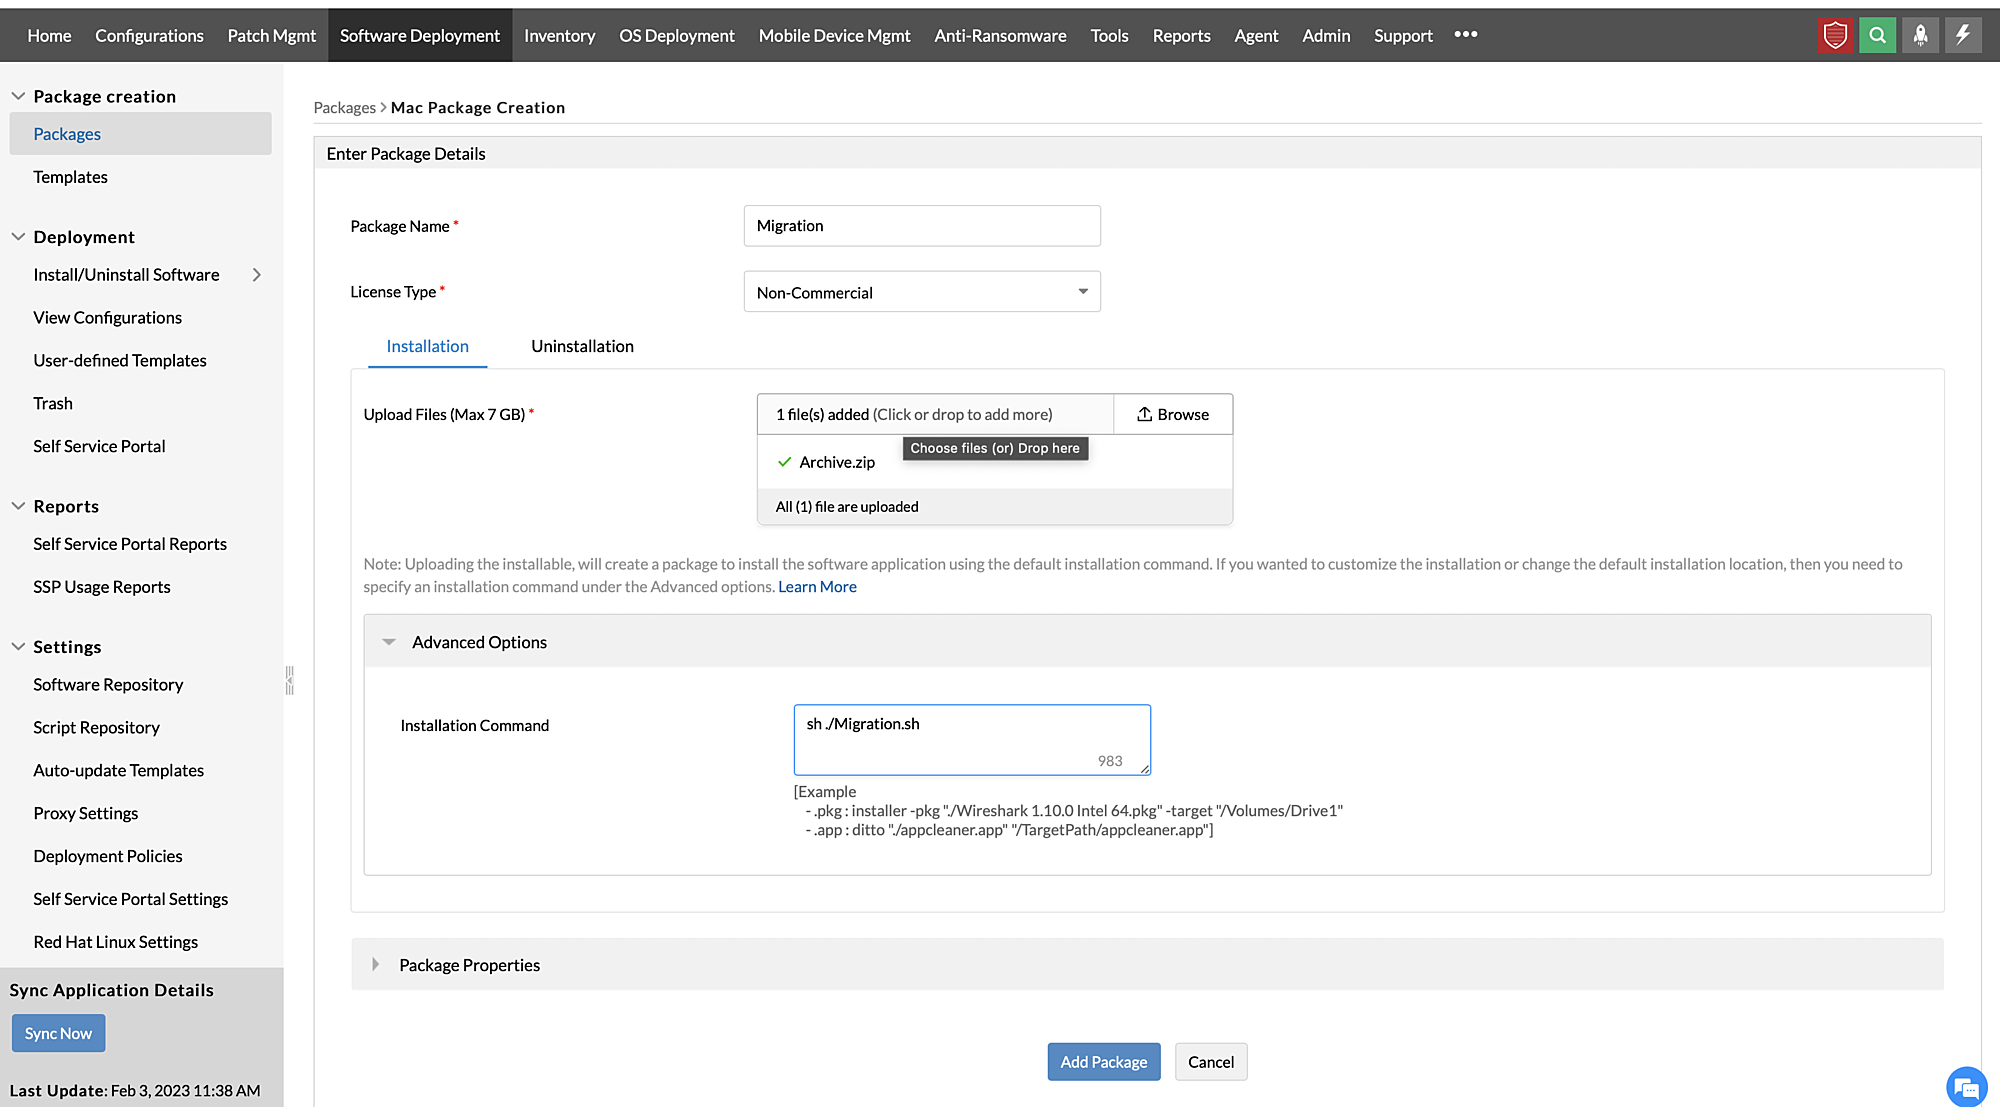
- Navigate to Endpoint Central MSP -> Software deployment -> Add Package -> Mac
- Create a Mac package by uploading the Archive.zip generated. In advanced options, type sh ./Migration.sh as shown
- Create a Mac Software Deployment configuration and deploy the created package to required machines on-premise. It is recommended to apply the configuration to a few test machines first.
Linux Agent Migration
- On the Endpoint Central MSP console, navigate to Agent tab -> Agent Settings -> Agent Protection Settings and disable Restrict users from uninstalling the Agent and Distribution server , if enabled.
- Download the Linux agent.
- Create a Linux custom script configuration.
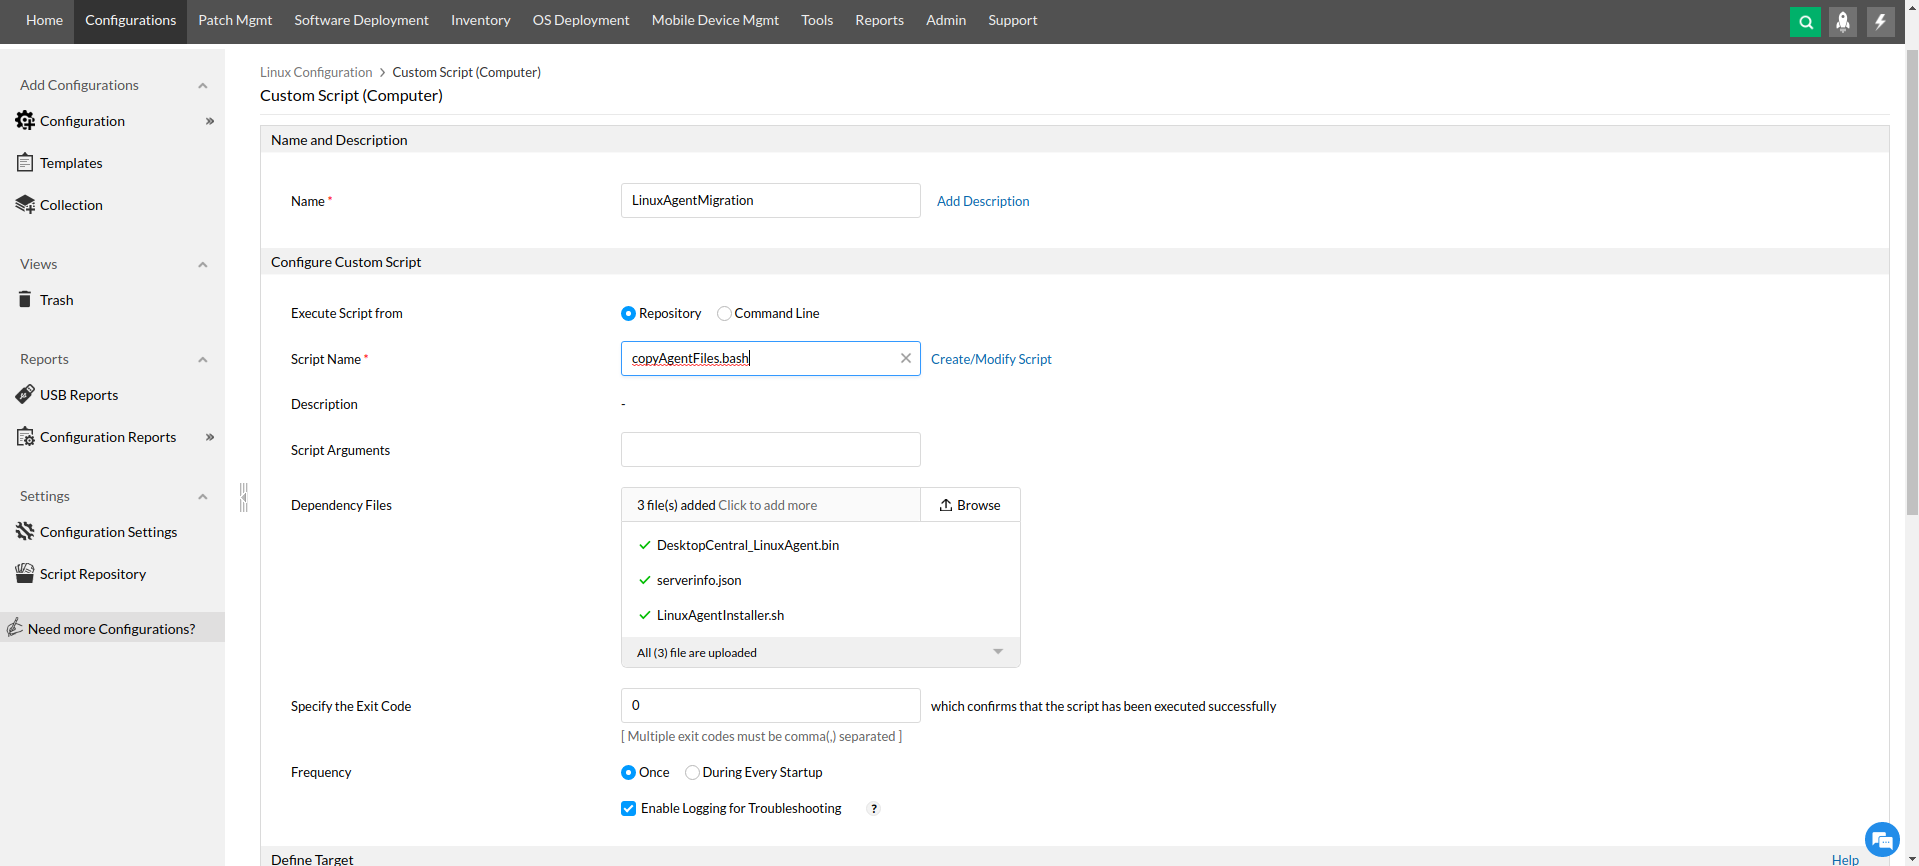
- Add the script copyAgentFiles.bashto script repository and add below dependency files.
- DesktopCentral_LinuxAgent.bin/UEMS_LinuxAgent.bin (In the zip file downloaded from DC cloud console)
- serverinfo.json (In the zip file downloaded from DC cloud console)
- LinuxAgentInstaller.bash
Note: After configuration is successfully applied, it will take a maximum of 10 minutes to installing the new agent. It is recommended to apply the configuration to a few test machines first.
- Define the targets and apply the configuration.
This way, all the Endpoint Central MSP agents will be migrated from one customer to another, thereby ensuring a seamless agent installation process.