Starting Log360 Cloud
You can either configure an On-premise agent or a Cloud Account to get started.
This page describes the various steps involved in configuring an on-premise agent or a cloud agent.
- Configure an agent
- Configure a cloud account
Configure Log360 Cloud Agent
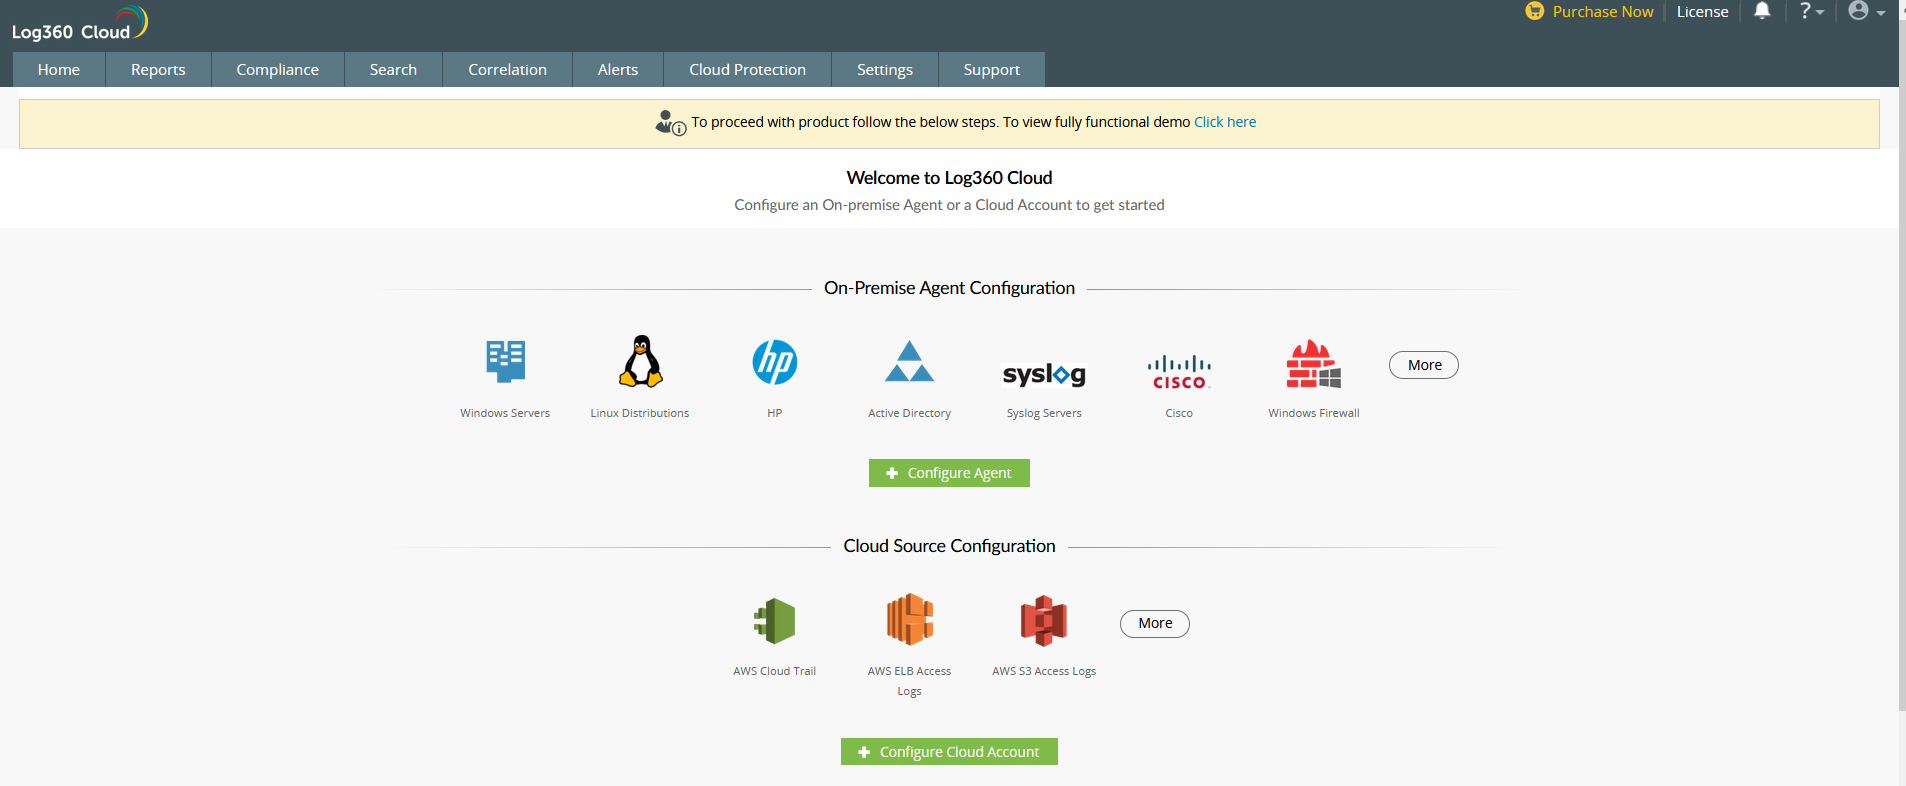
To sync Log360 Cloud with the Log360 Cloud Agent, you will have to obtain the security access key of Log360 Cloud and enter it in the Log360 Cloud Agent installation.
To obtain the security access key of Log360 Cloud,
- Click Configure Agent to open the Log360 Cloud Agent page.
- Follow the steps listed on the page.
- The access key will be available on Step 3 of the page.
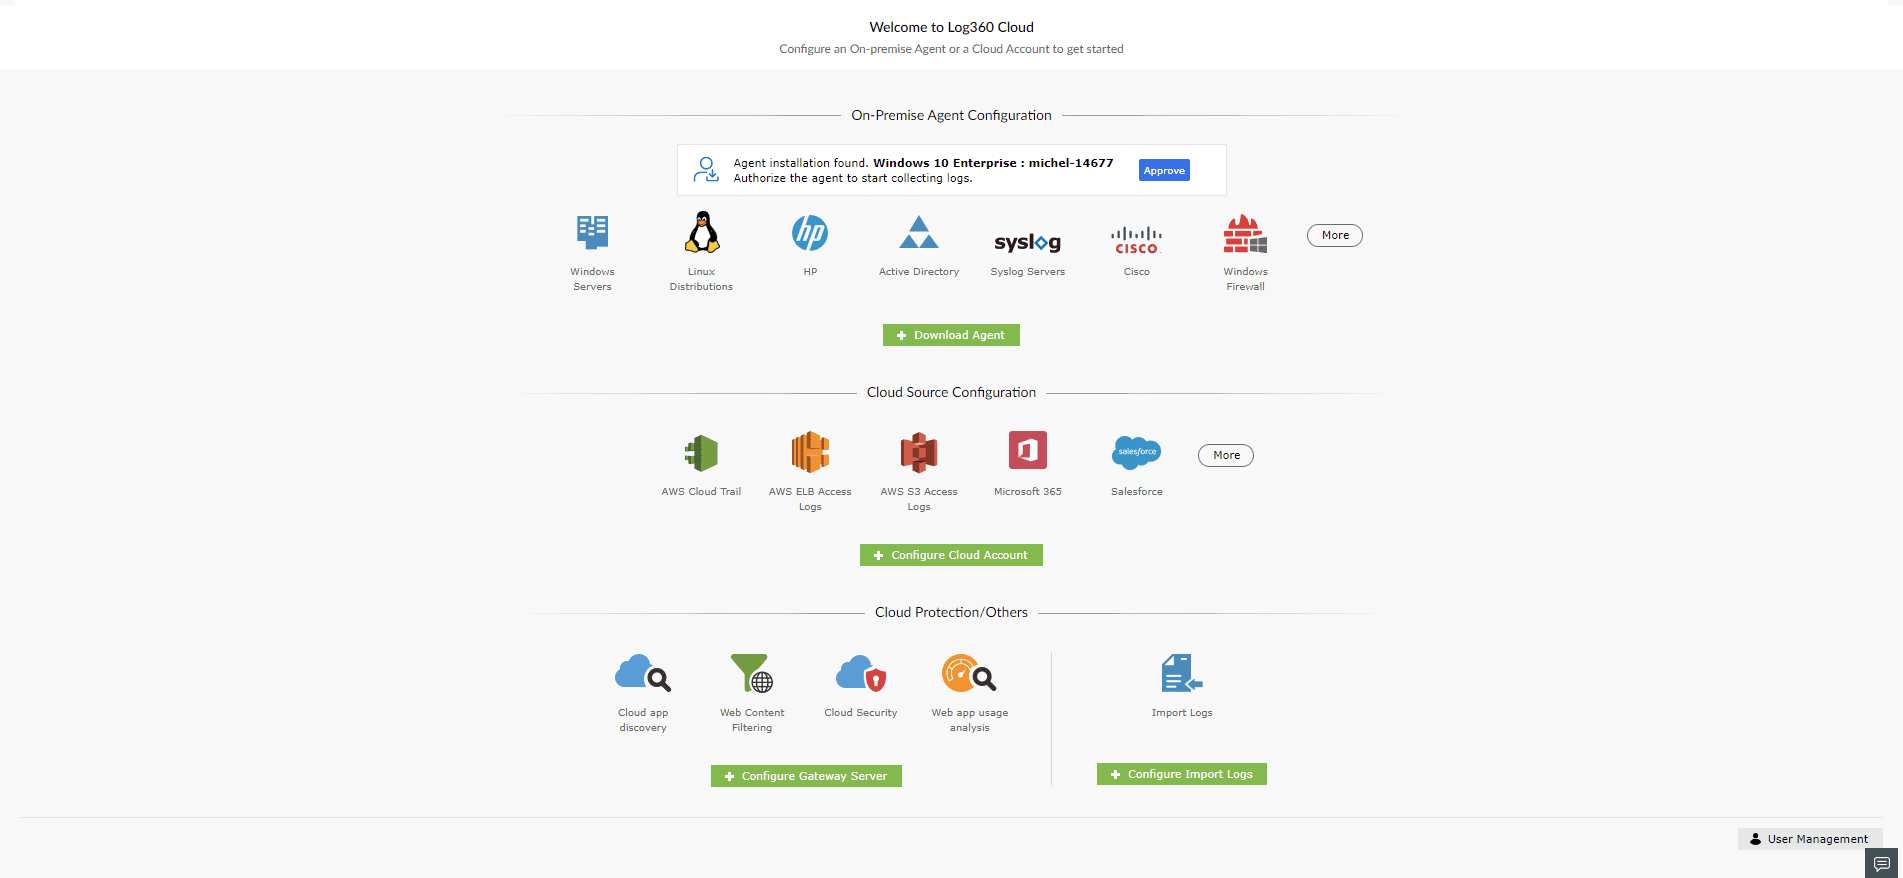
To enter the access key in the Log360 Agent console, follow the steps given below.
- If you have not downloaded the Log360 Cloud Agent already, click here.
- Run the Log360CloudAgent.msi file. An installation wizard will begin.
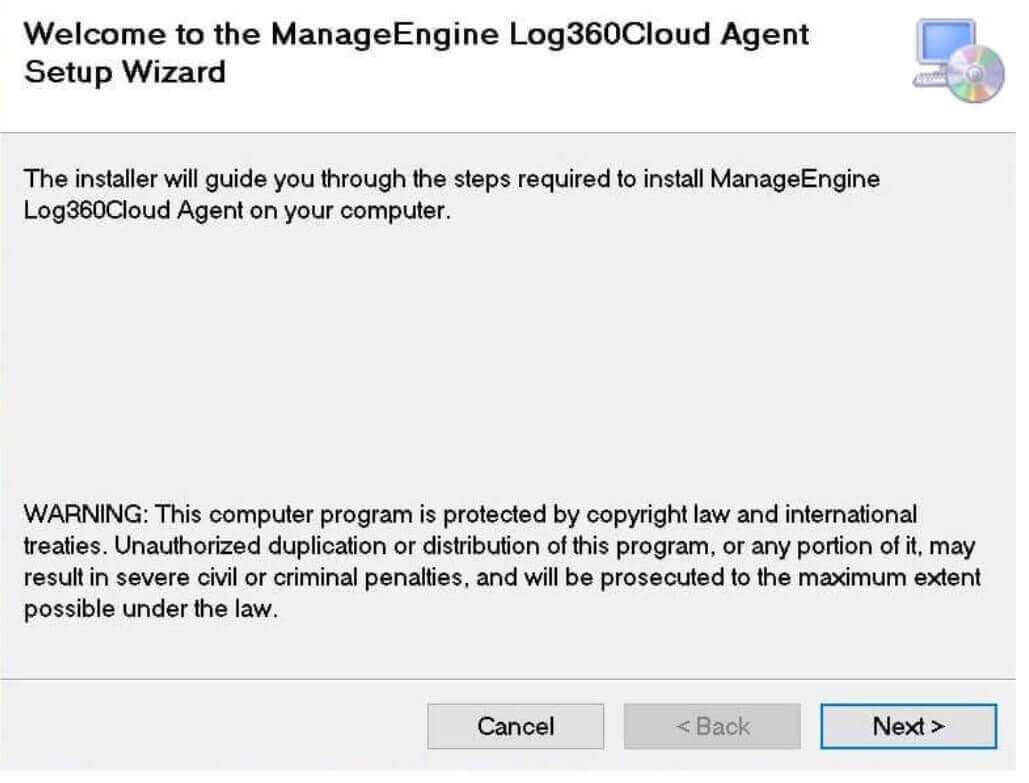
- Click Next to open the Connection Settings for Log360 Cloud pop-up
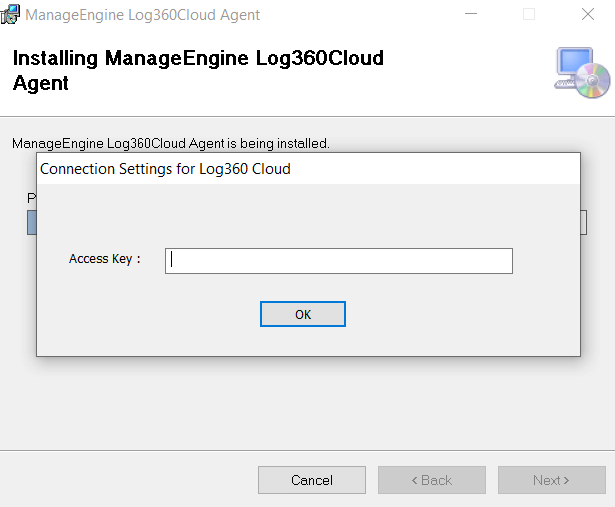
- On starting the installation, you will be prompted for an Access Key. Enter the access key that was obtained from Log360 Cloud and click OK.
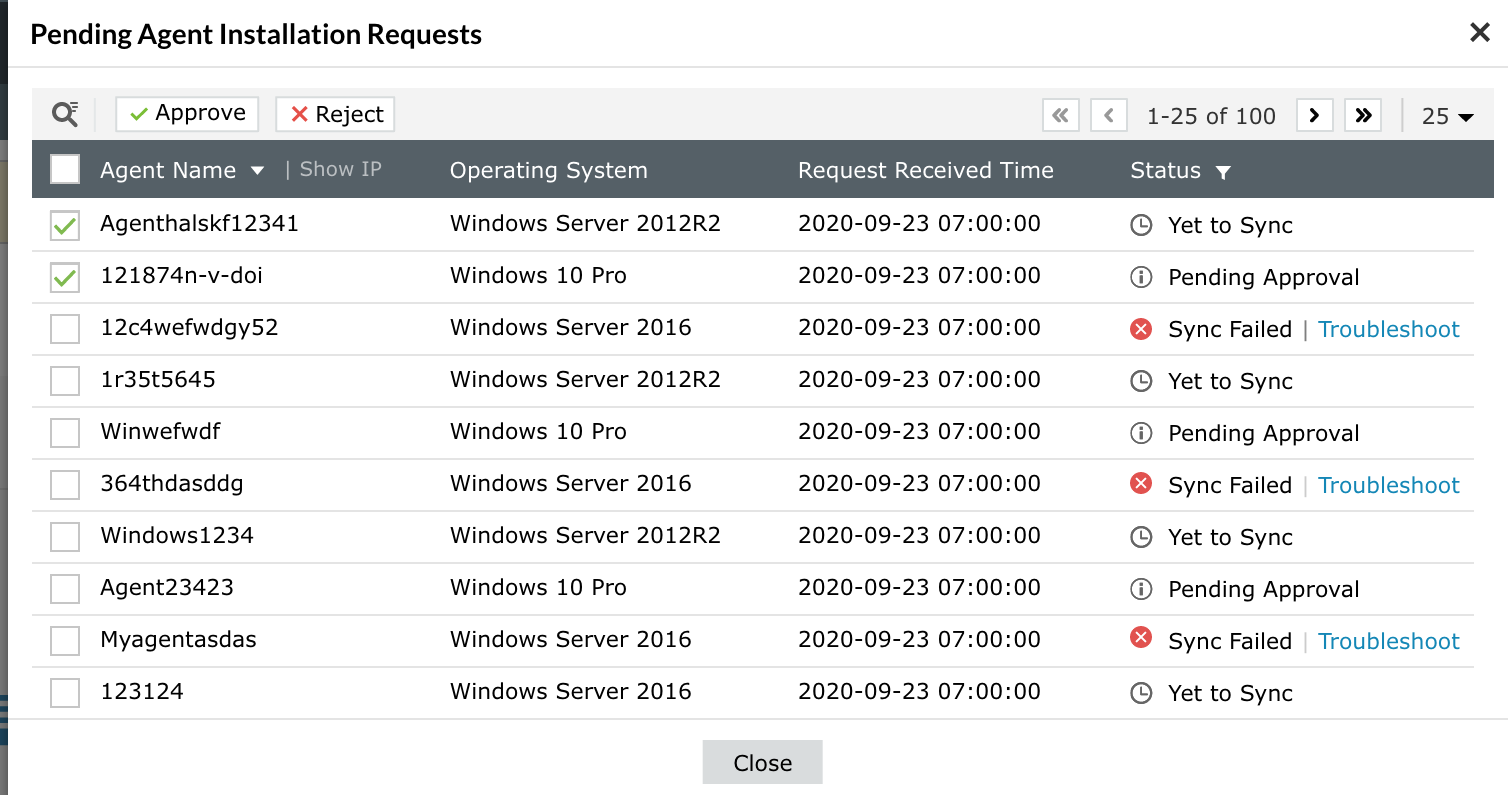
- Once the Installation Complete pop-up is displayed, click Close to exit.
On completing installation, data synchronization will begin and Log360 Cloud Agent will start pushing logs to the cloud.
Configure advanced threat analytics
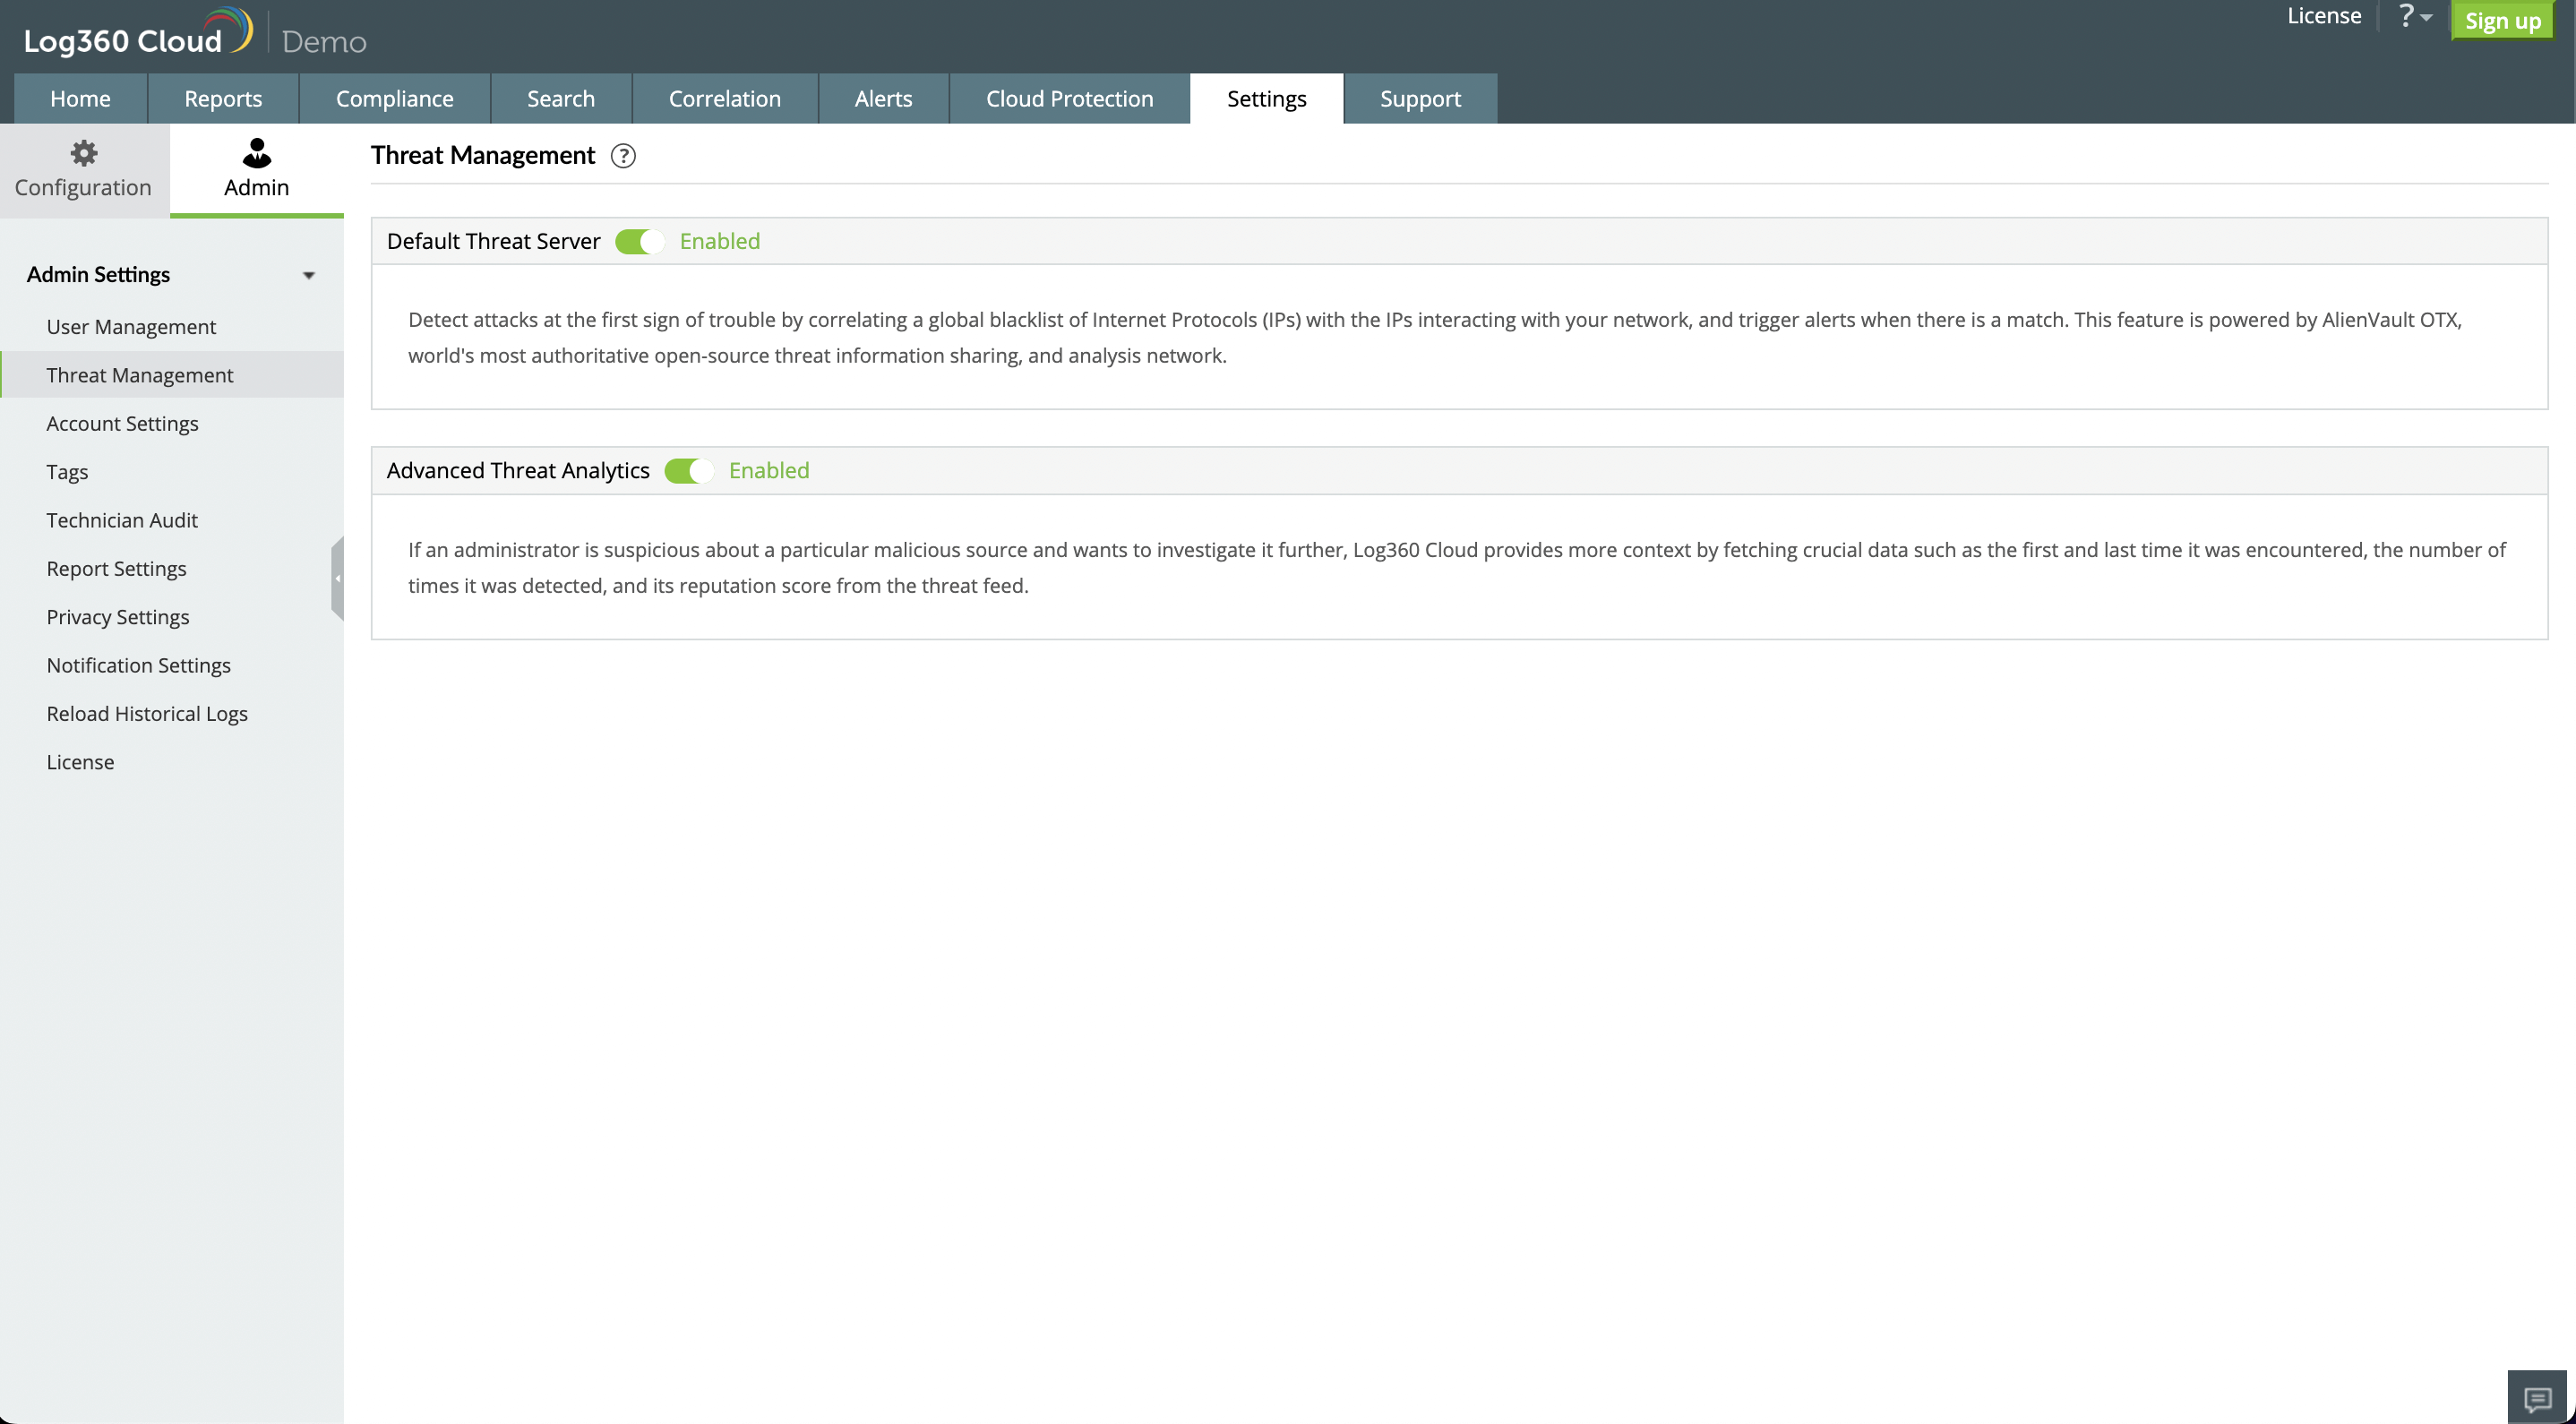
- Login to Log360 Cloud and navigate to Settings → Admin Settings → Threat Management.
- Enable the Default Threat Server and Advanced Threat Analytics options.
- Now the threat feeds have been enabled.
Configure Log360 Cloud Account
Click on Configure Cloud Account under Cloud Source Configuration.

The following page will appear.
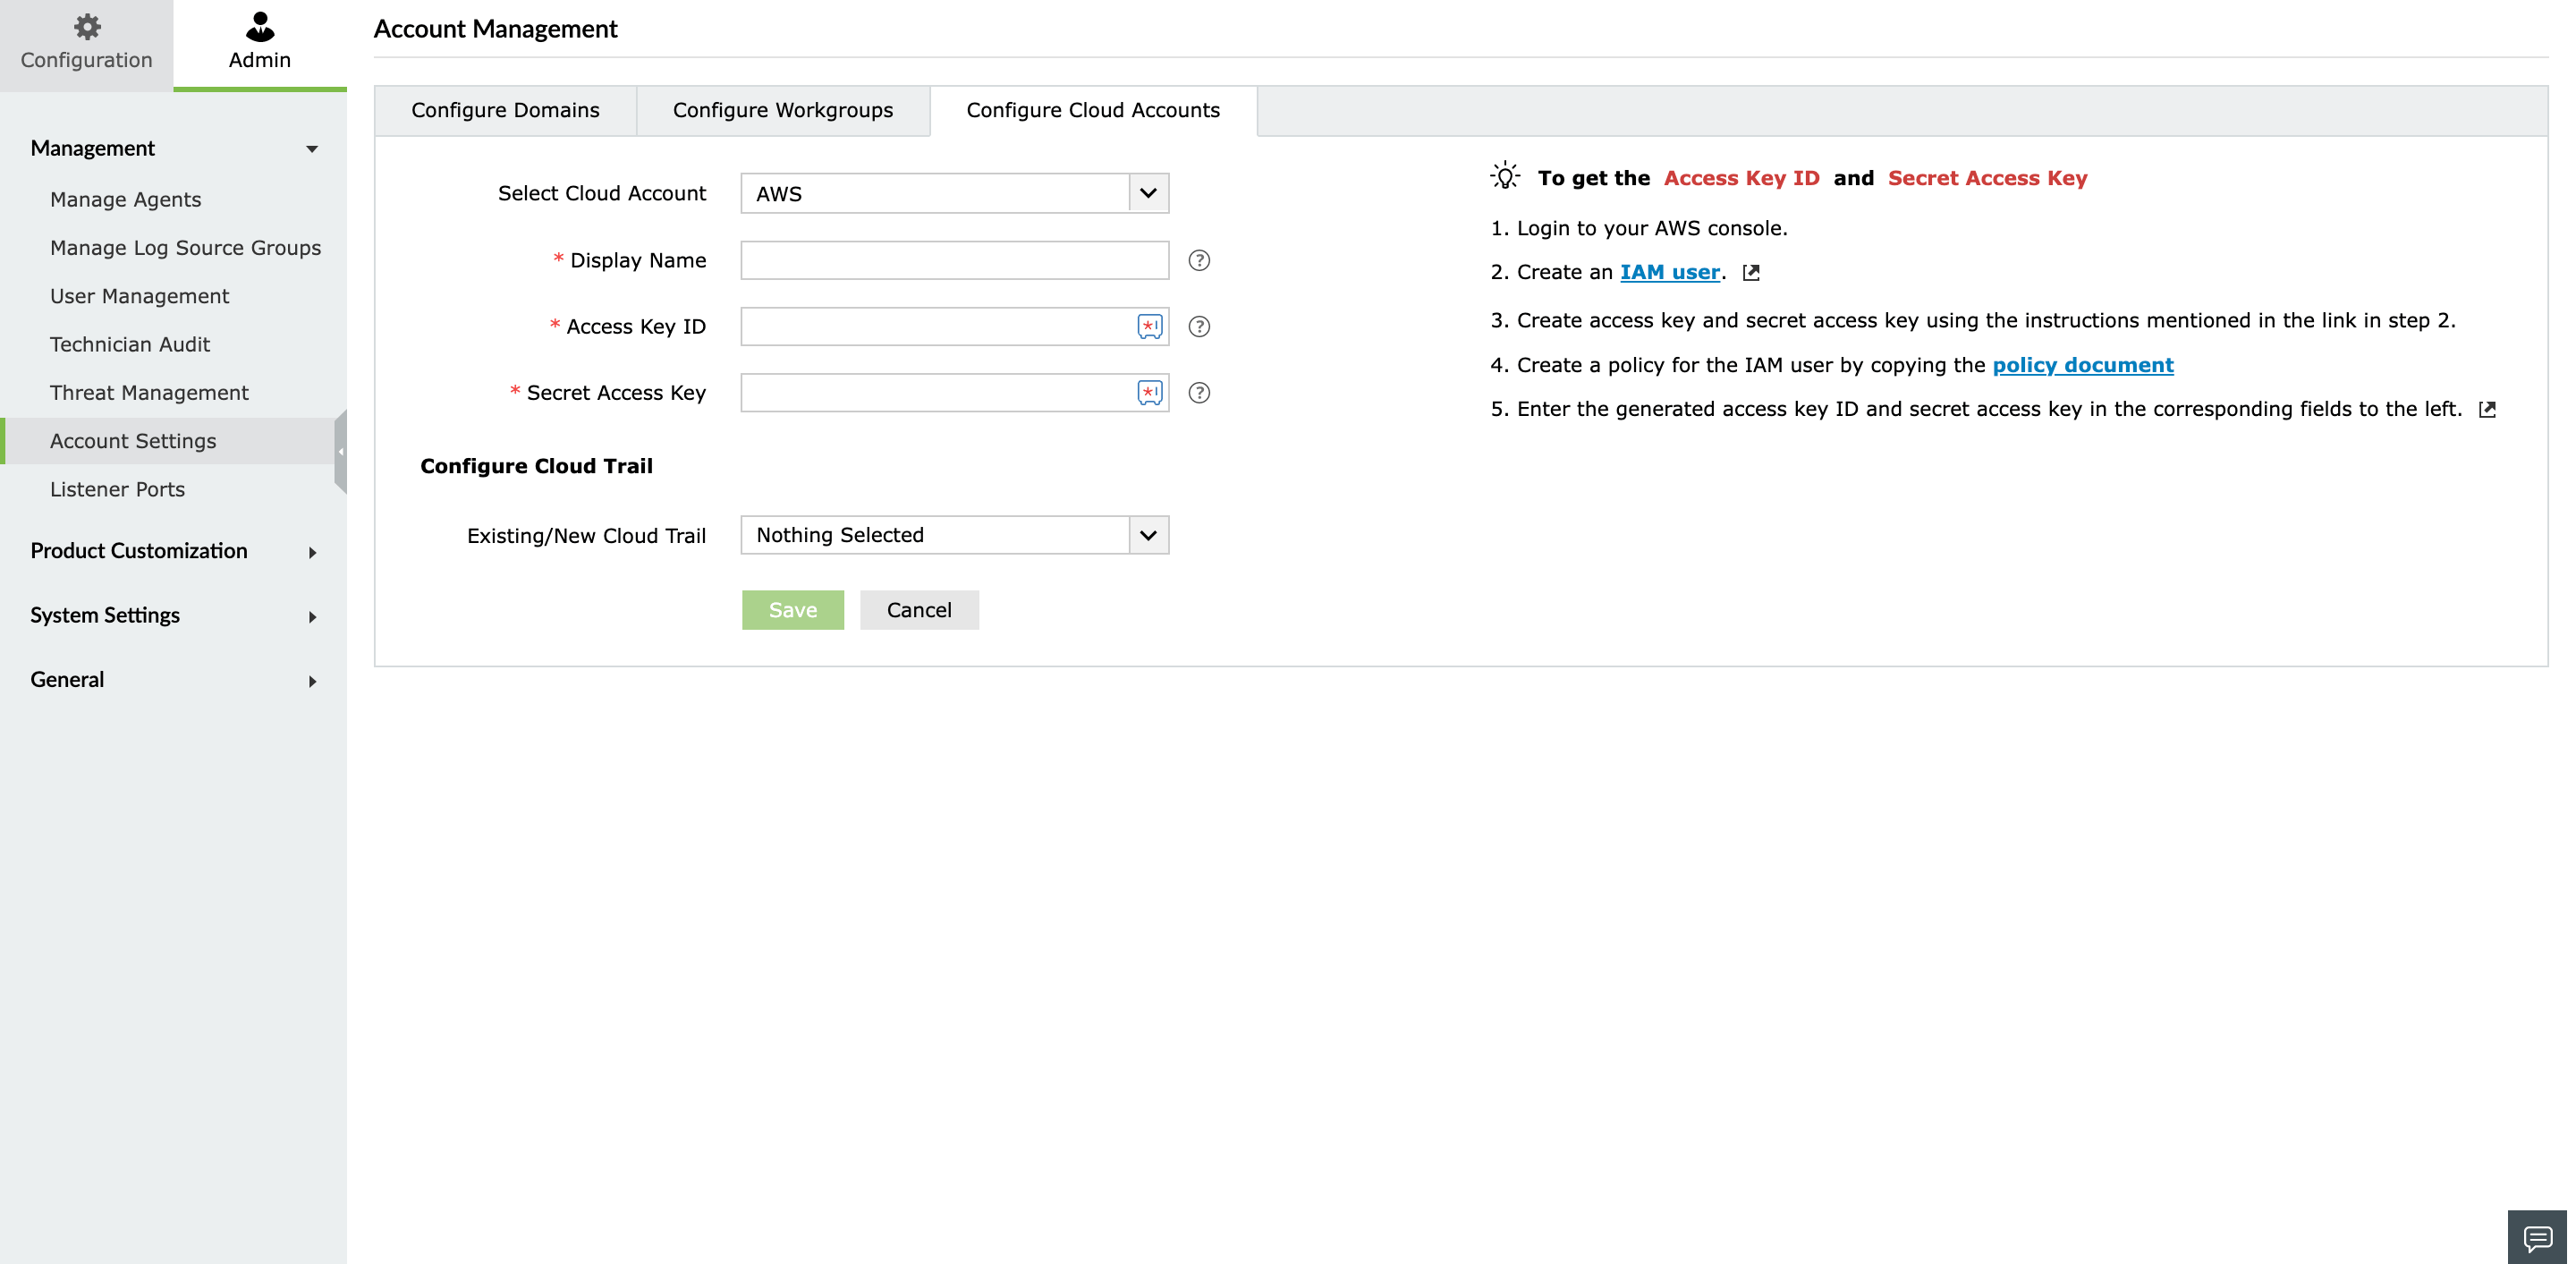
Enter the following details:


