Creating connections for pre-defined applications
Last updated on:
In this page
Overview
Pre-defined applications in Log360 Cloud come with built-in authentication settings and predefined connection flows. This section outlines the steps to create a connection for any pre-defined service using the required credentials and built-in authentication flow. Once created, these connections can be used across modules that support integrations with pre-defined applications.
Pre-requisites
- Before creating a connection for a pre-defined service, ensure that the corresponding integration/extension is installed in Log360 Cloud.
- Only after installing the extension, the service will appear in the Connections page for connection setup. The following applications are currently supported:
- Okta
- Sophos Central
- Bitdefender
- CrowdStrike
- SentinelOne
- VirusTotal
- Dropbox
- Cisco Duo
Steps to create a connection
- In the product console, go to the Settings tab and select Admin.
- Under Integrations, select Connections.
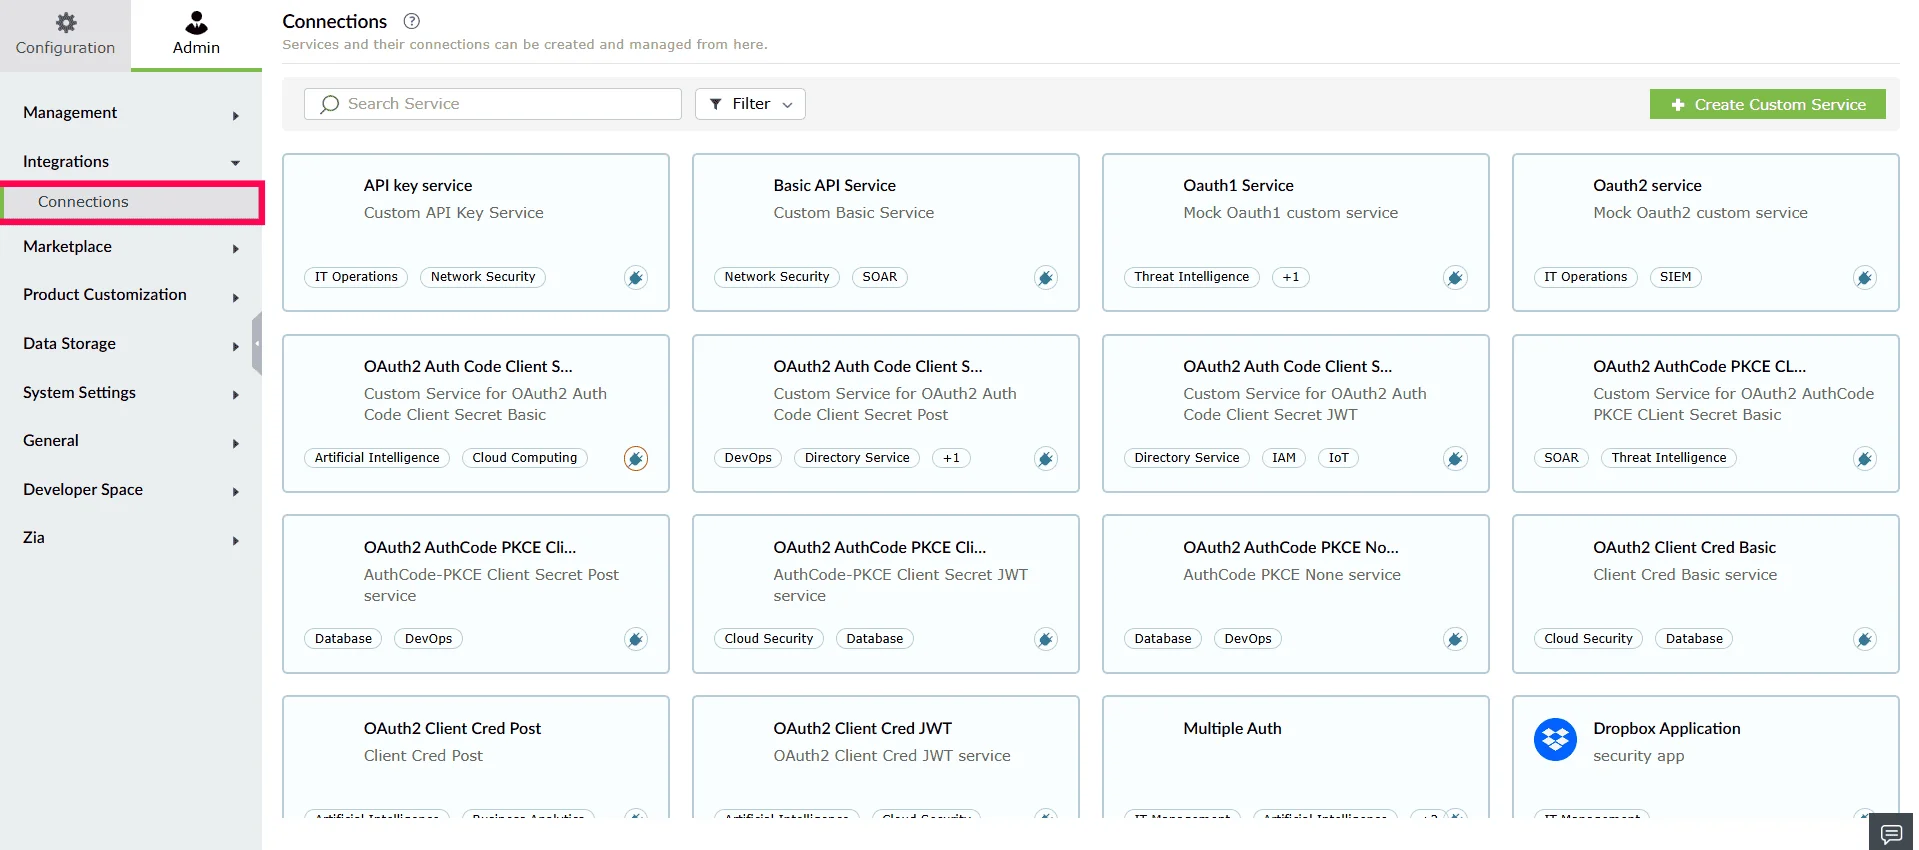
Figure 1: Navigating to connections - From the list of services, select the pre-defined service for which you want to create a new connection and click Create Connection.
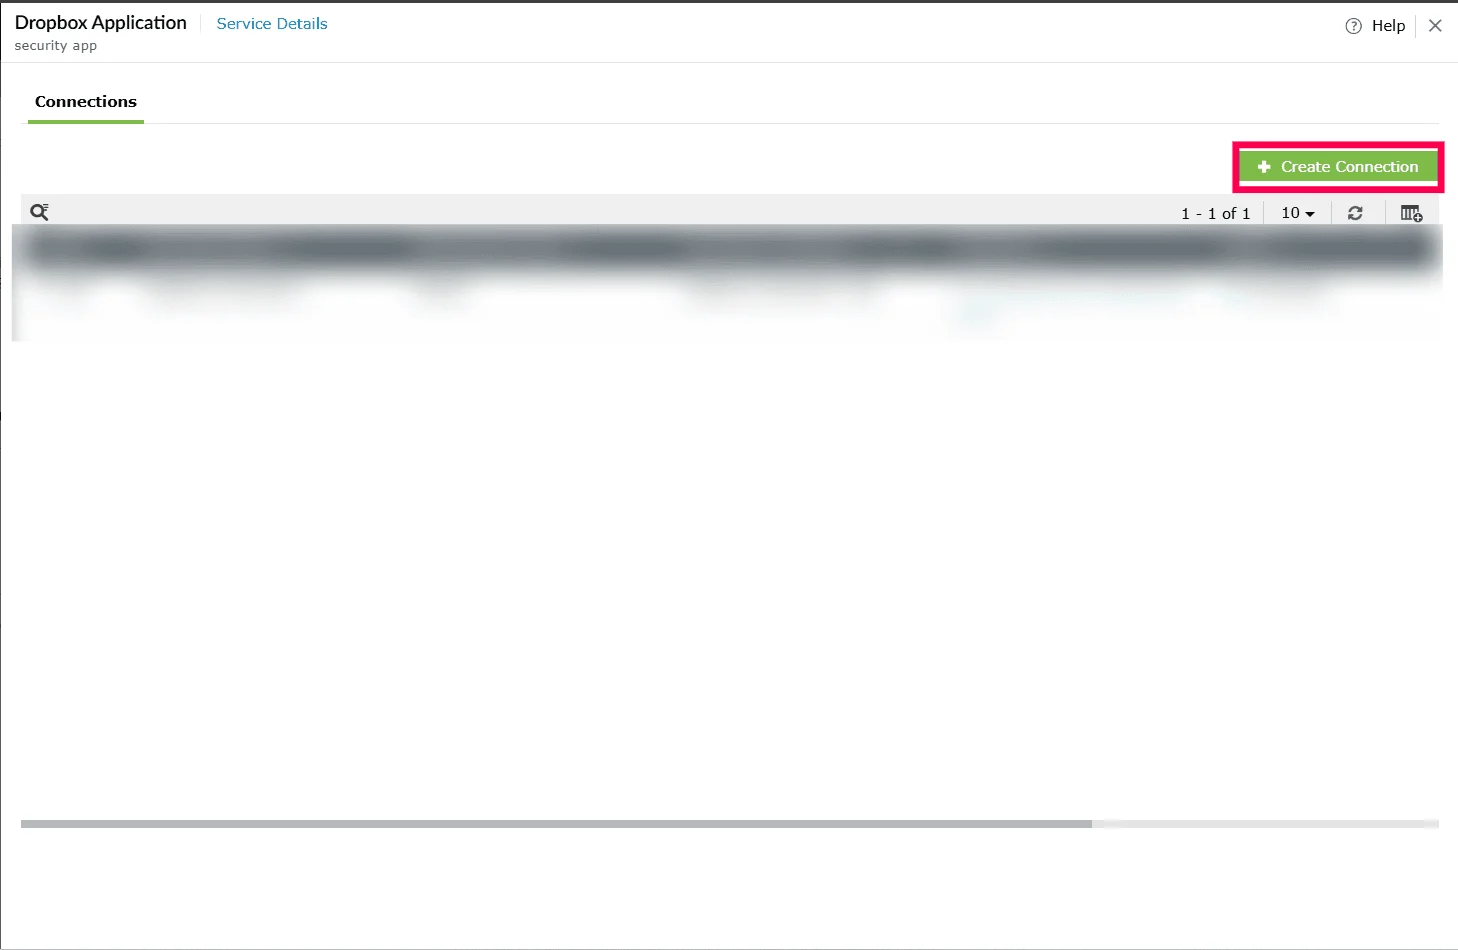
Figure 2: Creating a connection - The Create Connection window, enter the required details. The fields displayed will vary depending on the selected application. Refer to the corresponding help page for the details required:
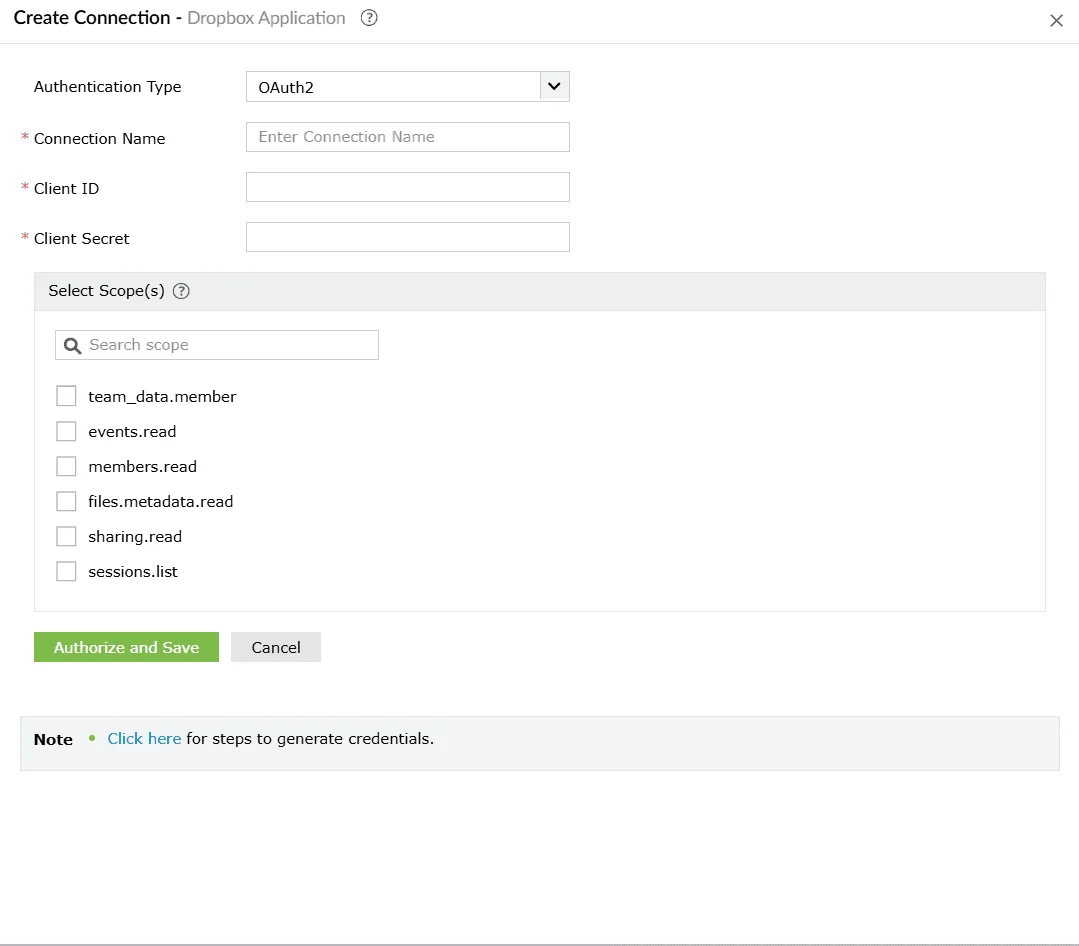
Figure 3: Configuring a connection - Click Authorize and Save to complete authentication and create the connection.
- Once authorization is completed, the connection is created and listed under the service's Connections tab.
Creating a connection from Installed Extensions
You can also create a connection directly from the Installed Extensions page.
- Navigate to Settings tab and select Admin.
- Under Marketplace, select Installed Extensions.
- After installing an extension, click Manage next to the extension for which you want to create a connection.
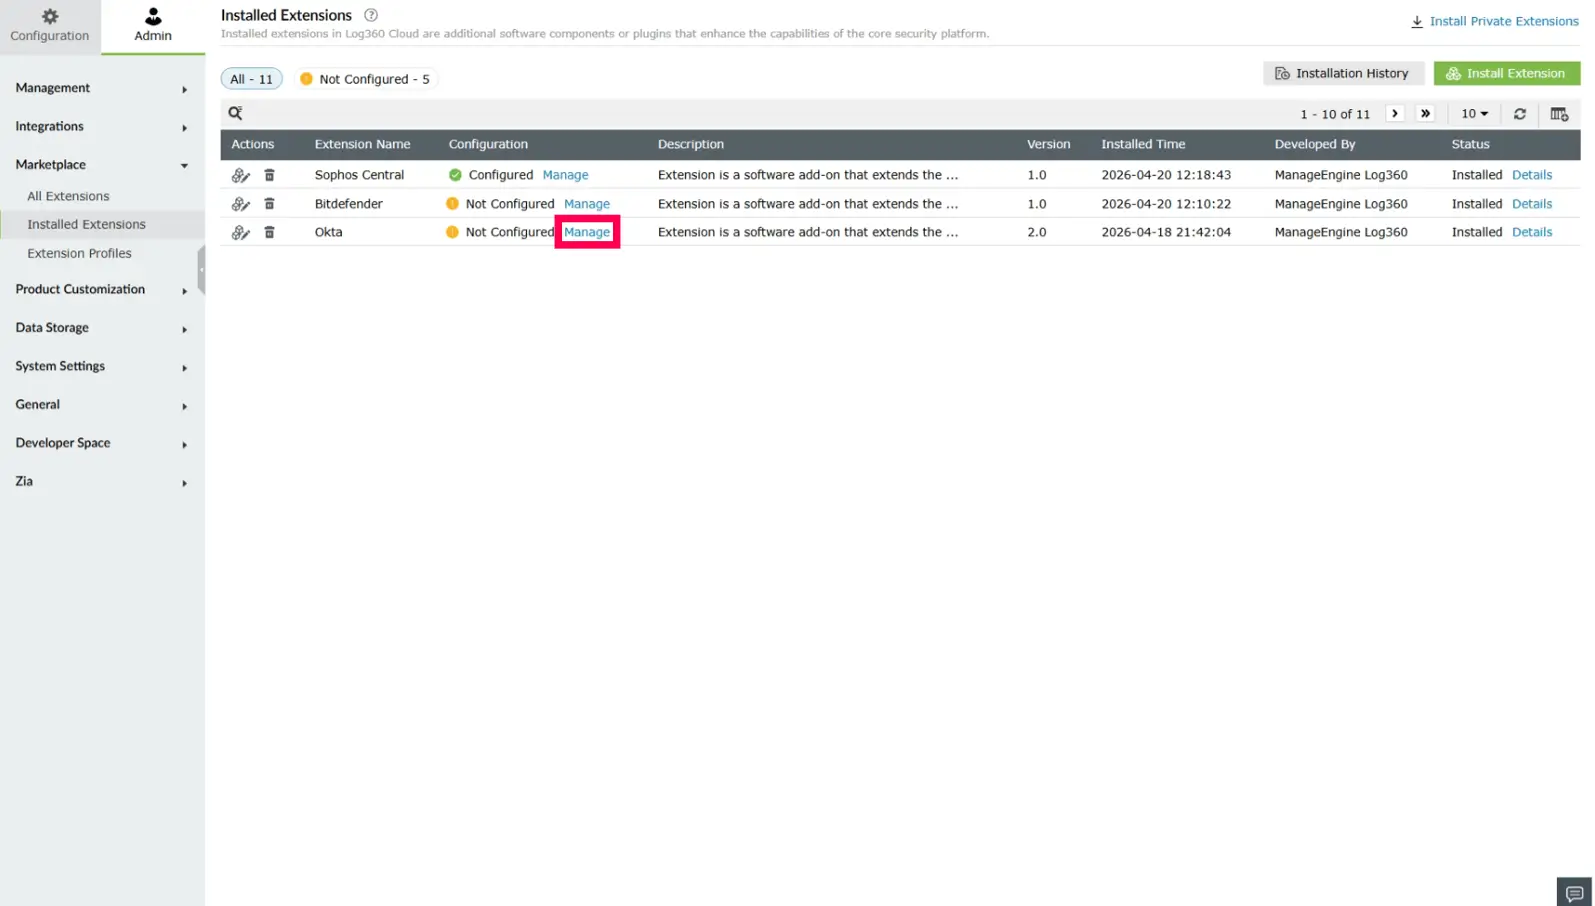
Figure 4: Managing extensions - In the Manage Configuration window, click Create to begin setting up the connection.
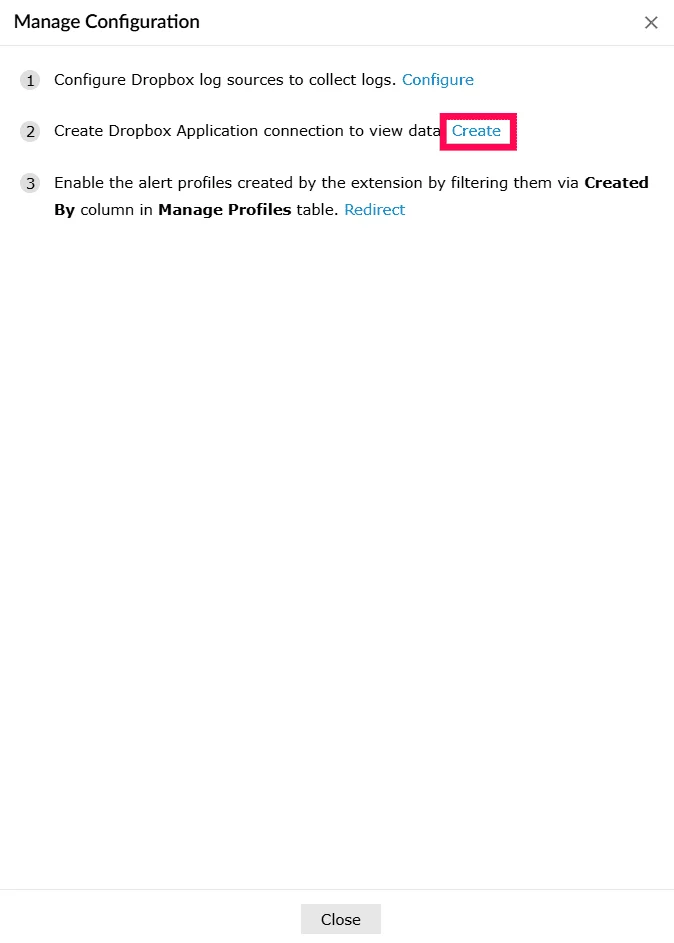
Figure 5: Creating a connection - In the Create Connection window, enter the required details. The fields displayed will vary depending on the selected application. Refer to the corresponding help page for the details required:
- Click Authorize and Save to complete authentication and create the connection.
Read also
This page explained how to create and manage connections for pre-defined services. For related configurations refer to the following articles: