Configuring auto allocation
Last updated on:
In this page
Overview
The auto allocation capability must be manually enabled to begin assigning discovered Windows devices to the appropriate collectors. Once enabled, the system automatically evaluates devices against configured policies and performs scheduled allocations. This section guides you through enabling or disabling the feature and explains what happens when it's turned on or off.
Configuring auto allocation (enable/disable)
Enabling auto allocation
NOTE By default, the auto allocation feature is in a disabled state. It must be manually enabled in order to make use of its functionality.
- In the product console, navigate to the Settings tab and click on Devices.
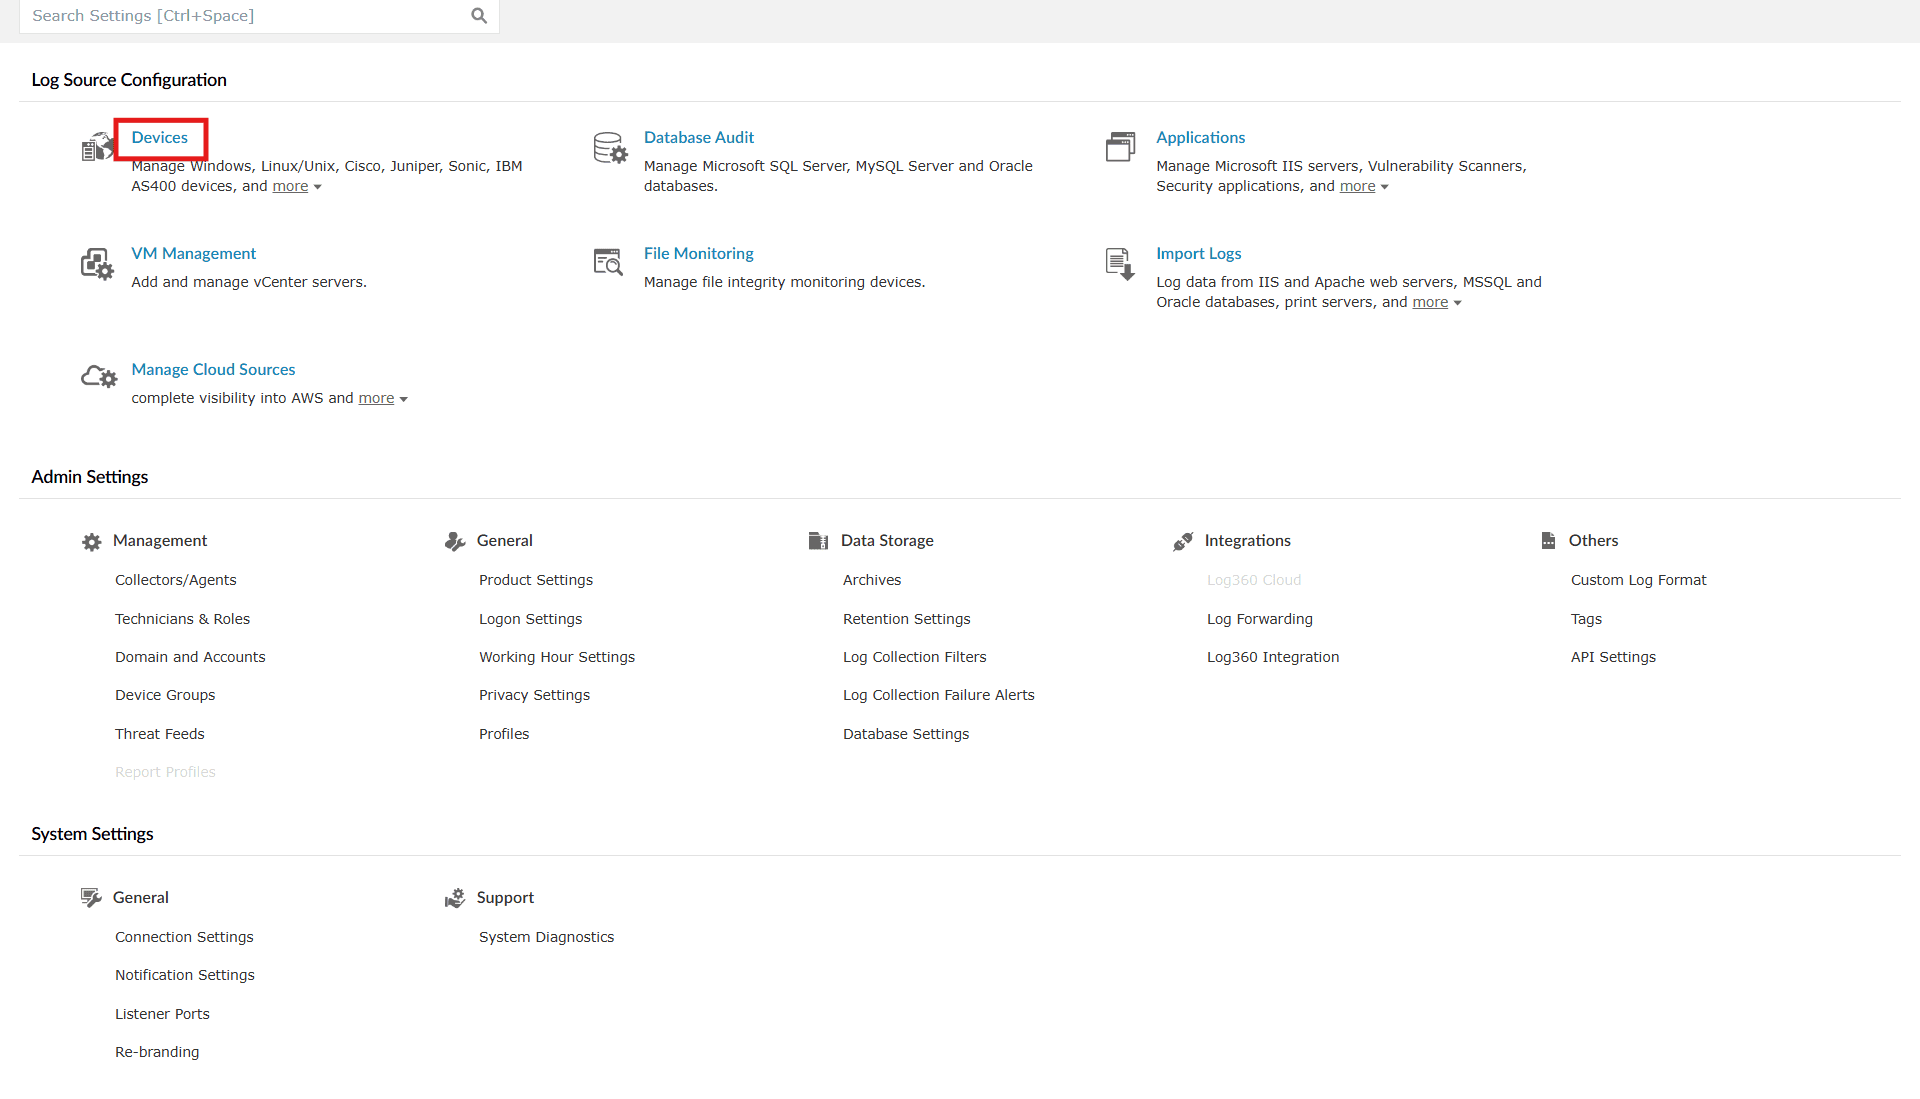
Image 1: Device settings - You will be taken to the Device Management module. On the right-hand side, you can find the toggle to enable/disable Auto Allocation. Click on the toggle to enable this function.
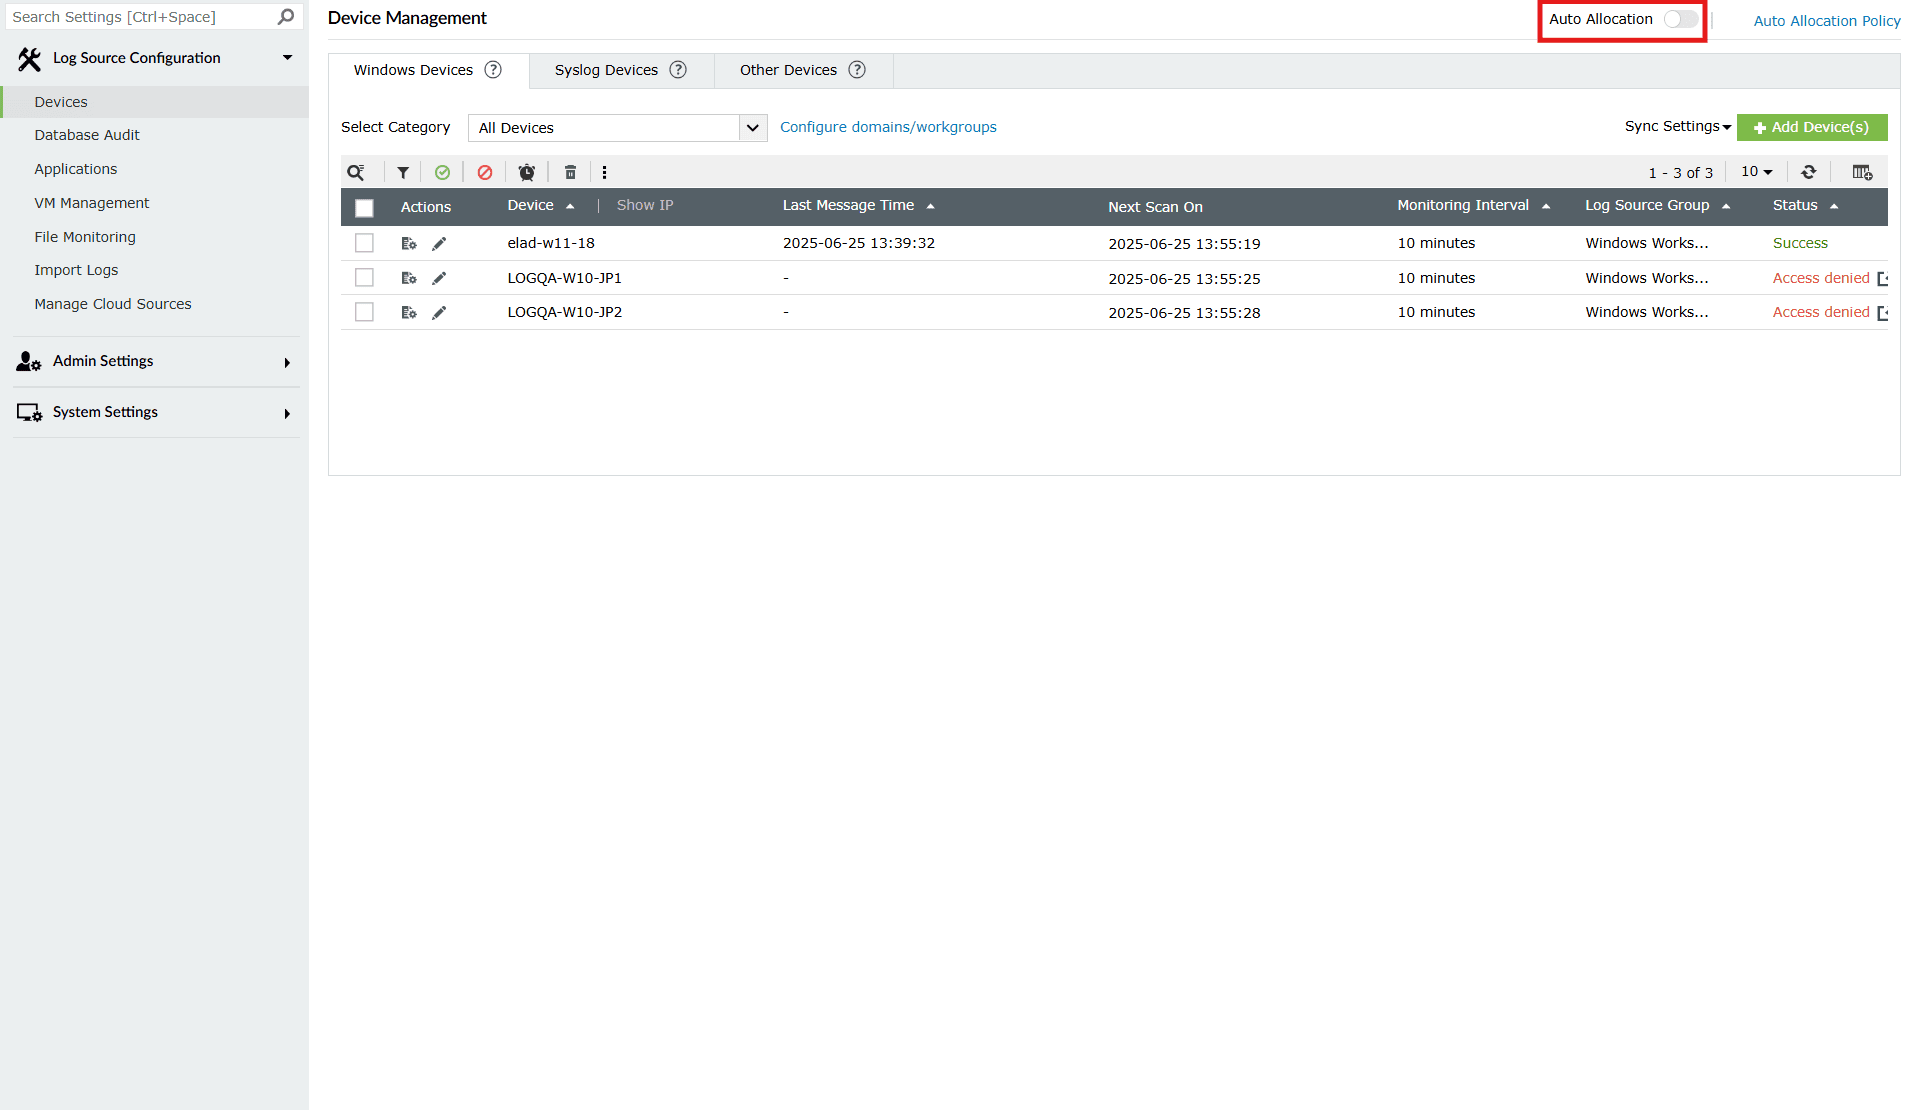
Image 2: Auto allocation in the product console - After you click on the toggle to enable auto allocation, a Confirm Action pop-up is displayed to enable auto allocation in Windows. Click on Proceed.

- As soon as you select proceed, the toggle turns from Auto Allocation
 to Auto Allocation
  and the below pop-up appears briefly as a confirmation of the successful changes made.

- Now, auto allocation is enabled, and the product starts allocating devices immediately and will perform a daily allocation check at the scheduled time.
What happens after enabling auto allocation?
- Discovered devices from Workgroups and Domains will be evaluated against all the currently active Auto Allocation Policies.
- The system:
- Matches devices based on policy rules (OU, domain, workgroup)
- Selects the agent/collector with the lowest load at that moment, within the defined limits.
- Allocates the device(s) and logs its status in the Device Management > Add Devices popup under the Reason column.
Disabling auto allocation
- Follow the same steps- Step 1 and Step 2 as Enabling auto allocation to locate the toggle. Click on the (currently enabled) toggle.
- As soon as you perform the above action, the toggle turns from Auto Allocation to and the below pop-up appears.

Read also
This document explained how to enable or disable the device auto allocation feature and what happens after activation. For further information on managing device assignments and policies, refer to the articles below: