Importing Users from LDAP
LDAP (Lightweight Directory Access Protocol) is used to maintain and access distributed directory information over an IP network. Directory services allow sharing of information about the users, user systems, applications,etc. across the network. The details of users are available in a hierarchical structure. Access Manager Plus allows you to integrate LDAP and import all the users and user groups in the same hierarchy. Apart from LDAP, you can also import users from your Active Directory.
Summary of Steps
Navigate to Admin >> Authentication >> LDAP. The LDAP Server Configuration page is displayed. The following sections are available. Click the below links to learn the process.
1. Importing Users from LDAP
Provide the required credential details and import users from LDAP.
- Click the Import Now button from the LDAP Server Configuration page.

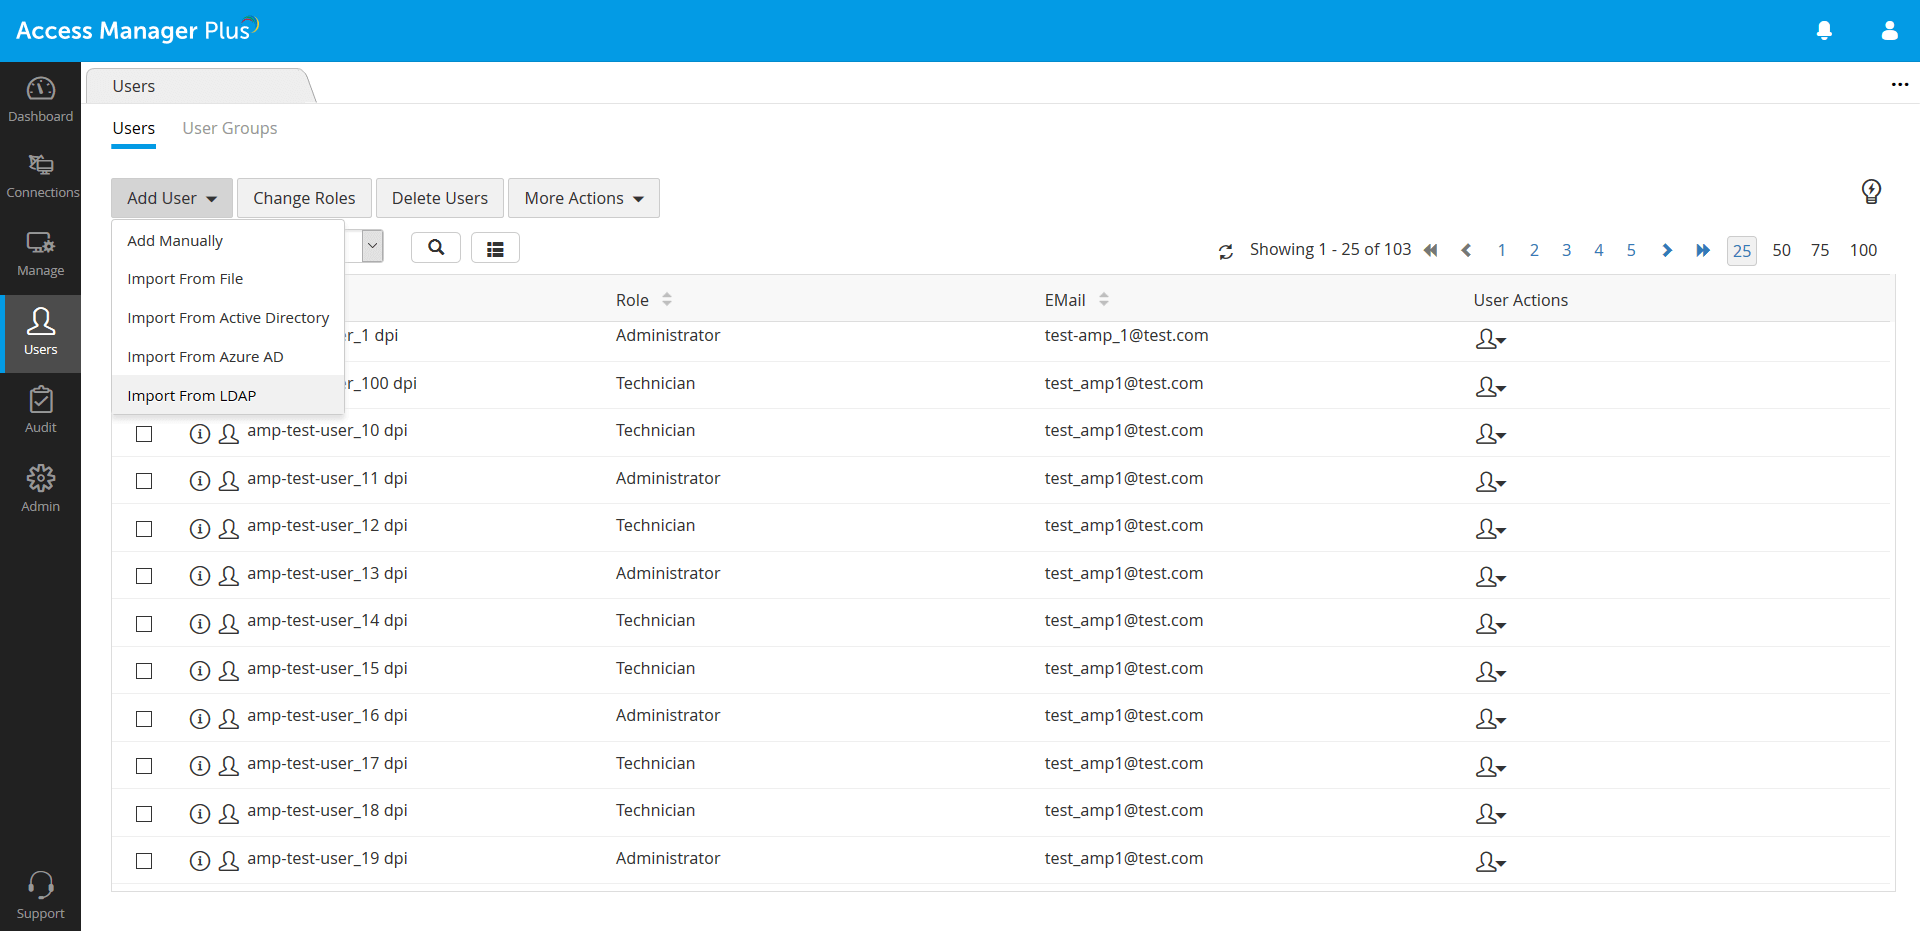
- Alternatively, you can also access this from Users >> Add Users >> Importfrom LDAP.
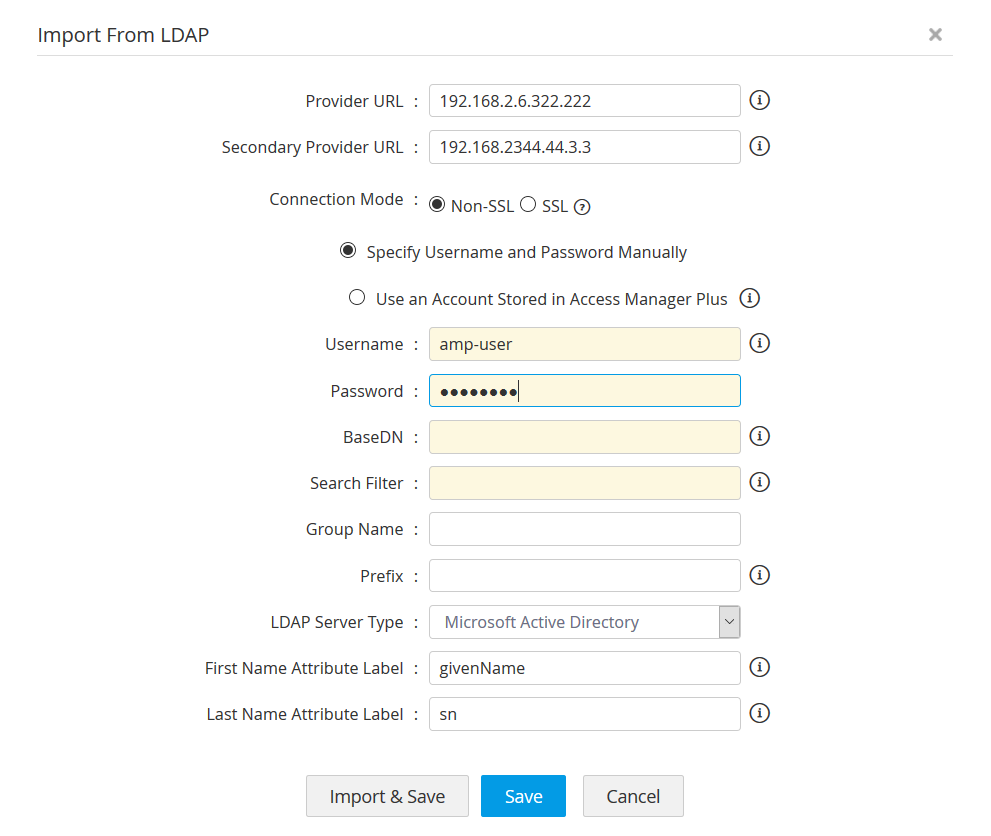
- In the pop-up form that appears, fill-in the details as required:
- Configure the connection between LDAP Server and Access Manager Plus to be over an encrypted channel (SSL) or Non-SSL.
- [Step applicable only if you have chosen SSL in the previous step] To enable the SSL mode, the LDAP server should be serving over SSL in port 636 and you will have to import the LDAP server's root certificate, LDAP server's certificate and all other certificates that are present in the respective root certificate chain into the Access Manager Plus's server machine's certificate store.
- To import certificates, open a command prompt and navigate to <AMP_SERVER_HOME>\bin directory and execute the following command:
For Windows:
importCert.bat <Absolute Path of certificate>
For Linux:
importCert.sh <Absolute Path of certificate>
- Restart Access Manager Plus server. Then, continue with the following steps.
- Enter the LDAP Provider URL in the format attribute://ldap server host:port (Example ldap://192.168.4.83 <:389/)
- Specify the credentials of any one of the user already present in LDAP for authentication. It should be in the format of how the user would have submitted their username when authenticating to your application. For example, a typical entry would look something like: cn=Eric,cn=Users,o=adventnet,c=com.
- Enter the Username and Password.
- This is the 'base' or 'root' from where directory lookups should take place. Enter the LDAP base (top level of the LDAP directory tree). Enter it exactly in the format used in your LDAP. No spaces are allowed between the commas or the = equal symbol and entries that are case-sensitive.
- To add specific users from your LDAP directory, perform a search using the appropriate search filter. For example, to add the users who belong to the category "Managers", a typical search filter would be like: ou=Managers,ou=Groups,o=adventnet,c=com.
- Mention the Group Name. While importing users from LDAP, Access Manager Plus will automatically create a user group with all the imported users. If you enable synchronization, the user group will get synchronized based on the search filter created by you.
- Select your LDAP Server Type:
- Microsoft Active Directory (or)
- Novell eDirectory (or)
- OpenLDAP (or)
- Others
- If your LDAP server belongs to the type Microsoft Active Directory/Novell eDirectory/OpenLDAP, you can select that type and click Save.
- Configure the connection between LDAP Server and Access Manager Plus to be over an encrypted channel (SSL) or Non-SSL.
1.1 Additional Settings
If your LDAP server belongs to types other than Microsoft Active Directory/Novell eDirectory/OpenLDAP, specify the following additional details to authenticate the users:
- Enter the user login attribute in your LDAP structure in the text field for Login Attribute. For instance, for LDAP making use of AD, the entry would be "sAMAccountName" and for OpenLDAP, the entry would be "uid". If you are using any other LDAP, make this entry in accordance with your LDAP structure.
- Enter the e-mail attribute for the users in your LDAP structure in the text field for Mail Attribute Label. For instance, for LDAP making use of AD, the entry would be "mail". If you are using any other LDAP, make this entry in accordance with your LDAP structure.
- Enter the Distinguished Name Attribute Label - that is the LDAP attribute that uniquely defines this object. For instance, for LDAP making use of AD, the entry would be "distinguishedName" and for OpenLDAP, the entry would be "dn". If you are using any other LDAP, make this entry in accordance with your LDAP structure.
- Click Import. Soon after hitting this Save button, Access Manager Plus will start adding all users from LDAP. During subsequent imports only the new users entries in LDAP are added to the local database. During import, every user will be notified through email about their account, along with a password that will be used to login to Access Manager Plus when LDAP authentication is disabled.
1.2 Configure Synchronization and Manage LDAP Server Details
Whenever new users get added to the LDAP, there is provision to automatically add them to Access Manager Plus and to keep the user database in sync. This can be done from the LDAP Server Details page. Click the button LDAP Server Details under Step 1 in the UI. This UI has been designed to serve as a one-stop place for managing all configurations pertaining to the LDAP servers integrated with Access Manager Plus.
- In the LDAP Server Details UI, you can view the list of LDAP servers already integrated, integrate new LDAP servers, delete existing ones, edit entries and manage the entries pertaining to the LDAP servers.
- In addition, from the Actions section of this page,
- You can edit the existing LDAP server details.
- You can configure user database synchronization. Enter the time interval at which Access Manager Plus has to query the LDAP server to keep the user database in sync. The time interval could be as low as a minute or it can be in the range of hours/days.
- You can also import users from LDAP.
2. Specifying Appropriate User Roles
All the users imported from LDAP will be assigned the User role by default. To assign specific roles to specific users,
- Navigate to Admin >> Authentication >> LDAP and click Assign Roles Now.
- A pop-up appears with the list of all the Users imported from AD.
- Click the Change role button against the desired user to change the role and select the appropriate role from the drop down.

3. Enabling LDAP Authentication
The final step is to enable LDAP authentication. This will allow your users to use their LDAP directory password to log in to Access Manager Plus. Note that this scheme will work only for users who have already been imported to the local database from AD.
Note: Make sure you have at least one user with the Administrator role, among the users imported from LDAP.