Adding Users Manually
Access Manager Plus allows you to add new users with different access levels based on your preference. There are several ways to add users into Access Manager Plus, one of which is to add them manually. This document discusses the procedure to add a user into the application manually.
Summary of Steps
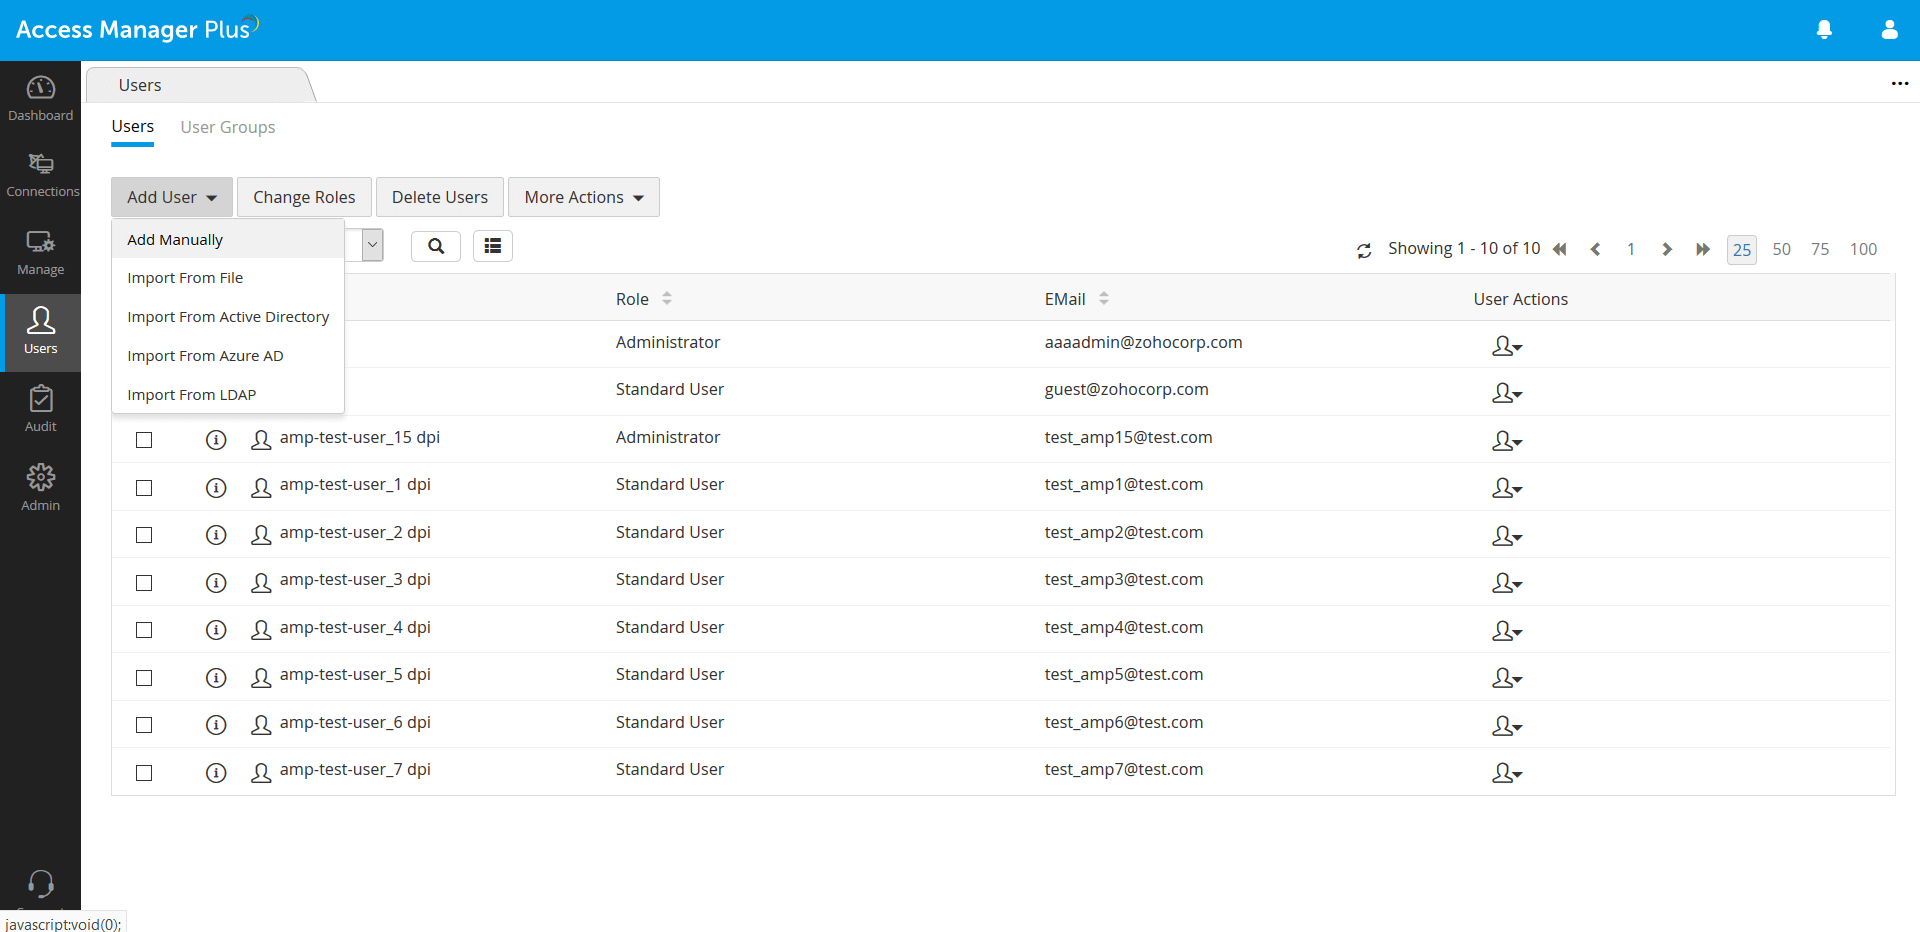
- Navigate to Users >> Add User>> Add Manually.
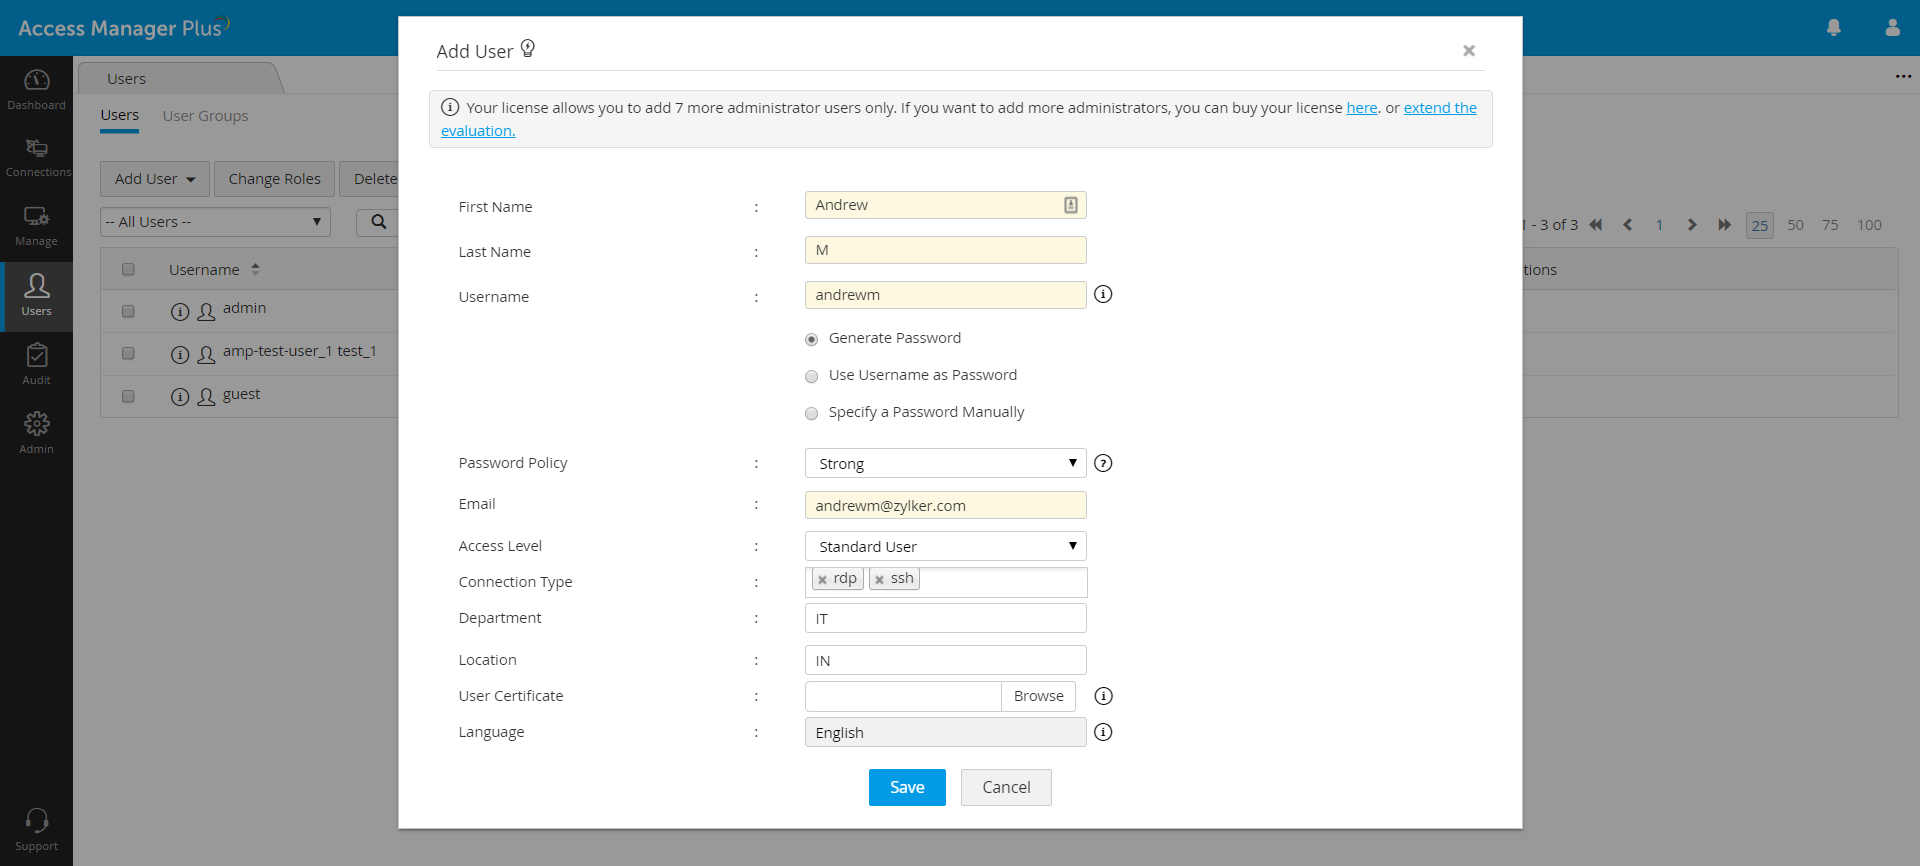
- In the pop-up form that appears,
- Enter the First Name and Last Name of the user (mandatory).
- Enter a unique login name in the Username field (mandatory).
- Select the required Password Policy. Based on this policy, login password will be generated and sent to the user.
- Mention the Email id of the user to which the login password will be sent. If you do not have an email id, click Configure Mail Settings.
- Select an appropriate Access Level for the user from the drop-down menu.
- Select the Connection Type.
- Select if you want to enable or disable Two-Factor Authentication for this user.
- Mention the RSA SecurID Username.
- Specify the Department and Location. These fields are not mandatory, but having these fields populated with the correct values will be helpful for searching and grouping the sessions.
- Click Browse to select and upload User Certificate.
- Select your desired Language from the drop-down.
- Click Save.
Now, You have successfully created a new user.
See also:
Top