Application Mapping, Application Group, DSCP Mapping and DSCP Group
Application Mapping
The Application Mapping option lets you configure the applications identified by NetFlow Analyzer. You can add new applications, modify existing ones, or delete them. Please see the Additional Notes on Application Mapping section to understand this feature more clearly. Also it is possible to associate an IP address with an application.
Adding an Application
Follow the steps below to add a new application:
- Navigate to the Settings option in NetFlow Analyzer UI.
- Click on NetFlow listed in the top menu bar.
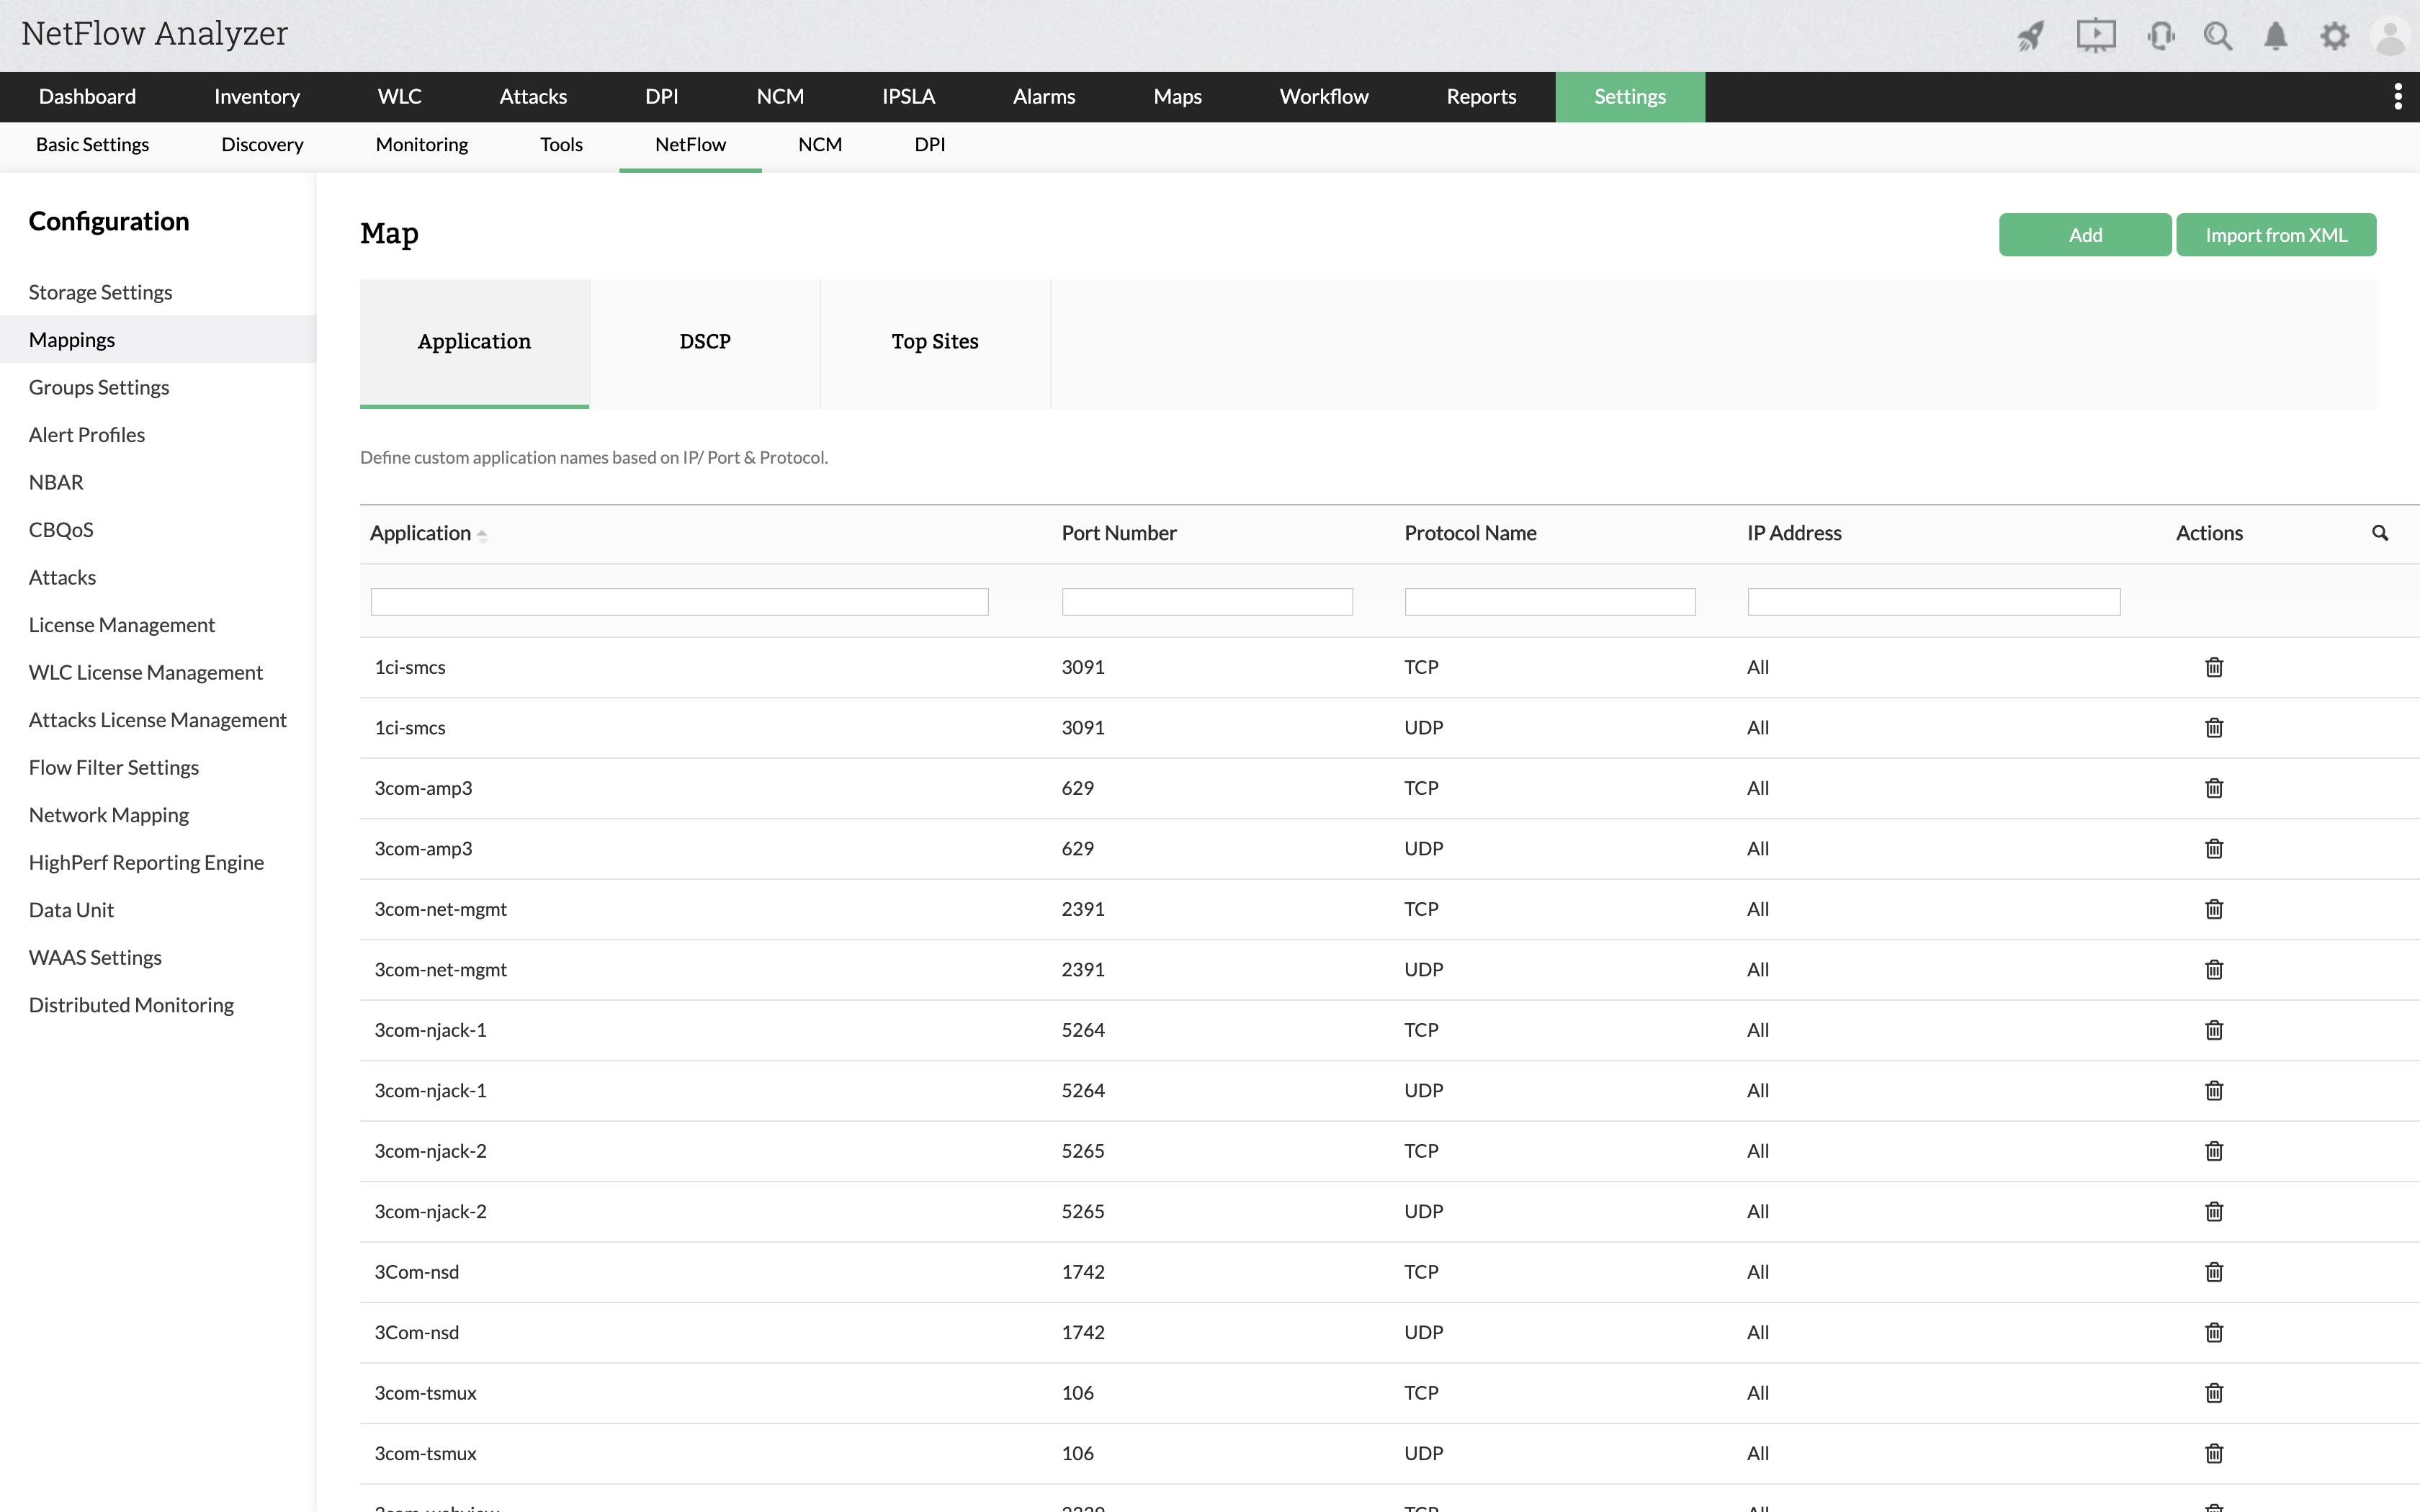
- Navigate to the Mappings option available in the left menu bar and select Application List.
- Click on Add button available on that page and provide a name to identify the Application group in the Application Name box .
To enter a port range, separate the start and end points of the range with a hyphen. (eg.) 1400-1700
- Choose the protocol from the list of protocols
- Choose one of the options from IP Address / IP Network / IP Range. Depending on what you opt a set of fields are enabled and should be filled.
- If you opt for IP Address then you have to enter the address in the IP Address box.
- If you opt for IP Network then you have to enter the IP Network and IP Netmask details.
- If you opt for IP Range then you have to enter the Start IP, End IP and IP Netmask Enter a unique name for the application
- The Application Name has to be entered finally by which the IP address is associated with an application.
 | Ensure that the combination of port number and protocol is unique. If not, the older application mapping will be deleted.
|
Once you are done, click the Save button to save your changes.
Modifying an Application
Select an application and click the Modify window will pop up to modify its properties
| You can only change the name of the application. If you need to change the port or the protocol, you have to delete the application, and add it as a new application. |
Once you are done, click the Update button to save your changes.
Deleting an Application
Select an application and click the Delete button to delete it. The application is permanently deleted, the corresponding port is freed, and can be assigned to another application.
Additional Notes on Application Mapping
Applications are categorized based on the source address, destination address, source port, destination port and protocol values in the flow record. These values are matched with the list of applications in the Application Mapping.
The check is done first with the smaller of the 2 ports (source port / destination port), and if no match is found the bigger of the 2 ports is mapped
Application mappings created with specific IP address / IP Range / IP Network is given higher priority over applications mappings with no IP address. For example assume you have 2 application mappings as below:
| Port | Protocol | IP Address / IP Range | Application |
| 80 | TCP | 10.10.1.0( 255.255.255.0) | APP1 |
| 80 | TCP | Any | APP2 |
If a flow is received with source address 10.10.10.10 and Port as TCP-80 then it is classified as APP1. Only TCP-80 flows from non-10.10.10.0 network will be classified as APP2.
Application mappings created with single port is given higher priority over applications mappings with port range. For example assume you have application mappings as below:
| Port | Protocol | IP Address / IP Range | Application |
| 80 | TCP | any | APP1 |
| 70 - to - 90 | TCP | any | APP2 |
If a flow is received with Port as TCP-80 then it is classified as APP1.
Applications are categorized based on the source address, destination address, source port, destination port and protocol values in the flow record.
The smaller of the 2 ports (source port / destination port) and protocol is matched with the port-protocol in the application mapping list
If no match is found, the bigger of the 2 ports (source port / destination port) and protocol is matched with the port-protocol in the application mapping list.
If no match is found, the smaller of the 2 ports (source port / destination port) and protocol is matched with the port range-protocol in the application mapping list.
If no match is found, the bigger of the 2 ports (source port / destination port) and protocol is matched with the port range-protocol in the application mapping list.
If no match is found, the application is categorized as protocol_App (as in TCP_App or UDP_App)
In case the protocol is not available in the application mapping list, the application is categorized as Unknown_App
The sequence in which the mappings are checked is as follows:
1. Application mapping with specific IP address / IP Range / IP Network is matched.
2. Application mapping with no IP address and single port number / port range.
Application Group
Application Groups allow you to define your own class of applications by including one or more applications. For example, you might want to classify all your database applications like Oracle, MySql, MS-Sql in to one group called the DataBase group. Initially when no application groups have been created a message to that effect is displayed. The Application Group report can be viewed on the Application tab for each interface.
Adding an ApplicationGroup
Follow the steps below to add a new application group:
- Navigate to the Settings option in NetFlow Analyzer UI.
- Click on NetFlow listed in the top menu bar.
- Navigate to the Group Settings option available in the left menu bar and select Application Group.
- Click on Add button available on that page and proceed to the Add Group Screen.
Enter the Group Name and the Group Description (eg.) DataBase Group - Contains the Oracle DB and MySql DB
- Choose the applications from the list of applications in the left pane
- Select an application by clicking on it.
- Use the " >> " button to include the selected application to the right pane - "Selected Applications" list.
- Add as many applications as you want to this group.
- Click on update for the application group to be created with the list of applications you had selected.
You may create additional Application Groups by clicking on the Add button and following the above steps.

Modifying an Application Group
Select the Application Group you wish to modify and click on the "Modify" button.
| You can only change the Application Group description and the list of selected applications. It is not possible to change the application group name. |
Once you are done, click the Save button to save your changes.
Deleting an Application Group
Select the application group you want to delete and click on the "Delete" button. You are asked for a confirmation to delete and if you confirm the group is deleted.
DSCP Mapping
The DiffServ model for DSCP Mapping was developed to differentiate IP traffic so that the traffic's relative priority could be determined on a per-hop basis. Using DSCP Mapping you can name the DiffServ code points and monitor their traffic in troubleshooting reports under the DSCP tab. Note that the DSCP reports can be viewed on the Troubleshooting page by clicking on the DSCP tab.
Adding a new DSCP Mapping
Click on the Add button to create a new DSCP Mapping. A window pops out where you may enter the Group Name and the Code Point ( a six-digit Binary Number). For Example: Data Centre devices - 001001. Click on the "Add" button to add this mapping.
Modifying a DSCP Mapping
| Please note that it is not possible to modify a DSCP Mapping. |
Deleting a DSCP Mapping
Select the DSCP Mapping ( the combination of QoS Group Name and Code Points) you want to delete and click on the Delete button.
DSCP Group
Quality of Service is used to measure, improve and guarantee transmission rates, error rates and other characteristics in a network's setting. The DiffServ model for DSCP Mapping was developed to differentiate IP traffic so that the traffic's relative priority could be determined on a per-hop basis. Using DSCP Mapping you can name the DiffServ code points and monitor their traffic in troubleshooting reports under the DSCP tab. Note that the DSCP reports can be viewed on the Troubleshooting page by clicking on the DSCP tab.The DCSP group is very valuable in the deployment of QoS.
Adding a new DSCP Group
Follow the steps below to add a new application group:
- Navigate to the Settings option in NetFlow Analyzer UI.
- Click on NetFlow listed in the top menu bar.
- Navigate to the Group Settings option available in the left menu bar and select DSCP Group.
- Click on Add button available on that page and proceed to the Add Group Screen.
Enter the Group Name and the Group Description (eg.) DataBase Group - Contains the Oracle DB and MySql DB
Choose the DSCP Names from the list of names in the left pane
- Select a name by clicking on it.
- Use the " >> " button to include the selected DSCP Name to the right pane - "Selected DSCP Names" list.
- Add as many DSCP Names as you want to this group.
- Click on Save for the DSCP Group to be created with the list of DSCP Names you had selected.
You may create additional DSCP Group by clicking on the Add button and following the above steps.
Modifying a DSCP Group
Select the DSCP Group you wish to modify and click on the "Modify" button.
| Once you are done, click the Save button to save your changes. |
Deleting a DSCP Group
Select the DSCP Group you want to delete and click on the Delete button.
Top Sites
The Top Sites report displays the applications contributing to the maximum network traffic.The top sites option maps application to the resolved DNS names. Using this option you can now Add, Modify or Delete the pre-defined IP addresses and its corresponding application.
Adding a Top Site
To add a top site follow the steps given below:
- Navigate to the Settings option in NetFlow Analyzer UI.
- Click on NetFlow listed in the top menu bar.
- Navigate to the Mappings option available in the left menu bar and select Top Sites.
- Click "Add"
- In the pop-up screen that appears, Select the IP Address, IP Network or Ip range you wish to map
- Specify the details
- Select the Site name
- Click "Save" to save the changes
Now the Application has been succesfully mapped to the IP address
Modifying a Top Site
To Modify a top site follow the steps given below:
- Select the Site Name you want to modify
- Click "Modify"
- In the pop-up that appears, specify the new site name
- Click Update to save the changes
Now the site name has been succesfully changed
Deleting a Top Site
To Delete a top site follow the steps given below:
- Select the Site Name you want to modify
- Click "Delete"
- In the pop-up that appears, Click "OK" to delete the site name
Now the site name has been permanently deleted.