Request Details PageThe View Request page organizes the details of the request in a logical manner. To view the details of a request,
If you have added any notifications under contracts to notify the support rep, and any advisory added to the account, the same can be viewed at the top of the request details page. The various notifications shown in the Request Details page are: advisory note added to the account, notification stating the remaining hours/incidents left for the contract, contract expiry notification, and contract renewed notification.
Contact Details
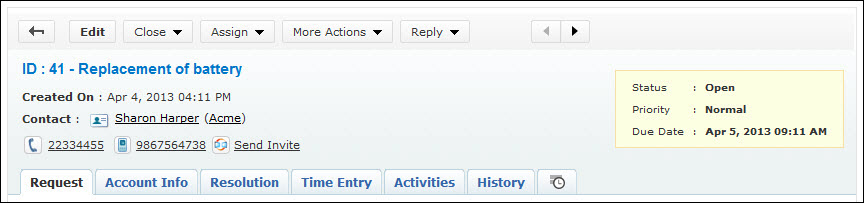
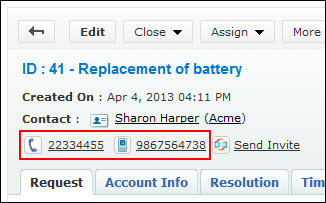
This block displays the Request id and Subject of the request, Contact details such as the Contact Name, the Account, Phone and Mobile number, Status, Priority and Due Date for the request.
From the Request View page, you can navigate to the Request List view page using the Back button
With JIRA integration in SupportCenter Plus, you can create tickets on JIRA by clicking on the Actions Menu from Request Details page. [Refer JIRA Integration]
With CTI integration in SupportCenter Plus, you can call your customers, saving time and effort in replying to mails. [Refer Computer Telephony Integration]
If you have a Zoho Account, then you can avail the remote assistance feature and access your customers machine from your desk. [Refer Remote Assistance]
You can also approve contacts from the View Request page. Whenever a new contact submits the request through portal or drops a mail to SupportCenter Plus, the request gets added to the Request module but the contact remains unapproved and indicated by the unapproved
NOTE: Once the contact is approved, an acknowledgement mail will be sent to the contact for all the contact's pending requests.
Viewing Request Details
The request tab displays the Subject and Description of the request. The Conversation button appears if there are any conversation threads to the request. Clicking on Conversation button scrolls down to view the conversation threads. You have an option to view all conversations or only the conversation shown to contacts. To know more, refer Conversation.
In addition, the request details block also displays request properties like Status, Group, Category, Sub Category, Item, Support Rep, Priority, Mode, Level, Created Date, Due Date, Product, Created By and additional fields (if available).
You can edit the request properties using Edit button or the Inline edit option to edit a specific request property. Say, you want to change the support rep from Jake Thomas to Jennifer Doe, then click on the name of the support rep and select the name from the drop down list.
If you have added any Notes to the request then the same can be viewed under Discussion Notes block. The notes are displayed in descending order of their date of creation. You have options to edit and delete the notes.
Viewing Account Information
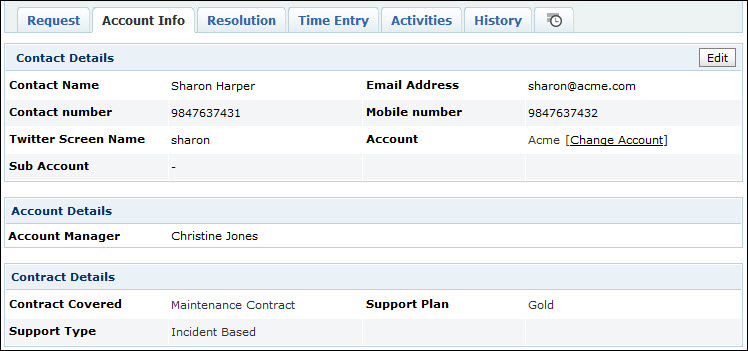
The account info tab displays the Contact Details, Account Details, and the Contract Details associated with the Account. The Account details includes the Account Manager name and any additional fields added to the account. Contract details such as Support Type, Support Plan, Contract Covered and cost per hour is listed under this block.
You can change the account for the request using the Change Account link. On clicking the link opens a pop up window where you can select the account as well as the sub-account associated to that account. You have an option to edit the contact details. Except for the account information, you can edit the remaining fields.
Viewing Resolution
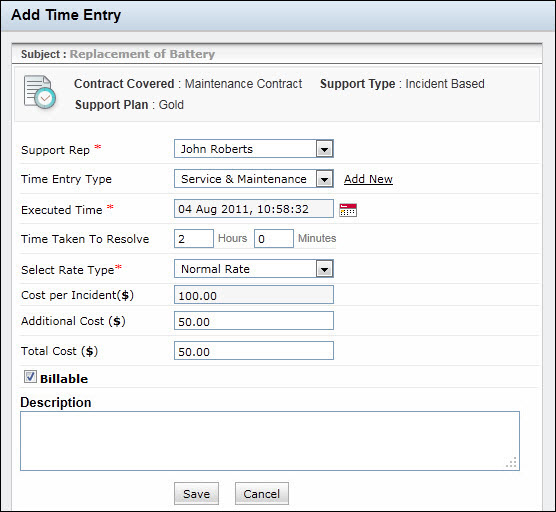
Resolution is a documented information on how the issue was resolved. This documented information is very useful to resolve similar issue and can be saved in the knowledge base. You can search for resolutions from the database using the Search Solutions link. You can also change the status of the request from the Status drop down. In addition you can enter the time spent details for the request by selecting the Add Time Entry check box.
You can view the Time Spent details for the request under this block. You are also provided with an option to Add Time Entry for the request.
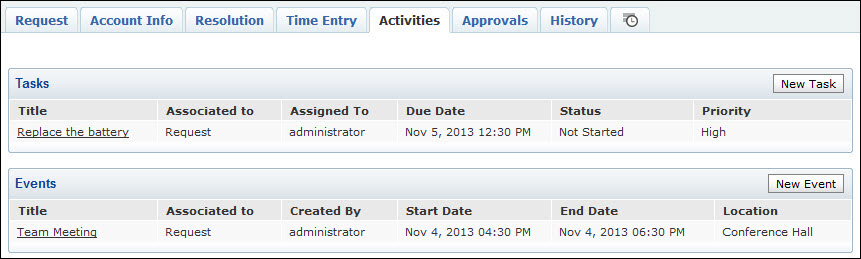
Viewing Activities for the request
The Activities tab appears if there are any tasks or events associated to the request.
You also have an option to add new tasks and events from this page. To view the details of the tasks and events, click on the Title link. The page redirects to the Activities tab, from where you can perform edit and delete operations. To know more on adding new tasks and events, refer Add Tasks and Add Events.
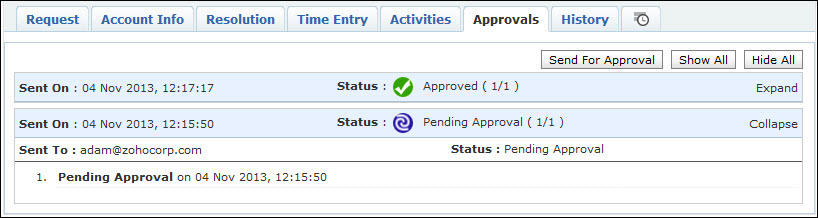
Viewing Approvals for the request
The Approvals tab appears if the request is submitted for approval to the manager. All mails sent for approval is listed in descending order with details like Sent On, Sent by and Status of approval.
Viewing History
Every action performed on a request from the time of its creation can be viewed in the History tab. The details displayed in the history tab are in the descending order with the recently performed action shown at the top of the page and the earlier action at the bottom of the page.
Time Spent Report
The Time Spent Report tab graphically displays the time spent on the request when placed at different Status by Support Reps and Groups.
If the request is handled by multiple Support Reps and Group, the accurate time spent by an individual or a Group on the request will be displayed in this tab. It also displays the actual Resolution Time specified for the request, the SLA Overdue Time, and the Actual Time Spent on the request by Group and Support Rep.
If the request is handled by the Support Rep more than once, then the different time details can be viewed by clicking on the Details link.
|